
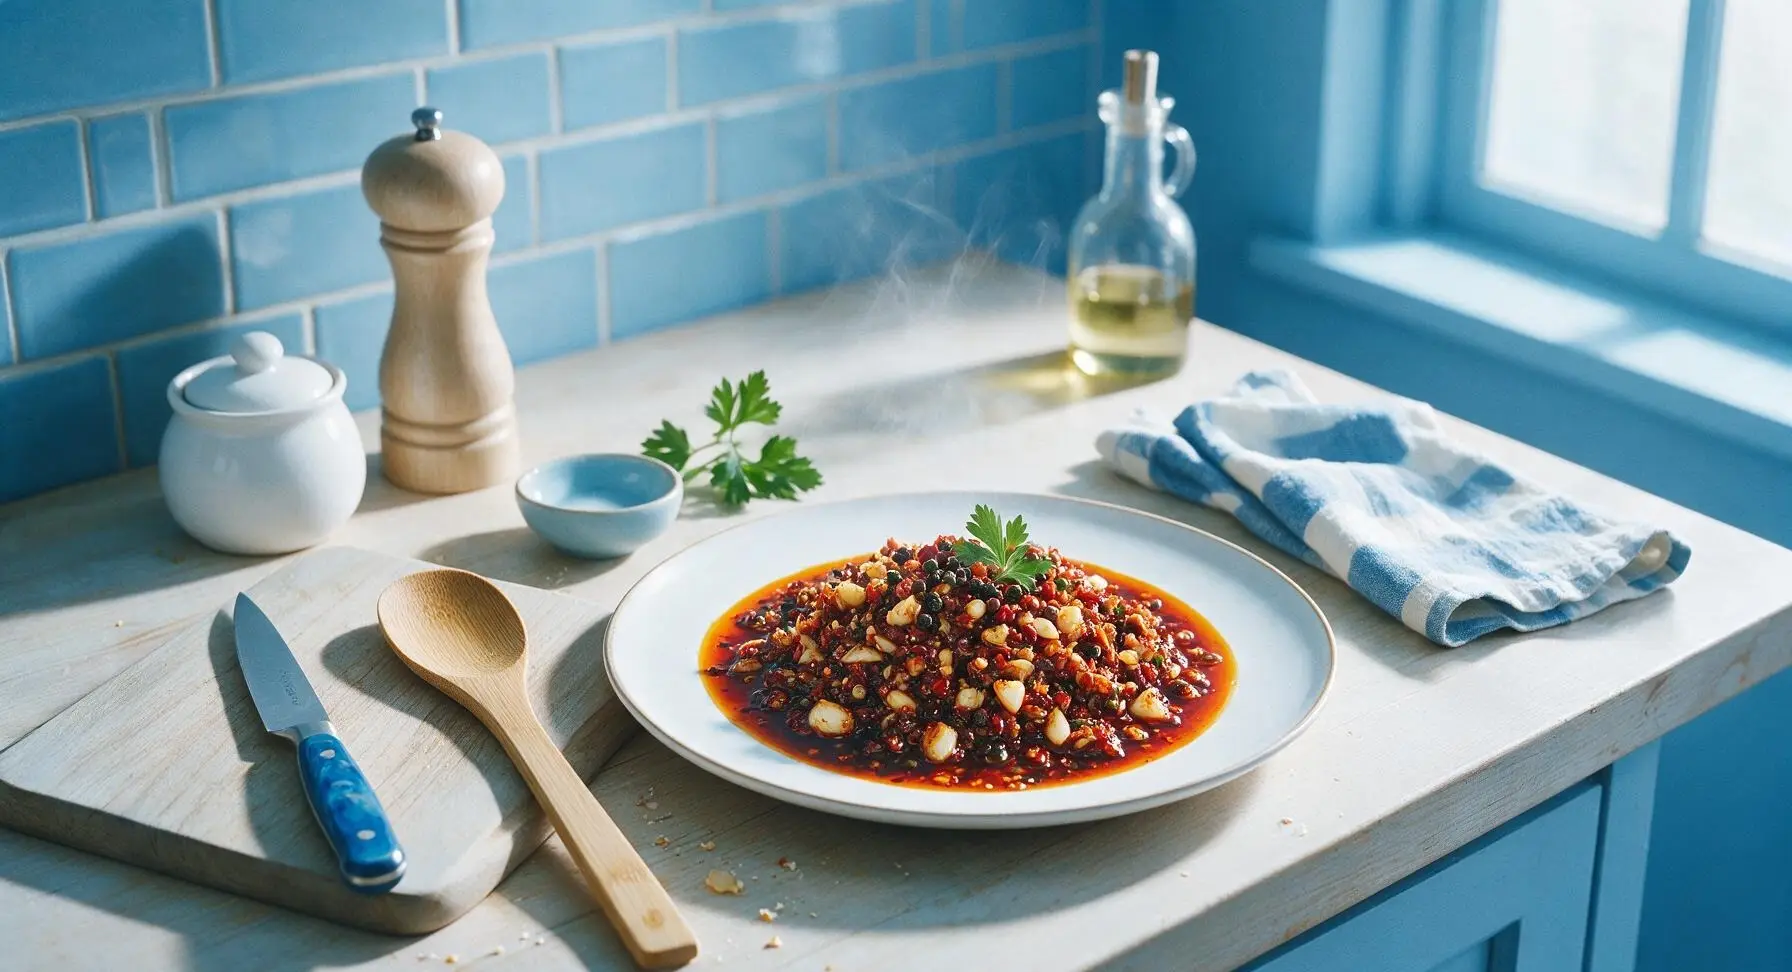
chinese chili sauce

title 1
chinese chili sauce
⏱️ cook time 25 minutes
🍽️ servings 24
⚡ Difficulty medium

intro

Fragrant, chunky Sichuan-style Chinese chili sauce, packed with toasty garlic, numbing Sichuan peppercorn, and bright spicy chilis in aromatic oil. The perfect versatile condiment for noodles, dumplings, and grilled meats.

Ingredients
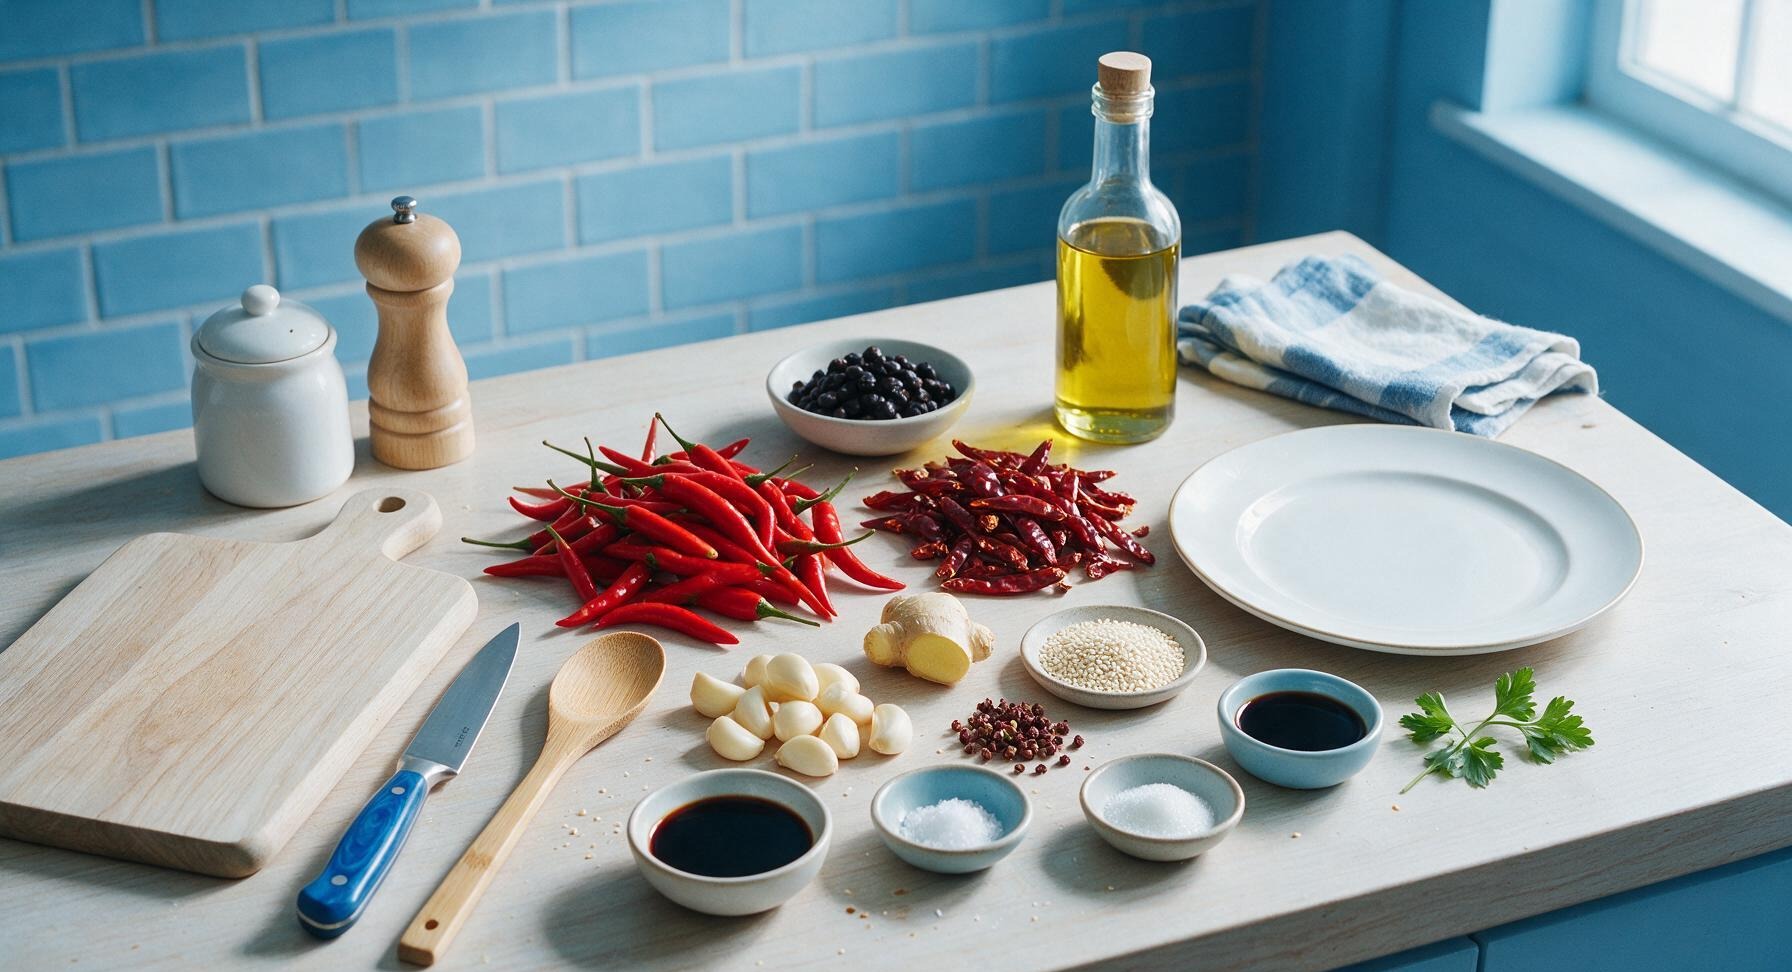
Fresh red finger chilis 200g
Dried red Sichuan chilis 50g
Neutral canola oil 240ml (1 cup)
Garlic cloves 60g (approx 10 cloves)
Fresh ginger 30g (1-inch knob)
Sichuan peppercorns 1 tbsp
Fermented black beans (douchi) 2 tbsp, rinsed
Toasted white sesame seeds 1 tbsp
Light soy sauce 2 tbsp
Chinese black vinegar 1 tsp
Fine sea salt 1 tsp
White sugar 1 tsp

Steps

1

Prep Fresh and Dried Chilis

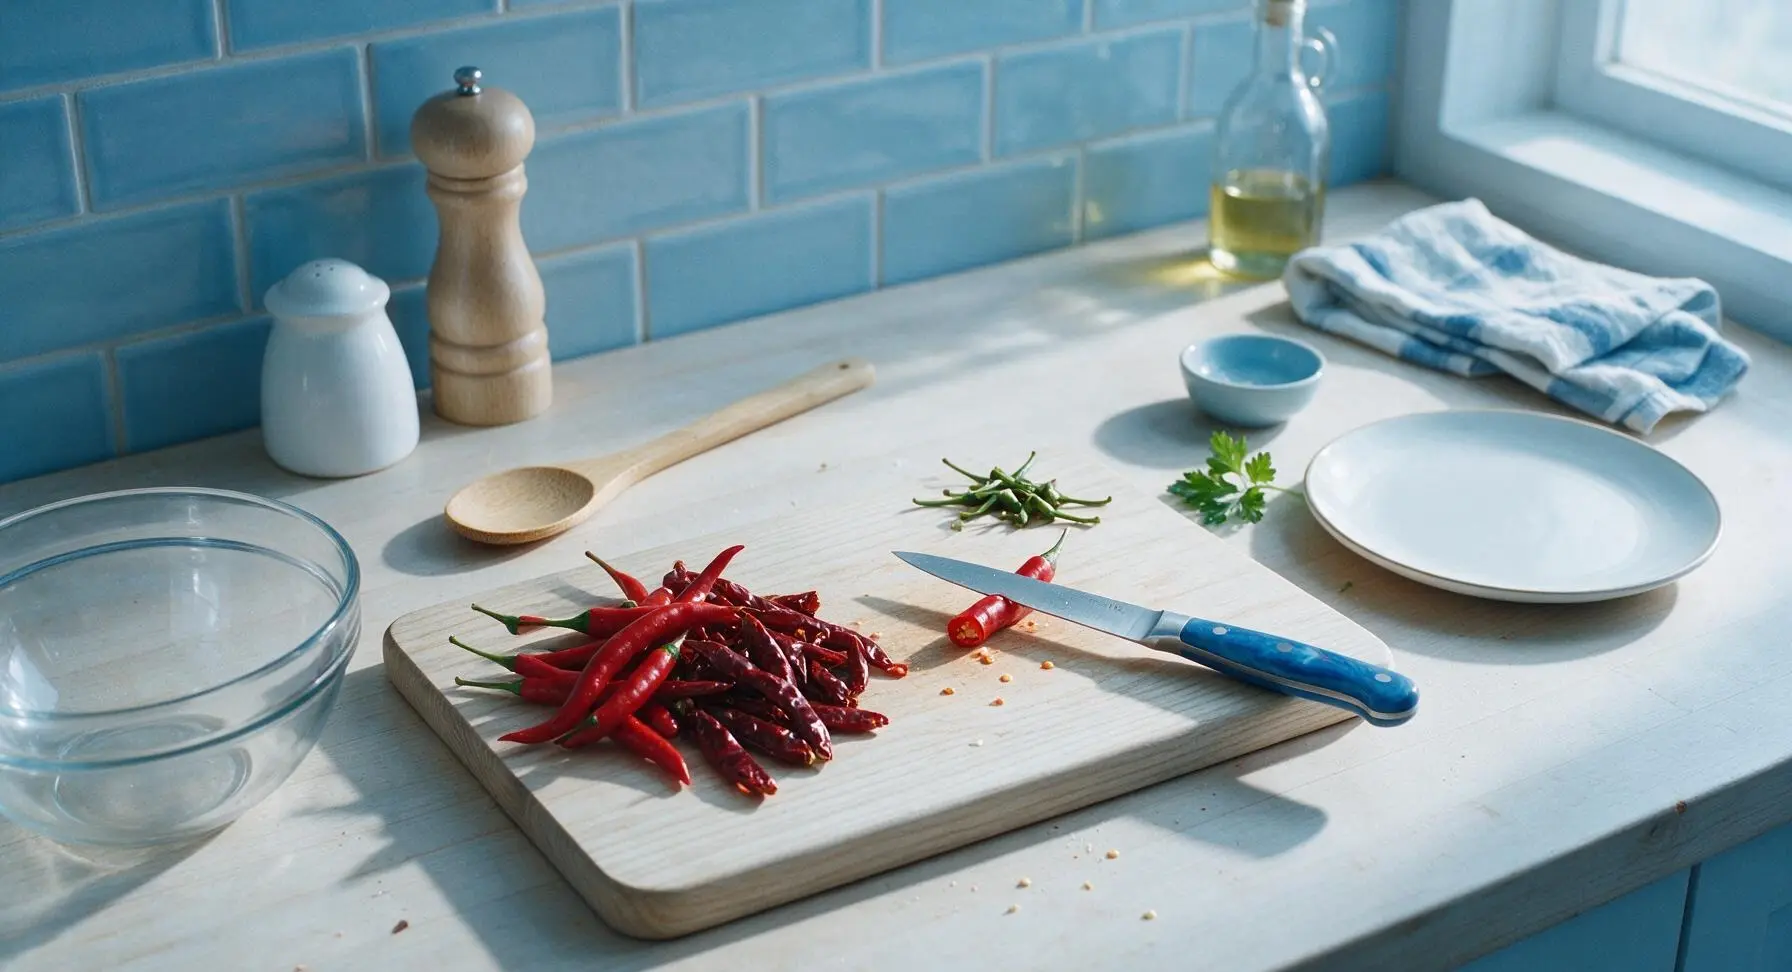
Rinse 200g fresh red finger chilis and 50g dried Sichuan chilis under cool running water, then pat completely dry with the indigo cotton towel. Trim off and discard the green stems from all chilis. For milder sauce, scrape out and discard the inner seeds and white pith from half the chilis; leave seeds in for extra heat. Cut all chilis into rough 5mm chunks, transfer to the clear glass mixing bowl. Important: Wear disposable gloves if handling extra-spicy chilis to avoid skin irritation.
Step 1
step1:Prep Fresh and Dried Chilis
2

Chop Garlic and Ginger

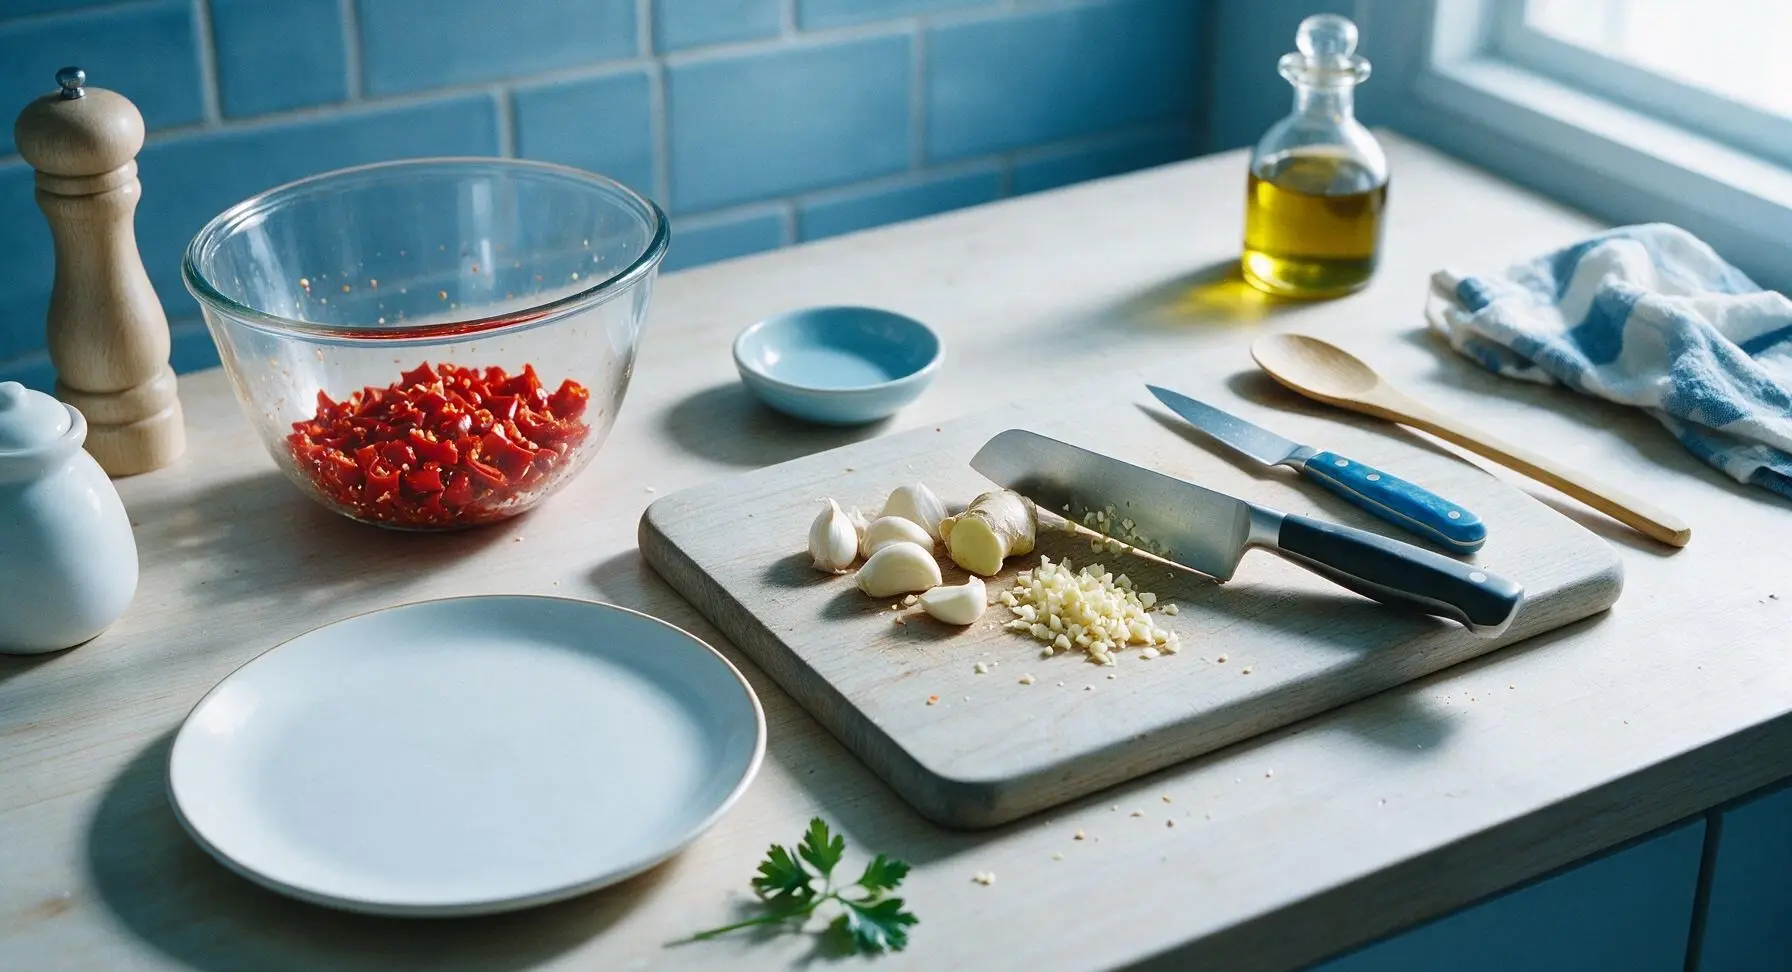
Peel 60g garlic cloves and 30g fresh ginger, pat dry. Place on the bamboo cutting board and chop finely into 2mm pieces, taking care not to mash the garlic into a paste. Add the chopped garlic and ginger to the mixing bowl with the cut chilis. Reserve 1 tsp of chopped garlic to fry separately for extra crisp texture.
Step 2
step2:Chop Garlic and Ginger
3

Toast Sichuan Peppercorns

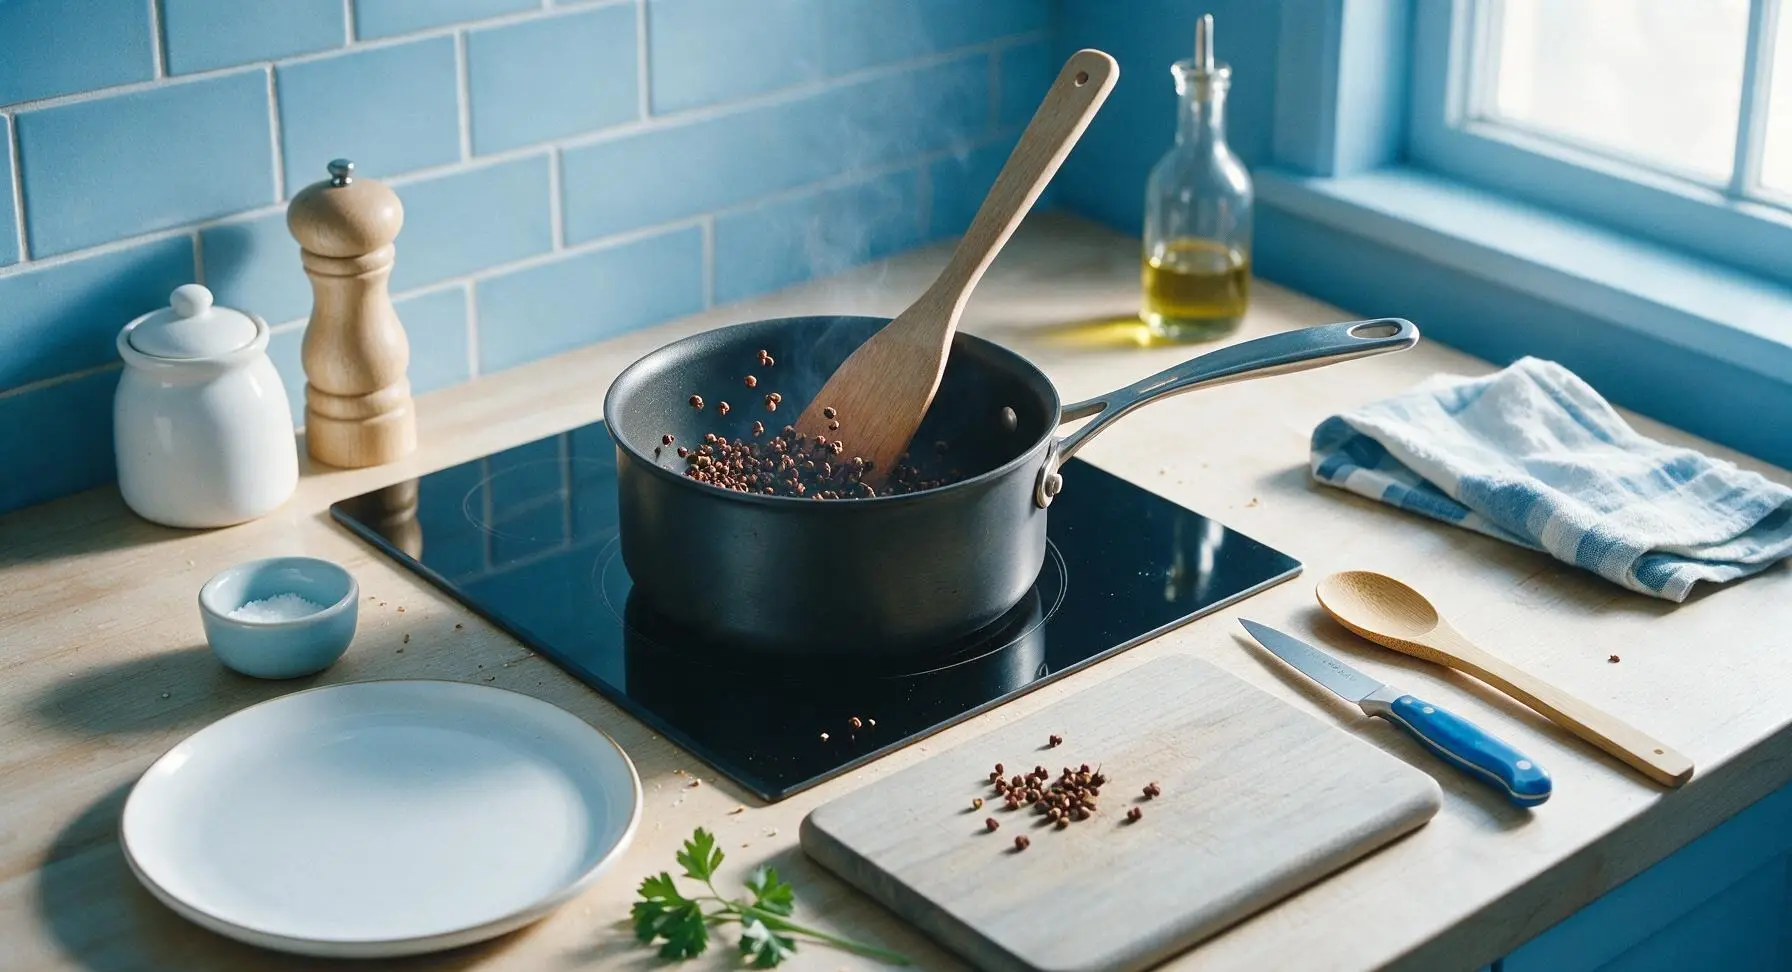
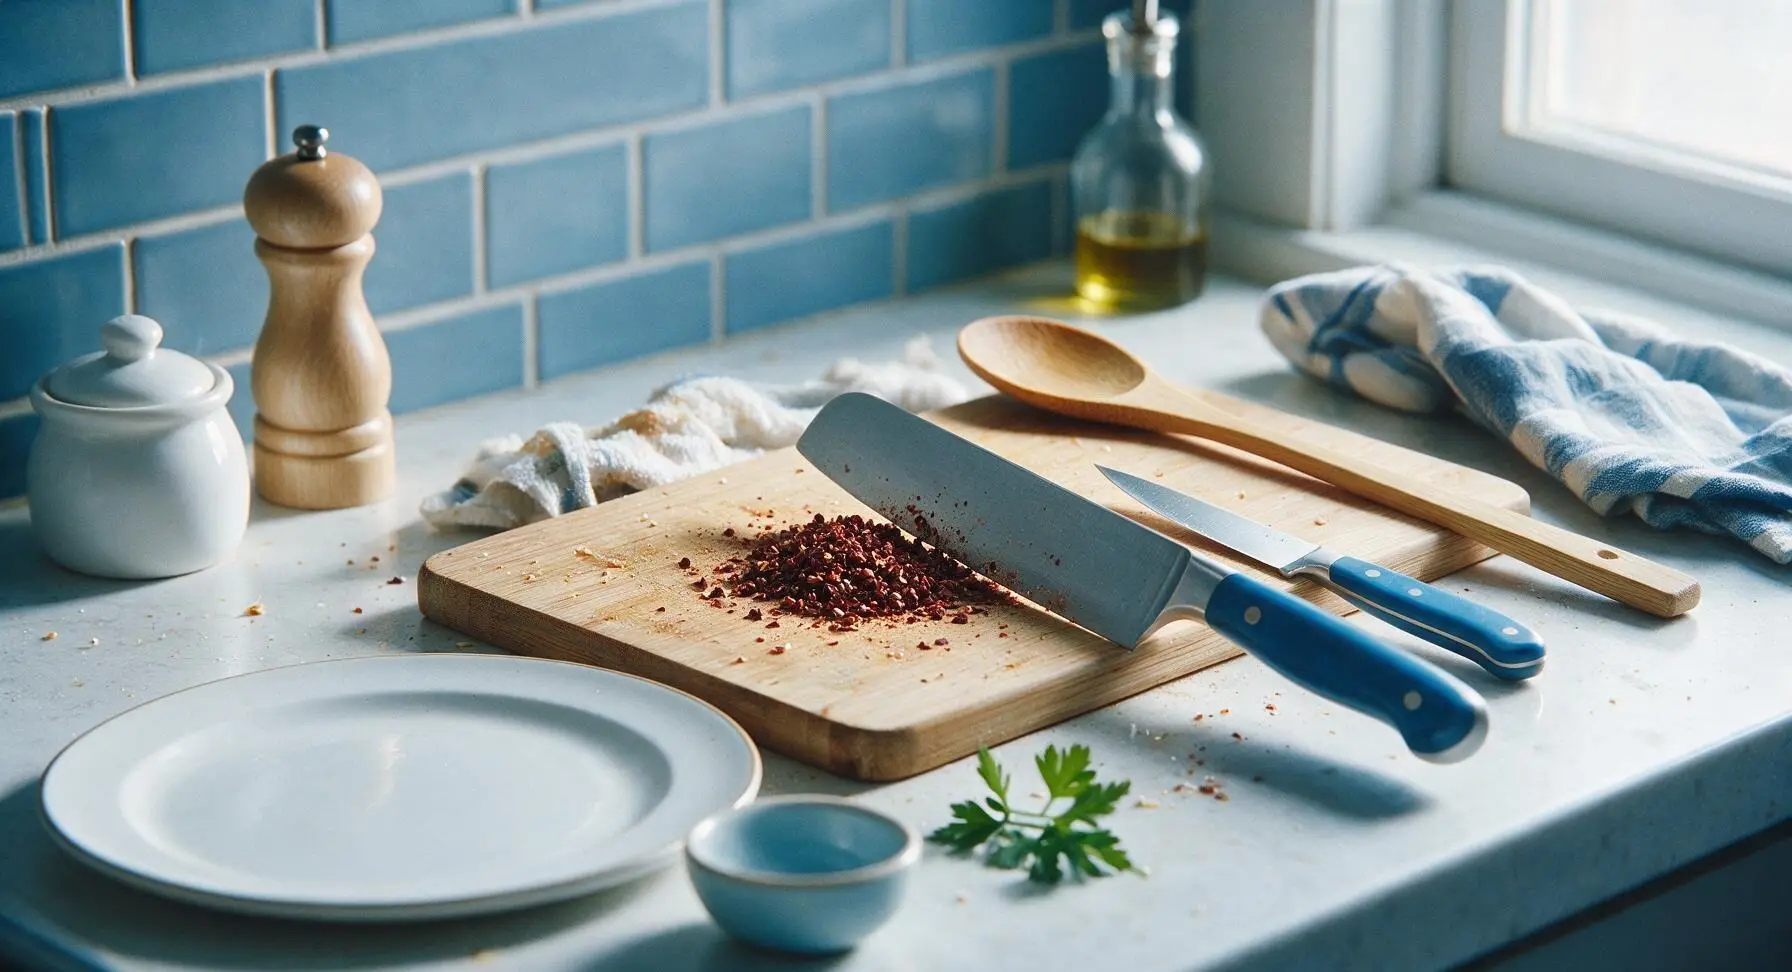
Place the 2-quart carbon steel saucepan on the induction burner, set heat to medium-low. Add 1 tbsp Sichuan peppercorns to the dry pan, toast for 2-3 minutes, stirring constantly with the beech wood spatula, until fragrant and slightly darker in color. Do not burn, as this will make the sauce bitter. Transfer toasted peppercorns to a small pile on the corner of the cutting board, let cool 2 minutes, then crush lightly with the flat side of the Santoku knife.
Step 3
step3:Toast Sichuan Peppercorns
Step 3
step3:Toast Sichuan Peppercorns
4

Heat Oil to Temperature

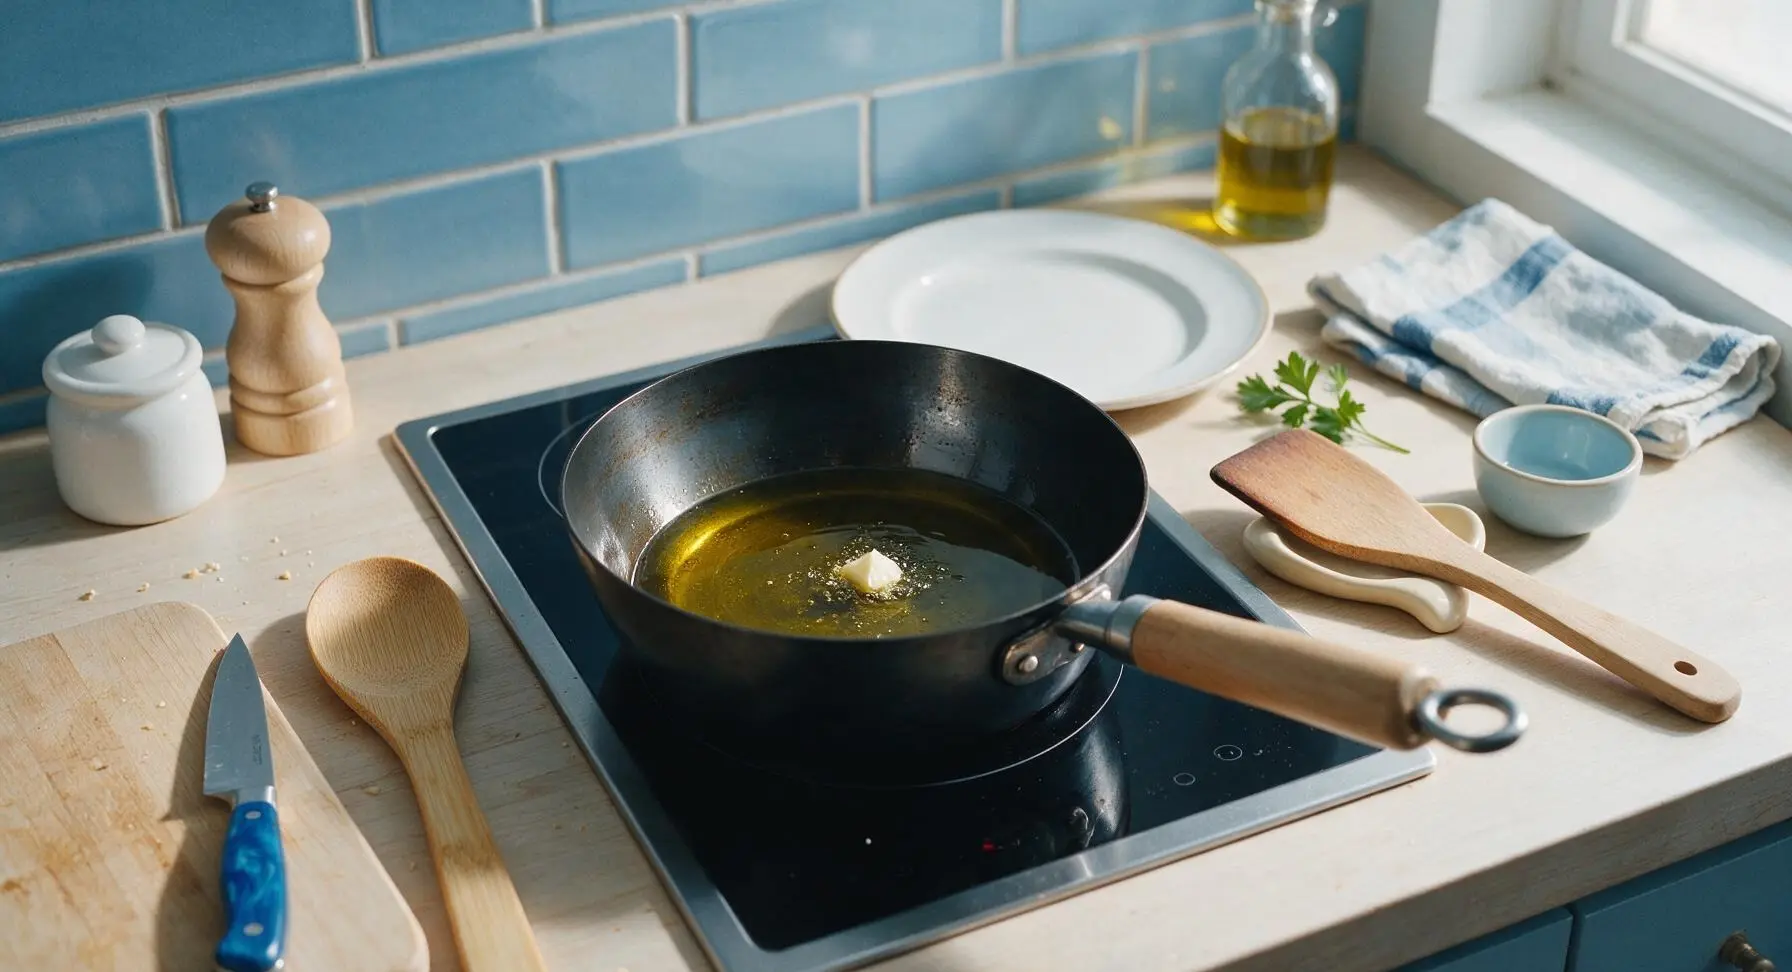
Return the carbon steel saucepan to the induction burner, set heat to medium. Pour 240ml neutral canola oil into the pan, heat until it reaches 120C (250F), tested by dropping a single piece of chopped garlic into the oil – it should bubble gently but not brown immediately. Do not overheat the oil, as it will burn the chilis instantly and create a bitter flavor.
Step 4
step4:Heat Oil to Temperature
5

Fry Crispy Garlic Bits

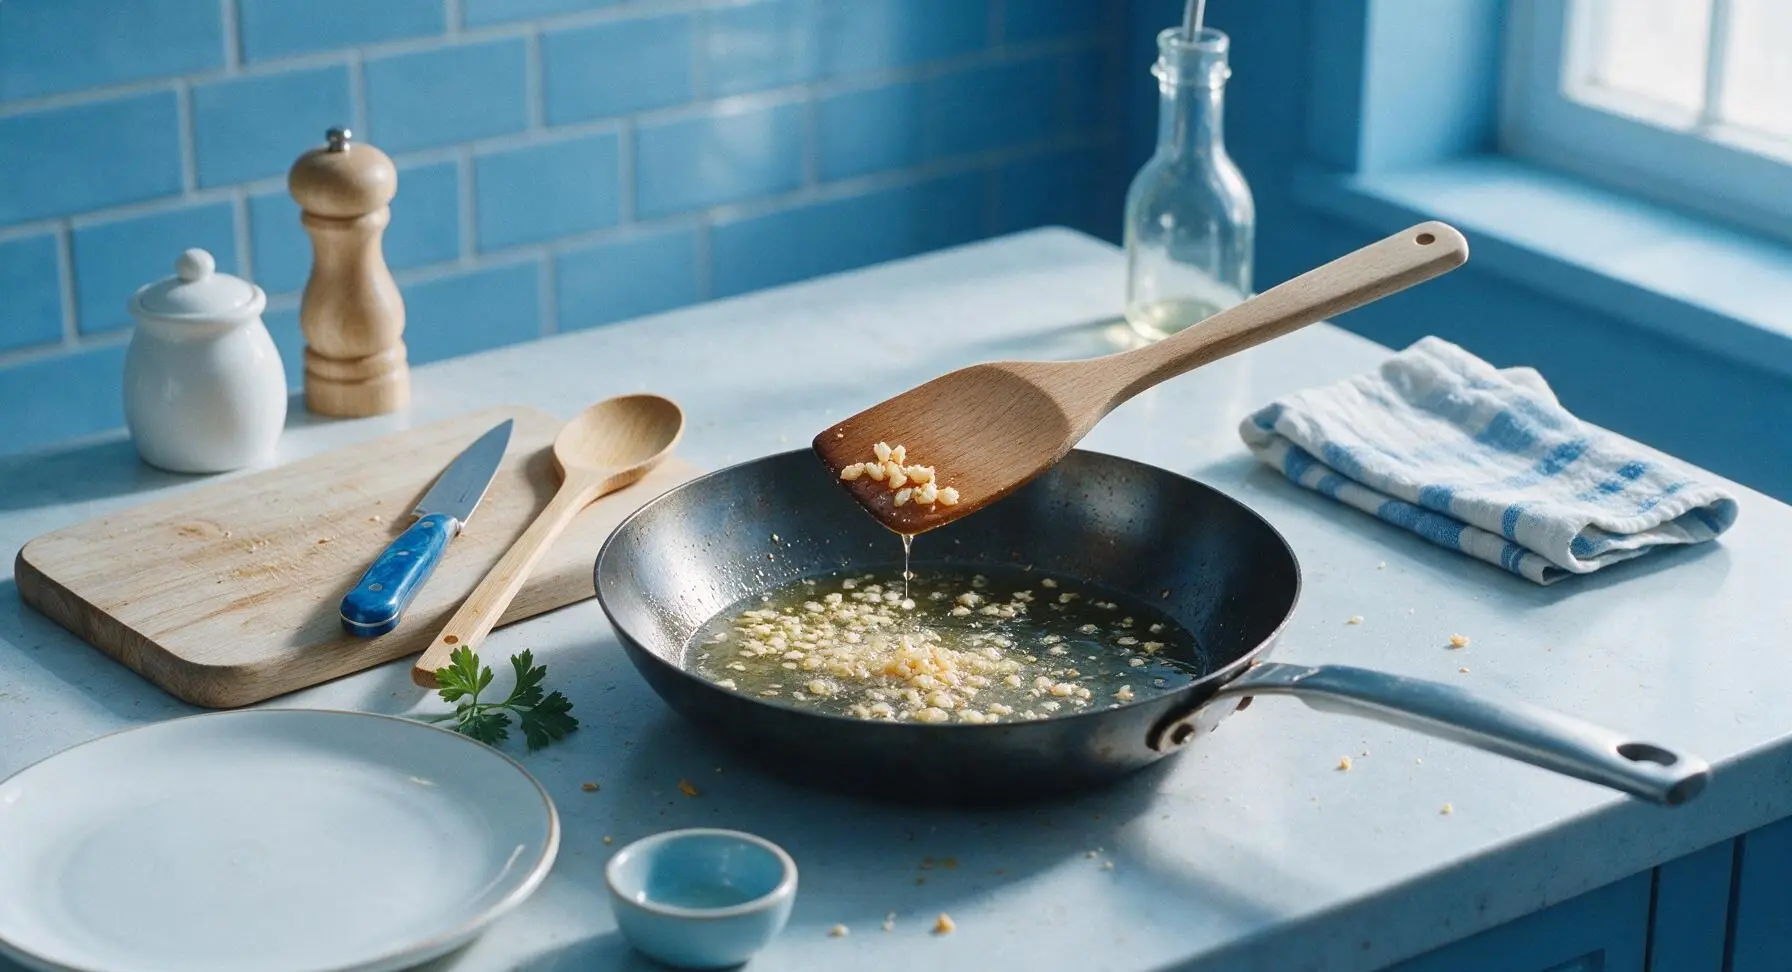
Once oil reaches 120C, add the reserved 1 tsp of finely chopped garlic to the pan. Fry for 30-45 seconds, stirring constantly, until the garlic turns pale golden and crisp. Use the spatula to scoop out the crispy garlic bits, set them aside on a small corner of the cutting board for garnish. Do not let the garlic turn dark brown, as it will turn bitter.
Step 5
step5:Fry Crispy Garlic Bits
6

Simmer Chili Aromatics

Reduce induction heat to low, bringing oil temperature down to 100C (210F). Add the remaining chopped garlic, ginger, cut fresh and dried chilis, 2 tbsp rinsed fermented black beans, and crushed Sichuan peppercorns to the oil. Stir constantly with the beech wood spatula, simmering gently for 15 minutes. The chilis will soften slightly, turn a deeper red, and release a rich, spicy aroma; bubbles should remain small and gentle, no violent frying.
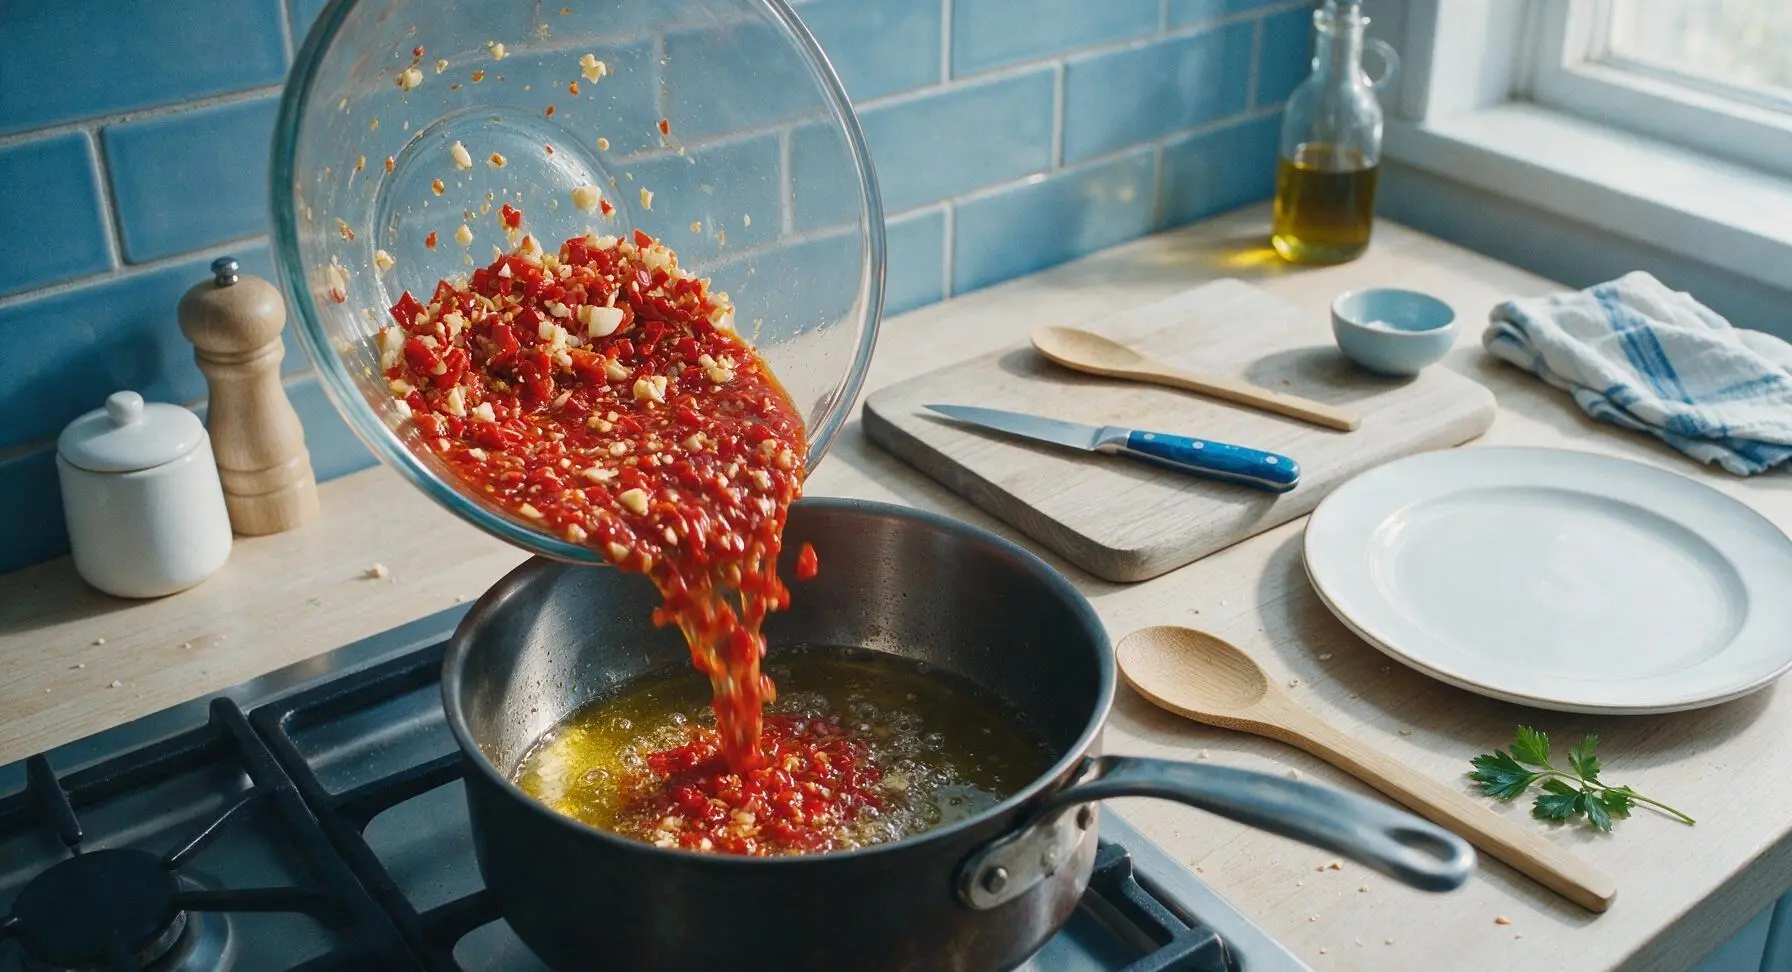
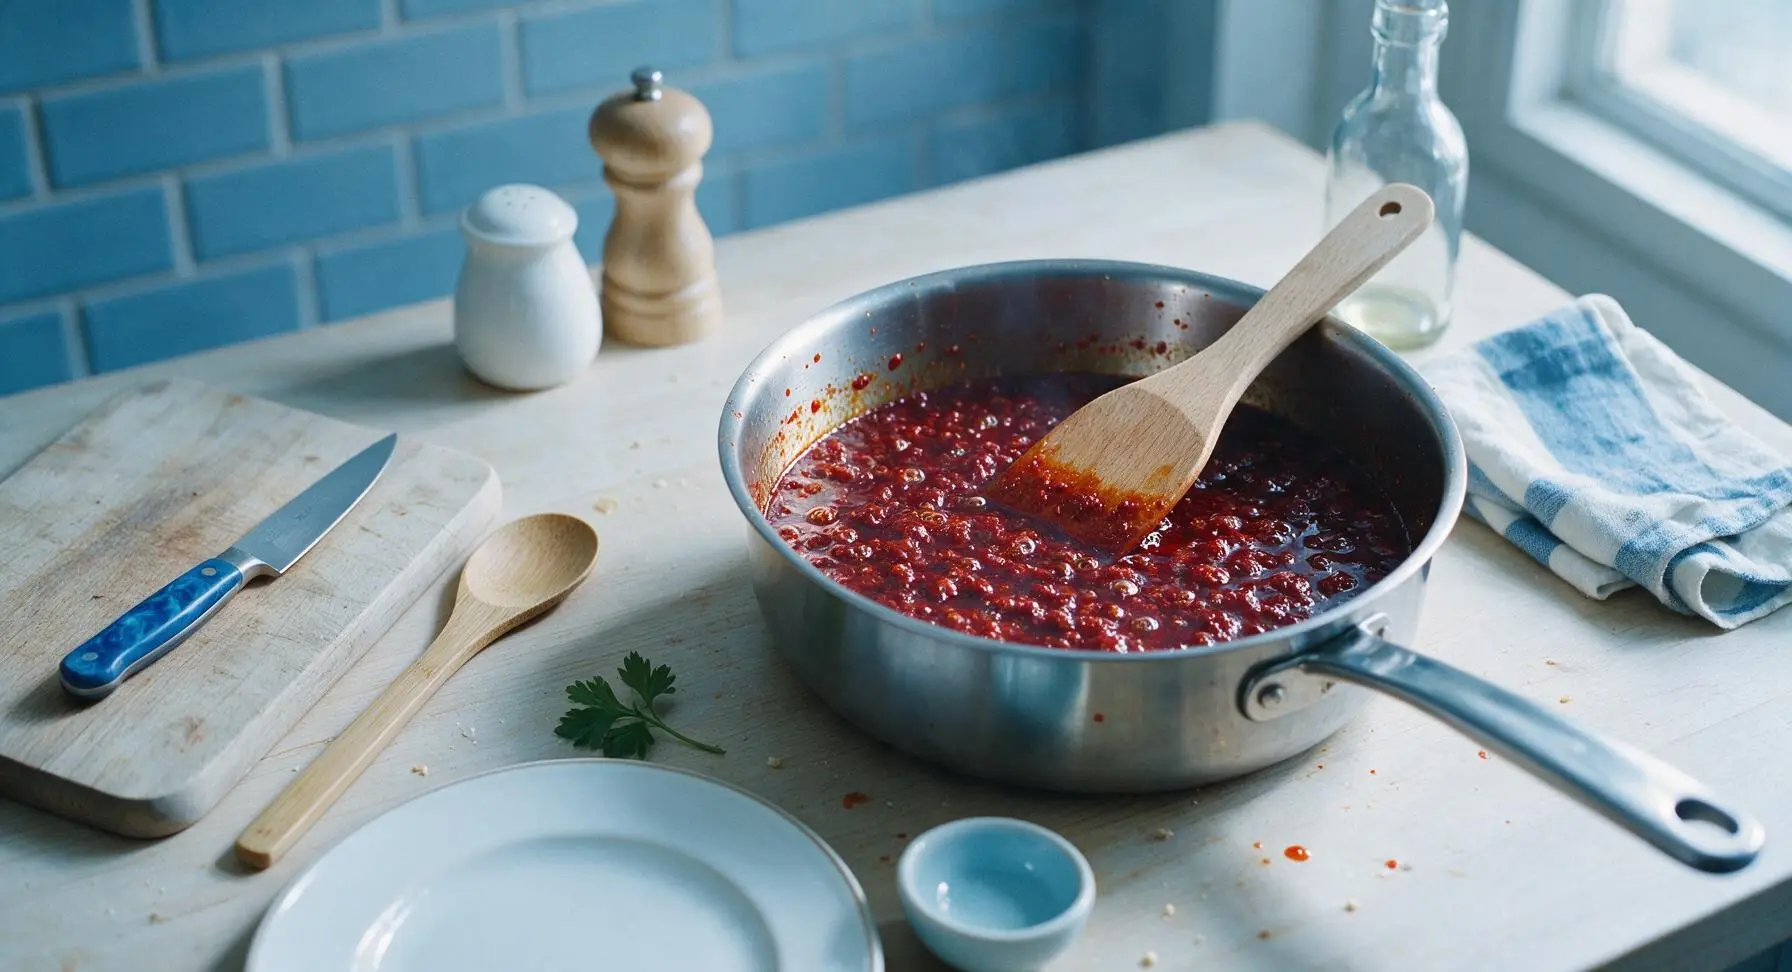
Step 6
step6:Simmer Chili Aromatics
Step 6
step6:Simmer Chili Aromatics
7

Season and Finish Cooking

After 15 minutes of gentle simmering, add 2 tbsp light soy sauce, 1 tsp Chinese black vinegar, 1 tsp fine sea salt, and 1 tsp white sugar to the pan. Stir well to combine, continue simmering on low heat for another 5 minutes. Turn off the heat, stir in 1 tbsp toasted white sesame seeds and the reserved crispy garlic bits. Let the sauce cool completely in the pan for 30 minutes.
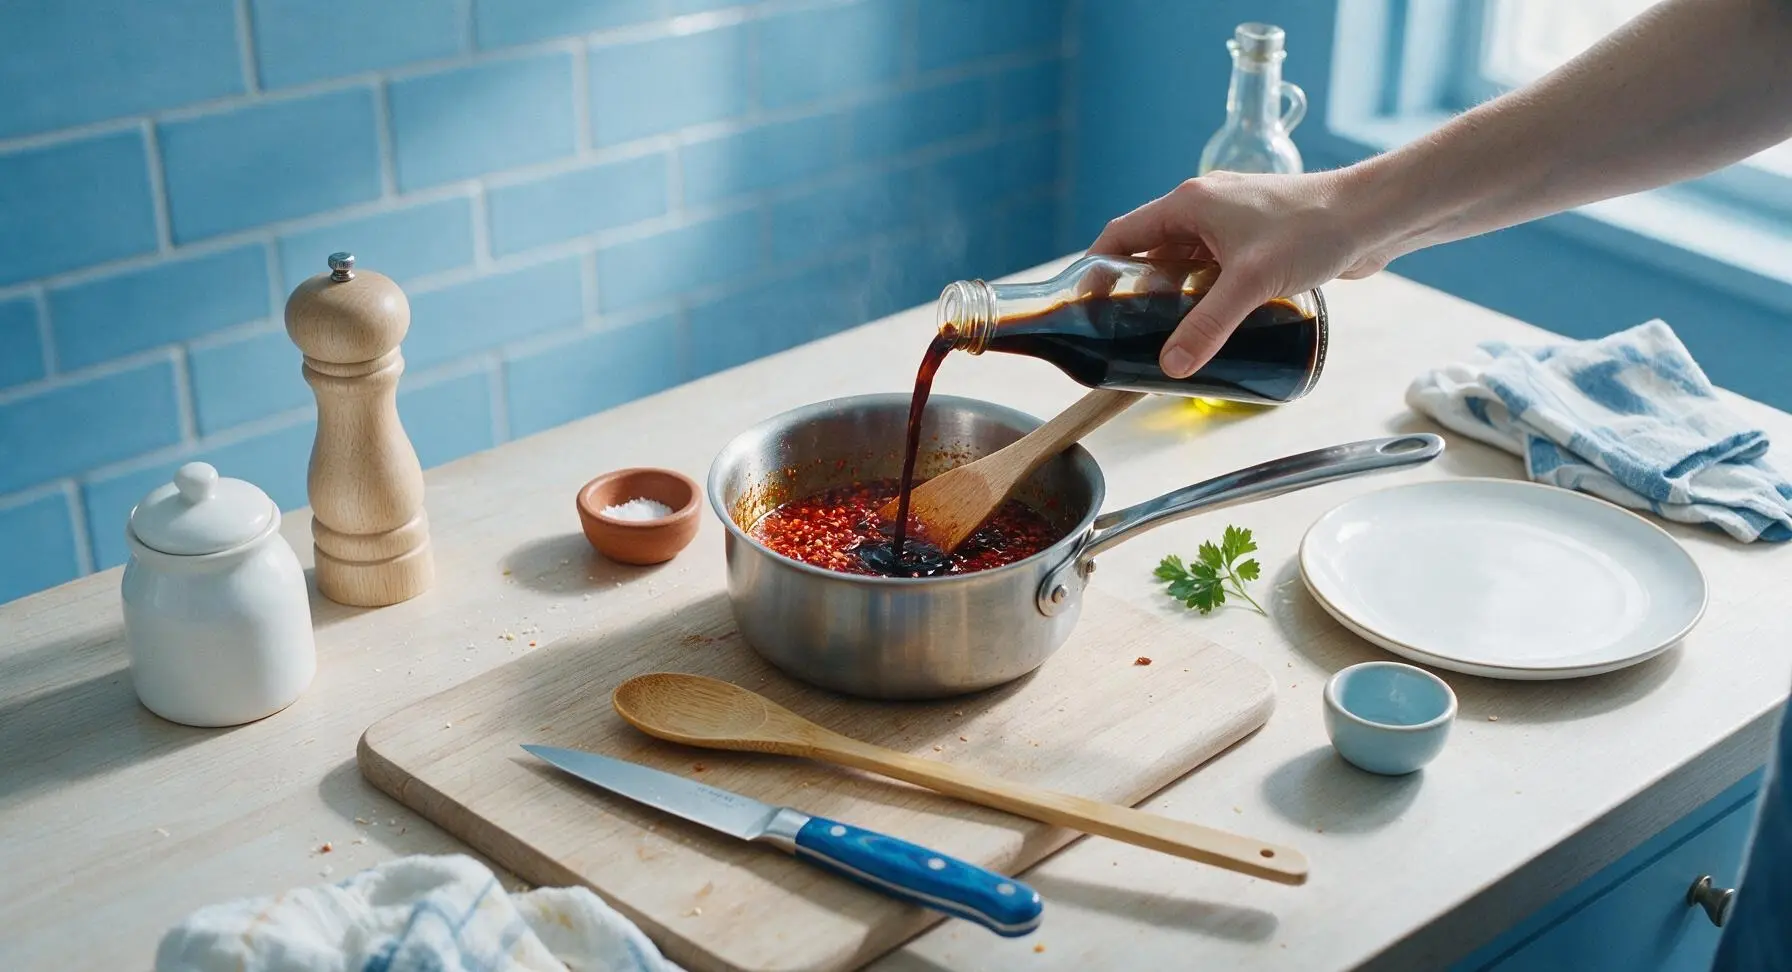
Step 7
step7:Season and Finish Cooking
8

Transfer to Storage Jar

Once the chili sauce is fully cooled to room temperature, stir it one more time to evenly distribute the chunky bits and oil. Pour the entire mixture into the 16oz clear glass mason jar, seal tightly with the brushed silver lid. The sauce can be refrigerated for up to 1 month. For serving, scoop a desired amount into the small off-white ceramic condiment dish.
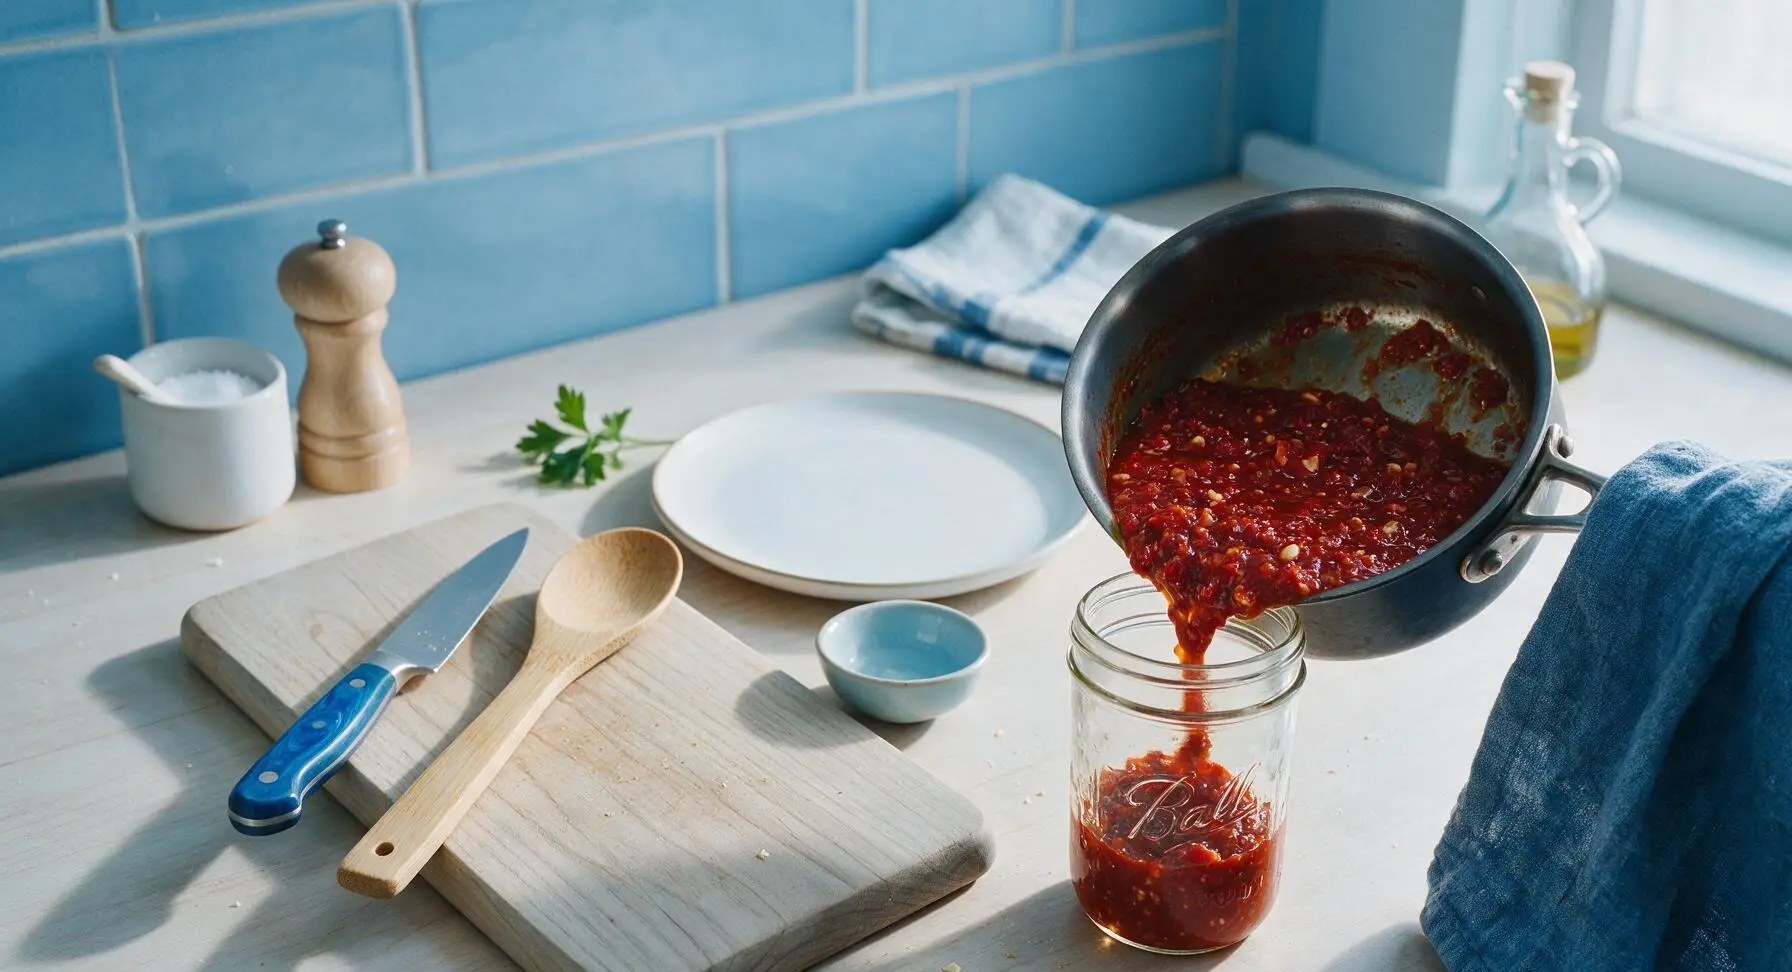
Step 8
step8:Transfer to Storage Jar

Tips

1.Pat all fresh ingredients (chilis, garlic, ginger) completely dry before adding to hot oil: residual water will cause dangerous oil splatters and introduce excess moisture that shortens the sauce’s refrigerated shelf life.
2.Keep oil temperature between 100–120C (210–250F) during cooking: if the oil smokes or ingredients brown too quickly, remove the pan from heat for 2–3 minutes to cool, as overheated chilis and garlic will create a harsh, bitter flavor instead of a bright, aromatic sauce.
3.Let the sealed sauce rest in the refrigerator for 24 hours before serving: the flavors will meld deeply, the chilis will fully infuse the oil, and the final taste will be far more balanced and complex than sauce eaten immediately after cooking.


✨ You May Also Like

Side Dishes
🍜 India

Velvety, aromatic all-purpose curry sauce perfect for tossing with roasted veggies, grilled protein, or rice for fast, cozy, flavorful meals.

⏱️ 25 minuteSide Dishes ★ 4.8
Side Dishes
🍜 Spain

Tender, starchy boiled yuca tossed in bright, garlicky citrus mojo sauce—an iconic, zesty side that pairs beautifully with roasted pork, grilled meats, and rice and beans.

⏱️ 40 minuteSide Dishes ★ 5
Side Dishes
🍜 United States

Tender, paper-thin potato flatbread, a beloved Norwegian-American Minnesota Christmas staple, griddled until softly spotted and served warm with butter.

⏱️ 1 hour 30Side Dishes ★ 4.6
Side Dishes
🍜 United States

Rich, deeply savory cured salt pork, a long-lasting kitchen staple perfect for frying crispy as a side or adding umami to stews, beans, and chowders.

⏱️ 7 days (2Side Dishes ★ 4.9
Side Dishes
🍜 United States

Crispy, tangy classic Southern fried green tomatoes with a crunchy cornmeal crust, served hot for a nostalgic, comforting summery bite.

⏱️ 25 minuteSide Dishes ★ 4.9
Side Dishes
🍜 United States

Moist, golden-crusted savory muffins with sweet corn, zesty jalapeño, and melted cheddar, perfect for pairing with smoky summer grilled fare.

⏱️ 30 minuteSide Dishes ★ 4.9

chinese chili sauce:Frequently Asked Questions

1.Can I adjust the spice level if I don’t like extremely hot food? ▾
Absolutely! For a milder sauce, remove all the white pith and seeds (the spiciest parts) from your fresh finger chilis and dried Sichuan chilis, or swap half the chilis for mild dried red Anaheim chilis and diced fresh red bell pepper. Taste your chili mix before adding oil to tweak heat to your preference, so you still get deep toasty flavor without overwhelming burn.
2.How long will this homemade chili sauce stay fresh in the fridge? ▾
Stored in a clean, airtight glass jar with a thin layer of oil covering the chunky solids, it will keep well for 3 to 4 weeks in the refrigerator. Always use a completely clean, dry spoon to scoop servings to avoid introducing bacteria that cause early spoilage, and never dip used, food-covered utensils straight into the jar.
3.Can I use a different oil instead of neutral canola oil? ▾
Stick to high-smoke-point, neutral-flavored oils for the best results. Canola works perfectly, but you can swap it for refined peanut oil, avocado oil, or light sunflower oil. Avoid extra-virgin olive oil, toasted sesame oil, or other strongly flavored, low-smoke-point oils, as they burn easily and will overpower the classic warm, aromatic Sichuan flavor profile.
4.Why does my homemade chili sauce sometimes taste bitter instead of toasty and fragrant? ▾
Bitter flavor almost always comes from overheating your oil or burning the garlic, ginger, or chili pieces. Heat your oil until it shimmers (around 325°F, test with a single chili piece that should sizzle gently, not smoke and blacken instantly) and pour it over your chili-aromatic mix in stages, instead of cooking ingredients directly over high stovetop heat.
5.Can I leave out Sichuan peppercorns if I don’t like their numbing flavor or can’t find them? ▾
You absolutely can skip Sichuan peppercorns, though they add that signature tingly ma la note that defines classic Sichuan sauces. If you leave them out, toss in a 1/4 teaspoon of toasted white sesame seeds and a tiny pinch of ground cumin for extra warm depth, so your sauce still has layered, aromatic flavor without the characteristic numbing tingle.
6.What are other good ways to use this sauce, besides topping noodles and dumplings? ▾
This chunky, aromatic sauce is incredibly versatile! Toss a spoonful into stir fries, drizzle it over scrambled eggs, mix it into soy sauce for a quick fried chicken or potsticker dip, slather it on burgers or grilled corn, or stir a dollop into brothy soups for a bright, spicy kick. It elevates almost any savory dish that needs a quick flavor boost.
7.Do I need to toast the dried Sichuan chilis before making the sauce? ▾
A quick, low-heat toast of dried chilis in a completely dry pan for 1 to 2 minutes (before chopping) will drastically boost their nutty, deep, toasty flavor, just take care not to let them blacken. Let the chilis cool fully after toasting, snip them into rough pieces, discard tough stems, and add them to your heatproof bowl with garlic and ginger.
8.Why is my sauce watery instead of having the recommended thick, chunky texture? ▾
Watery sauce almost always comes from not patting fresh chilis, ginger, and garlic completely dry after rinsing. Any excess surface water on produce will thin the sauce, cause separation, and even lead to dangerous hot oil splatters when you pour heated oil over the mix. Pat all fresh ingredients thoroughly with paper towels before chopping for the ideal texture.

Comments (4)

2 days ago

OMG this homemade Sichuan chili sauce is a total game changer! I made a batch for my weekend potluck and everyone was begging for the recipe. Drizzled it over dumplings, tossed it with cold noodles, even mixed a little into my stir fry veggies — SO good. Took me the full 25 minutes like the recipe said, medium difficulty was spot on, didn’t feel overwhelming even for a guy who mostly does meal prep on Sundays. Already planning to make a double batch next week to keep in the fridge!

3 days ago

Really tasty overall, but I ran into a little issue when I poured the hot oil over the chili flakes — some of the bits burned and gave a slightly bitter aftertaste. Did I heat the oil too hot? I want to nail this next time because the flavor profile when I scraped the unburned parts was insane, my kids even dipped their chicken nuggets in it lmao.

2 days ago

Hi Lindsey! So glad you liked the flavor overall! The burnt bitter taste usually happens when the oil gets above 300°F — next time, take the oil off heat for 30-45 seconds before pouring it over your chili flake mix, and pour it in thirds instead of all at once to evenly distribute the heat. That trick will give you those perfect toasty, fragrant notes without any bitter burn. Let me know how your next batch turns out 😊

1 week ago

Game. Changer. I’ve been buying jarred chili oil from the Asian market for years and this blows every single store-bought version out of the water. I added a pinch of extra Sichuan peppercorn because I love that signature numbing tingle, and it’s perfect for my weekly meal prep — I toss it with roasted broccoli, drizzle it on breakfast eggs, swirl it into ramen, put it on literally everything. Worth every minute of prep!

5 days ago

Quick question — how long does this stay good in the fridge? I want to make a big batch but I don’t want it to go bad before I can work through it all!

3 days ago

Great question Mike! If you store it in a clean, airtight glass jar in the fridge, it will stay fresh for up to 1 month — just make sure you always use a clean, dry spoon to scoop it out so no food bits or water get into the jar, which can cause it to spoil faster. Tasha, love that you added extra Sichuan peppercorn, that’s one of my favorite custom tweaks too!

yesterday

I was a little intimidated by the medium difficulty rating at first, but the steps were super straightforward and easy to follow! Made this last night for our family dinner hot pot night and everyone went back for seconds. The only swap I made was using a mix of regular chili flakes and gochugaru because that’s what I had in the pantry, and it still turned out chef’s kiss. Will be my go-to chili sauce recipe from now on!

2 hours ago

Oh that gochugaru swap sounds genius! I’ve got a half bag in my pantry I’ve been trying to use up, I’ll definitely try that when I make this this weekend!



