
Chive Grilled Cheese
intro
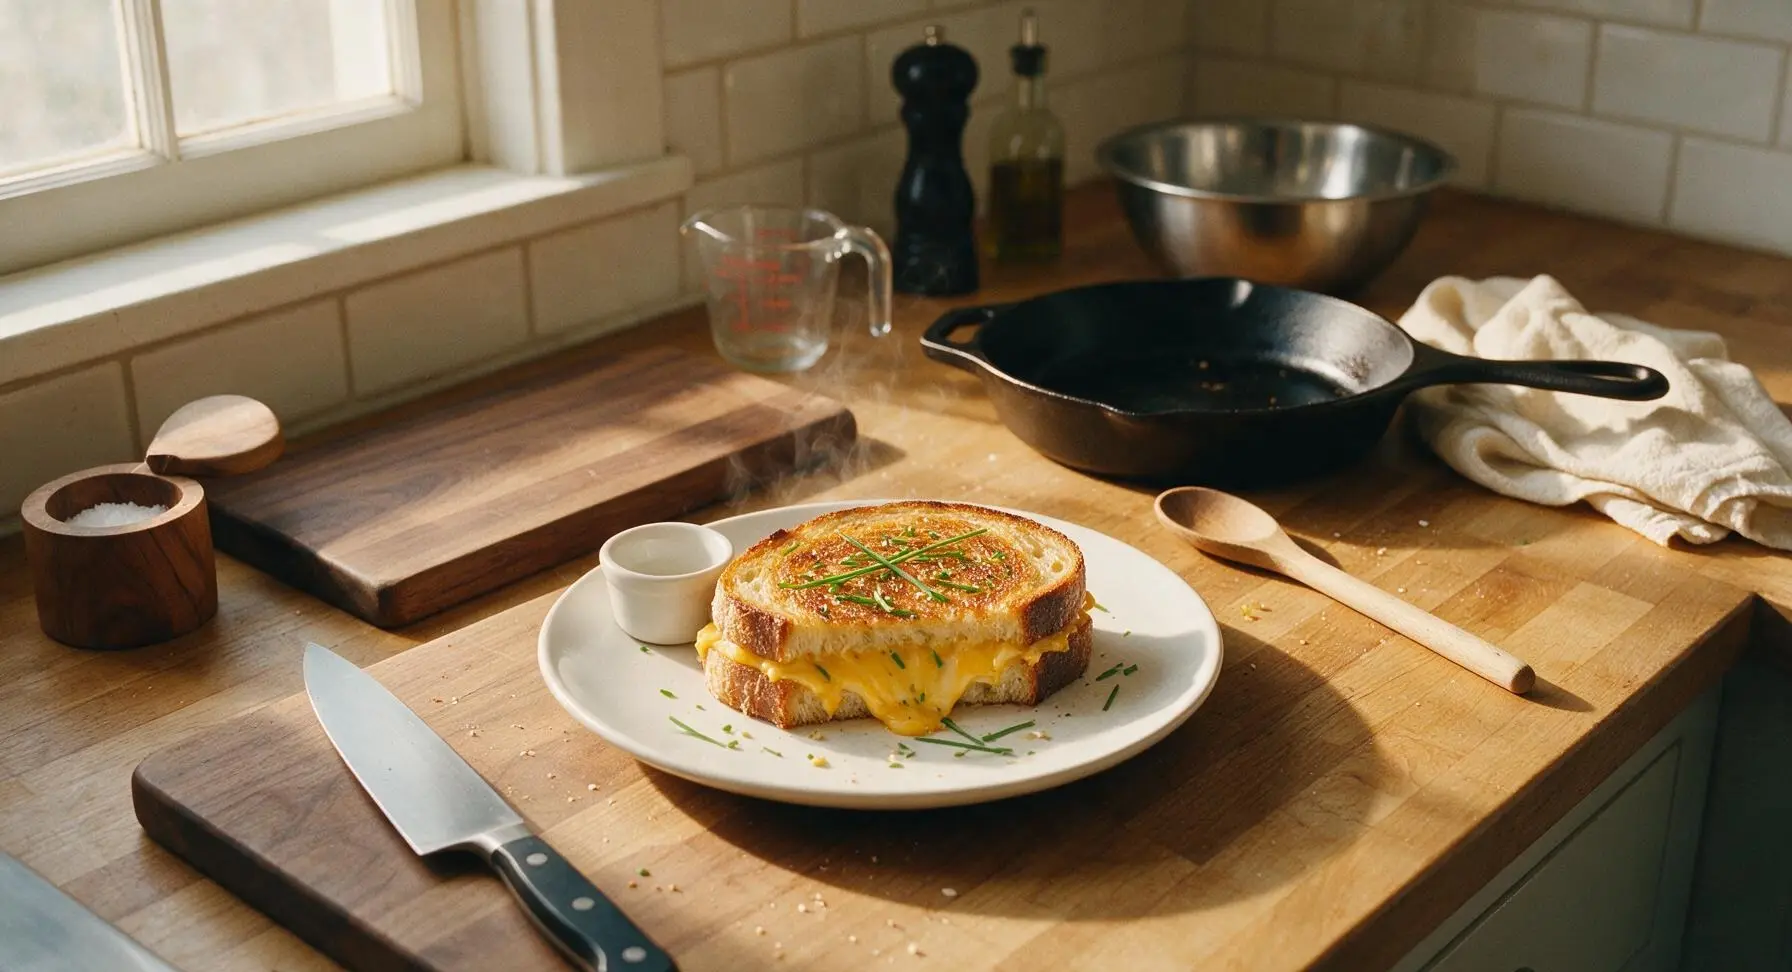
Crispy golden sourdough oozing with melted sharp cheddar, brightened with garlicky fresh chives—this elevated comfort classic takes 12 minutes total for a cozy, satisfying bite.
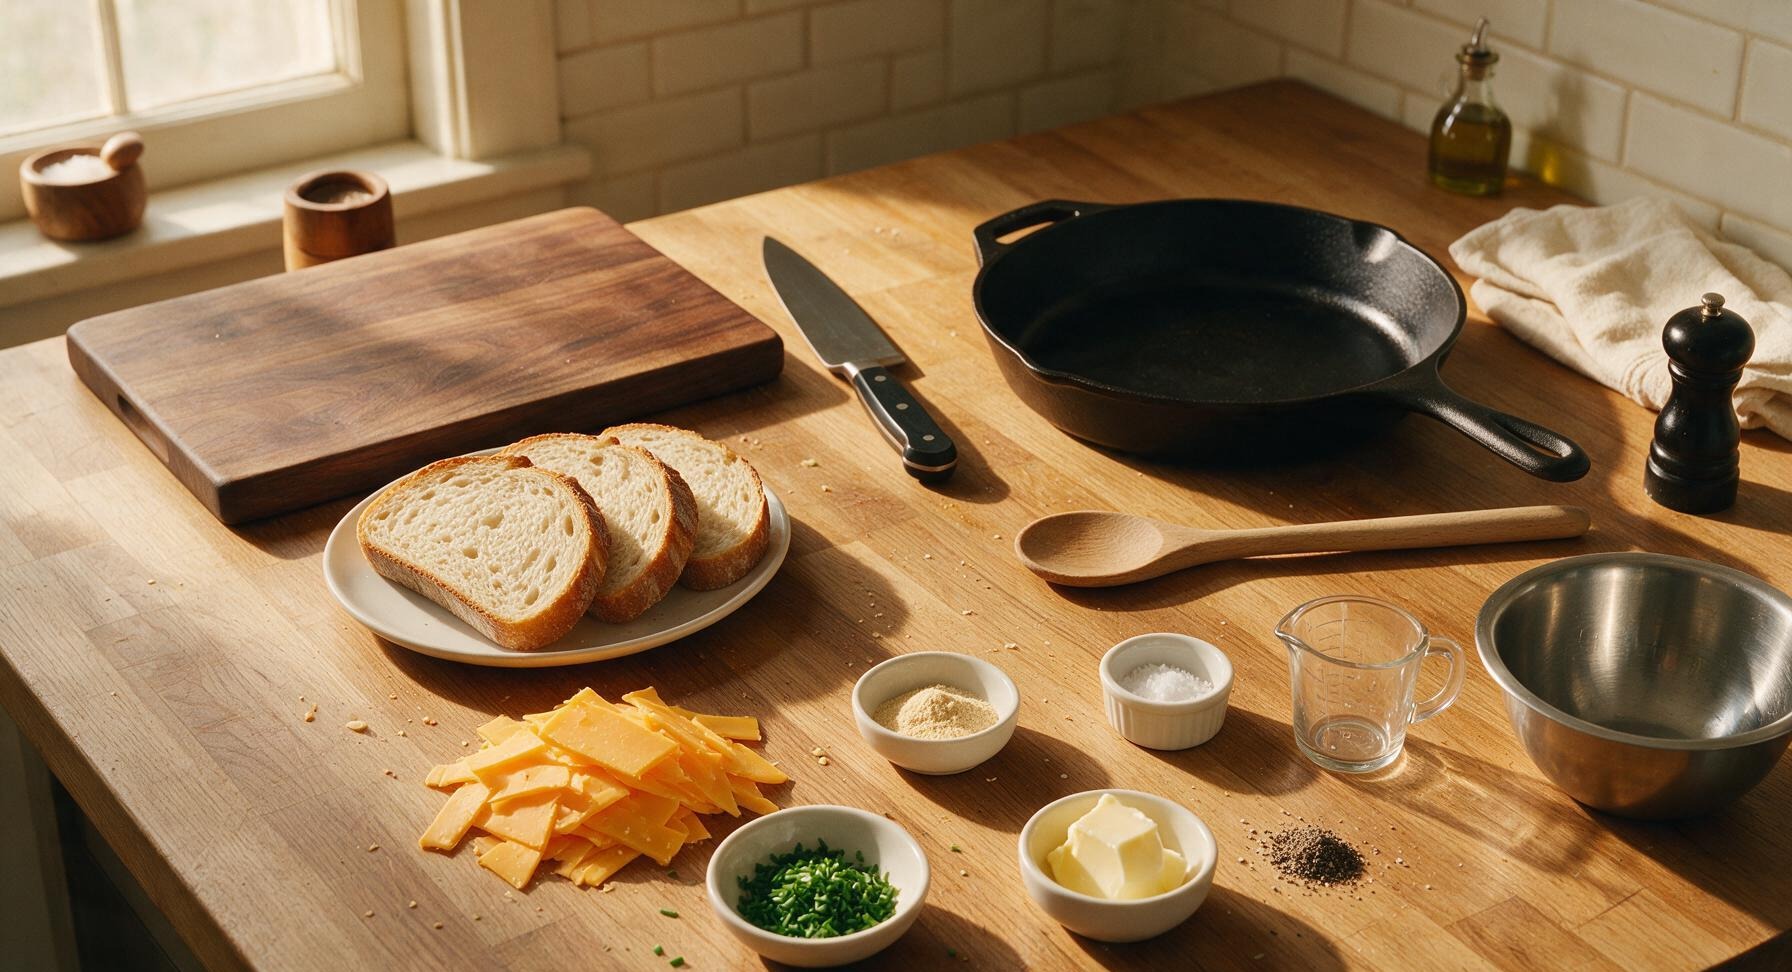
Ingredients
Steps
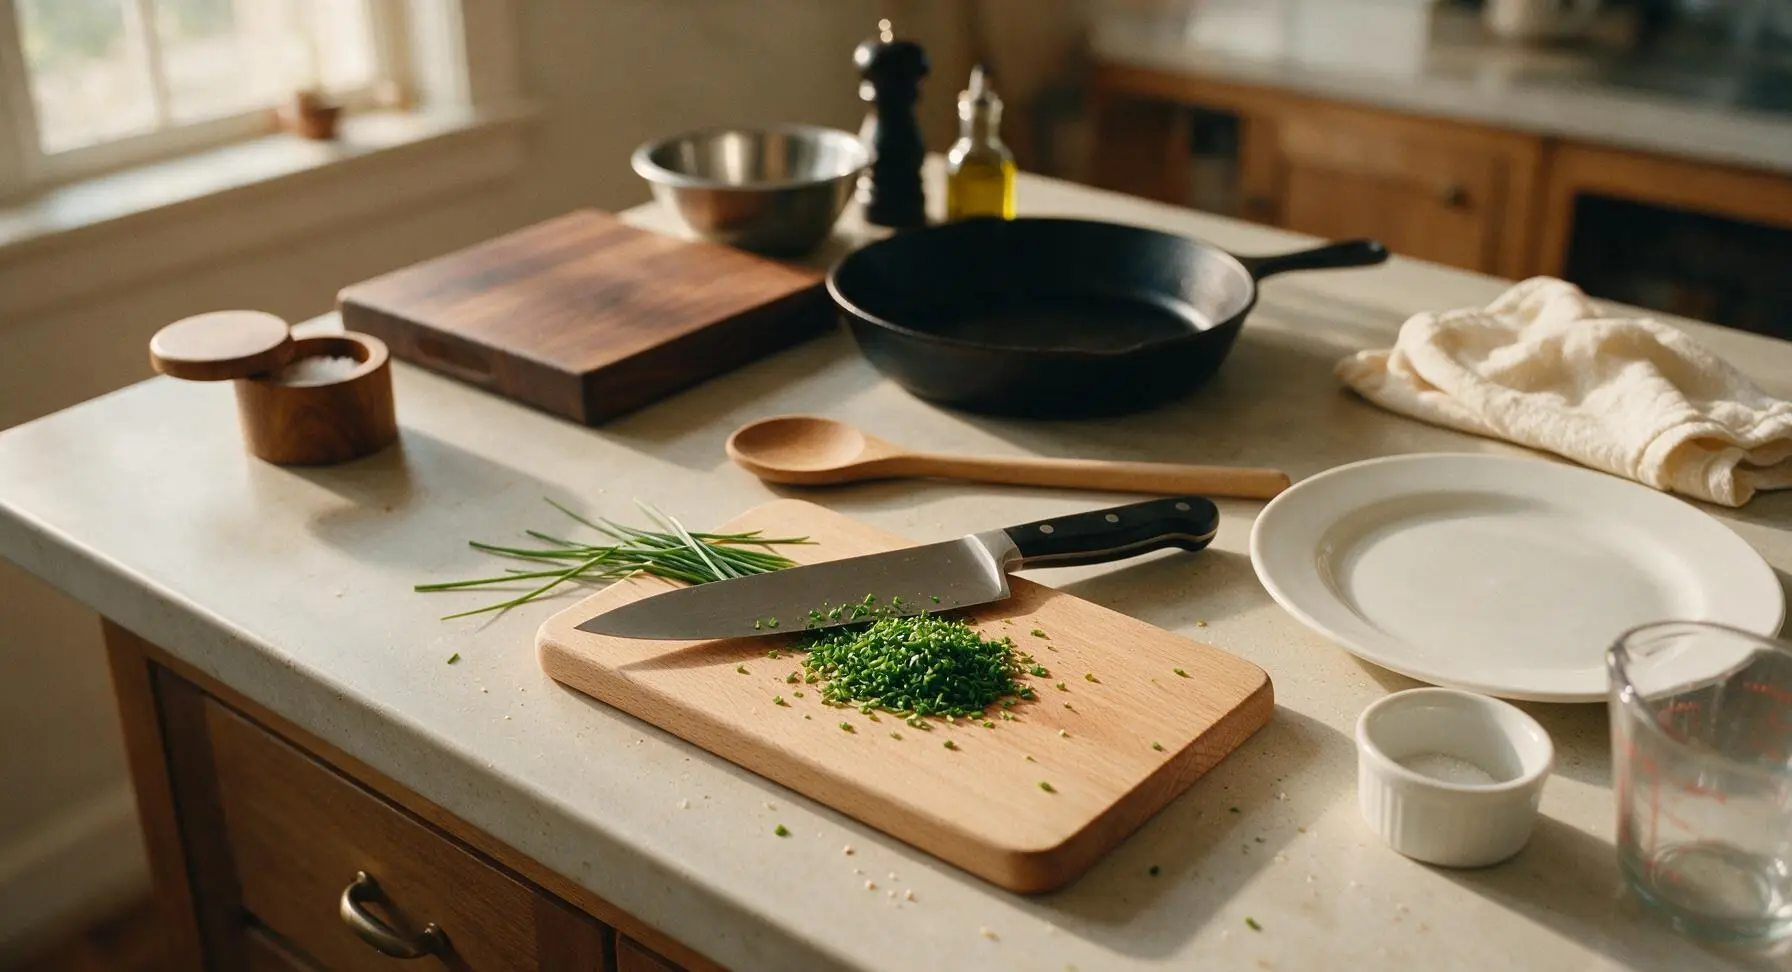
Chop Fresh Chives
Place the small light beech wood cutting board in the center of the work zone. Rinse the fresh chives and pat dry with a corner of the fixed oatmeal linen towel, then lay them on the cutting board. Use the 8-inch olive wood-handle chef knife to finely chop the chives into 3mm pieces, discarding any tough woody stem ends. You should end up with approximately 1/4 cup of finely chopped bright green chives.
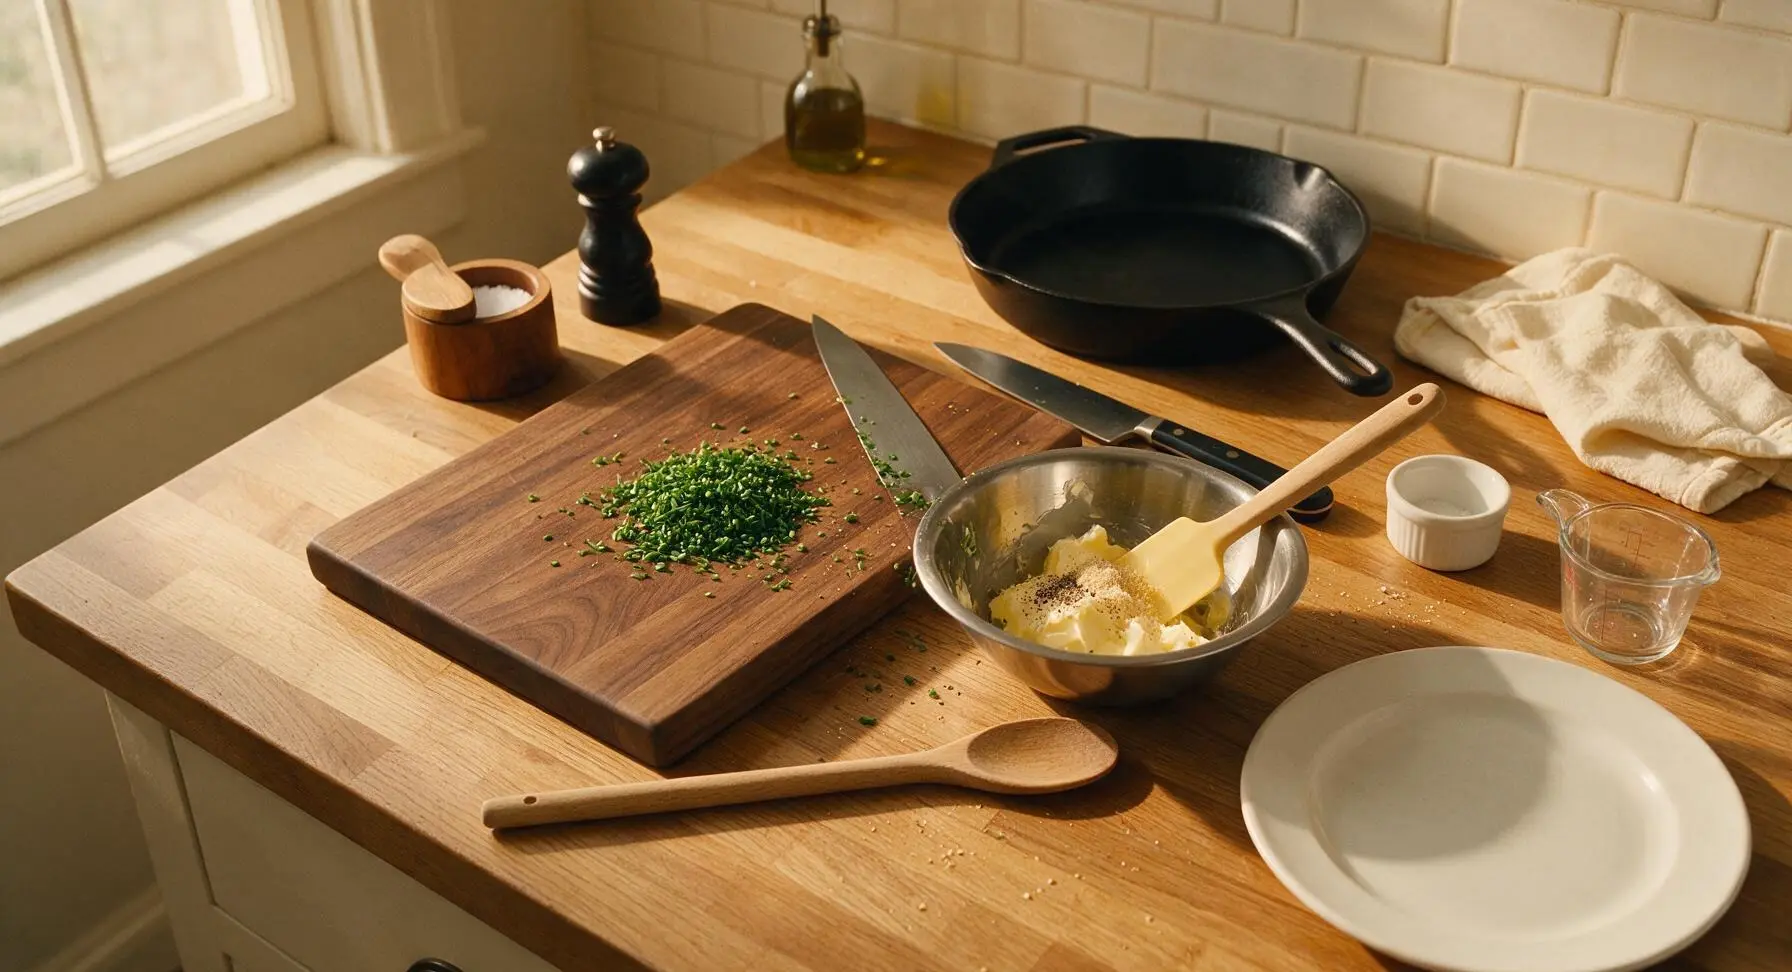
Mix Chive Butter
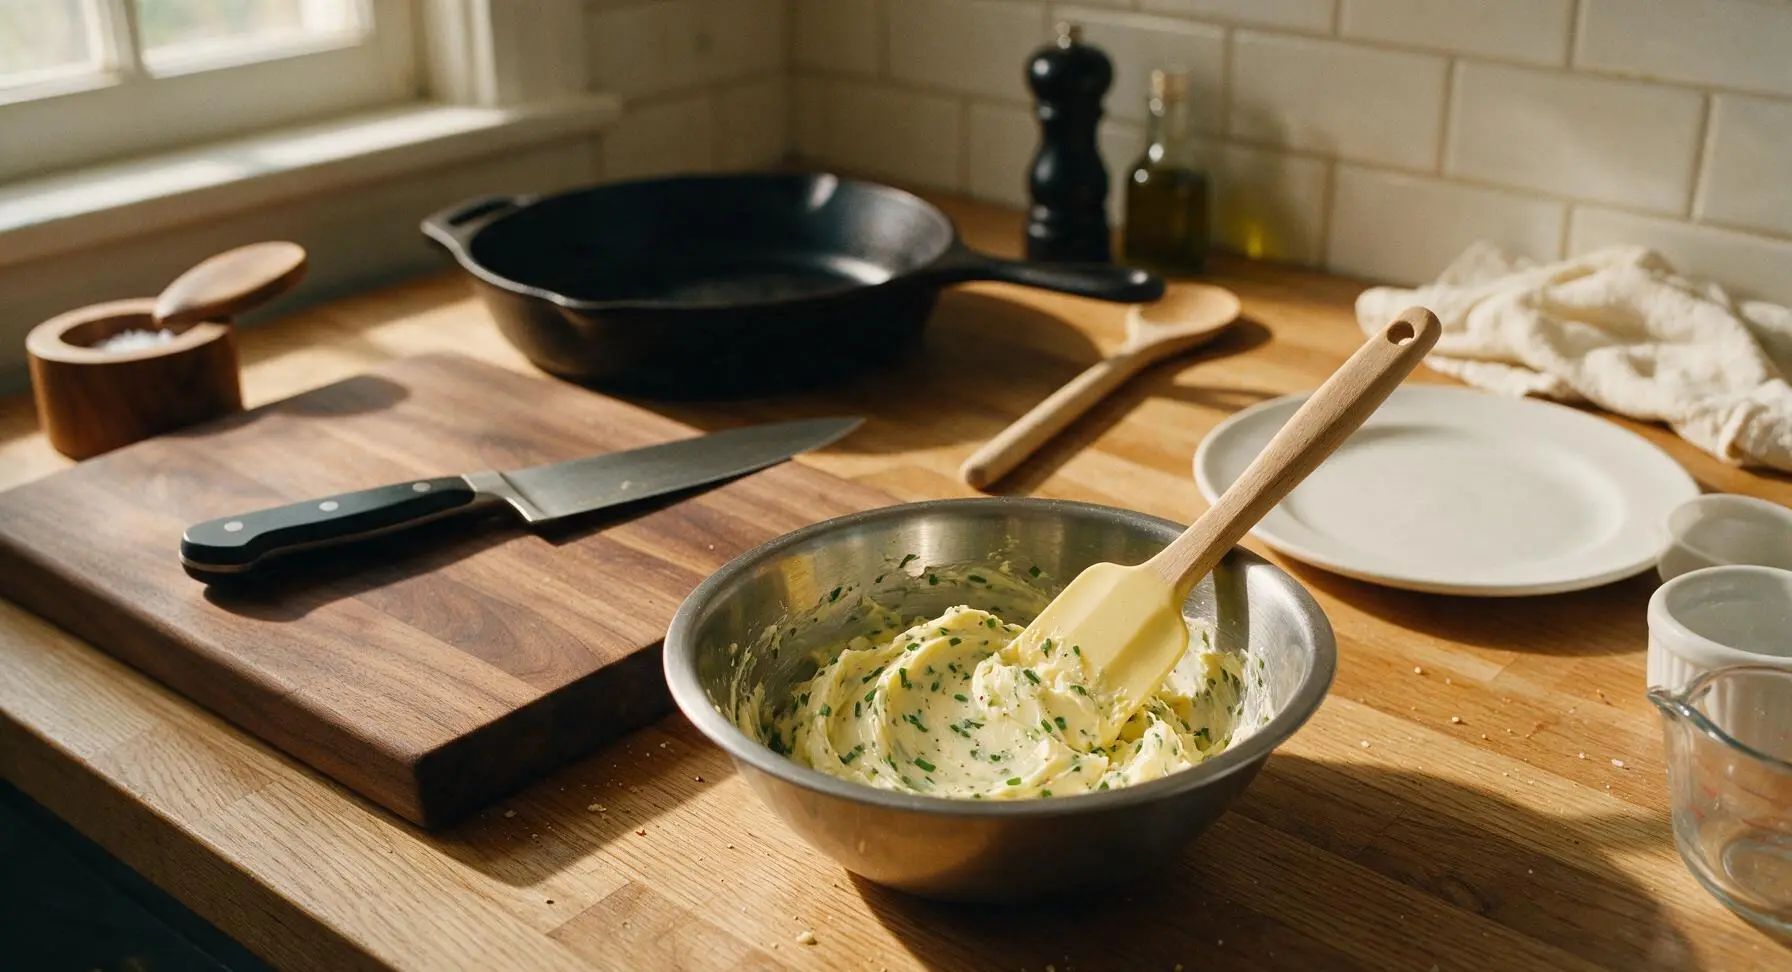
Place the small brushed stainless steel mixing bowl on the counter next to the cutting board. Add the 2 tablespoons of softened unsalted butter, chopped chives, 1/4 teaspoon garlic powder, and 1/8 teaspoon black pepper to the bowl. Use the matte pale yellow silicone spatula to mix the ingredients thoroughly until the chives and spices are evenly distributed throughout the smooth, spreadable butter.
Butter Bread Slices
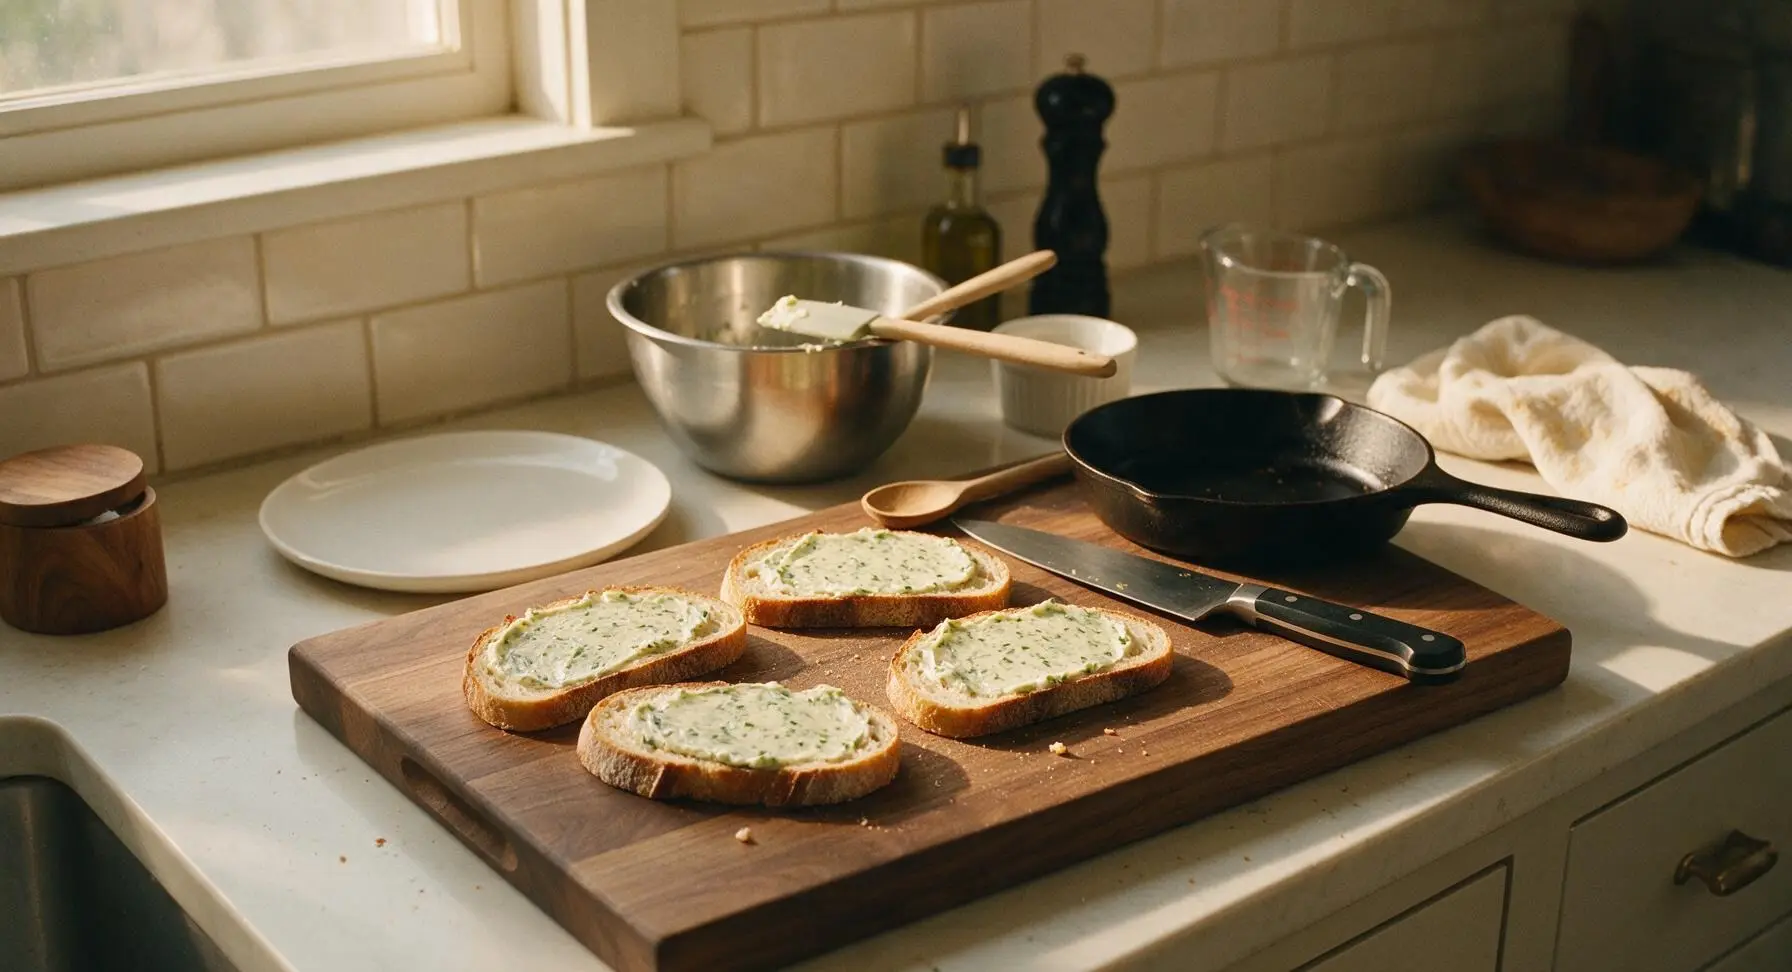
Lay the 4 slices of sourdough bread flat on the beech wood cutting board. Use the silicone spatula to spread a thin, even layer of the chive butter (approximately 1.5 teaspoons per slice) across one entire side of each bread slice. Make sure butter reaches all the way to the crust edges for even crisping; the buttered side will be the outer, pan-facing side of the sandwich.
Assemble the Sandwiches
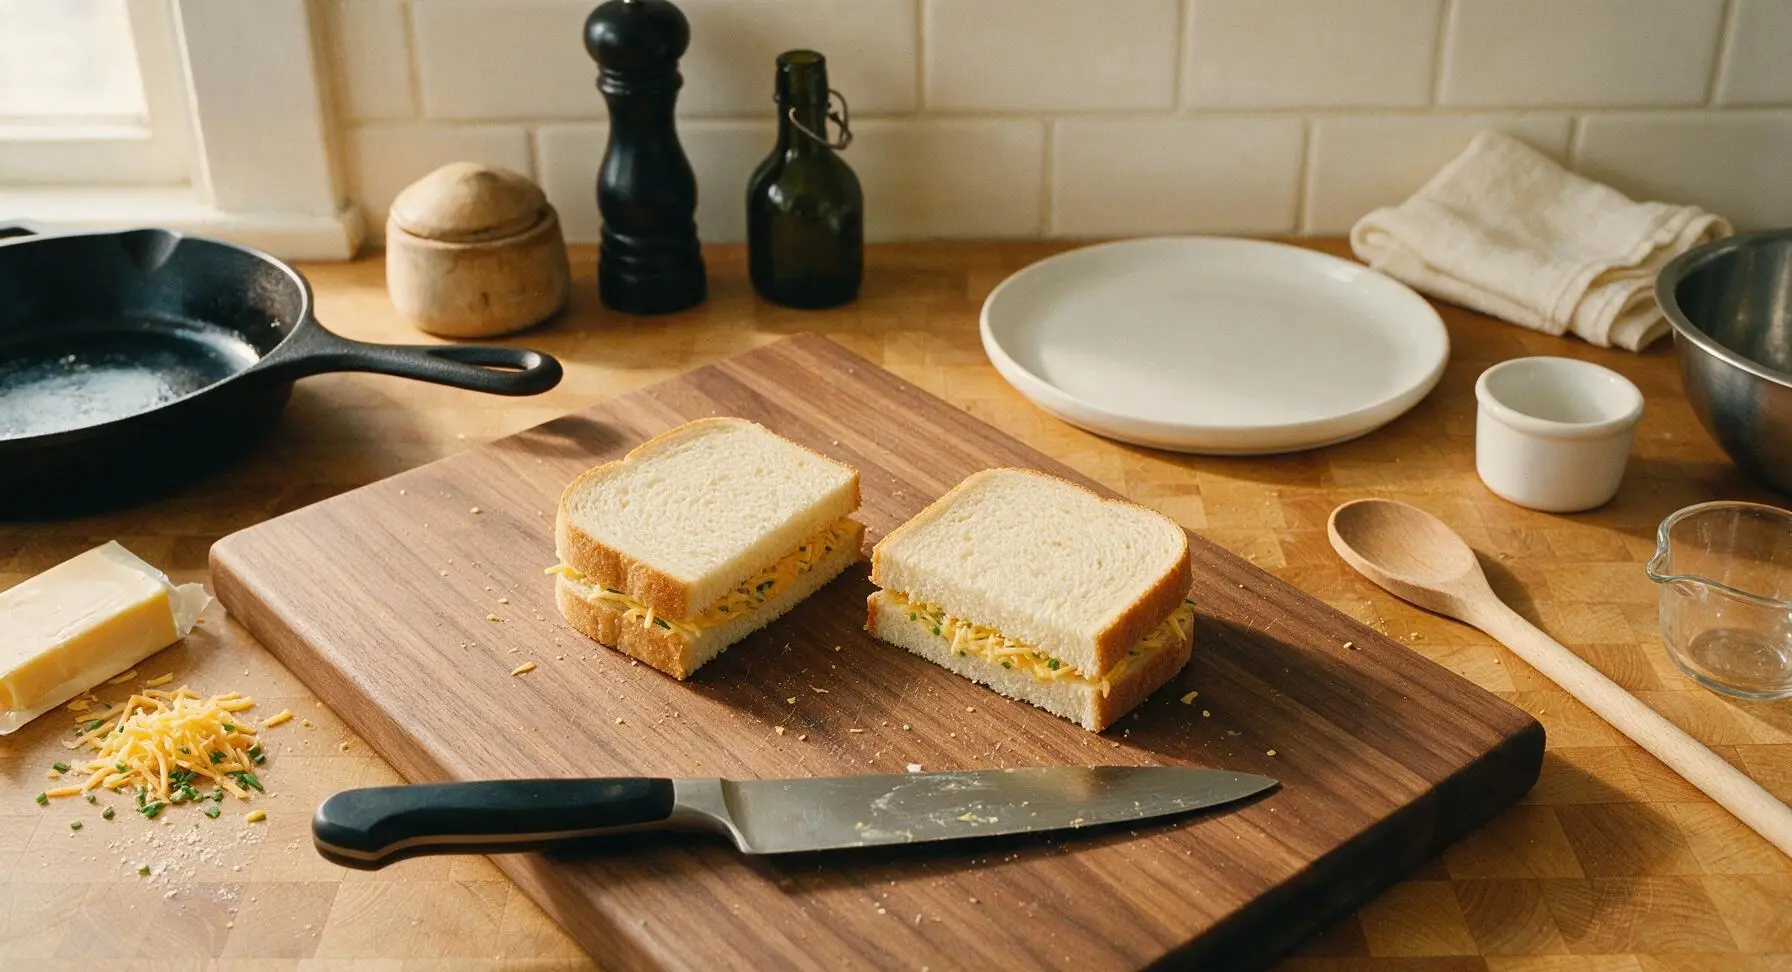
Flip two of the bread slices over so the buttered side faces down on the cutting board. Layer the thinly sliced sharp cheddar evenly across the unbuttered side of these two slices, dividing the cheese equally and making sure cheese reaches close to the bread edges to avoid bare spots. Top each cheese-covered slice with the remaining two bread slices, keeping the buttered side facing outward, to form two complete sandwiches. Press down gently on each sandwich top to help the layers adhere.
Preheat the Skillet
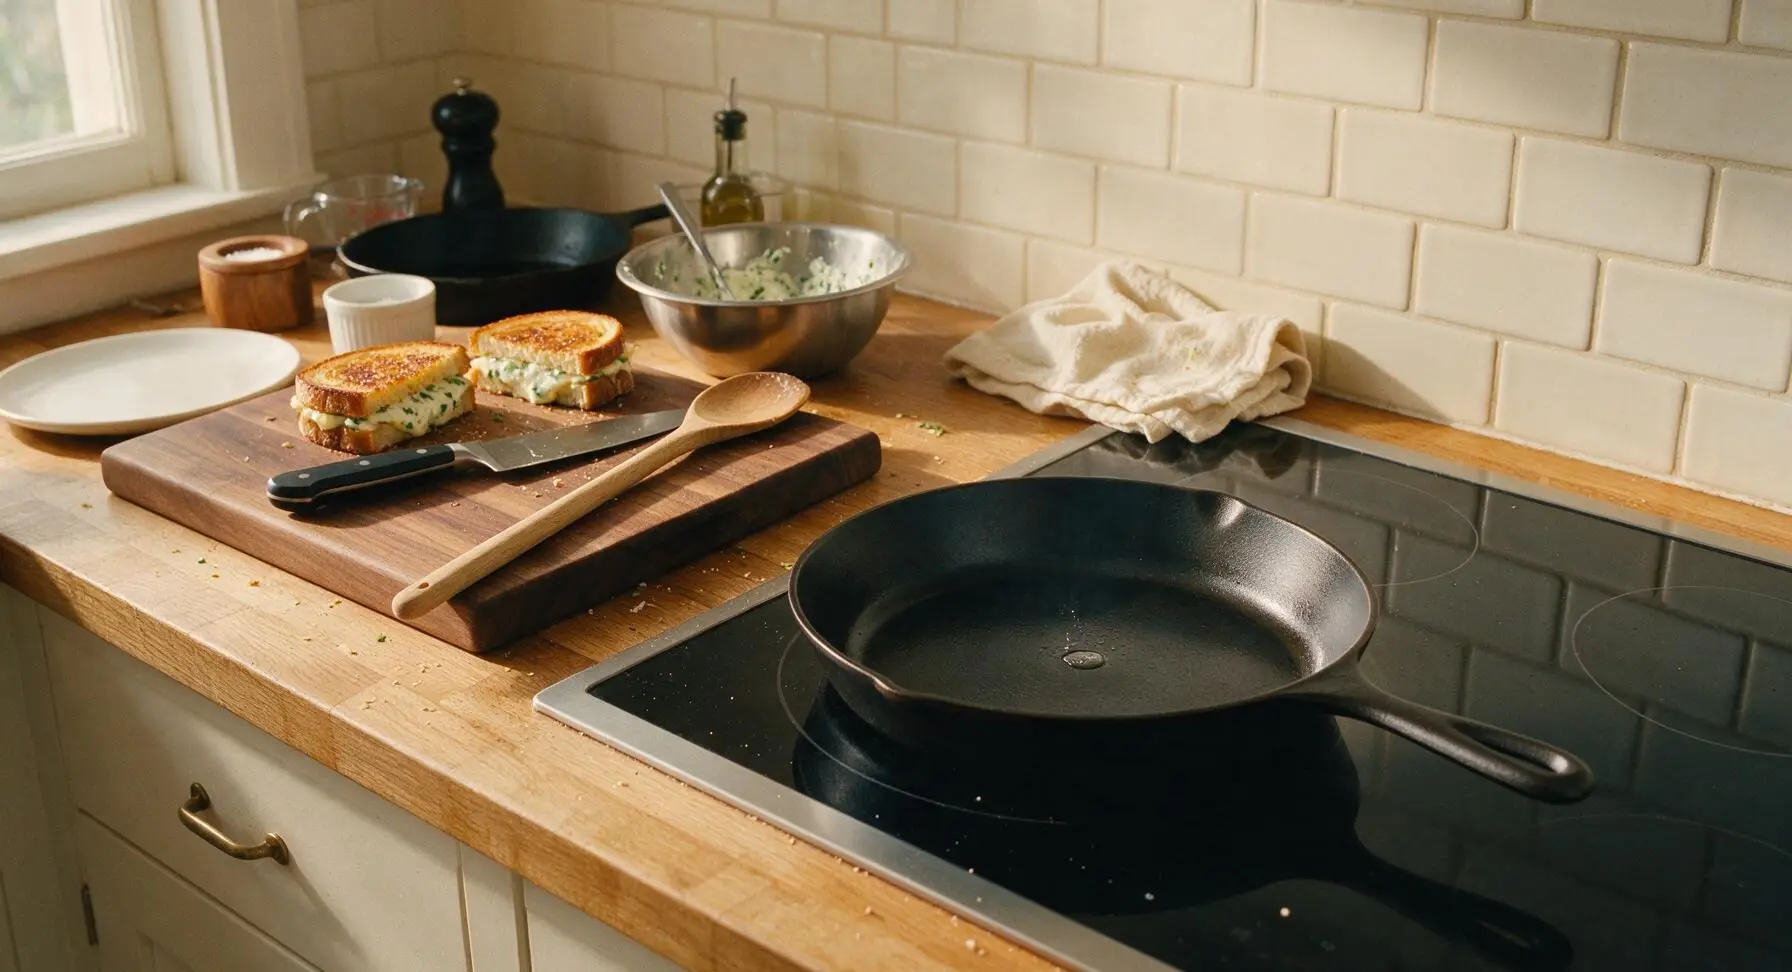
Place the 10-inch matte black carbon steel skillet on the flush-mounted black glass induction stovetop set into the right section of the counter. Preheat the pan over medium-low heat (325°F / 160°C) for 2 minutes, until a drop of water flicked onto the surface sizzles gently and evaporates slowly over 3 seconds—do not heat the pan so hot that the butter burns immediately.
Grill First Side
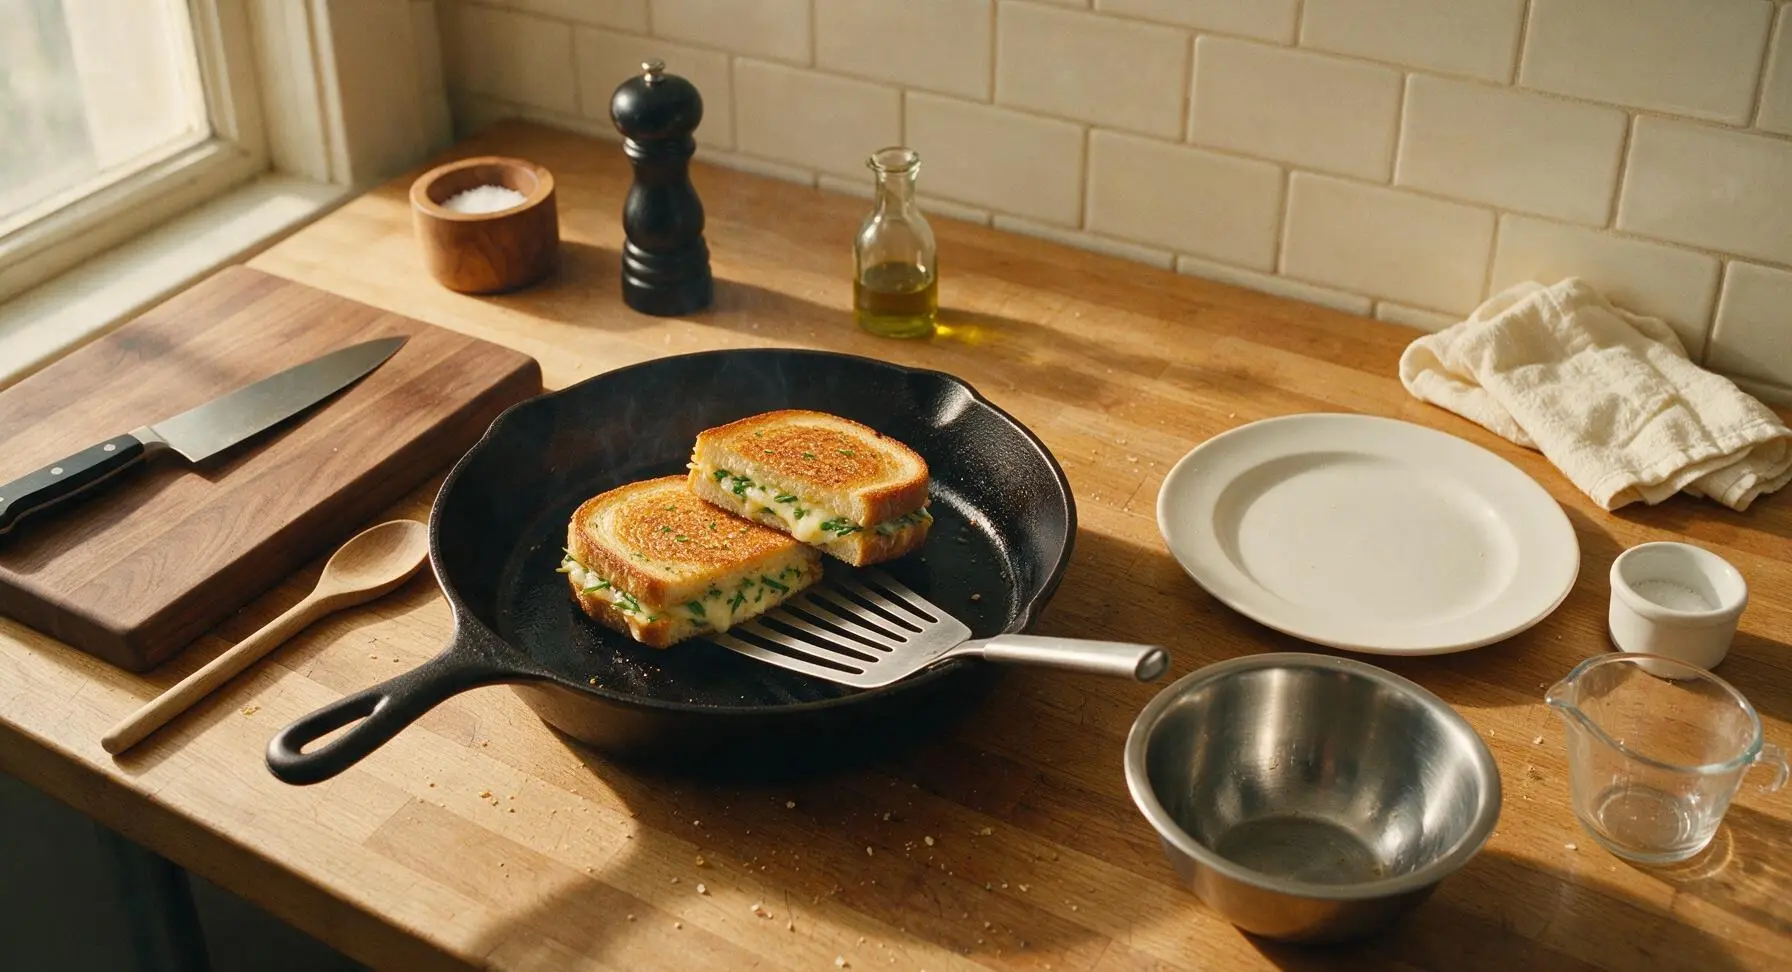
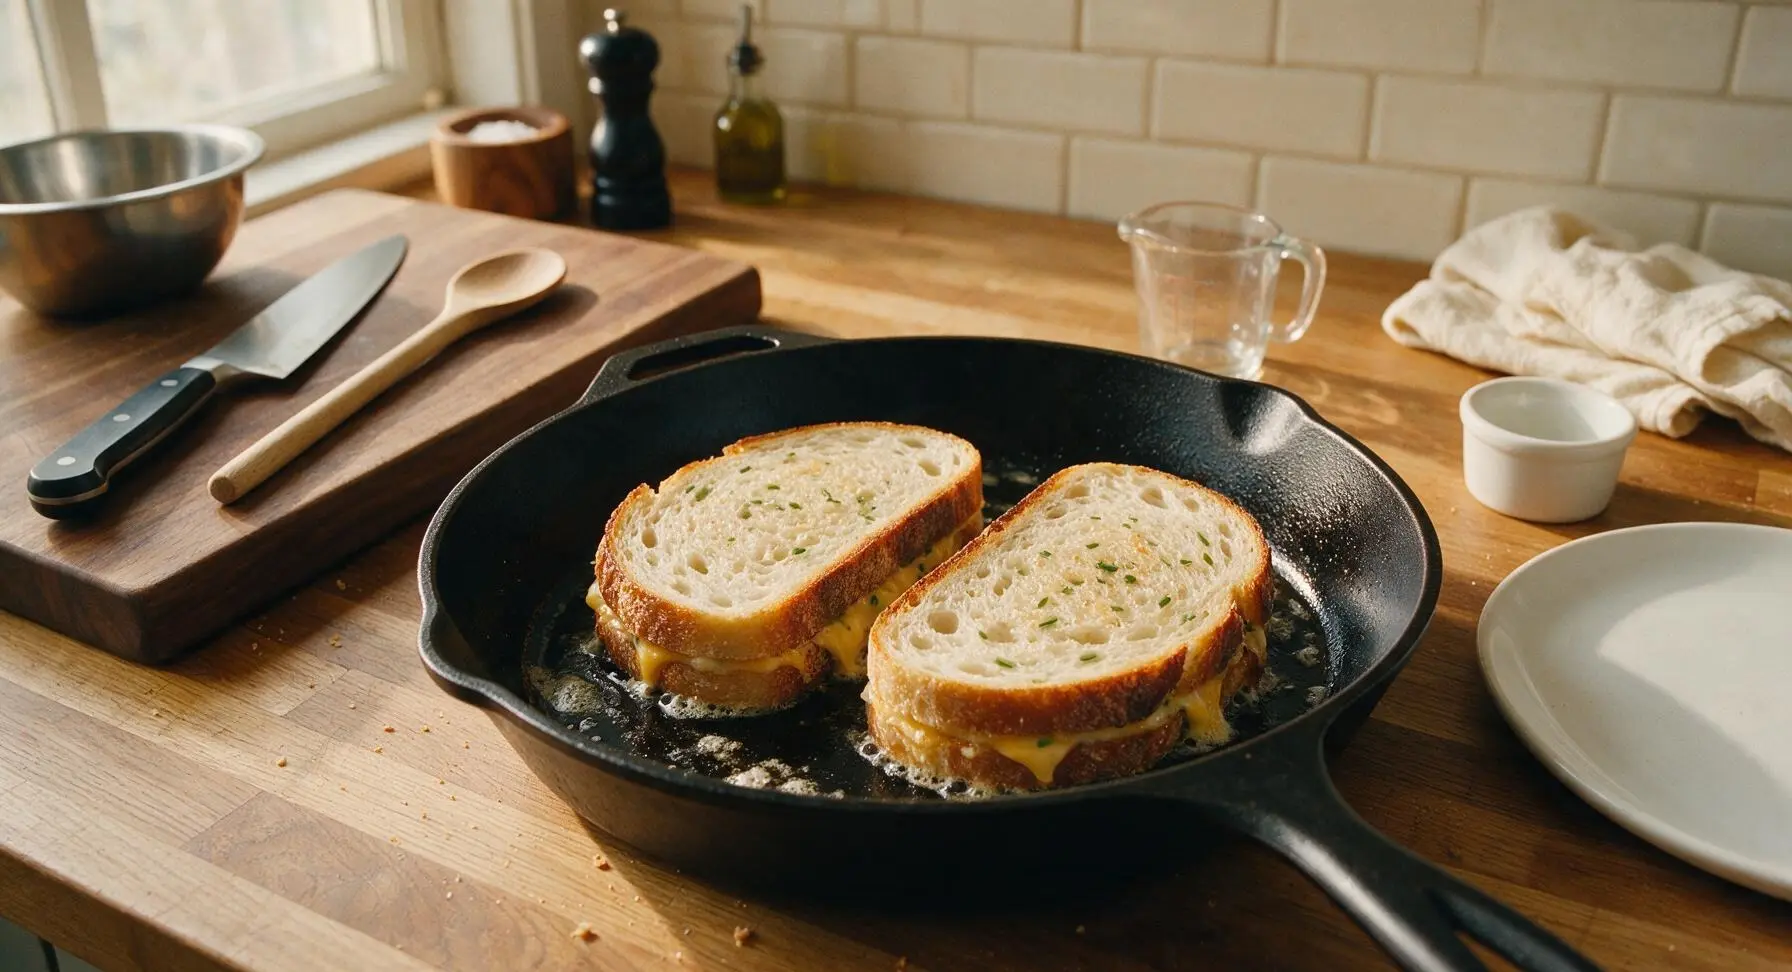
Carefully place both assembled sandwiches into the preheated skillet, buttered side down. Cook for 3 to 4 minutes over medium-low heat, resisting the urge to press down hard on the sandwiches (this squeezes out cheese and makes the bread soggy). The bread should turn a deep, even golden brown, with crisp, buttery edges, and the cheese closest to the pan should start to melt.
Flip to Cook Second Side
Slide the slotted stainless steel spatula under each sandwich and flip carefully to cook the un-grilled buttered side. Cook for another 2 to 3 minutes over medium-low heat, until the second side is an even deep golden brown, and the cheddar in the center is fully melted—look for slow, thick oozes of cheese from the sandwich seams as your visual cue. If bread darkens too quickly before cheese melts, reduce heat to low to prevent burnt crusts.
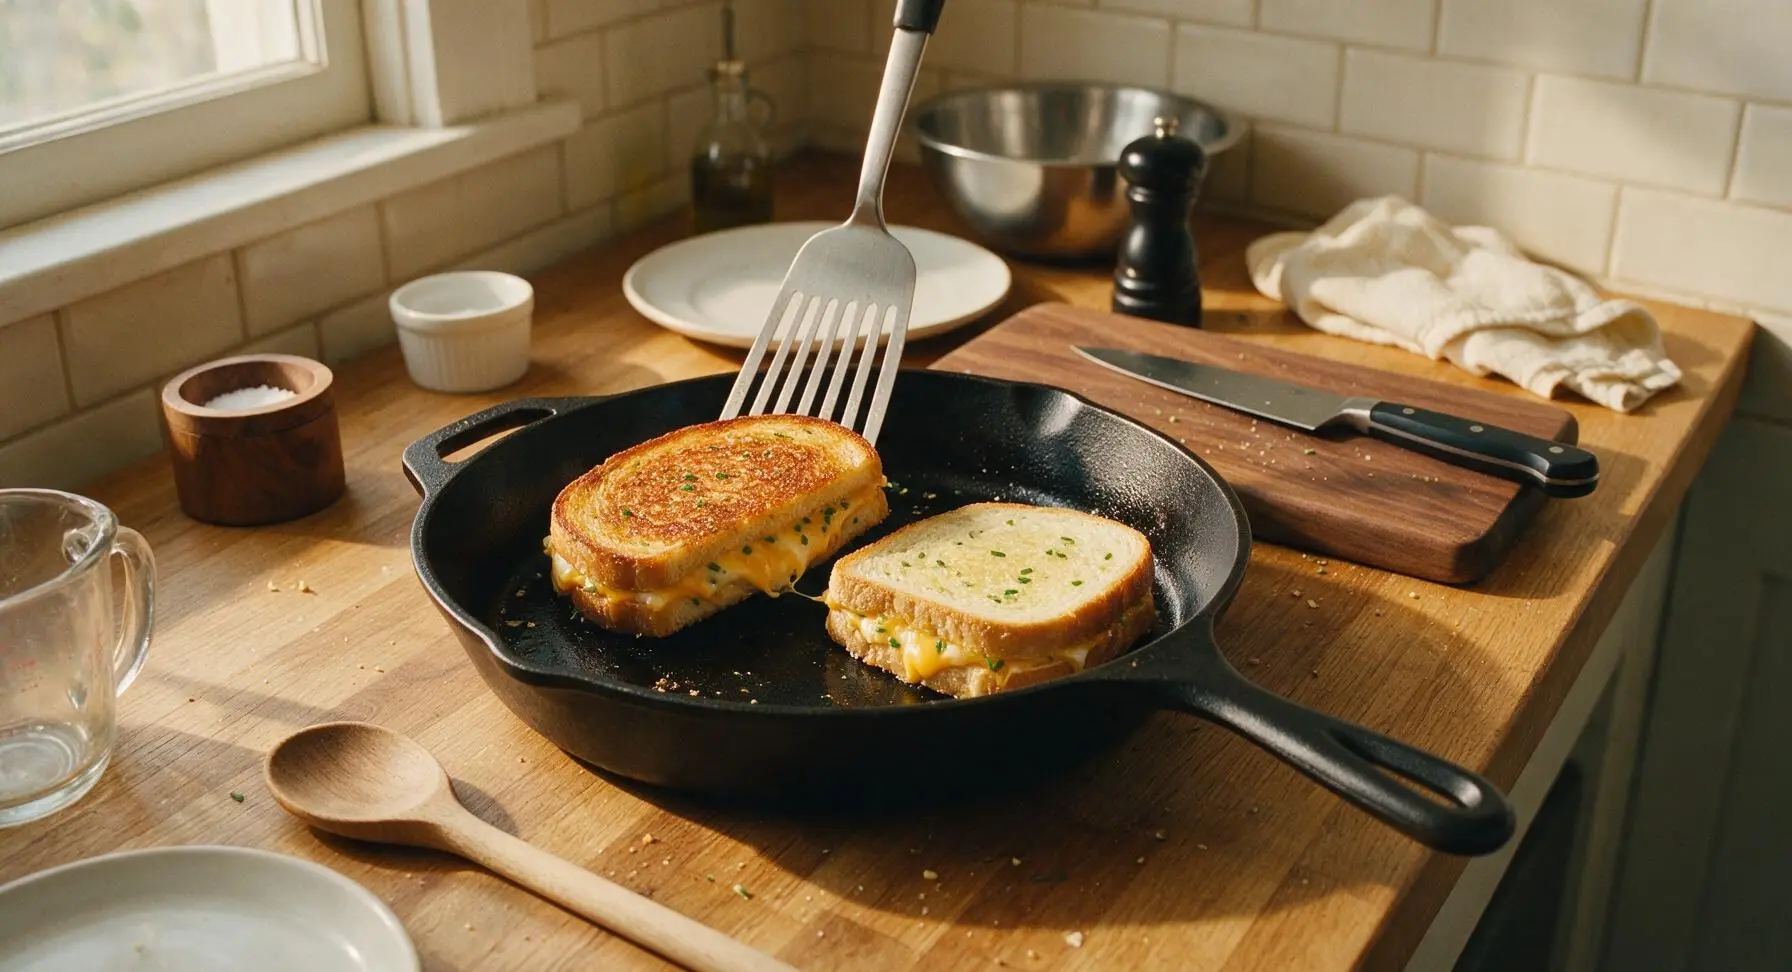
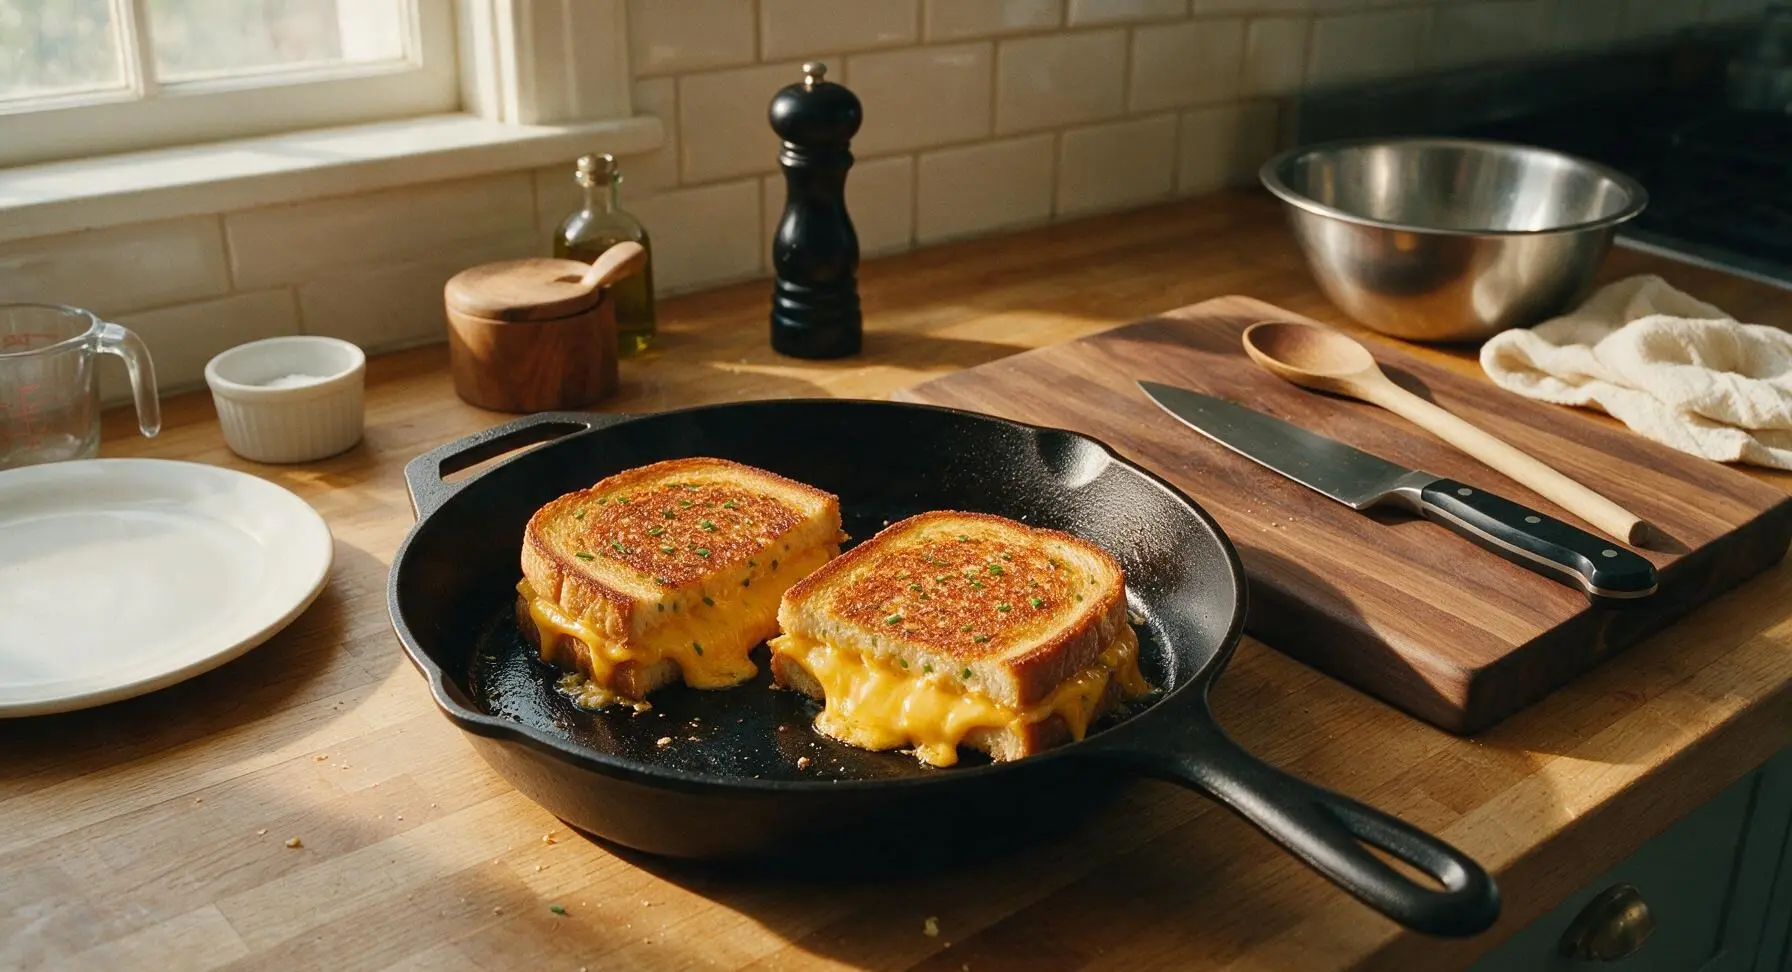
Plate and Serve
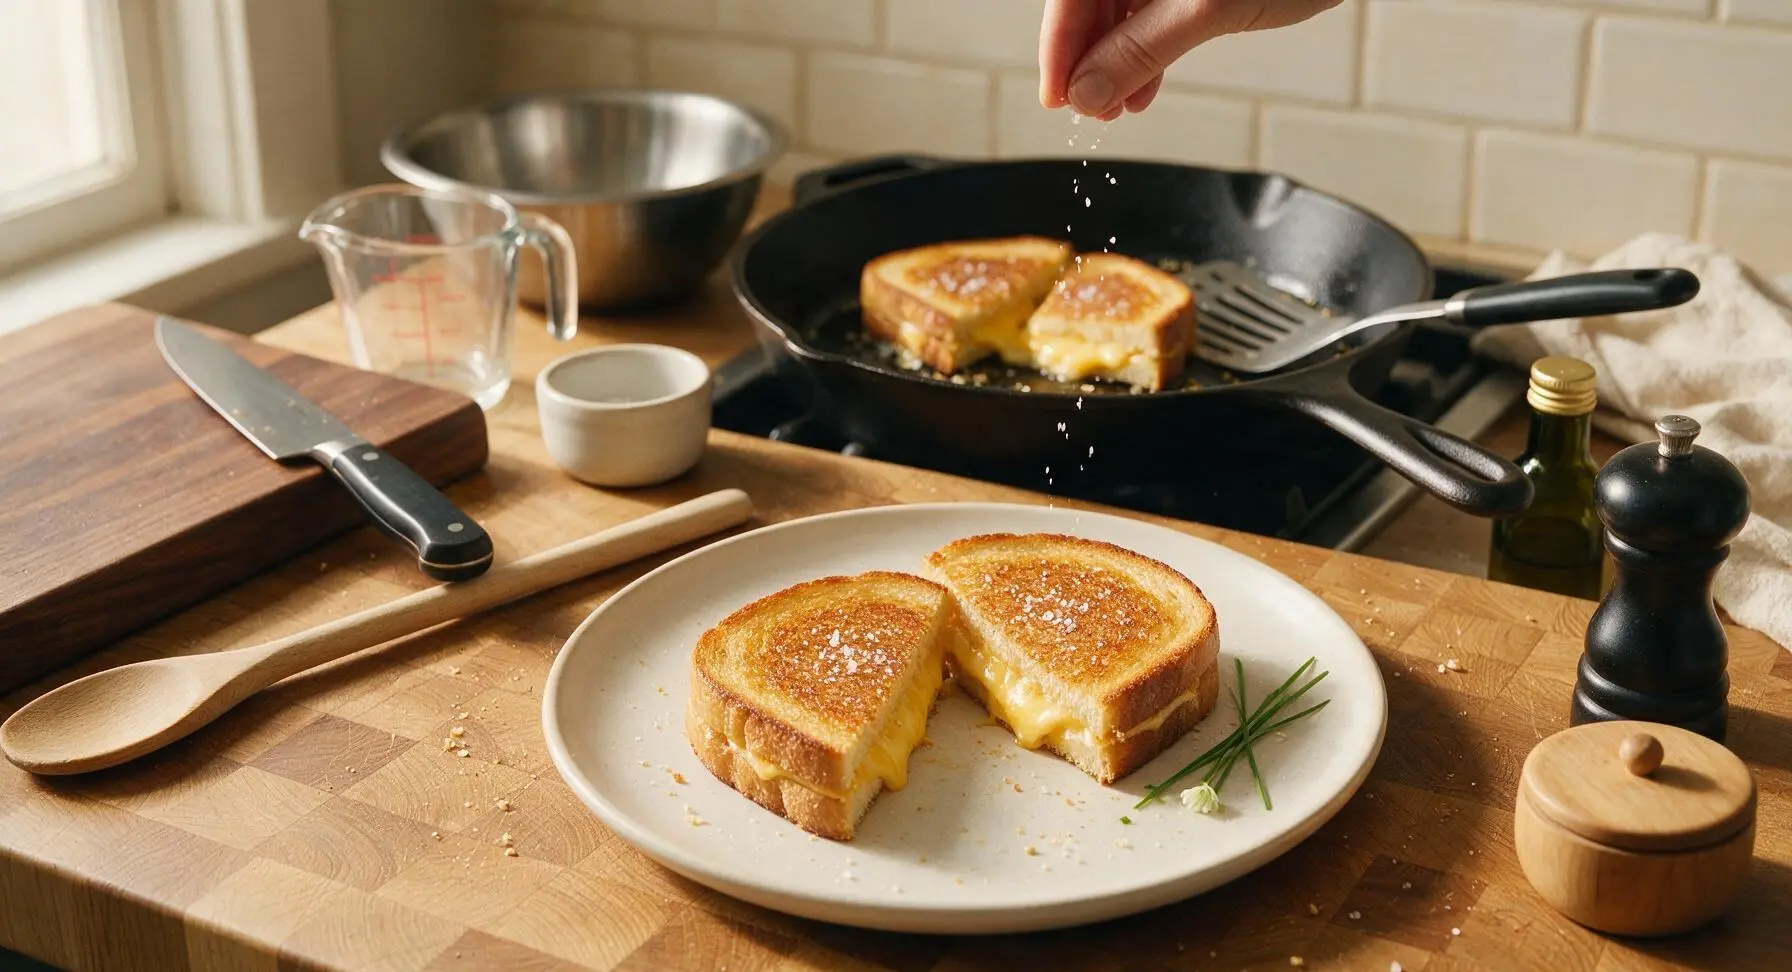
Use the slotted spatula to lift the finished sandwiches from the skillet, letting any excess butter drip off for 2 seconds before transferring one sandwich to the matte off-white ceramic lunch plate. Let the sandwich rest for 1 minute to let the cheese set slightly (this prevents it from running all over the plate when you cut it), then cut it diagonally into two triangles. Sprinkle the top crust lightly with a pinch of flaky sea salt, tuck a small fresh chive sprig next to the sandwich for garnish, and serve immediately.
Tips
2.Cook over medium-low heat, not high: High heat burns the butter and bread crust before the cheese in the center has time to fully melt, leading to burnt outside and cold, un-melted cheese inside. Slow, gentle heat ensures even crisping and smooth, oozing cheese.
3.Don’t press down on the sandwiches while they cook: Pressing squeezes melted butter and cheese out of the bread seams, leading to dry, soggy bread and lost cheesy filling. Let the weight of the top bread slice apply gentle, even pressure on its own.






OMG this chive grilled cheese is a total game changer! I threw it together in 7 minutes flat for a quick work from home lunch and it was SO good. The subtle onion flavor from the chives cuts through the rich melted cheese perfectly.
Made this for my roommate last night after our late gym session and he asked if I could make it again tomorrow. Super easy, didn’t even need a fancy pan, just our beat up old cast iron. 10/10.
My kids are so picky about grilled cheese, they usually only eat the plain boring kind with American cheese. I added fresh chives from my windowsill planter for this recipe and BOTH of them asked for seconds! Absolute win for weeknight dinners.
Wait, I never thought to add chives to grilled cheese? I usually load mine up with bacon and tomato but I tried this for a quick side with tomato soup last weekend and it was chef’s kiss. Next time I’m mixing chives into the butter spread too.
I used a mix of sharp cheddar and mozzarella, plus extra chives from my farmers market haul, and this was the perfect light weekend lunch. So simple but so much more flavorful than regular grilled cheese.
As a college student with basically zero cooking skills and only a mini griddle in my dorm, this was so doable! 7 minutes total, minimal cleanup, and way better than the sad dining hall grilled cheese. 10/10 would make again for late night study sessions.
I brought a batch of these cut into little squares to our neighborhood block party potluck last weekend and they were gone in 10 minutes! Everyone was asking for the recipe, I can’t believe how big of a hit such a simple dish was.
Took a star off because I accidentally burned the first batch when I got distracted by my dog barking at the mailman 😂 but the second batch was perfect! The chive flavor is so subtle it doesn’t overpower the cheese, I’m obsessed.
I make a batch of these on Sunday for my weekday work lunches, they reheat really well in the toaster oven! Way cheaper and tastier than buying lunch out every day.
I added a tiny pinch of red pepper flakes along with the chives for a little heat and it was insane. Who knew upgrading basic grilled cheese was this easy?
Made this with gluten-free sourdough and dairy-free cheddar for my dietary needs and it still turned out amazing! The fresh chives added so much flavor I didn’t even miss the regular cheese and bread.
Made this for my granddaughter when she visited last weekend, she said it’s the best grilled cheese she’s ever had. I’ve been making grilled cheese for 60 years and I have to say, adding chives is a trick I wish I’d learned sooner!
I’ve made this three times in the last two weeks! Once for my book club, once for a work potluck, and once for movie night with my partner. Every single person has asked for the recipe. It’s just that good.
I just moved into my first apartment and this is the first recipe I’ve made that didn’t come out burnt or totally bland! It was so easy even I couldn’t mess it up, and it made me feel like a real adult cooking for myself lmao.
Paired this with a cup of creamy tomato basil soup for brunch last Sunday and it was the coziest meal ever. The chives add such a fresh, bright note that pairs so well with the tomato soup. Will be on repeat all fall!
I used homemade sourdough bread, aged gruyere, and fresh chives from my garden and this tasted like something you’d pay $15 for at a fancy brunch spot. Can’t believe how simple it is to make at home for a fraction of the cost.