1.What makes this chow chow piccalilli different from standard Southern chow chow?
▾
This version is adapted from tangy British piccalilli, so it has a brighter, sharper vinegar bite and snappier vegetable texture compared to often sweeter, softer cooked Southern chow chow. It’s intentionally crisp, not mushy, with a balanced tang that cuts through rich, fatty foods like grilled sausage or pulled pork perfectly.
2.Do I have to use unripe green tomatoes, or can I substitute ripe red ones?
▾
Stick with unripe green tomatoes for the best result! Ripe red tomatoes have much higher moisture content and a softer, sweeter flavor that will make the relish watery and throw off the bright tang. If you can’t find green tomatoes, use extra diced green bell pepper and a tablespoon of extra vinegar to match the tart profile.
3.How fine should I shred or dice the vegetables for the best texture?
▾
Aim for uniformly small, bite-sized pieces: shred cabbage to 1/8-inch thickness, and dice all other veggies (tomatoes, onions, bell peppers) to 1/4-inch cubes. Uniform sizing means every bite has a balanced mix of veggies, and the brine penetrates evenly so no pieces are under-pickled, and no pieces turn unpleasantly mushy.
4.Can I make this recipe without a formal canning setup?
▾
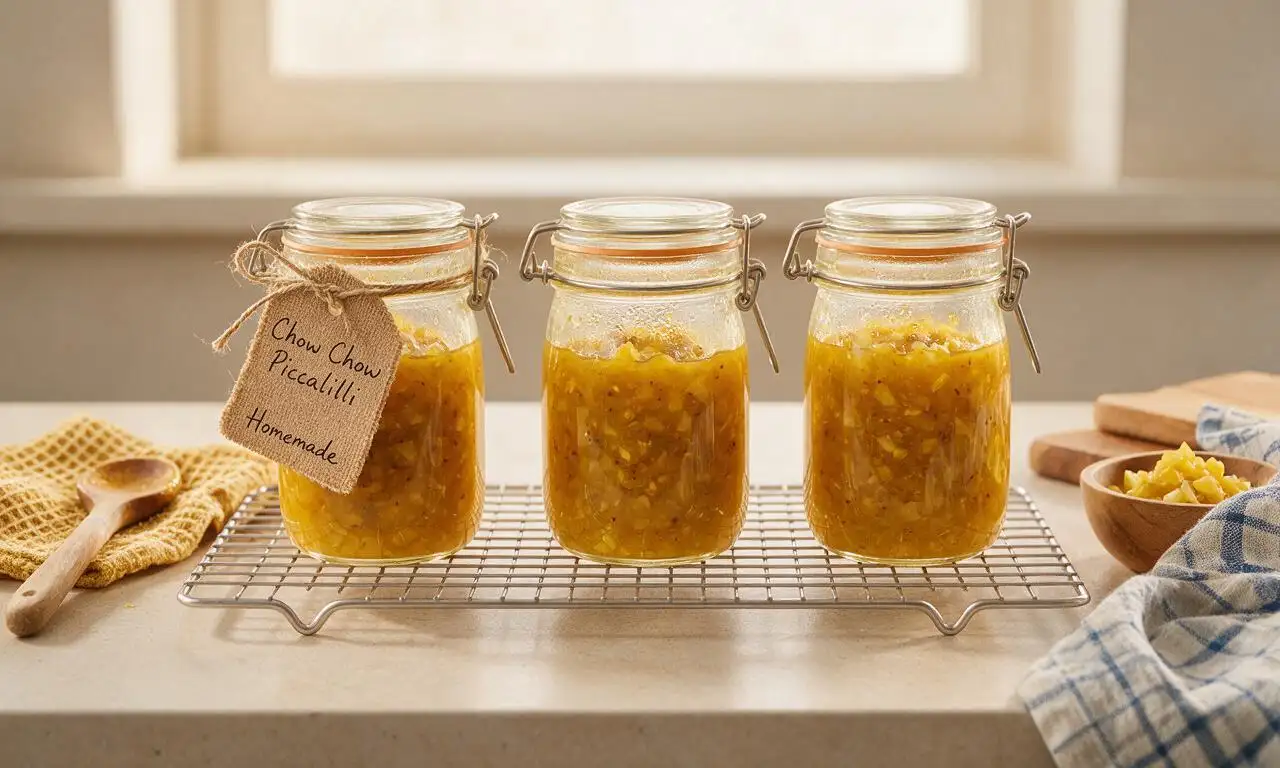
Absolutely! For short-term use, pack the cooled piccalilli into clean, tight-sealing glass jars, and store it in the refrigerator for up to 4 weeks. You don’t need a water bath canner for fridge pickles—just make sure all veggies are fully submerged under the brine to prevent spoilage and keep that signature crisp texture.
5.What kind of vinegar works best for the brine?
▾
Stick with plain distilled white vinegar for the brightest, most classic tang. Apple cider vinegar works as a 50/50 swap with white vinegar if you prefer a softer, fruitier tang, but avoid dark, aged vinegars like balsamic—they will discolor the bright veggie mix and add an overpowering off-flavor that clashes with the fresh, bright produce.
6.How long do I need to wait before eating the chow chow piccalilli after making it?
▾
For the best flavor, let the sealed, refrigerated jars rest for at least 48 hours before digging in. That resting time lets the brine infuse into every vegetable piece, mellow the sharp raw onion and pepper bite, and let the tangy, savory flavors meld. It tastes even better after 1 full week of chilling.
7.What are the best ways to serve this chow chow piccalilli?
▾
This bright relish is incredibly versatile! Pile it on grilled hot dogs, brats, or pulled pork sandwiches, stir a spoonful into baked beans for extra zing, serve it alongside charred grilled steak or chicken, mix a dollop into egg or tuna salad, or top a sharp cheddar cheese board for a bright tangy pop.
8.My last batch of pickled relish turned out mushy—how do I keep this chow chow crisp?
▾
Avoid overcooking the veggies! Simmer them in brine for no more than 3 to 4 minutes max, then immediately remove the pot from heat to stop the cooking process. You can also add one fresh grape leaf to each jar before sealing—its natural tannins help lock in crispness without adding any noticeable flavor.
9.Can I add other vegetables to this base recipe?
▾
Absolutely, as long as you keep the total veggie volume the same to maintain the right brine ratio. Great mix-ins include diced cucumber, finely chopped cauliflower florets, thin-sliced celery, or a small amount of diced jalapeño for a spicy kick. Avoid starchy veggies like carrots, which can turn mealy in the tangy brine.
10.Is this piccalilli supposed to be sweet, savory, or spicy?
▾
This base recipe is balanced bright tangy-savory, with just a small amount of sugar to cut the sharp vinegar bite and no added heat. You can adjust the sugar up or down by 2 tablespoons to match your preference, or add red pepper flakes or a pinch of turmeric for extra warmth and classic golden color.
11.How long does this chow chow piccalilli stay good in the fridge?
▾
When stored in a clean, airtight glass jar with all vegetables fully submerged under brine, it will stay crisp and flavorful for up to 1 month in the refrigerator. Always use a clean, dry spoon to scoop relish out of the jar to avoid introducing bacteria that cause spoilage or premature softening.
12.Can I water bath can this piccalilli for shelf-stable storage?
▾
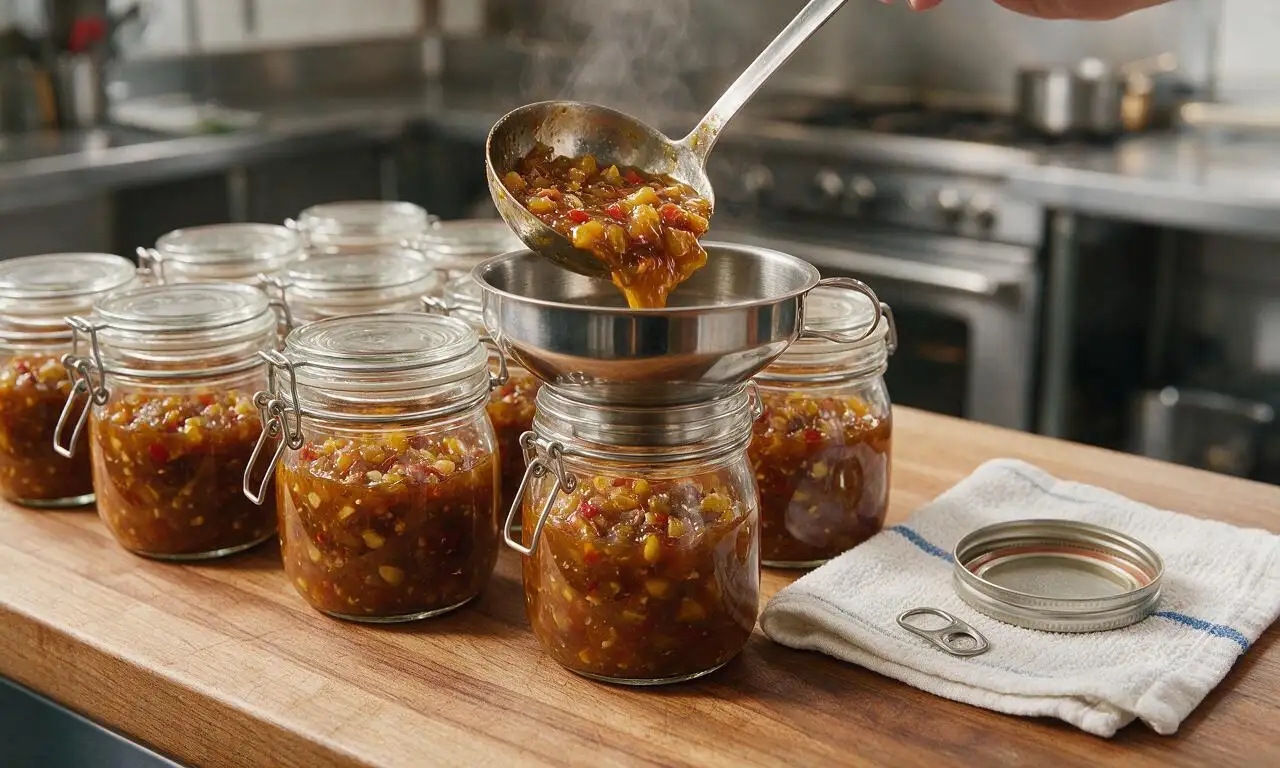
Yes, as long as you follow tested, USDA-approved safe canning guidelines. Pack hot piccalilli into sterilized pint jars, leave 1/2 inch of headspace, wipe jar rims clean, apply lids and bands, and process in a boiling water bath for 10 minutes (adjust processing time for your altitude). Sealed jars stay good for up to 1 year in a cool, dark pantry.
13.Do I need to salt the vegetables ahead of time to draw out excess moisture?
▾
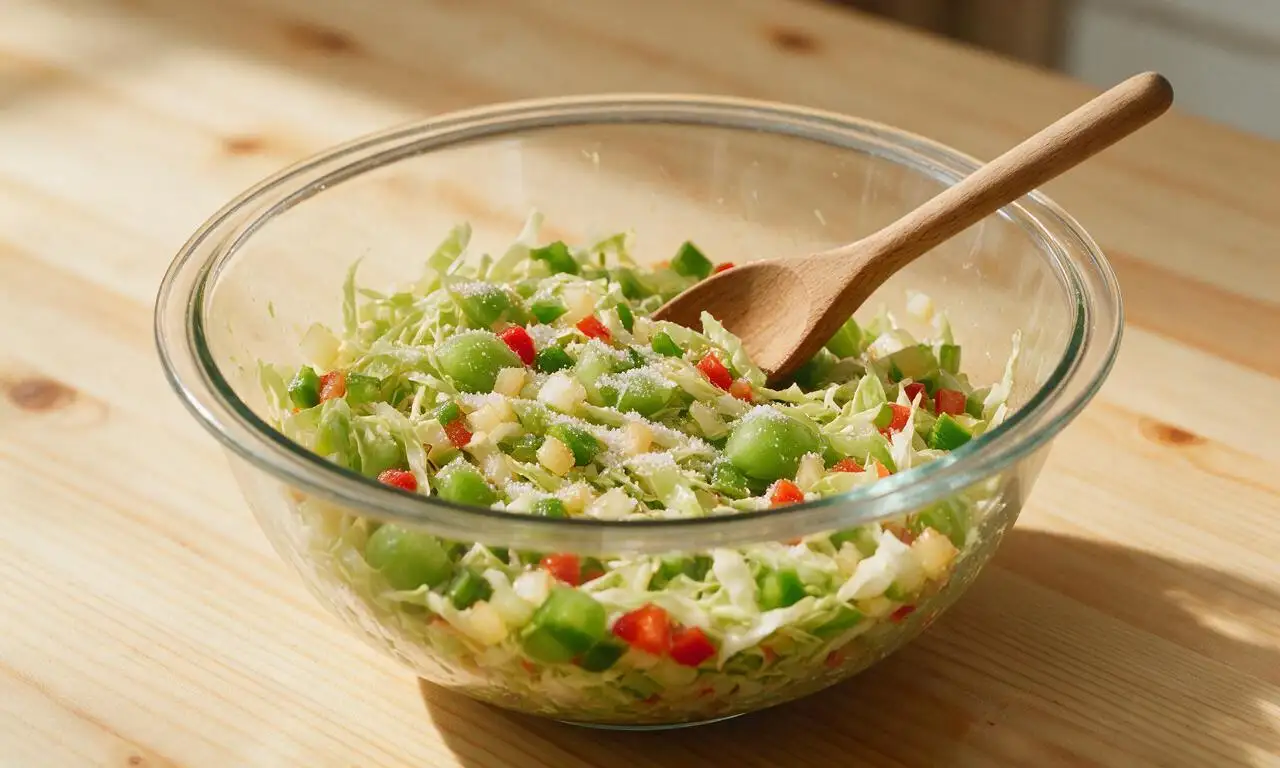
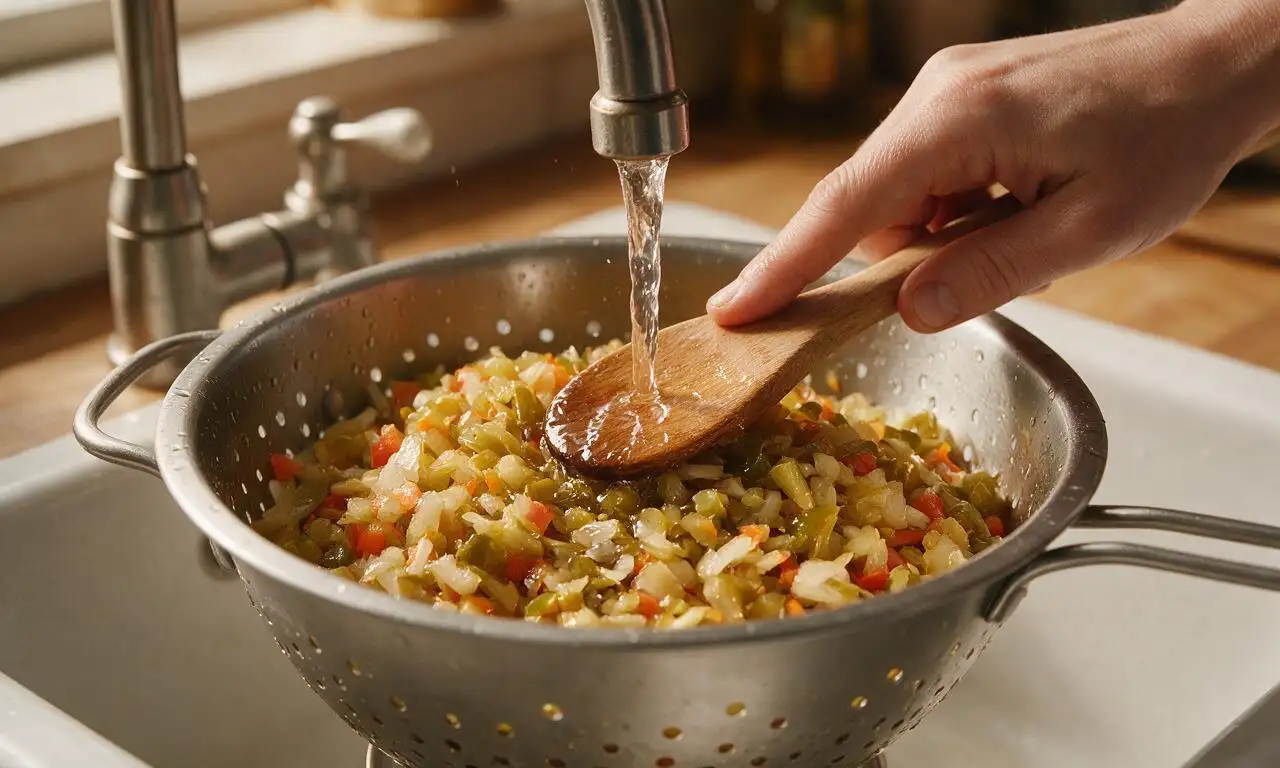
For extra-crisp results, yes! Toss the shredded and diced veggies with 1/4 cup of pickling salt, cover, and let them drain in a colander for 2 hours, then rinse thoroughly and pat dry before adding to brine. This pulls out excess water that would otherwise dilute the brine and make the relish soggy or watery over weeks of storage.
14.Can I use pre-shredded bagged cabbage from the grocery store for this recipe?
▾
Pre-shredded cabbage works in a pinch, but note that it is often cut a bit thicker and may have lost some of its crispness from sitting in sealed packaging. For the snappiest texture, shred a fresh head of green cabbage yourself right before prep; if using bagged, pat it very dry before pickling.
15.Why does my piccalilli taste too sharp or vinegary right after making it?
▾
That sharp bite is totally normal immediately after cooking! The flavors need time to mellow and balance out as the veggies absorb the brine during that 48-hour (or longer) rest in the fridge. If it’s still too tangy after resting, stir in a tiny extra pinch of sugar, 1/4 teaspoon at a time, until it hits your preferred balance.
16.What spices pair well with this vegetable base for extra depth?
▾
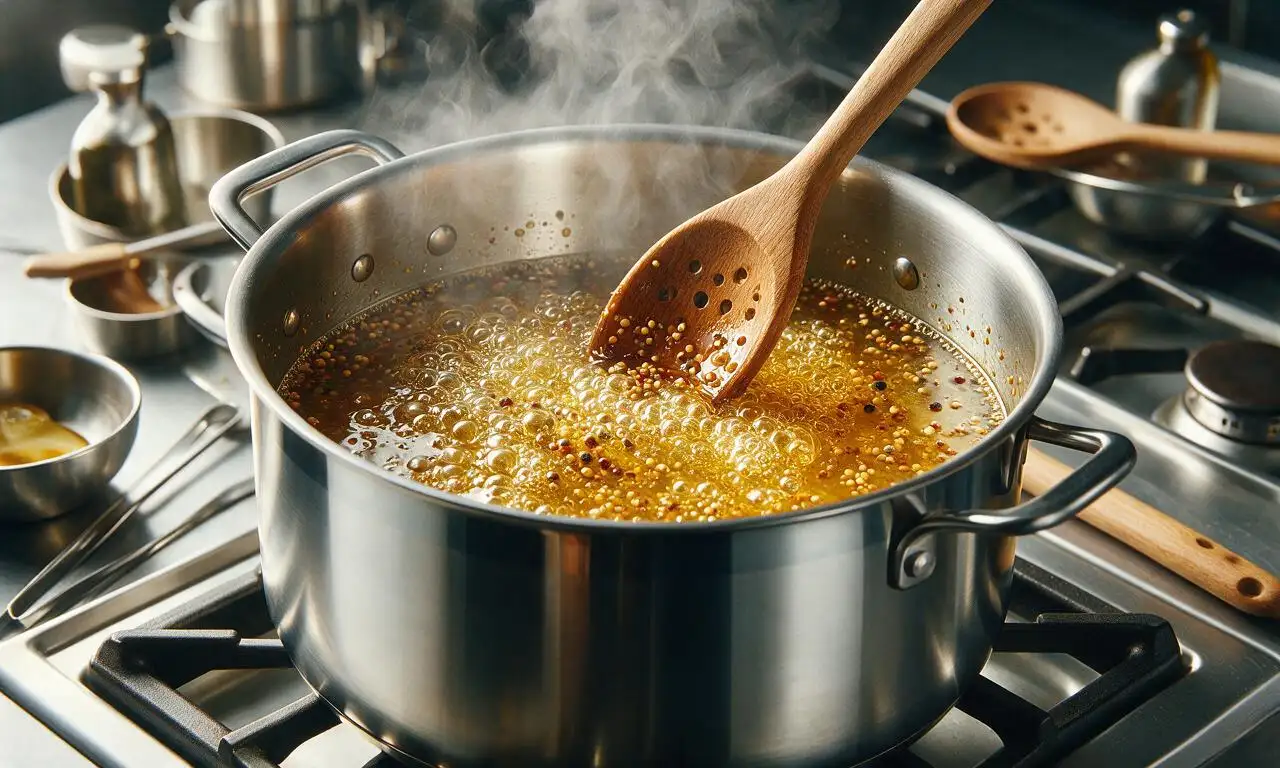
Classic piccalilli spices that work beautifully here include whole yellow mustard seeds, a pinch of ground turmeric for warm color and earthy flavor, whole black peppercorns, a couple of whole allspice berries, and a small bay leaf added to the brine. Skip fine ground spices that will make the brine cloudy or gritty.
17.Can I make this with red cabbage instead of green cabbage?
▾
You can, but know that red cabbage will turn the entire relish a bright, deep magenta color as it leaches pigment into the brine, and it has a slightly earthier flavor than green cabbage. It will still taste delicious, but it won’t have that classic bright, mixed-veggie color profile of traditional chow chow piccalilli.
18.Do I need to cook the vegetables at all, or can I make this as a raw-packed pickle?
▾
A quick 3 to 4 minute simmer in the brine is recommended to slightly tenderize the veggies, kill surface bacteria, and help the brine penetrate faster. Raw-packed veggies will stay extra crisp, but they will take a full week to absorb brine flavor, and hold a harsher raw onion and pepper bite many people find unappealing.
19.Why did my bell peppers lose their bright color after pickling?
▾
A slight fade in pepper color is totally normal from the acid in the brine and short cooking time, but severe dulling usually happens if you overcook the veggies. Stick to that 3 to 4 minute simmer max, and add peppers to the brine last, right before you pull the pot off heat, to help lock in their bright, vivid hue.

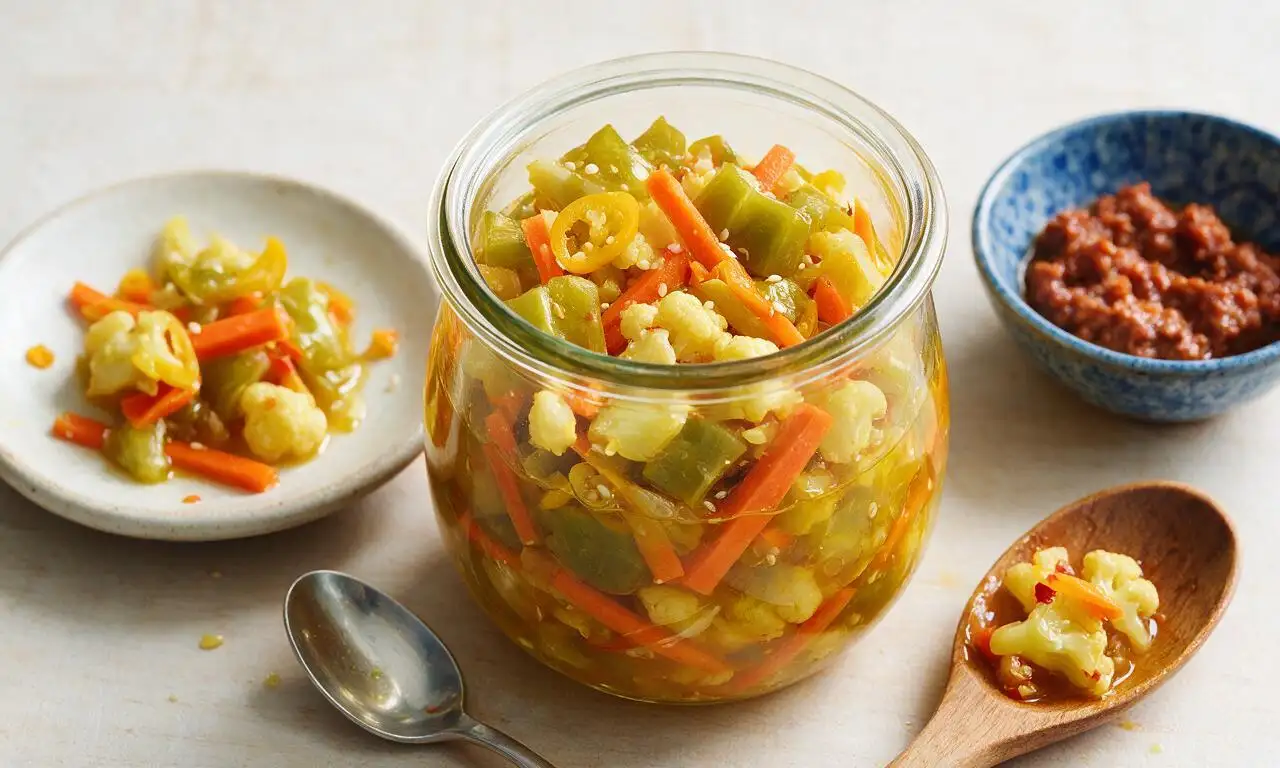






OMG this chow chow piccalilli is a GAME CHANGER for our summer cookouts! I made a double batch last weekend for our neighborhood block party and people were literally asking me for the recipe before they even finished their pulled pork sandwiches. SO good, tangy with just the right amount of mustard kick, and way easier than I thought it would be for a pickled relish. 10/10 will be canning a ton of this to last through football season!
Really solid piccalilli recipe! I swapped the green tomatoes for extra red bell pepper because my grocery store was out, and it still turned out great. Only thing is I wish it had a little more heat, next time I’ll toss in a diced jalapeño or two. Made it to top bratwursts for our family dinner last night and everyone raved.
I’ve been searching for a chow chow recipe that tastes like my grandma used to make for years, and THIS IS IT. The balance of sweet, tangy, and savory is exactly what I remember. My kids loved it piled on top of hot dogs at dinner last night, even my super picky 7 year old asked for seconds. Already texted the link to my whole family.
Y’all, I made this for our church potluck yesterday and the entire jar was gone in 20 minutes flat. So many people said it was the best relish they’d ever had! The cook time felt totally manageable even with my crazy work schedule, and the prep was super straightforward. Already planning to make 3 more batches this weekend to give out as little housewarming gifts to my new neighbors.
This is my new go-to meal prep staple! I make a big batch every Sunday and it elevates literally every lunch I bring to work — turkey sandwiches, grain bowls, even scrambled eggs get a little scoop. It’s so easy to throw together, even on a busy weeknight. 10/10, no notes.
Made this for our Cleveland Browns watch party yesterday and it was chef’s kiss on top of brats and burgers. Even my buddy who swears he hates all pickled veggies went back for three helpings. Super easy to follow recipe, didn’t require any fancy ingredients I had to run to three stores to find. Will be making this all fall!
Just finished making a batch with all the surplus veggies from my summer garden — cabbage, green tomatoes, bell peppers, the works! My whole house smells like that amazing tangy mustard brine right now. Quick question: is it normal for the flavors to mellow out a little after it sits in the fridge for a couple days? I tasted a bite right after cooking and the vinegar was pretty sharp!
Tried this recipe last night with the kids! It was really easy to follow, even when my 5 year old was “helping” me chop veggies (read: making a giant mess on the counter). I cut the sugar a little bit because we prefer less sweet relishes, and it turned out great. Only reason I’m not giving 5 stars is I wish the instructions had noted how long to let it cool before jarring it — I almost burned myself pouring hot brine!
Just pulled a batch of this out of the fridge to take to our annual end-of-summer potluck this weekend, and I already know it’s gonna be a hit. I added a little extra turmeric for color and a pinch of celery seed because I love that extra savoriness, and it tastes incredible. This recipe is so forgiving for customizing to your own taste, which is my favorite kind of recipe. 10/10 will be making this year after year!