
Classic American Dinner Rolls

title 1
Classic American Dinner Rolls
⏱️ cook time 20 minutes
🍽️ servings 12
⚡ Difficulty medium

intro

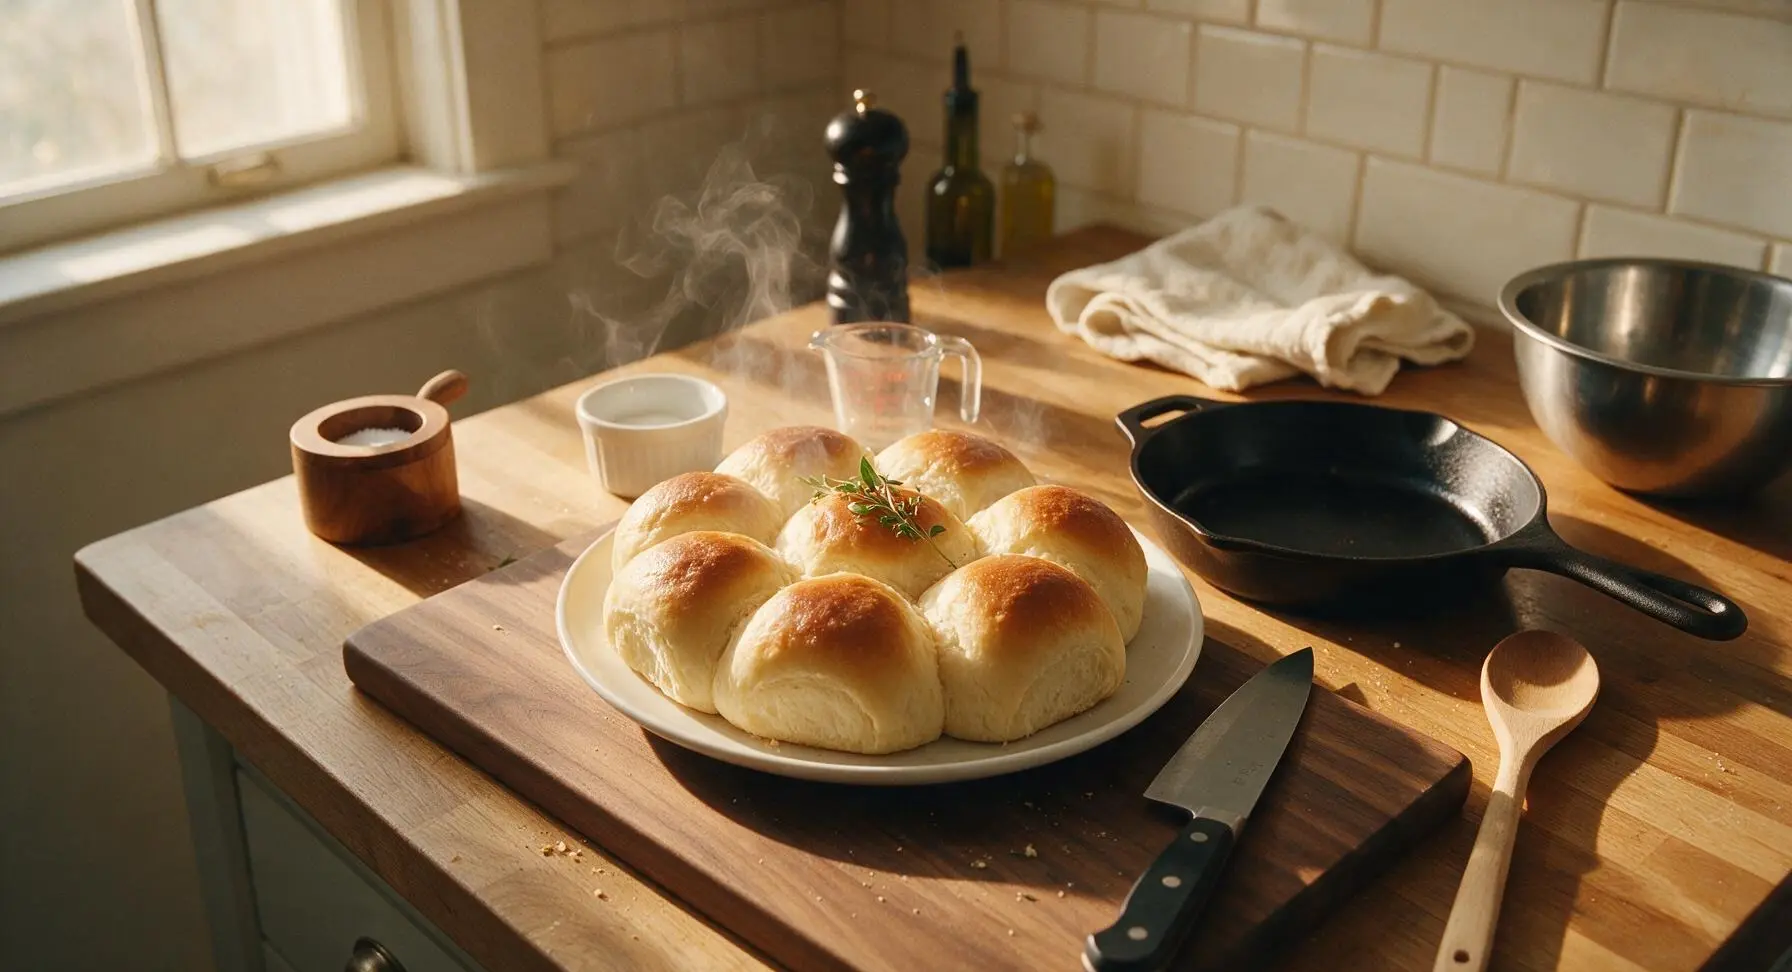
Soft, pillowy, buttery golden-crusted classic American dinner rolls, perfect for sopping up gravy or slathering with salted butter at Thanksgiving and family meals.

Ingredients
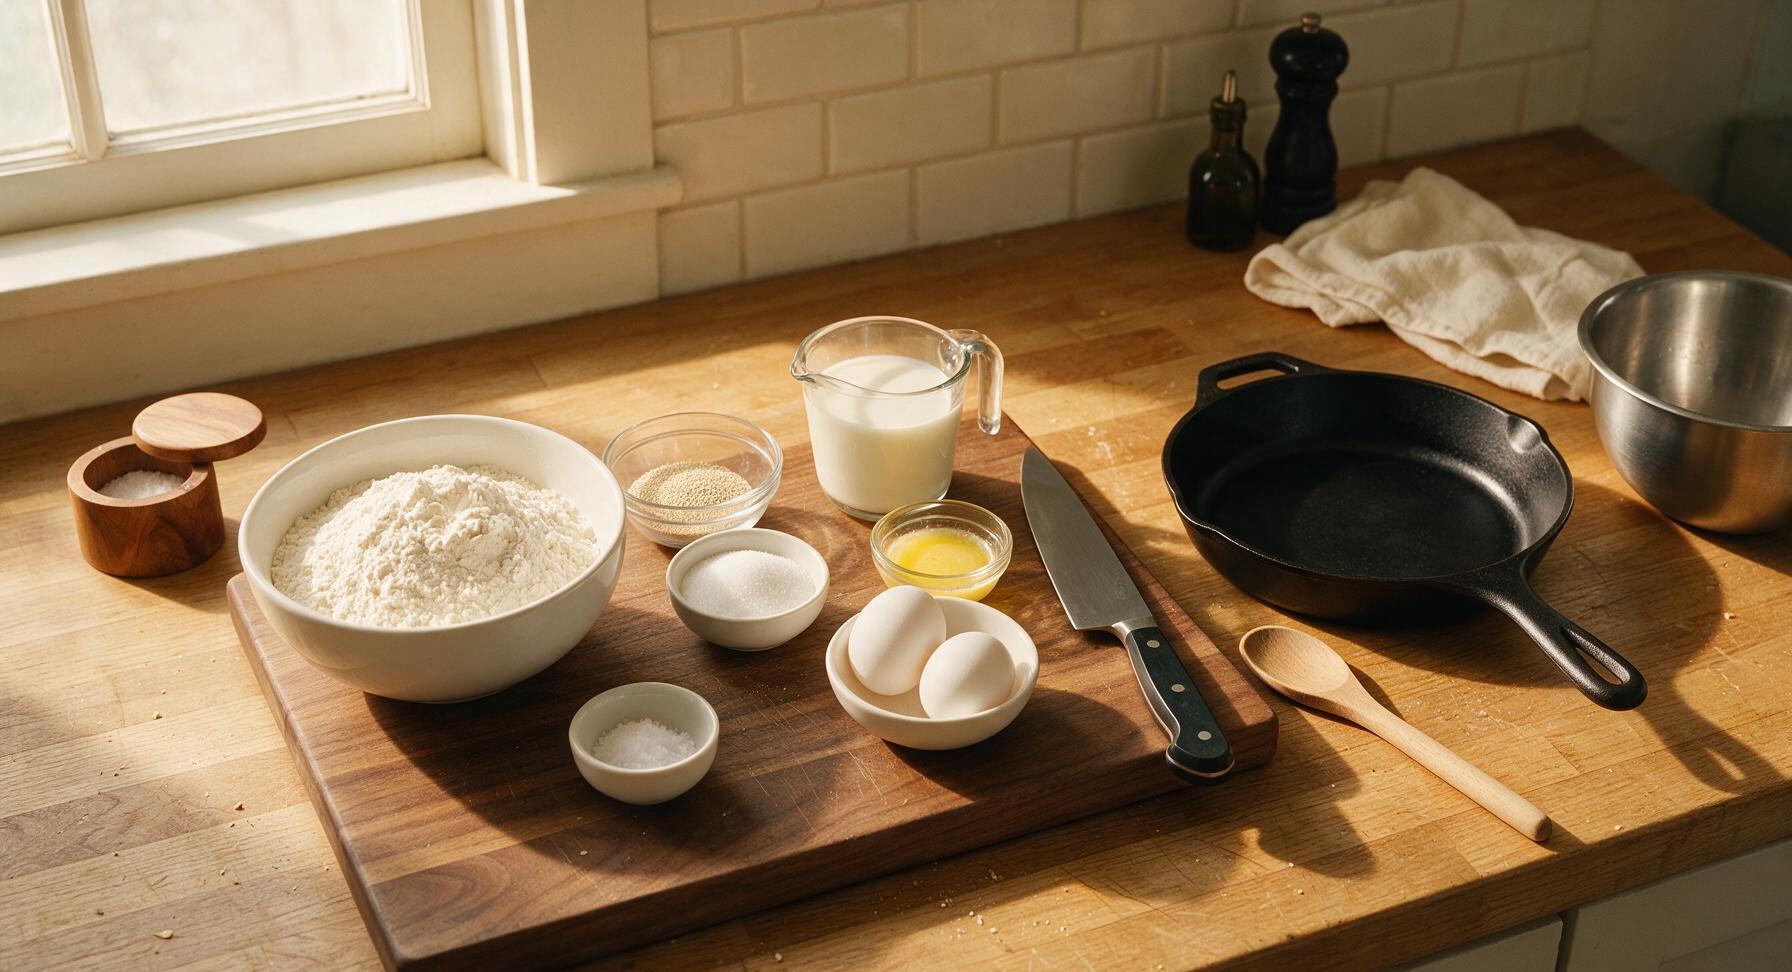
All-purpose flour 4 cups (480g)
Active dry yeast 2 1/4 tsp (7g, 1 standard packet)
Granulated sugar 2 tbsp (25g)
Whole milk 1 cup (240ml), warmed to 110°F
Unsalted butter 5 tbsp (71g): 4 tbsp melted and cooled for dough, 1 tbsp melted for topping, plus extra for greasing
Fine sea salt 1 tsp
Large eggs 2, room temperature

Steps

1

Activate the Yeast

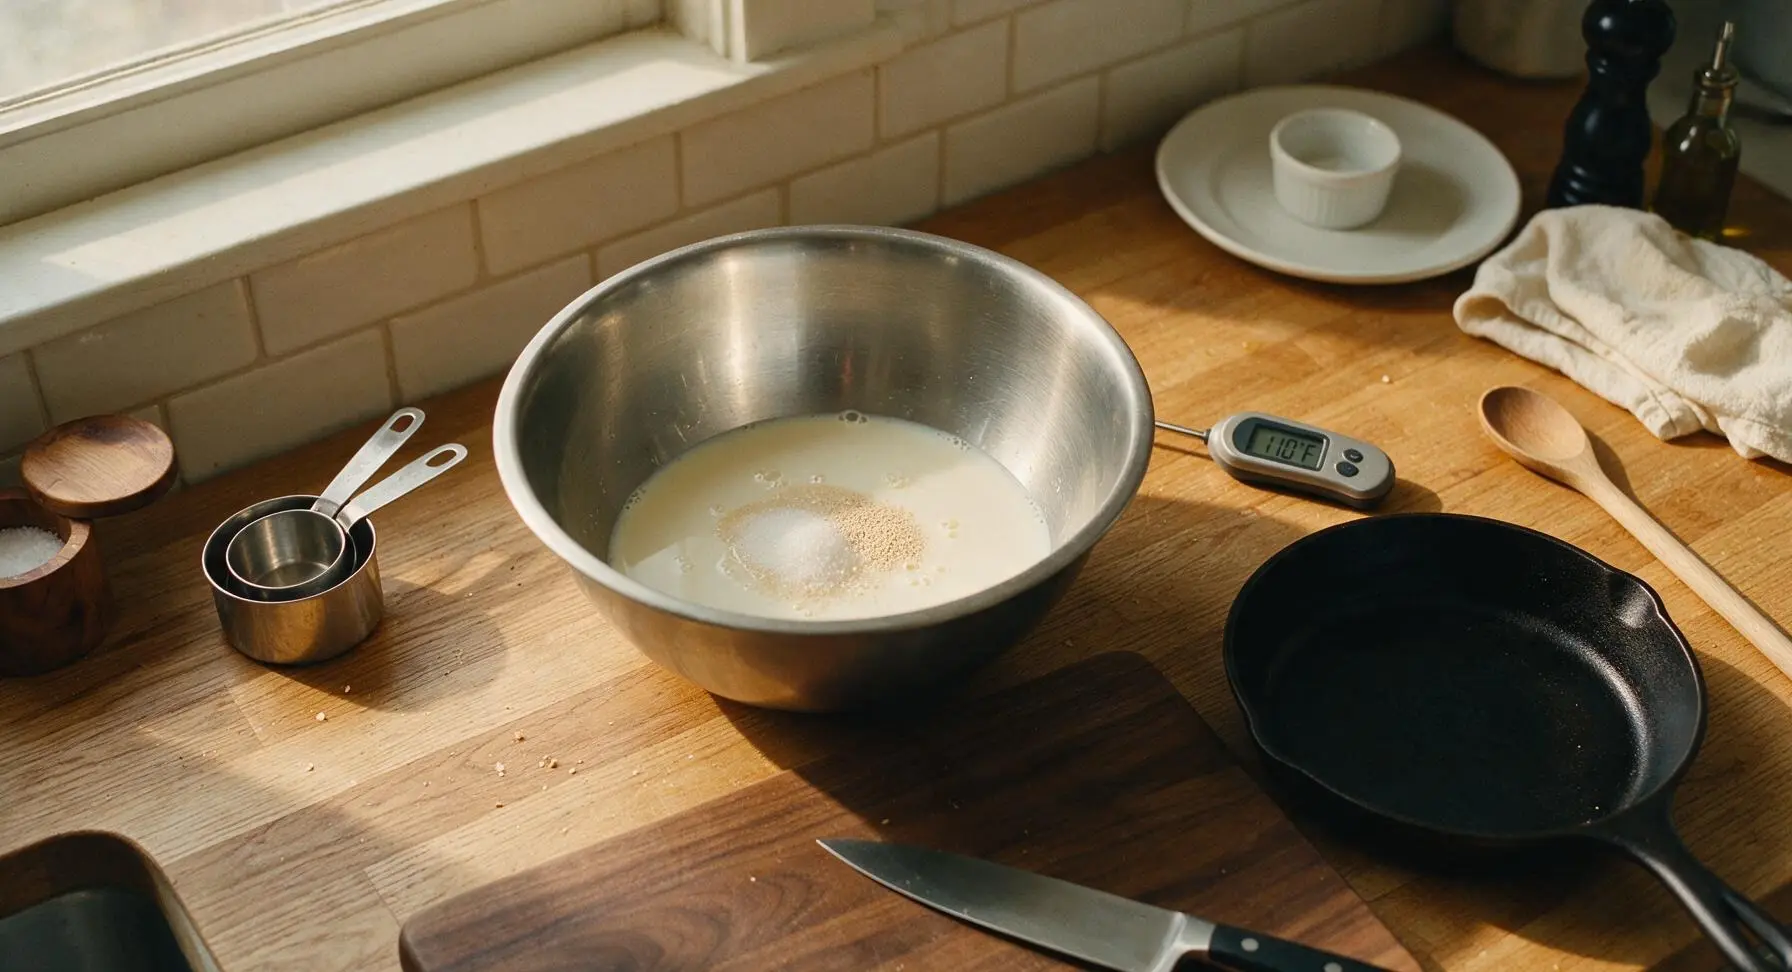
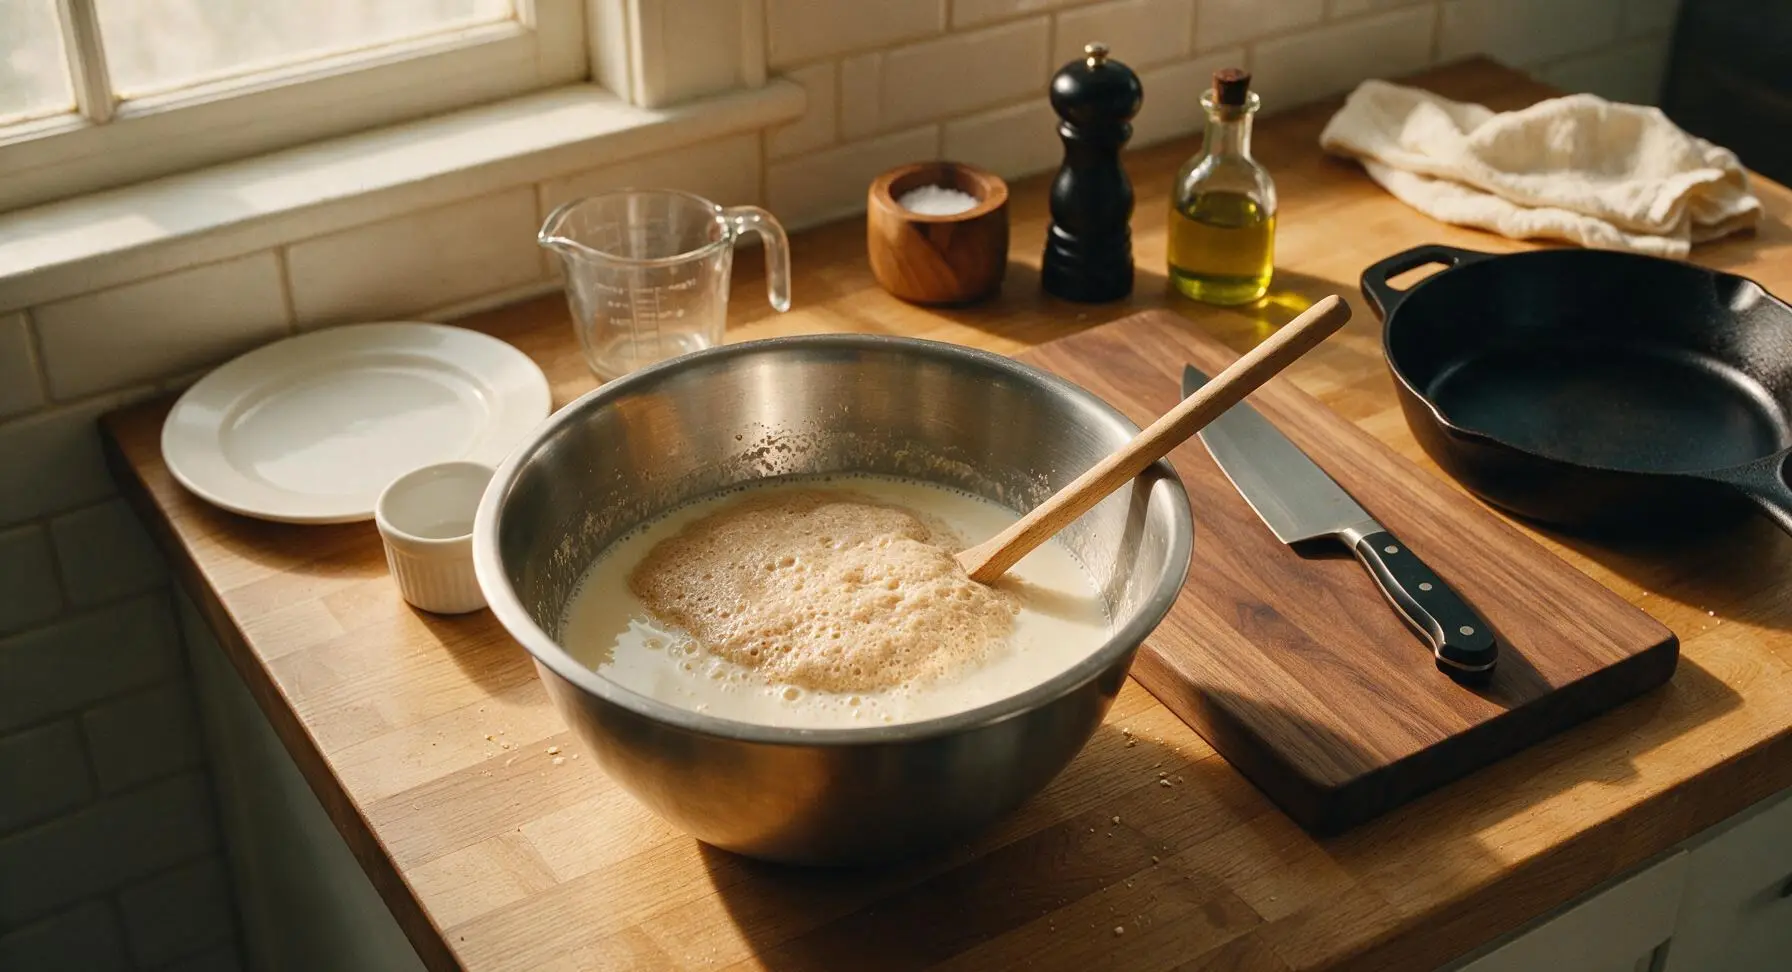
In the large brushed stainless steel mixing bowl, combine the warm whole milk (confirm temperature is 110°F with the digital instant-read thermometer to avoid killing yeast), 1 tablespoon of granulated sugar, and the full packet of active dry yeast. Stir once gently with a stainless steel measuring spoon, then let rest undisturbed for 5-7 minutes. The mixture is ready when a thick, frothy, tan layer of bubbles covers the surface, indicating active yeast. If no foam forms after 7 minutes, the yeast is expired and must be replaced for the rolls to rise properly.
Step 1
step1:Activate the Yeast
Step 1
step1:Activate the Yeast
2

Mix the Dough Base

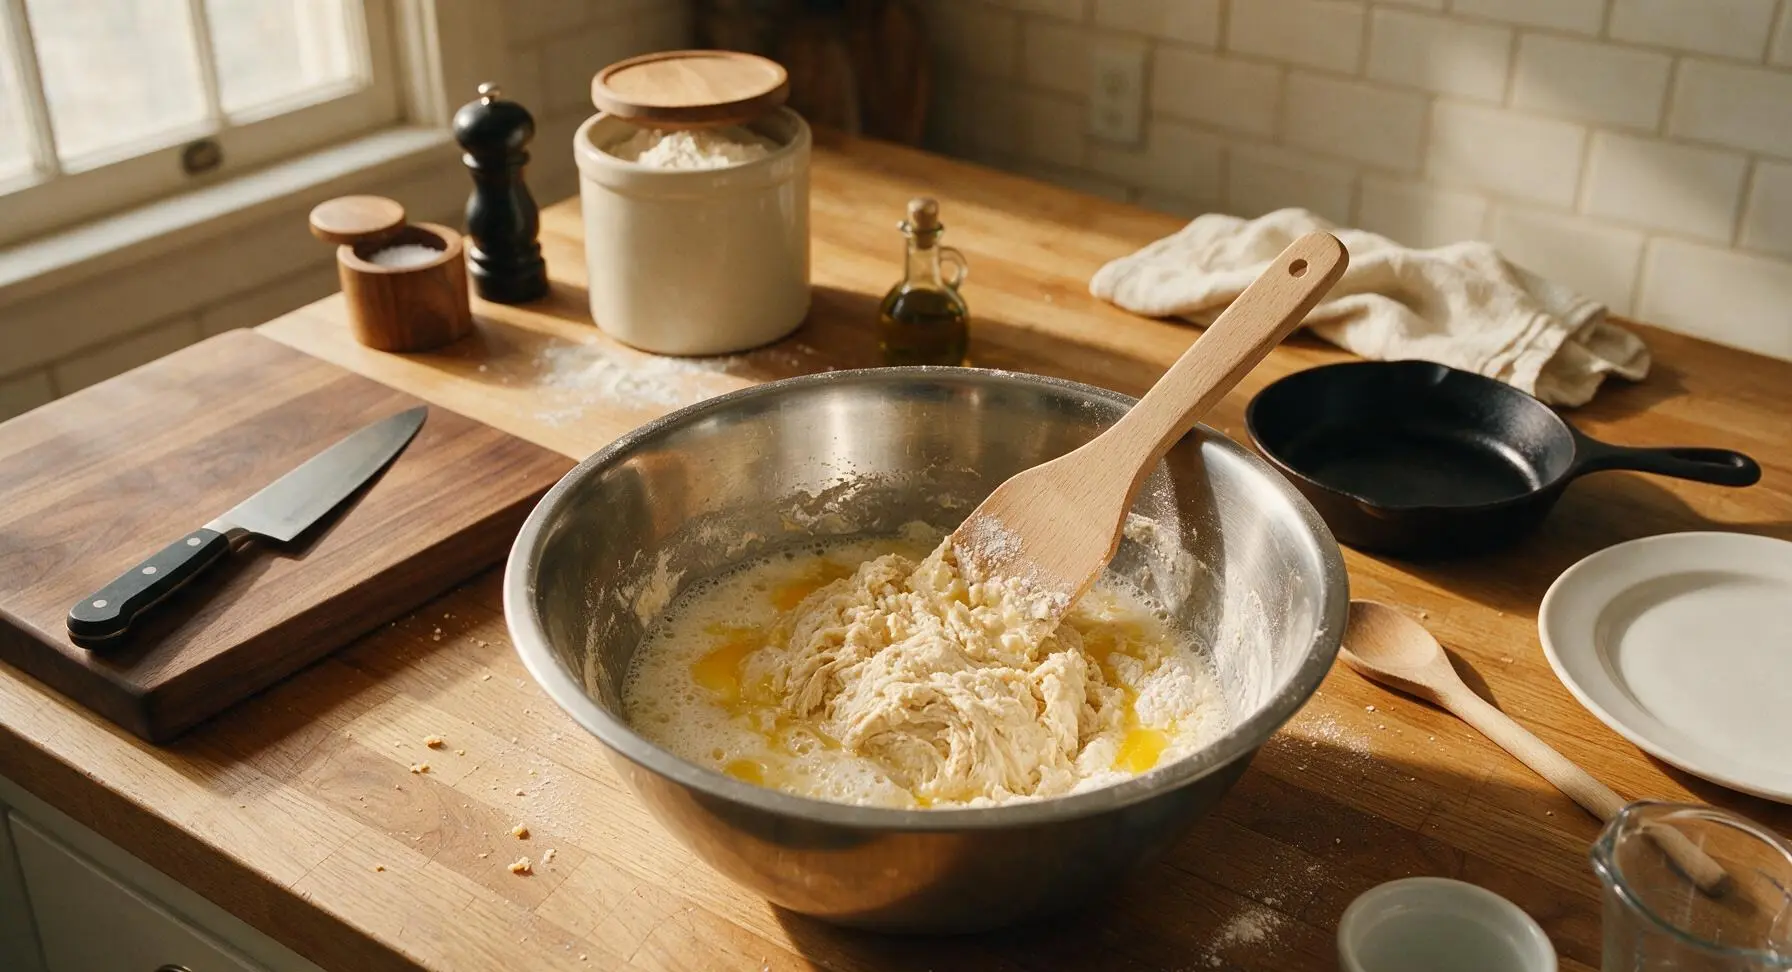
Add the remaining 1 tablespoon granulated sugar, slightly cooled melted butter, room temperature large eggs, and fine sea salt to the foamy yeast mixture. Whisk gently until all wet ingredients are fully combined and pale yellow. Add 3 cups of the all-purpose flour, stirring with the light beech wood dough scraper until a shaggy, sticky dough mass forms, with no dry flour pockets left at the bottom of the bowl.
Step 2
step2:Mix the Dough Base
3

Knead the Dough

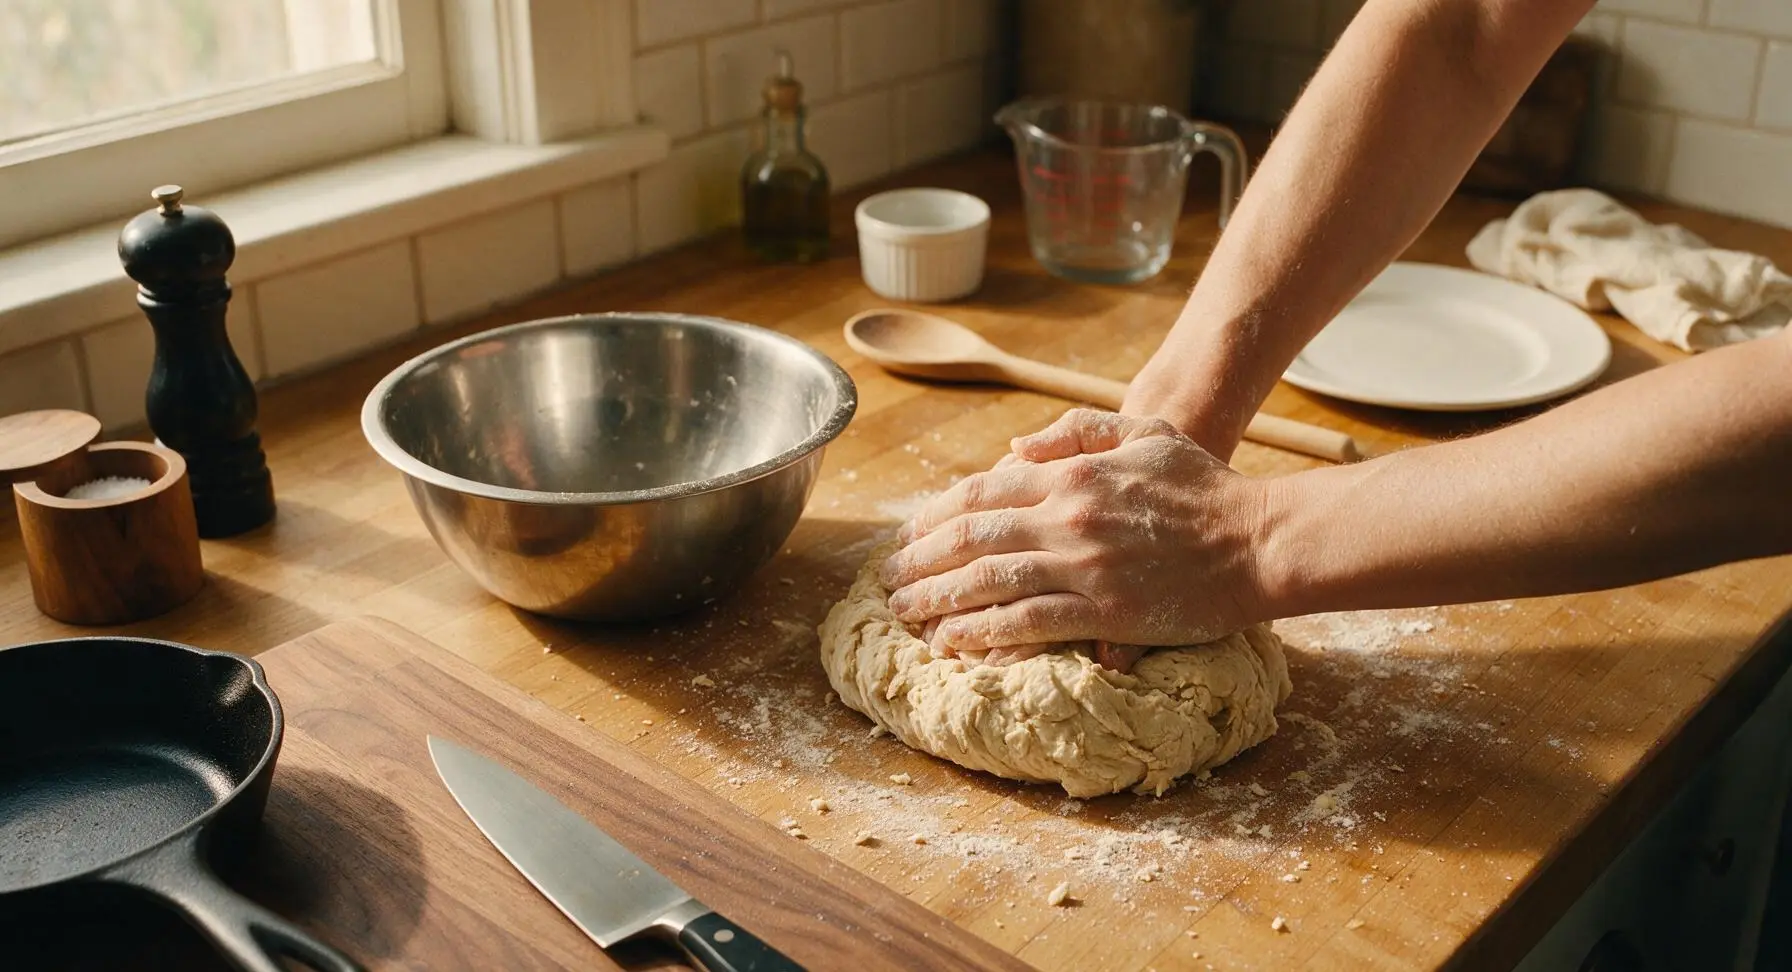
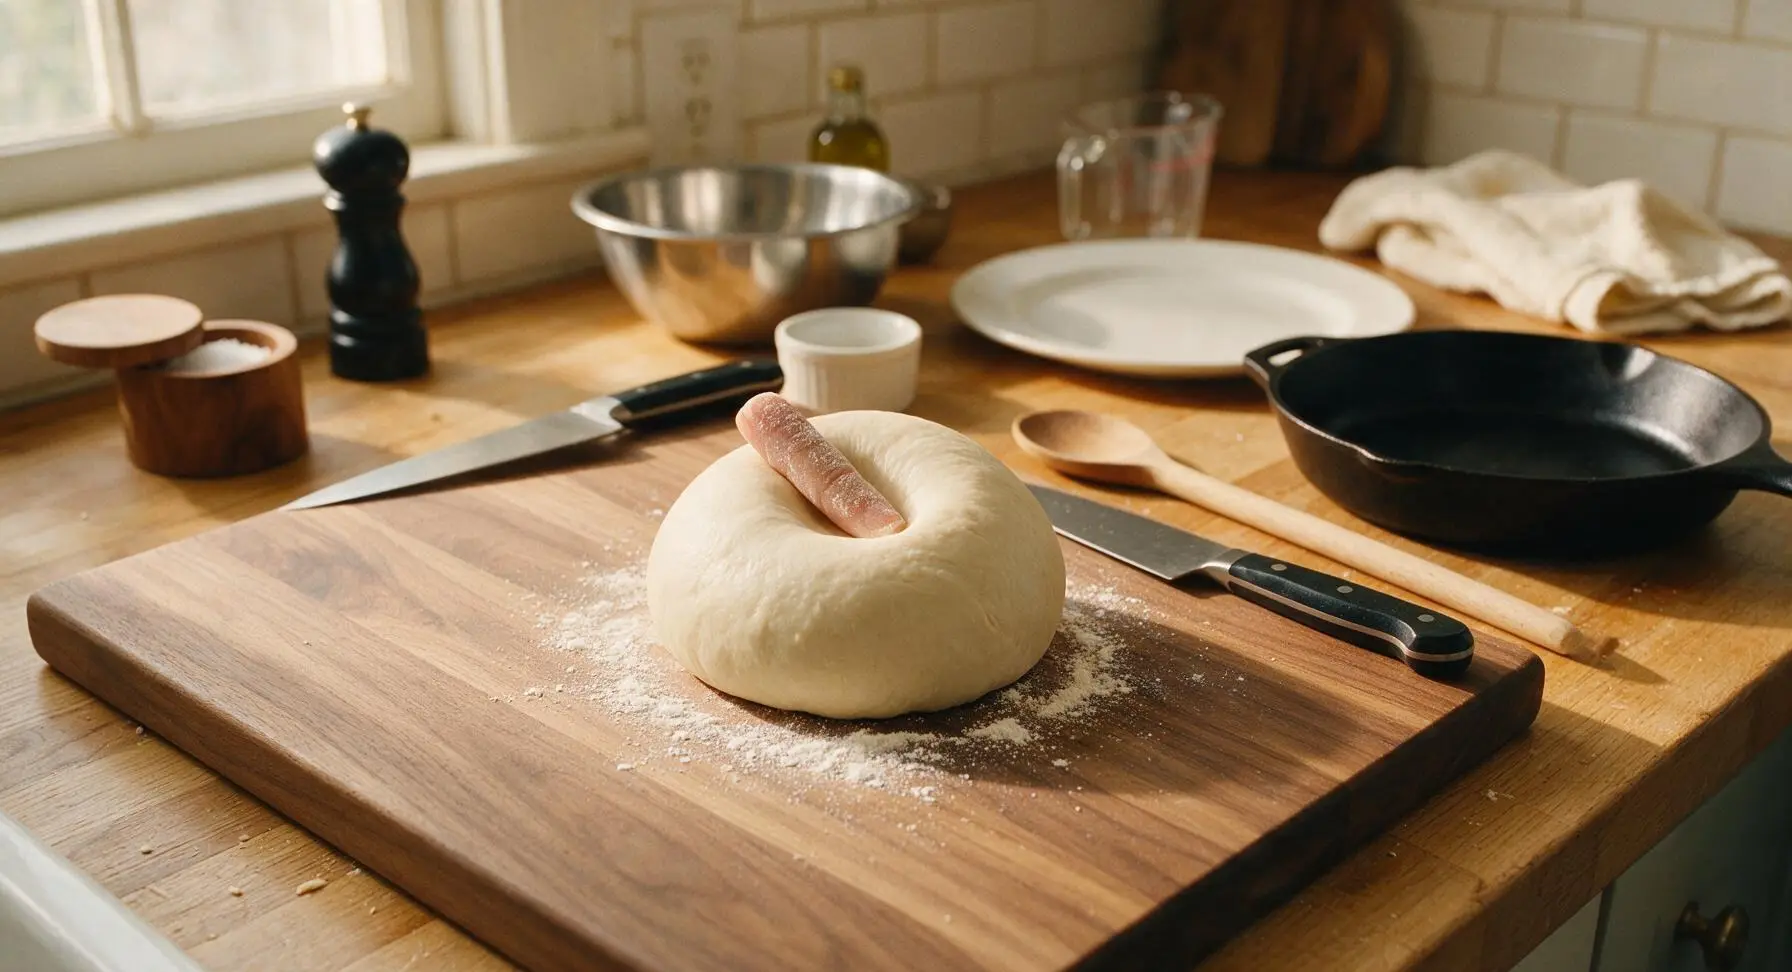
Sprinkle ¼ cup of the remaining all-purpose flour onto the clean maple counter surface. Turn the shaggy dough out onto the floured surface, then knead by hand for 8-10 minutes, adding pinches of the remaining ¾ cup flour only if the dough sticks aggressively to your hands or the counter. The finished kneaded dough will be smooth, satiny, and soft, bouncing back halfway when poked gently with a floured finger, with no rough or lumpy patches.
Step 3
step3:Knead the Dough
Step 3
step3:Knead the Dough
4

First Dough Rise

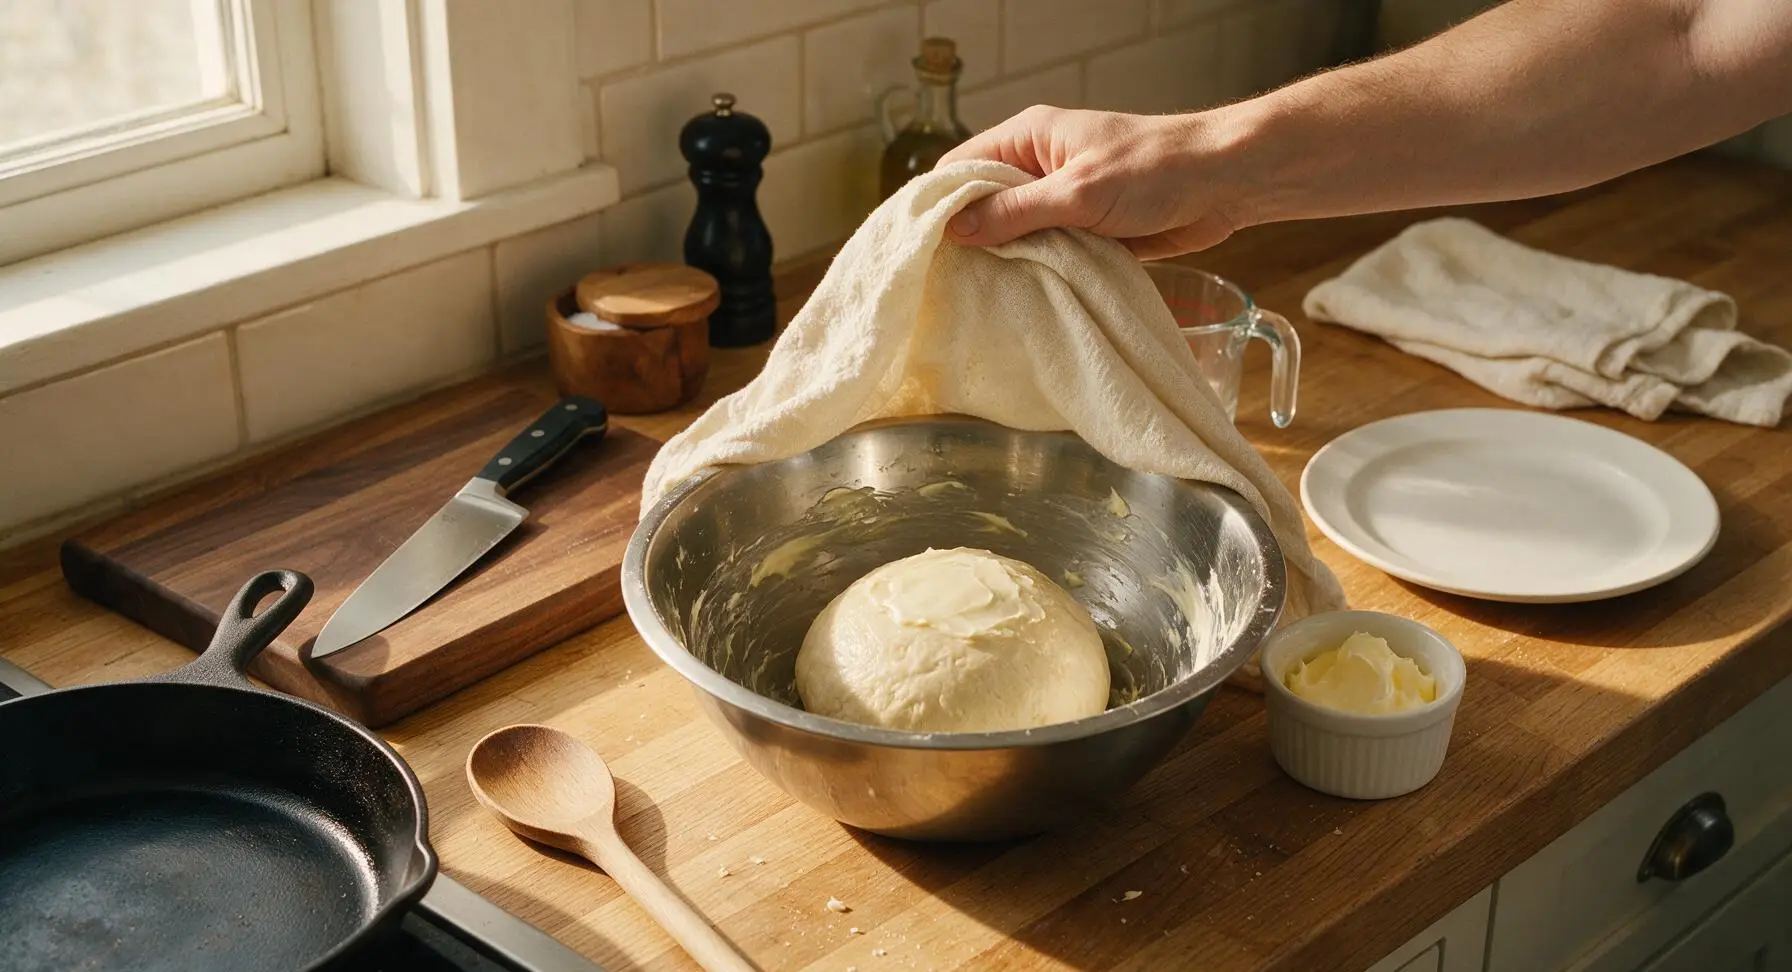
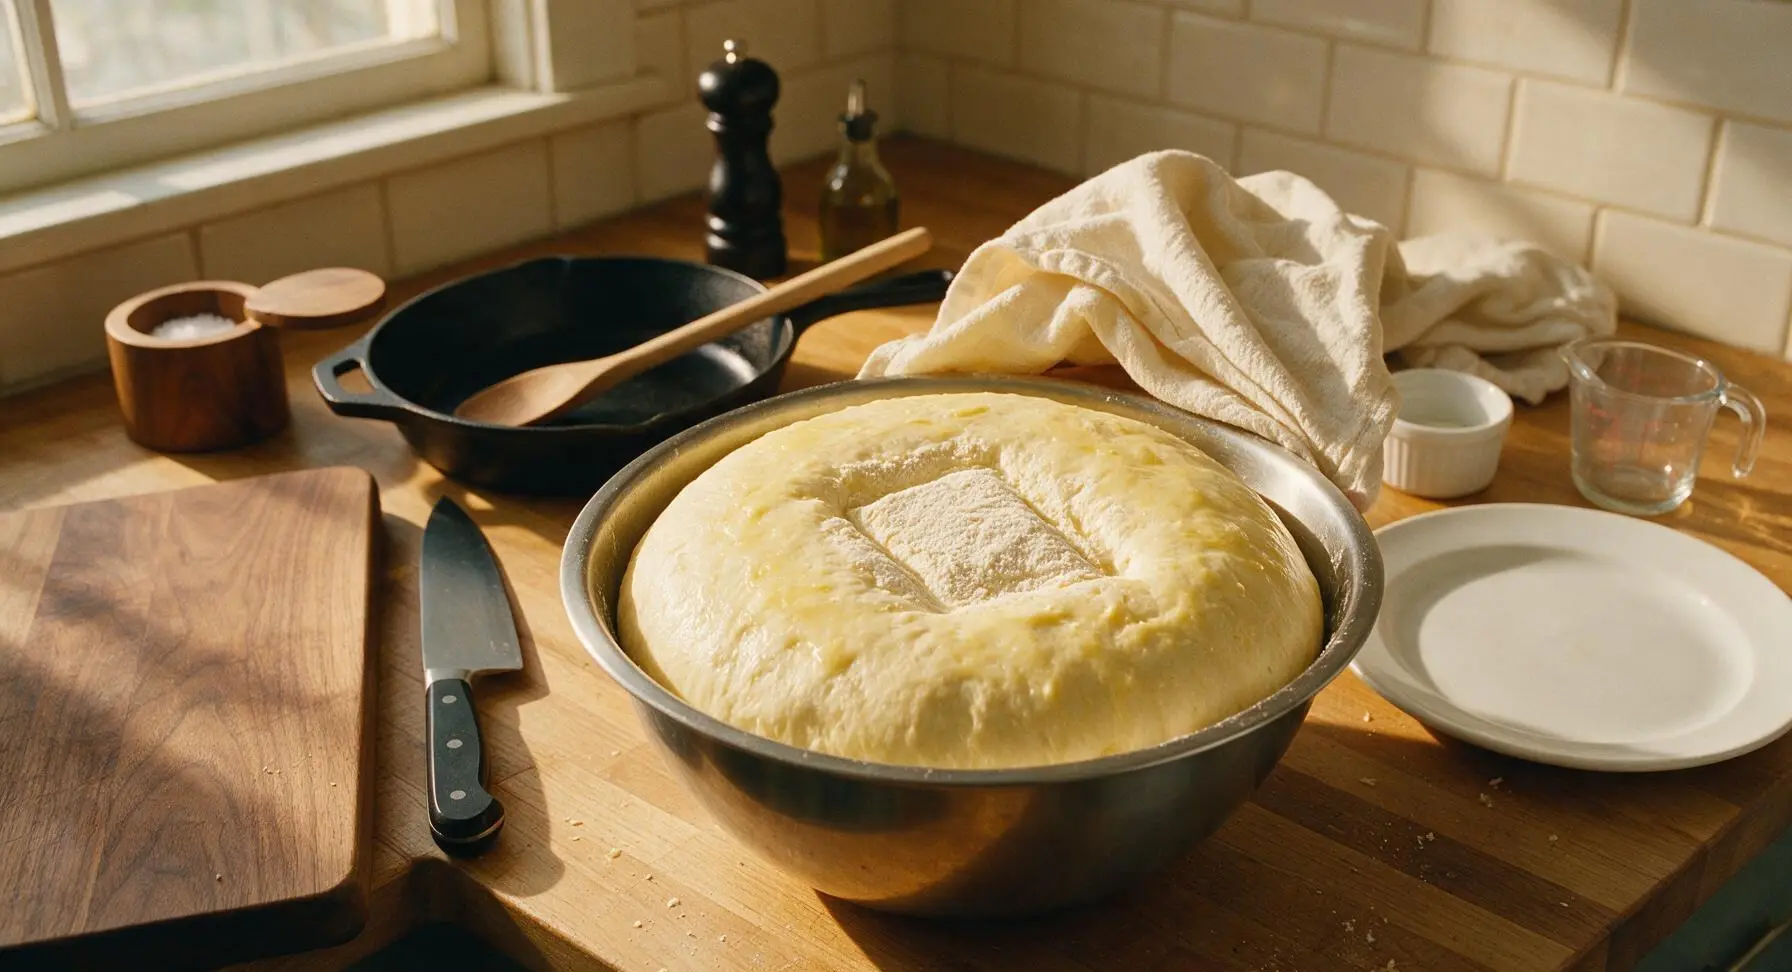
Grease the inside of the stainless steel mixing bowl with a thin layer of softened butter. Place the kneaded dough ball back into the bowl, turning once to coat the top of the dough in a thin layer of butter to prevent drying. Cover the bowl tightly with a clean damp linen towel, then set in a warm (75-80°F), draft-free spot for 1 to 1 ½ hours. The dough is fully risen when it has doubled in size, and a 1-inch deep indentation pressed with a floured finger remains without bouncing back.
Step 4
step4:First Dough Rise
Step 4
step4:First Dough Rise
5

Shape the Rolls

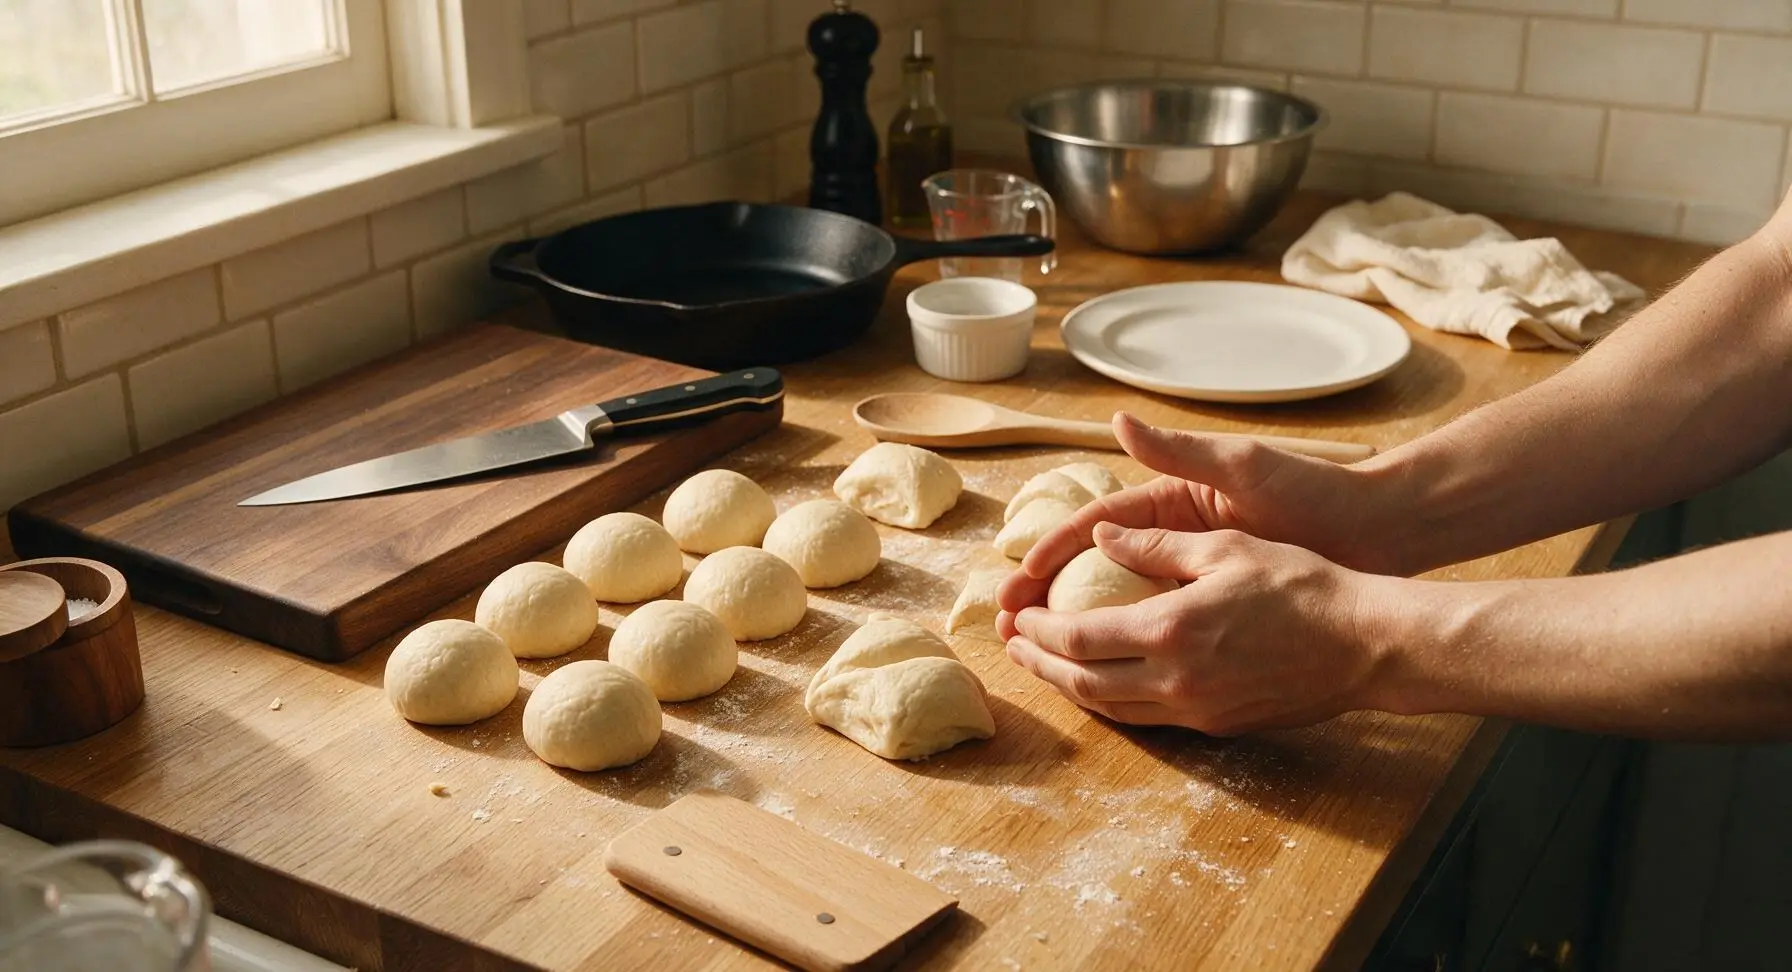
Punch the center of the risen dough firmly to release all trapped air, then turn it out onto a lightly floured counter surface. Use the beech wood dough scraper to cut the dough evenly into 12 equal pieces (approximately 55g each for uniform size). Roll each piece into a tight, smooth ball by cupping your hand lightly over the dough and applying gentle circular pressure against the counter, pinching any seams closed at the bottom.
Step 5
step5:Shape the Rolls
6

Second Pan Rise

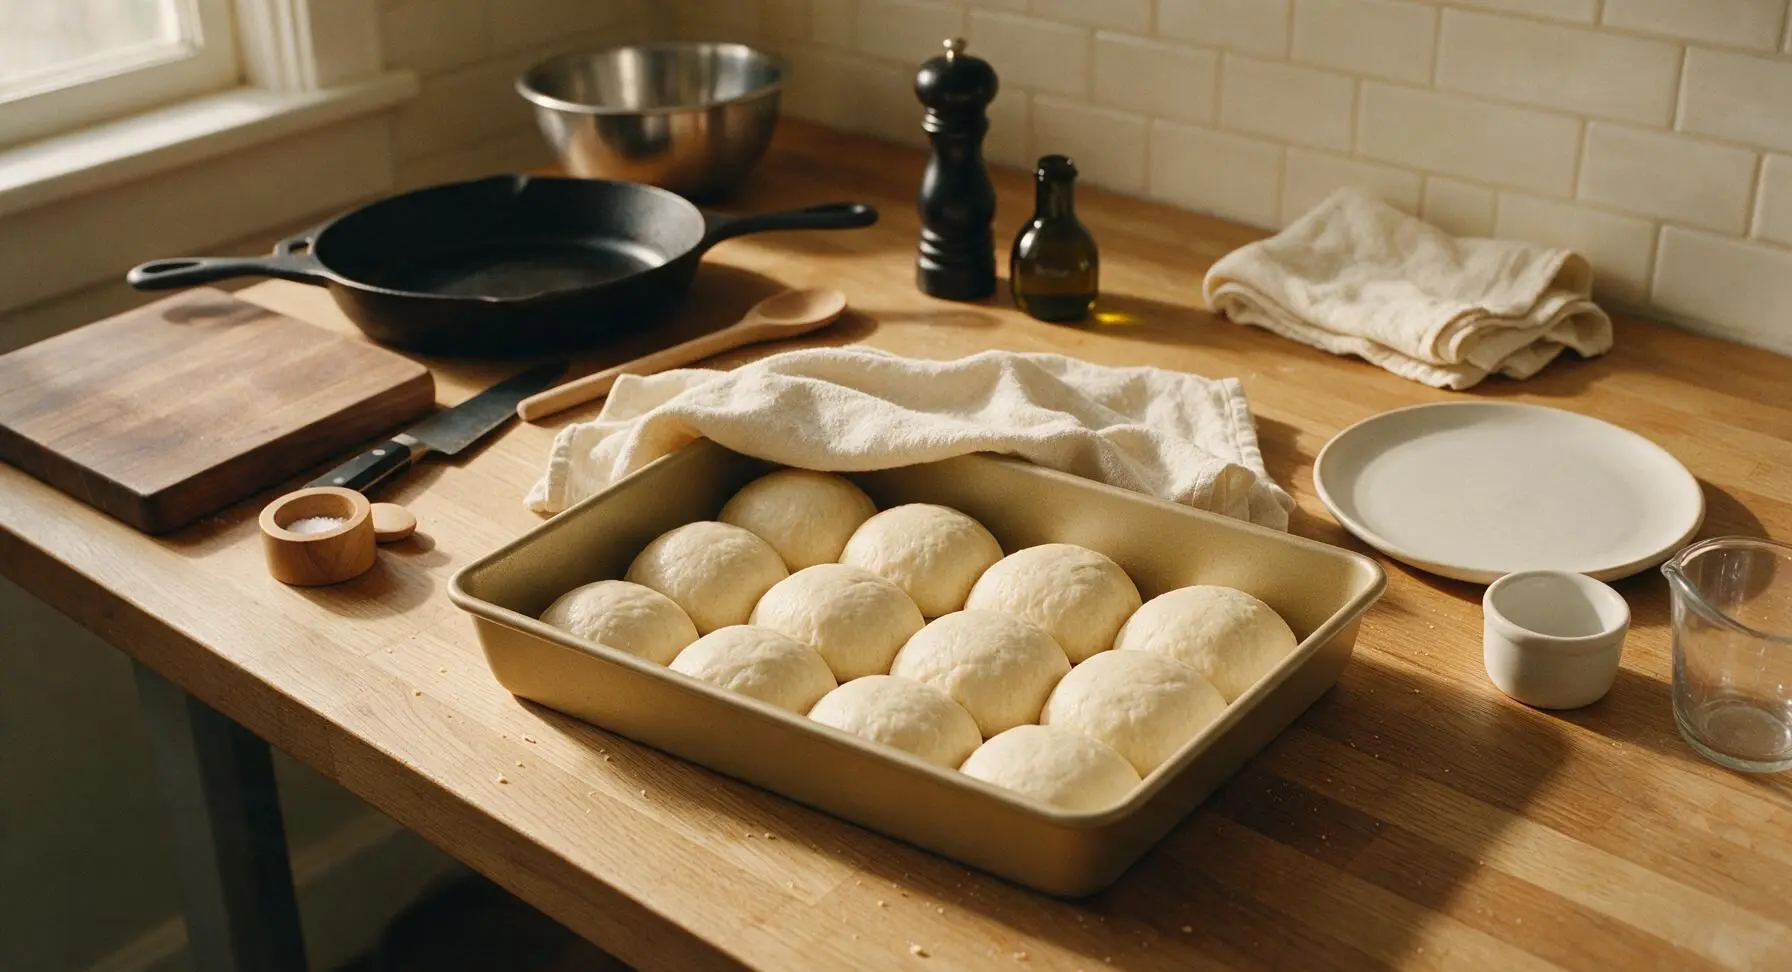
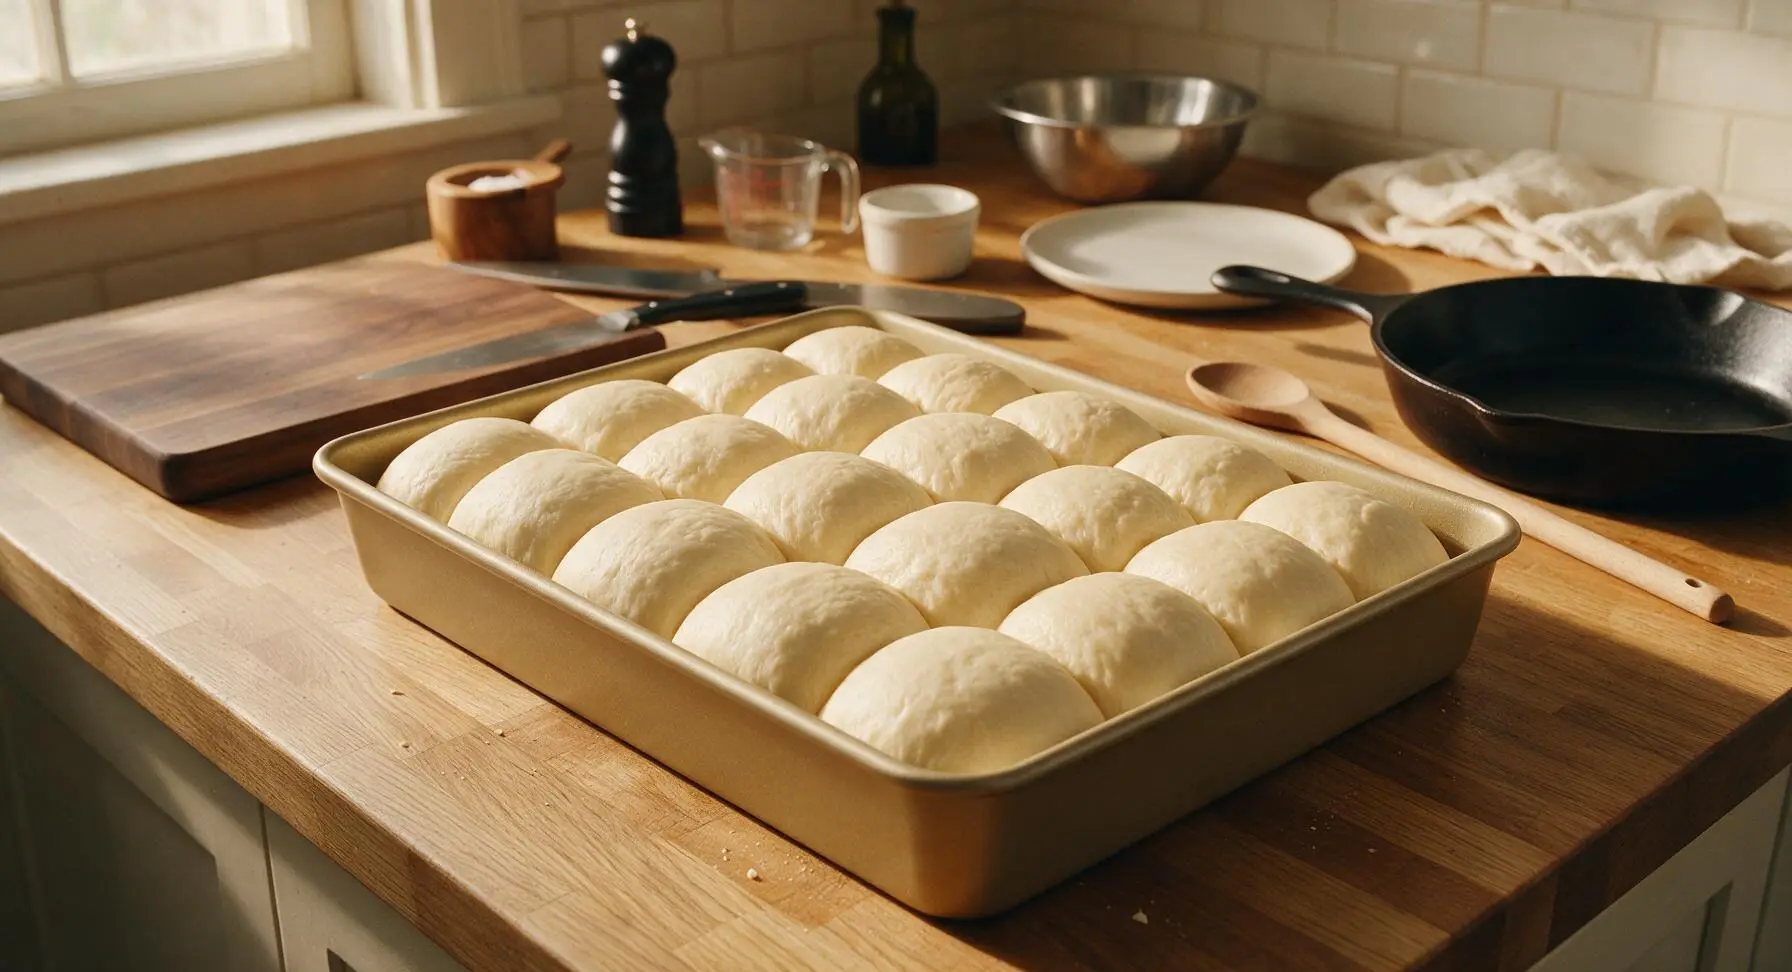
Grease the interior of the 9x13 inch matte gold baking pan with a thin layer of softened butter. Arrange the shaped dough balls evenly in the pan in 3 rows of 4, leaving ½-inch gaps between each ball to allow room for rising. Cover the pan loosely with the damp linen towel, and let rise for a second 30-45 minutes in the same warm, draft-free spot. The rolls are ready to bake when they puff up to fill the gaps between them, pressing gently against each other and jiggling slightly when the pan is nudged.
Step 6
step6:Second Pan Rise
Step 6
step6:Second Pan Rise
7

Bake the Rolls

While the rolls complete their second rise, preheat the oven to 375°F (190°C) with a rack positioned in the middle. Remove the linen towel from the pan, then place the pan on the middle oven rack. Bake for 18-20 minutes, rotating the pan halfway through for even browning. The rolls are done when the tops are a deep, even golden brown, and the internal temperature reads 190°F on the digital thermometer inserted into the center of a middle roll, away from the pan edges.
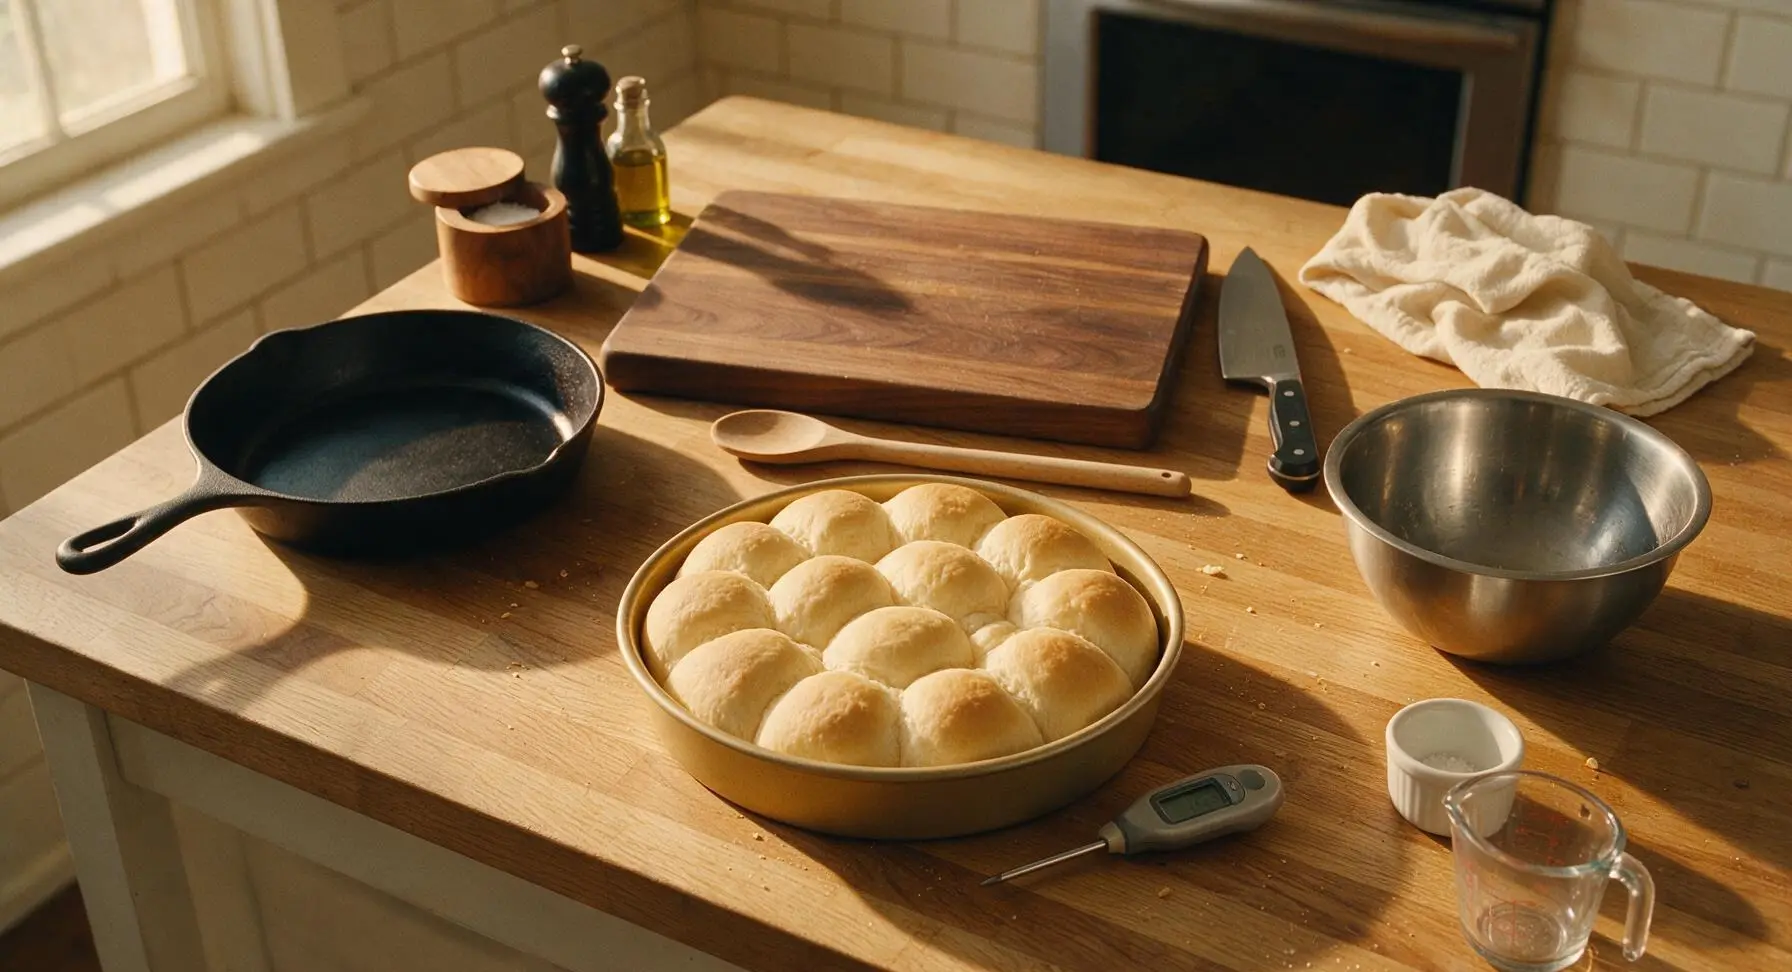
Step 7
step7:Bake the Rolls
8

Butter and Serve

Melt the remaining 1 tablespoon of butter in the small ceramic butter warmer. Remove the baked rolls from the oven, immediately brushing the tops generously with the melted butter using the light blue silicone pastry brush. Let the rolls rest in the pan for 5 minutes to set, then transfer them to the round cream ceramic serving platter. Serve warm, with extra softened butter in the small cream ramekin on the side.
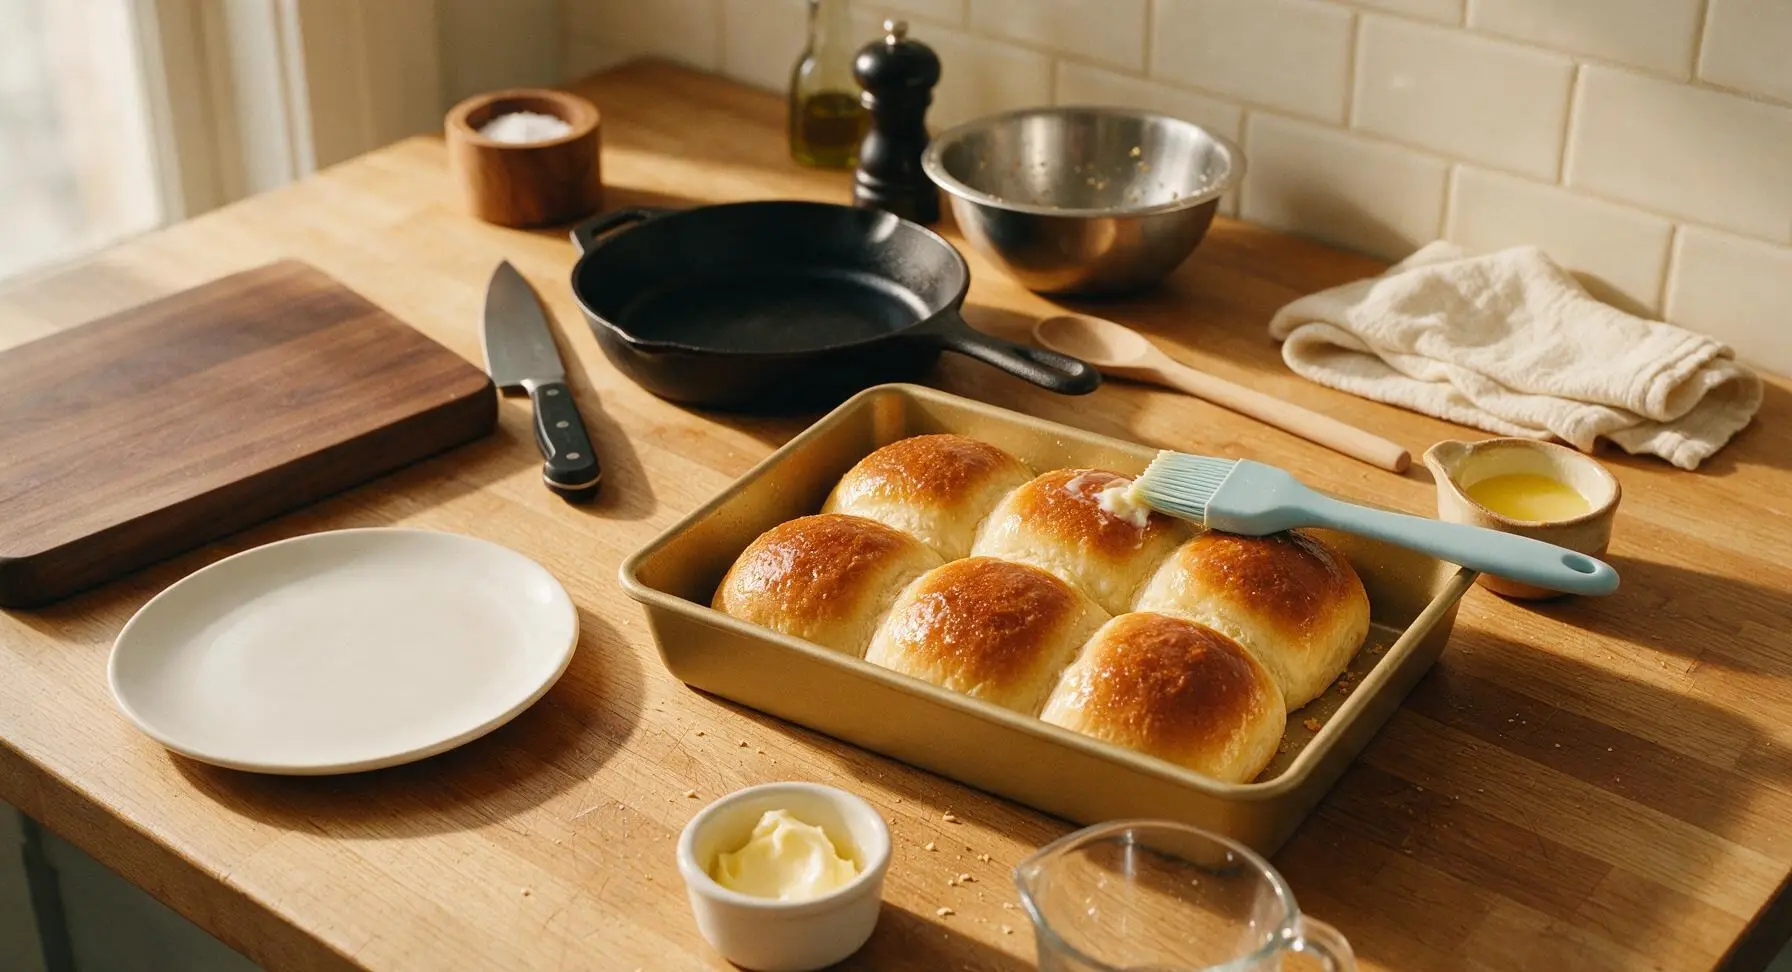
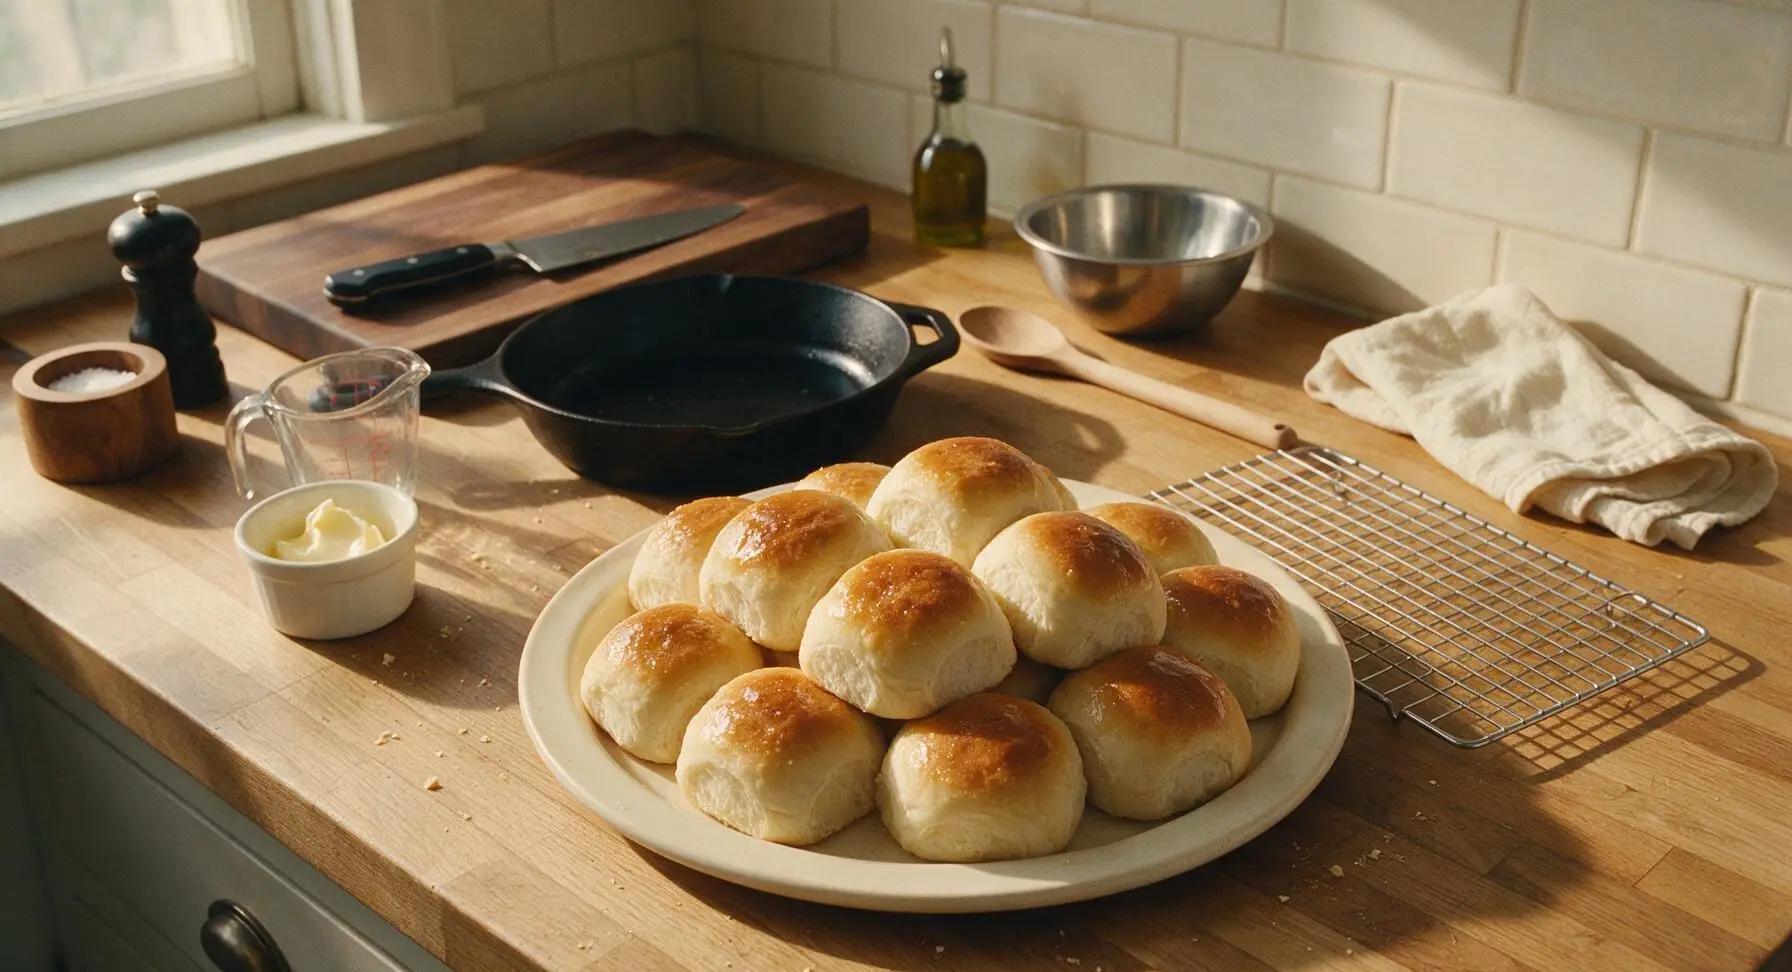
Step 8
step8:Butter and Serve
Step 8
step8:Butter and Serve

Tips

1.Always test your milk temperature with a thermometer before adding yeast: liquid hotter than 120°F will kill live yeast, leading to dense, flat rolls that fail to rise, while liquid colder than 100°F will not activate yeast quickly enough, leading to long rise times and weak gluten development.
2.Resist the urge to add extra flour while kneading: it is normal for the dough to feel slightly sticky at first, and adding too much flour will result in tough, dense rolls instead of the soft, pillowy texture classic dinner rolls are known for. The dough will become smoother and less sticky as gluten develops during kneading.
3.Brush rolls with melted butter immediately after removing them from the oven: the hot crust absorbs the butter to create a soft, rich top instead of a dry, crisp crust, and adds a subtle savory note that pairs perfectly with gravy, jam, or extra softened butter.


✨ You May Also Like

Side Dishes
🍜 India

Velvety, aromatic all-purpose curry sauce perfect for tossing with roasted veggies, grilled protein, or rice for fast, cozy, flavorful meals.

⏱️ 25 minuteSide Dishes ★ 4.8
Side Dishes
🍜 Spain

Tender, starchy boiled yuca tossed in bright, garlicky citrus mojo sauce—an iconic, zesty side that pairs beautifully with roasted pork, grilled meats, and rice and beans.

⏱️ 40 minuteSide Dishes ★ 5
Side Dishes
🍜 United States

Tender, paper-thin potato flatbread, a beloved Norwegian-American Minnesota Christmas staple, griddled until softly spotted and served warm with butter.

⏱️ 1 hour 30Side Dishes ★ 4.6
Side Dishes
🍜 United States

Rich, deeply savory cured salt pork, a long-lasting kitchen staple perfect for frying crispy as a side or adding umami to stews, beans, and chowders.

⏱️ 7 days (2Side Dishes ★ 4.9
Side Dishes
🍜 United States

Crispy, tangy classic Southern fried green tomatoes with a crunchy cornmeal crust, served hot for a nostalgic, comforting summery bite.

⏱️ 25 minuteSide Dishes ★ 4.9
Side Dishes
🍜 United States

Moist, golden-crusted savory muffins with sweet corn, zesty jalapeño, and melted cheddar, perfect for pairing with smoky summer grilled fare.

⏱️ 30 minuteSide Dishes ★ 4.9

Classic American Dinner Rolls:Frequently Asked Questions

1.Why do my dinner rolls turn out dense instead of light and pillowy? ▾
Dense rolls usually stem from three easy-to-fix missteps: over-packed all-purpose flour (spoon and level rather than scooping straight from the bag to avoid adding excess), inactive yeast (proof it in 105–110°F milk with a pinch of sugar first to confirm it foams), or cutting first or second rise times short before baking.
2.What temperature should whole milk be to properly activate active dry yeast? ▾
Aim for 105–110°F, which feels like warm bath water to the touch. If it’s cooler than 100°F, the yeast won’t wake up properly; if it’s over 115°F, it will kill the yeast, leaving your rolls flat and dense. You don’t need a fancy thermometer if you test it carefully against your inner wrist.
3.Can I use instant yeast instead of active dry yeast for this recipe? ▾
Absolutely! Swap active dry yeast for instant yeast at a 3:4 ratio—so for every 1 teaspoon of active dry yeast, use ¾ teaspoon of instant yeast. You can skip the initial proofing step in warm milk too; just mix instant yeast straight in with your dry ingredients for the same soft, fluffy result.
4.How do I get that signature buttery golden crust on classic dinner rolls? ▾
It’s simpler than you think! Melt 1 tablespoon of unsalted butter and brush it generously over the tops of the rolls right before they go into the oven, then brush them again with another tablespoon of melted butter immediately after pulling them out. This creates that shiny, rich, perfectly golden crust everyone loves.
5.Can I make these dinner rolls ahead of time for Thanksgiving? ▾
Definitely! You have two easy options: make the dough, shape the rolls, cover tightly, and refrigerate for up to 16 hours for the second rise, then bake straight from the fridge (add 2–3 minutes to bake time), or bake fully, cool completely, and freeze for up to 1 month, rewarming in a 300°F oven for 10 minutes before serving.
6.How do I know when the first dough rise is fully done? ▾
Your dough is ready when it has doubled in size, and a gentle poke with a floured finger leaves an indent that slowly springs back halfway, rather than popping all the way up or staying sunken completely. This usually takes 1 to 1.5 hours in a warm, draft-free spot like a turned-off oven with the light on.
7.Can I use bread flour instead of all-purpose flour for these rolls? ▾
You can, but expect a slightly chewier, more structured roll rather than the ultra-soft, pillowy texture classic American dinner rolls are known for. If you do swap, hold back 2 tablespoons of whole milk initially, as bread flour absorbs more liquid than all-purpose flour, and add it back only if the dough feels too stiff.
8.Why did my rolls collapse while they were baking? ▾
Collapsing rolls almost always mean you let them over-proof during the second rise. If the dough gets too puffy and jiggly before going in the oven, the gluten over-stretches and can’t hold its structure when it hits the hot oven. Next time, stop the second rise when rolls are puffed and hold a gentle indent when poked, not bubbly and fragile.
9.Do I have to use granulated sugar in this recipe, or can I cut it down? ▾
The small amount of granulated sugar in this recipe does more than add subtle sweetness—it feeds the yeast to help it rise, and encourages that golden brown crust. You can cut it by half if you prefer less sweet rolls, but don’t omit it entirely, or your yeast will be sluggish and your crust will be pale and dull.
10.How should I store leftover dinner rolls to keep them soft? ▾
Let leftover rolls cool completely to room temperature first, then seal them in an airtight plastic bag or storage container at room temperature for up to 3 days. Don’t refrigerate them, as cold temperatures will make them go stale much faster. Rewarm for 10 seconds in the microwave or 5 minutes in a 300°F oven before serving.
11.Can I use salted butter instead of unsalted butter in the dough? ▾
You can, just cut any added salt in the recipe by ¼ teaspoon per stick of butter you swap in. Salted butter has added salt that can slow yeast activity if you don’t adjust for it, and it can throw off the balanced, mild buttery flavor these classic rolls are known for if total salt levels are too high.
12.What’s the best way to shape uniform, pretty dinner rolls? ▾
Start by dividing your risen, punched-down dough into equal 2-ounce pieces using a kitchen scale for total consistency. Cup each piece under a slightly cupped, floured hand on your work surface, and roll in small circles until the top is smooth and taut, pinching seams closed on the bottom before setting in your greased pan.
13.My kitchen is cold in the winter—how can I get my dough to rise properly? ▾
You have a couple easy hacks for cold kitchens. First, set your covered bowl of dough on a wire rack over a baking pan filled with very hot water, which creates a warm, humid rising chamber. Alternatively, turn your oven on for 1 minute, turn it off, set the dough inside, and leave the oven light on to hold a steady 75–80°F temperature.
14.Can I add mix-ins like garlic, herbs, or cheese to these rolls? ▾
Absolutely! Classic American dinner rolls are a perfect blank canvas. Stir in 2 teaspoons of minced garlic and 1 tablespoon of chopped fresh parsley, or ½ cup of shredded sharp cheddar, into the dough during the last minute of kneading. Just avoid adding too many heavy mix-ins, which can weigh down dough and make rolls dense.
15.Why do the bottoms of my rolls burn before the tops are golden? ▾
Burnt bottoms usually mean your oven rack is positioned too low, or you’re using a thin, dark baking sheet that conducts too much heat. Move your rack to the middle position, and if you only have thin baking sheets, double them up by stacking one under another to insulate the bottoms of the rolls as they bake.

Comments (5)

2 days ago

OMG these rolls are a GAME CHANGER for Sunday family dinner! I’ve tried so many dinner roll recipes that turn out dense or way too sweet, but these were perfectly fluffy, buttery, and had just the right amount of salt. My kids devoured three each before we even got the main course on the table! I did let the dough rise an extra 20 minutes because my kitchen is pretty cold this time of year, and that worked perfectly. Already planning to make a double batch for our neighborhood potluck next weekend!

yesterday

So glad you mentioned the extra rise time for cold kitchens! My house is always freezing in the winter, I would’ve been panicking when the dough didn’t puff up like the photos. Can’t wait to try these for our Thanksgiving dinner this year!

2 hours ago

So happy you loved the rolls, Lizzy! Great call on the extra rise time for a cold kitchen — dough rises so much slower in cool spaces, so trusting that process makes all the difference. A double batch for your neighborhood potluck is such a smart move, these always disappear fast at group events!

1 week ago

These rolls were really tasty overall, but I struggled a little with the kneading step since I don’t have a stand mixer. My arms were killing me after 10 minutes of hand kneading! The end result was still super soft and went perfectly with my smoked brisket dinner last weekend, but I almost gave up halfway through. Would love any tips for making this by hand without feeling like I got an arm workout!

5 days ago

Hi Jake! So glad the end result paired well with your smoked brisket — that sounds absolutely delicious! For hand kneading, try folding the dough over itself and pressing down with the heels of your hands instead of aggressively working it, and give yourself a 30 second break every 3 minutes to save your arms. You can also let the dough rest for 5 minutes halfway through kneading to help the gluten develop without as much physical effort!

30 minutes ago

SO good. I made these to go with potato soup tonight and even my super picky 3 year old asked for seconds. The 20 minute cook time was perfect for a chaotic weeknight, I didn’t have to wait forever for them to bake. Didn’t have time to do a fancy egg wash so I just brushed melted salted butter on top right after they came out of the oven and *chef’s kiss*. Will be adding these to our regular weeknight rotation for real.

5 days ago

Brought these to my office potluck yesterday and people were literally begging for the recipe! I topped half with everything bagel seasoning and half with plain flaky sea salt, and both versions were gone in 10 minutes flat. The only thing I’ll do differently next time is make a triple batch because even two dozen wasn’t enough to go around!

3 days ago

The everything bagel seasoning idea is total genius! I’ve been looking for a way to make these feel a little more fun for my book club meeting next week, definitely stealing that trick. Thanks for the idea!

3 days ago

I was so nervous to make these since I’m literally a total beginner who’s never baked any kind of bread before! I almost panicked when I saw the difficulty rating was medium, but I gave it a shot for my roommate’s birthday dinner last night. I even let the first rise go 20 minutes longer than the recipe said because I got caught up in homework, and they still turned out perfectly fluffy and buttery! My roommate said they were better than the store-bought ones her grandma used to send. Quick question though — can I freeze the leftover baked rolls to eat later?

2 days ago

I froze half my batch from last week! Just let them cool completely, wrap them tight in plastic wrap then foil, and they keep for up to a month. Pop them in the oven for 5 minutes at 350 to reheat and they taste fresh baked!

yesterday

Hi Cam! That makes me so happy to hear — these are totally doable for new bakers, I’m so proud you gave them a shot! Sam’s freezing tip is spot on: just make sure the rolls are completely cool before wrapping them airtight, and they’ll reheat beautifully. What a sweet birthday surprise for your roommate!



