
Classic Dinner Rolls

title 1
Classic Dinner Rolls
⏱️ cook time 2 hours 30 minutes
🍽️ servings 12
⚡ Difficulty medium

intro

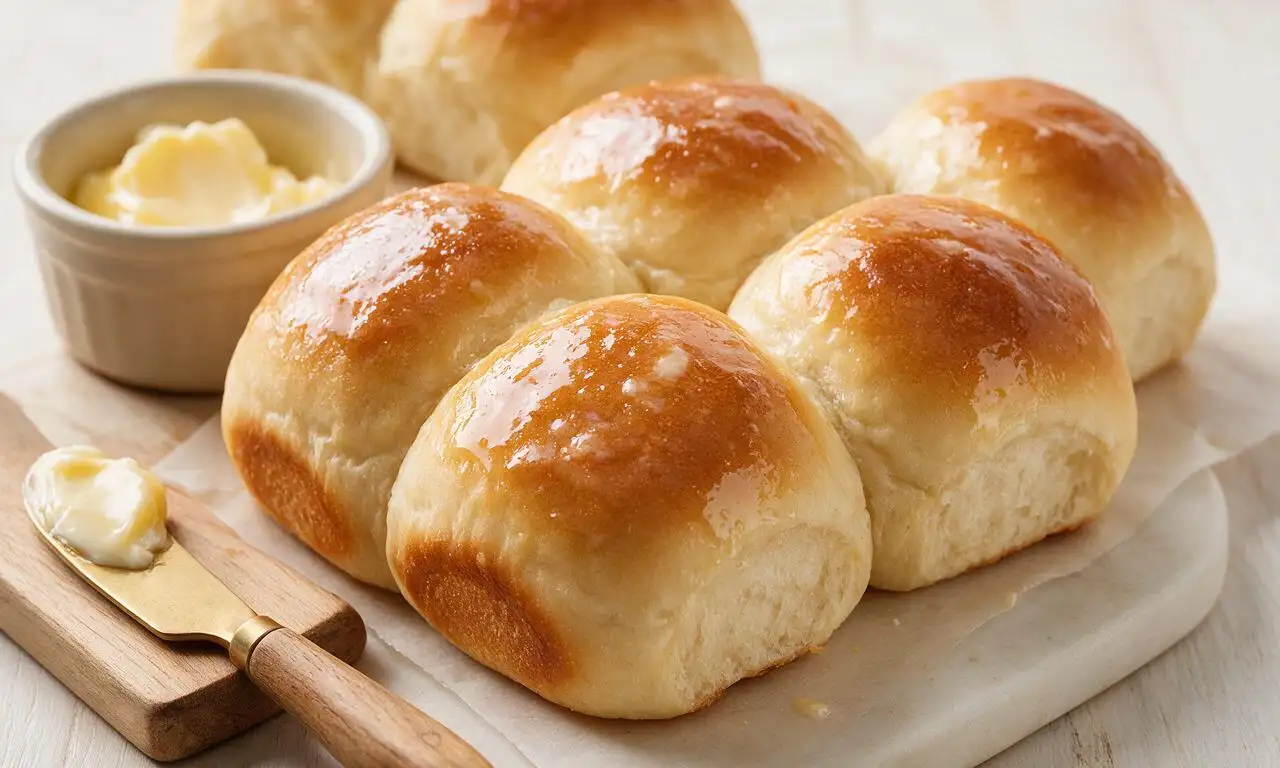
Soft, fluffy, buttery homemade dinner rolls, perfect for sopping up gravy and spreads, a beloved staple at holiday and family dinner tables.

Ingredients

All-purpose flour 480g (4 cups)
Whole milk 240ml (1 cup), warmed to 110°F (43°C)
Active dry yeast 7g (2 1/4 tsp, 1 standard packet)
Granulated sugar 25g (2 tbsp)
Unsalted butter 85g (6 tbsp / 1/3 cup), divided; 57g melted for dough, 28g melted for finishing, plus extra for greasing
Fine sea salt 6g (1 tsp)
Large egg 1 (50g, room temperature)

Steps

1

Activate the yeast

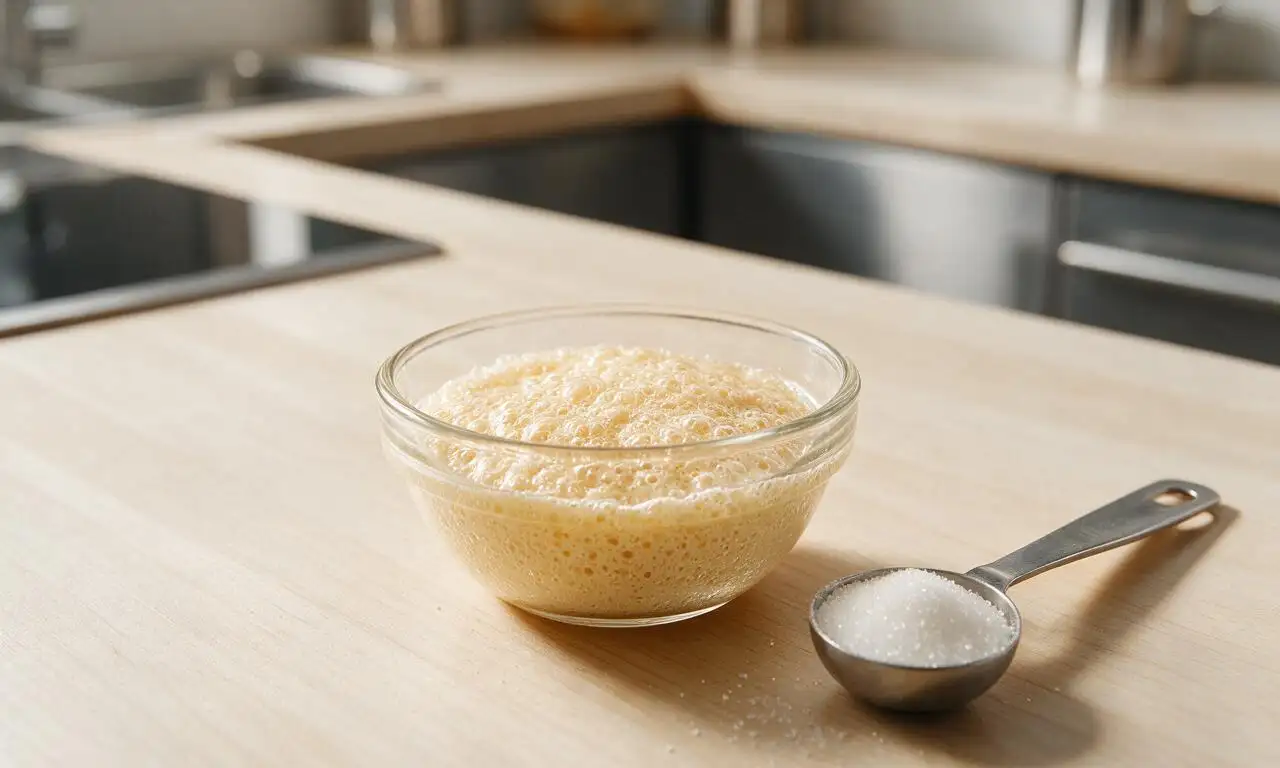
In a small mixing bowl, combine warmed whole milk (110°F/43°C), 1 tablespoon (12.5g) of the measured granulated sugar, and active dry yeast. Stir gently once to combine, then let rest for 5-7 minutes in a warm, draft-free spot until the mixture forms a thick, frothy, beer-like foam on top, confirming the yeast is active and alive.
Step 1
step1:Activate the yeast
2

Mix the dough base

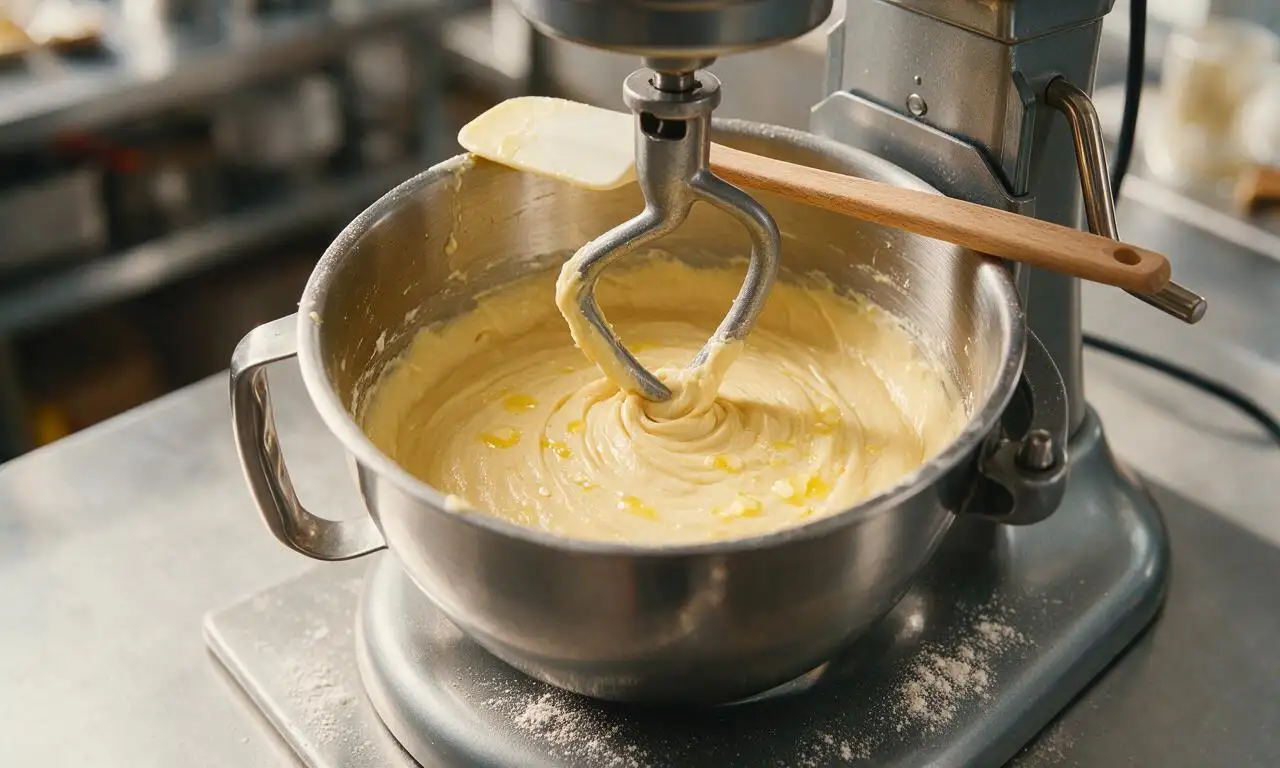
In the bowl of a stand mixer fitted with a dough hook attachment, combine the remaining 1 tablespoon (12.5g) granulated sugar, cooled melted butter (57g), room-temperature large egg, activated yeast mixture, and 240g (2 cups) of the all-purpose flour. Mix on low speed (mixer setting 2) for 2 minutes until a smooth, thick, lump-free batter forms, scraping down the bowl sides with a silicone spatula once halfway through mixing.
Step 2
step2:Mix the dough base
3

Knead the elastic dough

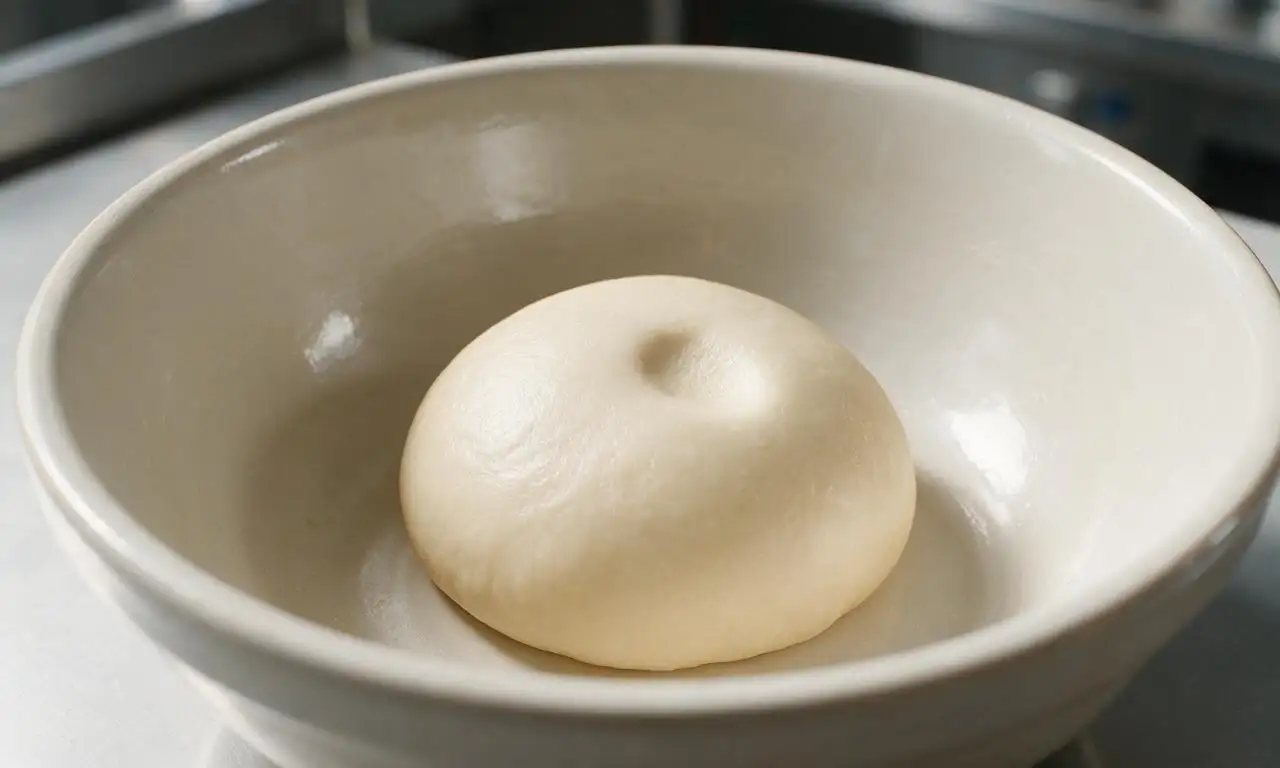
Add the remaining 240g (2 cups) all-purpose flour and fine sea salt to the mixer bowl. Knead on medium-low speed (mixer setting 3) for 7-8 minutes, until the dough pulls completely away from the bowl sides and forms a soft, elastic ball that springs back halfway when poked gently with a floured finger. If the dough remains sticky and clings to the bowl after 5 minutes of kneading, add up to 2 extra tablespoons (15g each) of all-purpose flour, 1 tablespoon at a time.
Step 3
step3:Knead the elastic dough
4

Complete first dough rise

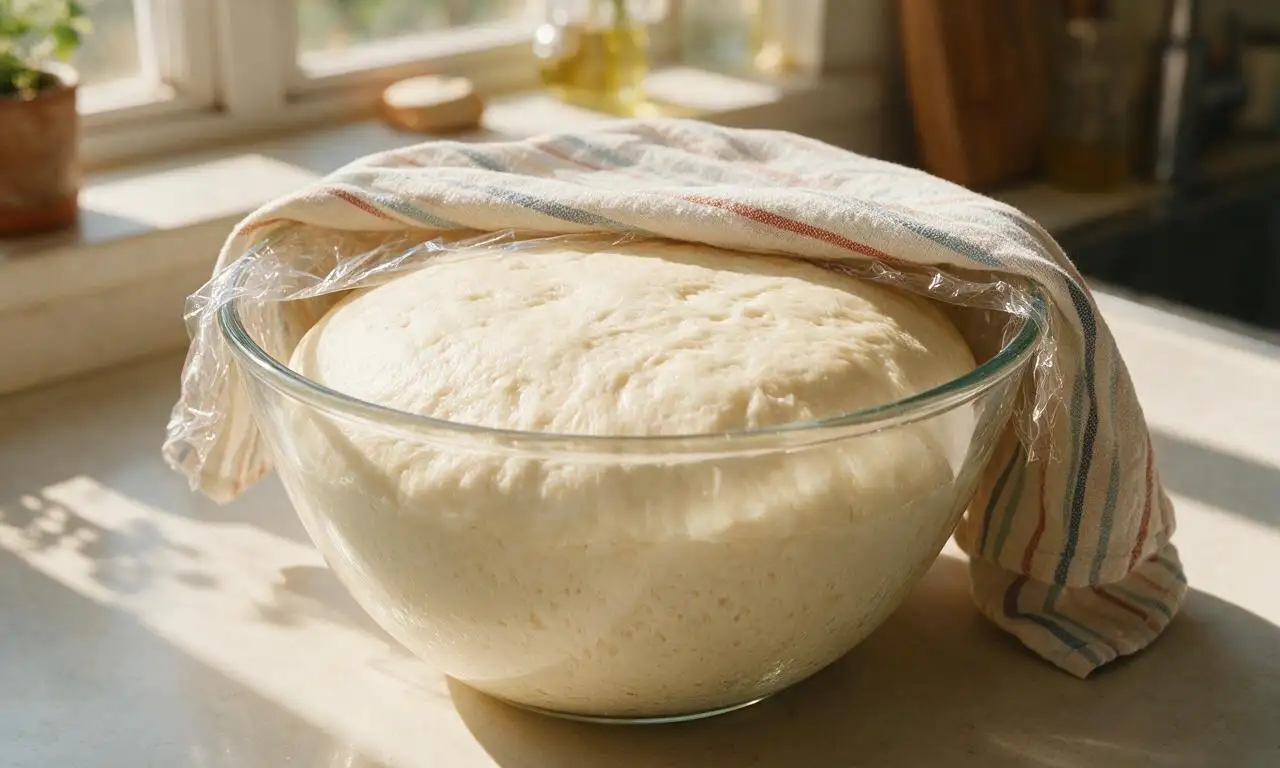
Grease the inside of a large 3-quart glass bowl with 1 teaspoon of softened butter, place the kneaded dough ball inside, and turn the dough to coat all sides lightly in butter. Cover the bowl tightly with plastic wrap and a clean cotton kitchen towel, then let rise in a 75°F (24°C) draft-free spot for 60 minutes, until the dough doubles in volume and leaves a 1-inch deep indent when pressed with a floured finger.
Step 4
step4:Complete first dough rise
5

Shape individual rolls

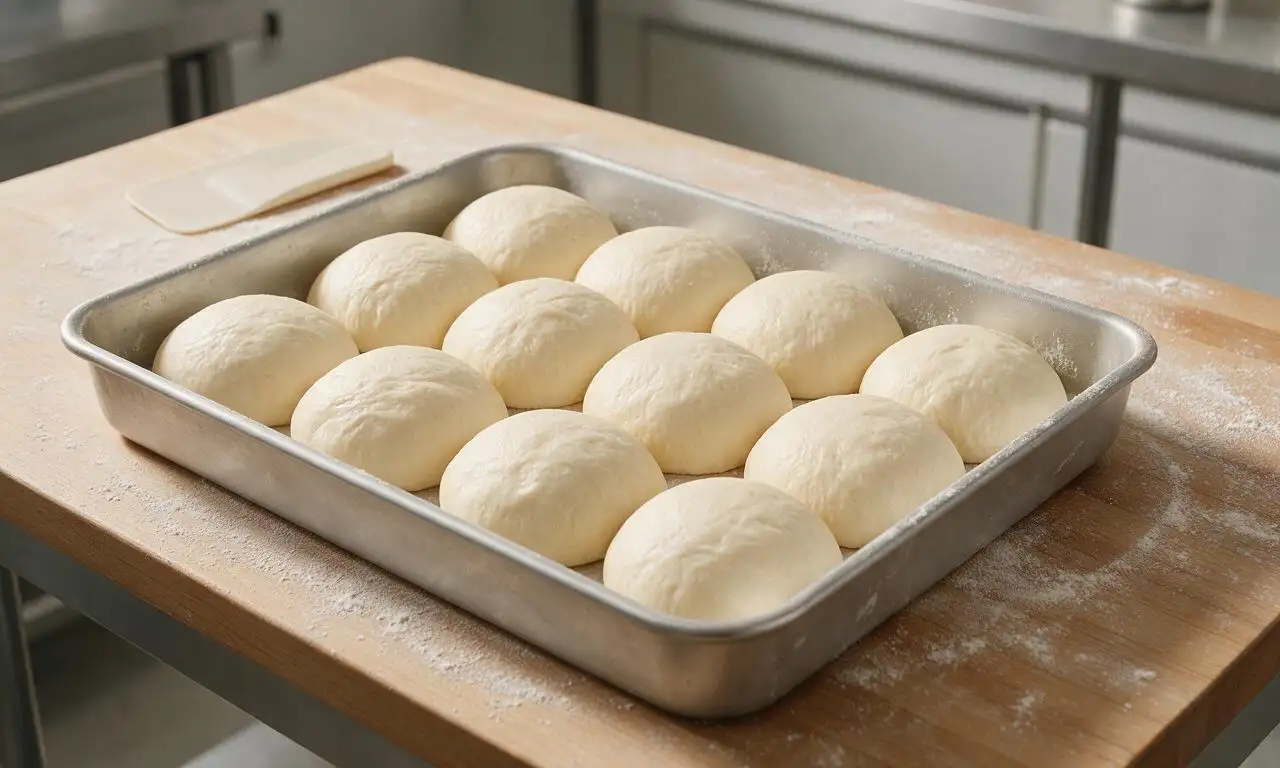
Punch down the risen dough firmly with your fist to release all trapped air bubbles, then turn the dough out onto a lightly floured wooden work surface. Divide the dough evenly into 12 equal pieces (each ~65g), then roll each piece into a tight, smooth ball by tucking the ragged edges under and rolling against the counter with a cupped hand. Arrange the dough balls 1/2-inch apart in a 9x13-inch metal baking pan greased with extra softened butter.
Step 5
step5:Shape individual rolls
6

Second rise and preheat

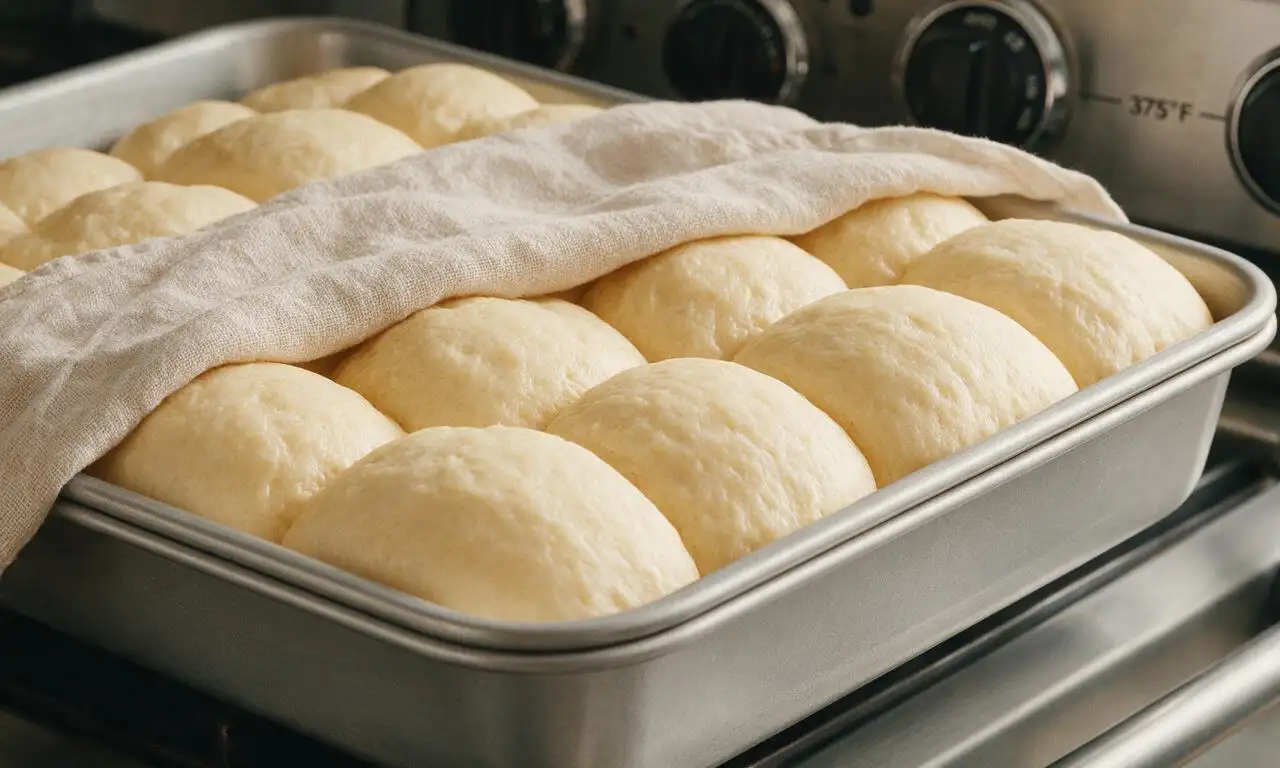
Cover the pan of shaped rolls loosely with greased plastic wrap and a kitchen towel, and let rise for 30-35 minutes in the same warm 75°F (24°C) spot, until the rolls puff up and press against each other, nearly doubling in size again. During the last 10 minutes of rising, preheat your oven to 375°F (190°C) with an oven rack positioned in the exact middle of the oven.
Step 6
step6:Second rise and preheat
7

Bake to golden brown

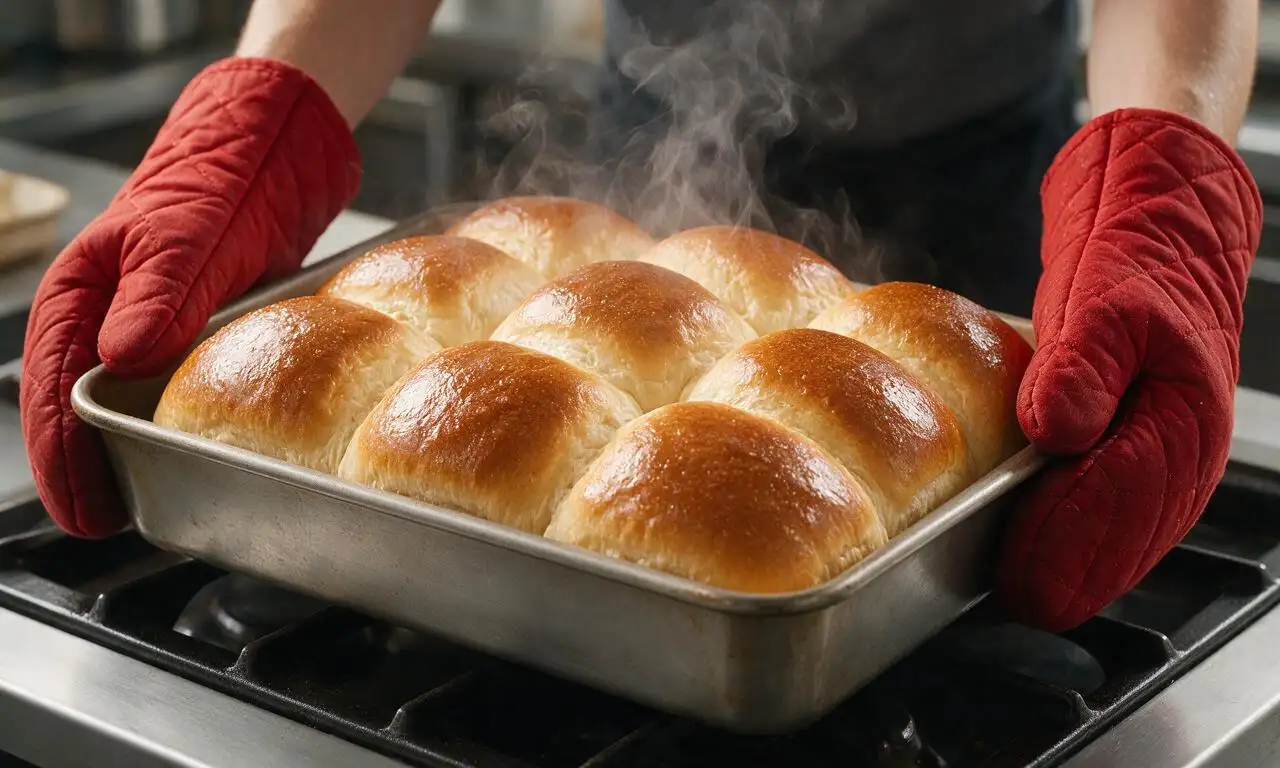
Remove the plastic wrap and towel from the pan, then bake the rolls on the middle oven rack for 18-22 minutes, until the tops are a deep, even golden brown, and the internal temperature of the center rolls reaches 190°F (88°C) on an instant-read thermometer. Rotate the pan 180 degrees halfway through the baking time to ensure even browning across all rolls.
Step 7
step7:Bake to golden brown
8

Finish and cool slightly

As soon as you remove the baked rolls from the oven, brush the tops evenly with the remaining 28g (2 tablespoons) of melted unsalted butter for a glossy, rich finish. Let the rolls cool in the pan for 5 minutes before pulling apart and serving warm.
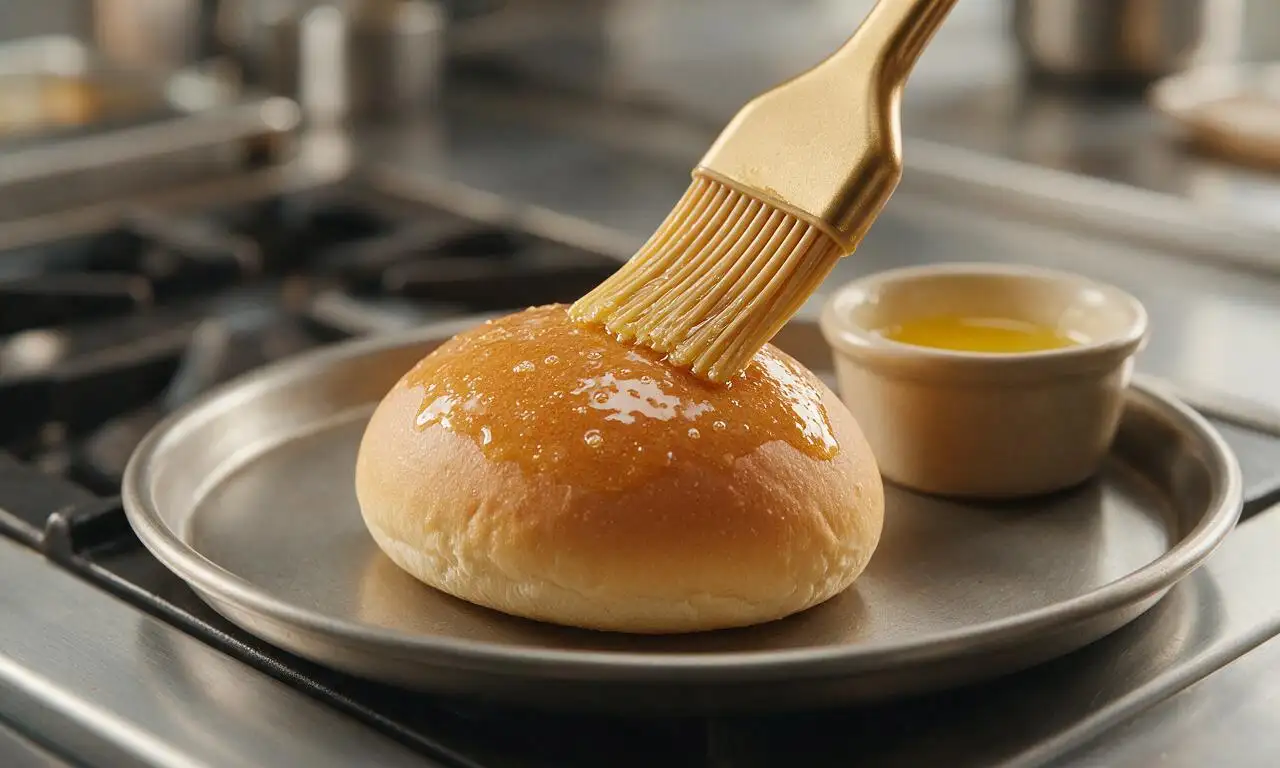
Step 8
step8:Finish and cool slightly

Tips

1.If your yeast mixture does not form a thick frothy foam after 7 minutes, your yeast is likely dead (expired or killed by milk hotter than 120°F/49°C); start with fresh yeast to avoid dense, flat rolls.
2.Avoid adding excess flour during kneading: dough should feel soft and slightly tacky (not sticky enough to cling to fingers) to produce light, fluffy rolls, rather than tough, dense bread.
3.Store leftover rolls in an airtight container at room temperature for up to 3 days; rewarm for 10 seconds per roll in the microwave or 5 minutes in a 300°F (150°C) oven to restore softness.


✨ You May Also Like

Side Dishes
🍜 India

Velvety, aromatic all-purpose curry sauce perfect for tossing with roasted veggies, grilled protein, or rice for fast, cozy, flavorful meals.

⏱️ 25 minuteSide Dishes ★ 4.8
Side Dishes
🍜 Spain

Tender, starchy boiled yuca tossed in bright, garlicky citrus mojo sauce—an iconic, zesty side that pairs beautifully with roasted pork, grilled meats, and rice and beans.

⏱️ 40 minuteSide Dishes ★ 5
Side Dishes
🍜 United States

Tender, paper-thin potato flatbread, a beloved Norwegian-American Minnesota Christmas staple, griddled until softly spotted and served warm with butter.

⏱️ 1 hour 30Side Dishes ★ 4.6
Side Dishes
🍜 United States

Rich, deeply savory cured salt pork, a long-lasting kitchen staple perfect for frying crispy as a side or adding umami to stews, beans, and chowders.

⏱️ 7 days (2Side Dishes ★ 4.9
Side Dishes
🍜 United States

Crispy, tangy classic Southern fried green tomatoes with a crunchy cornmeal crust, served hot for a nostalgic, comforting summery bite.

⏱️ 25 minuteSide Dishes ★ 4.9
Side Dishes
🍜 United States

Moist, golden-crusted savory muffins with sweet corn, zesty jalapeño, and melted cheddar, perfect for pairing with smoky summer grilled fare.

⏱️ 30 minuteSide Dishes ★ 4.9

Classic Dinner Rolls:Frequently Asked Questions

1.Why do my homemade dinner rolls turn out dense instead of light and fluffy? ▾
Dense rolls almost always trace back to three common missteps: using milk hotter than 110°F that kills the active dry yeast, packing all-purpose flour into your measuring cup (always spoon and level!), or cutting rise times short. Let dough fully double in size both in the bowl and after shaping for that signature pillowy crumb.
2.Can I make these rolls ahead of time to cut down on holiday dinner prep? ▾
Absolutely! You have an easy, low-stress make-ahead option: Shape the rolls, place them in your greased baking pan, cover tightly, and refrigerate for up to 24 hours. Pull them out 1–2 hours before baking to come to room temperature and finish rising, then bake as directed for fresh, soft, fluffy rolls.
3.Do I have to use whole milk, or can I swap in a lower-fat milk variety? ▾
Whole milk delivers the rich, tender crumb and subtle dairy sweetness these classic rolls are known for, but you can substitute 2% milk in a pinch. Skip skim milk entirely—it produces a drier, less flavorful roll with a tougher, paler crust. For extra richness, swap ¼ cup of the whole milk for heavy cream.
4.How do I tell if my active dry yeast is still good enough to make the rolls rise? ▾
Stir your measured yeast and a pinch of the recipe’s granulated sugar into warm (105–110°F) whole milk, then let it sit 5–10 minutes. It’s active and ready to use if the mixture forms a foamy, frothy top that smells distinctly bready. If no foam forms, your yeast is expired—grab a fresh packet to avoid flat, dense rolls.
5.Can I freeze fully baked dinner rolls to enjoy later? ▾
Yes, these rolls freeze beautifully for up to 3 months. Let fully baked rolls cool completely to room temperature, then wrap tightly in two layers of plastic wrap and one layer of aluminum foil to prevent freezer burn. Thaw at room temp for 1–2 hours, then warm 5 minutes at 350°F and brush with melted butter before serving.
6.When is the best time to brush butter on the rolls for that classic soft, buttery top? ▾
For the best flavor and soft, glossy crust, brush 2 tablespoons of melted unsalted butter on the rolls immediately after pulling them out of the oven, while they’re still piping hot. The butter will melt into every crevice, add rich, savory depth, and keep the crust from turning crisp as the rolls cool to serving temperature.
7.Can I knead this roll dough by hand if I don’t own a stand mixer? ▾
Of course! Turn the shaggy, just-mixed dough out onto a lightly floured clean counter, then knead for 8–10 minutes, folding the dough over itself and pushing forward with the heel of your hand. The dough is ready when it’s smooth, elastic, and springs back slowly when poked gently with a clean finger.

Comments (7)

yesterday

OMG these rolls are a total game changer! I made them for our Sunday family dinner last night and my kids devoured half the pan before we even got the main course on the table. They’re so soft and buttery, way better than the frozen store-bought ones I usually grab on busy weeks. Only hiccup: my first rise was super slow because my kitchen is freezing this time of year — any tips for getting a good rise when the house is chilly?

30 minutes ago

So glad your family loved them! For cold kitchens, try preheating your oven to its lowest setting for 1 minute then turning it completely off before setting your covered bowl of dough inside to rise. It creates the perfect warm, draft-free spot for yeast to do its thing!

5 minutes ago

I second that oven trick! I do that every winter when my apartment feels like an icebox and my rolls turn out light and fluffy every single time. Game changer for cold weather baking!

3 days ago

Brought these to my neighborhood block party potluck over the weekend and people were begging me for the recipe before I even set the platter down! They stay soft for days too — I stashed a couple in a Ziploc for my work lunch on Monday and they were still perfect, no stale dry texture at all. 10/10 will be making these for every holiday meal from now on.

2 days ago

Love hearing they were a potluck hit! So smart to save a couple for your work lunch too — I may have to steal that trick next time I bake a batch instead of giving all the extras away to neighbors.

5 days ago

SO good. I was low-key nervous to make homemade rolls because I’ve always been terrible at working with yeast, but the step-by-step instructions were so easy to follow. They came out golden on top, pillowy soft inside, and my roommate thought I picked them up from the fancy bakery down the street. Will absolutely make again.

2 days ago

These tasted really buttery and good, but mine came out a little denser than I expected! I followed the measurements exactly, used active dry yeast that I proofed first (it got nice and foamy so I know it was active), but they just didn’t get as light and fluffy as the photos show. Wondering if I over-kneaded the dough or let it rise too long? I’m still pretty new to bread baking so any advice helps!

yesterday

Great question! Dense rolls usually happen if the shaped dough doesn’t get enough time for its second rise before baking, or if you kneaded it a little too firmly which tightens the gluten up too much. Next time, give the cut rolls an extra 10-15 minutes to puff up on the baking sheet before popping them in the oven and I bet they’ll be perfect!

2 hours ago

I had the exact same issue my first time making these! Turns out I was packing my flour way too tight when I measured it. Fluff your flour up with a fork first and spoon it into the measuring cup instead of scooping straight from the bag — that made all the difference for me, they were so fluffy the second batch!

1 week ago

Total game changer for my weekly meal prep! I bake a full batch on Sunday, slice them up, and tuck them in the freezer to pull out for quick weeknight dinners. They toast up perfectly in 30 seconds and taste just as fresh as the day I baked them. My husband even grabs them to make mini breakfast sandwiches with egg and cheese on his way out to work in the morning!

3 days ago

Oh the breakfast sandwich idea is genius! I’ve just been eating these plain with a little butter on the side, but I’m totally adding eggs and crispy bacon to mine next batch. Thanks for the tip!

2 weeks ago

Tried making these for our Friendsgiving last week and ngl I was stressed because I’ve never made bread from scratch before. The total time was a little longer than I’d want for a random weeknight, but it was perfect for a lazy weekend baking project. They were so soft, everyone raved about them. Only pro tip: brush a little extra melted butter on top right after they come out of the oven and *chef’s kiss*.

1 week ago

That extra melted butter brush on top is such a good call! I do that too when I’m making these for special occasions — it adds the perfect rich, salty finish. So proud you pulled these off for your first ever bread bake, that’s awesome!

just now

OMG I can’t believe how approachable this medium-difficulty recipe was! I was so intimidated to work with yeast at first, but every step was laid out super clearly with no confusing fancy chef jargon. My whole house smelled like a warm bakery the whole time these were baking, it was the coziest Sunday afternoon activity ever. Already planning to make a double batch for our extended family Christmas dinner next month!



