
Classic HotDog
intro
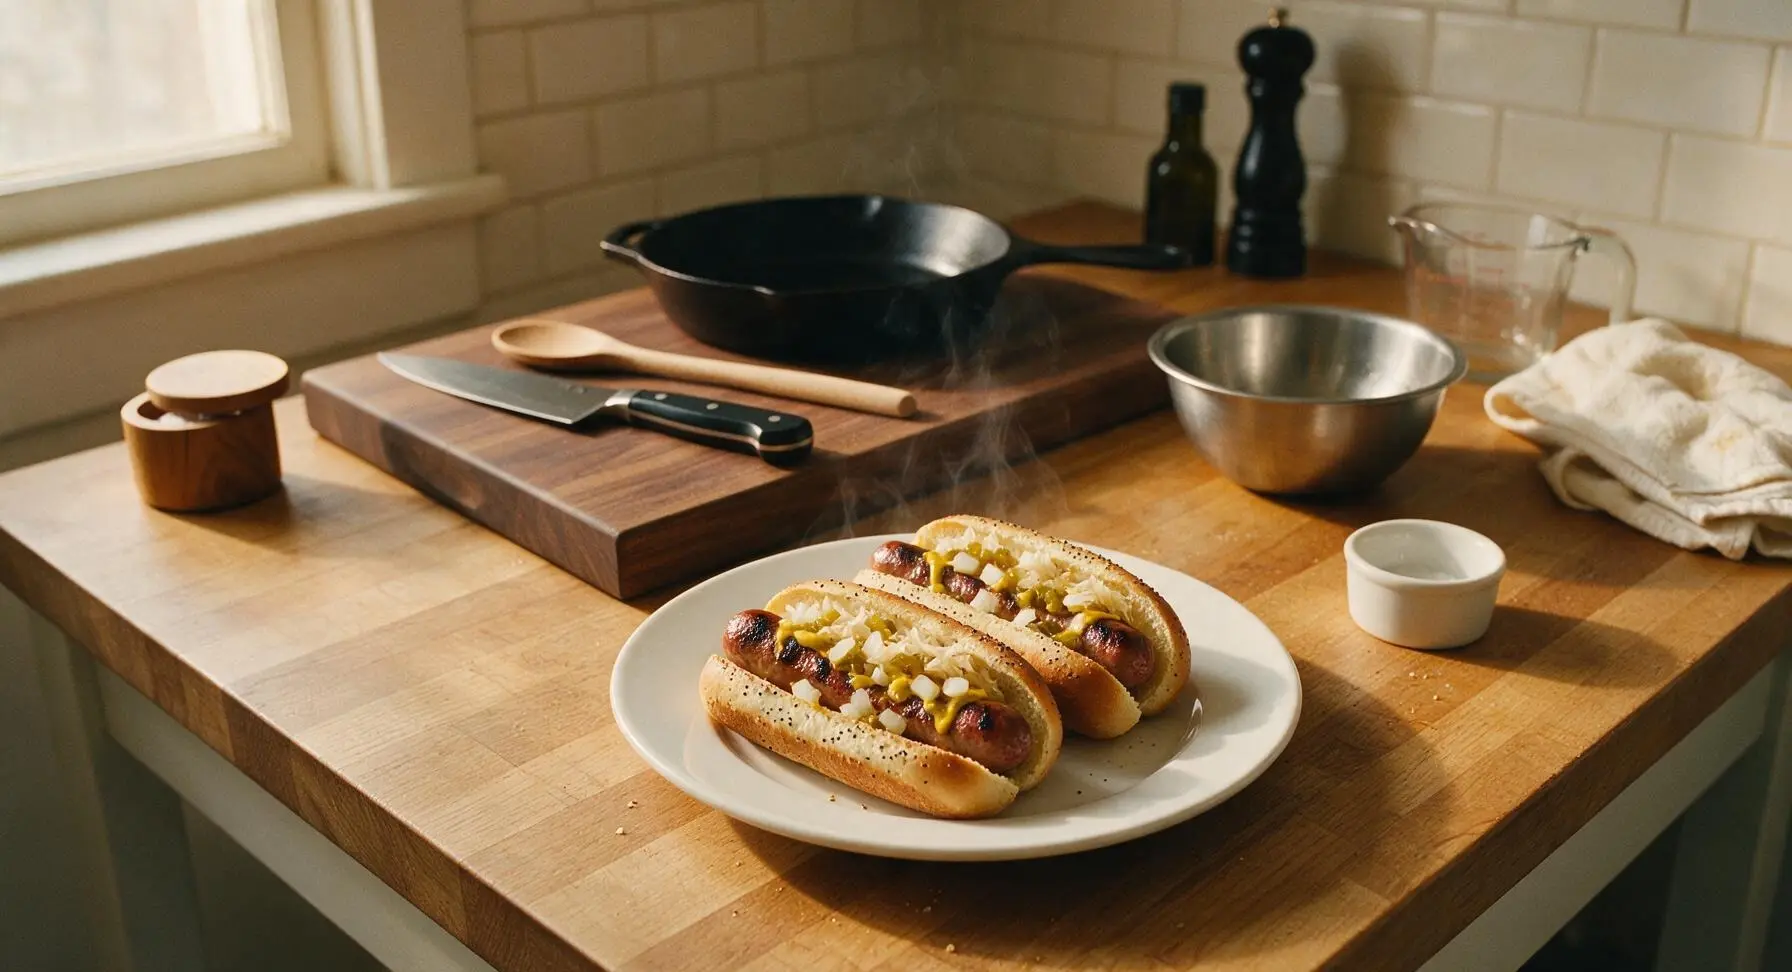
Snappy, juicy grilled all-beef franks tucked into soft toasted poppy seed buns, piled high with classic tangy toppings for the ultimate nostalgic summer bite.
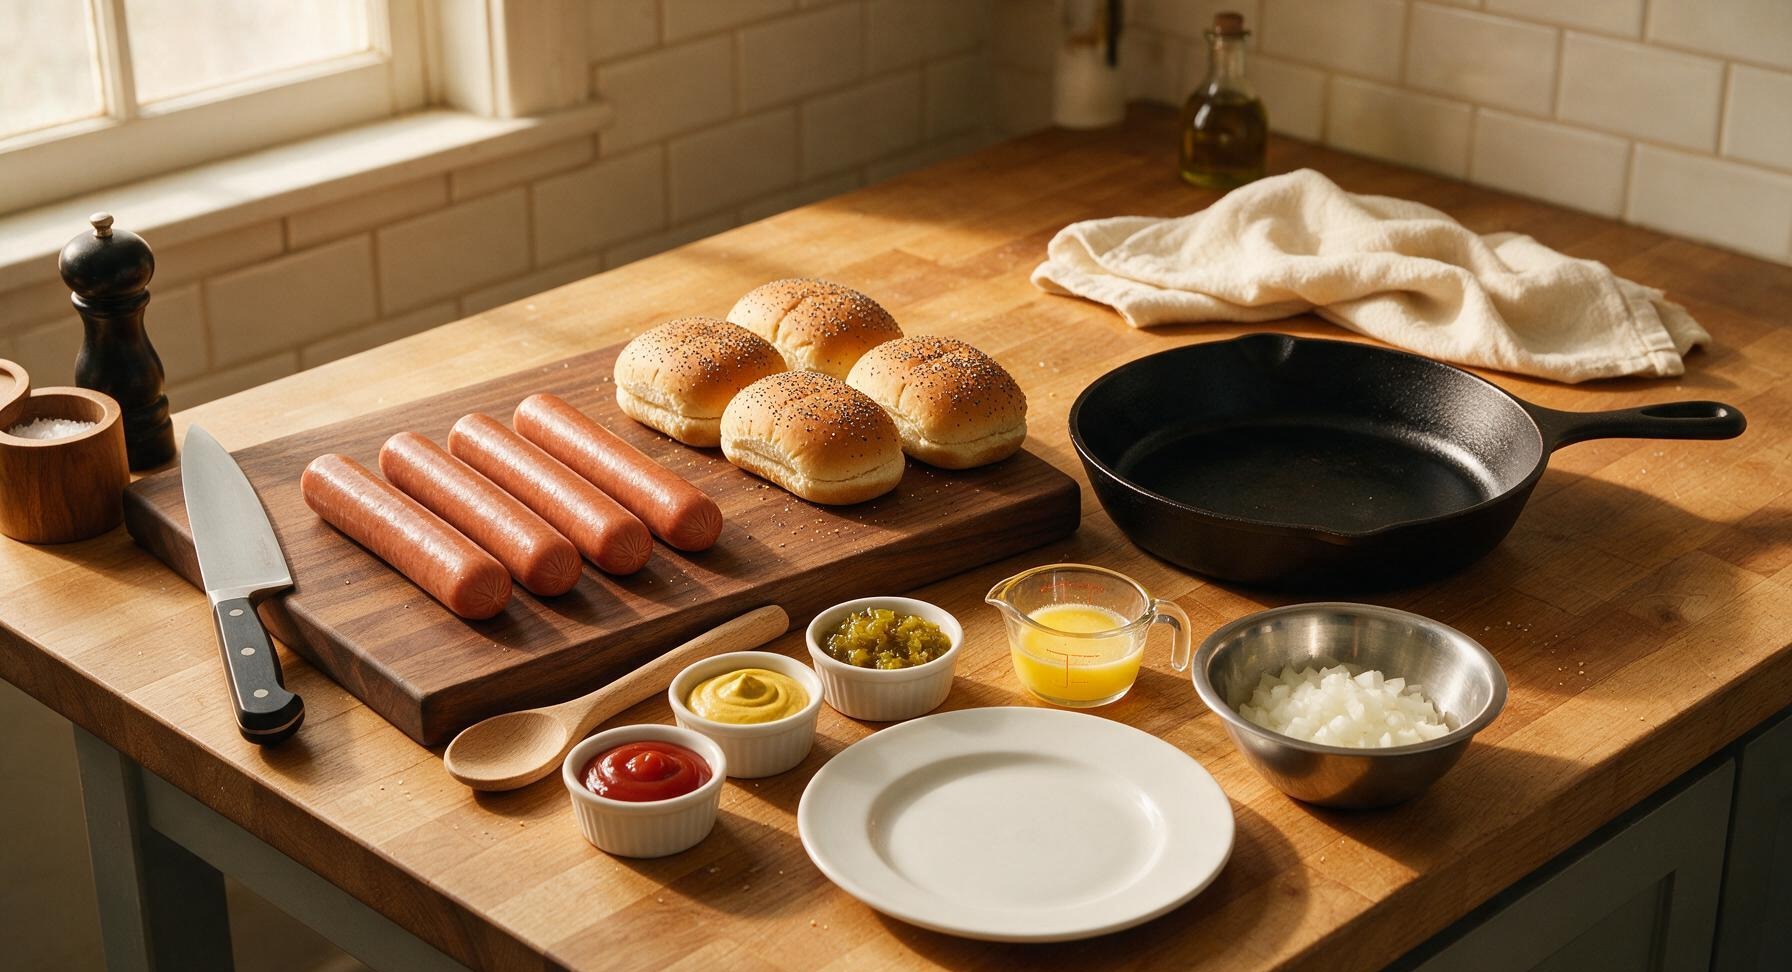
Ingredients
Steps
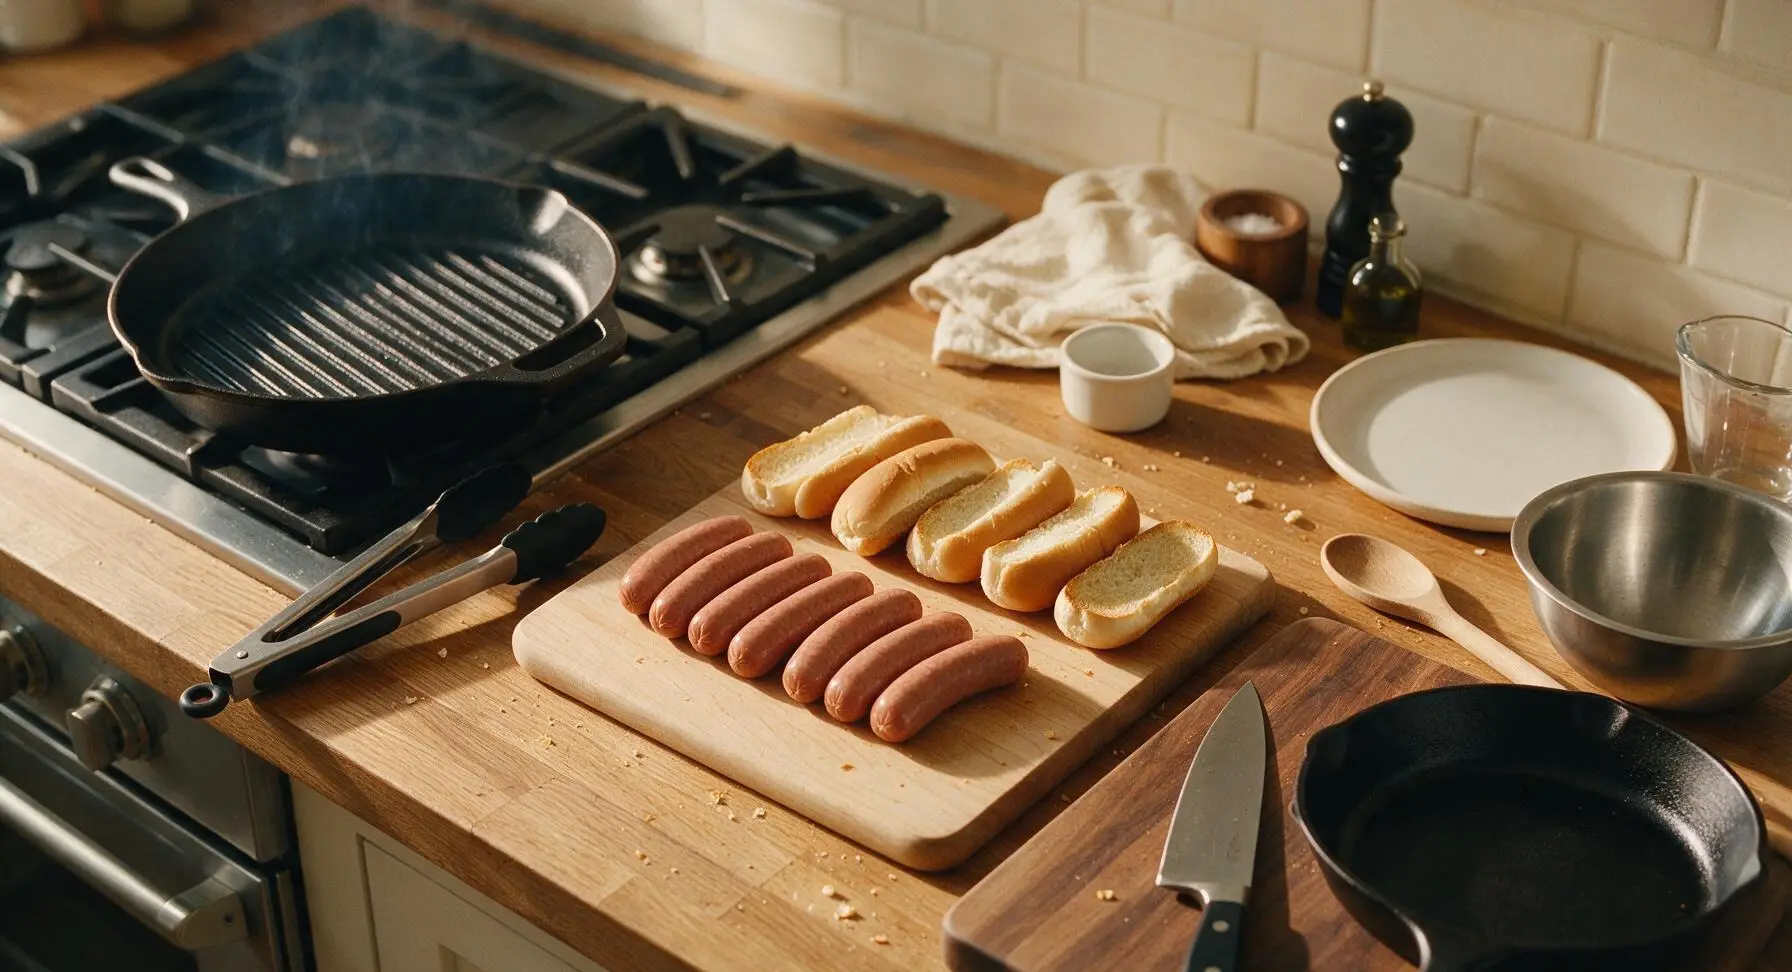
Preheat Grill Pan
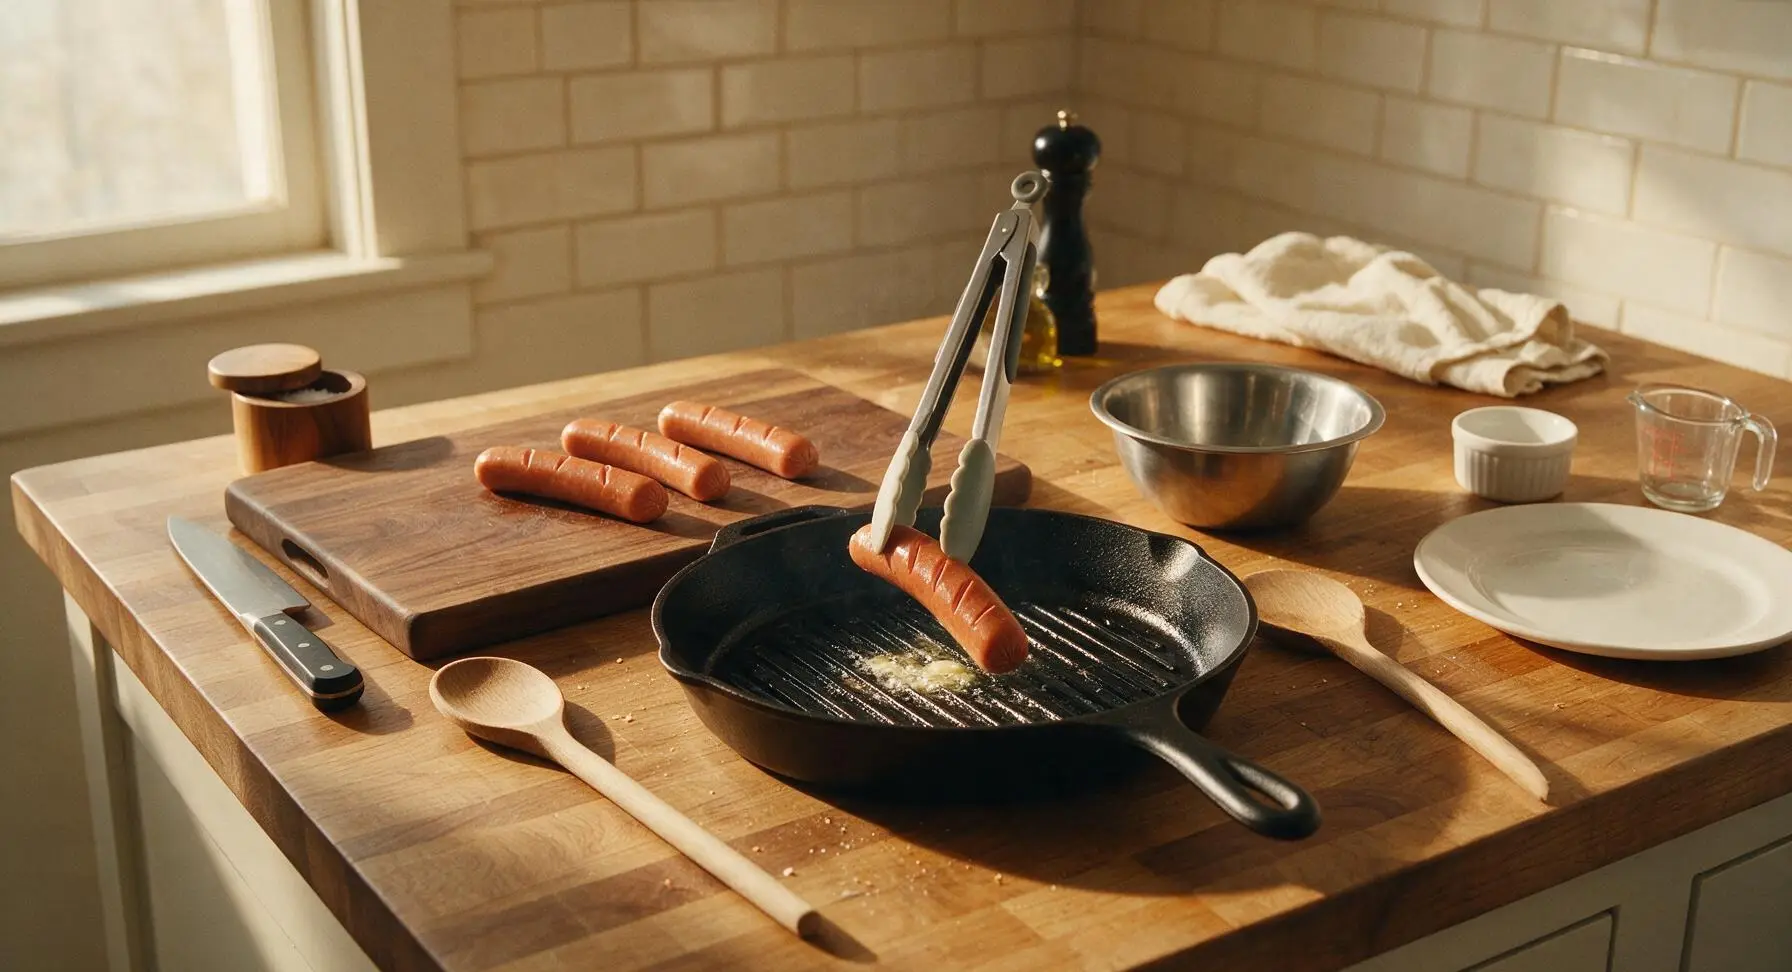
Place the 10-inch matte black cast iron grill pan on the back left stovetop burner over medium-high heat. Allow it to preheat for 5 minutes, until the surface is evenly hot; a drop of water will sizzle and evaporate within 2 seconds when it hits the ridges. Lightly brush the raised grill ridges with 1/2 teaspoon of the melted butter to prevent sticking.
Score Hot Dog Casings
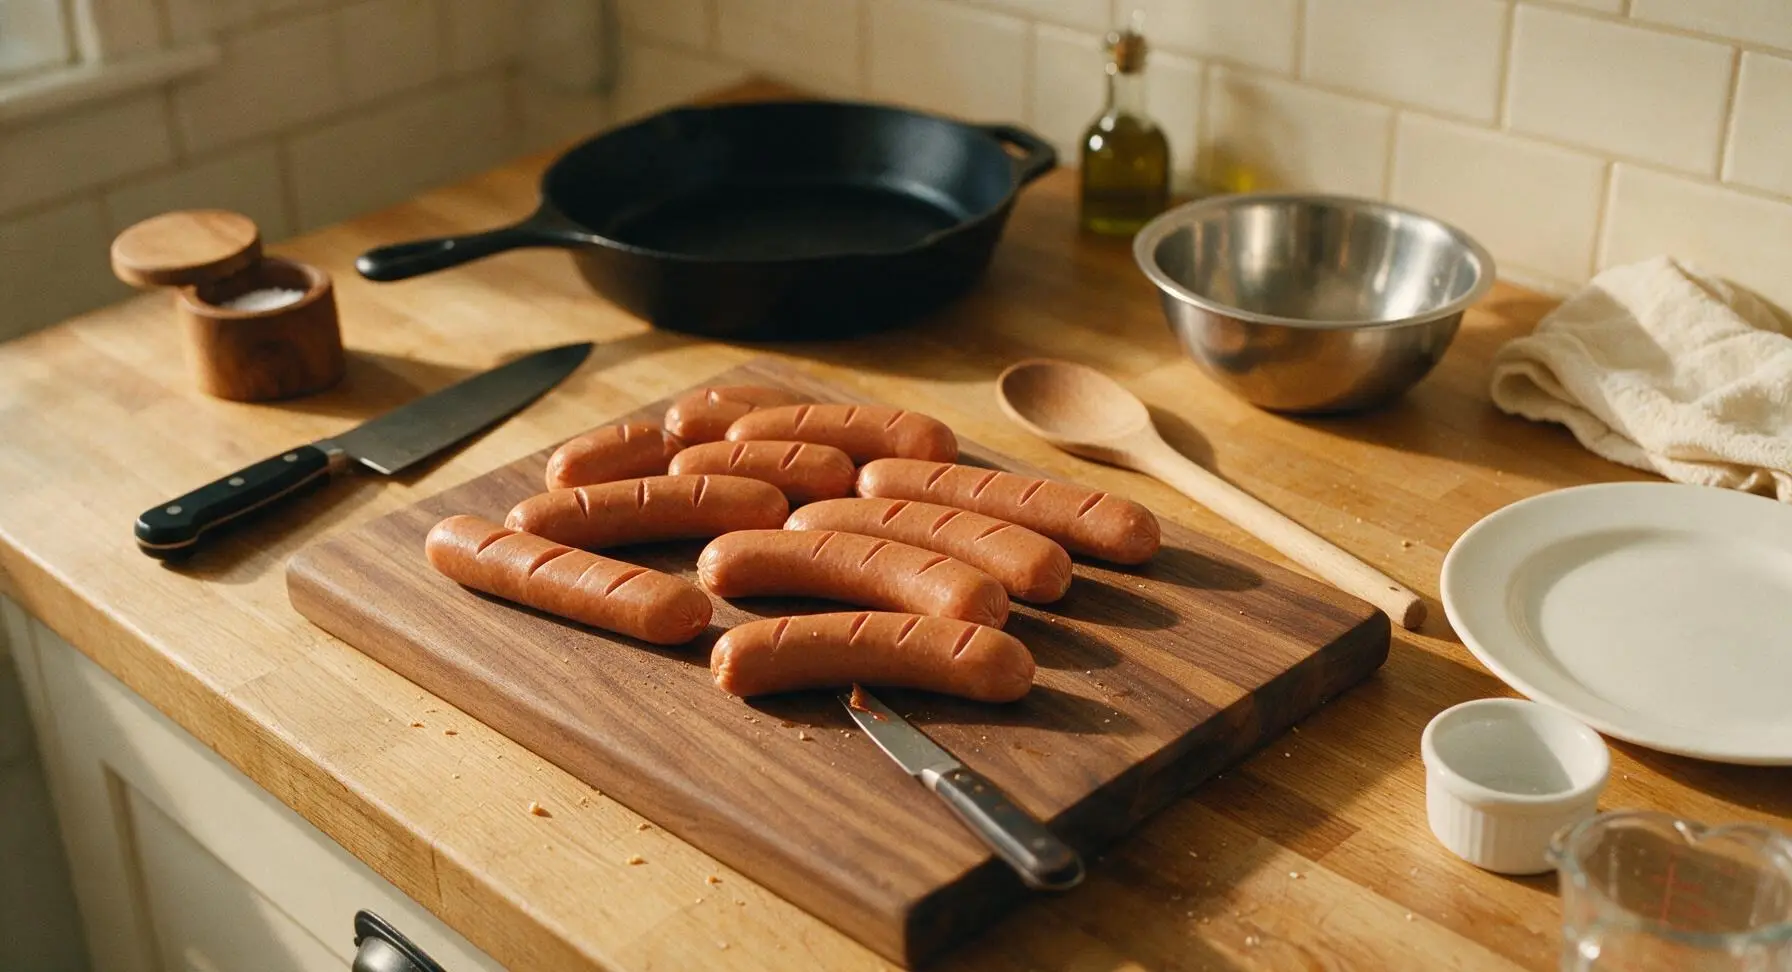
Pat the hot dogs dry lightly with a corner of the fixed gingham kitchen towel. Place the dried franks on the maple cutting board, then use the paring knife to make 3 shallow, diagonal 1/4-inch deep cuts across the top of each frank, spaced 1 inch apart. These cuts prevent casings from bursting during grilling and create crispy, caramelized edges.
Grill Until Snappy
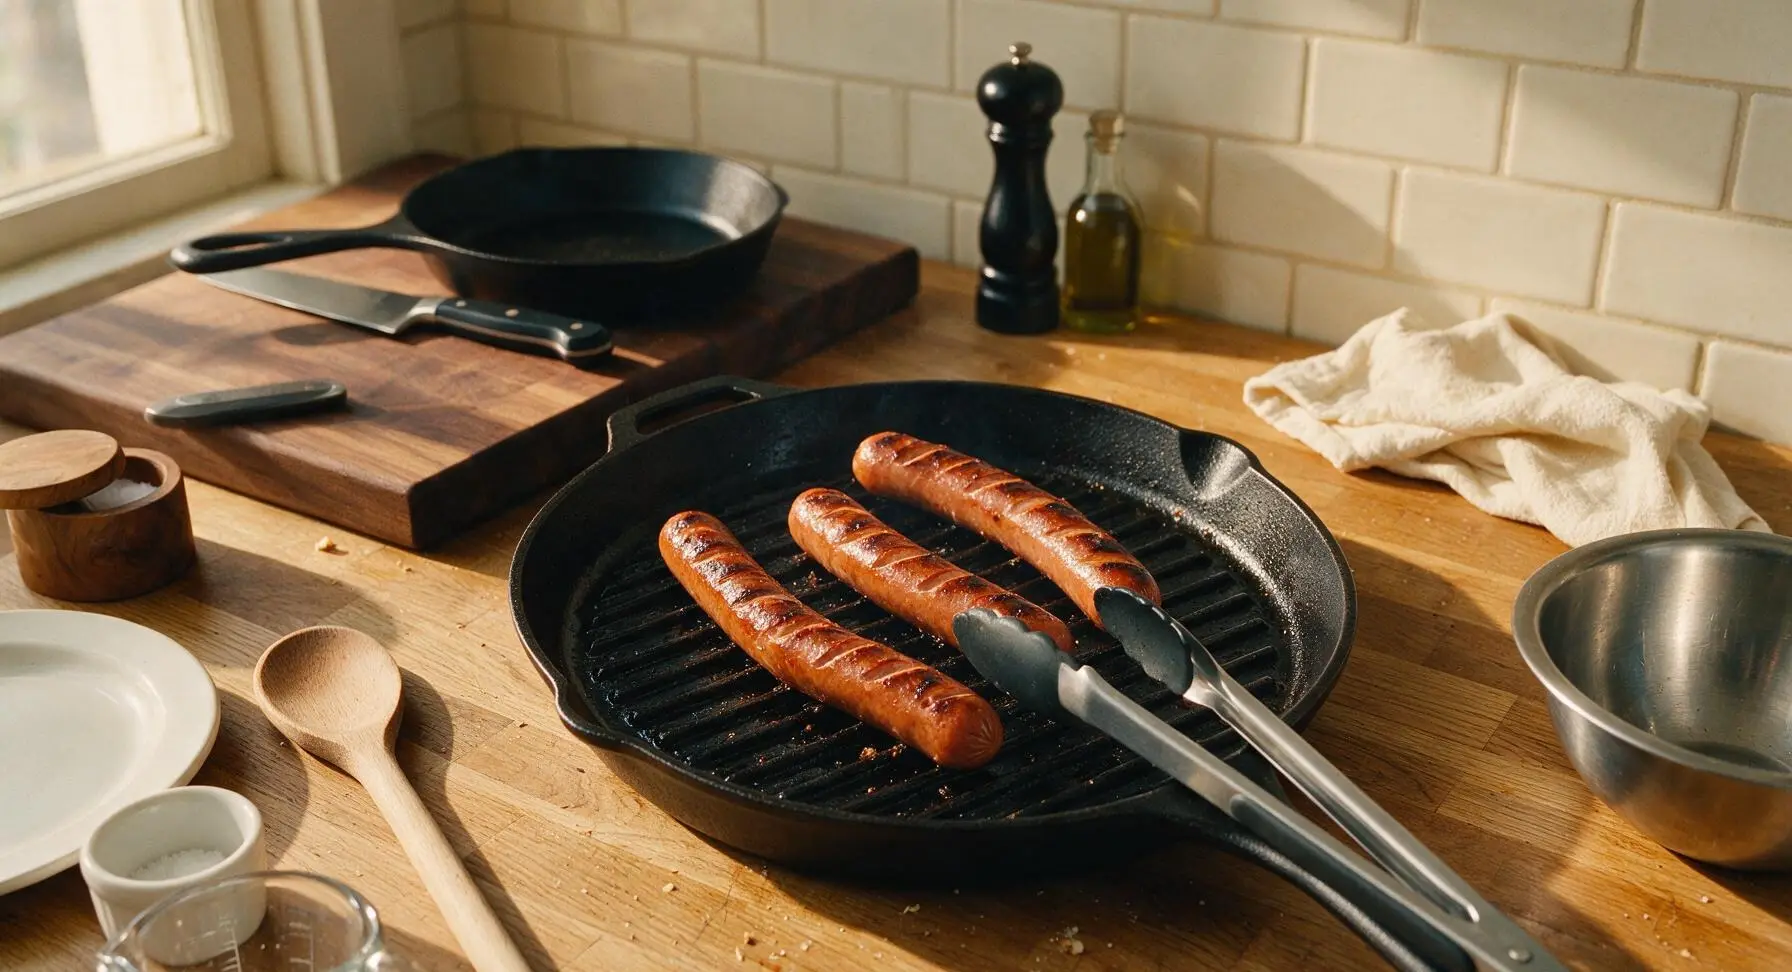
Use the silicone-tipped tongs to place the scored hot dogs directly on the preheated grill pan ridges. Cook for 6-7 minutes total, turning every 1.5 minutes, until casings are crisp and snappy, with dark golden grill marks across each cut, and the internal temperature reaches 160°F (71°C). Do not press down on the franks with the tongs, as this squeezes out flavorful juices.
Toast the Buns
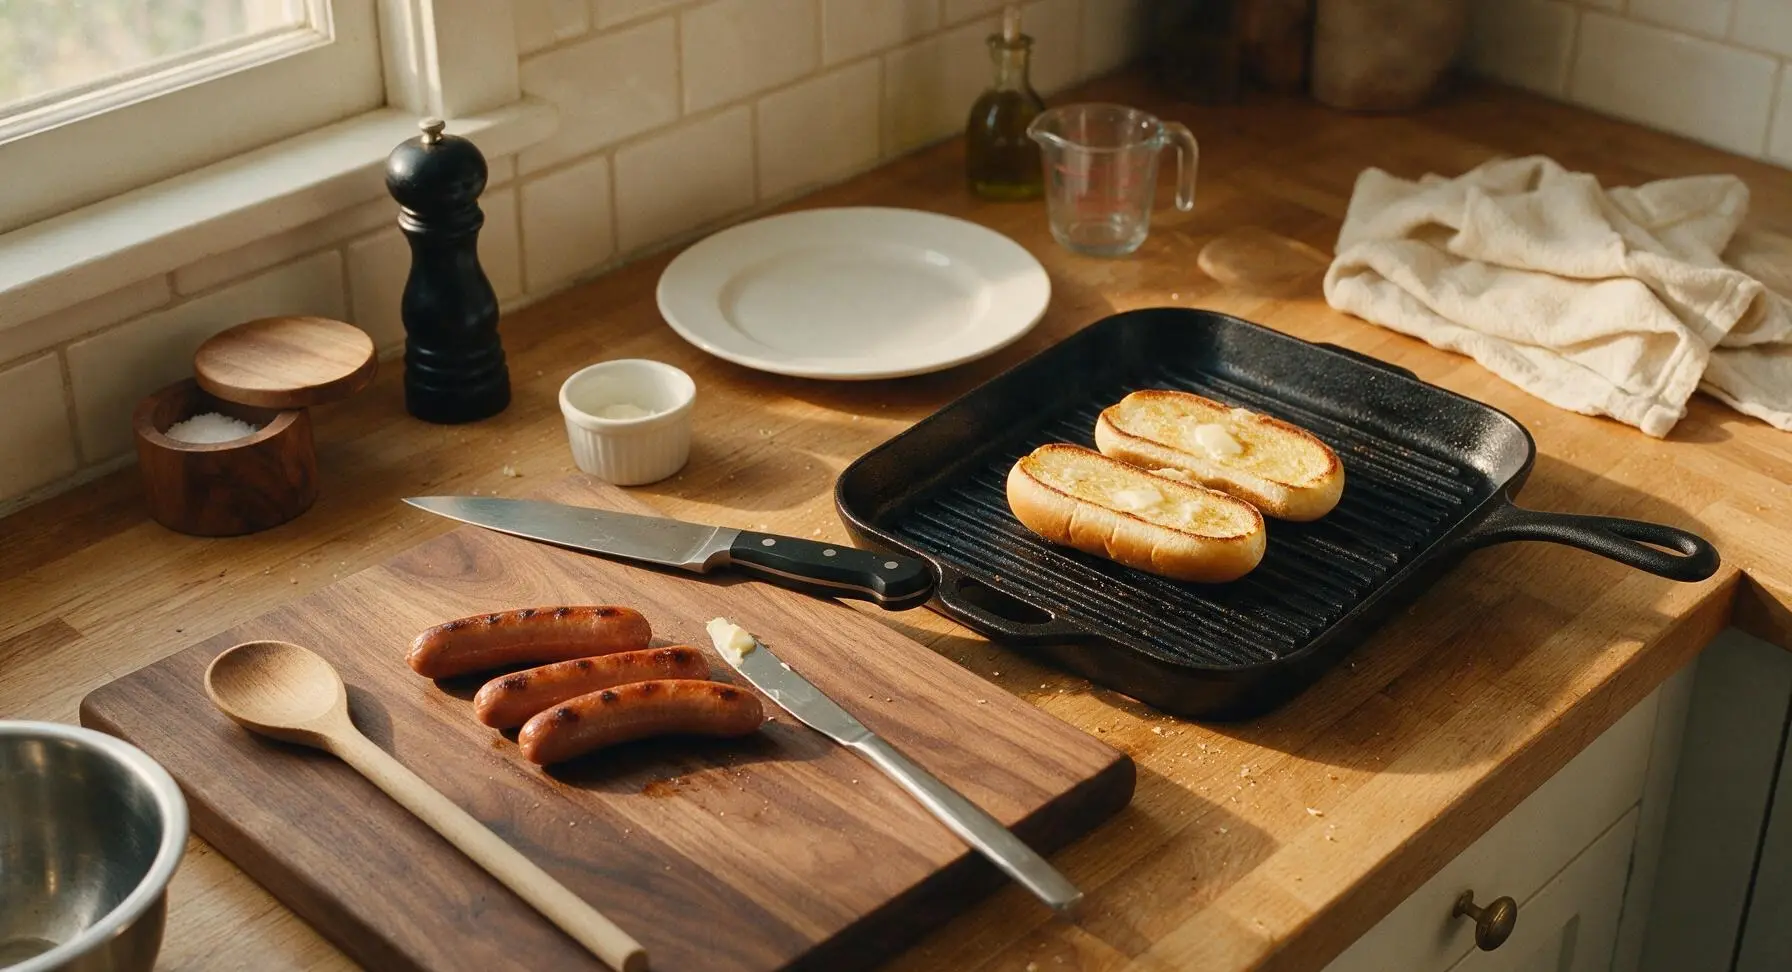
Once hot dogs are fully cooked, transfer them to a clean corner of the maple cutting board to rest for 1 minute. Brush the cut inner sides of each hot dog bun with the remaining melted butter using the butter knife, then place them cut-side down on the empty sections of the grill pan. Toast for 45-60 seconds, until light golden grill marks form on the cut surface and buns are warm and slightly crisp at the edges.
Add Franks to Buns
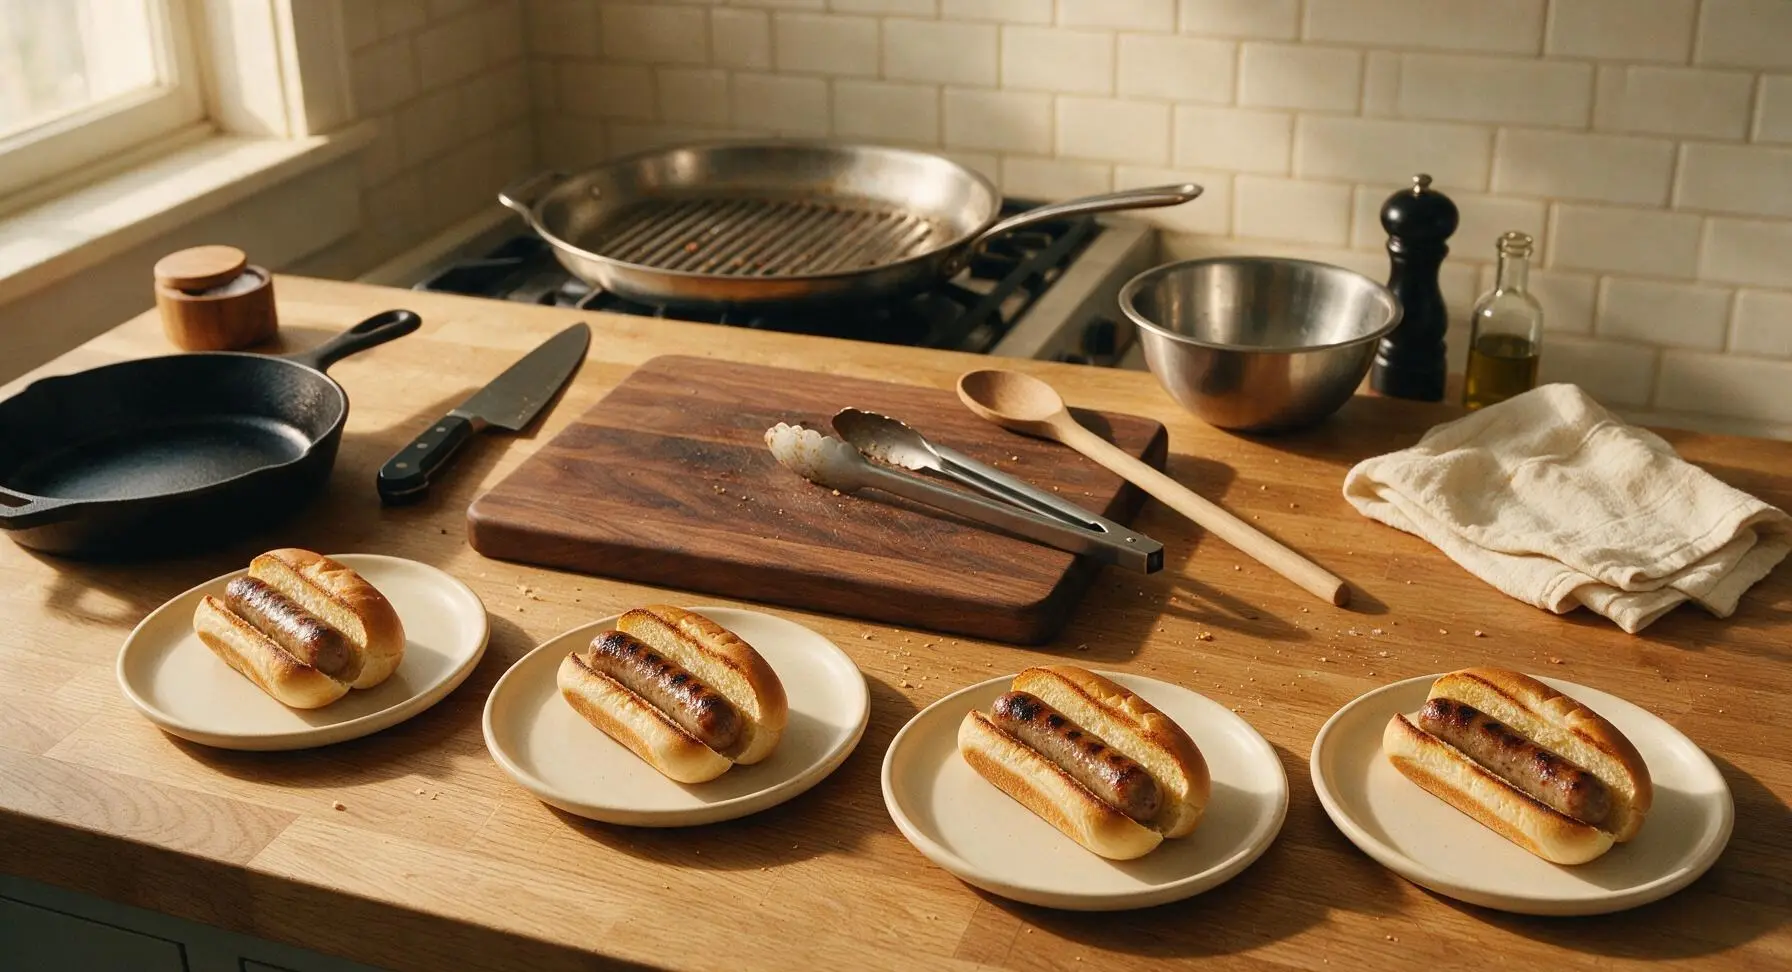
Use the tongs to lift each toasted bun from the grill pan, placing one on each matte cream white ceramic dinner plate arranged in front of the cutting board. Nestle one grilled hot dog snugly into the split of each toasted bun, pressing gently so the frank sits evenly without rolling.
Layer Classic Toppings
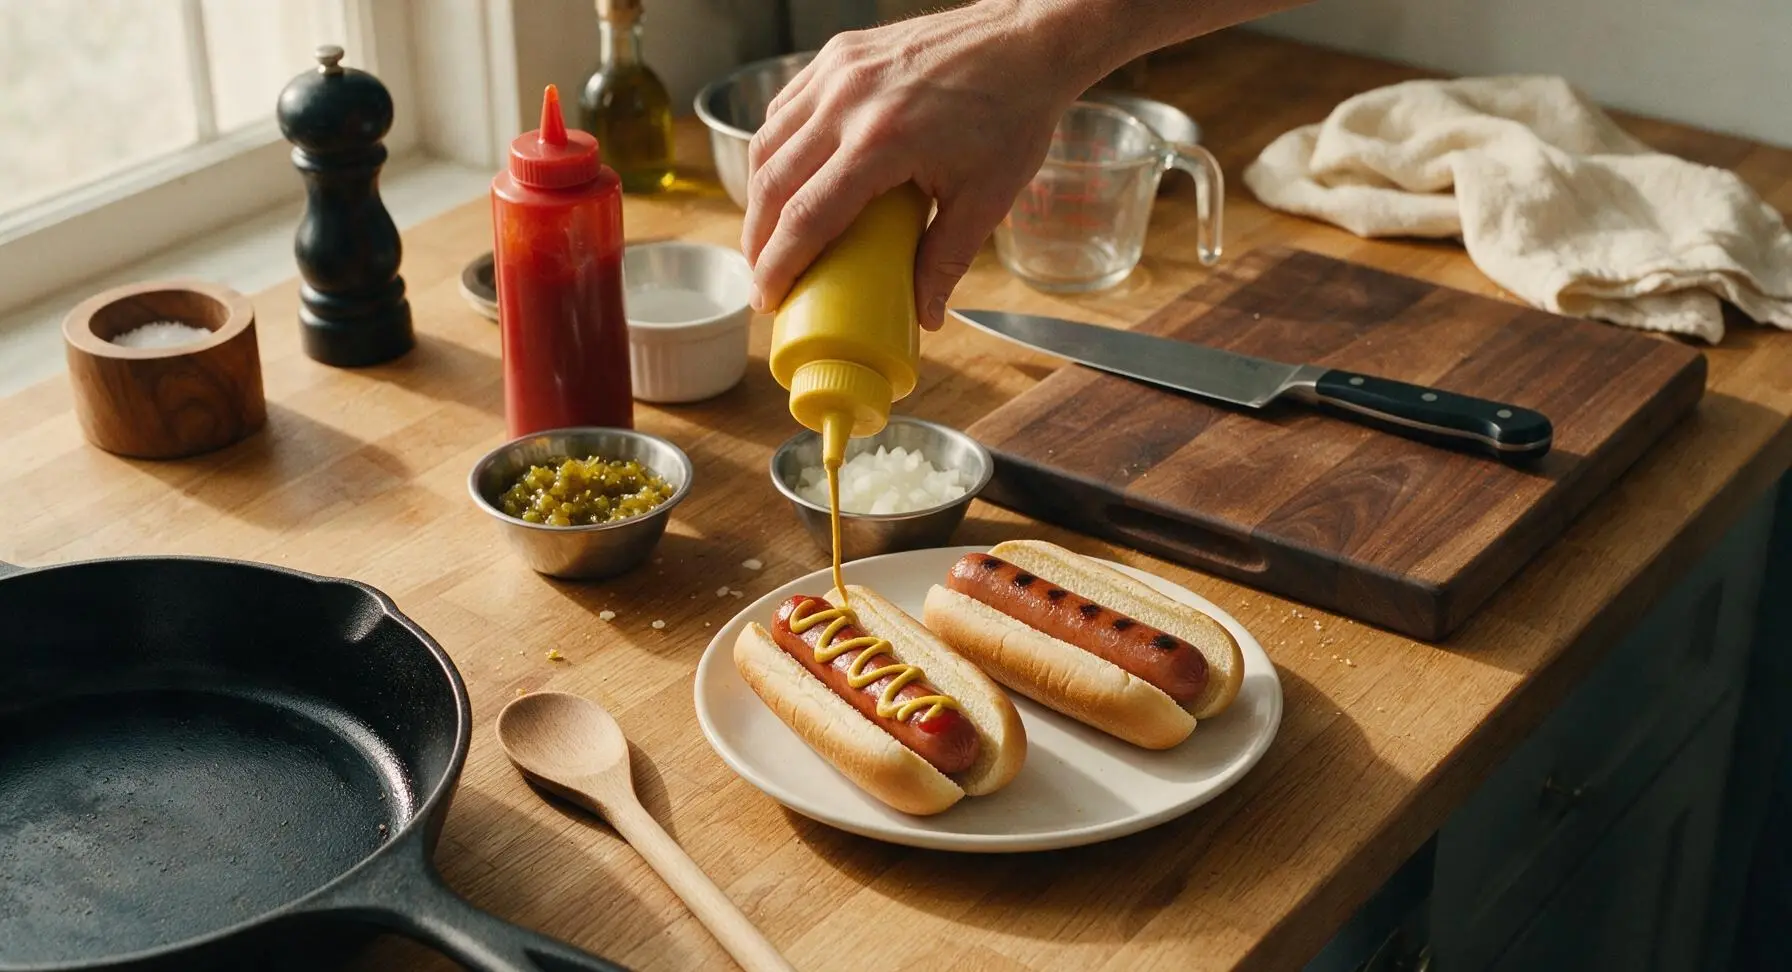
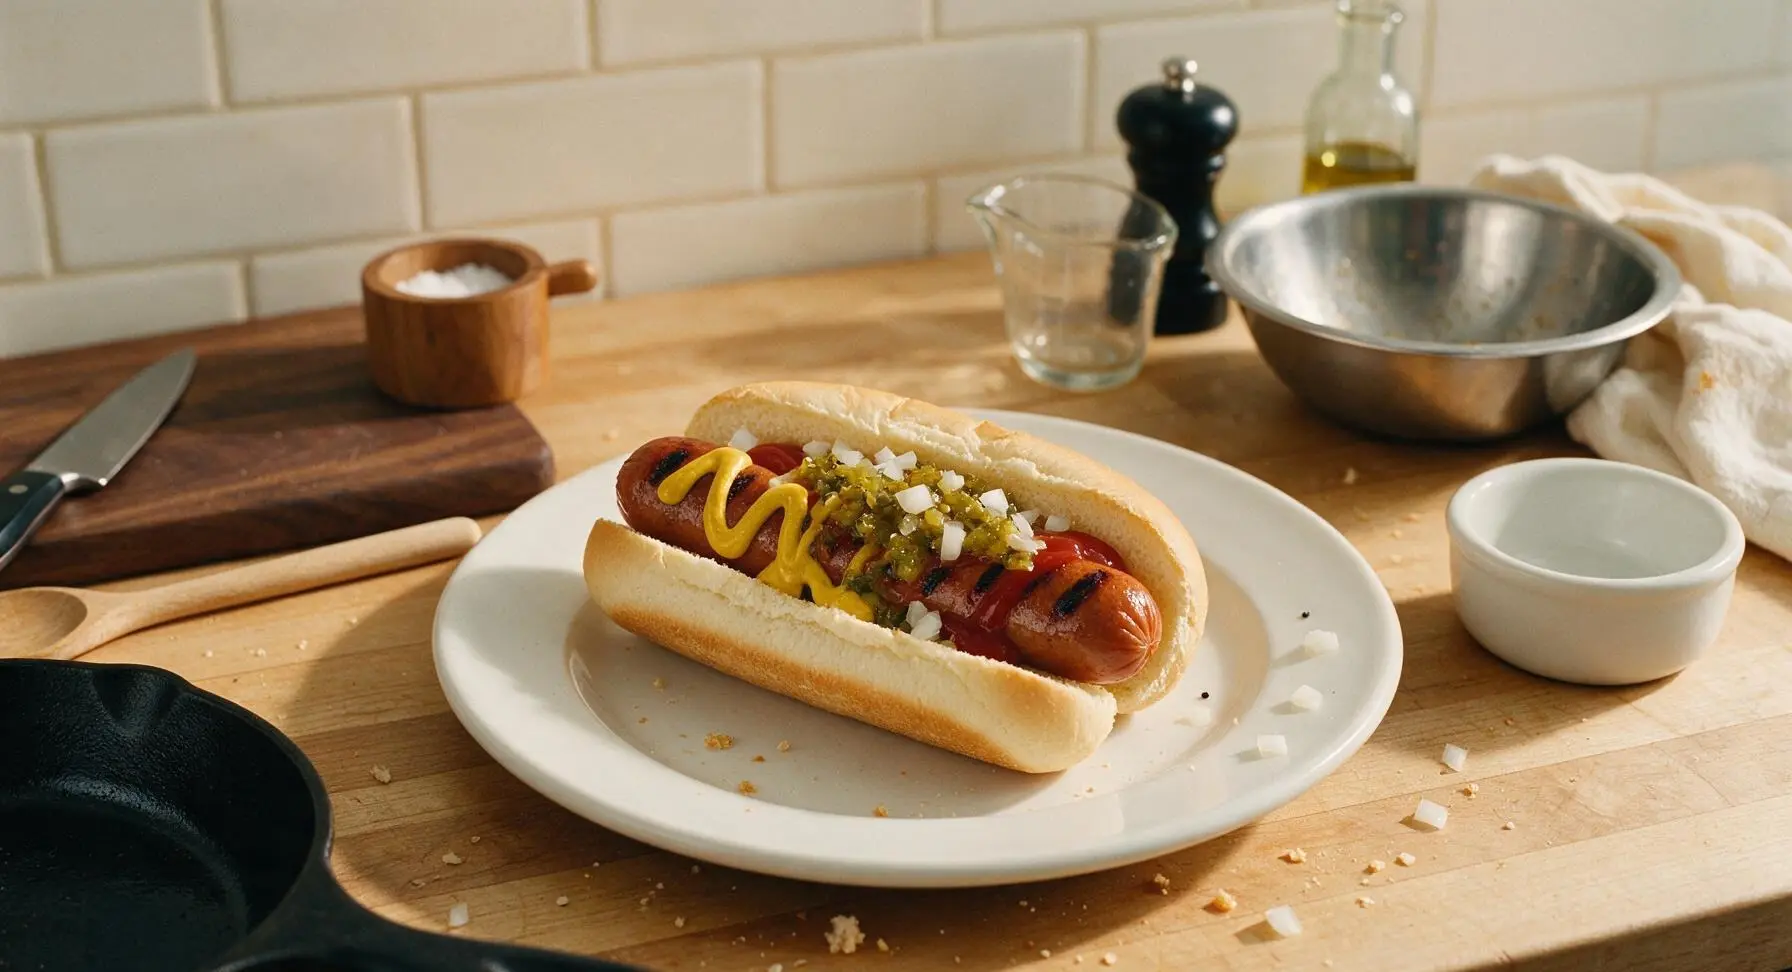
Drizzle a zig-zag of yellow mustard and a parallel stripe of ketchup along the length of each hot dog. Spoon 1 tablespoon of sweet dill relish over each frank, then top with 1 tablespoon of finely diced white onion from the prep bowls, distributing toppings evenly so every bite has a mix of flavors. Avoid overstuffing buns to prevent toppings from falling out while eating.
Tips
2.Never press down on grilling hot dogs with tongs or a spatula: this squeezes out rendered fat and flavorful meat juices onto the pan, leaving you with dry, less tasty franks and causing excess flare-ups if cooking on an outdoor grill.
3.Toast the cut side of the buns directly on the grill pan with a thin coating of melted butter: this creates a light, crisp barrier that prevents the bun from getting soggy from hot dog juices and condiments, keeping your sandwich intact from first bite to last.






OMG, this classic grilled hot dog recipe is such a game changer for our weeknight family dinners! I always thought I just tossed dogs on the grill, but the tip to score them lightly so they don't split all over? Chef's kiss. My kids devoured 2 each last night, even the picky one who usually turns up his nose at anything that isn't chicken nuggets. 10 minutes cook time is perfect for when we get home late from soccer practice too.
Made these for our college football tailgate last Saturday and people were asking for the recipe all day! I topped ours with classic yellow mustard, relish, and a little diced onion, just like the recipe suggested. SO good, way better than boiling them like I used to do for tailgates. Super easy too, didn't have to stress over a complicated cook while we were busy cheering on the team.
Been looking for easy meal prep options for my work lunches and these are perfect! I grill a pack on Sunday, toss them in whole wheat buns, wrap them up, and they heat up great in the office microwave all week. Way cheaper and tastier than getting takeout for lunch every day. 10 minutes of cook time for 5 days of lunches? No brainer.
Wait, hold up — no mention of poppy seed buns or neon green relish? C'mon, that's the *real* classic Chicago dog! /s No, for real though, this base recipe is solid. I used it as the start for my loaded Chicago dogs last night and the grill flavor was perfect. The cook time was spot on too, got that nice little char on the outside without drying them out.
This was the first thing I ever made on my new apartment grill! I was so nervous I'd burn everything, but the instructions were so easy to follow, 10 minutes exactly and they came out perfectly charred. My roommate said they were better than the hot dogs we get at the local ballpark. Total confidence boost, I can't wait to try more of your easy recipes!
Super easy recipe, just a heads up for anyone with celiac or gluten sensitivity — just swap the regular bun for a gluten free one and this works perfectly! I grilled my gf buns right alongside the dogs for a minute to get them toasty and it tasted just like the classic I remember from childhood cookouts.
Took this recipe on our family camping trip last weekend and it was a total hit! Cooked the dogs over the campfire grill grate exactly like the recipe said, 10 minutes total, got that amazing smoky char. We didn't have a bunch of fancy toppings, just ketchup and mustard, and everyone kept saying it was the best camp meal we had all trip. Even the dog was begging for bites!
Made these for our office potluck earlier this week and they were gone in 10 minutes flat! I set up a little topping bar with chili, cheese, sauerkraut, onions, relish, mustard, and ketchup so people could dress their dogs however they wanted. The grill method gives them so much more flavor than the sad steamed dogs our office usually orders in for events. Will definitely be making these again for the next potluck!