
Classic Potato Rolls

title 1
Classic Potato Rolls
⏱️ cook time 20 minutes
🍽️ servings 12
⚡ Difficulty medium

intro

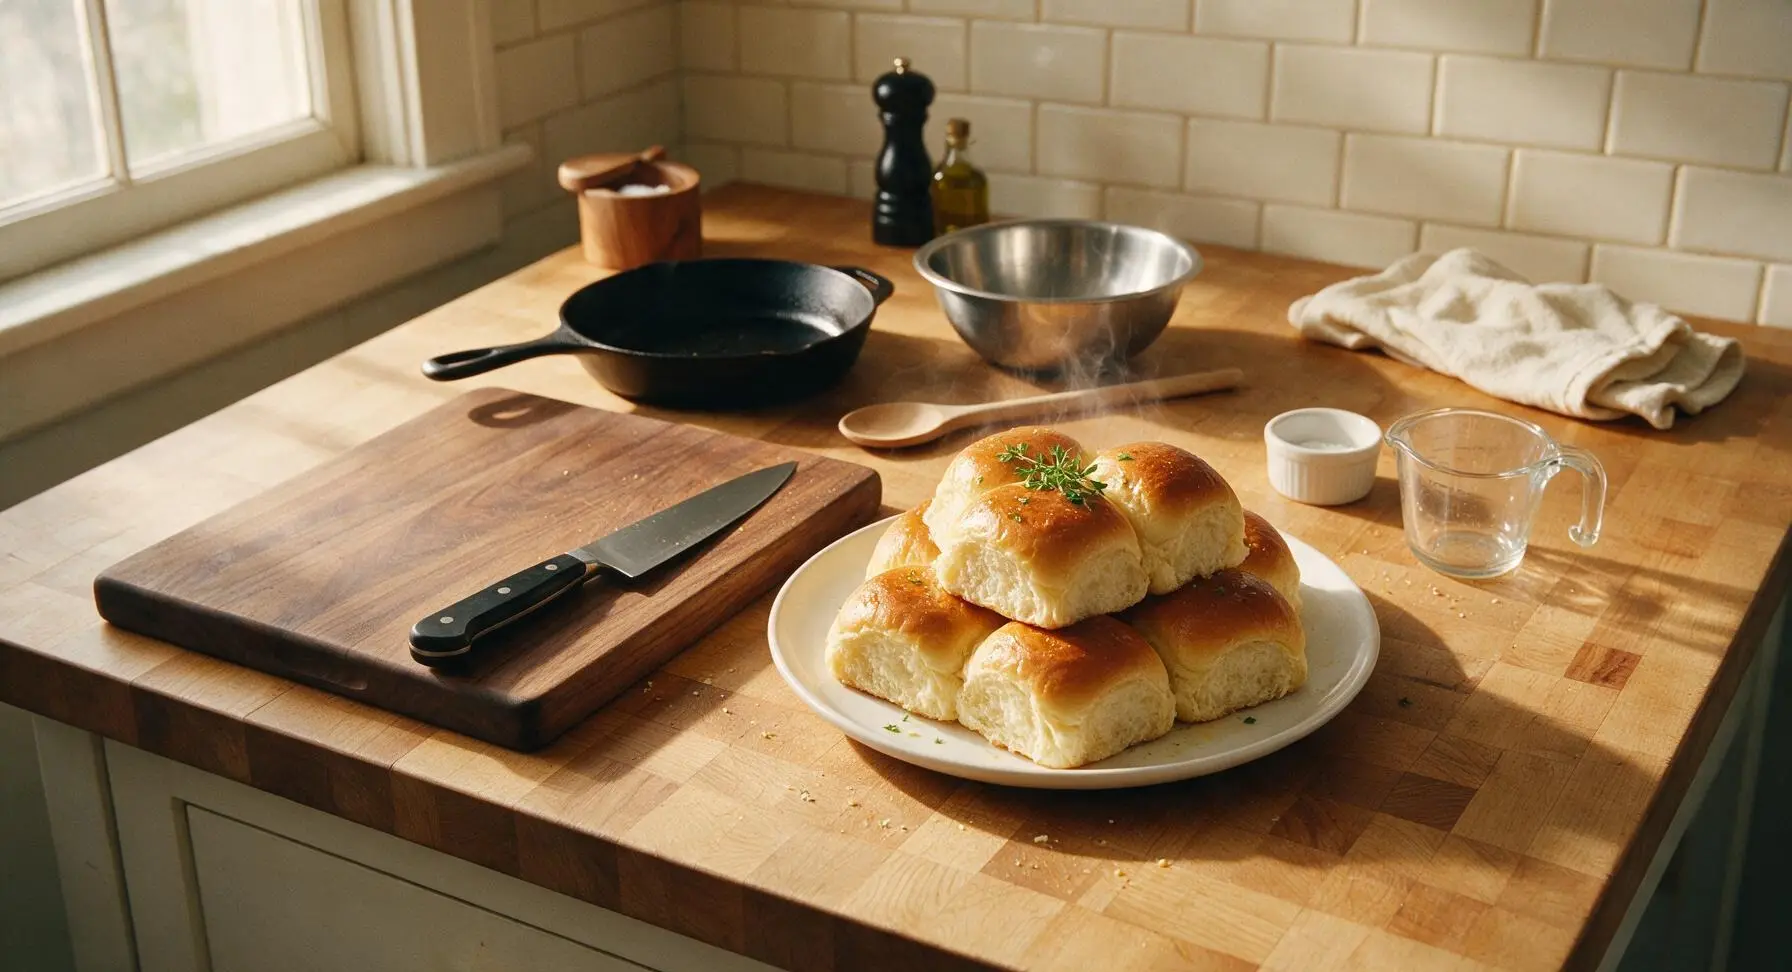
Soft, pillowy, buttery classic potato rolls with a tender cloud-like crumb, perfect for sopping up Thanksgiving gravy or enjoying warm with melted salted butter.

Ingredients
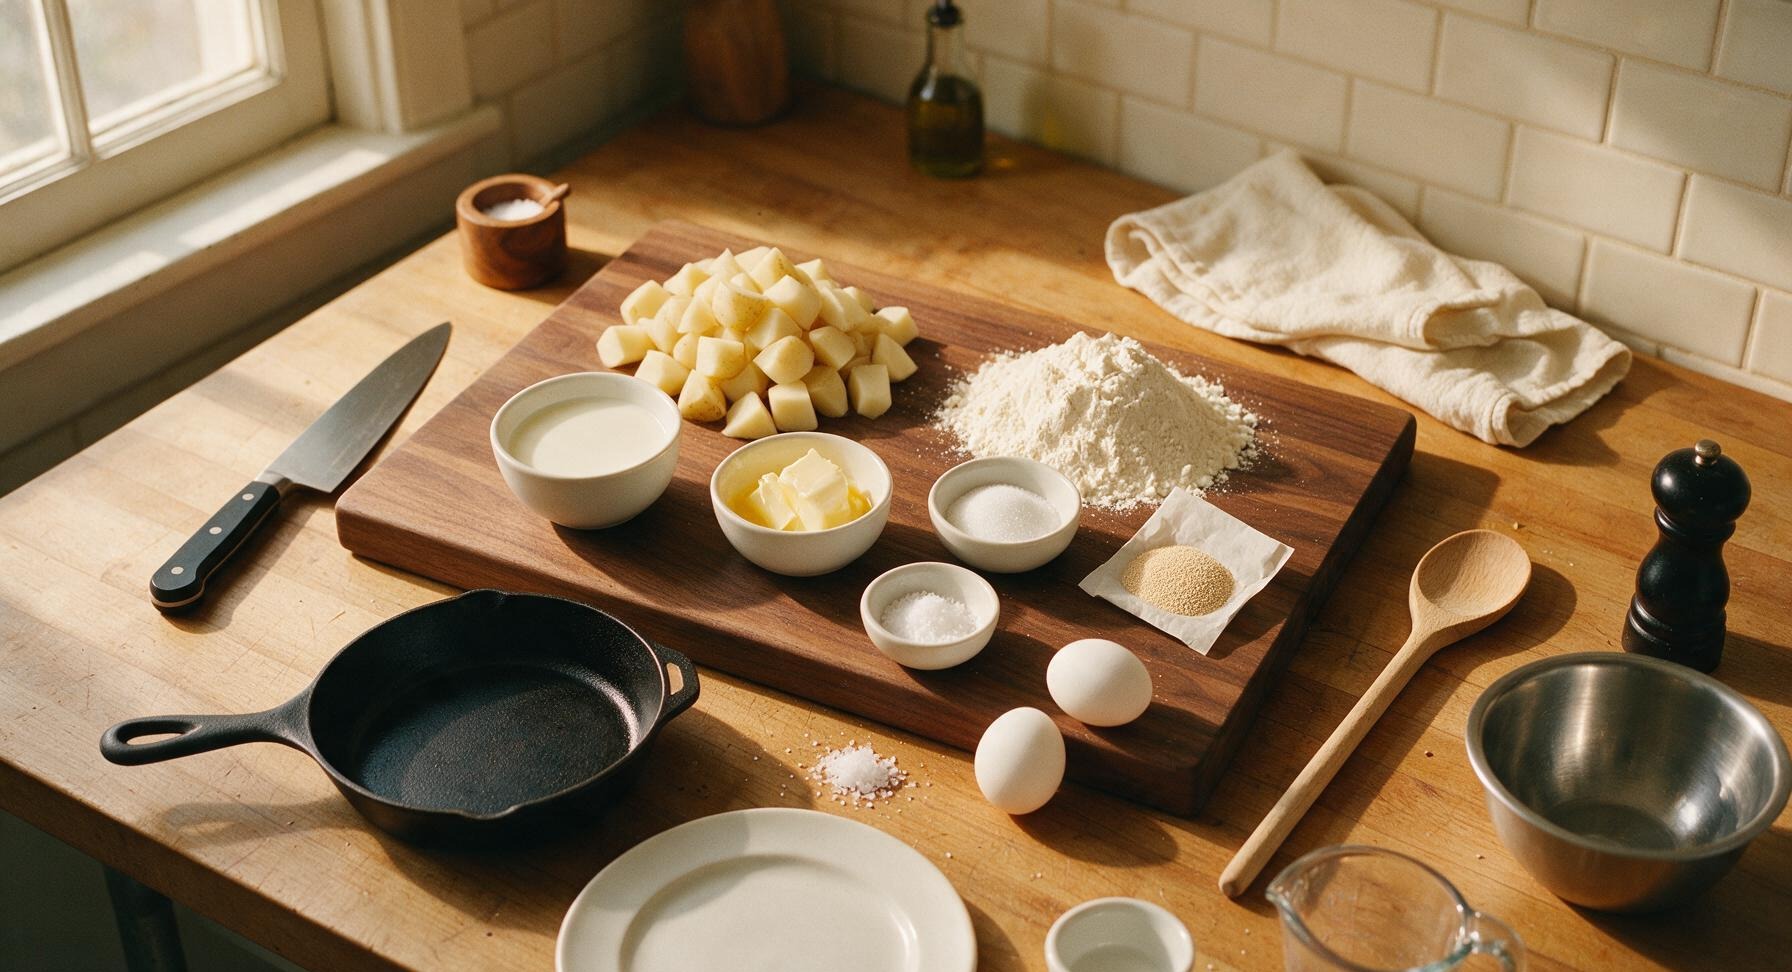
Russet potato, peeled and cubed 150g (1 medium)
All-purpose flour 480g (4 cups)
Whole milk, warmed to 110°F 120ml (1/2 cup)
Unsalted butter, melted, divided 57g (4 tbsp)
Granulated sugar 2 tbsp
Active dry yeast 7g (1 standard packet)
Fine sea salt 1.5 tsp
Large eggs, room temperature 2
Flaky sea salt, for topping 1/4 tsp

Steps

1

Boil and Mash Potatoes

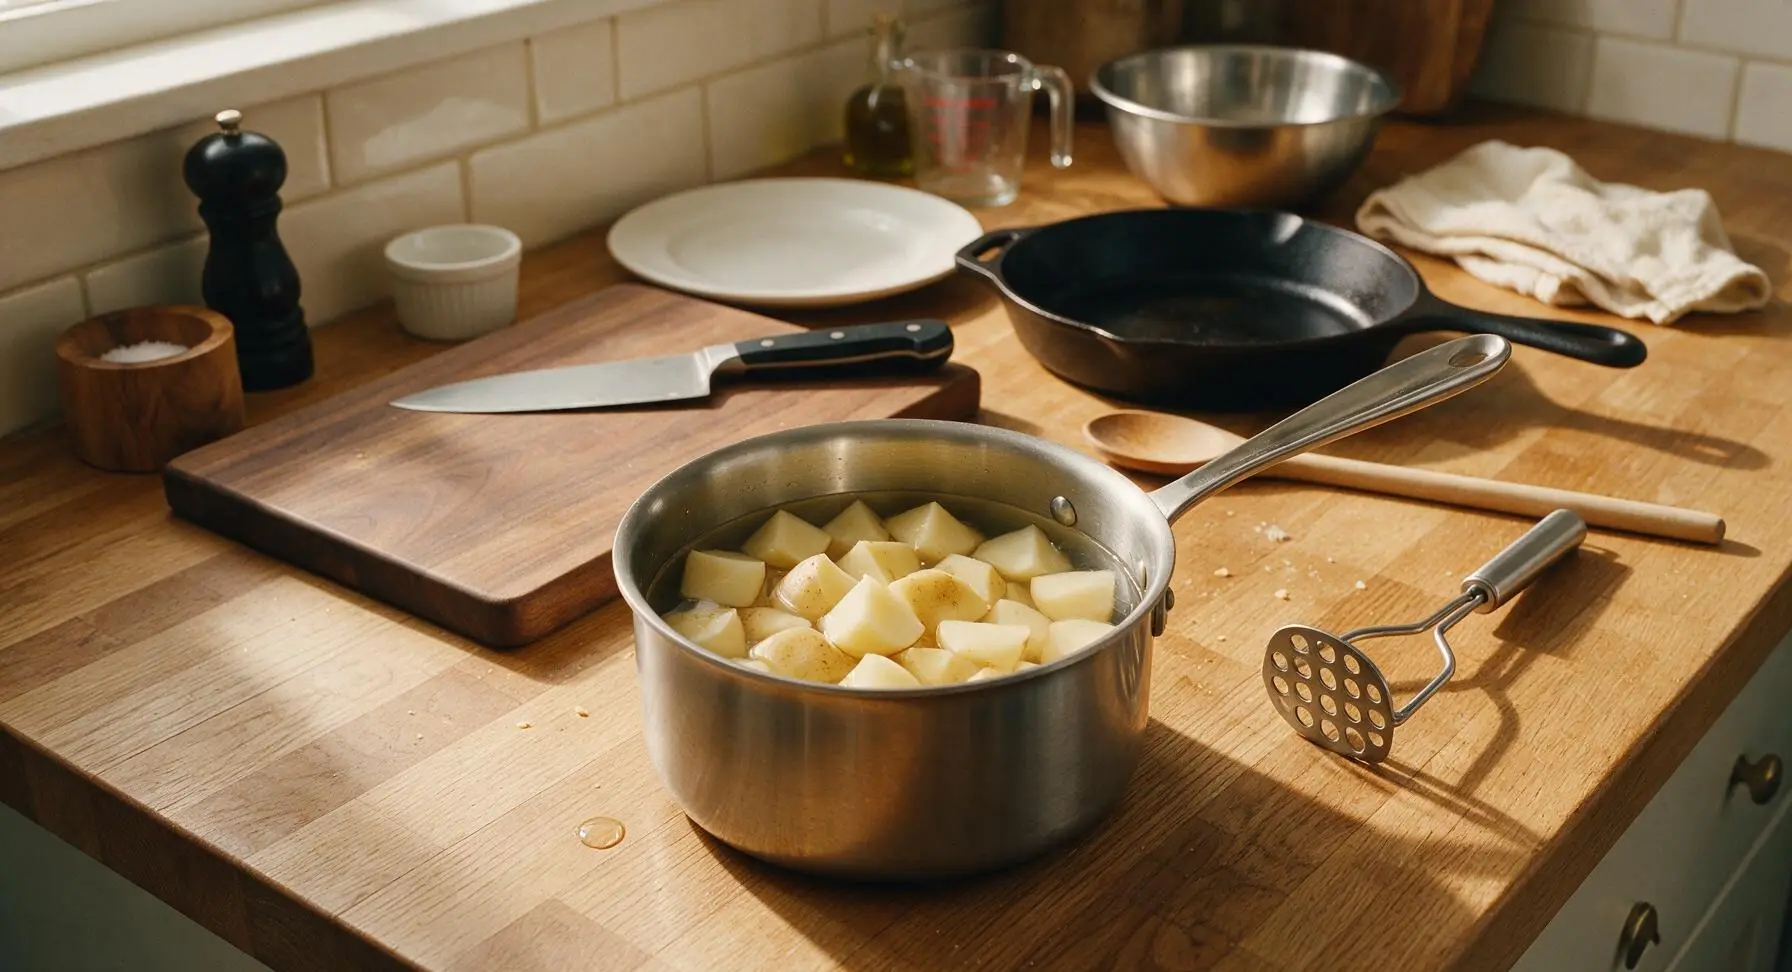
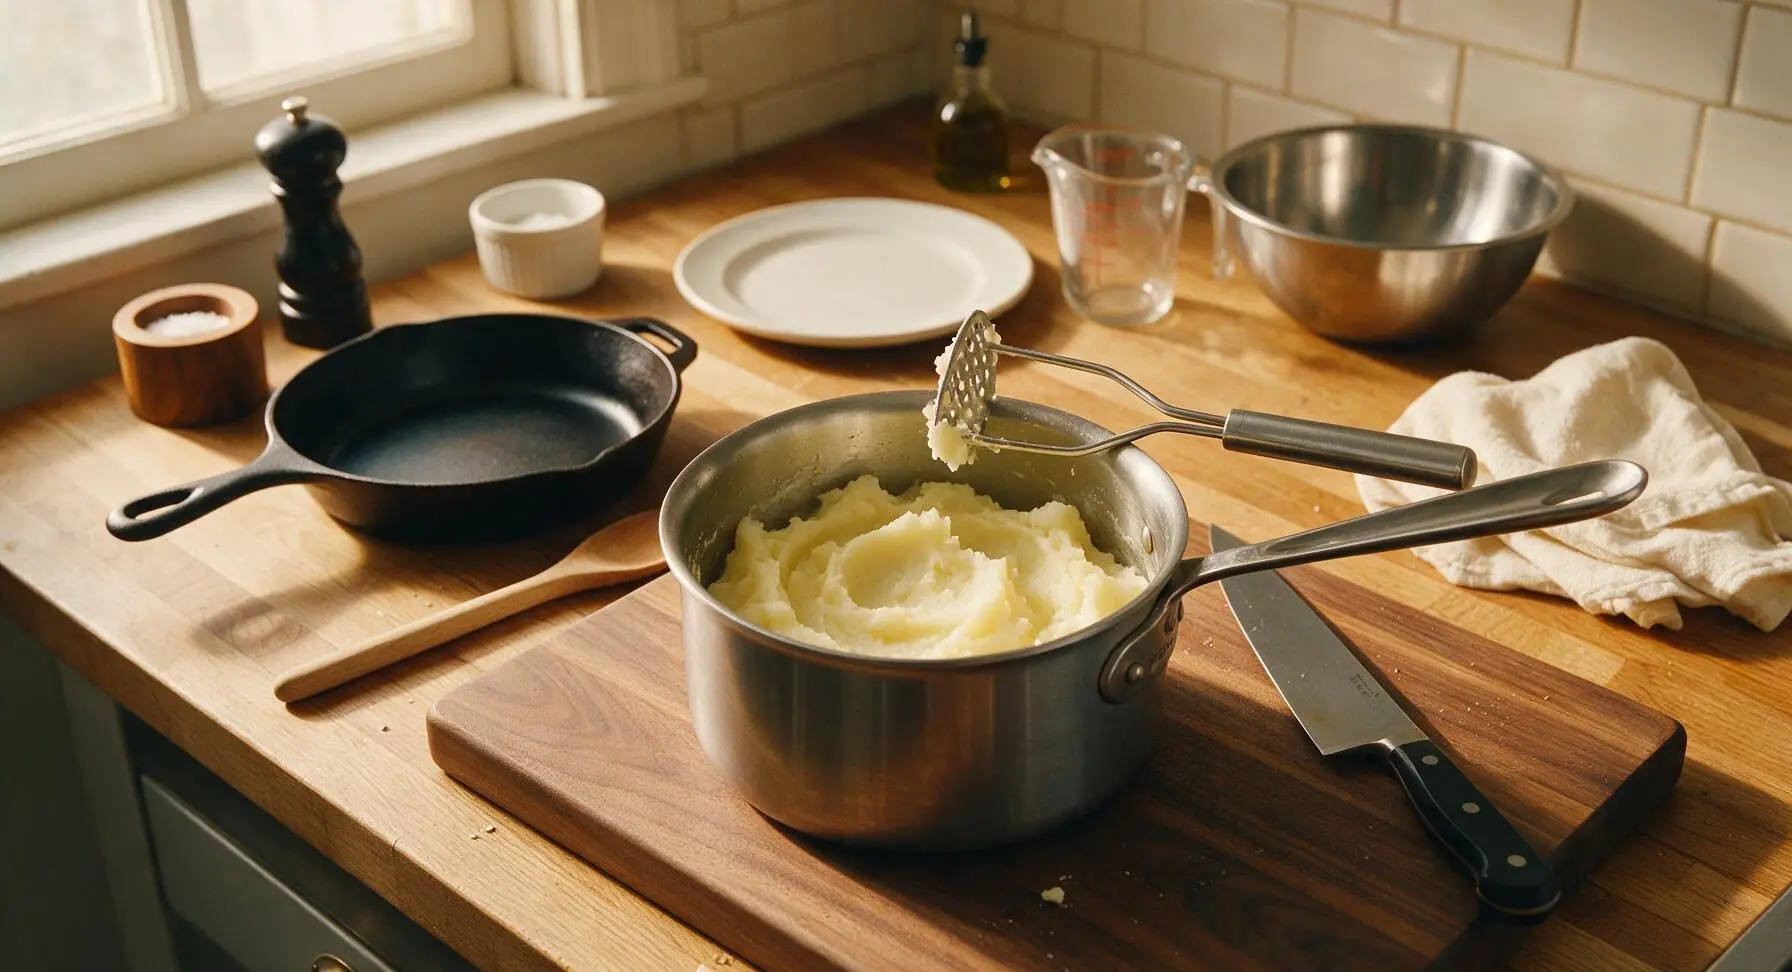
Place the peeled, cubed russet potato in the 2-quart brushed stainless steel saucepan, cover with cold water by 1 inch, and bring to a rolling boil over medium-high heat. Cook 10–12 minutes until the potato is fully fork-tender (a fork slides through cubes with no resistance). Drain completely, then use the stainless steel potato masher to mash until perfectly smooth, with no remaining lumps. Set aside to cool to 110°F (warm to the touch, not steaming hot), as hot potato will kill the yeast.
Step 1
step1:Boil and Mash Potatoes
Step 1
step1:Boil and Mash Potatoes
2

Activate the Yeast

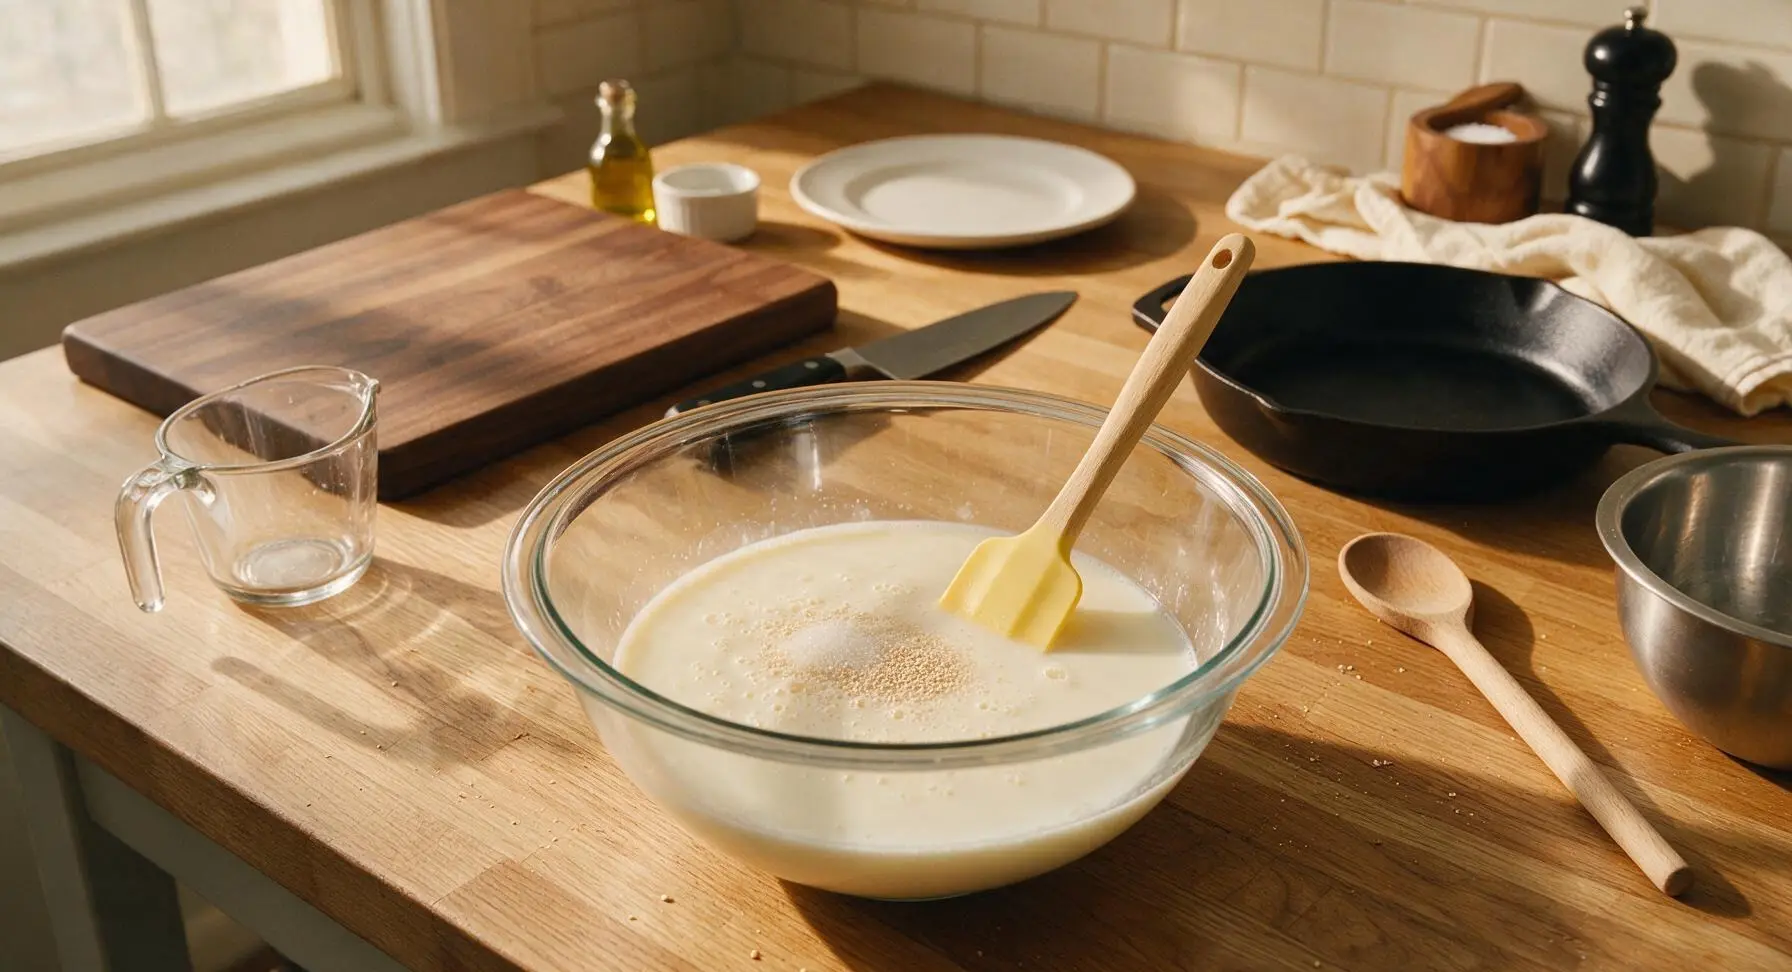
Pour warmed 110°F whole milk into the 4-quart clear glass mixing bowl. Stir in 1 teaspoon of granulated sugar and the full packet of active dry yeast with the pale butter yellow silicone spatula. Let rest 5–7 minutes until the surface is covered in foamy, bubbly yeast – this confirms the yeast is active. If no foam forms, the yeast is expired and will not leaven the rolls.
Step 2
step2:Activate the Yeast
3

Combine Dough Ingredients

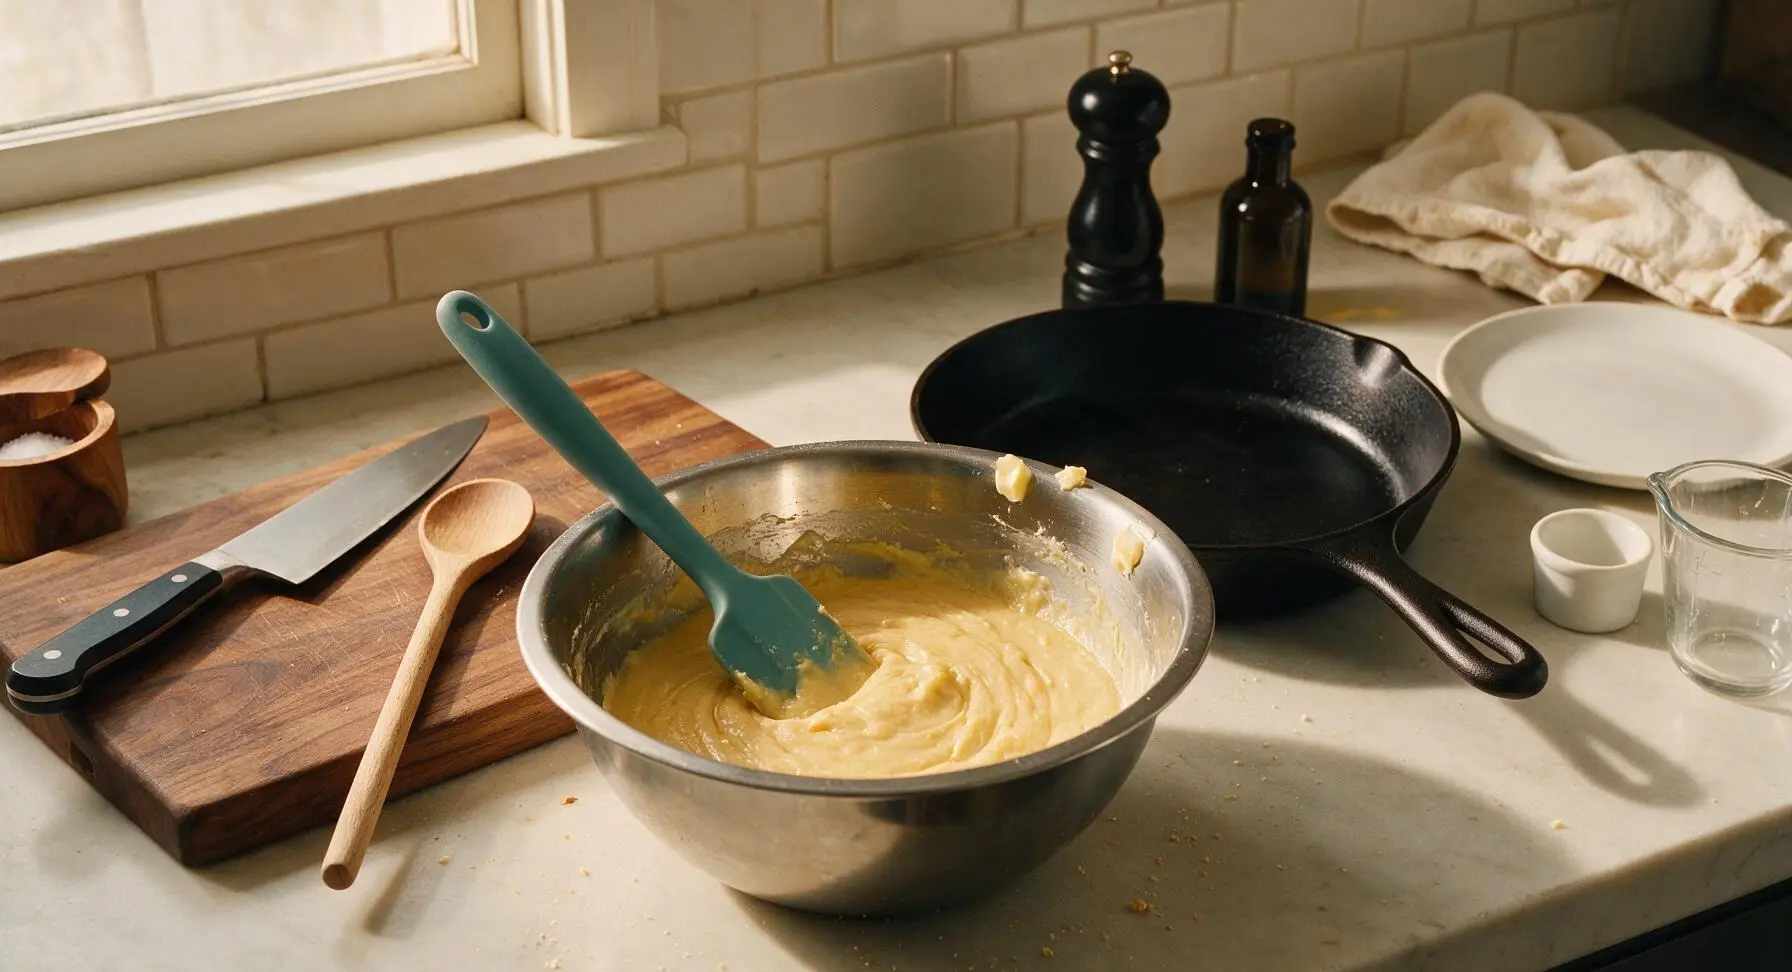
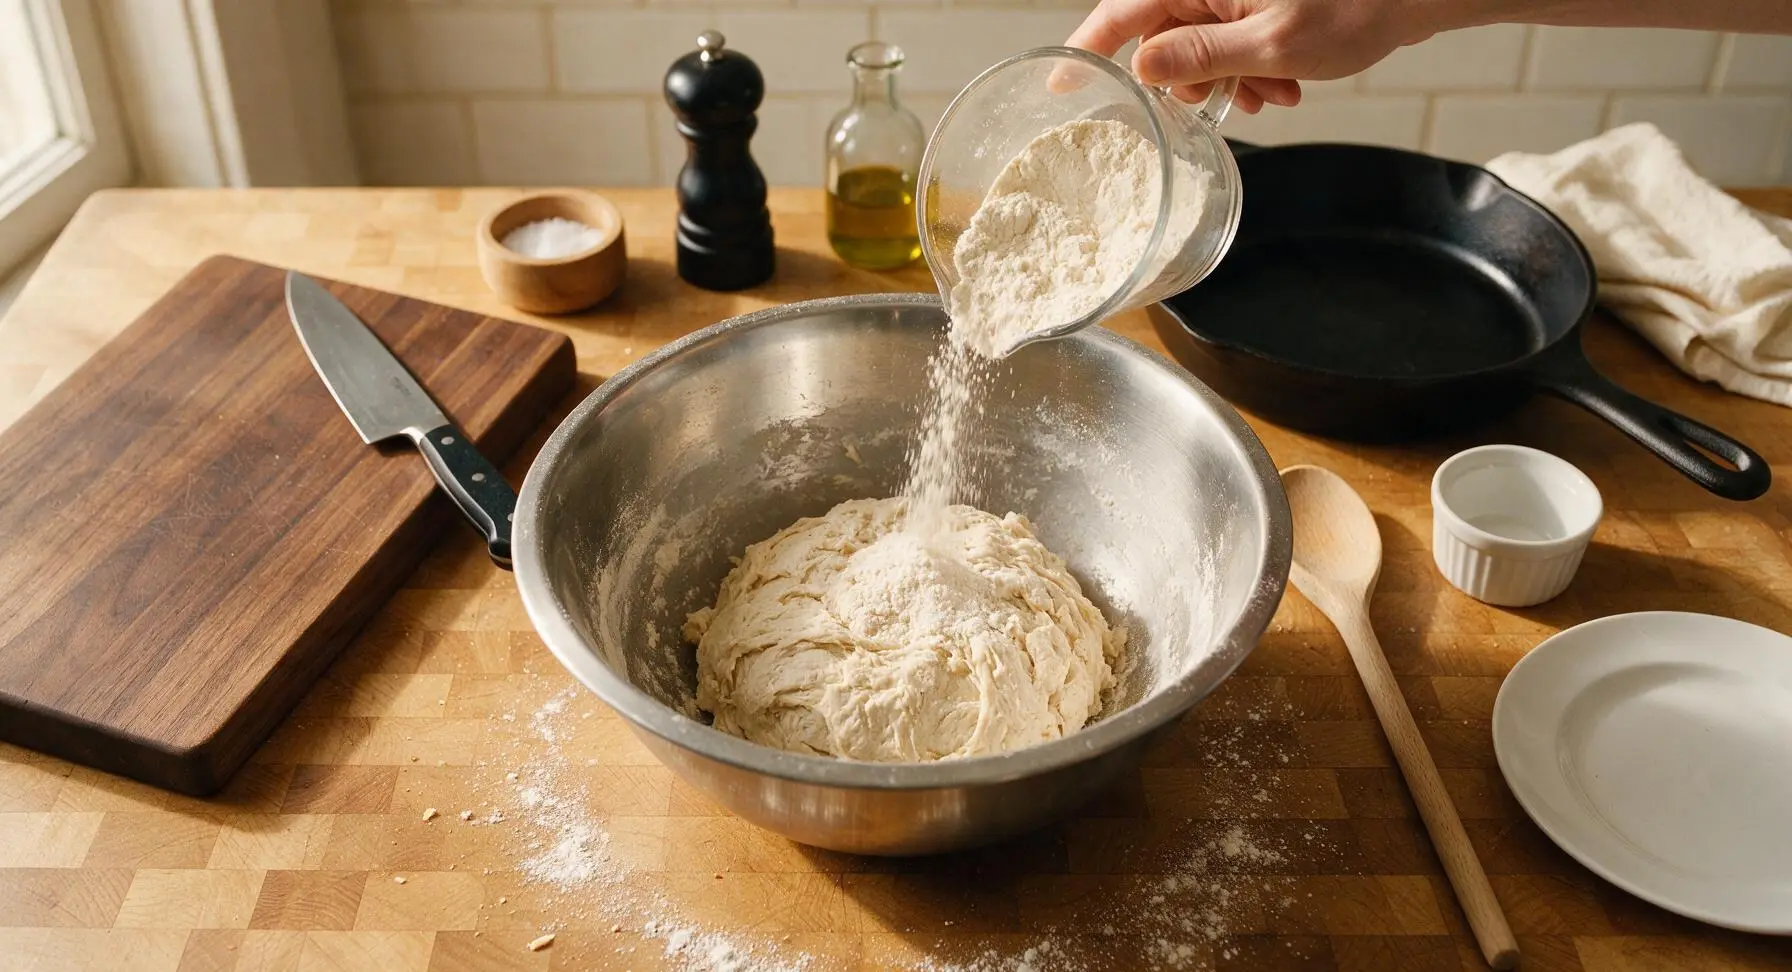
Add the cooled smooth mashed potato, remaining granulated sugar, 3 tablespoons of melted unsalted butter, room-temperature large eggs, and fine sea salt to the foamy yeast mixture in the large mixing bowl. Stir with the silicone spatula until fully combined, with no streaks of egg visible. Gradually add all-purpose flour 1 cup at a time, stirring after each addition, until a shaggy, slightly sticky dough forms that pulls away from the bowl sides.
Step 3
step3:Combine Dough Ingredients
Step 3
step3:Combine Dough Ingredients
4

Knead Dough Smooth

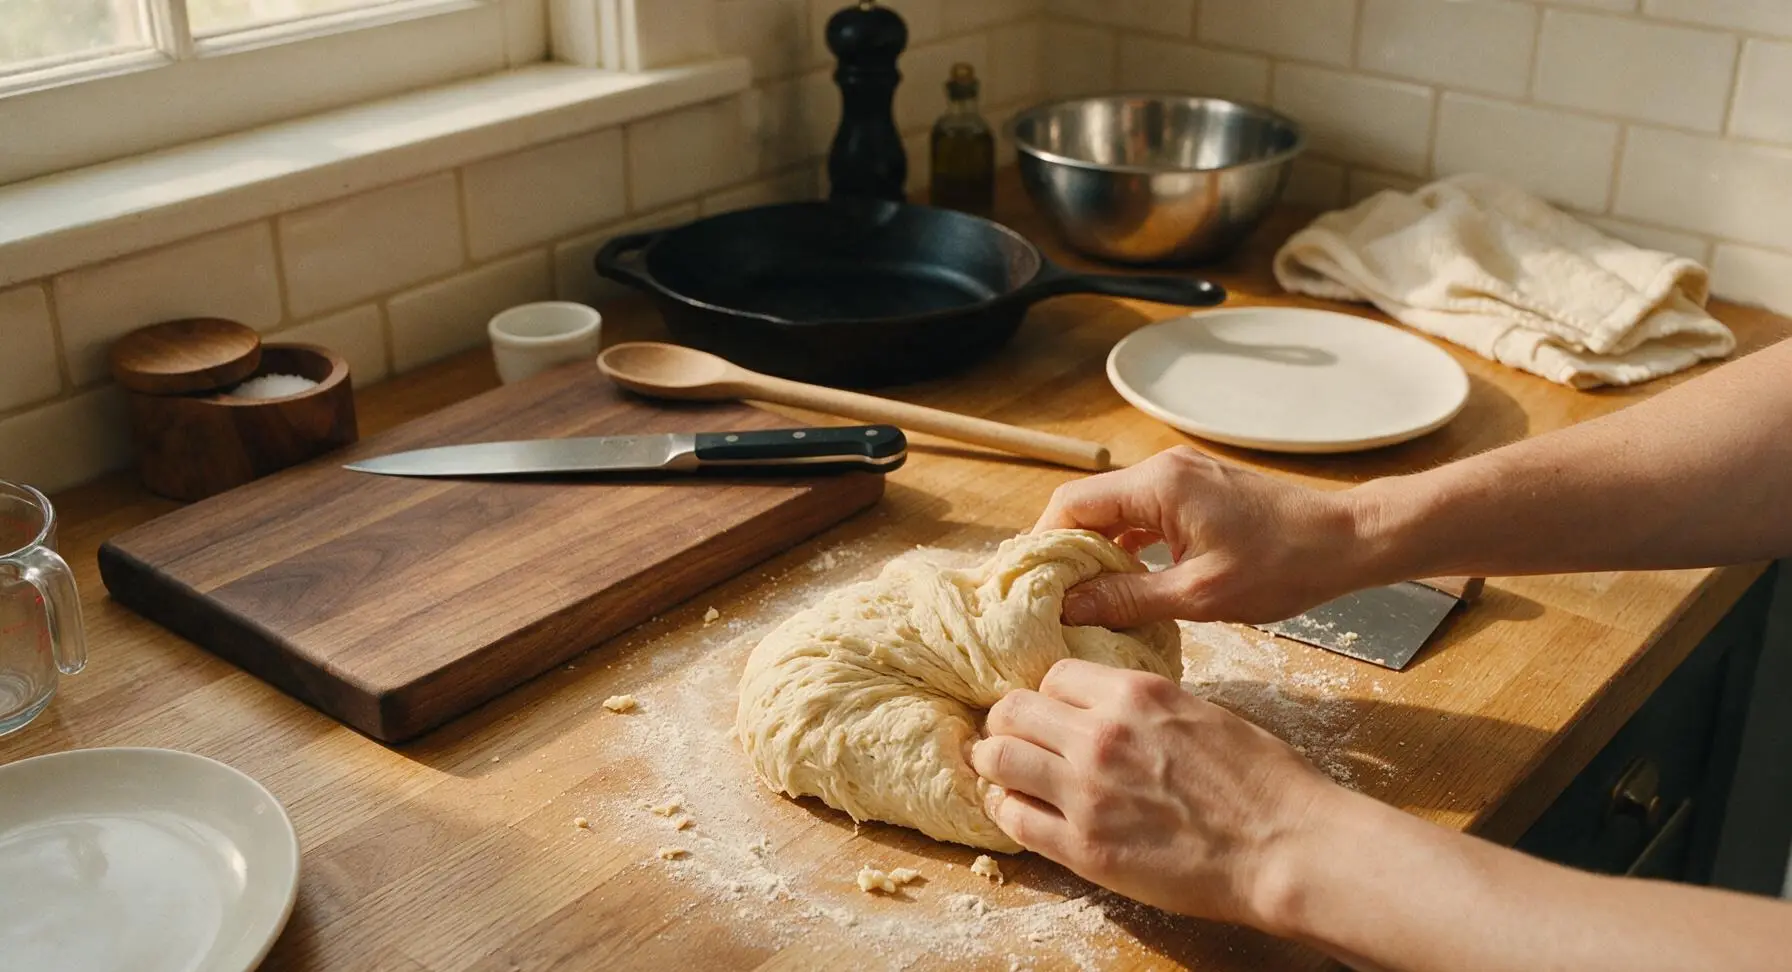
Turn the shaggy dough out onto a lightly floured section of the counter. Knead by hand for 8–10 minutes, folding the dough over itself and pushing forward with the heel of your hand, until the dough is smooth, elastic, and springs back slowly when poked. Add only a light dusting of flour if the dough sticks – excess flour will create dense, tough rolls. Form the kneaded dough into a tight, smooth ball.
Step 4
step4:Knead Dough Smooth
5

Let Dough Rise

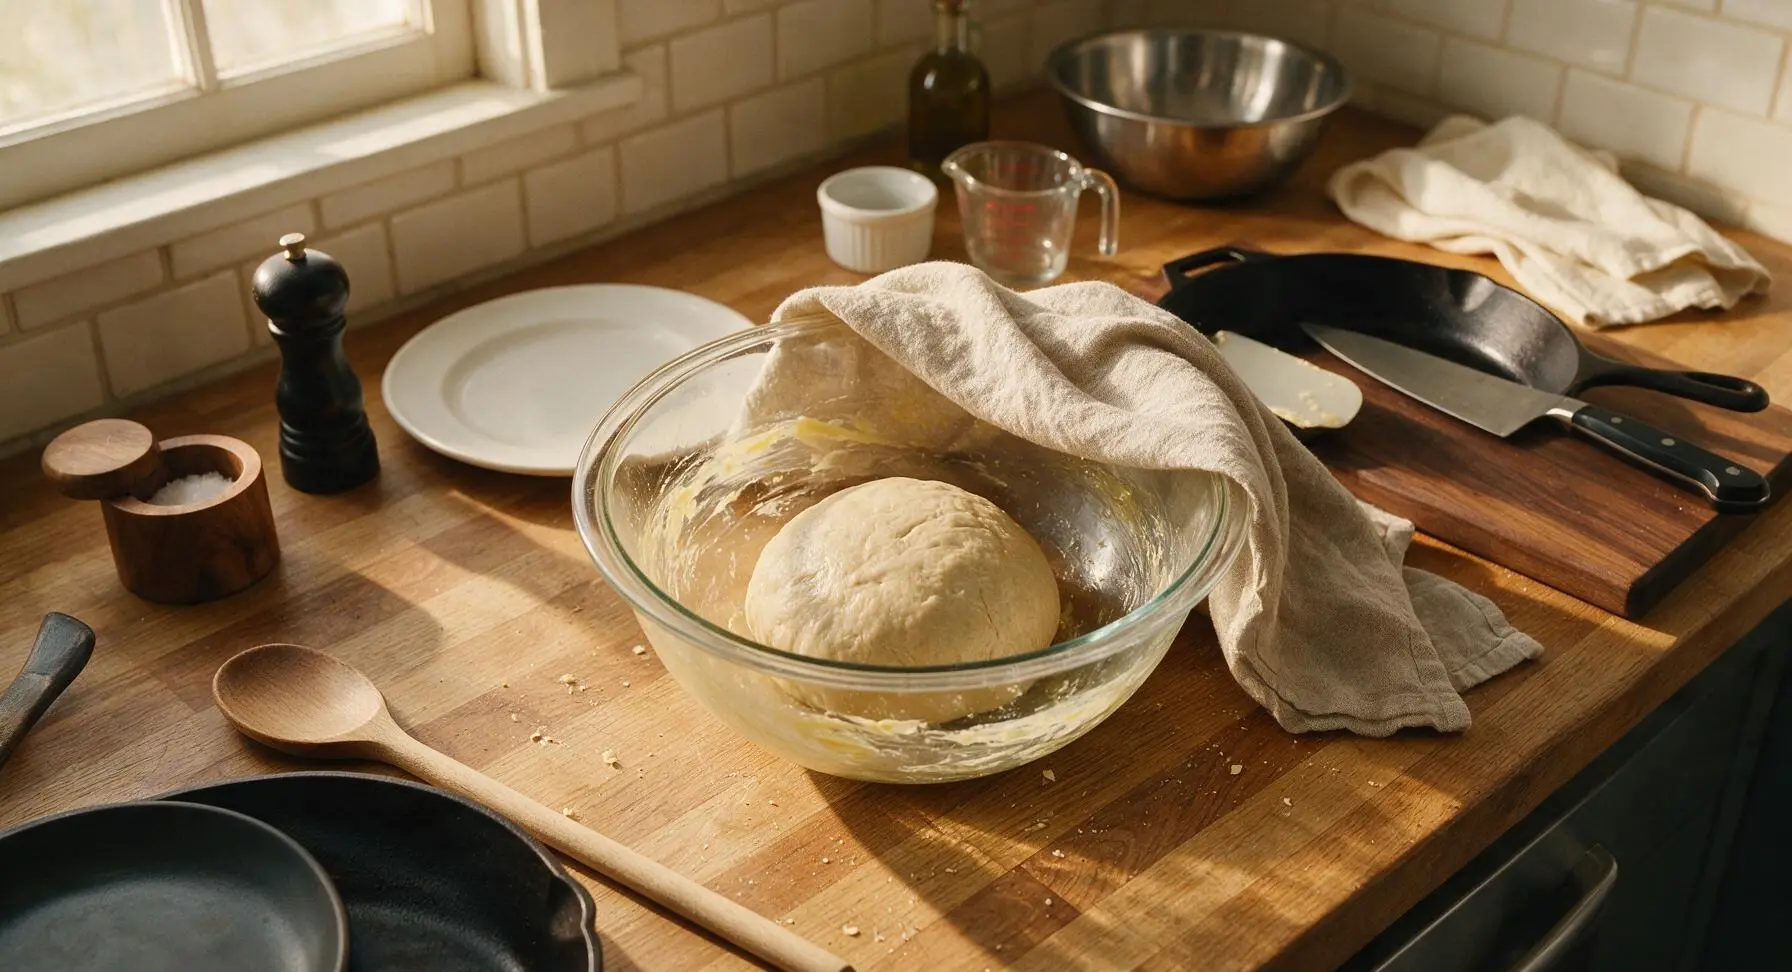
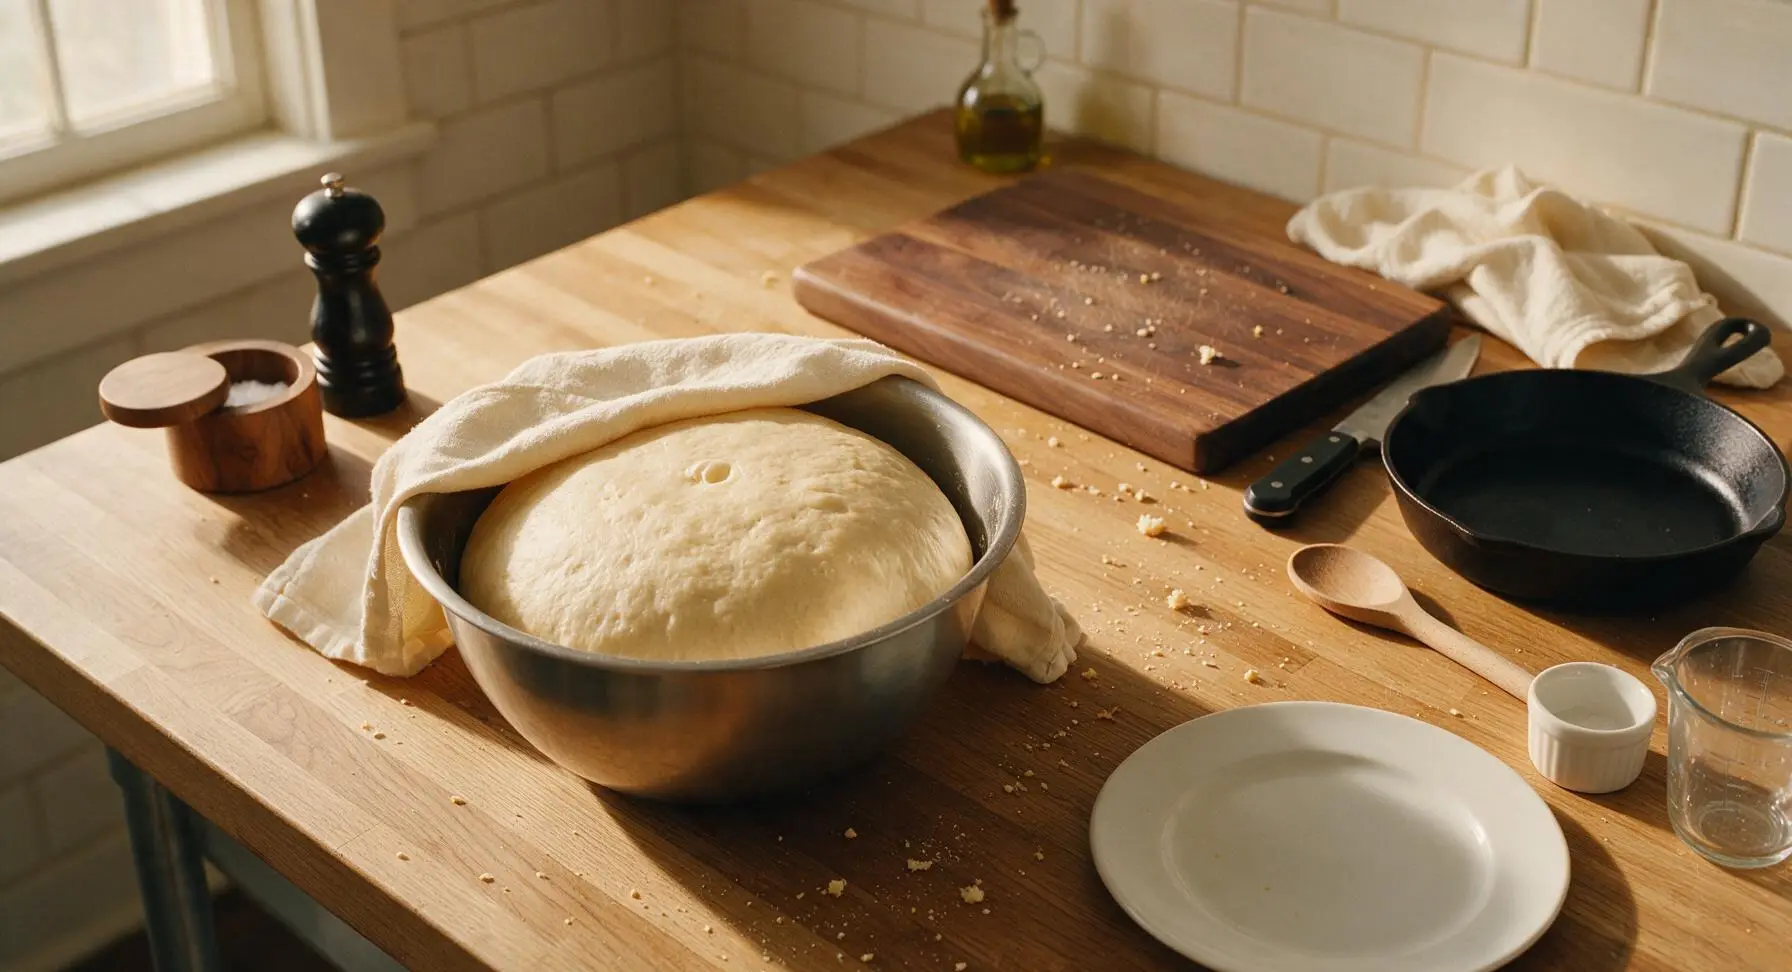
Wipe the large glass mixing bowl with a thin coat of melted butter, then place the kneaded dough ball back into the bowl, turning once to coat the dough surface in butter. Drape a corner of the fixed-position oatmeal linen towel over the bowl top, and let rise in a warm draft-free spot for 1–1.5 hours, until the dough doubles in size and a finger-pressed indentation does not spring back.
Step 5
step5:Let Dough Rise
Step 5
step5:Let Dough Rise
6

Shape Individual Rolls

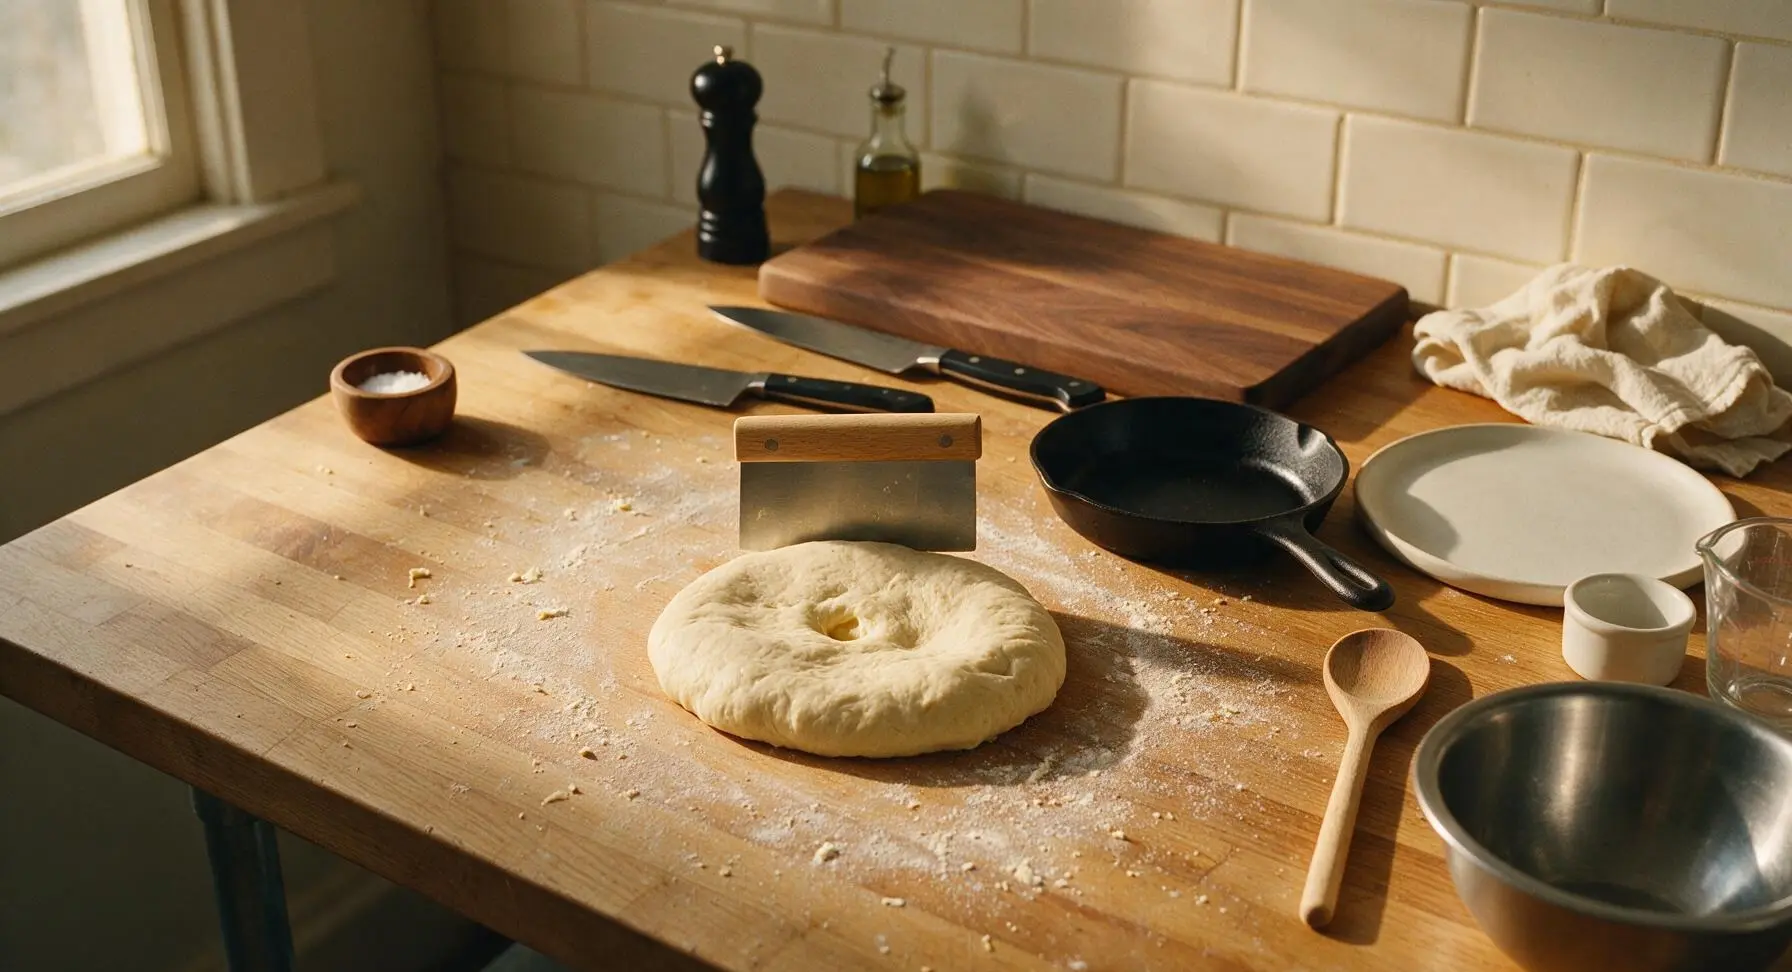
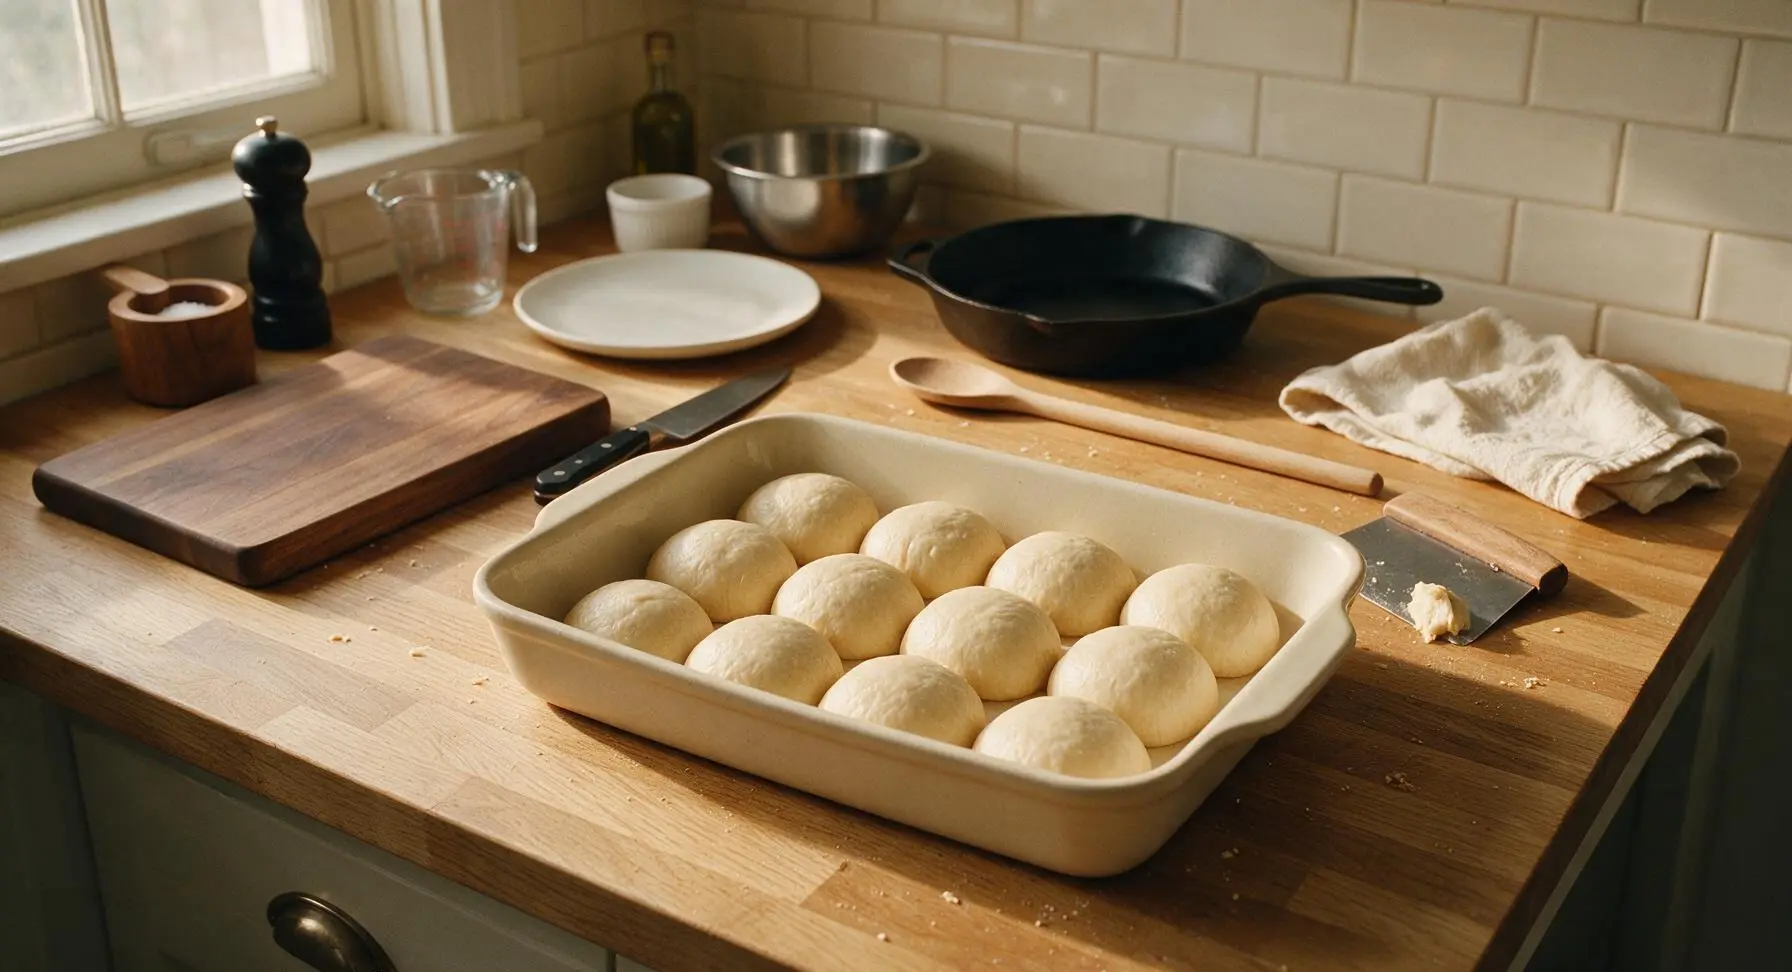
Punch the risen dough firmly in the center to release all trapped air, then turn it out onto the lightly floured counter. Use the dough scraper to cut the dough evenly into 12 equal portions (approx. 70g each). Roll each portion into a tight, smooth ball by cupping your hand over the dough and moving it in small circular motions against the counter. Arrange dough balls evenly in the 9x13 inch matte cream ceramic baking dish, leaving 1/2 inch of space between each roll for the second rise.
Step 6
step6:Shape Individual Rolls
Step 6
step6:Shape Individual Rolls
7

Bake Until Golden

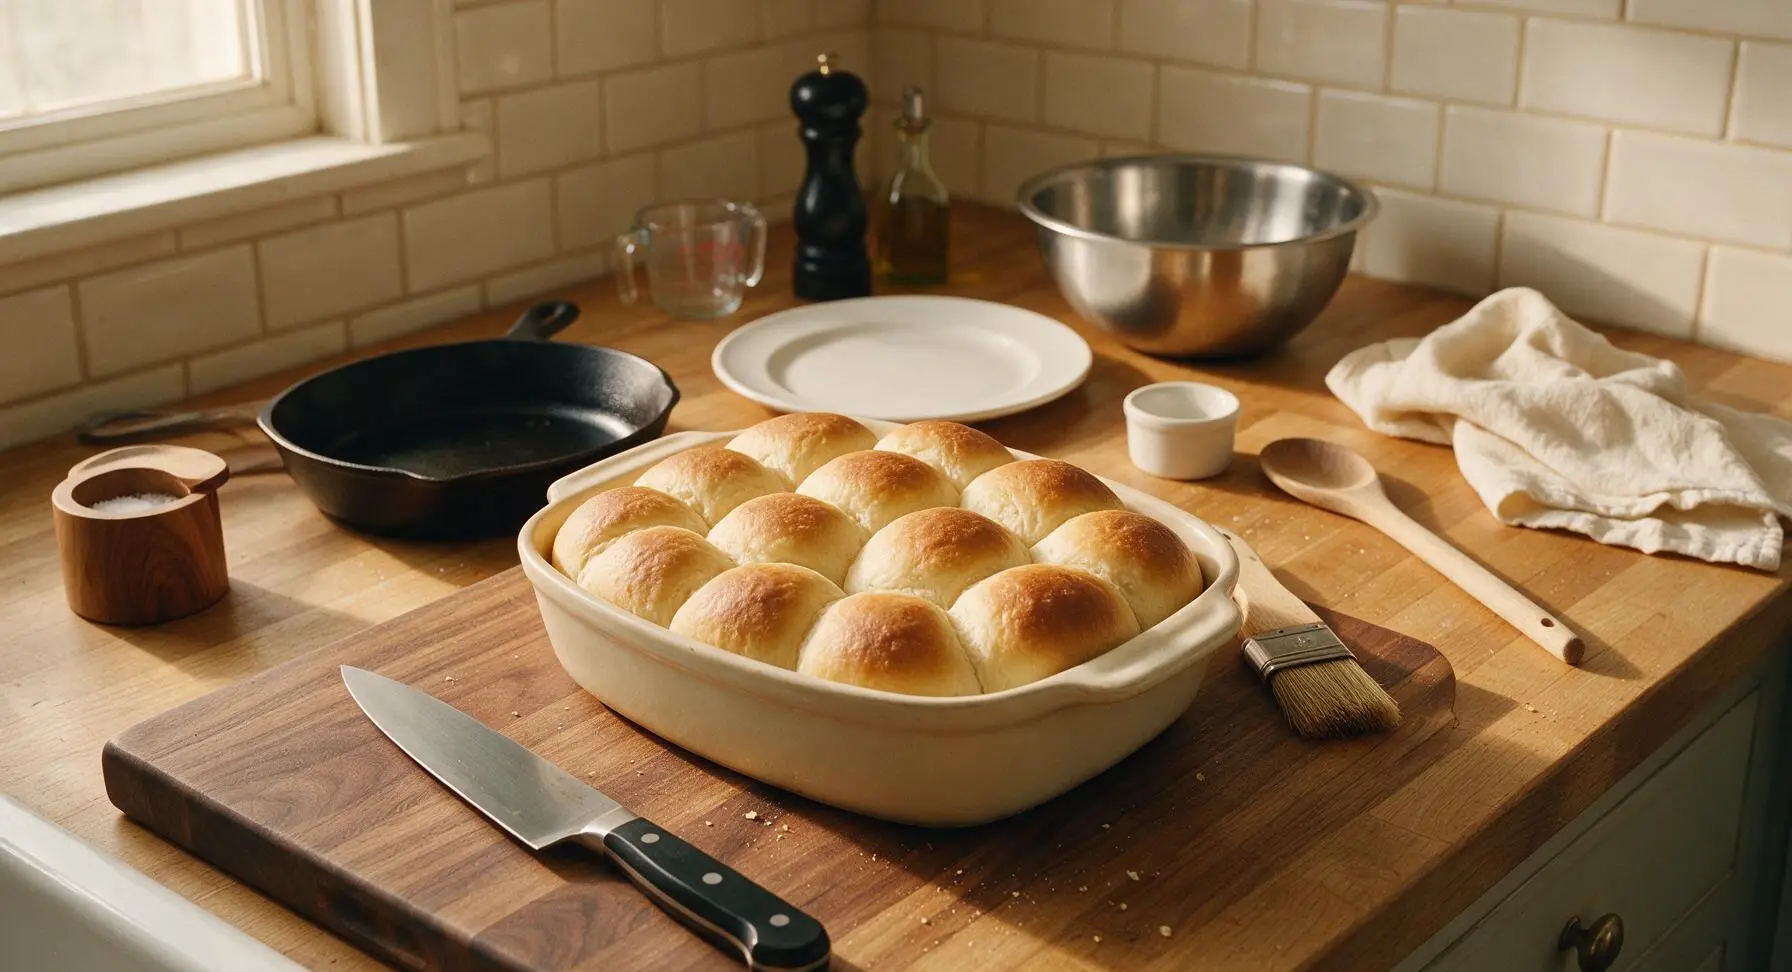
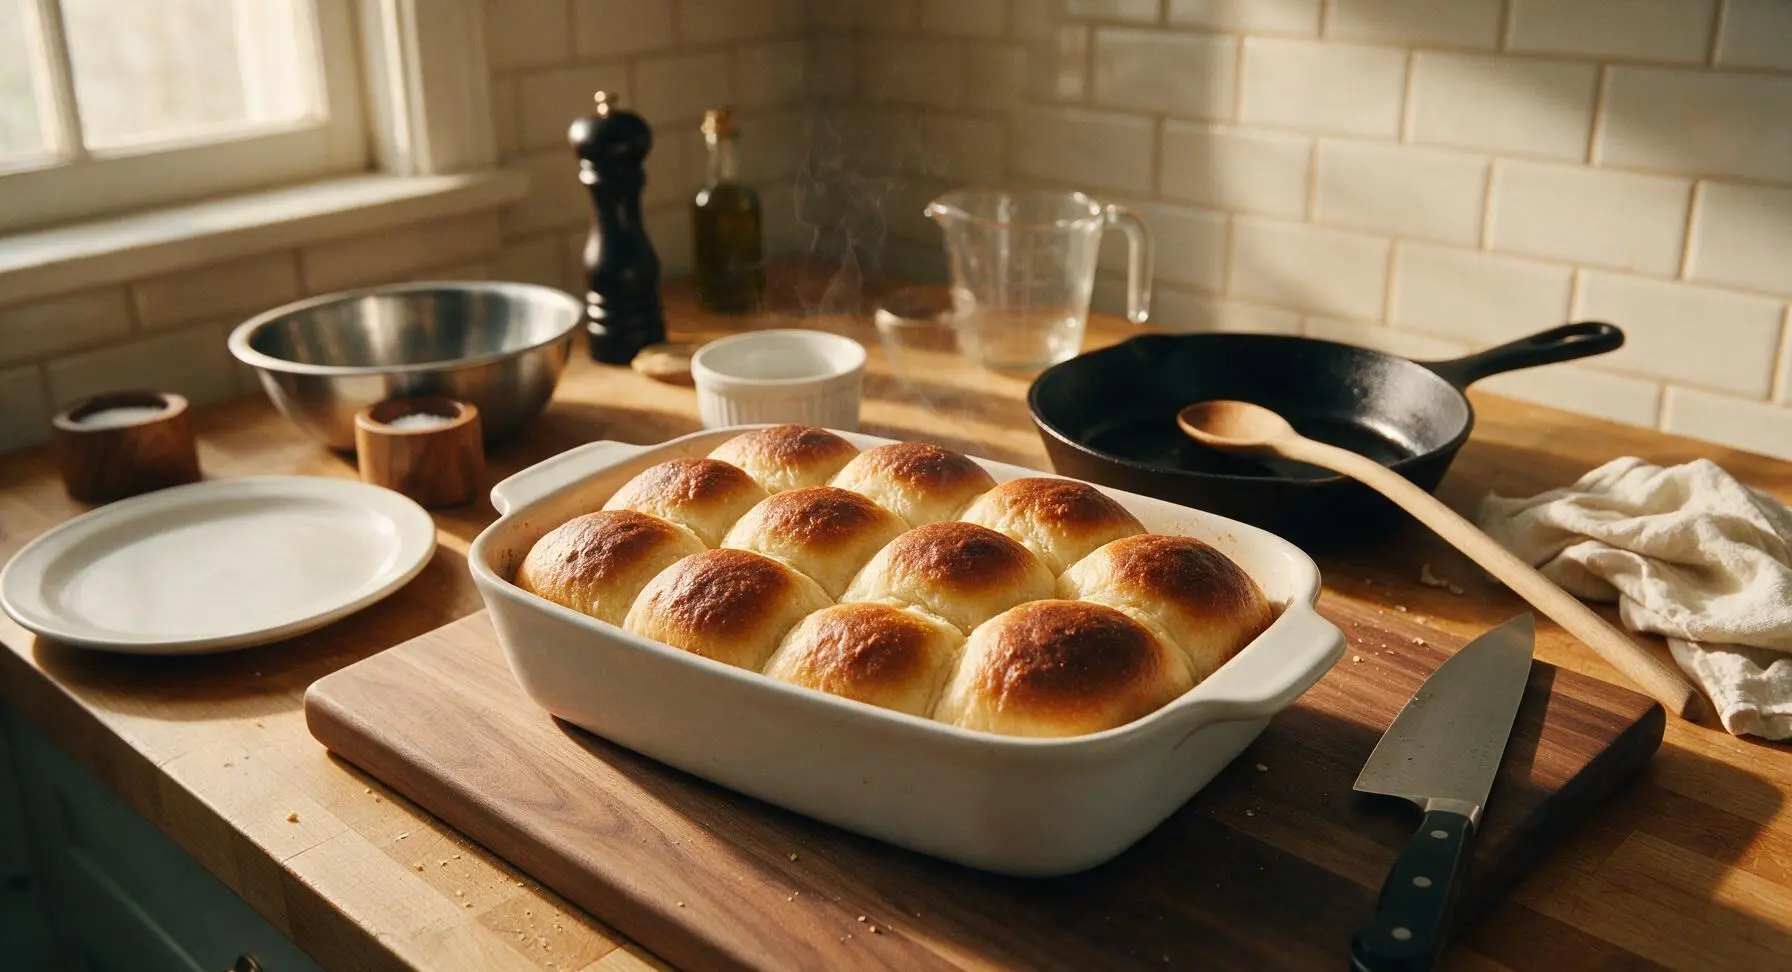
Drape a corner of the linen towel over the baking dish of shaped rolls, and let rise a second time for 30–40 minutes, until rolls are puffed and touching each other, filling the dish. Preheat oven to 375°F (190°C) during the final 15 minutes of rising. Remove the towel, then bake for 18–20 minutes, until roll tops are deep golden brown and internal temperature reaches 190°F (88°C).
Step 7
step7:Bake Until Golden
Step 7
step7:Bake Until Golden
8

Butter and Serve

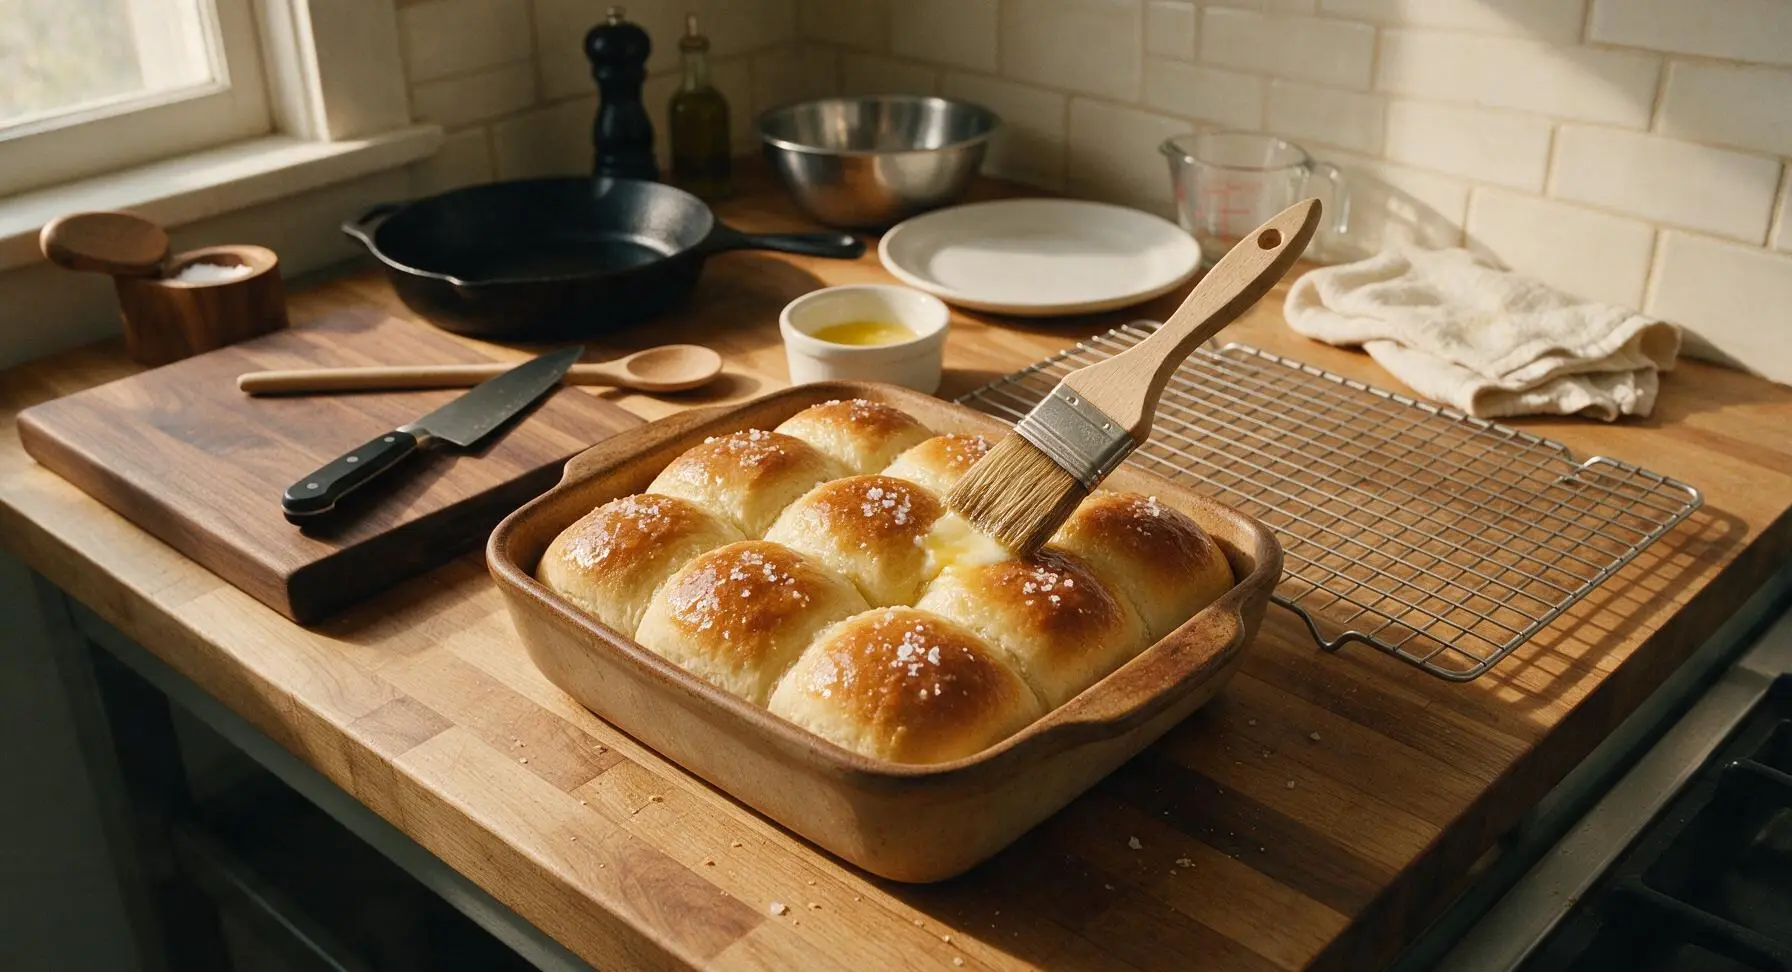
Immediately after removing rolls from the oven, use the pastry brush to brush tops with the remaining 1 tablespoon of melted butter from the small cream ramekin, then sprinkle lightly with flaky sea salt. Let rolls cool in the dish for 5 minutes, then transfer to the matte chrome wire cooling rack for 10 minutes, or serve warm directly on the cream ceramic serving platter.
Step 8
step8:Butter and Serve

Tips

1.Use only starchy russet potatoes for this recipe: waxy red or Yukon Gold potatoes do not break down into a smooth mash, and their lower starch content will produce dense, heavy rolls instead of the signature light, pillowy texture.
2.Ensure all warm ingredients (milk, melted butter, mashed potato) are no hotter than 110°F when added to yeast. Temperatures above 120°F will kill live yeast, leading to flat, dense rolls that fail to rise. If you don’t have a thermometer, test milk against your inner wrist – it should feel like warm bath water, not hot.
3.Brushing roll tops with melted butter immediately after baking is non-negotiable for soft, long-lasting rolls: the butter traps moisture in the crust, preventing it from hardening as it cools, and adds a rich, buttery flavor that pairs perfectly with holiday gravies and spreads.


✨ You May Also Like

Side Dishes
🍜 India

Velvety, aromatic all-purpose curry sauce perfect for tossing with roasted veggies, grilled protein, or rice for fast, cozy, flavorful meals.

⏱️ 25 minuteSide Dishes ★ 4.8
Side Dishes
🍜 Spain

Tender, starchy boiled yuca tossed in bright, garlicky citrus mojo sauce—an iconic, zesty side that pairs beautifully with roasted pork, grilled meats, and rice and beans.

⏱️ 40 minuteSide Dishes ★ 5
Side Dishes
🍜 United States

Tender, paper-thin potato flatbread, a beloved Norwegian-American Minnesota Christmas staple, griddled until softly spotted and served warm with butter.

⏱️ 1 hour 30Side Dishes ★ 4.6
Side Dishes
🍜 United States

Rich, deeply savory cured salt pork, a long-lasting kitchen staple perfect for frying crispy as a side or adding umami to stews, beans, and chowders.

⏱️ 7 days (2Side Dishes ★ 4.9
Side Dishes
🍜 United States

Crispy, tangy classic Southern fried green tomatoes with a crunchy cornmeal crust, served hot for a nostalgic, comforting summery bite.

⏱️ 25 minuteSide Dishes ★ 4.9
Side Dishes
🍜 United States

Moist, golden-crusted savory muffins with sweet corn, zesty jalapeño, and melted cheddar, perfect for pairing with smoky summer grilled fare.

⏱️ 30 minuteSide Dishes ★ 4.9

Classic Potato Rolls:Frequently Asked Questions

1.Why are russet potatoes recommended for these rolls instead of other potato types? ▾
Russet potatoes are ideal here because of their high starch, low moisture content, which creates that signature pillowy, cloud-like crumb we love in classic potato rolls. Waxy varieties like red potatoes or Yukon Golds have higher moisture and lower starch, which can lead to dense, heavy rolls. Be sure to drain cooked cubed russets fully before mashing to avoid soggy, hard-to-work dough.
2.What happens if my milk is too hot or too cold when mixing the dough? ▾
Whole milk warmed to 110°F is the perfect temperature to activate yeast without killing it. If your milk is colder than 100°F, the yeast won’t activate properly, leading to flat, dense rolls that don’t rise. If it’s hotter than 120°F, it will kill the yeast entirely, leaving hard, unrisen dough. Use a quick-read thermometer to take the guesswork out.
3.The recipe notes melted unsalted butter is divided—how should I split it? ▾
You’ll split the melted unsalted butter into two simple portions: roughly two-thirds gets mixed directly into the dough to add richness and build that tender, soft crumb, and the remaining one-third is brushed over the tops of the rolls right when they come out of the oven. That top brush creates a glossy, buttery crust perfect for sopping up gravy.
4.Can I make these potato rolls ahead of time for Thanksgiving dinner? ▾
Absolutely—these rolls are made for easy Thanksgiving prep. You can shape uncooked rolls, cover them tightly, and store them in the fridge for up to 24 hours before baking, or bake them fully, cool completely, and freeze them in an airtight bag for up to 1 month. Thaw, then warm in a 300°F oven for 5 minutes before serving.
5.Why are these rolls so much softer than regular white dinner rolls? ▾
The secret to their unmatched softness is the cooked russet potato. The potato’s starch traps moisture during baking and slows gluten development in the all-purpose flour, creating that tender, melt-in-your-mouth crumb instead of the chewier, more structured texture of standard all-flour white dinner rolls. A touch of granulated sugar and butter amplifies that soft, rich bite.
6.Do I have to peel the russet potatoes, or can I leave the skins on? ▾
For the classic, smooth, light crumb this recipe is known for, you’ll want to fully peel your russet potatoes before cubing and boiling them. Potato skins add a chewy, earthy texture and dark flecks that change both the look and mouthfeel of the soft rolls. If you prefer a heartier, rustic roll, you can leave skins on, just note it won’t match the classic pillowy texture.
7.How do I know when I’ve added enough all-purpose flour to the dough? ▾
Add your all-purpose flour gradually, mixing as you go, until the dough pulls away from the sides of the mixing bowl and feels soft, slightly tacky but not sticky enough to leave residue on your clean fingers when you poke it. Adding too much flour will make rolls dense and tough, so stop once that soft, tacky texture hits, even if you don’t use every last measured cup.
8.How long should I let the dough rise for the fluffiest possible rolls? ▾
For the lightest, fluffiest rolls, let the mixed dough do a first rise in a warm, draft-free spot for 1 to 1.5 hours, until it doubles in size. After you shape individual rolls, let them rise a second time for 30 to 45 minutes, until they’re puffed up and touching each other in the baking pan. Rushing rise times will lead to denser, less pillowy rolls.
9.Can I use instant mashed potatoes instead of fresh boiled russets as a shortcut? ▾
You can use plain, unseasoned instant mashed potatoes in a pinch, but the texture won’t be quite as soft or flavorful as rolls made with fresh boiled russets. If you go this route, prepare the instant potatoes with water only (no added butter, salt, or milk) and let them cool fully before mixing in to avoid throwing off the recipe’s moisture balance.
10.What’s the best way to serve these classic potato rolls? ▾
These soft, buttery rolls are endlessly versatile! Serve them warm straight from the oven with a pat of melted salted butter for a simple, cozy side, or use them to sop up gravy, cranberry sauce, and pan drippings at your Thanksgiving dinner. They also make fantastic slider buns for leftover turkey, ham, or pulled pork after the holiday.

Comments (16)

2 days ago

OMG these potato rolls are a GAME CHANGER for Sunday family dinner! I was worried they’d be too fussy since I’m still pretty new to bread baking, but the instructions were so clear. They came out pillowy soft, even better than the store-bought Hawaiian rolls my kids usually beg for. Already planning to make a double batch for our neighborhood potluck next weekend!

1 day ago

Wait did you use russet potatoes like the recipe says? I only have Yukon gold on hand and was wondering if that works!

1 day ago

Great question! Yukon gold works perfectly here, just make sure you mash them super smooth with no lumps so the dough stays evenly textured. So glad you loved the rolls, LilaMae!

3 days ago

These were solid! I made them to go with brisket for our college football watch party and they held up great for pulled pork sliders. Only ding is I wish the recipe noted how long you need to let the dough rise, because I almost cut that short waiting for kickoff. Still turned out tasty though, everyone raved.

2 days ago

Thanks for the feedback, Brent! Great callout – we’ve updated the recipe card to make the rise time (about 1 hour for the first proof, 30 minutes after shaping) way more prominent at the top so you don’t miss it next time. So glad they were a hit at the watch party!

1 week ago

SO good. I used leftover plain mashed potatoes from a friend’s Friendsgiving get-together and it cut down prep time so much. These are the perfect texture – soft, slightly sweet, great with a little salted butter straight out of the oven. My roommate ate three before they even cooled all the way, no regrets.

5 days ago

I meal prepped these for school lunches this week and they held up perfectly! I split them and stuffed them with ham and cheese for the kids, and none of them came home with half-eaten sandwiches for once. Total win. Has anyone tried freezing these after baking? I want to make a huge batch for busy weeks.

3 days ago

I froze half my batch last month! Just let them cool completely, wrap tightly in plastic wrap then foil, and they keep for up to 3 months. Thaw on the counter for an hour and they taste just as fresh – perfect for quick meals!

1 week ago

Taste was great when these finally came together, but man I struggled with the dough being way too sticky even after adding the full amount of flour. I ended up adding almost an extra half cup before I could knead it without it gluing to my counter. Maybe it’s the dry climate here? Not sure, but they were tasty once baked.

5 days ago

Oh I had the exact same issue when I lived in Phoenix! I started adding flour a tablespoon at a time instead of dumping the full amount in right away, and it fixed the sticky problem for me. Dry desert air messes with so many bread recipes!

4 days ago

So sorry the dough was tricky for you, Jake! Flour absorption can vary a lot based on climate and even the brand of flour you use – we’ve added a note to the recipe reminding folks to add flour gradually until the dough pulls away from the bowl sides, to help avoid that sticky mess. Happy they tasted great in the end!

2 weeks ago

I brought these to my office potluck last week and not a single one was left! People kept asking me for the recipe all afternoon. I brushed the tops with melted garlic butter right when they came out of the oven and it was chef’s kiss level. Will absolutely be making these on repeat from now on.

2 hours ago

Hmm, mine turned out really dense and heavy. I followed the recipe exactly as written, but they didn’t get fluffy like the pictures show. Did I do something wrong? I’m so bummed, I was really looking forward to these for dinner tonight.

30 minutes ago

I’m sorry to hear your rolls turned out dense! The most common culprit for dense rolls is yeast that’s past its expiration date, or not letting the dough rise long enough in a warm, draft-free spot. If your house is cold, try letting the dough rise inside your turned-off oven with the light on – it creates the perfect warm little nook for proofing. Give it another try, I bet they turn out fluffy next time!

yesterday

Made these last night to go with ribs and coleslaw, and my wife said they’re the best rolls I’ve ever made. The 20 minute cook time was totally accurate too – I popped them in the oven right when the ribs came out to rest, and everything was done perfectly at the same time. No burnt rolls, no cold sides, total dinner win.

yesterday

Wait that’s such a smart timing hack! I’m always overcomplicating my cook schedule when I make BBQ, I’m stealing that for my next cookout.

yesterday

Love that timing hack too! Nothing beats fresh warm rolls straight out of the oven alongside smoked ribs. So glad the cook time lined up perfectly for you!

1 week ago

These taste just like the potato rolls my mom used to make when I was a kid! I was worried I’d never find a recipe that matched that nostalgic soft, slightly sweet flavor, but this one is spot on. I’m adding this to my annual Christmas dinner menu for sure.

5 days ago

I know exactly what you mean! I’ve been chasing that childhood potato roll flavor for years too, and this recipe hit so different. I even made them for my grandma last weekend and she said they tasted like her old recipe. Total win!

3 days ago

Really tasty rolls! I swapped a quarter of the all-purpose flour for whole wheat flour to add a little extra fiber, and they still came out soft and delicious. They’re perfect for breakfast sandwiches with a little egg and avocado, too. Only reason for 4 stars is they were a tiny bit sweeter than I prefer, so next time I’ll cut the sugar by a tablespoon.

30 minutes ago

Just pulled these out of the oven and oh my gosh, my entire house smells like a bakery! I’m making mini cheeseburger sliders for game day tomorrow and these are the perfect size. Quick question – can I shape the dough into rolls tonight and let them do the second rise in the fridge overnight to save time tomorrow?

5 minutes ago

That’s such a great make-ahead hack! You absolutely can shape the rolls, cover them tightly, and let them do the second slow rise in the fridge for up to 12 hours. Just pull them out 30 minutes before you plan to bake them to take the chill off, and they’ll bake up perfectly. Enjoy those sliders!

2 weeks ago

I tested this recipe for an upcoming wedding cocktail hour where we’re doing mini ham and cheese sliders, and I was blown away by how consistent they were across three test batches. I make a lot of bread for events, and these hold up so well even when they’re prepped a few hours ahead of service. 10/10, adding these to my regular rotation.

1 week ago

How many sliders do you get out of one batch, roughly? I’m catering my sister’s baby shower next month and need to figure out how many batches to make for 40 people.

1 week ago

I made a batch for my kid’s birthday party last month and got 24 good-sized slider rolls out of it! I’d say make 2 batches for 40 people just to be safe, since everyone always goes back for seconds of these.

5 days ago

I veganized these by swapping the milk for oat milk, using vegan butter, and using a flax egg, and they still came out so fluffy! My non-vegan teen didn’t even notice the difference and ate three with dinner. Next time I’ll add a little rosemary to the dough for a fun herby twist.

2 days ago

Full transparency: I’ve killed every yeast dough I’ve tried to make in the last year. I fully expected these to flop too, but I took my time, followed the steps, and they actually worked! I cried a little when I pulled them out of the oven all golden and puffy. Baking confidence = restored.

1 day ago

This is so encouraging! I’ve been scared to try any yeast bread because I’ve messed up so many loaves before, but if even a fellow yeast killer can nail these, I’m adding the ingredients to my grocery list right now.

1 week ago

Testing sides for Thanksgiving early this year, and these rolls are locked in. They’re soft, but sturdy enough to soak up gravy without falling apart, which is my number one requirement for a good dinner roll. The subtle potato flavor pairs so well with turkey and cranberry sauce, I can’t wait for my whole family to try them.

5 days ago

The gravy test is the only test that matters for dinner rolls, tbh. If they can’t hold a scoop of gravy without disintegrating, they’re useless. Adding these to my Thanksgiving menu now!

4 days ago

We couldn’t agree more – a roll that can’t stand up to gravy is a non-starter for holiday dinners! So stoked these made the cut for your Thanksgiving table, they’re going to be a huge hit.

just now

Made these in my tiny dorm kitchen with just a hand mixer and a cheap baking sheet, and they still came out amazing! I didn’t even have a rolling pin, I just patted the dough out with my hands and cut it into squares. Perfect for late night study snacks with a little butter and jam. 10/10, even for beginner cooks with minimal equipment.



