
Cloverleaf Rolls (Classic American)

title 1
Cloverleaf Rolls (Classic American)
⏱️ cook time 20 minutes
🍽️ servings 12
⚡ Difficulty medium

intro

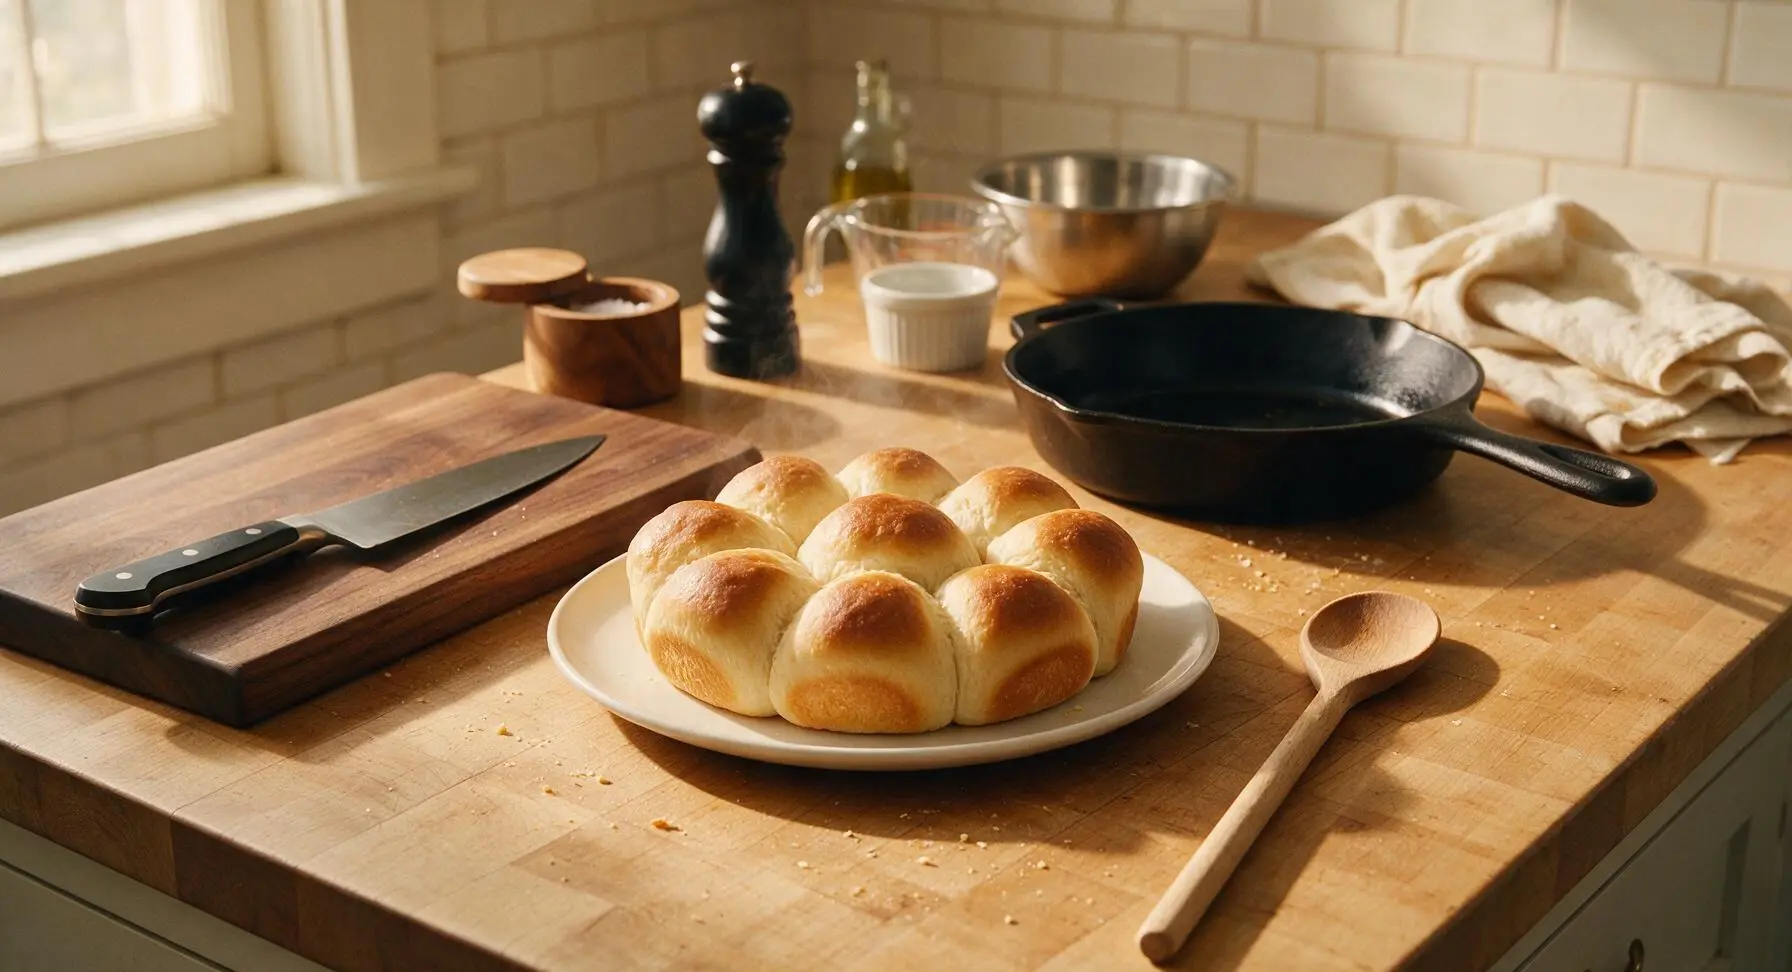
Soft, buttery pull-apart dinner rolls with a signature three-lobed clover shape, fluffy inside and golden-edged, a beloved staple on American Thanksgiving tables.

Ingredients
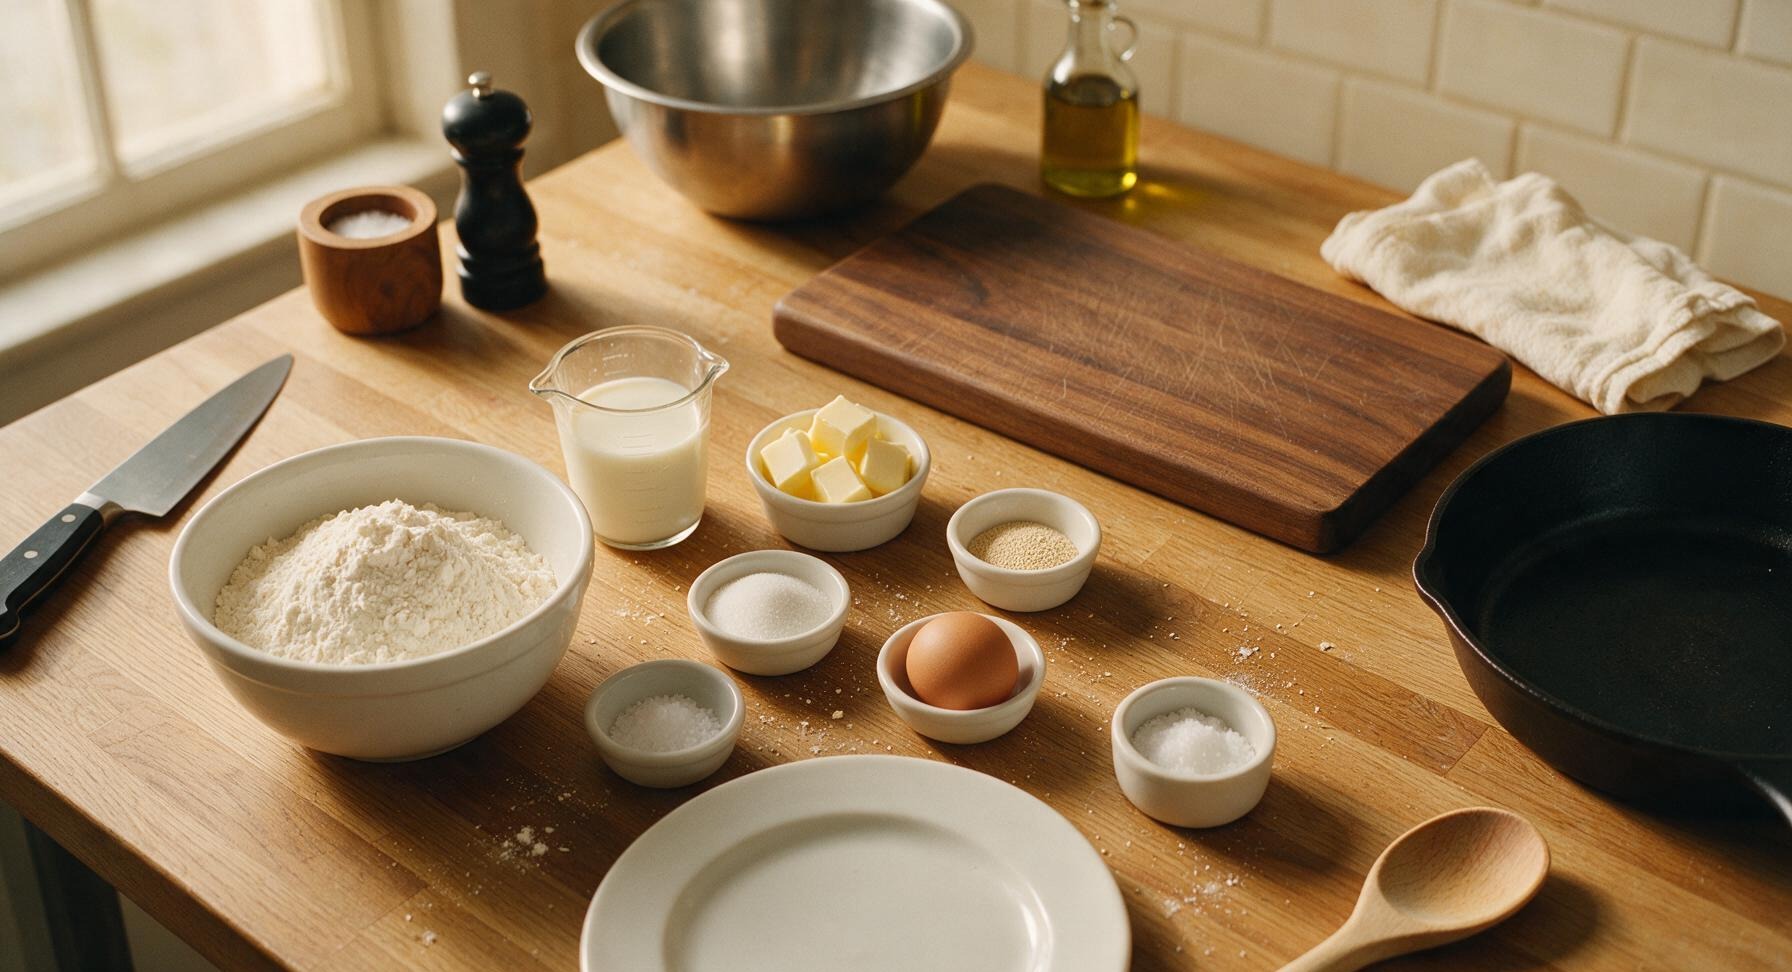
All-purpose flour 440g (3 1/2 cups)
Whole milk 240ml (1 cup)
Unsalted butter 85g (6 tbsp, divided)
Active dry yeast 7g (2 1/4 tsp, 1 standard packet)
Granulated sugar 25g (2 tbsp, divided)
Fine sea salt 1.5 tsp
Large egg 1 (room temperature)

Steps

1

Proof the Yeast

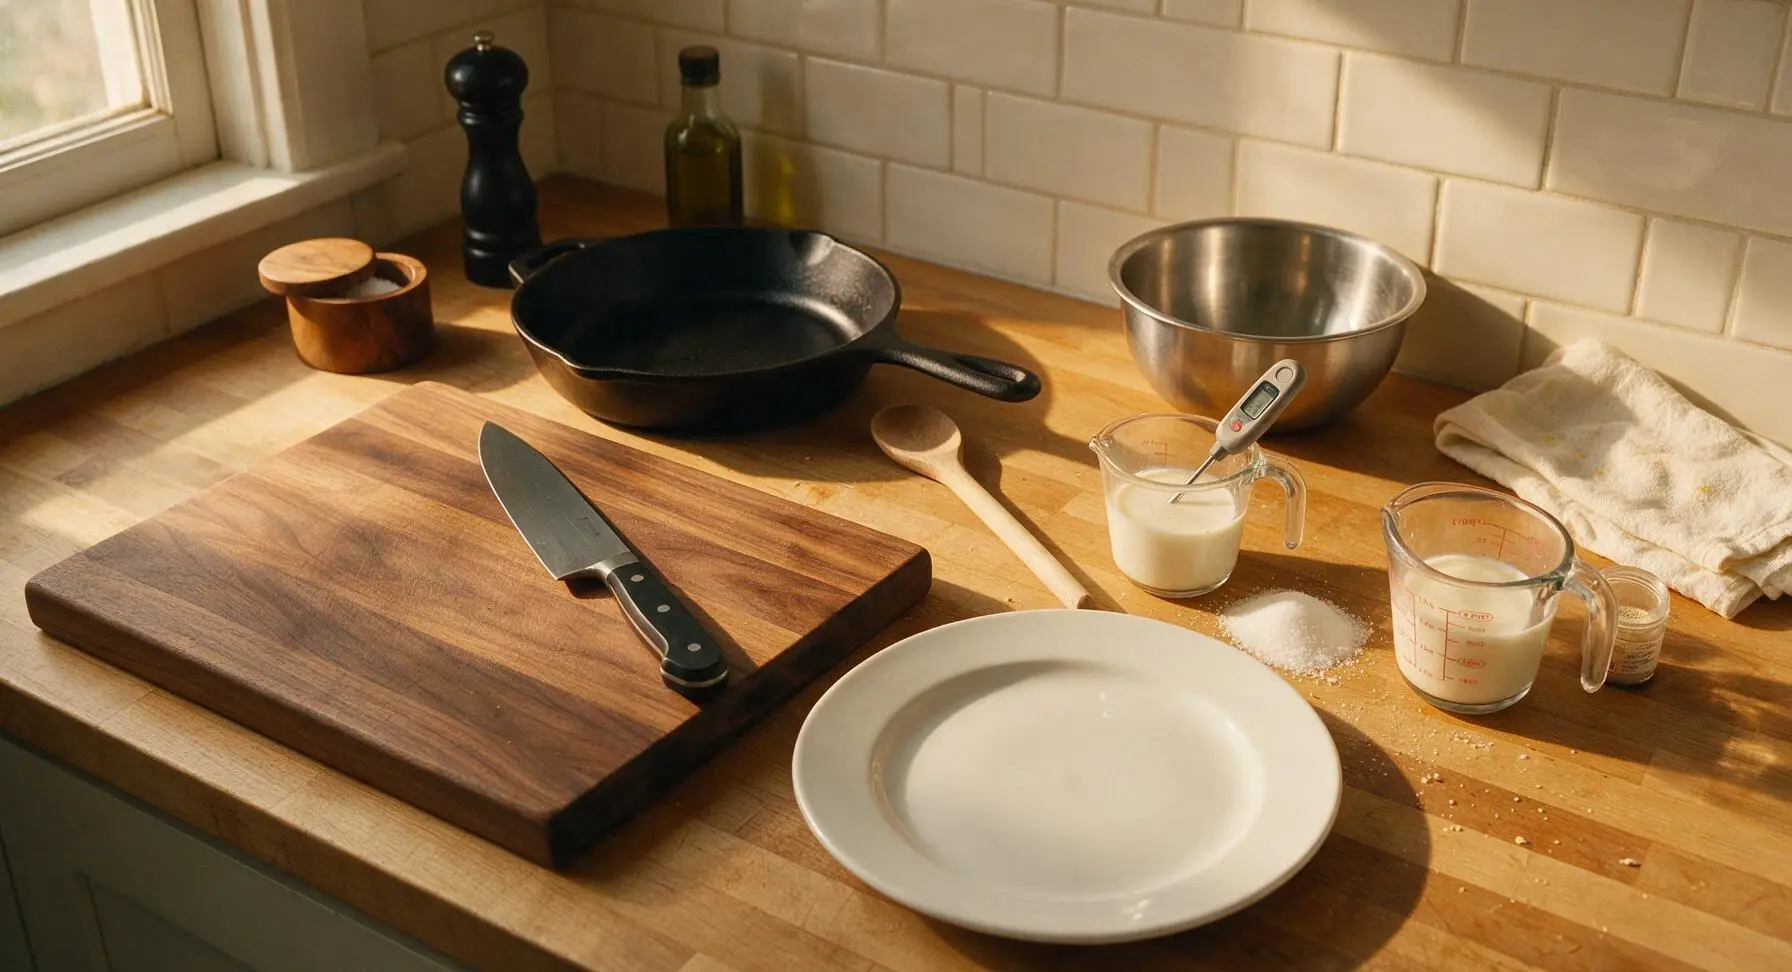
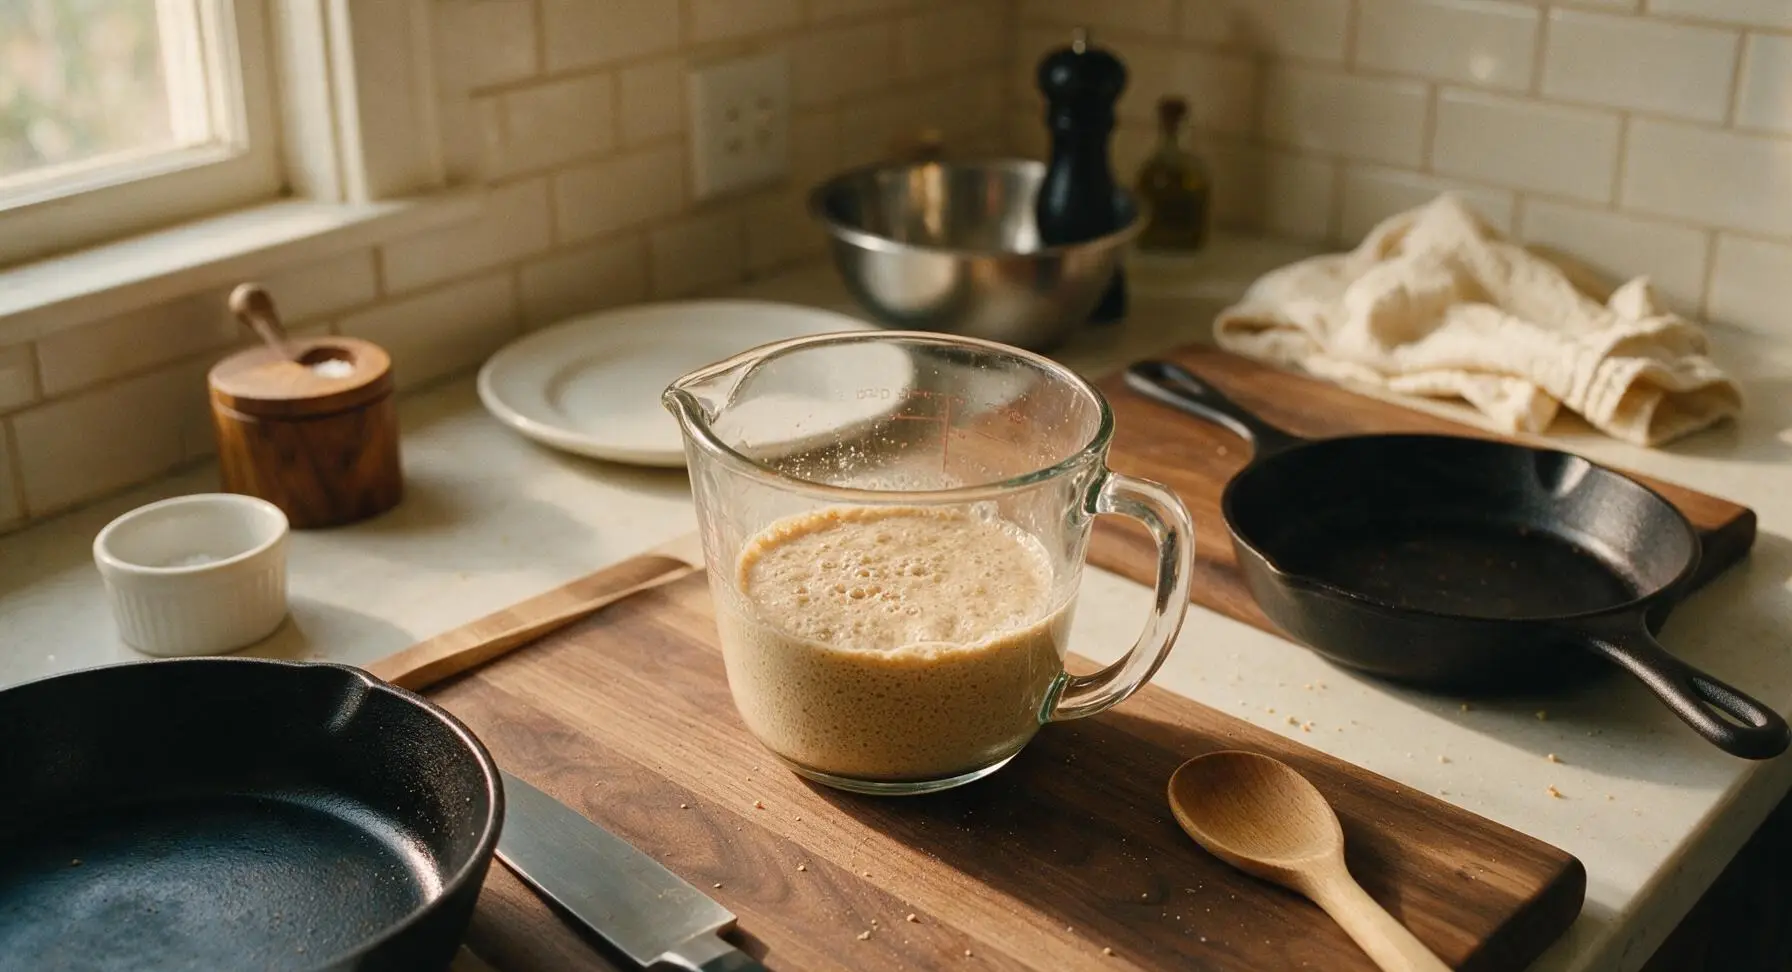
Pour 1 cup whole milk into the 250ml small glass measuring cup, warm to 105-110°F (40-43°C). Use the digital instant-read thermometer to confirm temperature — liquid hotter than 120°F will kill yeast, while liquid colder than 100°F will slow activation. Stir in 1 tablespoon granulated sugar and all active dry yeast, then let rest 5-7 minutes until the surface is foamy and smells of bready yeast. If no foam forms after 10 minutes, replace inactive yeast.
Step 1
step1:Proof the Yeast
Step 1
step1:Proof the Yeast
2

Mix Initial Dough

In the large stainless steel mixing bowl, combine 2 cups of measured all-purpose flour, remaining 1 tablespoon granulated sugar, and fine sea salt. Pour in the proofed yeast mixture, 4 tbsp (57g) melted cooled unsalted butter, and the room-temperature large egg. Use the butter-yellow silicone spatula to stir until a thick, shaggy, lumpy batter forms, with no dry flour pockets remaining at the bowl bottom.
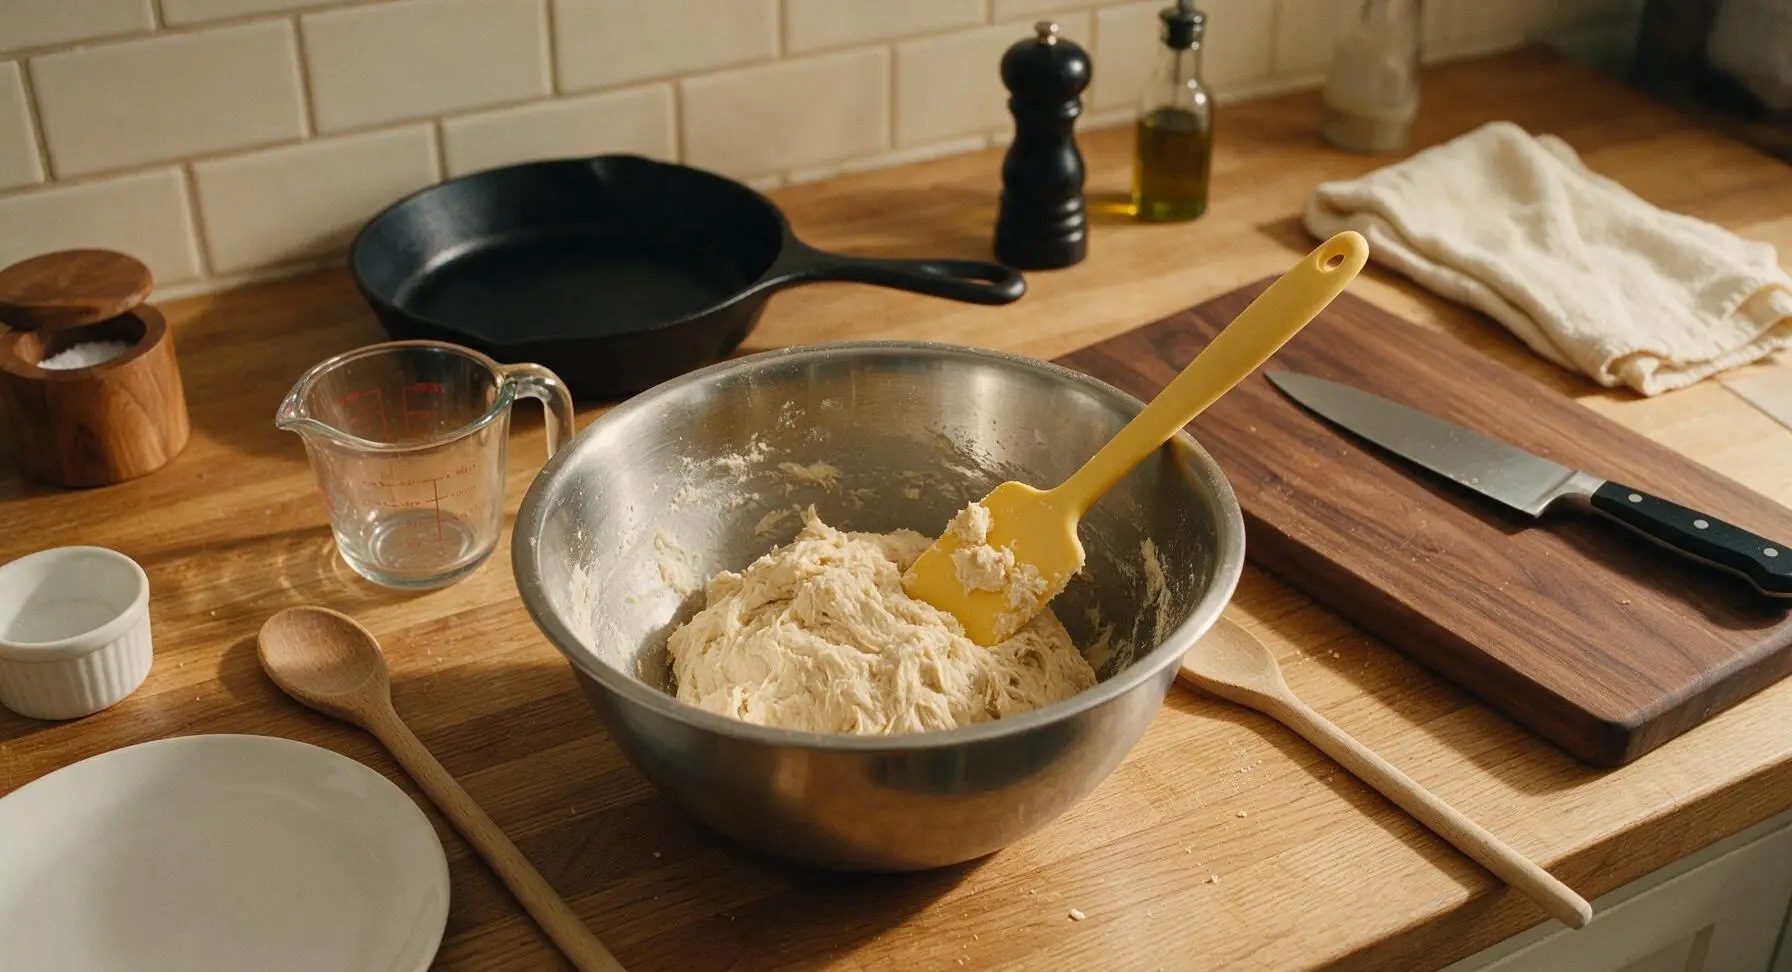
Step 2
step2:Mix Initial Dough
3

Knead and First Rise

Gradually add remaining 1 1/2 cups all-purpose flour to the shaggy dough, 1/4 cup at a time, stirring until dough pulls away from bowl sides. Turn dough out onto a lightly floured section of counter, knead 8-10 minutes until smooth, elastic, and soft — it should spring back slowly when poked. Form dough into a tight ball, place back into the lightly greased mixing bowl, cover with the tan linen towel, and let rise in a warm draft-free spot 1 to 1 1/2 hours until doubled in volume.
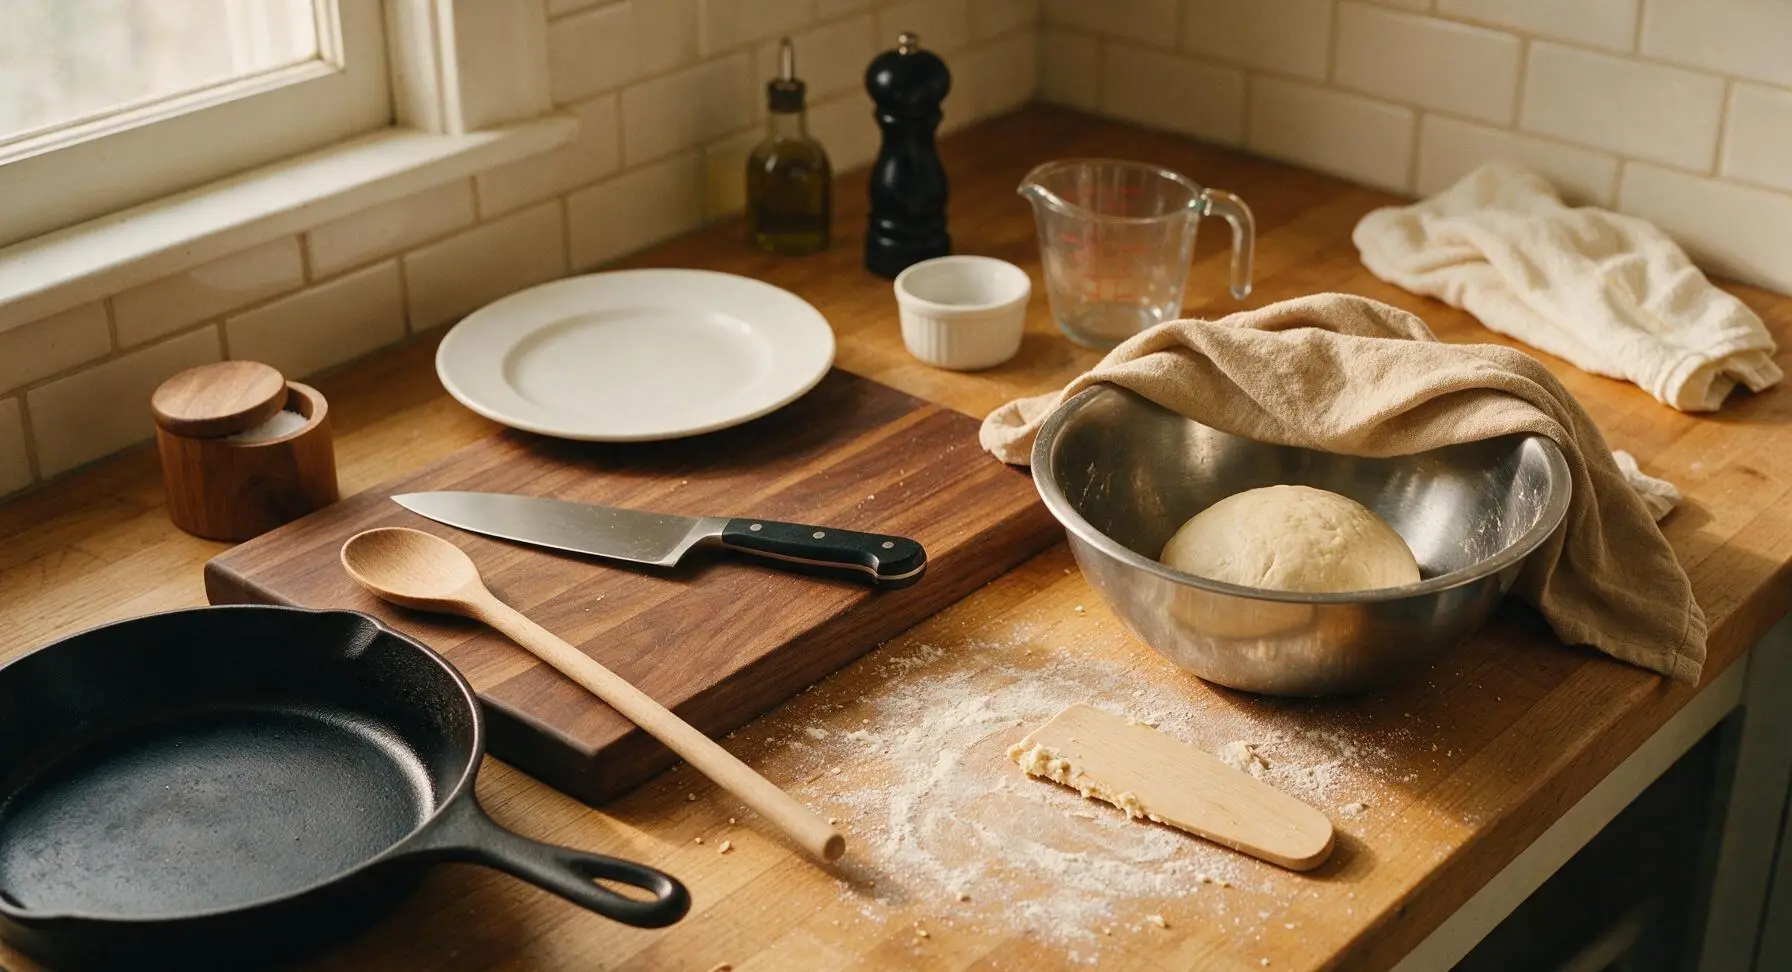
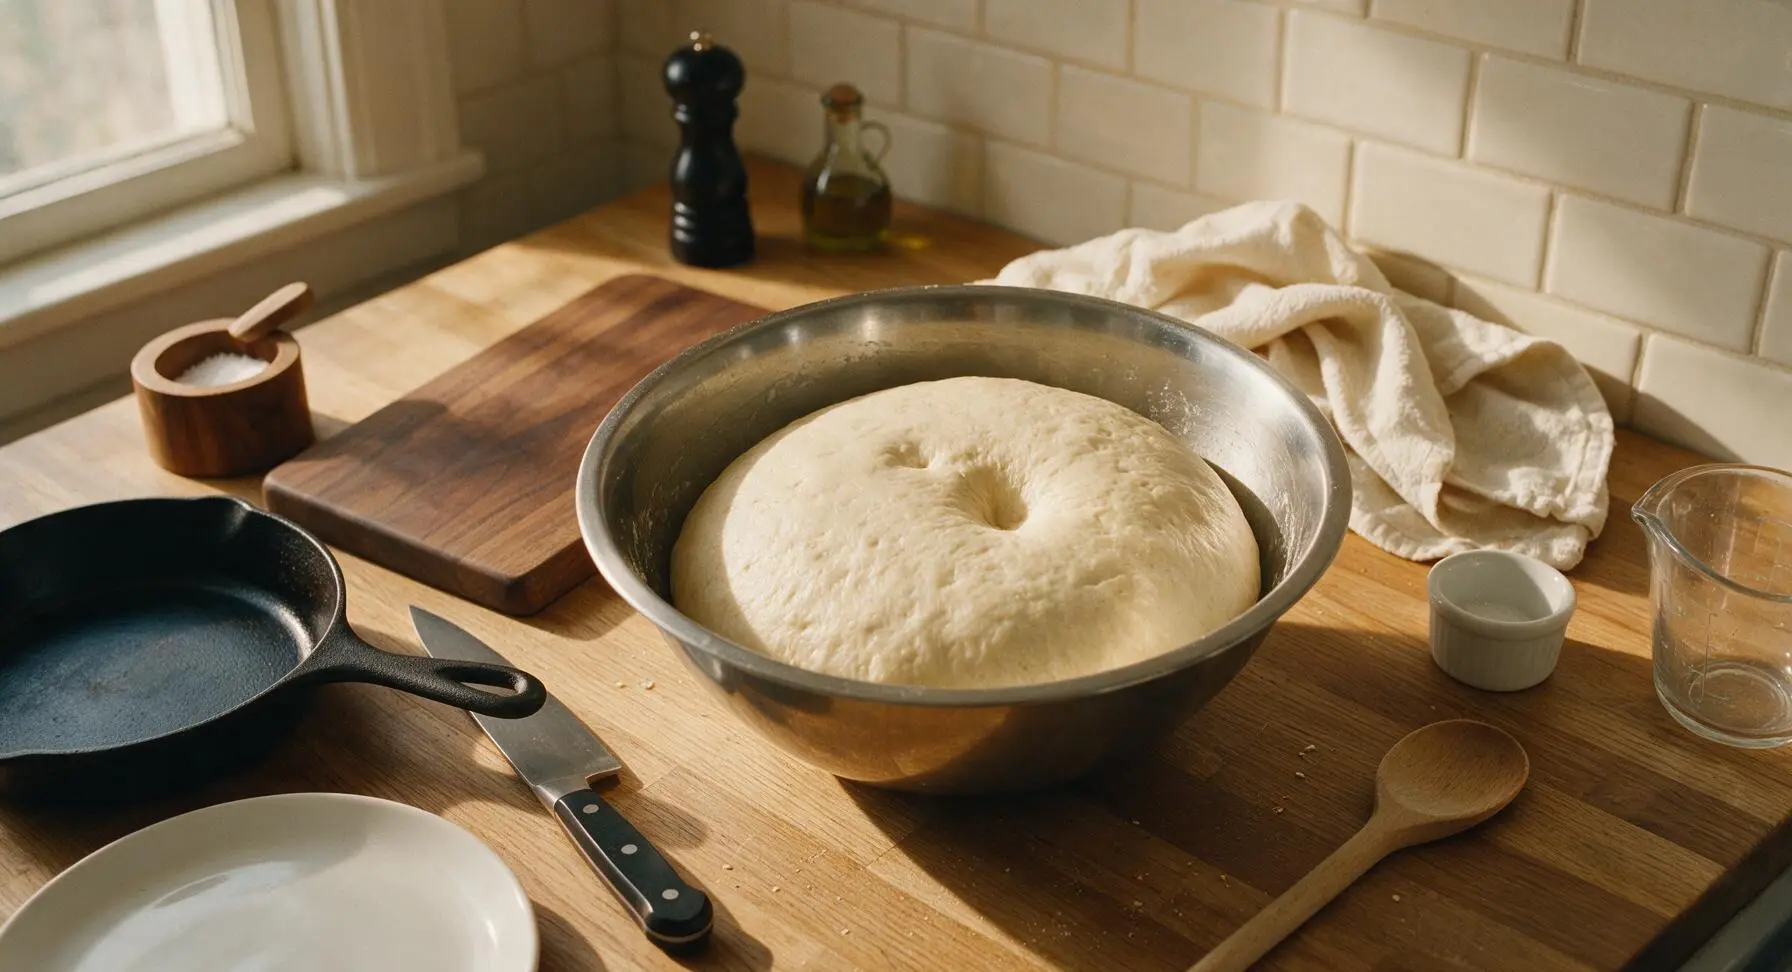
Step 3
step3:Knead and First Rise
Step 3
step3:Knead and First Rise
4

Portion Dough Balls

Once dough has doubled, punch it down firmly in the center to release all trapped air. Turn out onto the lightly floured counter, use the beech wood dough scraper to divide dough into 36 equal small pieces (each ~15g, walnut-sized). Roll each piece between your palm and the counter to form a smooth, tight round ball, covering rolled balls with the linen towel to prevent drying as you work.
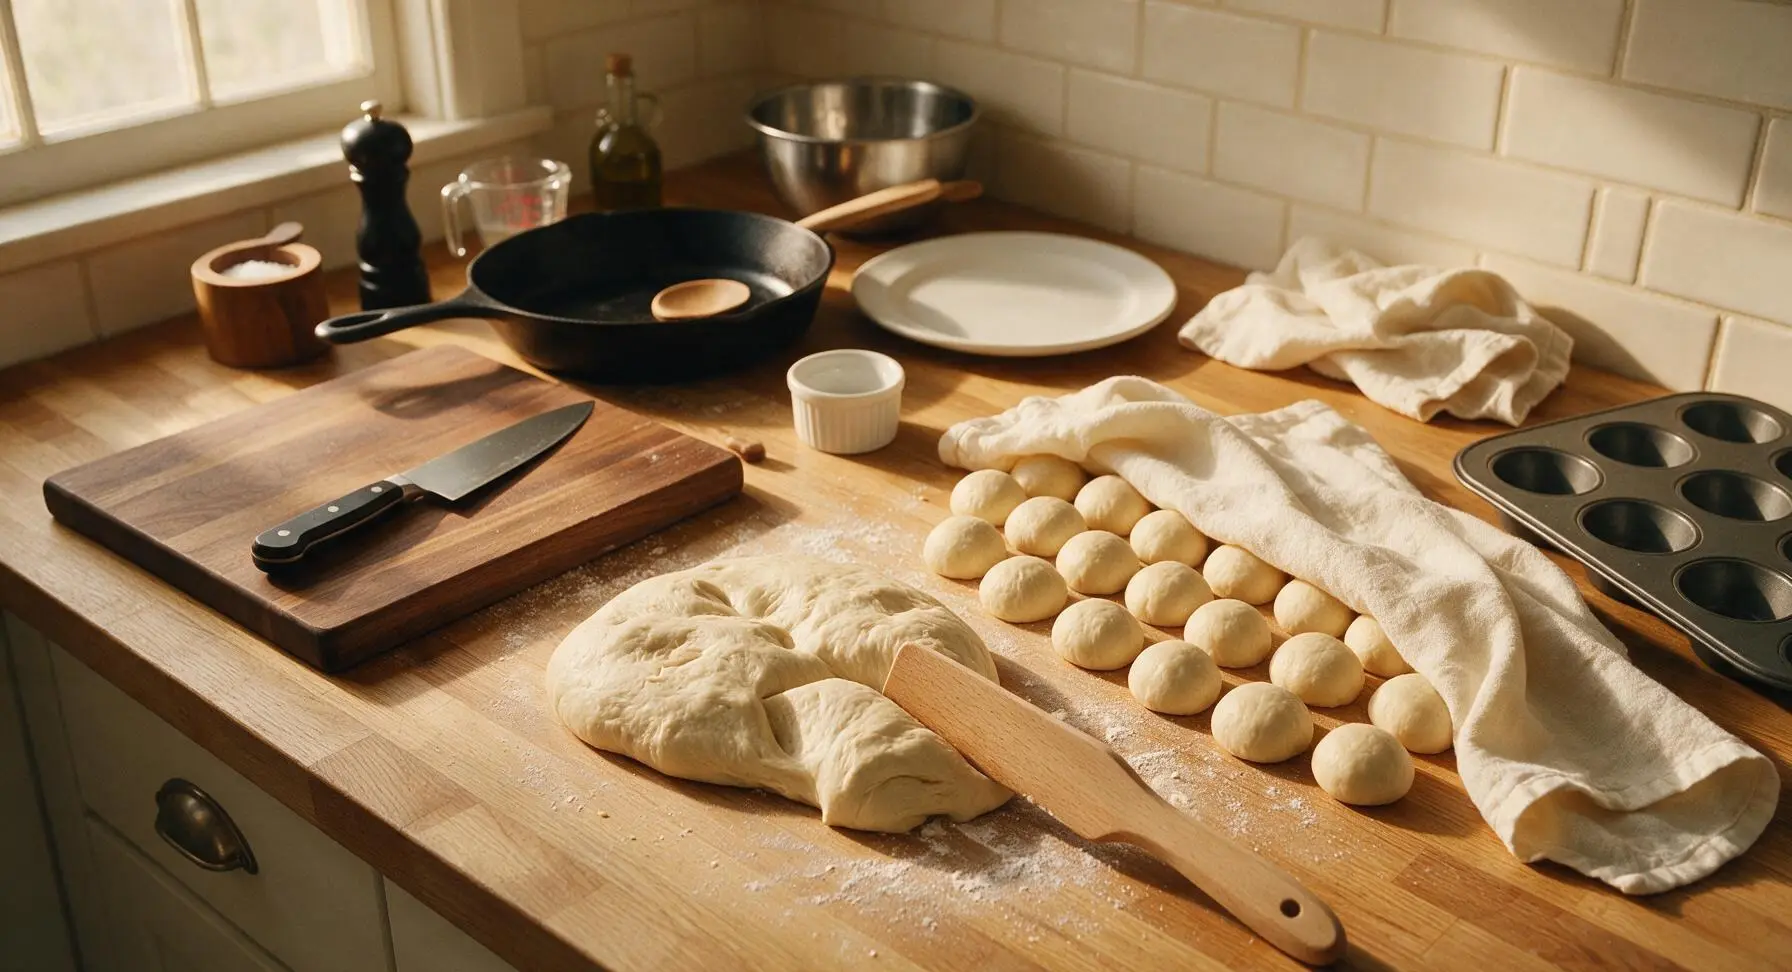
Step 4
step4:Portion Dough Balls
5

Assemble Clover Shapes

Grease each cup of the dark grey 12-cup muffin tin lightly with butter. Place three small dough balls into each muffin cup, arranged in a triangle to form the three clover leaves. Cover the filled tin loosely with the linen towel, let rolls rise a second time 30-45 minutes until dough puffs up over the top edge of each muffin cup.
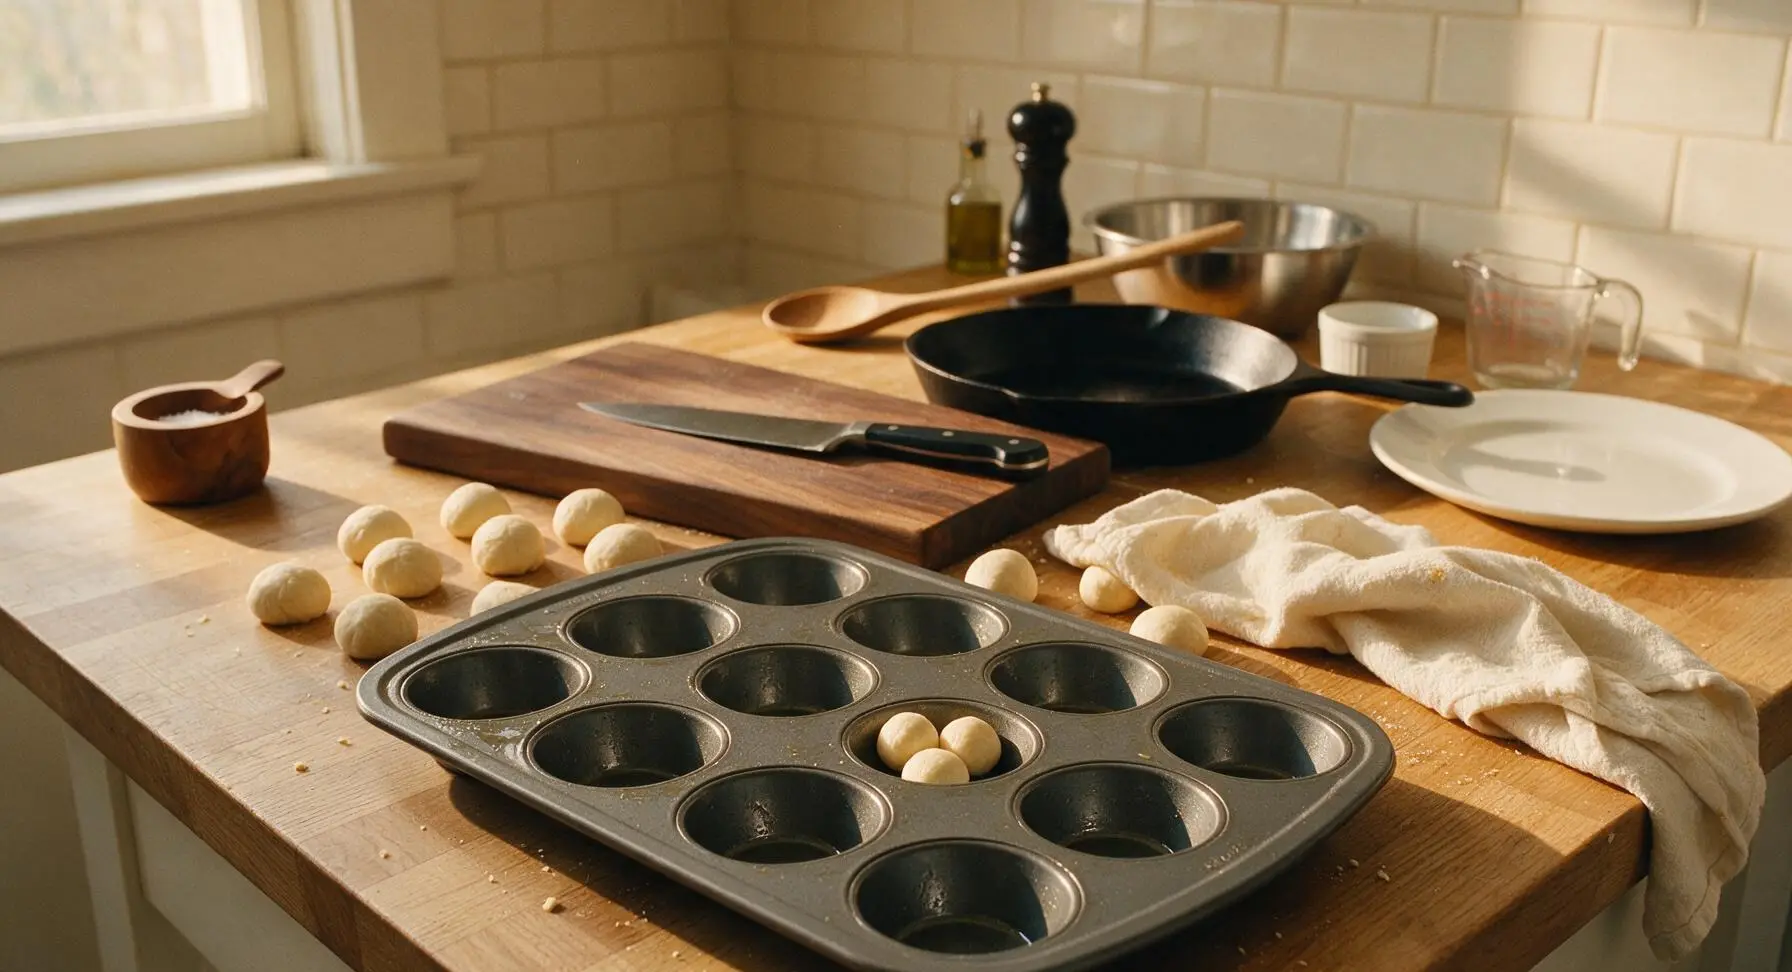
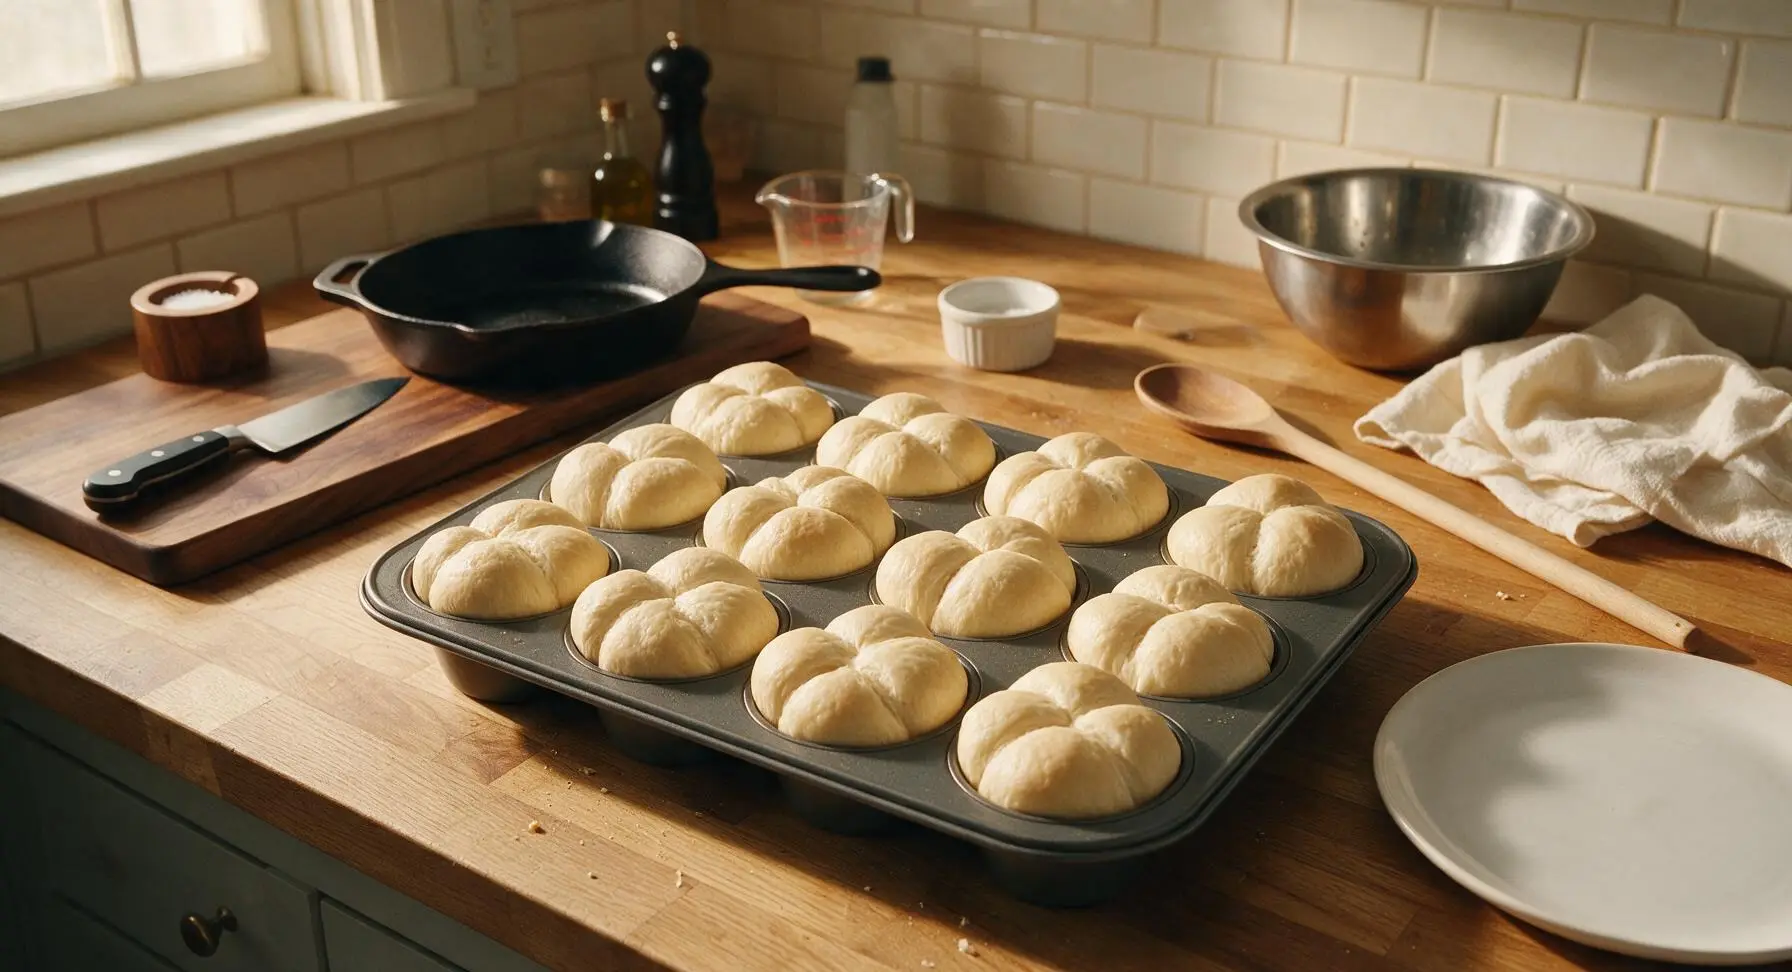
Step 5
step5:Assemble Clover Shapes
Step 5
step5:Assemble Clover Shapes
6

Bake Until Golden

Preheat oven to 375°F (190°C) while rolls complete their second rise. Once rolls are puffed over the tin edges, remove the linen towel and place the muffin tin on the middle oven rack. Bake 18-20 minutes, rotating the tin halfway through for even browning, until roll tops are deep golden brown and internal temperature of a center roll reaches 190°F (88°C) on the instant-read thermometer. Do not overbake, as this causes dry rolls.
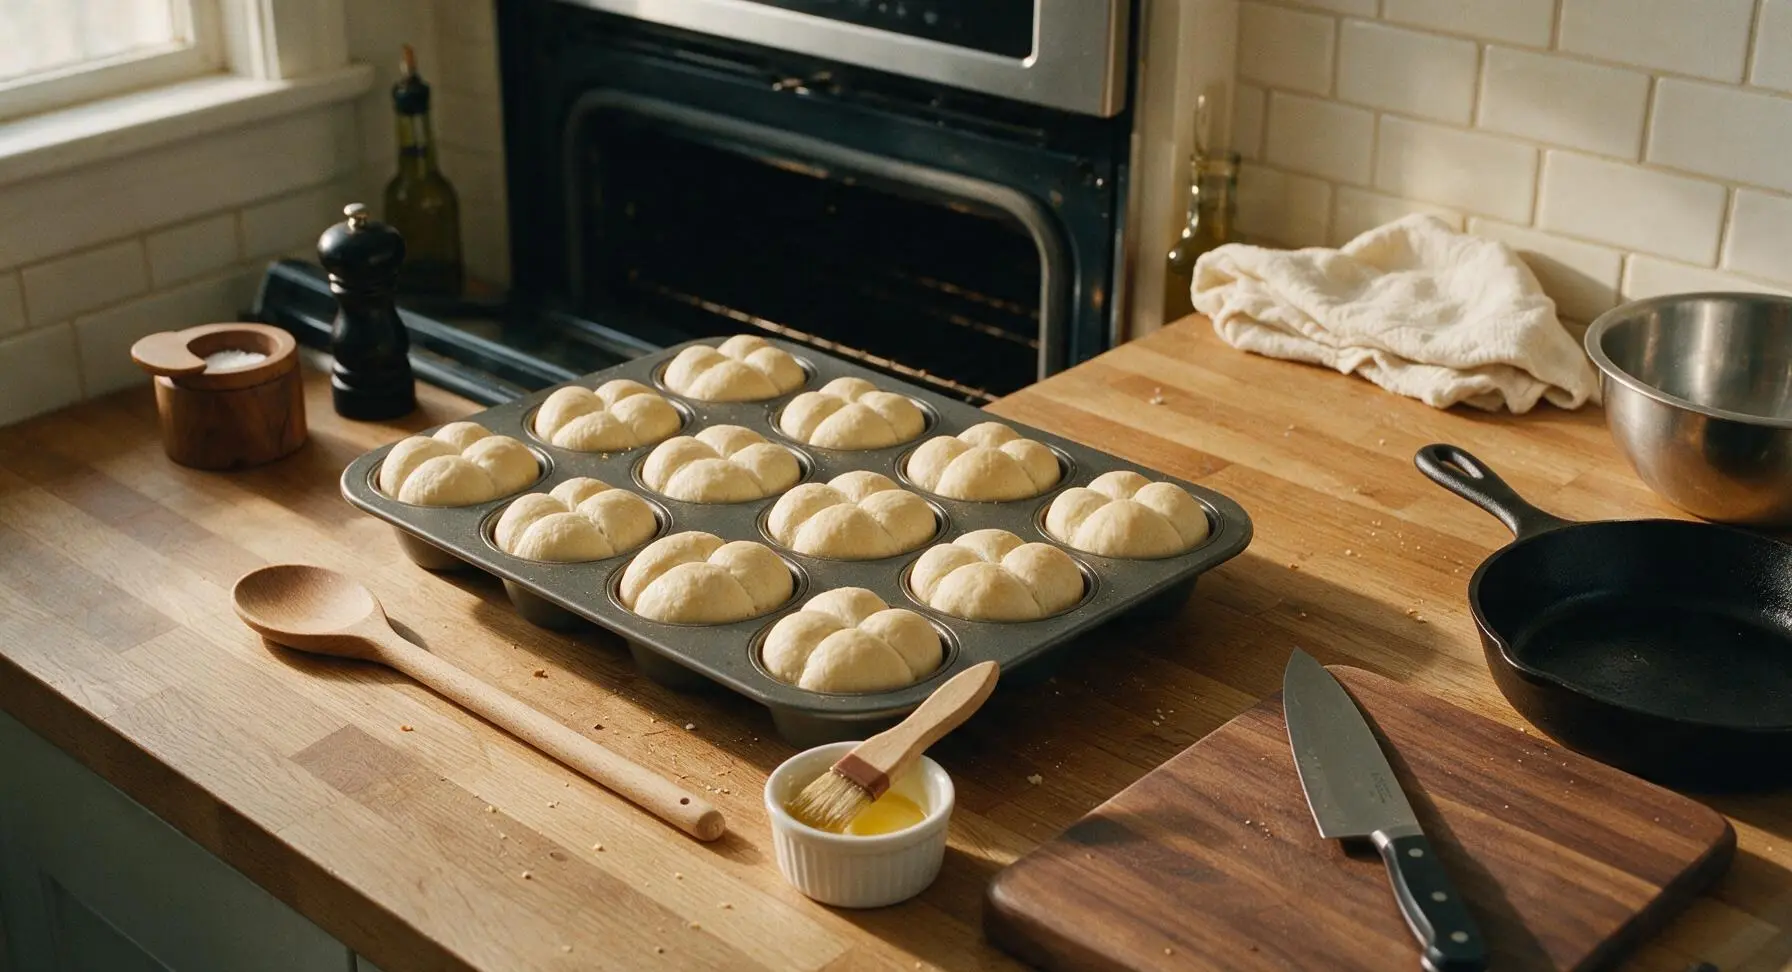
Step 6
step6:Bake Until Golden
7

Butter and Cool Rolls

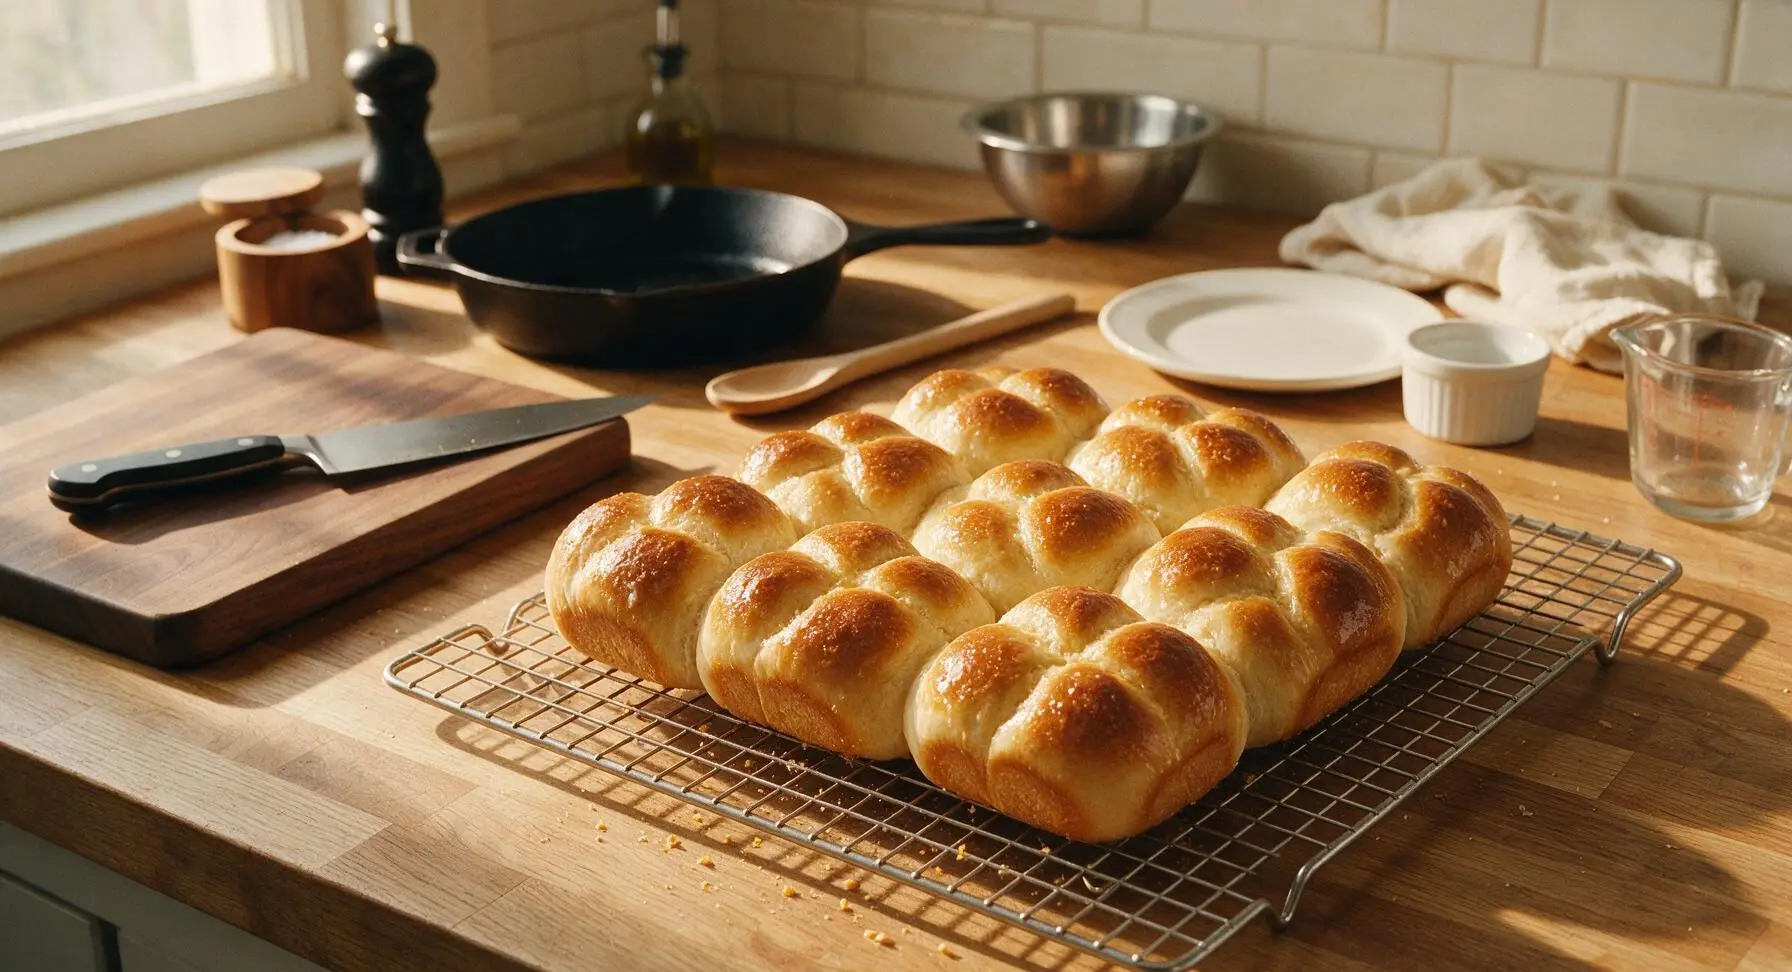
Remove the baked roll tin from the oven and set on the counter. Immediately use the natural boar bristle pastry brush to brush all hot roll tops generously with remaining 2 tablespoons melted unsalted butter, letting butter seep into crevices between clover lobes. Let rolls rest in the tin 5 minutes to set, then gently lift out and transfer to the matte chrome wire cooling rack to cool 10 minutes before moving to the serving platter.
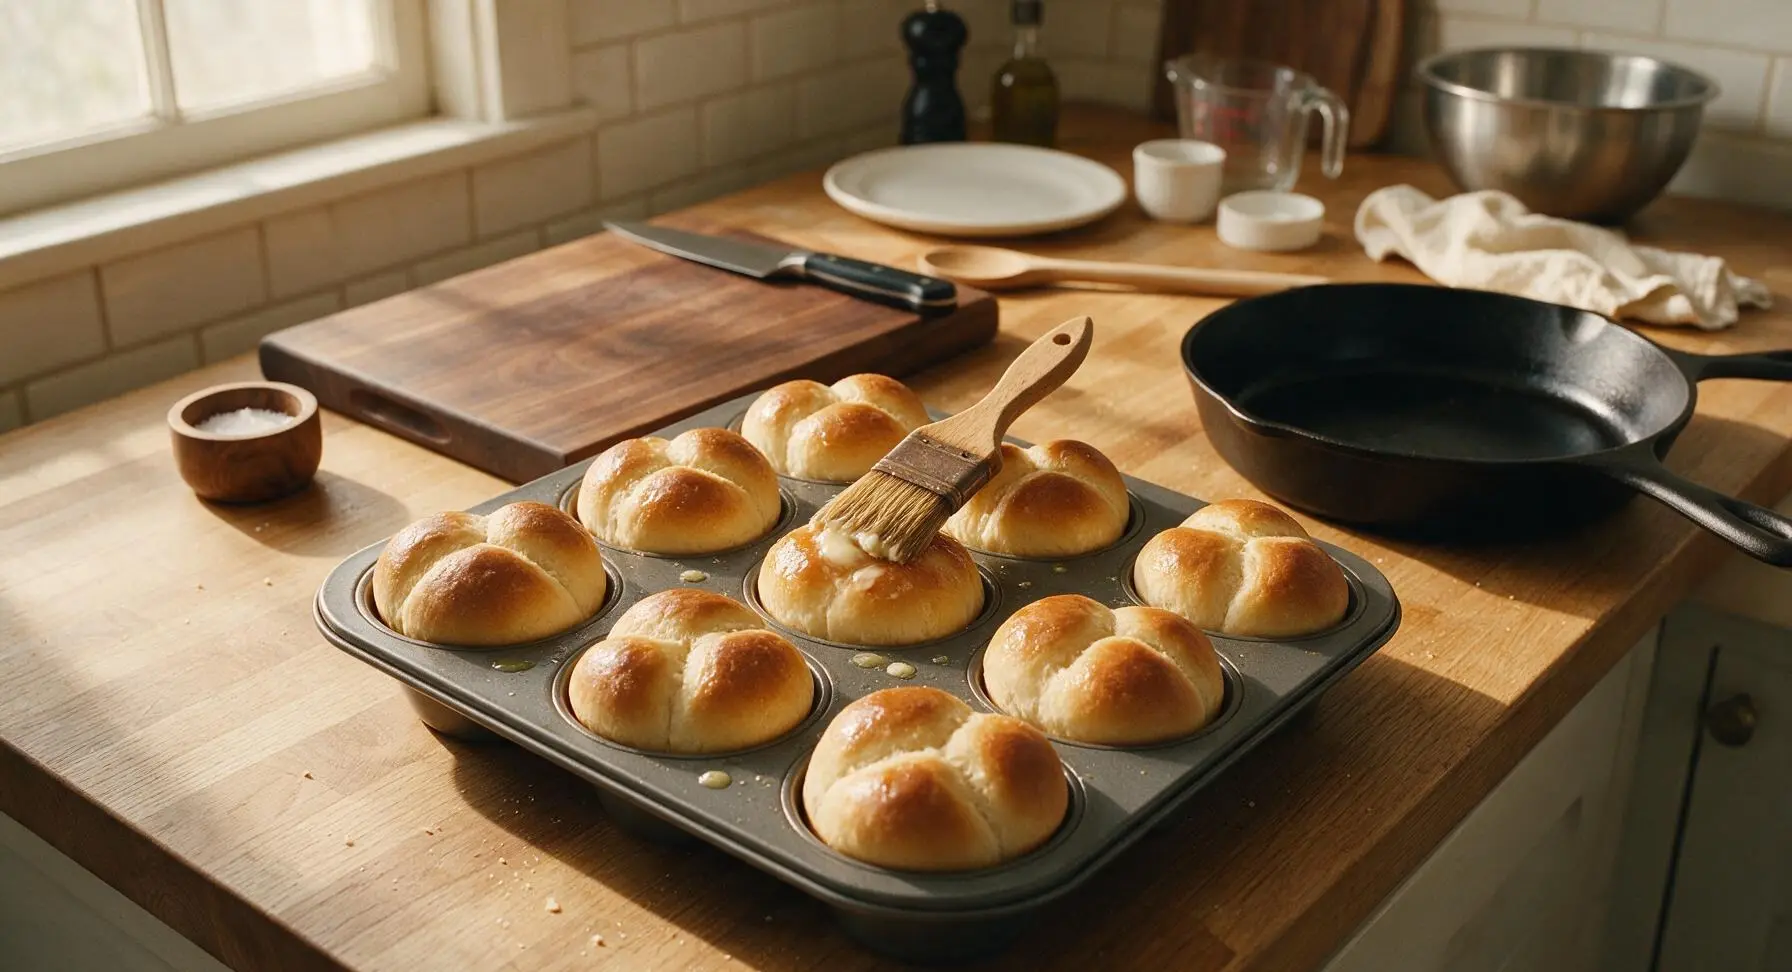
Step 7
step7:Butter and Cool Rolls
Step 7
step7:Butter and Cool Rolls

Tips

1.Always verify milk temperature with a thermometer when proofing yeast: liquid hotter than 120°F will kill live yeast cultures, leading to dense, flat rolls that fail to rise, while liquid colder than 100°F will slow yeast activation and extend rise times significantly.
2.Aim for perfectly equal size when portioning the 36 small dough balls: unevenly sized balls will rise at different rates, creating lopsided clover shapes and causing some rolls to overbake while others remain underdone in the center.
3.Brush rolls with melted butter immediately after removing them from the oven: the hot roll surface absorbs butter to create a soft, flavorful, glossy crust, whereas brushing cooled rolls leaves greasy, unabsorbed butter sitting on the surface.


✨ You May Also Like

Side Dishes
🍜 India

Velvety, aromatic all-purpose curry sauce perfect for tossing with roasted veggies, grilled protein, or rice for fast, cozy, flavorful meals.

⏱️ 25 minuteSide Dishes ★ 4.8
Side Dishes
🍜 Spain

Tender, starchy boiled yuca tossed in bright, garlicky citrus mojo sauce—an iconic, zesty side that pairs beautifully with roasted pork, grilled meats, and rice and beans.

⏱️ 40 minuteSide Dishes ★ 5
Side Dishes
🍜 United States

Tender, paper-thin potato flatbread, a beloved Norwegian-American Minnesota Christmas staple, griddled until softly spotted and served warm with butter.

⏱️ 1 hour 30Side Dishes ★ 4.6
Side Dishes
🍜 United States

Rich, deeply savory cured salt pork, a long-lasting kitchen staple perfect for frying crispy as a side or adding umami to stews, beans, and chowders.

⏱️ 7 days (2Side Dishes ★ 4.9
Side Dishes
🍜 United States

Crispy, tangy classic Southern fried green tomatoes with a crunchy cornmeal crust, served hot for a nostalgic, comforting summery bite.

⏱️ 25 minuteSide Dishes ★ 4.9
Side Dishes
🍜 United States

Moist, golden-crusted savory muffins with sweet corn, zesty jalapeño, and melted cheddar, perfect for pairing with smoky summer grilled fare.

⏱️ 30 minuteSide Dishes ★ 4.9

Cloverleaf Rolls (Classic American):Frequently Asked Questions

1.How do I get that signature three-lobed clover shape without the sections merging as they bake? ▾
Divide each 2-ounce total dough portion into three equal, smooth, tight balls by tucking edges under to build surface tension. Nestle all three balls into a greased standard muffin tin cup, and brush a thin layer of melted butter between the balls to keep sections distinct as they rise and bake, for clean pull-apart lobes every time.
2.Can I make these cloverleaf rolls ahead of time to cut down on day-of Thanksgiving cooking work? ▾
Absolutely! You have two easy make-ahead options: shape the dough balls in muffin tins, cover tightly, and refrigerate for up to 16 hours for a slow cold rise, then bake (add 2-3 minutes to cook time). Or bake fully, cool, freeze for up to a month, and reheat wrapped in foil at 350°F for 10 minutes before serving.
3.My dinner rolls always turn out dense instead of light and fluffy—what common mistakes should I avoid? ▾
Dense rolls almost always trace back to inactive yeast or under-kneading. First, proof your active dry yeast in warm (105–110°F) milk with a pinch of granulated sugar; if it doesn’t foam after 5 minutes, it’s dead and won’t leaven the dough. Also, knead until you can stretch a small piece thin enough to see light through it, and let it rise fully until doubled in a draft-free spot.
4.Do I have to use whole milk, or can I swap in lower-fat milk or plant-based alternatives? ▾
Whole milk creates the rich, tender crumb and subtle creamy flavor that makes these rolls classic, but 2% milk works fine if you add an extra tablespoon of melted unsalted butter to make up for lost fat. Unsweetened oat or soy milk paired with vegan butter also works great for dairy-free bakes, with nearly identical texture.
5.When is the best time to brush butter on the rolls for that perfect golden, buttery crust? ▾
Melt 3 tablespoons of unsalted butter total for a standard 12-roll batch. Brush half of it on the shaped dough right before the second rise to keep the surface from drying out and encourage a soft crust, then brush the remaining butter on the hot rolls immediately after pulling them from the oven for a glossy, rich finish.
6.What size dough portions do I need so the rolls fit perfectly in a standard muffin tin? ▾
For a standard 12-cup muffin tin, each full clover roll portion should weigh 2 ounces total, split evenly into three tight, smooth 2/3-ounce dough balls. That size will rise to fill the cup without overflowing as it proofs and bakes, creating a neat, pull-apart shape without spilling over the tin edges.
7.Can I mix and knead this dough in a stand mixer instead of doing it by hand? ▾
Absolutely, and it’s a huge time-saver for busy holiday meal prep. Use the dough hook attachment on low speed (setting 2 on most consumer stand mixers) to mix and knead for 6–8 minutes, stopping once the dough pulls cleanly from the bowl sides and stretches thin without tearing, to avoid tough over-kneaded rolls.
8.How do I tell when the rolls are fully baked so I don’t get doughy centers or burnt edges? ▾
Bake rolls at 375°F for 12–15 minutes, until the tops are a deep, even golden brown. For a precise check, insert an instant-read thermometer into the center of a roll—fully baked rolls will hit an internal temperature of 190°F, with no raw, gummy texture when you gently pull a lobe apart to peek.
9.What’s the best way to store leftover rolls so they stay soft instead of going stale fast? ▾
Let rolls cool completely to room temperature first, then store them in an airtight container or resealable plastic bag at room temperature for up to 3 days. Skip the fridge, which speeds up staling. To refresh leftovers, wrap rolls in a damp paper towel and microwave for 10–15 seconds, or warm in a 325°F oven for 5 minutes.

Comments (18)

2 days ago

OMG these cloverleaf rolls were the absolute star of our Sunday family dinner last night! I was nervous they’d be too fussy since I’m not a huge bread baker, but the steps were totally straightforward. My kids fought over the last one, and my husband asked if I could make them every week from now on. 10/10, will be bringing these to our next neighborhood potluck for sure!

yesterday

Wait, did you do the egg wash on top? I tried them last week and mine came out a little pale on top, wondering if that’s the trick!

2 hours ago

So glad your family loved them! An egg wash (1 egg beaten with 1 tbsp of milk) brushed right before baking will give you that perfect golden, shiny top — give that a try next time for sure!

1 week ago

Game changer. I’ve been trying to nail my grandma’s old cloverleaf roll recipe for literal years and never could get that soft, pull-apart texture right. This recipe got it on the first try! I brushed mine with a little melted salted butter as soon as they came out of the oven and *chef’s kiss*. Cook time was exactly 20 minutes for me at 375, no adjustments needed.

5 days ago

Oh the melted butter right out of the oven tip is genius, I’m stealing that for my batch this weekend! Did you use all-purpose flour or bread flour, out of curiosity?

3 days ago

I used regular all-purpose! I bet bread flour would give an even chewier bite, but AP worked perfectly for that soft, fluffy texture my grandma used to make.

3 days ago

Tried these for a quick weeknight side to go with our meatloaf last night and they were SO good, but I will say — don’t skip the rise time like I almost did! I cut the first rise 20 minutes short because the kids were hangry and they came out a little denser than I wanted. Still tasty, but I’m gonna block off the full time next go around.

2 days ago

Great note for other bakers! The rise time is so key for that light, fluffy texture — if you’re short on time, you can pop the dough in a slightly warm (turned off!) oven to speed up the rise a little without cutting it short.

yesterday

I did the warm oven trick last month when I made these for Thanksgiving and it cut my rise time almost in half! Total lifesaver when you’ve got 10 other dishes going at the same time.

5 days ago

First time making any kind of yeast roll from scratch for my wife’s birthday dinner and these did NOT disappoint! I was so stressed I’d mess them up (medium difficulty had me sweating ngl) but the instructions were super clear. She said they tasted just like the ones her grandma used to make when she was a kid, so I’m calling that a massive win.

3 days ago

Aww that is the sweetest thing! My husband tried making these for our anniversary last month and burned the bottoms a little, but we still ate every single one lmao

2 days ago

That makes our day to hear! So glad you pulled off the birthday dinner win — pro tip if you ever have issues with burnt bottoms: try placing your baking sheet on a higher oven rack, or double up your sheet pans for extra insulation.

2 weeks ago

Made these in my tiny dorm oven for my floor’s pre-Thanksgiving potluck and people were asking me for the recipe left and right! The only swap I made was using regular granulated sugar instead of honey because that’s all I had at the dorm, and they still turned out incredible. So much better than the sad store-bought rolls everyone else brought.

1 week ago

Wait, do you think this recipe would work with a 1:1 gluten free flour blend? I’ve been hunting for a good GF cloverleaf roll for ages!

5 days ago

Love the dorm bake win! We haven’t tested this with a 1:1 GF blend yet, but a few readers have reported back that it works great if you add an extra teaspoon of xanthan gum to help with structure. Give it a shot and let us know how it goes!

1 week ago

I’ve been making cloverleaf rolls for 40+ years and I have to say, this recipe is right up there with the best of ‘em! I added a tiny sprinkle of garlic powder and parmesan to the top of a dozen of them for my book club meeting and they were gone in 10 minutes flat. Will absolutely be adding this to my regular rotation.

5 days ago

Garlic parm top??? That sounds insane, I’m doing that for my batch this weekend to go with pasta night!

3 days ago

Honey, it’s a game changer! Just don’t overdo the garlic powder, a little goes a long way. I also did a batch with cinnamon sugar for the kids at church last Sunday and those were a hit too!

yesterday

These were so good with our chili last night! The only issue I had was my dough kept sticking to the muffin tin when I tried to put the three little balls in each cup — next time I’ll definitely grease the tin way more than I did. Flavor was 10/10 though, even with the little sticking mishap.

2 hours ago

Thanks for the honest feedback! A quick spritz of non-stick spray or a light rub of softened butter in each muffin cup works perfectly to keep those rolls from sticking — you’ll have zero issues next time!

2 weeks ago

Made these ahead for our weekend camping trip and they held up perfectly! I stored them in an airtight container for two days before we left, then warmed them up over the campfire in a foil packet with a little butter. Absolute perfection with our campfire chili and hot dogs.

1 week ago

Campfire rolls sound insane! I never thought to make these ahead for trips, I’m totally stealing that idea for our backpacking trip next month.

5 days ago

Took me two tries to get these right, but that’s 100% on me for using dead yeast the first time. Second batch came out light, fluffy, buttery, everything you want in a cloverleaf roll. Don’t be like me — test your yeast first before you waste a whole batch of dough!

3 days ago

That is such an important tip! Testing yeast by mixing it with warm water and a pinch of sugar first (it should get foamy after 5-10 minutes) saves so much frustration. So glad your second batch turned out perfect!

3 days ago

Swapped the dairy butter for vegan butter and used oat milk instead of cow’s milk and these came out flawlessly! I was worried the swaps would mess with the texture, but they were just as soft and fluffy as the non-vegan version I made for my family last month. My vegan roommate cried when she tried them, no joke.

2 days ago

Thank you for posting this swap! I’ve been looking for a vegan dinner roll recipe for my holiday dinner and I’m so glad this works, I’m adding it to my menu now!

1 week ago

I remember my mom making these exact cloverleaf rolls for every Thanksgiving and Christmas when I was growing up. This recipe tastes exactly like hers — I got a little teary when I pulled them out of the oven and smelled that familiar buttery, yeasty smell. Thank you so much for sharing this classic.

5 days ago

That means the world to us! These classic recipes are so special because of the memories they carry, and we’re so honored this one helped bring back those happy moments for you.

2 weeks ago

I make a big batch of these every Sunday for meal prep and they last all week for quick breakfasts (with a little jam!) and dinner sides. They freeze really well too — just pop a frozen roll in the microwave for 30 seconds and it tastes like it’s fresh out of the oven. Total meal prep workhorse.

1 week ago

Wait, how do you wrap them for freezing? I’ve tried freezing dinner rolls before and they always get freezer burn super fast.

2 days ago

These were a hit at my church potluck last Sunday! I doubled the recipe because our congregation is huge, and I still only came home with two leftover rolls. The three little cloverleaf shape is so cute, everyone kept commenting on how pretty they looked on the serving platter.

yesterday

So glad they were a potluck hit! Doubling works great with this recipe, just make sure you give the bigger batch of dough enough time to double in size during the first rise — it might take an extra 15-20 minutes when you’re making a double batch.

30 minutes ago

Was looking for a lighter side to pair with my post-workout meals and these are perfect! I use a little less butter on top to cut down on extra calories, but they’re still so fluffy and satisfying. Way better than the boring whole wheat bread I’ve been eating with my chicken dinners.

just now

Just pulled my first batch out of the oven and they look perfect!!! The cloverleaf shape came out way cuter than I thought it would, I was worried I’d mess up the three little dough balls but it was so easy. Already ate one warm with a little honey, and I’m obsessed.

5 minutes ago

Followed Chef Admin’s tip to add extra xanthan gum with GF flour and these were so good! My whole family (who eats regular gluten) ate half the batch before dinner even started. Finally, a gluten free roll that doesn’t taste like cardboard! Will be making these for every holiday from now on.

yesterday

Made these for my office holiday potluck and my coworkers voted me ‘best dish’ of the whole spread! Beat out like 3 different casseroles and a whole platter of cookies, that’s how good these are. Fair warning: if you bring these anywhere, be ready to hand the recipe out to literally everyone there.

2 hours ago

Took a star off because I found these a little more labor intensive than I expected for a weeknight side, but the flavor is unbeatable. I’ll save these for weekend dinners and special occasions instead of quick weeknight meals, but they’re definitely going to be a staple for holidays from now on.



