
cooking tater tots at 375 in oven

title 1
cooking tater tots at 375 in oven
⏱️ cook time 28 minutes
🍽️ servings 4
⚡ Difficulty easy

intro

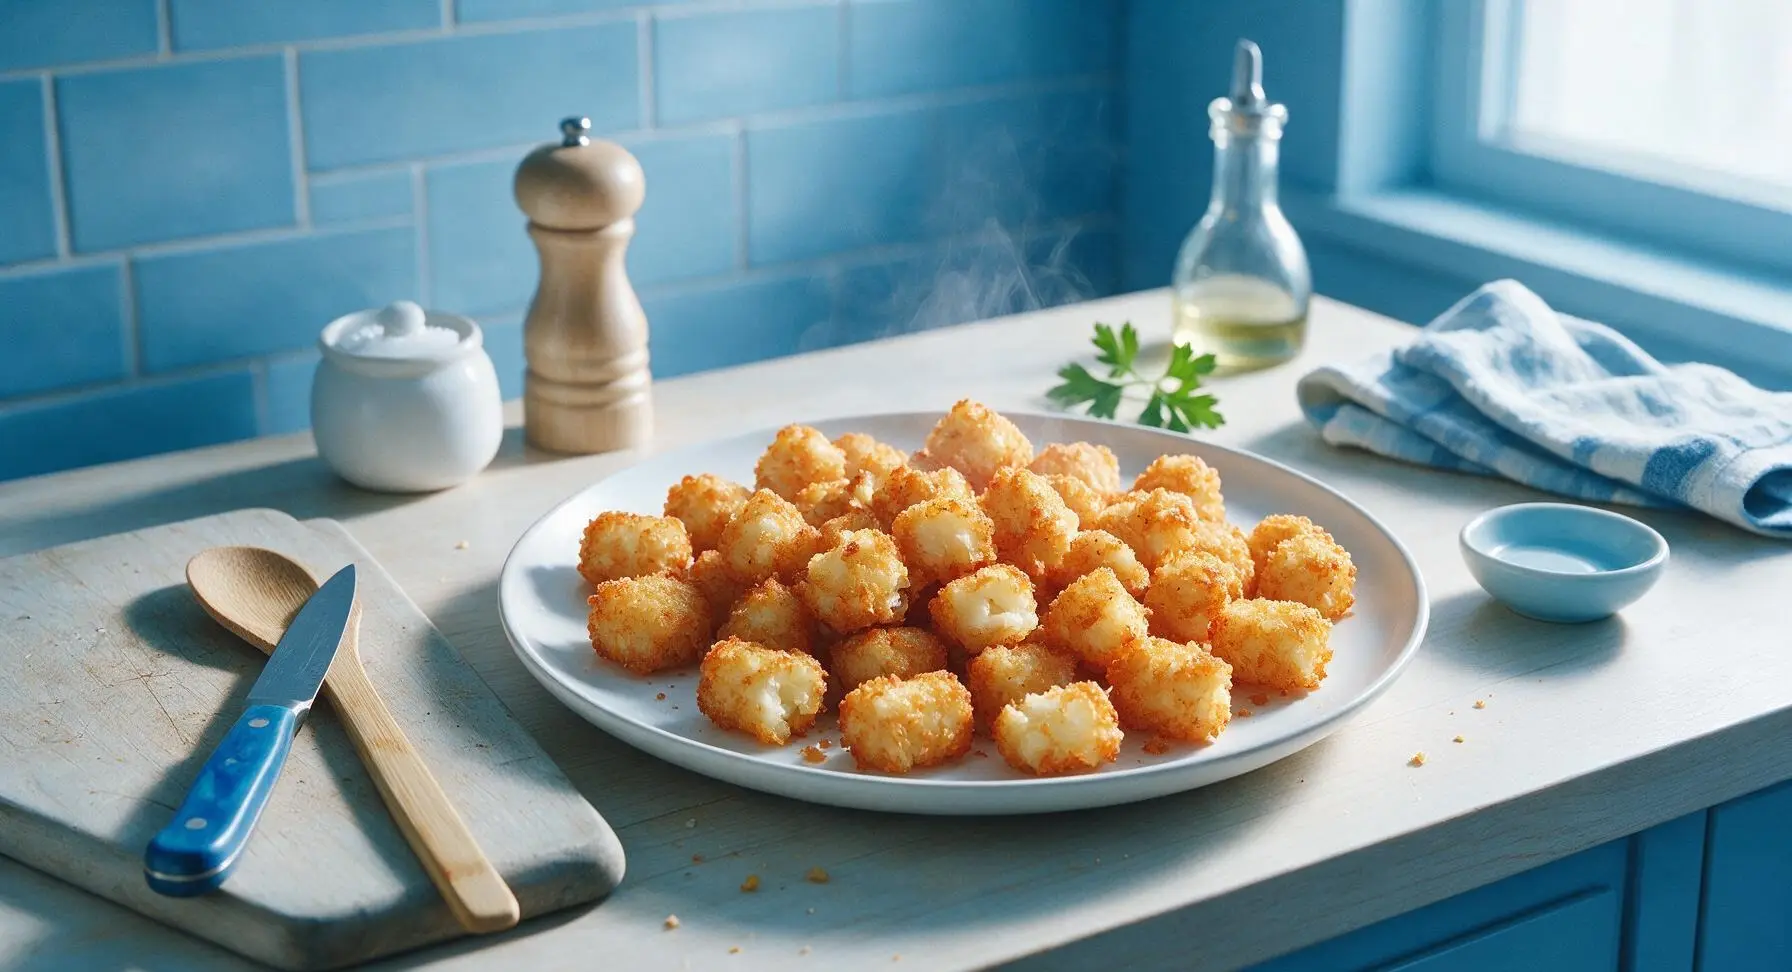
Shatteringly golden, crispy tater tots baked at 375°F, with fluffy tender potato inside—no deep frying needed, perfectly seasoned for easy, crowd-pleasing serving.

Ingredients
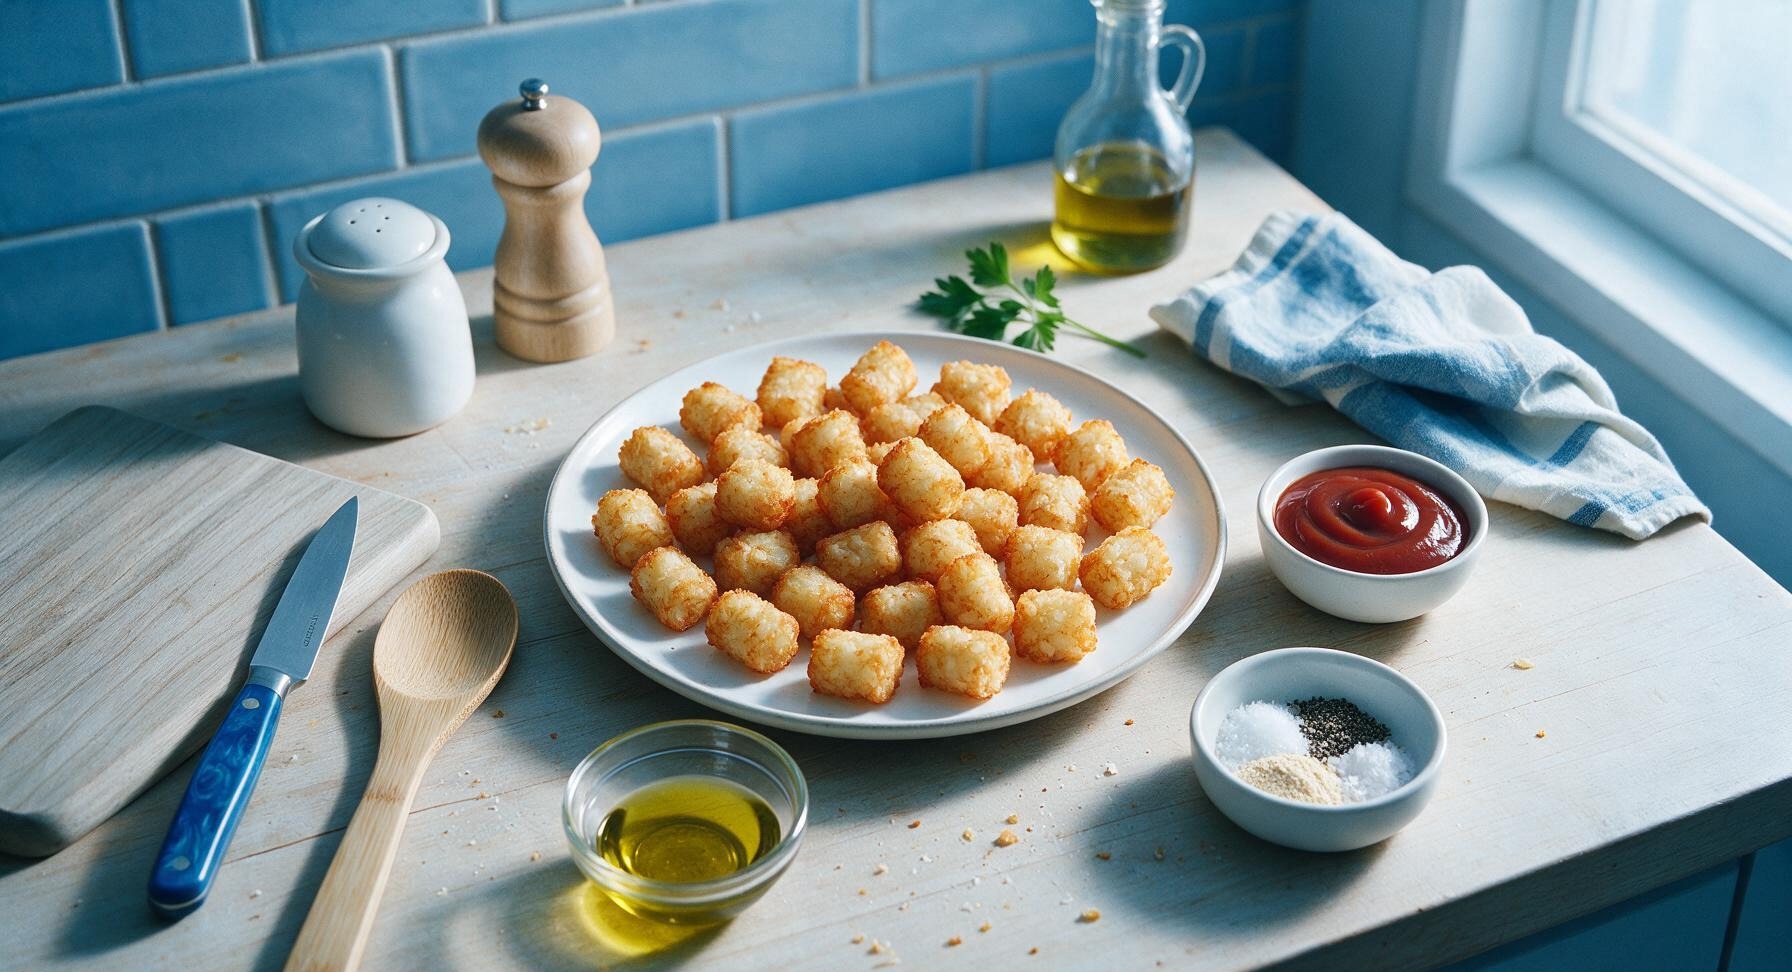
Frozen shredded potato tater tots 2 lbs (900g, ~60 pieces)
Extra-virgin olive oil 1 tablespoon
Kosher salt 1/2 teaspoon
Freshly ground black pepper 1/4 teaspoon
Garlic powder 1/4 teaspoon
Flaky sea salt 1/8 teaspoon
Tomato ketchup (for serving) 1/4 cup

Steps

1

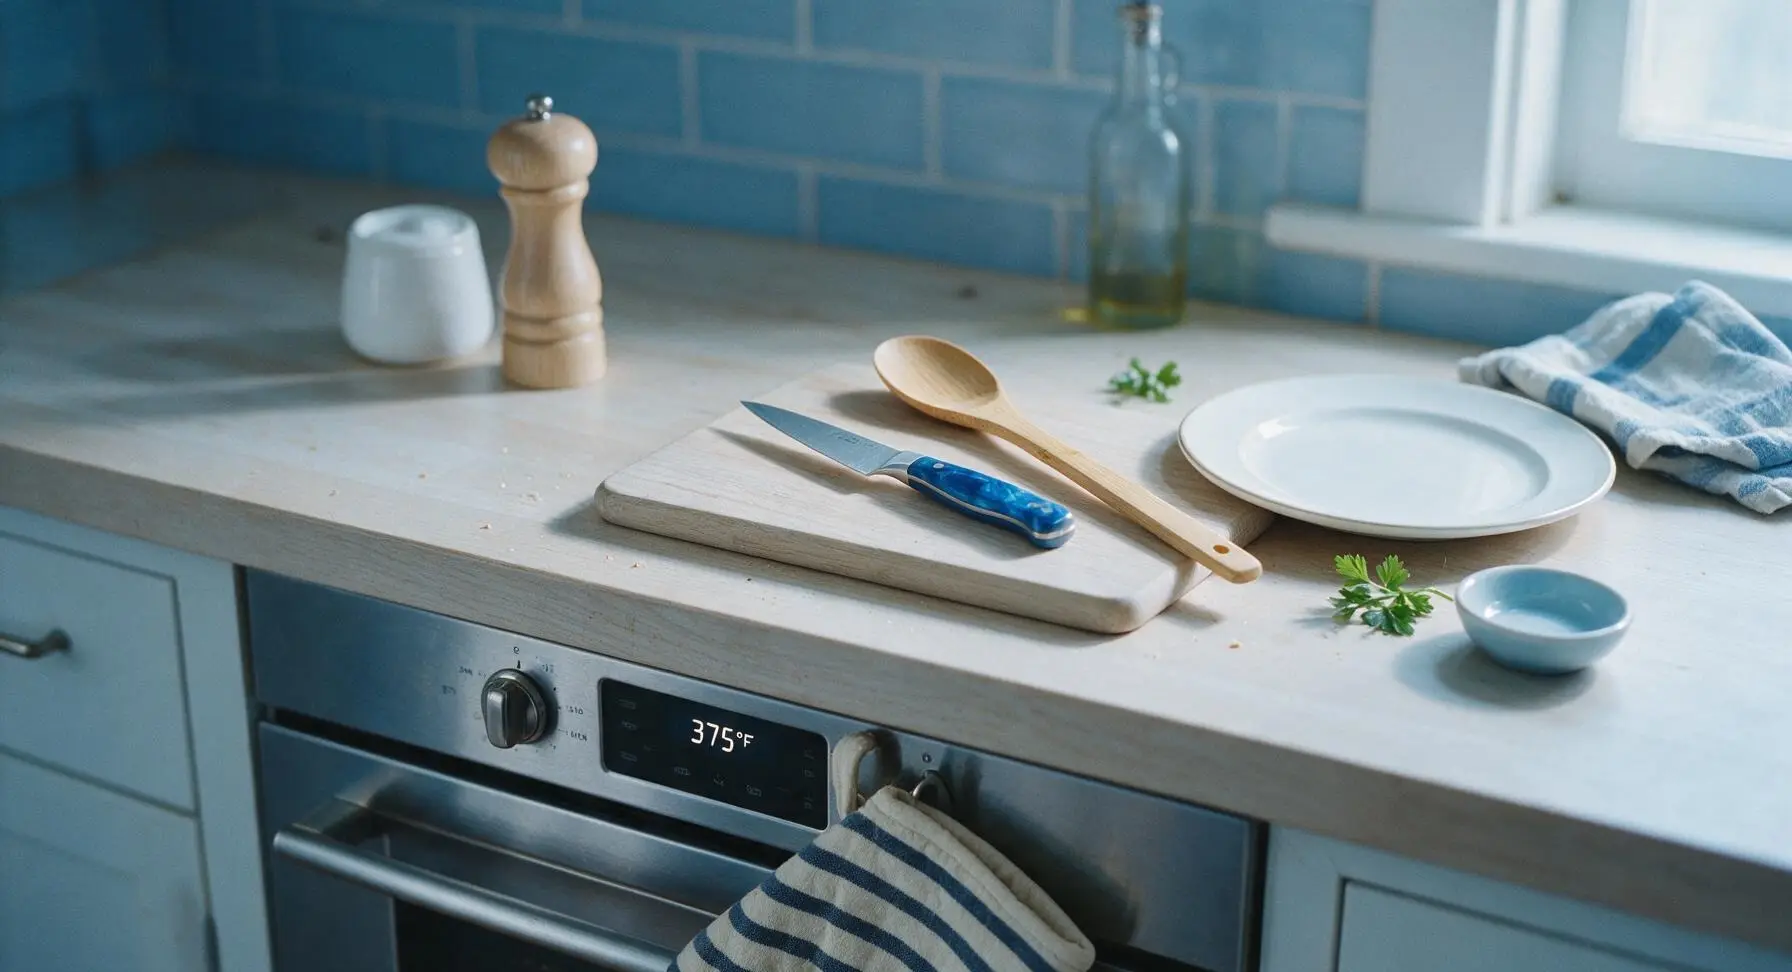
Preheat Oven Properly

Adjust your oven rack to the middle position, then preheat the oven to exactly 375°F (190°C). Skip the convection setting for this recipe, as forced air can cause uneven browning on tot edges. Allow 10-15 minutes for the oven to fully come to temperature before adding tots—this is critical for crispness, as a cold oven leads to soggy, steamed potatoes.
Step 1
step1:Preheat Oven Properly
2

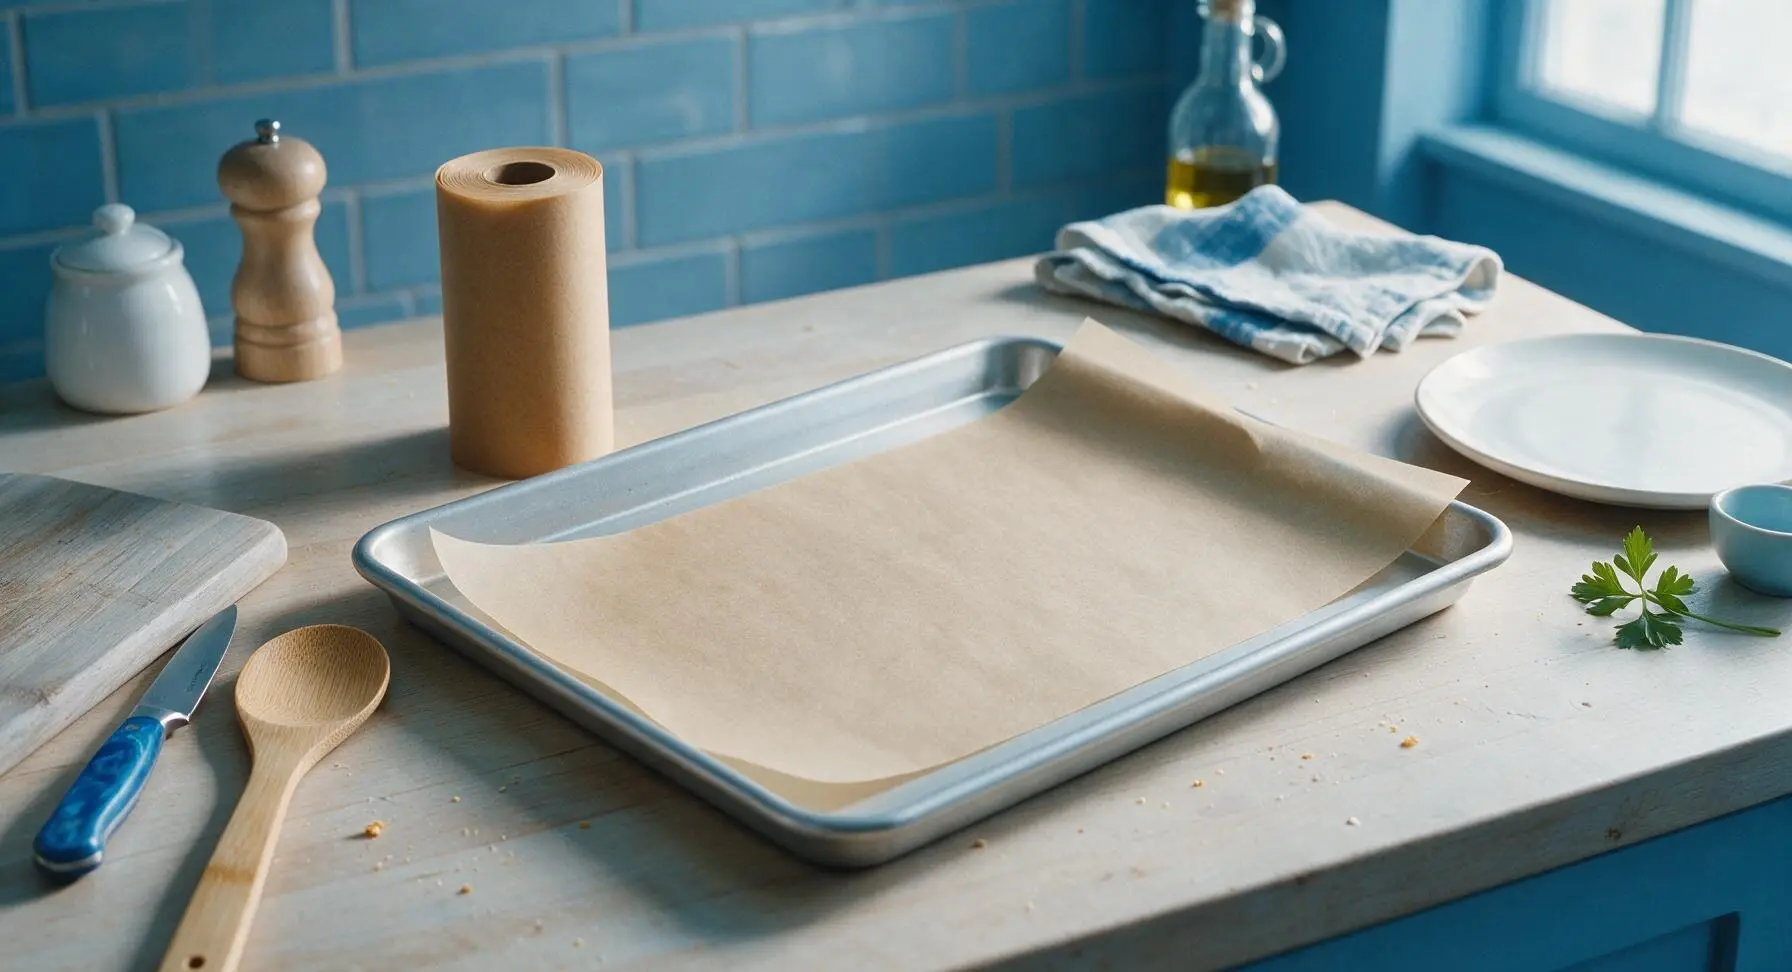
Line Baking Sheet

Pull out the 18x13 inch matte silver rimmed aluminum baking sheet. Cut a sheet of unbleached light brown parchment paper to fit the bottom of the sheet, leaving a 1/2 inch overhang on the long edges for easy lifting. Do not grease the parchment, as the oil on the tots will prevent sticking. Avoid using a non-stick silicone baking mat for this recipe, as it traps moisture and leads to less crispy tot bottoms.
Step 2
step2:Line Baking Sheet
3

Toss Tots with Seasoning

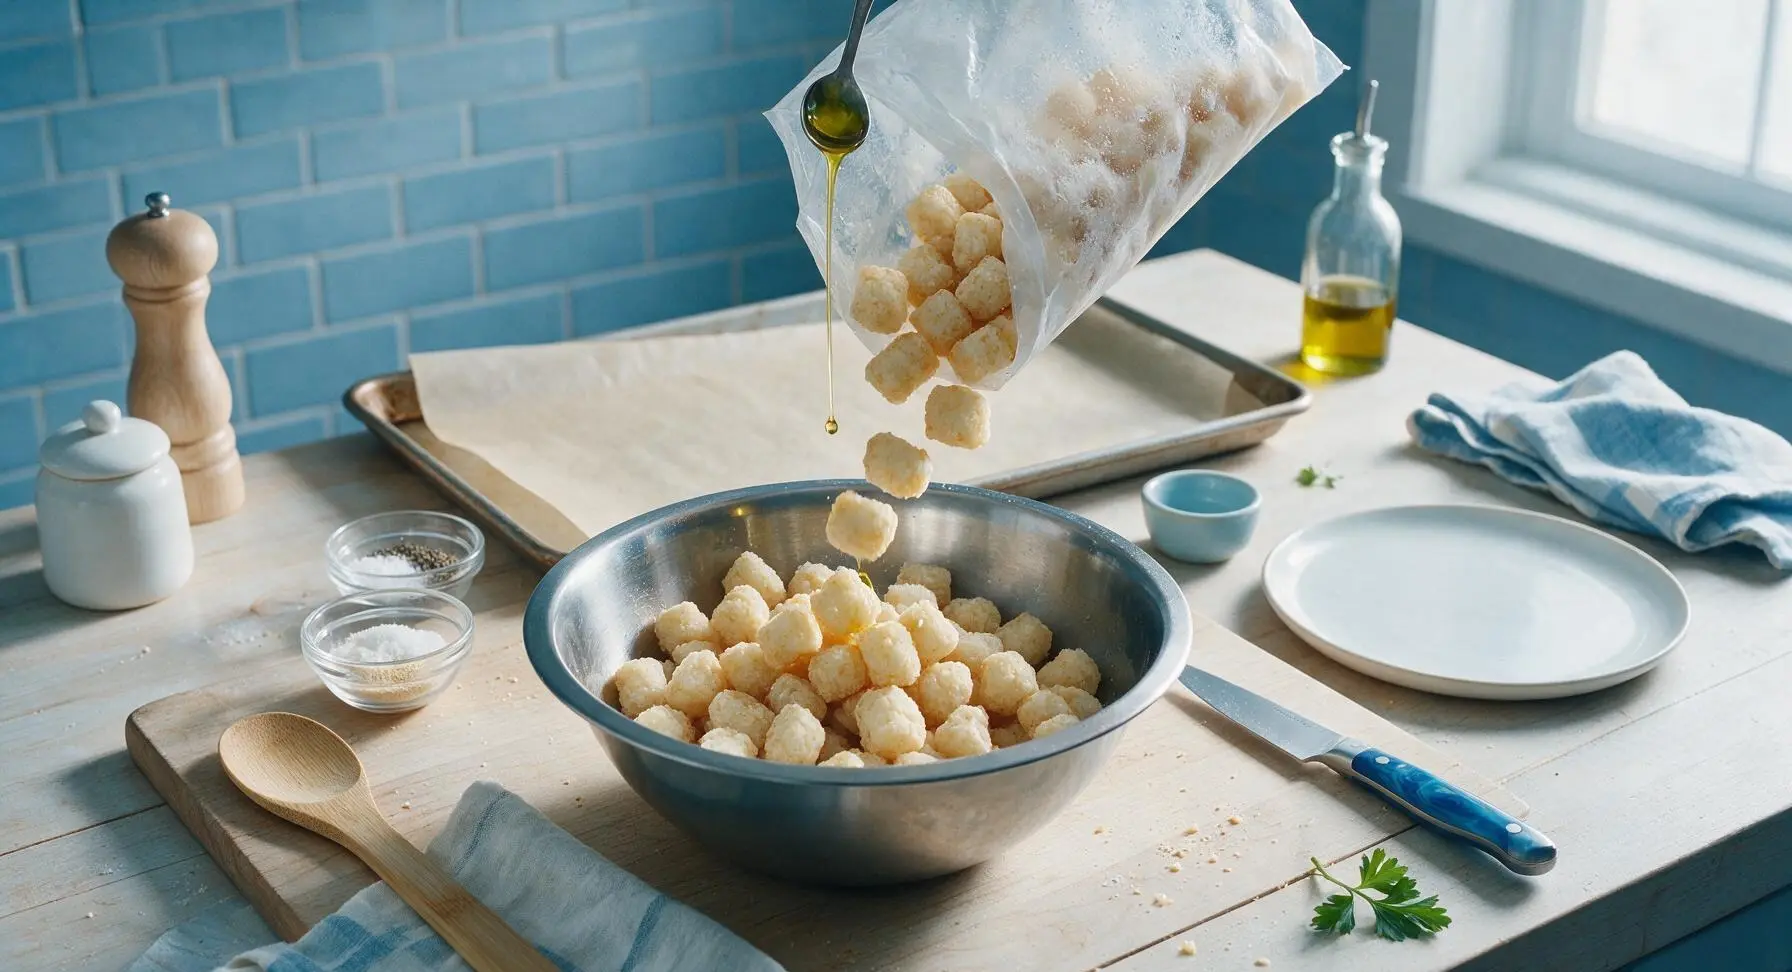
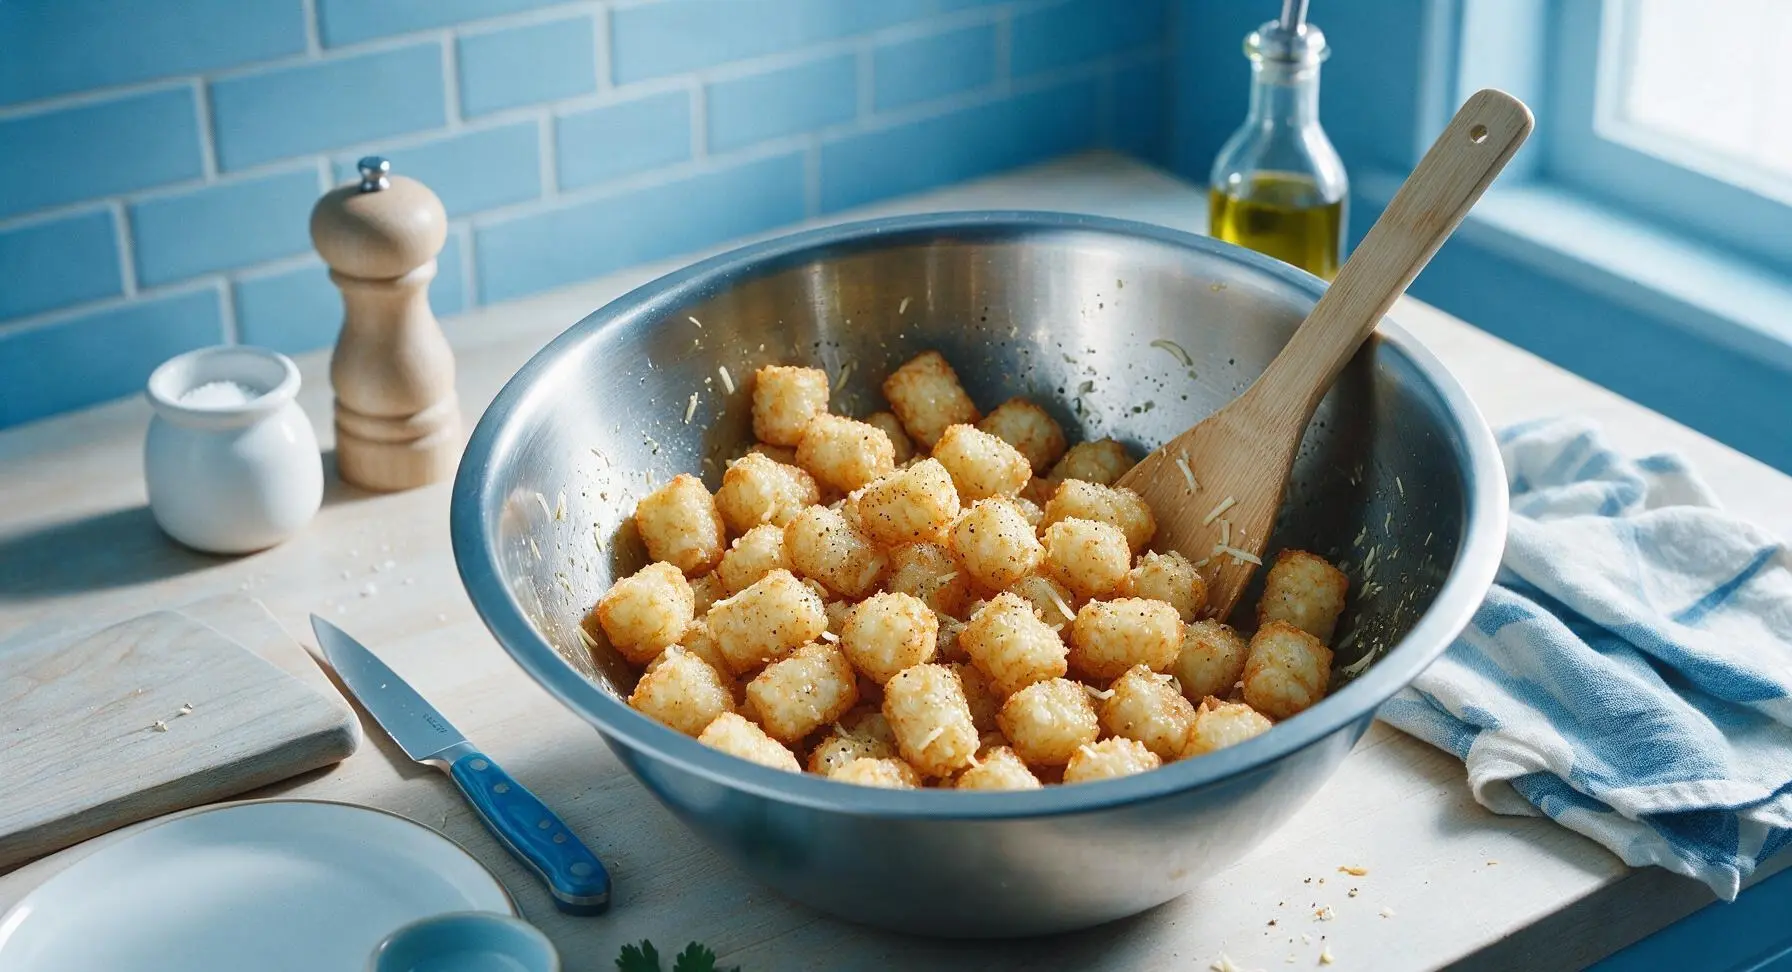
Open the 2lb bag of frozen tater tots, and pour them into the 4-quart stainless steel mixing bowl. Drizzle with 1 tablespoon of extra-virgin olive oil, then add 1/2 teaspoon kosher salt, 1/4 teaspoon freshly ground black pepper, and 1/4 teaspoon garlic powder. Toss gently with the light bamboo mixing spoon until every tot is evenly coated in a thin layer of oil and seasoning, with no dry spice clumps left at the bottom of the bowl. Do not thaw the tots first—cooking from frozen is key to keeping the inside fluffy while the outside crisps.
Step 3
step3:Toss Tots with Seasoning
Step 3
step3:Toss Tots with Seasoning
4

Arrange Tots Evenly

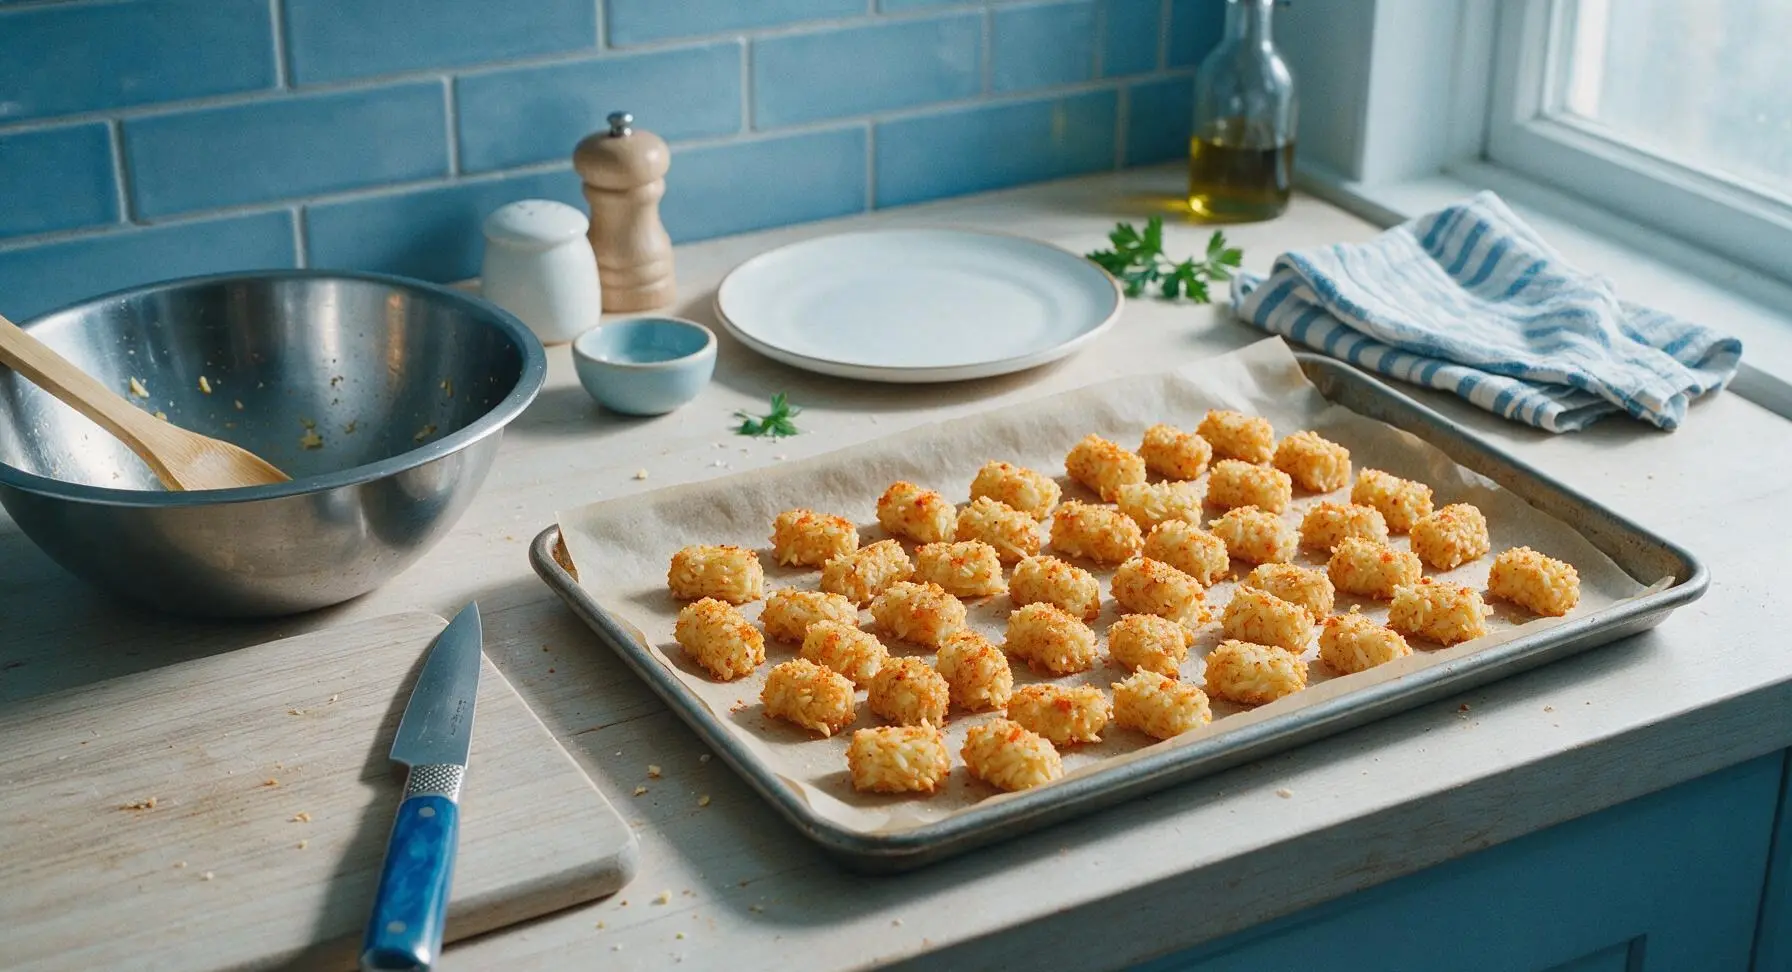
Pour the oiled, seasoned tater tots out onto the parchment-lined baking sheet. Arrange them in a single, even layer, making sure no tots are touching or stacked on top of each other. Leave 1/4 inch of space between each tot to allow hot air to circulate—crowding is the #1 cause of soggy, steamed tater tots instead of crispy ones.
Step 4
step4:Arrange Tots Evenly
5

Bake First Half

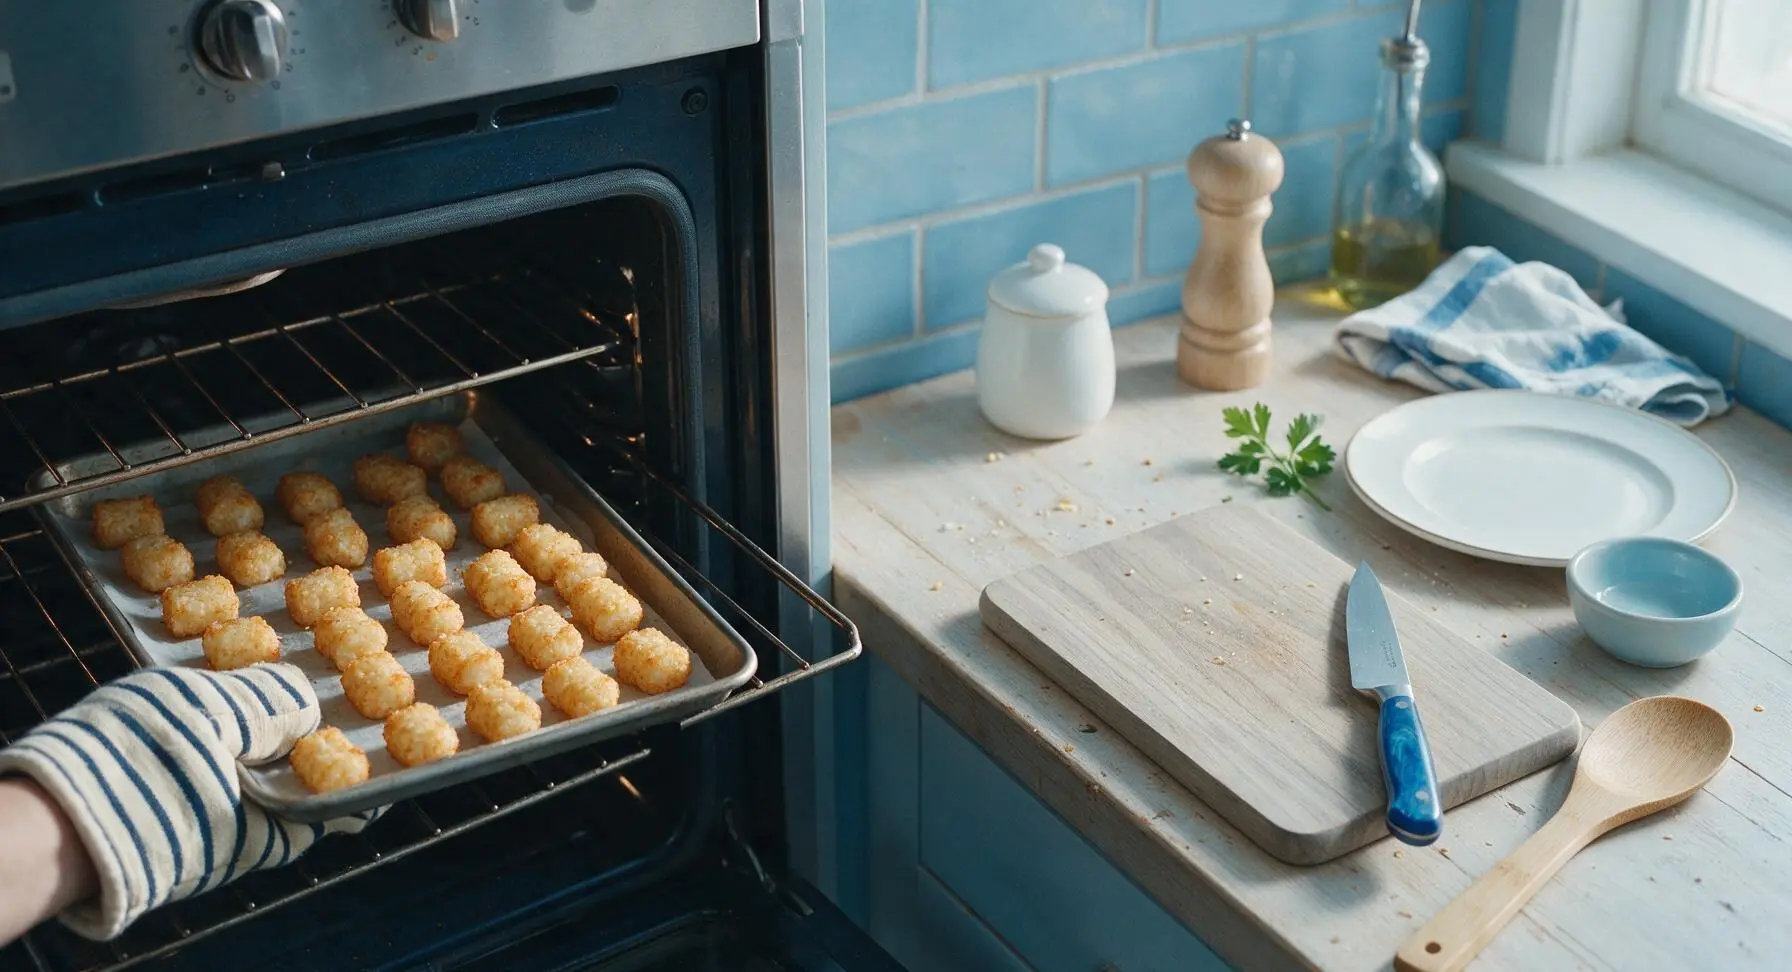
Carefully slide the baking sheet onto the middle rack of the preheated 375°F oven. Bake for 14 minutes, undisturbed. Do not open the oven door during this time, as dropping the oven temperature will prevent the tot bottoms from crisping properly. At the 14 minute mark, the bottoms of the tots should be deep golden brown and crisp to the touch.
Step 5
step5:Bake First Half
6

Flip Tots Halfway

After 14 minutes of baking, pull the baking sheet out of the oven using oven mitts, and set it on a heat-safe trivet on the counter. Use the stainless steel tongs with black silicone grips to flip every single tater tot so the unbaked, pale side is now facing down against the parchment. Make sure to maintain the single layer and gaps between tots as you flip.
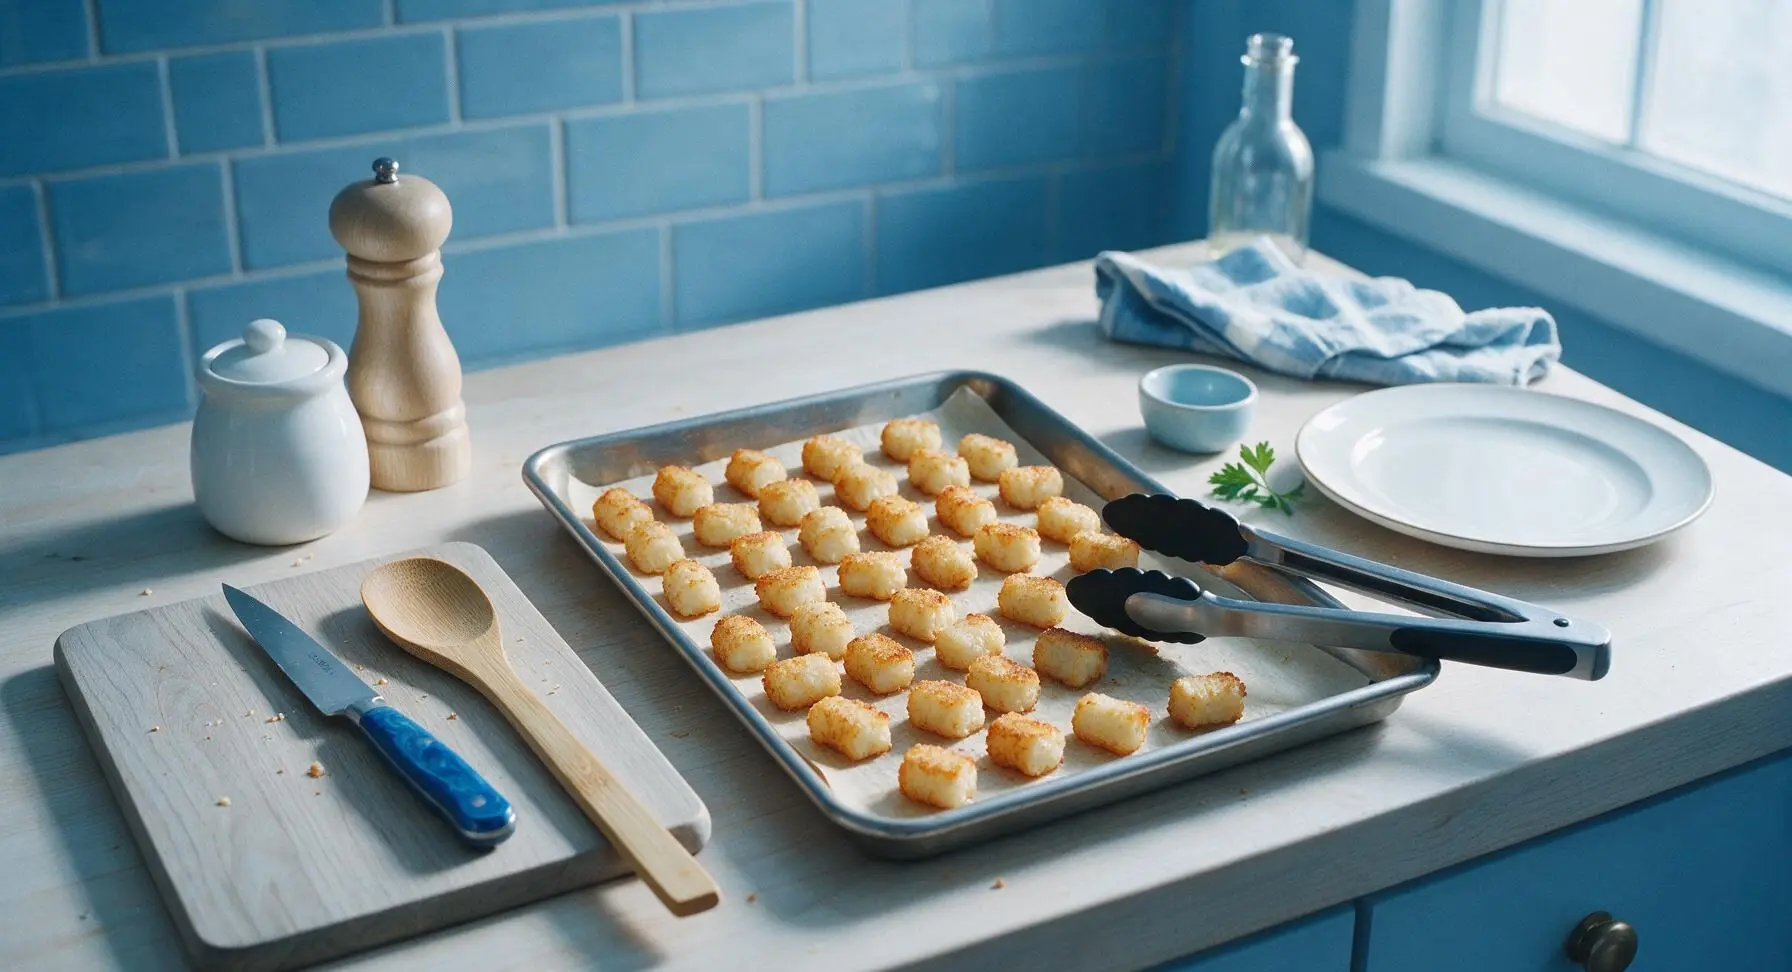
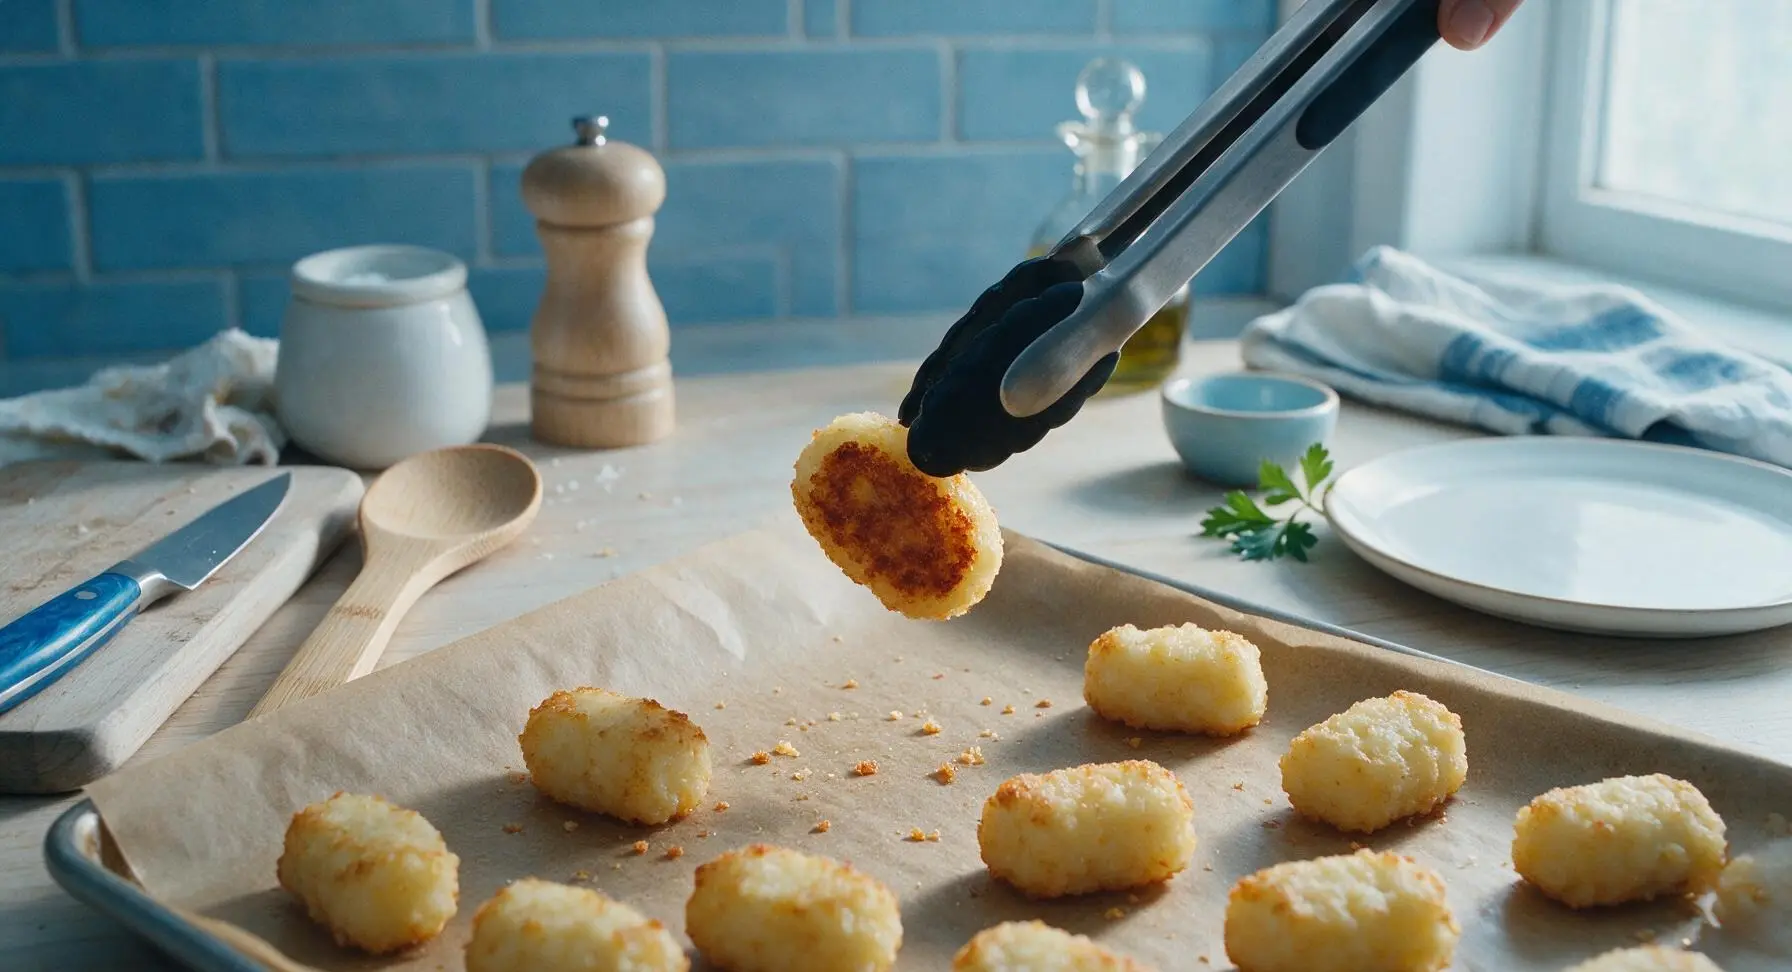
Step 6
step6:Flip Tots Halfway
Step 6
step6:Flip Tots Halfway
7

Bake to Crisp Perfection

Slide the baking sheet back into the 375°F oven on the middle rack. Bake for an additional 14 minutes, for a total cook time of 28 minutes. When done, all sides of the tater tots will be deep golden brown, with crispy, slightly rough edges, and the potato inside will be light and fluffy when broken open.
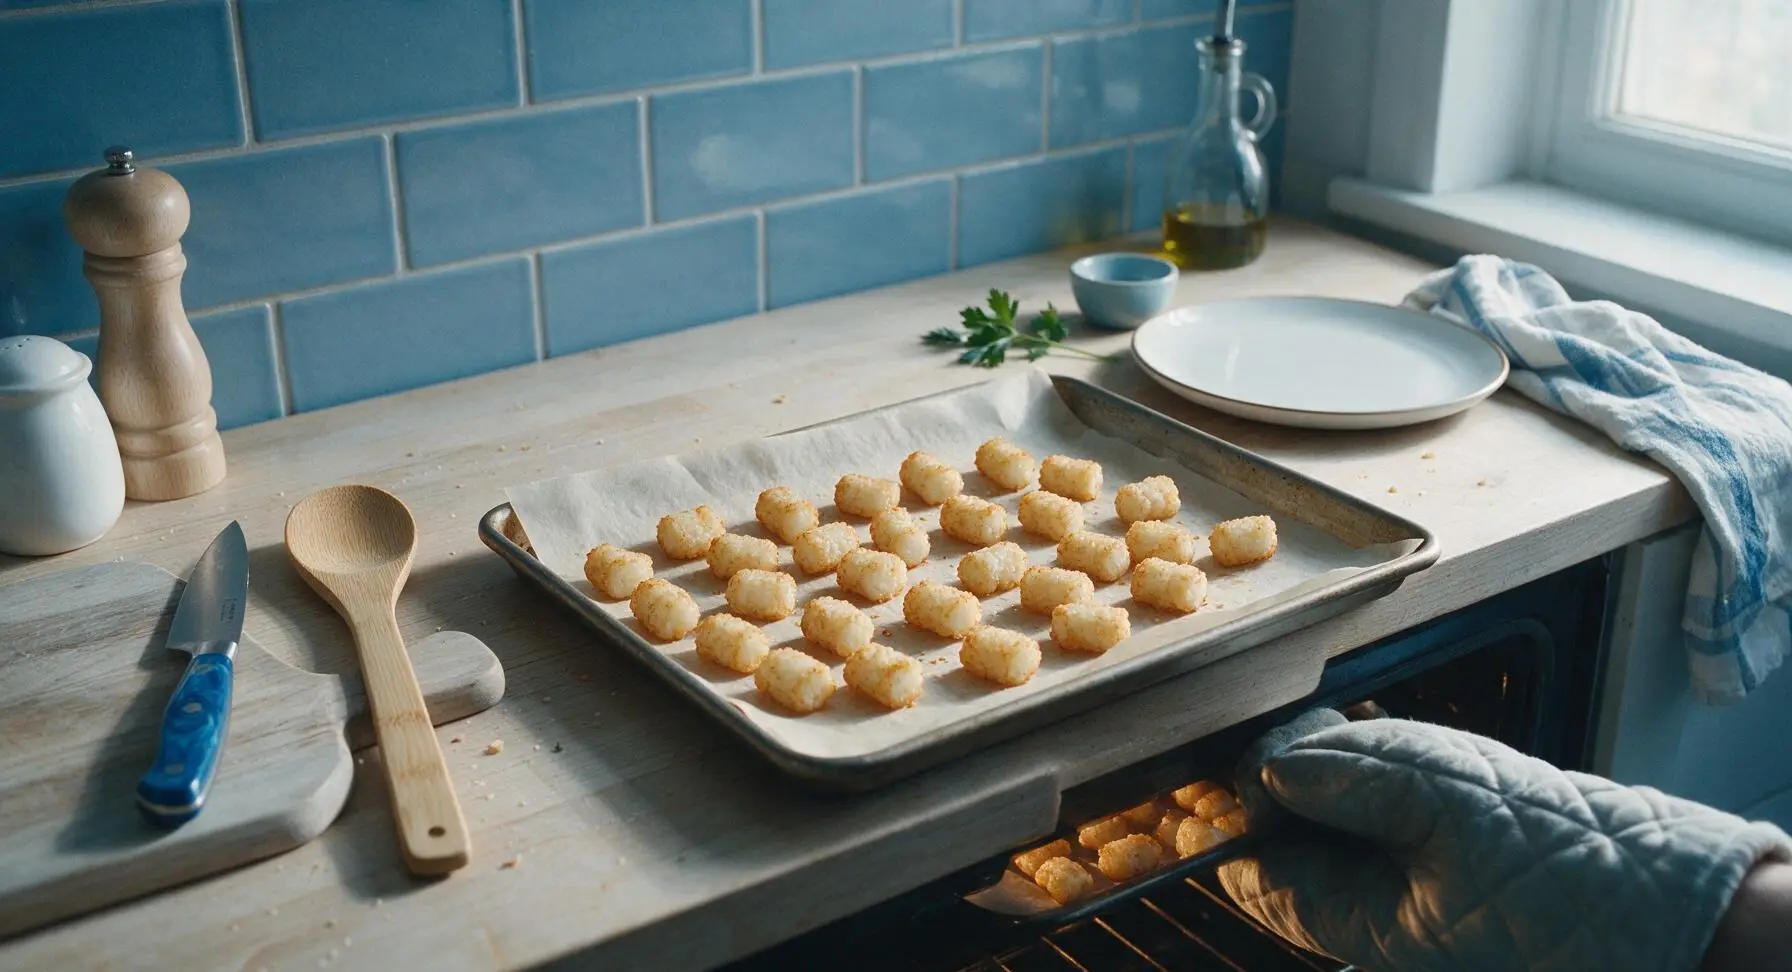
Step 7
step7:Bake to Crisp Perfection
8

Season and Plate Tots

Pull the finished tater tots out of the oven, and immediately sprinkle them with 1/8 teaspoon of flaky sea salt for a bright, crunchy top layer. Wait 1 minute, then use the tongs to transfer all the tots to the matte off-white ceramic serving platter, piling them loosely. Tuck a small sprig of fresh curly parsley from the terracotta pot on the counter at the edge of the platter for garnish, and set the small matte white ramekin of ketchup beside the platter for dipping.
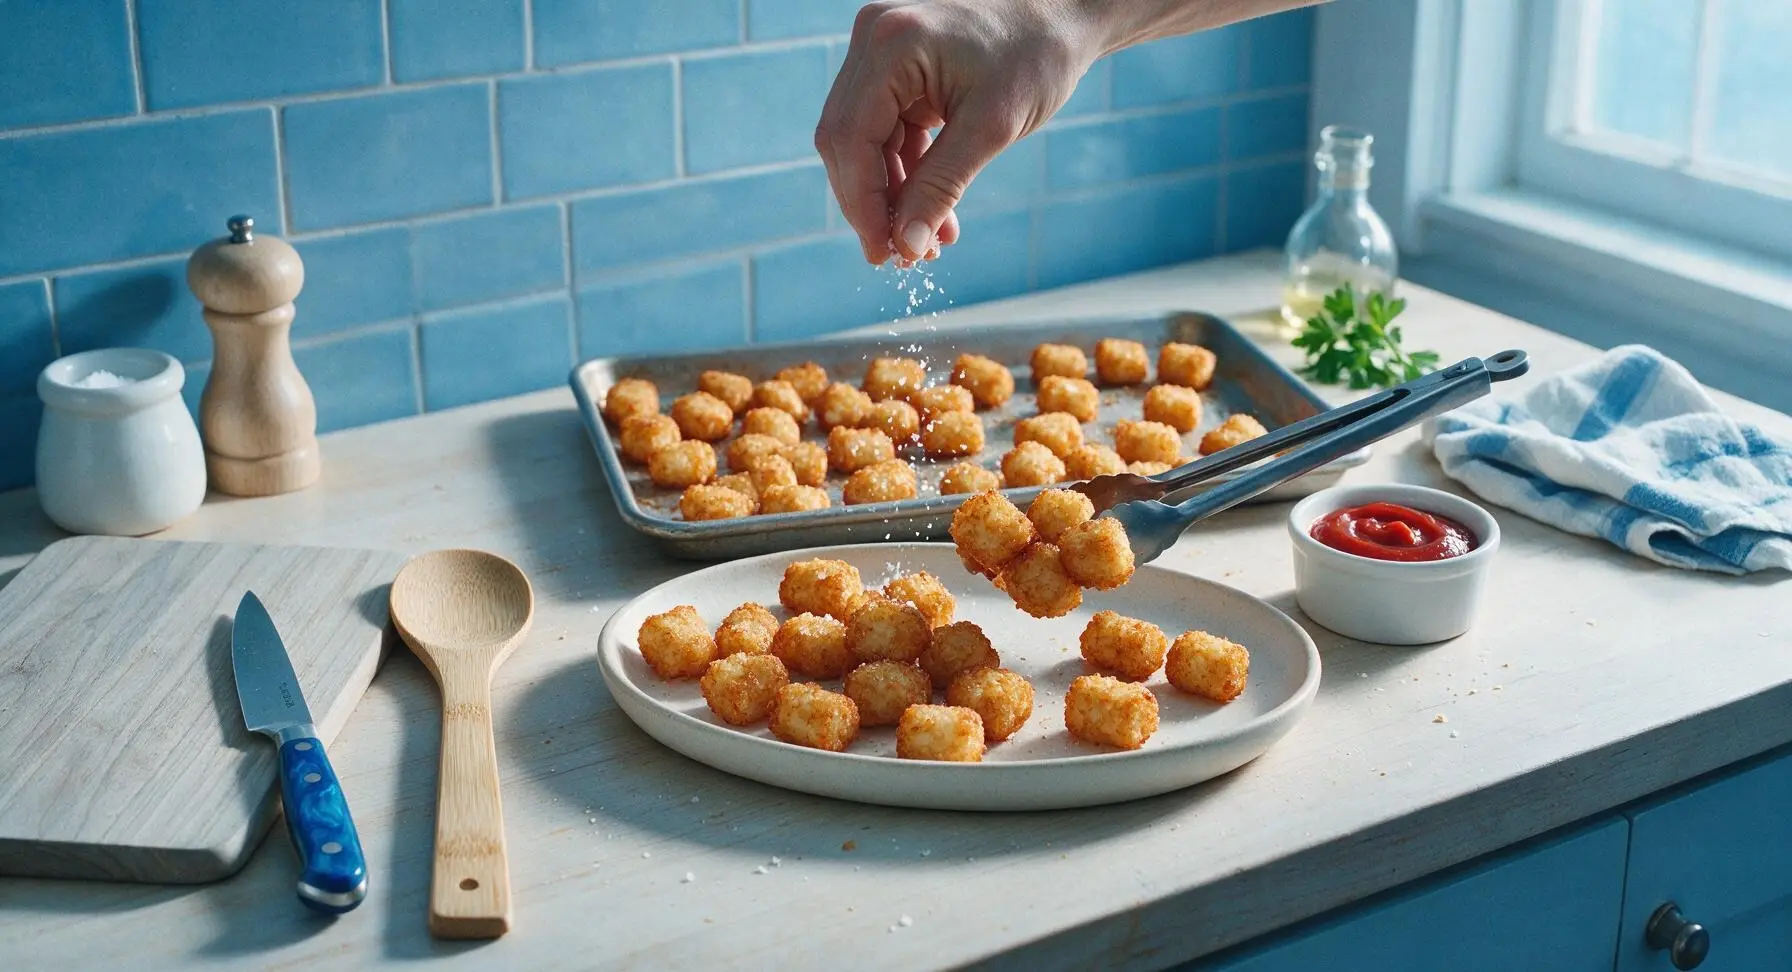
Step 8
step8:Season and Plate Tots

Tips

1.Always cook tater tots directly from frozen with no thawing. Thawing causes potato starch to release excess moisture, leading to soggy, mushy interiors instead of light, fluffy potato, and makes the exterior steam rather than crisp as it cooks.
2.Use parchment paper instead of a silicone baking mat or bare greased sheet. Parchment allows hot air to circulate under the tots for evenly crisp bottoms, while silicone traps moisture and greased sheets can cause tots to absorb excess oil and turn greasy.
3.For an extra shatteringly crisp crust, turn the broiler to high for the final 1-2 minutes of cook time, watching constantly to avoid burning. This quick high-heat blast caramelizes the outer potato shreds for a crunch that matches deep-fried tater tots, with a fraction of the oil.


✨ You May Also Like

Side Dishes
🍜 India

Velvety, aromatic all-purpose curry sauce perfect for tossing with roasted veggies, grilled protein, or rice for fast, cozy, flavorful meals.

⏱️ 25 minuteSide Dishes ★ 4.8
Side Dishes
🍜 Spain

Tender, starchy boiled yuca tossed in bright, garlicky citrus mojo sauce—an iconic, zesty side that pairs beautifully with roasted pork, grilled meats, and rice and beans.

⏱️ 40 minuteSide Dishes ★ 5
Side Dishes
🍜 United States

Tender, paper-thin potato flatbread, a beloved Norwegian-American Minnesota Christmas staple, griddled until softly spotted and served warm with butter.

⏱️ 1 hour 30Side Dishes ★ 4.6
Side Dishes
🍜 United States

Rich, deeply savory cured salt pork, a long-lasting kitchen staple perfect for frying crispy as a side or adding umami to stews, beans, and chowders.

⏱️ 7 days (2Side Dishes ★ 4.9
Side Dishes
🍜 United States

Crispy, tangy classic Southern fried green tomatoes with a crunchy cornmeal crust, served hot for a nostalgic, comforting summery bite.

⏱️ 25 minuteSide Dishes ★ 4.9
Side Dishes
🍜 United States

Moist, golden-crusted savory muffins with sweet corn, zesty jalapeño, and melted cheddar, perfect for pairing with smoky summer grilled fare.

⏱️ 30 minuteSide Dishes ★ 4.9

cooking tater tots at 375 in oven:Frequently Asked Questions

1.Do I need to thaw frozen tater tots before baking them at 375°F? ▾
No, absolutely do not thaw your frozen tater tots first. Toss them straight from the freezer with olive oil and seasonings to prep. Thawing releases excess starchy potato moisture that leads to soggy, limp tots instead of that shatteringly crisp crust, and can also cause them to stick to your baking sheet as they cook.
2.Why do my baked tater tots turn out soggy instead of crispy when cooked at 375°F? ▾
Soggy tater tots almost always trace back to two common mistakes: overcrowding your baking sheet, or using the wrong amount of oil. Spread tots in a single, uncrowded layer with small gaps between each piece so hot oven air can circulate evenly, and use 1–2 teaspoons of oil per 2 cups of tots, flipping halfway through baking.
3.How long do tater tots take to bake fully at 375°F? ▾
At a consistent 375°F, frozen tater tots will take 25 to 30 minutes to bake fully, with a crispy golden exterior and fluffy, fully heated interior. For the most even results, flip the tots with a spatula at the 15-minute mark to ensure every side crisps up, and let them rest 2 minutes after baking to let the crust set.
4.Can I add extra seasonings beyond the listed salt, pepper, and garlic powder? ▾
Absolutely! The simple kosher salt, black pepper, and garlic powder base is a neutral, crowd-pleasing starting point that works with almost any add-in. Toss in smoked paprika, grated parmesan, cajun spice, dry ranch seasoning, or onion powder with the oil before baking. Skip wet seasonings before cooking, as those add moisture that ruins crispness—save those for dipping.
5.Do I need a wire rack on my baking sheet to get extra-crispy tater tots? ▾
You don’t need a wire rack to get perfectly crispy tater tots at 375°F, though it is a handy hack if you already own one. A rack elevates tots so hot air circulates under them without requiring a flip. If you don’t have a rack, a standard rimmed baking sheet works perfectly as long as you keep tots in a single layer and flip them halfway through.
6.How do I store and reheat leftover tater tots so they stay crispy? ▾
Store fully cooled leftover tater tots in an airtight container in the refrigerator for up to 3 days. Skip the microwave for reheating—it turns the crust chewy and soggy fast. Instead, spread leftovers in a single layer on a small baking sheet and reheat at 375°F for 8 to 10 minutes, until crisp outside and heated all the way through.

Comments (6)

2 hours ago

OMG these are SO good! I’ve tried so many oven-baked tater tot recipes that come out soggy no matter what I do, but following the 375°F temp and not crowding the pan like the recipe says made them perfectly crispy! My kids devoured half the pan before dinner even made it to the table, total game changer for weeknight family dinners.

30 minutes ago

Wait did you flip them halfway through? I’m making these for a neighborhood potluck this weekend and don’t want to mess them up!

5 minutes ago

Great question! We definitely recommend flipping them gently at the 14 minute mark for even crispness on all sides, and make sure your oven is fully preheated before popping the tray in. Hope they’re a hit at the potluck!

3 days ago

These are perfect for my Sunday meal prep! I make a big batch on Sundays and portion them out for quick sides with my lunch all week, they stay crispy even when I reheat them in the air fryer for a couple minutes. So easy, only 28 minutes cook time means I don’t have to spend forever in the kitchen on prep day.

yesterday

Quick question—can I toss these in parmesan and garlic powder before baking? I love that flavored crispy crust but don’t want it to burn at 375°F?

2 hours ago

Absolutely! We recommend tossing the tots with your seasonings right before you put them in the oven, and if you’re adding parmesan, sprinkle it on during the last 5 minutes of cook time to keep it from burning. Garlic powder works great from the start though!

1 week ago

As someone who burns literally every frozen side I try to make in the oven, these were foolproof! The 375°F temp was exactly right, no burnt edges, no mushy centers, perfectly crispy all over. Even my roommate who’s a total food snob said they were better than the fast food tots down the street. 10/10 will make every week now.

5 days ago

Made these for movie night last Friday and I swear I should have made double the batch. The boys kept coming back for more, even asked if we could have them for breakfast the next morning with eggs! Love that it’s such an easy recipe, no fancy steps, just pop them in the oven and wait 28 minutes. So much better than deep frying too, less mess.

3 days ago

Oh the breakfast idea is genius! I never thought to pair these with eggs, I’m definitely trying that this weekend. Did you dip them in anything special for movie night?

2 weeks ago

Wait why is 375°F the magic temp here? I usually crank my oven up to 425 for frozen stuff to get it crispy, but every time I do that the outside burns before the inside is cooked through. Tried this temp on a whim and wow, perfect cook all the way through, shatteringly crispy outside. Who knew?

1 week ago

I used to do 425 too! Total game changer going lower, I think the lower temp lets the inside thaw and cook fully before the outside gets too dark. I also line my sheet with parchment for less mess, works like a charm.

5 days ago

You’re exactly right! 375°F hits that sweet spot where the tot interiors heat through fully and get fluffy while the exterior has enough time to crisp up without burning. Parchment paper is a great call too, just make sure you’re not stacking the tots so air can circulate around every one!



