
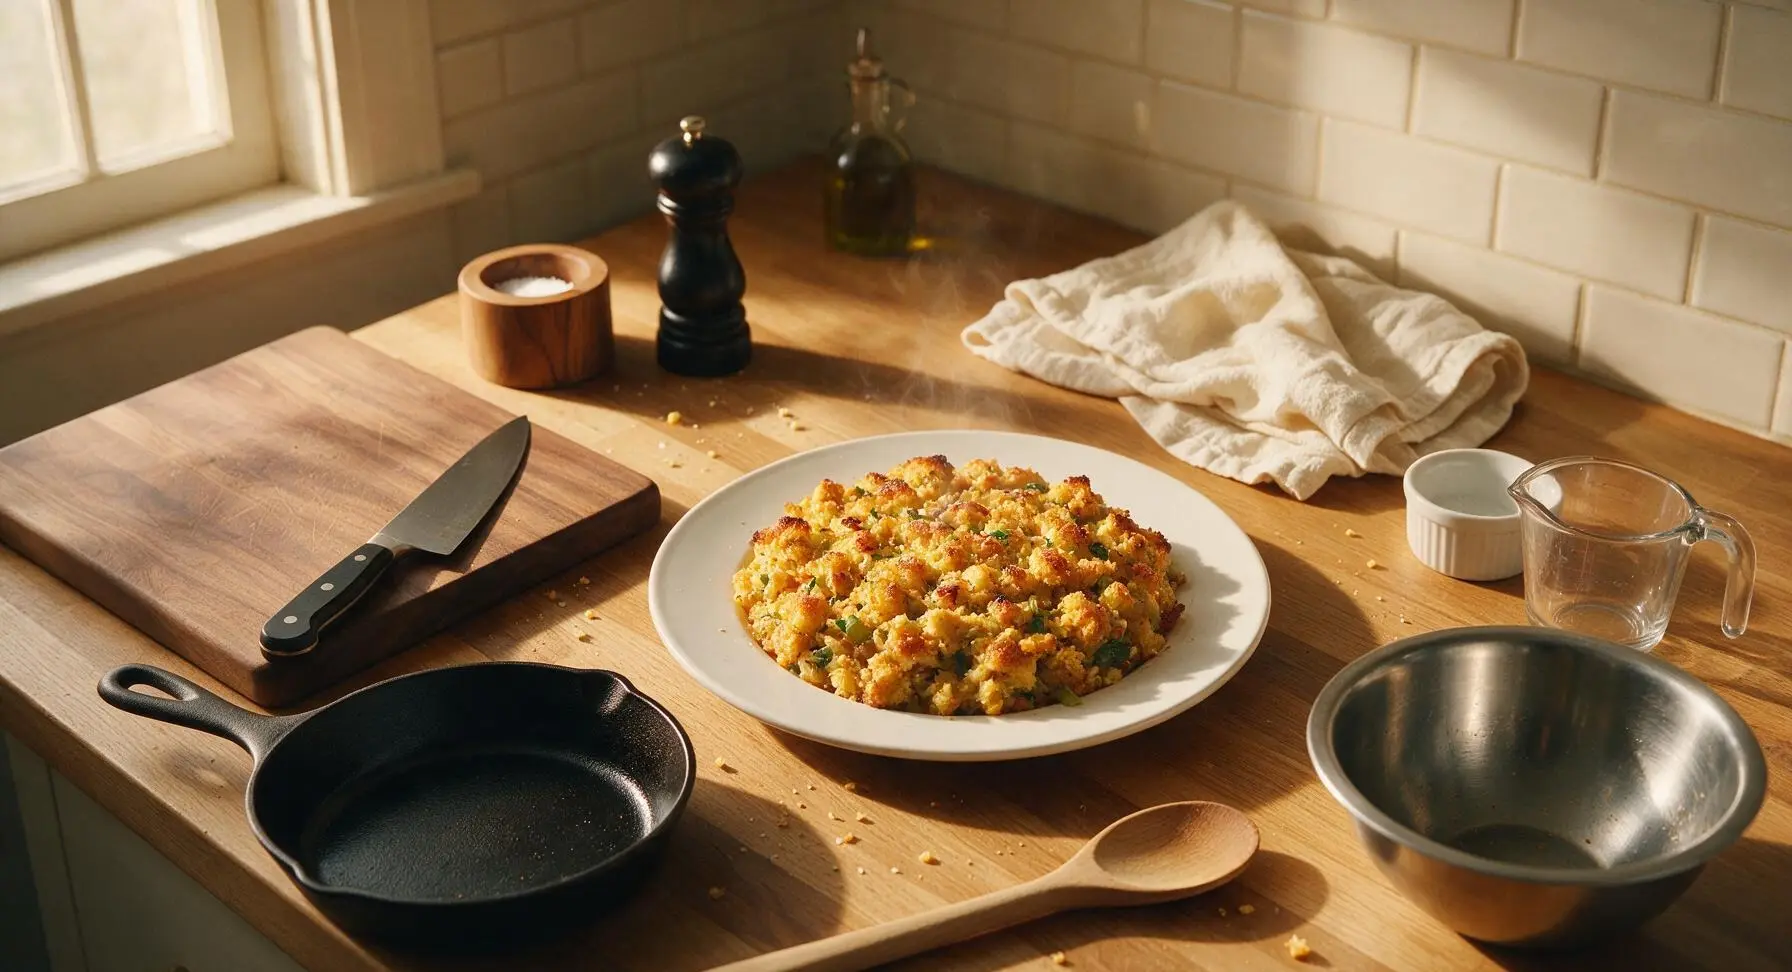
Cornbread Stuffing

title 1
Cornbread Stuffing
⏱️ cook time 55 minutes
🍽️ servings 8
⚡ Difficulty medium

intro

Buttery, sage-scented cornbread stuffing with crisp golden edges and a tender, savory center, packed with soft aromatic veggies—the iconic, beloved Thanksgiving side dish.

Ingredients
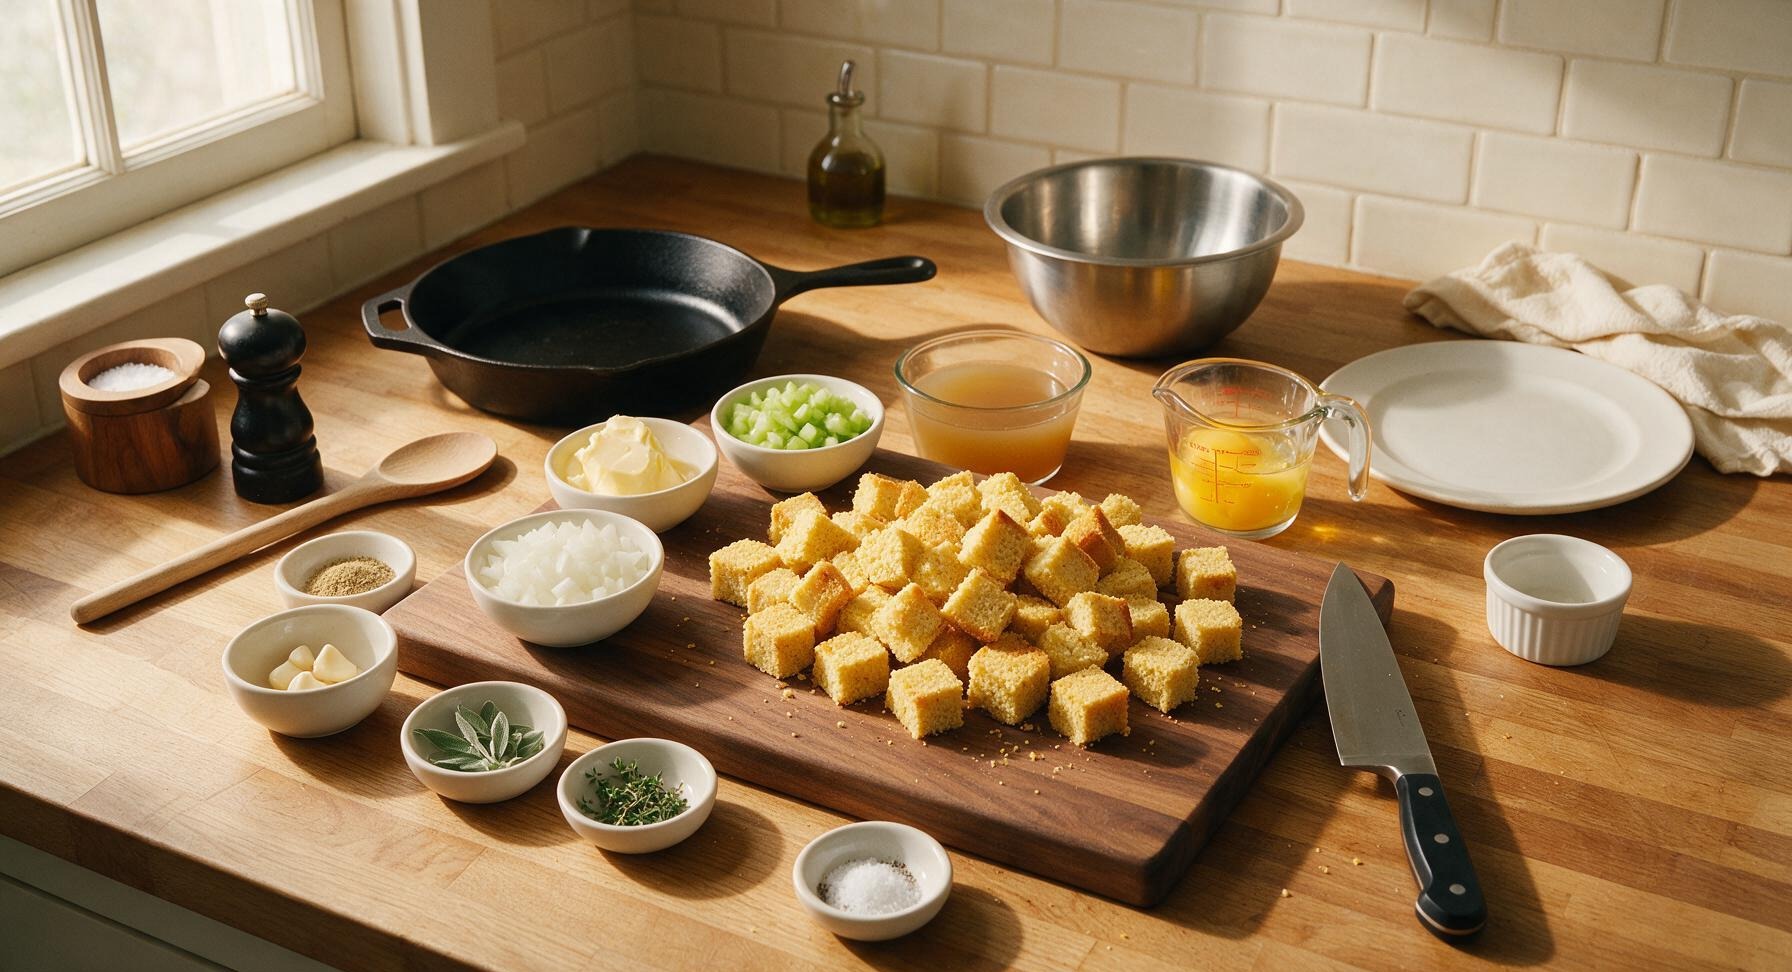
Day-old cornbread, cut into 1-inch cubes 8 cups
Unsalted butter 7 tbsp
Yellow onion, diced 2 cups (1 large)
Celery stalks, diced 1.5 cups (3 stalks)
Garlic cloves, minced 3 cloves
Fresh sage, finely chopped 2 tbsp
Fresh thyme leaves 1 tbsp
Poultry seasoning 1 tsp
Kosher salt 1 tsp
Freshly ground black pepper 1/2 tsp
Low-sodium chicken broth 2 cups
Large eggs, lightly beaten 2

Steps

1

Dry Cornbread Cubes

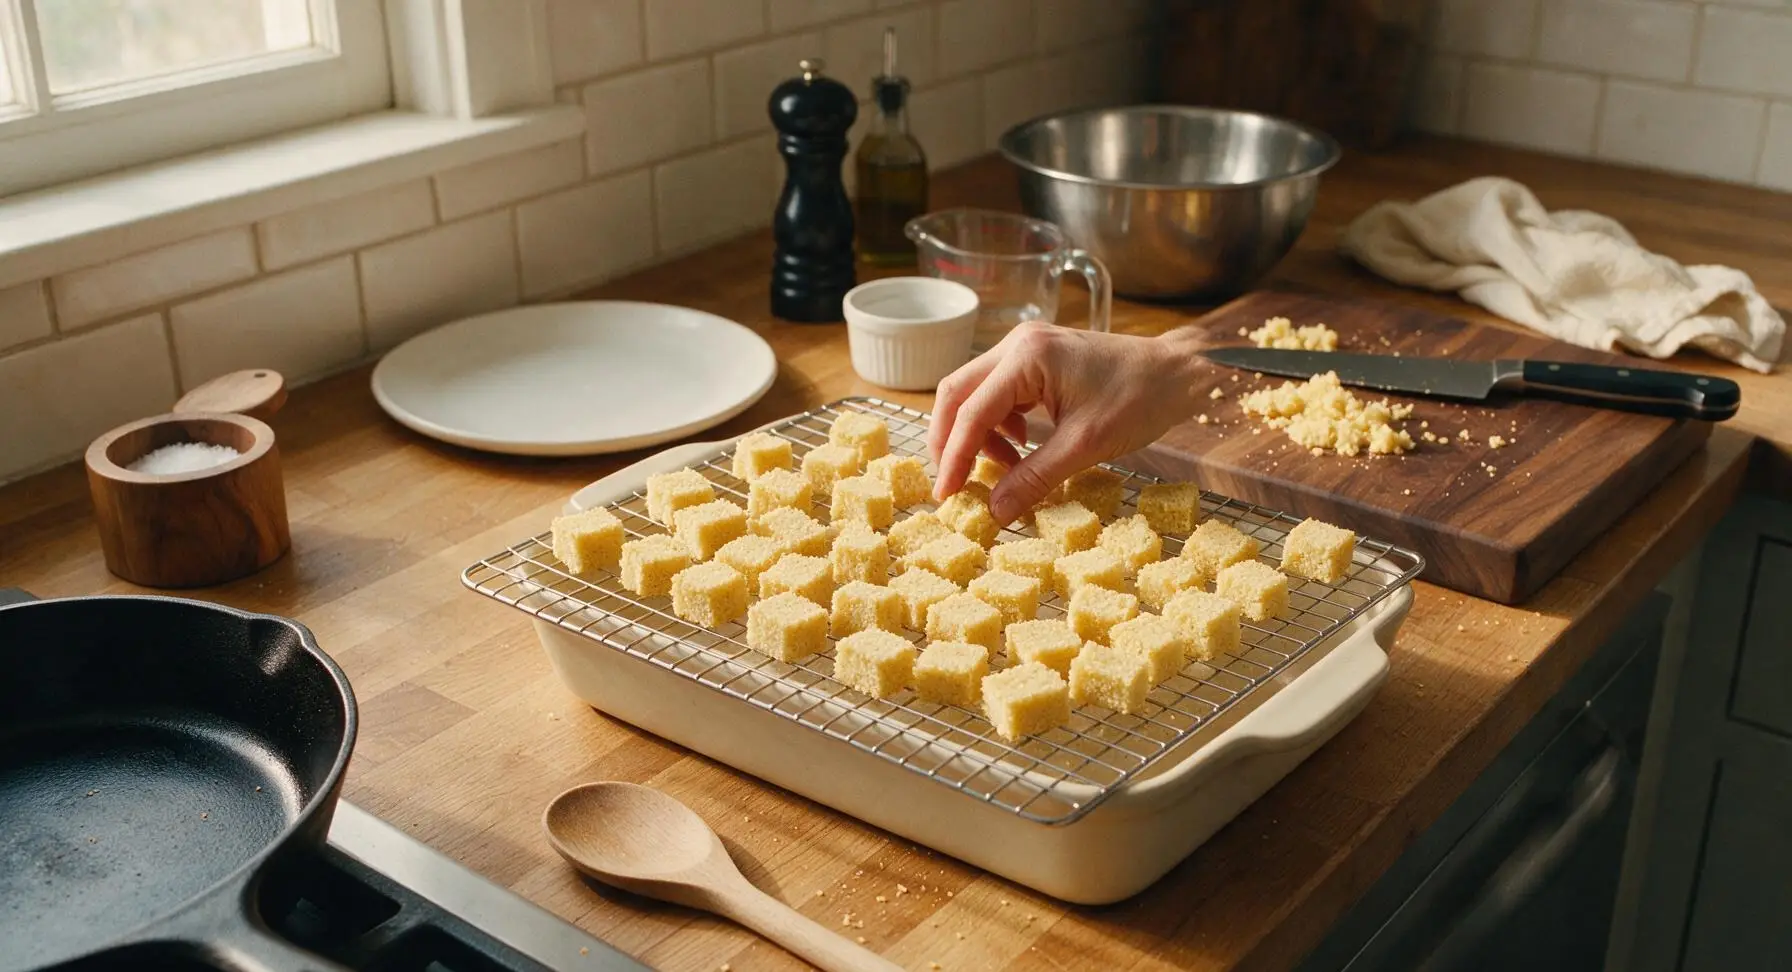
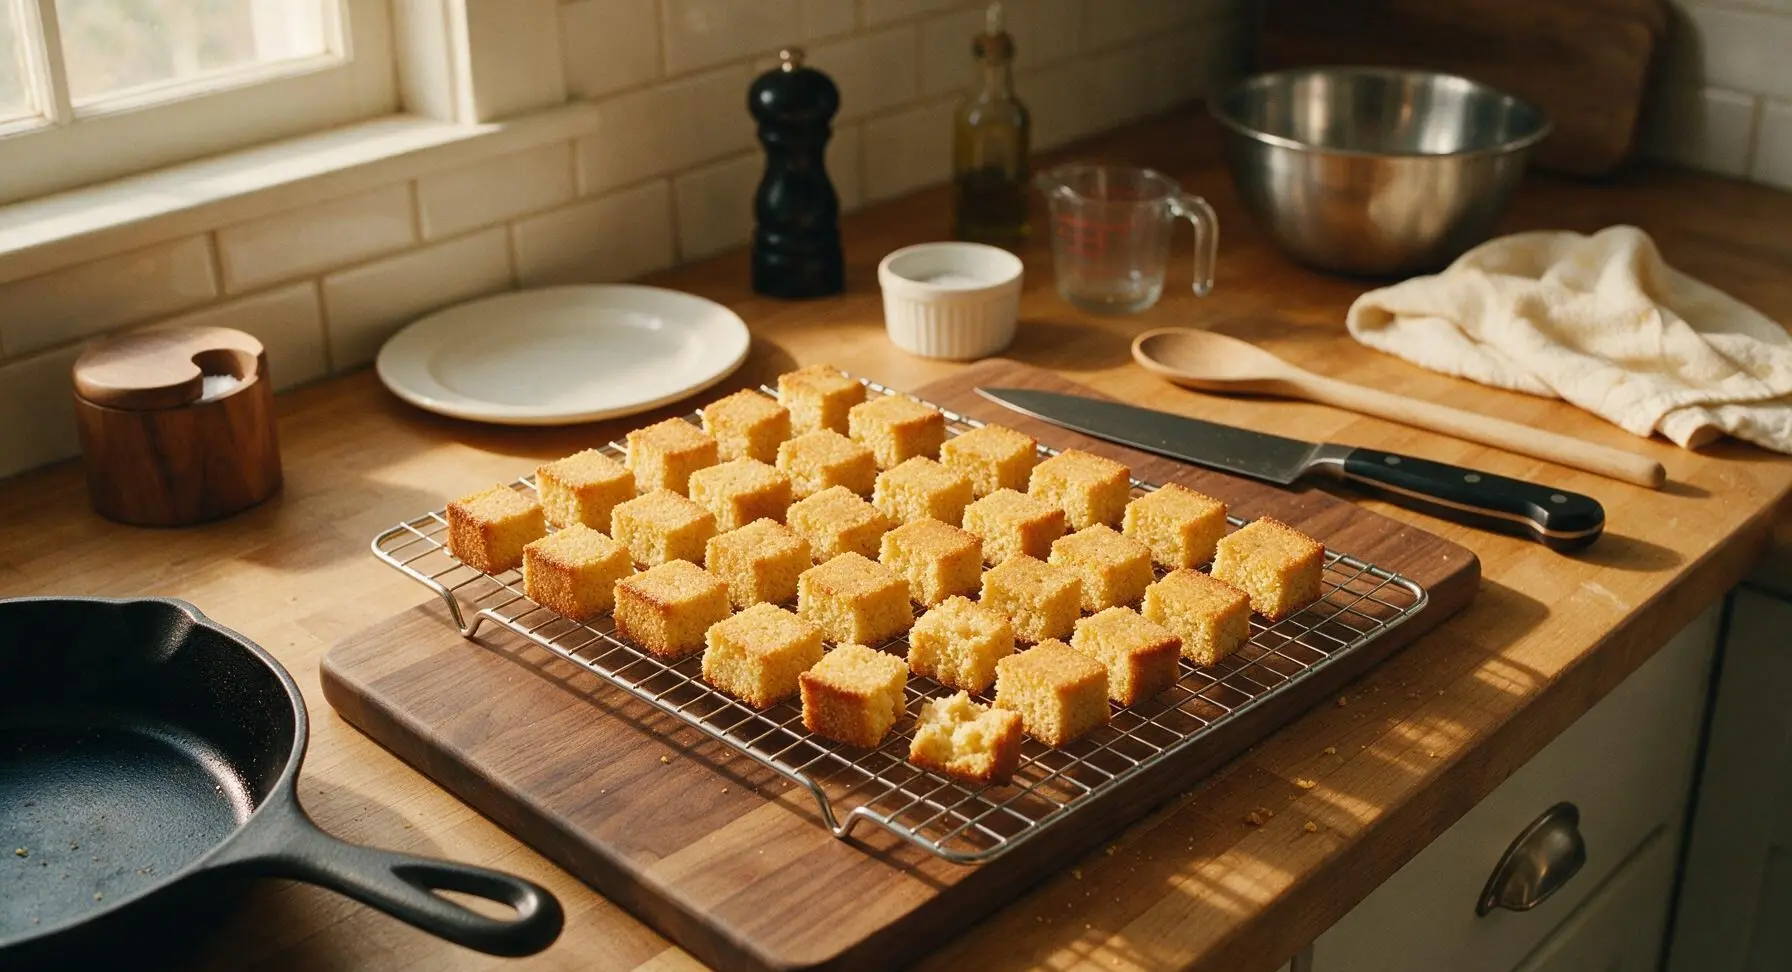
Preheat oven to 300°F (150°C). Spread 8 cups of 1-inch cubed cornbread in a single even layer across the chrome wire cooling rack set over the 9x13 inch matte cream ceramic baking dish. Bake for 15-20 minutes, until cubes are dry to the touch and lightly crisp on the edges, with no soft, moist centers when broken open. Remove from oven and let cool completely, about 10 minutes, before using.
Step 1
step1:Dry Cornbread Cubes
Step 1
step1:Dry Cornbread Cubes
2

Sauté Aromatic Veggies

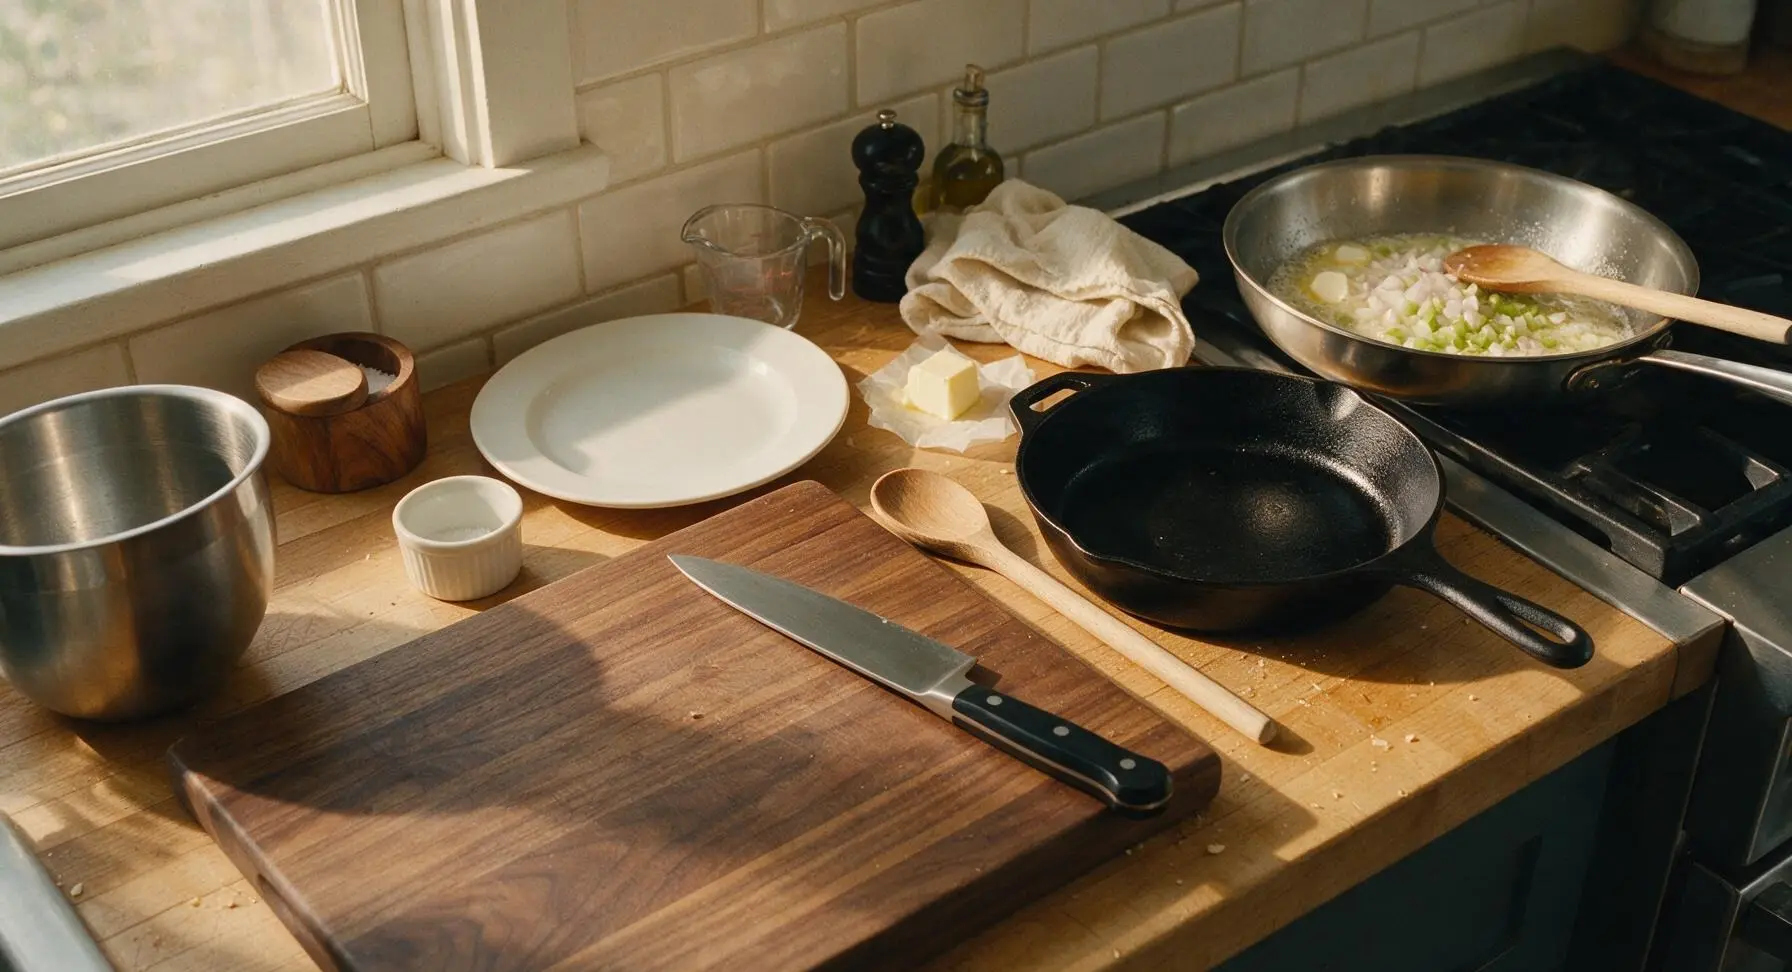
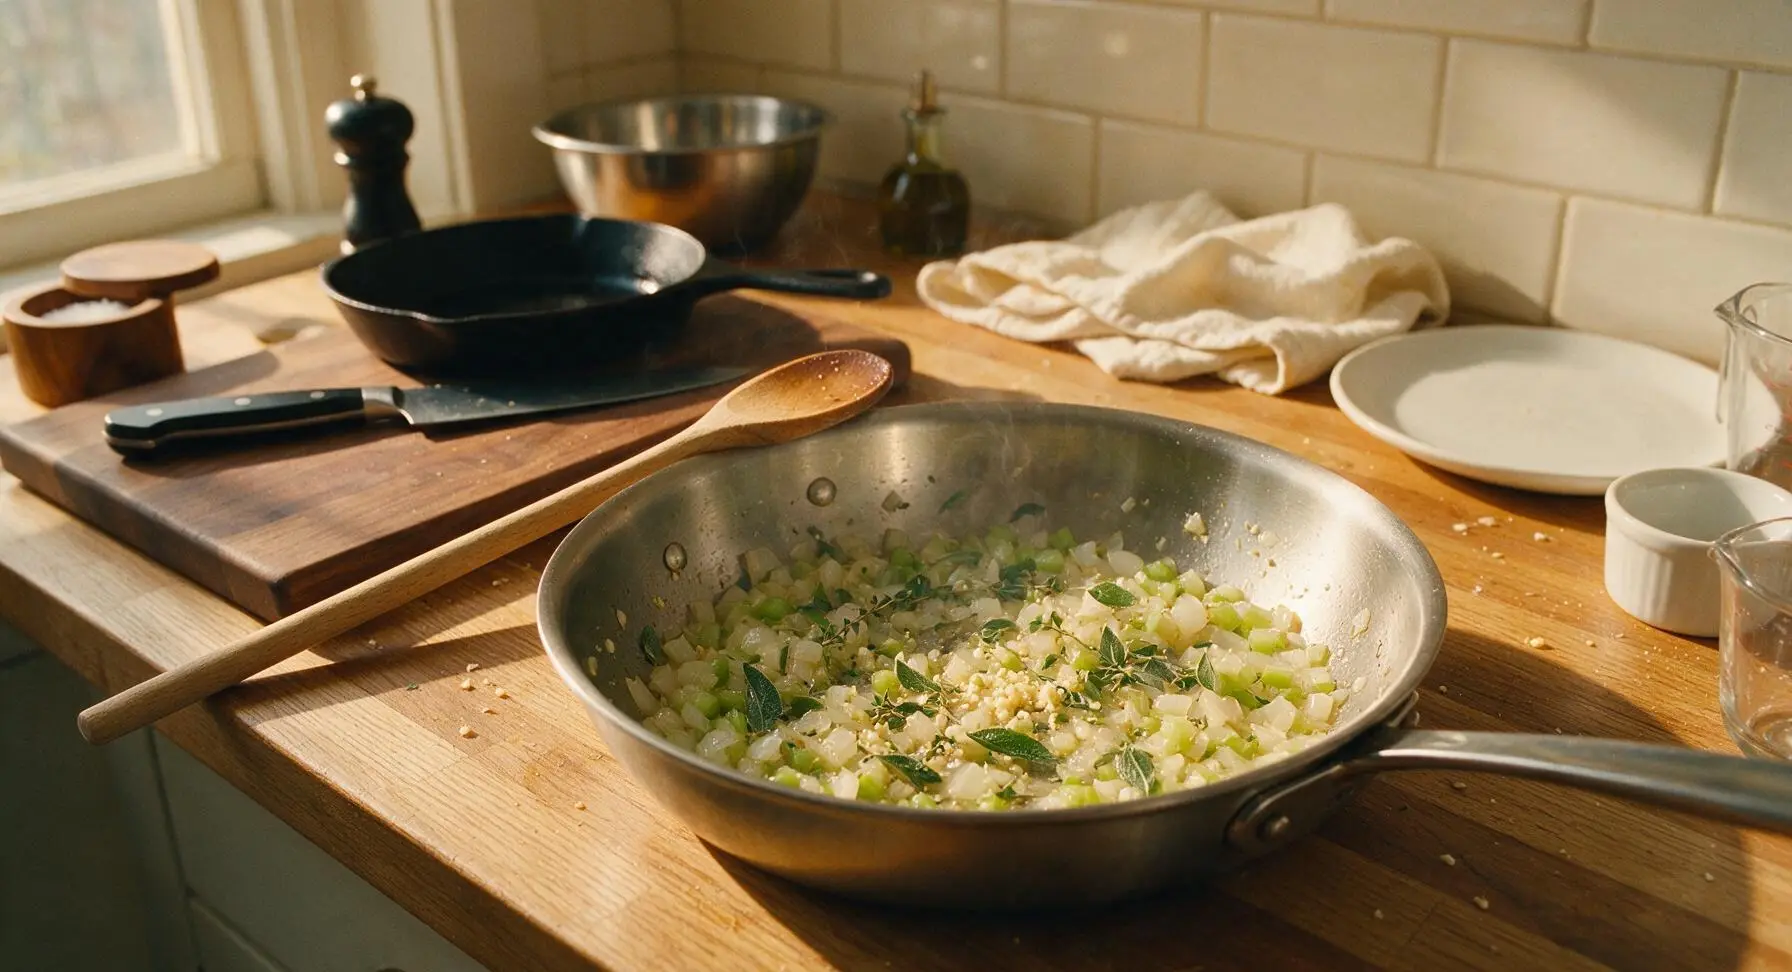
Melt 6 tablespoons of unsalted butter in the 10-inch brushed stainless steel sauté pan over medium heat. Add diced onion and celery, cooking for 8-10 minutes while stirring occasionally with the beech wood spoon, until vegetables are soft and translucent with no raw crisp bite. Add minced garlic, chopped sage, thyme leaves, poultry seasoning, salt, and pepper, cooking for 1 additional minute until fragrant, taking care not to burn the garlic.
Step 2
step2:Sauté Aromatic Veggies
Step 2
step2:Sauté Aromatic Veggies
3

Combine Stuffing Base

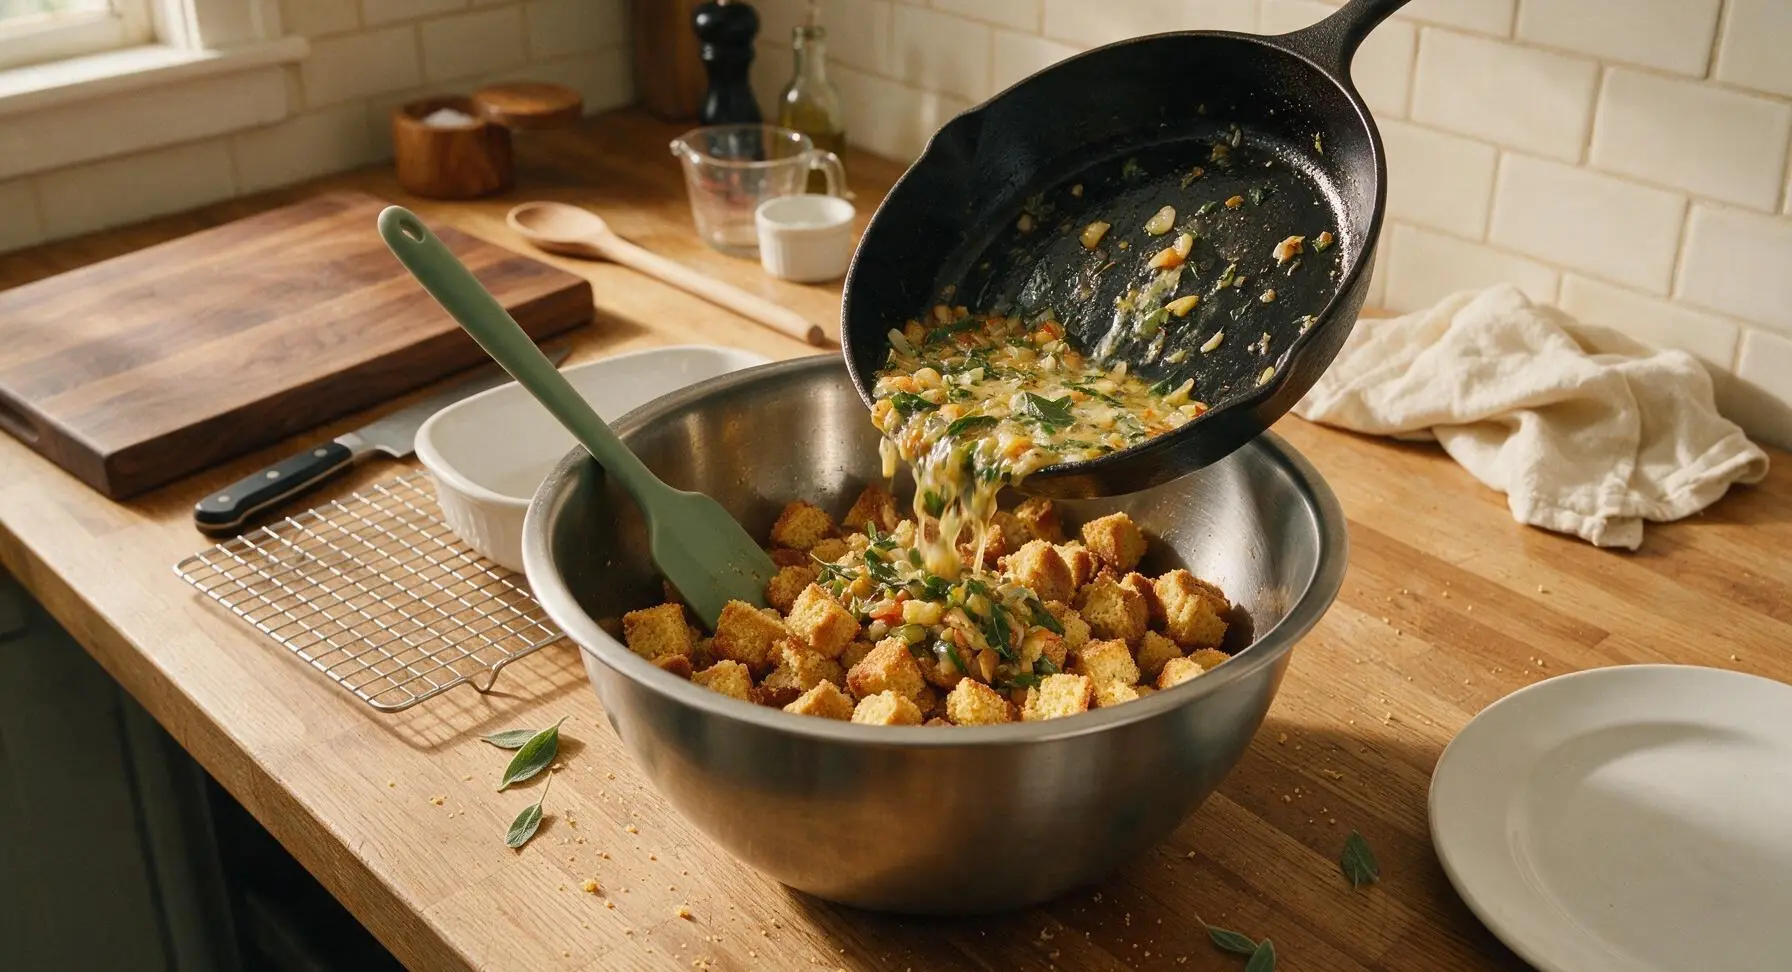
Transfer the fully cooled, dried cornbread cubes to the large 5L brushed stainless steel mixing bowl. Pour the warm sautéed butter, vegetable, and herb mixture over the top of the cubes, then use the matte sage green silicone spatula to toss gently until cubes are evenly coated with butter and herbs, taking care not to mash the cornbread into fine crumbs.
Step 3
step3:Combine Stuffing Base
4

Mix Wet Custard

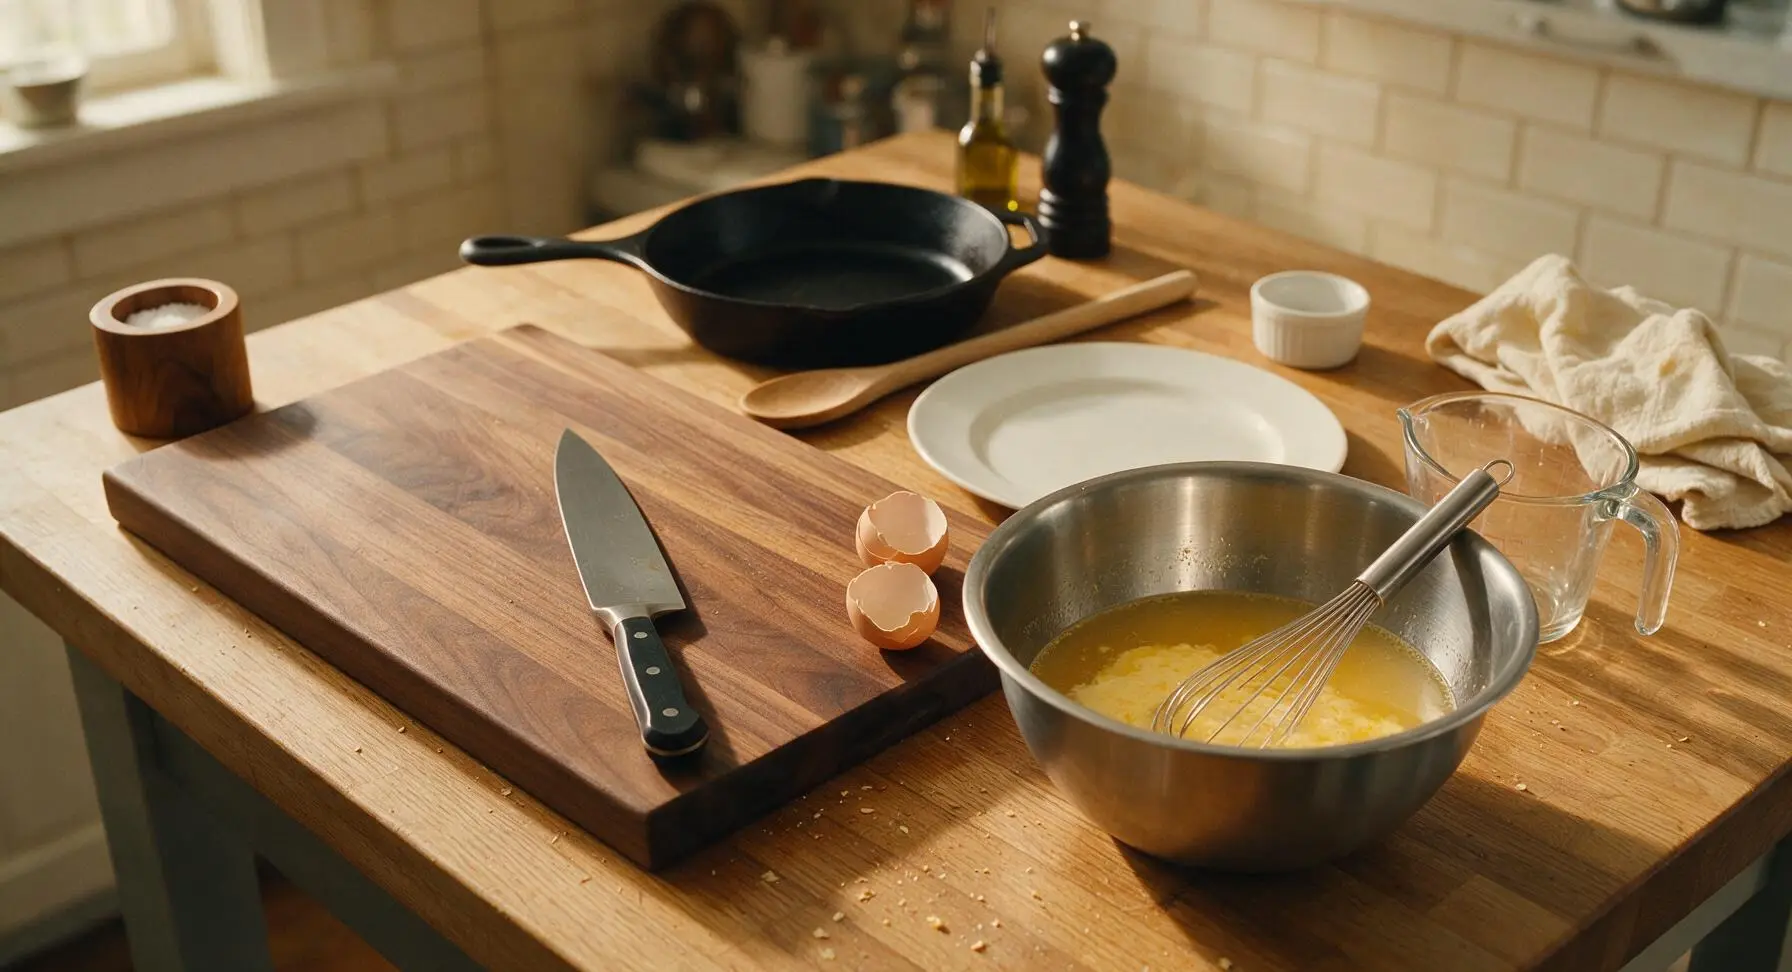
In the medium 3L brushed stainless steel mixing bowl, combine 2 cups low-sodium chicken broth and 2 lightly beaten large eggs. Use the stainless steel wire whisk to mix until completely smooth, with no visible streaks of egg remaining, creating a pale golden, uniform custard base.
Step 4
step4:Mix Wet Custard
5

Fold Stuffing Mixture

Slowly pour the egg and broth custard over the cornbread and vegetable mixture in the large mixing bowl. Use the silicone spatula to fold very gently until all liquid is absorbed and every cube is evenly moistened. Let the mixture rest for 5 minutes to allow the cornbread to absorb the custard, avoiding over-stirring which will create a mushy final texture.
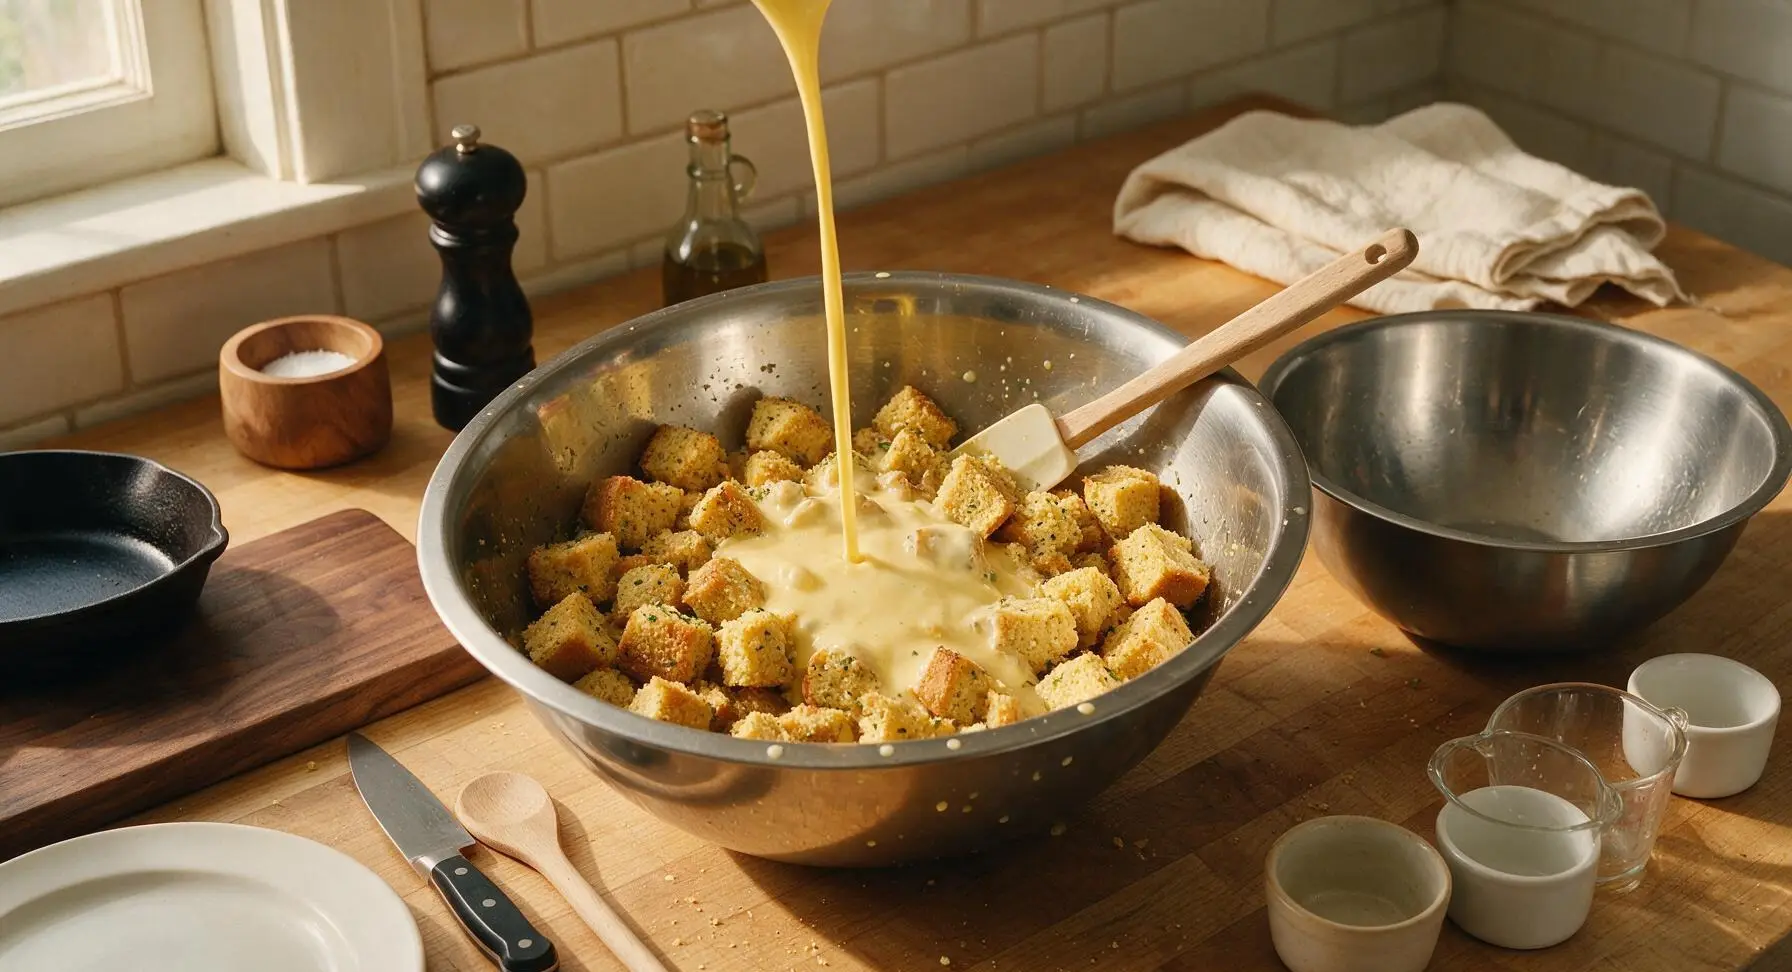
Step 5
step5:Fold Stuffing Mixture
6

Prep Baking Dish

Use the remaining 1 tablespoon of softened unsalted butter to generously grease the bottom and all inner sides of the 9x13 inch matte cream ceramic baking dish, creating a thin, even coating to prevent the stuffing from sticking during baking.
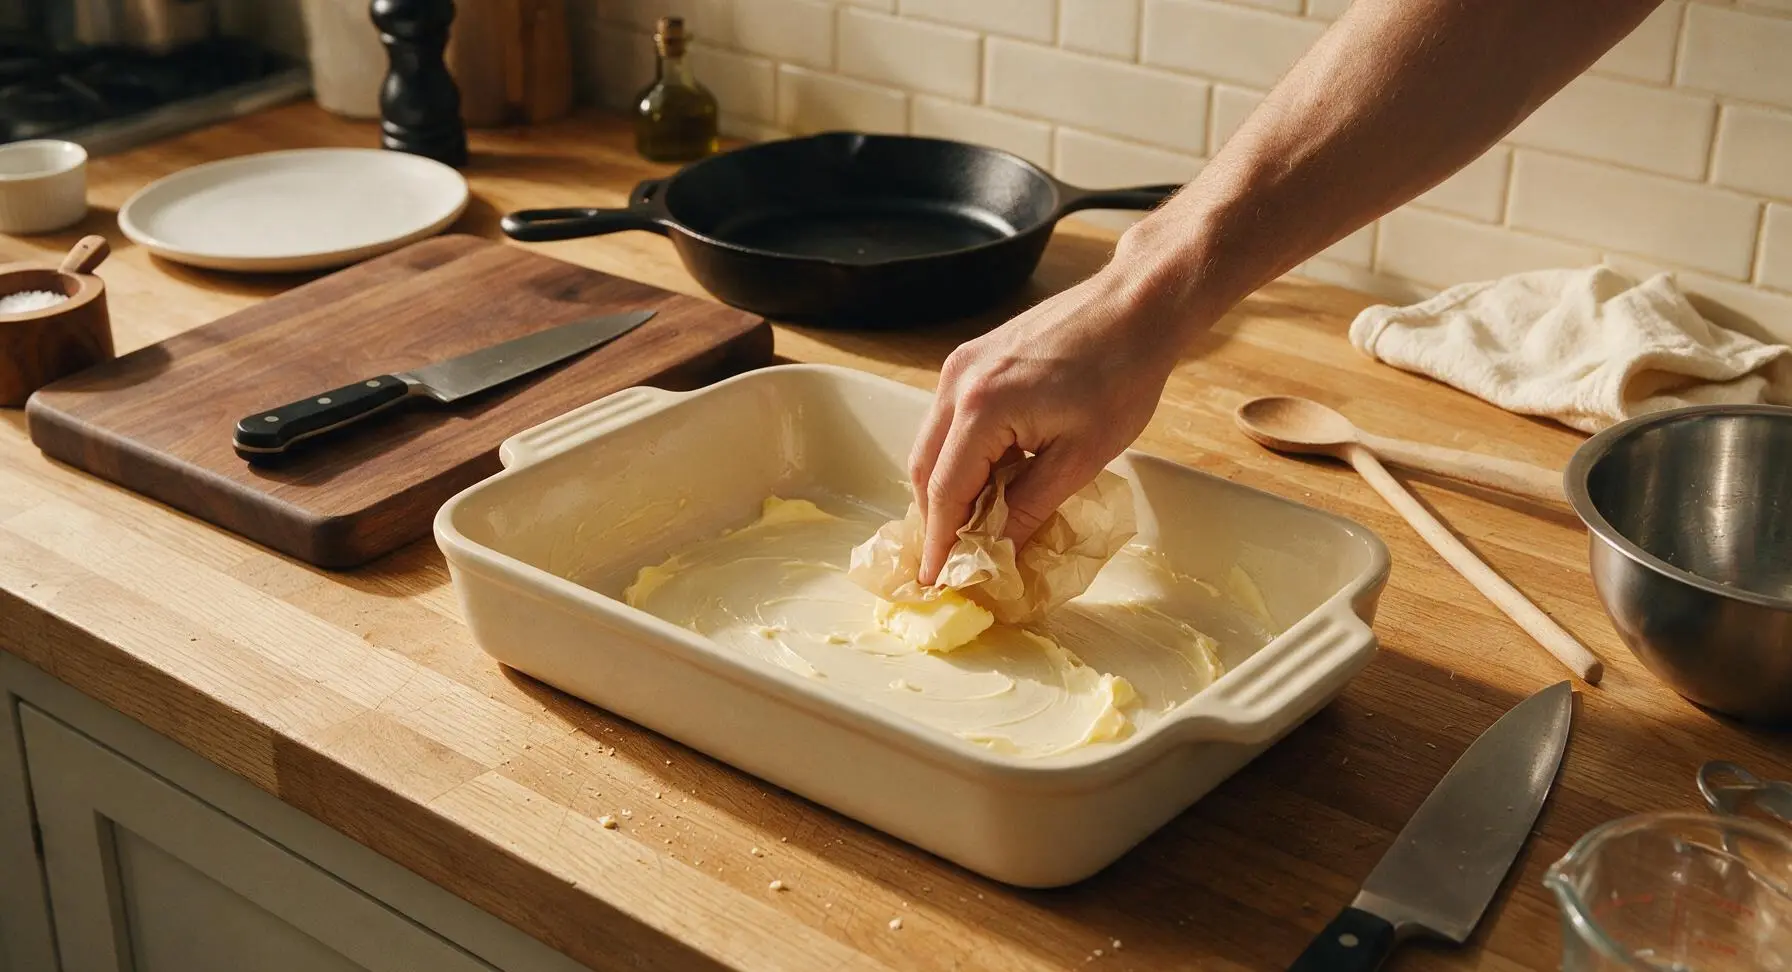
Step 6
step6:Prep Baking Dish
7

Add Stuffing to Dish

Gently transfer the moistened cornbread stuffing mixture into the greased baking dish, spreading it into a loose, even layer with the silicone spatula. Do not press the mixture down firmly—keep it loosely packed to allow hot air to circulate and create crisp edges during baking.
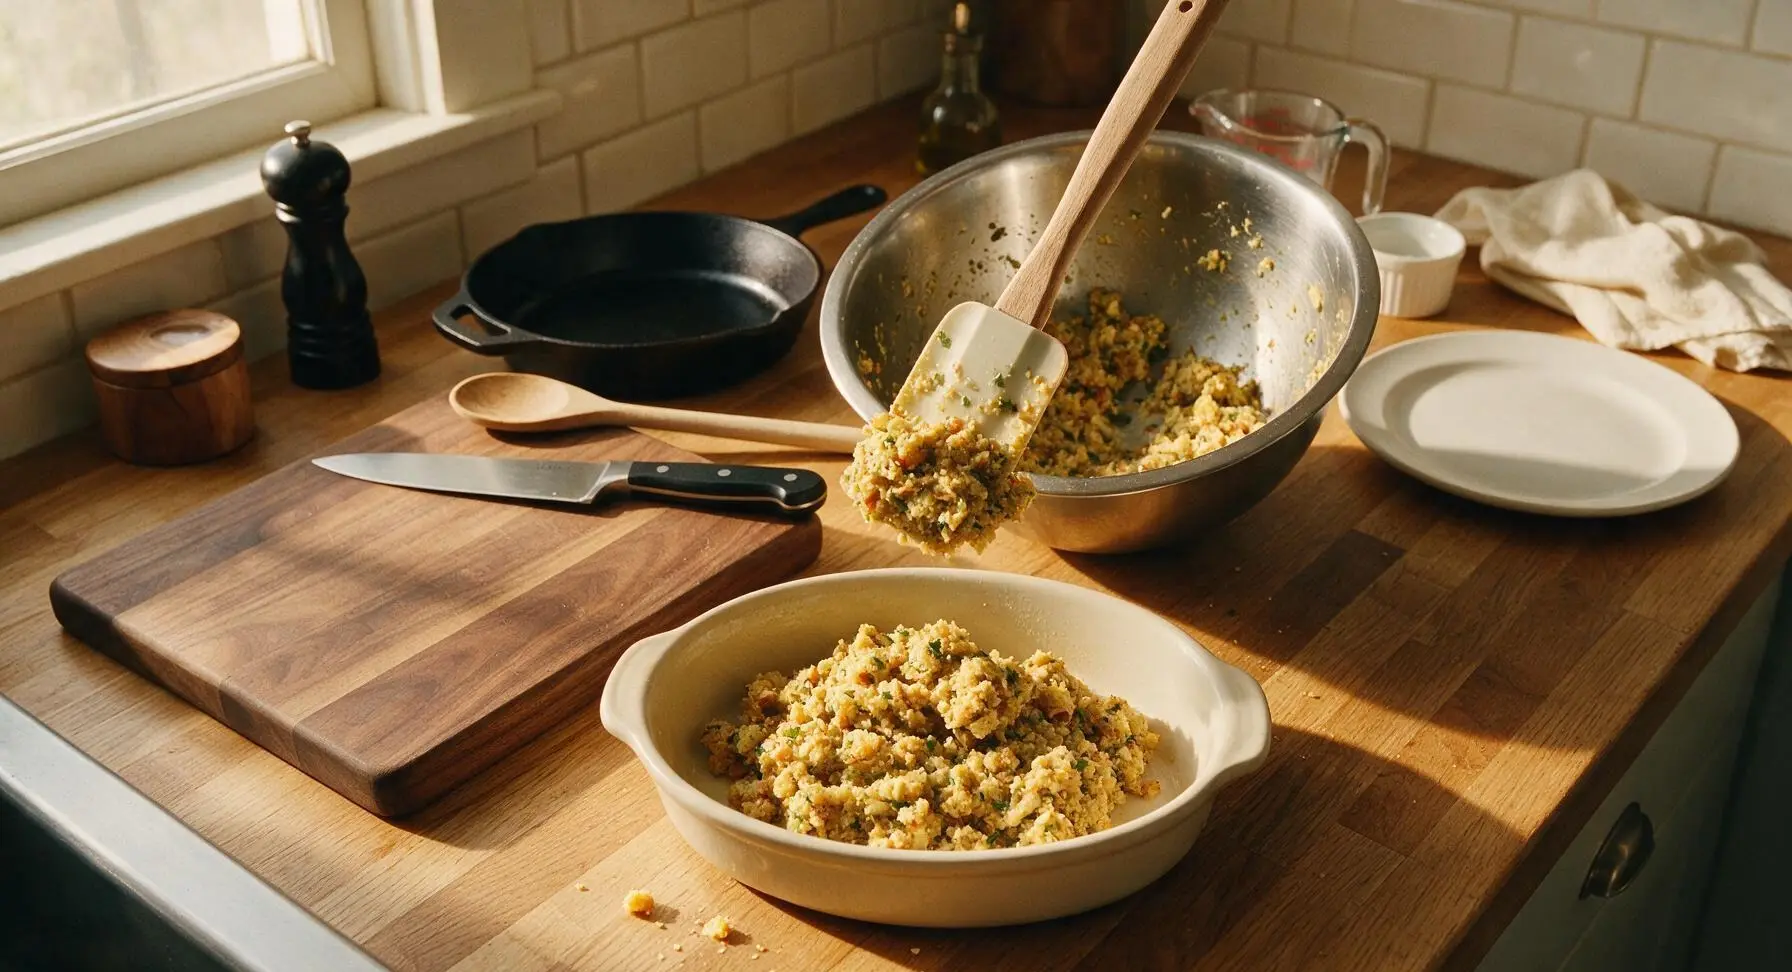
Step 7
step7:Add Stuffing to Dish
8

Bake Until Golden

Cover the baking dish tightly with aluminum foil and bake at 375°F (190°C) for 25 minutes. Remove the foil, then continue baking for an additional 20-25 minutes, until the top is deep golden brown and crisp around the edges, and the center is fully set with no runny liquid visible when the dish is gently jiggled. Let rest 10 minutes before serving to allow the custard to set fully.
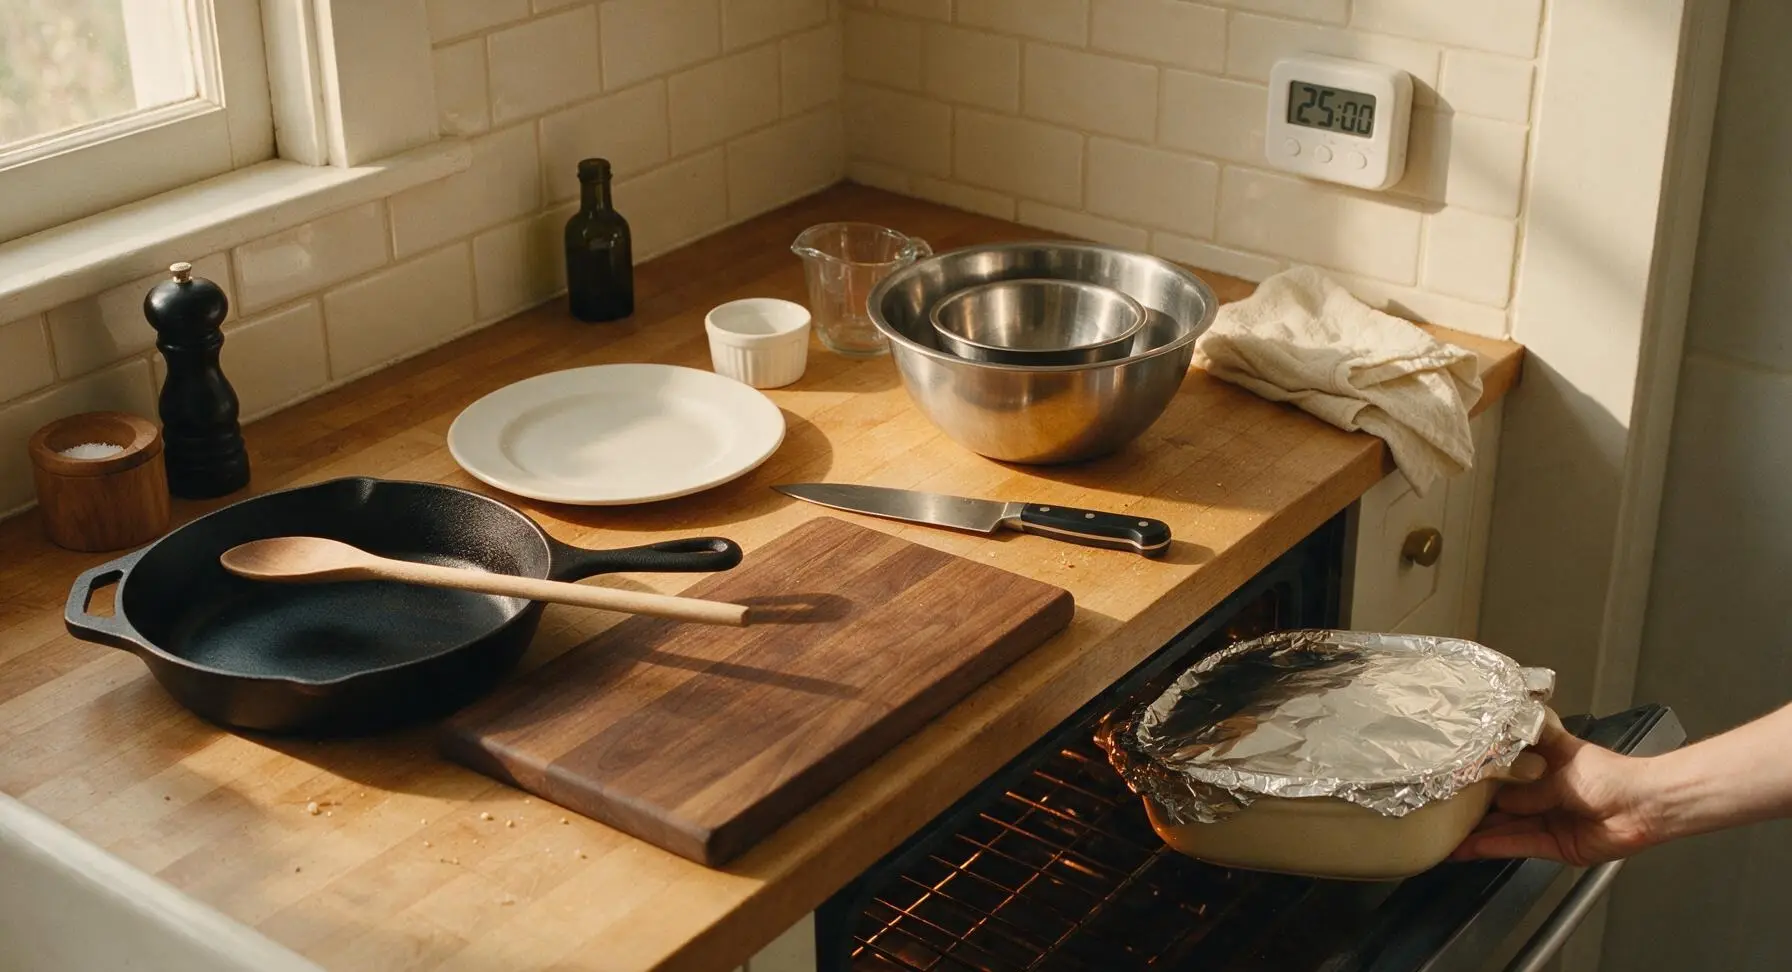
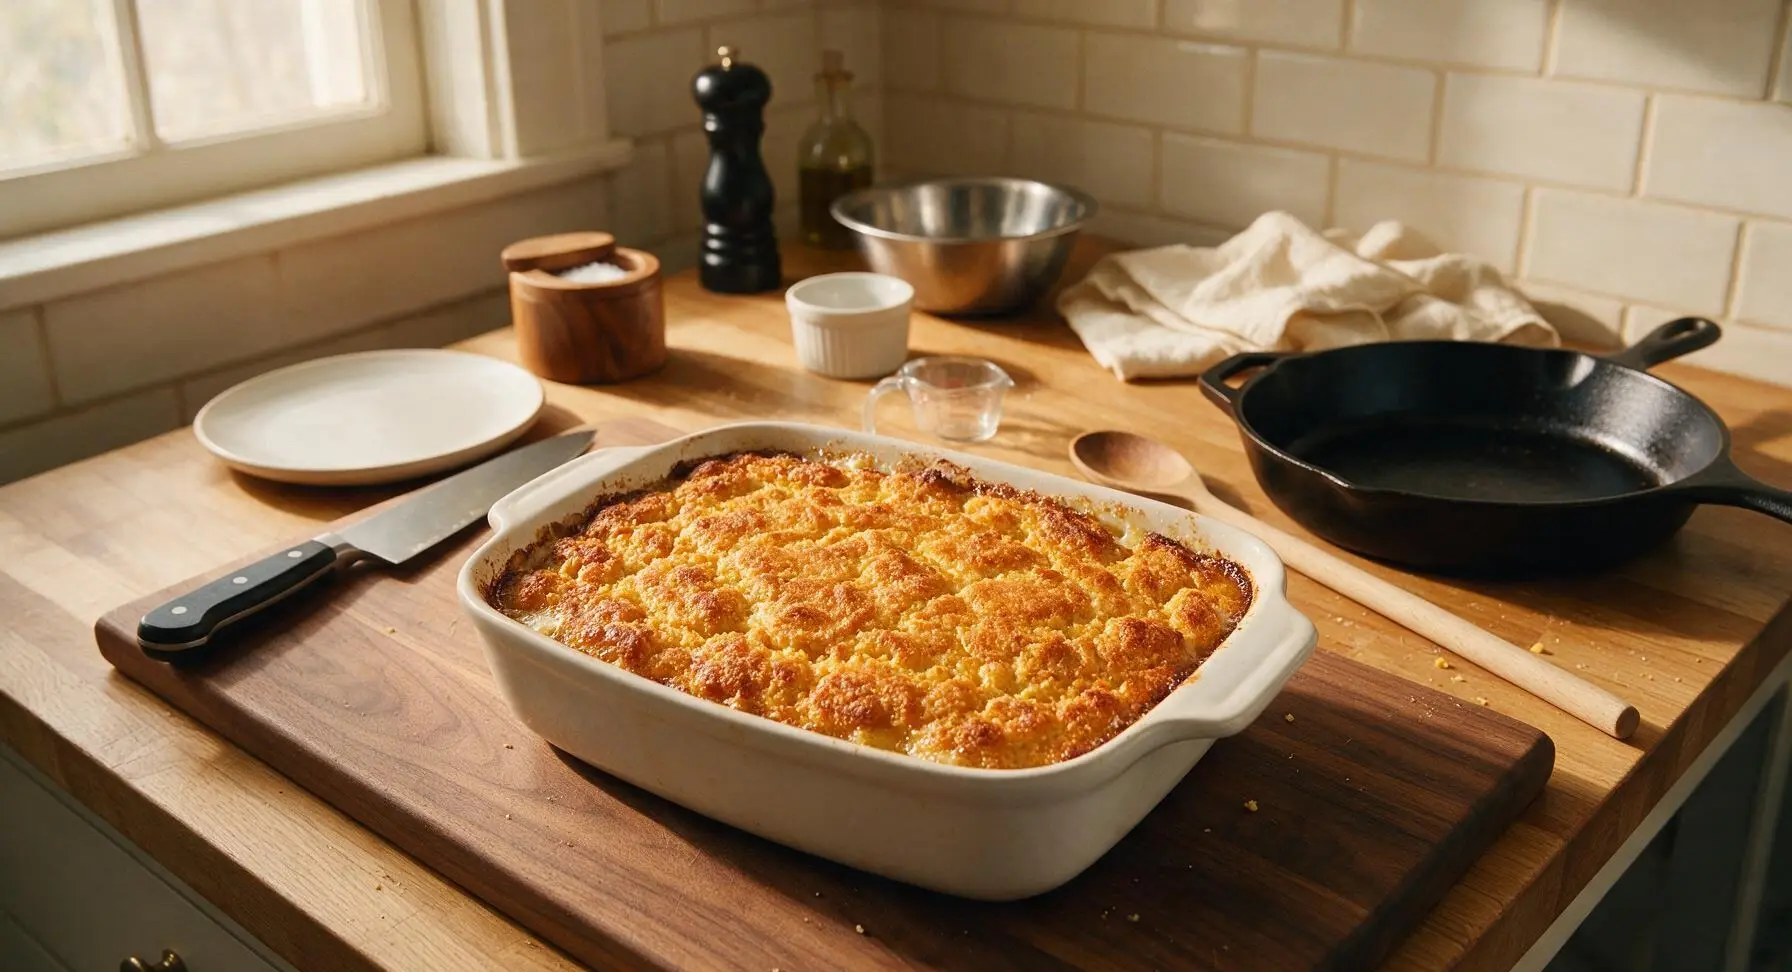
Step 8
step8:Bake Until Golden
Step 8
step8:Bake Until Golden

Tips

1.Always use dry, day-old (or oven-dried) cornbread for this recipe: fresh, soft cornbread will break down and turn mushy when mixed with broth and eggs, while dried cubes hold their shape to create the ideal balance of crisp edges and tender, moist centers.
2.Resist the urge to press the stuffing mixture firmly into the baking dish: keeping the mixture loosely mounded allows hot oven air to circulate between the cubes, creating craveable crispy, craggy top bits instead of a dense, heavy final texture.
3.Save time on busy holiday days by assembling the full uncooked stuffing up to 24 hours in advance: cover the baking dish tightly and refrigerate, then add 5-10 minutes to the covered bake time to account for the cold dish, with no extra prep needed on the day of serving.


✨ You May Also Like

Side Dishes
🍜 India

Velvety, aromatic all-purpose curry sauce perfect for tossing with roasted veggies, grilled protein, or rice for fast, cozy, flavorful meals.

⏱️ 25 minuteSide Dishes ★ 4.8
Side Dishes
🍜 Spain

Tender, starchy boiled yuca tossed in bright, garlicky citrus mojo sauce—an iconic, zesty side that pairs beautifully with roasted pork, grilled meats, and rice and beans.

⏱️ 40 minuteSide Dishes ★ 5
Side Dishes
🍜 United States

Tender, paper-thin potato flatbread, a beloved Norwegian-American Minnesota Christmas staple, griddled until softly spotted and served warm with butter.

⏱️ 1 hour 30Side Dishes ★ 4.6
Side Dishes
🍜 United States

Rich, deeply savory cured salt pork, a long-lasting kitchen staple perfect for frying crispy as a side or adding umami to stews, beans, and chowders.

⏱️ 7 days (2Side Dishes ★ 4.9
Side Dishes
🍜 United States

Crispy, tangy classic Southern fried green tomatoes with a crunchy cornmeal crust, served hot for a nostalgic, comforting summery bite.

⏱️ 25 minuteSide Dishes ★ 4.9
Side Dishes
🍜 United States

Moist, golden-crusted savory muffins with sweet corn, zesty jalapeño, and melted cheddar, perfect for pairing with smoky summer grilled fare.

⏱️ 30 minuteSide Dishes ★ 4.9

Cornbread Stuffing:Frequently Asked Questions

1.Do I have to use day-old cornbread, or can I use freshly baked cornbread for this stuffing? ▾
Day-old cornbread is ideal because its drier, firmer crumb absorbs butter, vegetable juices, and broth without turning mushy. If you only have fresh cornbread, cut it into 1-inch cubes, spread them on a baking sheet, and toast at 300°F for 15 to 20 minutes until fully dried out before using to avoid a soggy final dish.
2.Can I make this classic Southern stuffing gluten-free for guests with dietary restrictions? ▾
Absolutely! As long as you use a gluten-free cornbread made without wheat flour (skip any cornbread mix with added wheat ingredients), this recipe is naturally gluten-free. Double-check that any broth you use to moisten the mix is labeled gluten-free to avoid cross-contamination, and you’ll get the exact same classic, savory flavor.
3.Should I cook this stuffing inside the turkey, or bake it in a separate dish? ▾
For food safety and that perfect crisp golden edge the recipe is known for, I recommend baking it in a separate 9x13-inch baking dish. Cooking it inside the turkey requires waiting for the stuffing to reach a safe 165°F internal temp, which often leads to overcooked turkey, plus you won’t get those beloved crispy, buttery pan edges.
4.What size should I cut my cornbread cubes for the best final texture? ▾
Stick to the 1-inch cubes noted in the ingredient list for the ideal balance of texture. Cubes that are too small will break down into mushy crumbs when mixed with veggies and liquid, while oversized cubes won’t absorb the savory sage and butter flavors evenly, leaving dry, unseasoned bites throughout the dish.
5.Can I prep this stuffing a day ahead of Thanksgiving to save time on the holiday? ▾
You absolutely can, which makes it perfect for busy holiday meal prep. Assemble the fully mixed stuffing (hold off on adding extra broth until bake day if it feels too dry) and store it tightly covered in the fridge for up to 24 hours. Let it sit at room temp for 20 minutes before baking, adding 5 to 10 minutes to bake time if it’s still cold.
6.Why does my stuffing always turn out soggy, and how can I fix that? ▾
Soggy stuffing almost always comes down to two issues: using under-dried cornbread, or adding too much liquid too fast. Make sure your cornbread cubes are dry to the touch before mixing, and add broth a ¼ cup at a time until the mix is moist but not swimming. Leave the dish uncovered for the last 10 minutes of cook time to crisp up the top if needed.
7.I don’t have fresh sage—can I use dried sage instead for that classic flavor? ▾
Dried sage works perfectly here, as long as you adjust the quantity to account for its concentrated flavor. Use 1 teaspoon of dried, rubbed sage for every 1 tablespoon of chopped fresh sage the recipe calls for. Avoid ground sage if you can, as it can leave a dusty, overpowering aftertaste instead of that warm, earthy note the dish is known for.
8.What’s the best way to get those extra-crispy golden edges mentioned in the recipe? ▾
For those perfect, buttery crisp edges, start by greasing your baking dish generously with extra butter, and spread the stuffing mix in an even layer, pressing it lightly into the pan. Bake uncovered for the full cook time, and don’t stir the stuffing once it goes in the oven—letting edges sit against the hot pan creates that craveable golden crust.
9.Can I add meat like sausage or bacon to this classic recipe? ▾
Of course! While the classic version is veggie-forward, adding cooked, crumbled breakfast sausage or crispy chopped bacon is a beloved Southern twist. Just make sure you drain any excess grease from the cooked meat before folding it into the stuffing mix, so you don’t end up with an overly greasy, heavy dish that masks the bright sage and vegetable flavors.
10.How do I know when the stuffing is fully done baking and ready to serve? ▾
You’ll know it’s ready when the top and edges are deep golden and crisp to the touch, and the center of the dish registers 165°F on an instant-read thermometer. The center should be tender and moist, not wet or gummy, and you’ll see butter and veggie juices bubbling gently around the edges of the pan when you pull it out.
11.Do I need to remove the crust from the cornbread before cubing it for stuffing? ▾
No need to trim the crusts off your cornbread! The slightly firmer crust cubes add wonderful texture contrast to the soft, tender center of the stuffing, and they toast up extra crispy during baking for little crunchy, flavorful bites. Just cut the entire loaf—crust and all—into even 1-inch cubes, drying them out as directed if using fresh cornbread.
12.Can I use store-bought cornbread for this recipe, or does it have to be homemade? ▾
Store-bought cornbread works totally fine here, as long as it’s not overly sweet. Skip the cake-like, honey-sweet cornbread often sold at grocery bakeries, as it will throw off the savory balance of the stuffing. Pick up a plain, savory cornbread a day ahead, cut it into cubes, and let it dry out overnight if it feels extra soft when you bring it home.
13.What kind of broth works best for moistening this cornbread stuffing? ▾
Low-sodium chicken broth is the classic pick for this Southern stuffing, as it lets you control the final salt level and adds rich, savory depth that pairs perfectly with sage and cornbread. If you’re making it for vegetarian guests, swap in low-sodium vegetable broth, just taste and adjust seasoning before baking, as veggie broth can sometimes be slightly bitter.
14.Why do you sauté the onion, celery, and garlic first instead of mixing them in raw? ▾
Sautéing the diced onion, celery, and minced garlic in butter before mixing them into the cornbread does two key things: it softens the veggies so you don’t get crunchy, raw bites in the finished stuffing, and it coaxes out their sweet, aromatic flavors that make the dish feel so warm and cozy. Raw veggies also release excess water as they bake, which can cause soggy stuffing.
15.Can I freeze leftover stuffing, and how do I reheat it without drying it out? ▾
Leftover stuffing freezes really well for up to 3 months when stored in an airtight, freezer-safe container. To reheat, thaw it in the fridge overnight, then spread it in a baking dish, dot the top with a few pats of butter, and add a tablespoon or two of broth for moisture. Bake covered at 350°F for 20 minutes, then uncover for 5 minutes to crisp the edges back up.
16.Is this stuffing supposed to be sweet? I’ve had versions that taste like cornbread cake. ▾
Classic Southern cornbread stuffing is savory, not sweet—this comes from using traditional, unsweetened or very lightly sweetened cornbread as the base. If your cornbread is on the sweeter side, balance it out by adding an extra pinch of dried sage, a little black pepper, and a pinch of celery salt to the mix, but skip honeyed, cake-like cornbread for the most authentic flavor.
17.How much butter do I really need, and can I cut back to make the stuffing lighter? ▾
The butter is key for getting that rich, indulgent flavor and crisp golden edges, plus it’s what you use to sauté the aromatic veggies to bring out their best flavor. You can cut back by 2 tablespoons max without ruining the texture, but any less will leave you with dry, bland stuffing that lacks that iconic, buttery Southern comfort food taste.
18.What are some authentic Southern mix-ins that won’t stray too far from the classic recipe? ▾
Classic, regionally authentic mix-ins include chopped hard-boiled egg, a handful of toasted pecans, a sprinkle of fresh thyme, or a small amount of diced cooked turkey giblets. Skip add-ins like dried cranberries, apples, or wild rice if you want a strictly traditional version—those are far more common in Northern-style stuffing, not the classic Southern cornbread take.

Comments (4)

2 days ago

OMG y’all, this stuffing was the star of our Sunday family dinner last weekend! I’ve been trying to nail a classic Southern cornbread stuffing for YEARS and this recipe finally got it right. Not too mushy, the perfect amount of sage, and my kids loved it—even my picky 7 year old asked for seconds. I brought the leftovers to my office potluck and three coworkers asked for the recipe! SO good, will be making this every Thanksgiving from now on.

yesterday

So glad to hear it was a hit at the potluck! Did you add any extra mix-ins? I’m thinking of tossing in some crumbled sausage for our Thanksgiving spread this year.

2 hours ago

Love that this was a hit with your family and coworkers! A little crumbled sausage or chopped pecans make fantastic add-ins if you want to switch things up, but the base recipe holds up perfectly all on its own. Can’t wait to hear how it turns out for you at Thanksgiving!

3 days ago

Really solid stuffing recipe! Cook time was spot on for me, though I’d note that if you’re using store-bought cornbread instead of homemade like I did, you might want to cut back a tiny bit on the chicken broth so it doesn’t get soggy. Meal prepped a big batch on Sunday and it reheated perfectly for lunches all week. Game changer for quick fall meals.

2 days ago

Thanks for the great tip about store-bought cornbread, Jake! You’re totally right—store-bought cornbread often has more moisture than homemade from scratch, so cutting back 1/4 cup of broth is a smart swap to keep the texture perfect. So glad this worked for your weekly meal prep!

1 week ago

I was SO nervous to make stuffing for my first ever time hosting Thanksgiving for my in-laws, and this recipe made me look like a total pro! The difficulty rating was totally accurate—medium, but the steps were so straightforward I didn’t feel overwhelmed at all. My mother in law said it tasted exactly like her grandma’s recipe, which is the highest compliment I could ever get. Obsessed!

5 days ago

Ugh that mother-in-law compliment is chef’s kiss! I’m hosting for the first time this year too and was stressing about the stuffing, this is making me feel so much more confident giving this recipe a shot.

30 minutes ago

Really solid flavor profile here! I swapped the traditional cornbread for a gluten-free cornbread mix to accommodate my celiac disease, and the herb and onion balance was absolutely perfect. My only small gripe is I wish there was a quick note on doneness cues—after 55 minutes my edges were a little crispier than I like, but the middle was great. Definitely going to tent the pan with foil for the last 15 minutes next time to fix that!



