
cracked tater tot casserole
intro
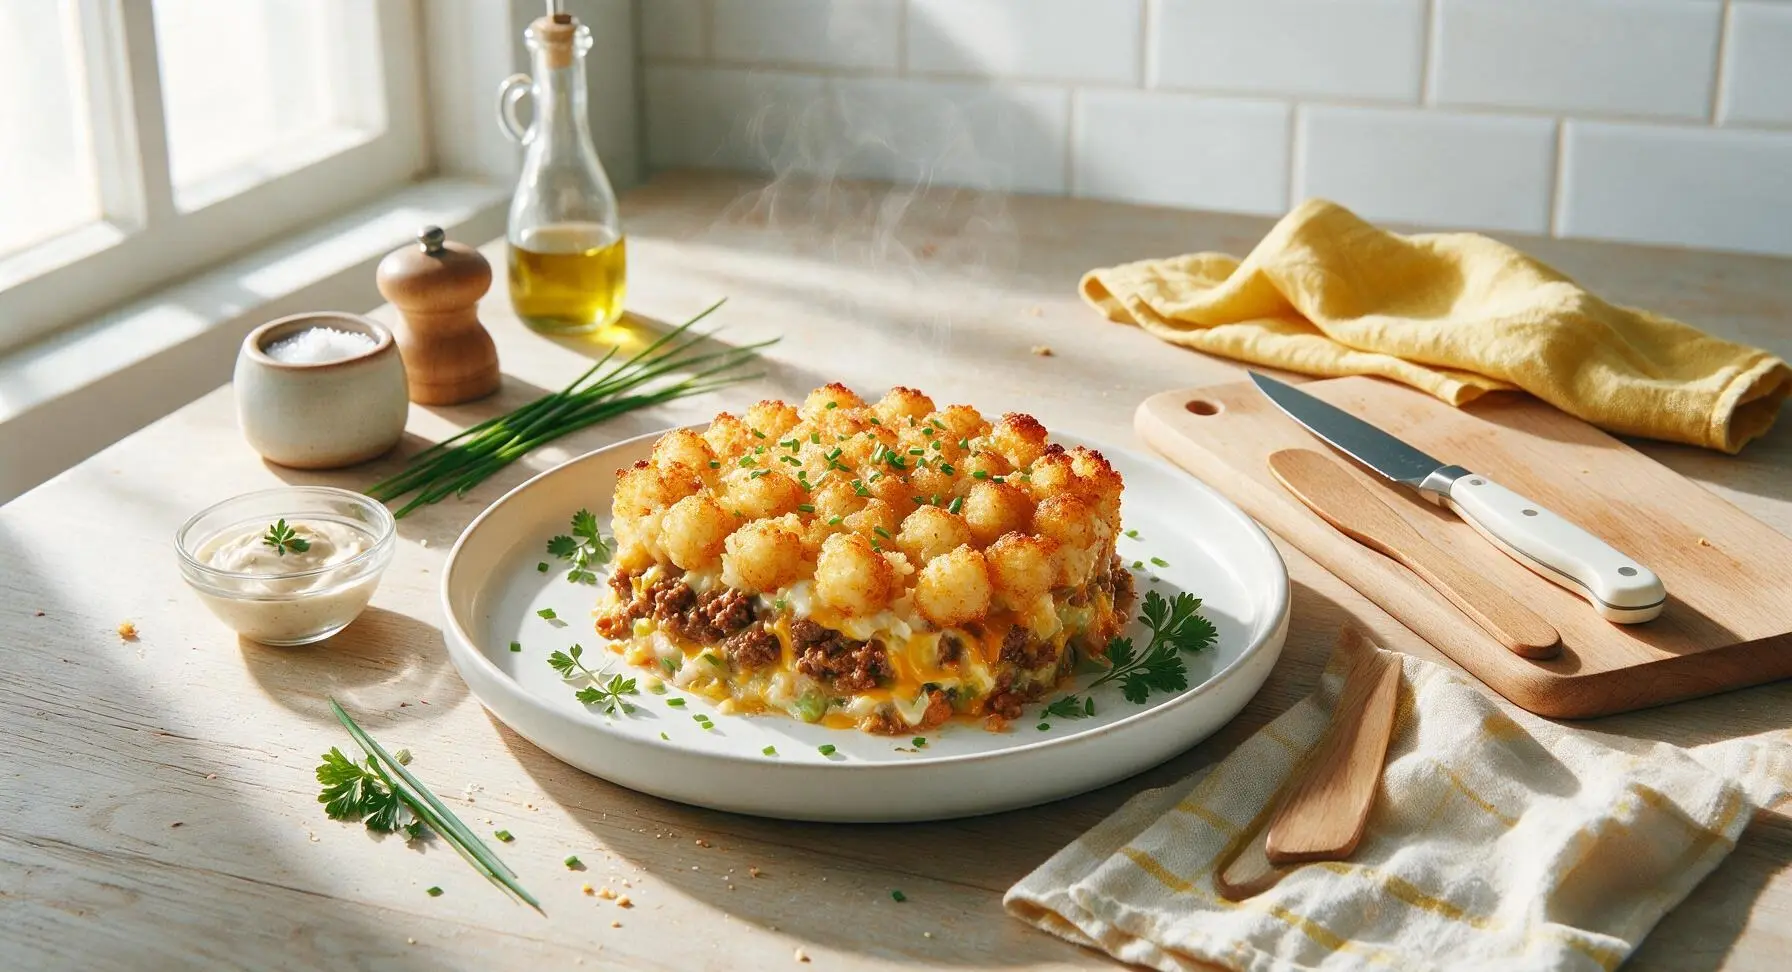
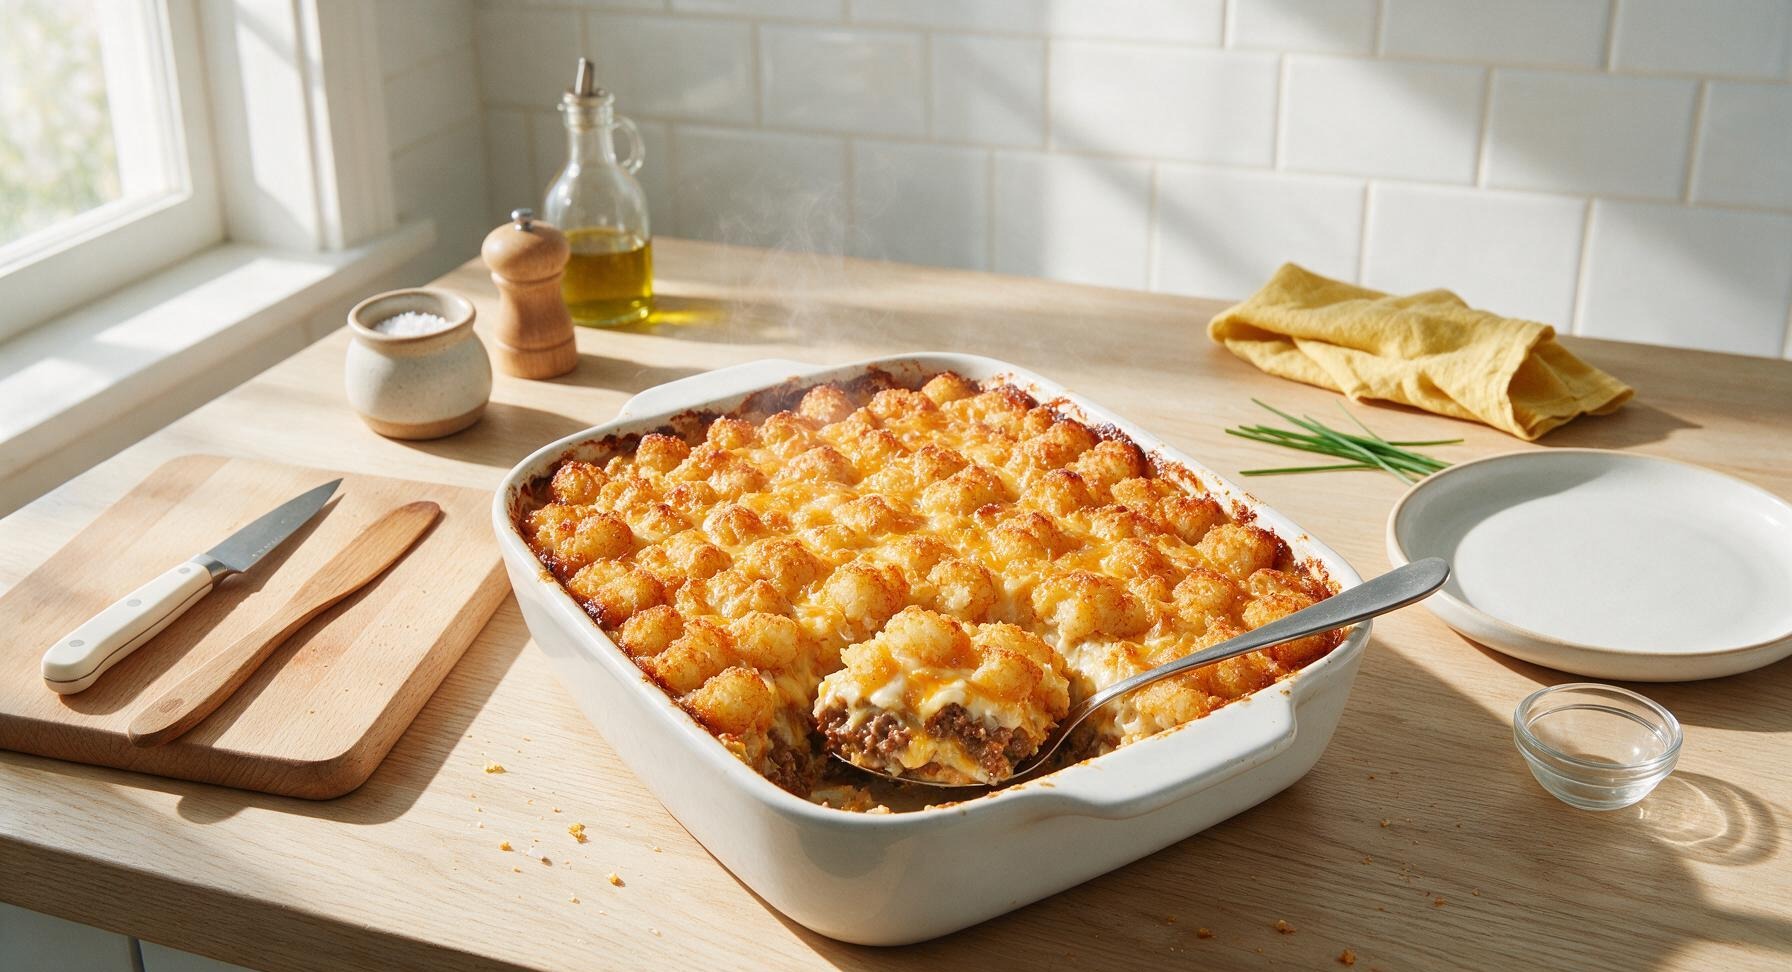
Crispy cracked tater tot top, savory beef filling, melted cheddar, and creamy vegetable layers—this nostalgic Midwestern casserole is the ultimate cozy, crowd-pleasing comfort food.
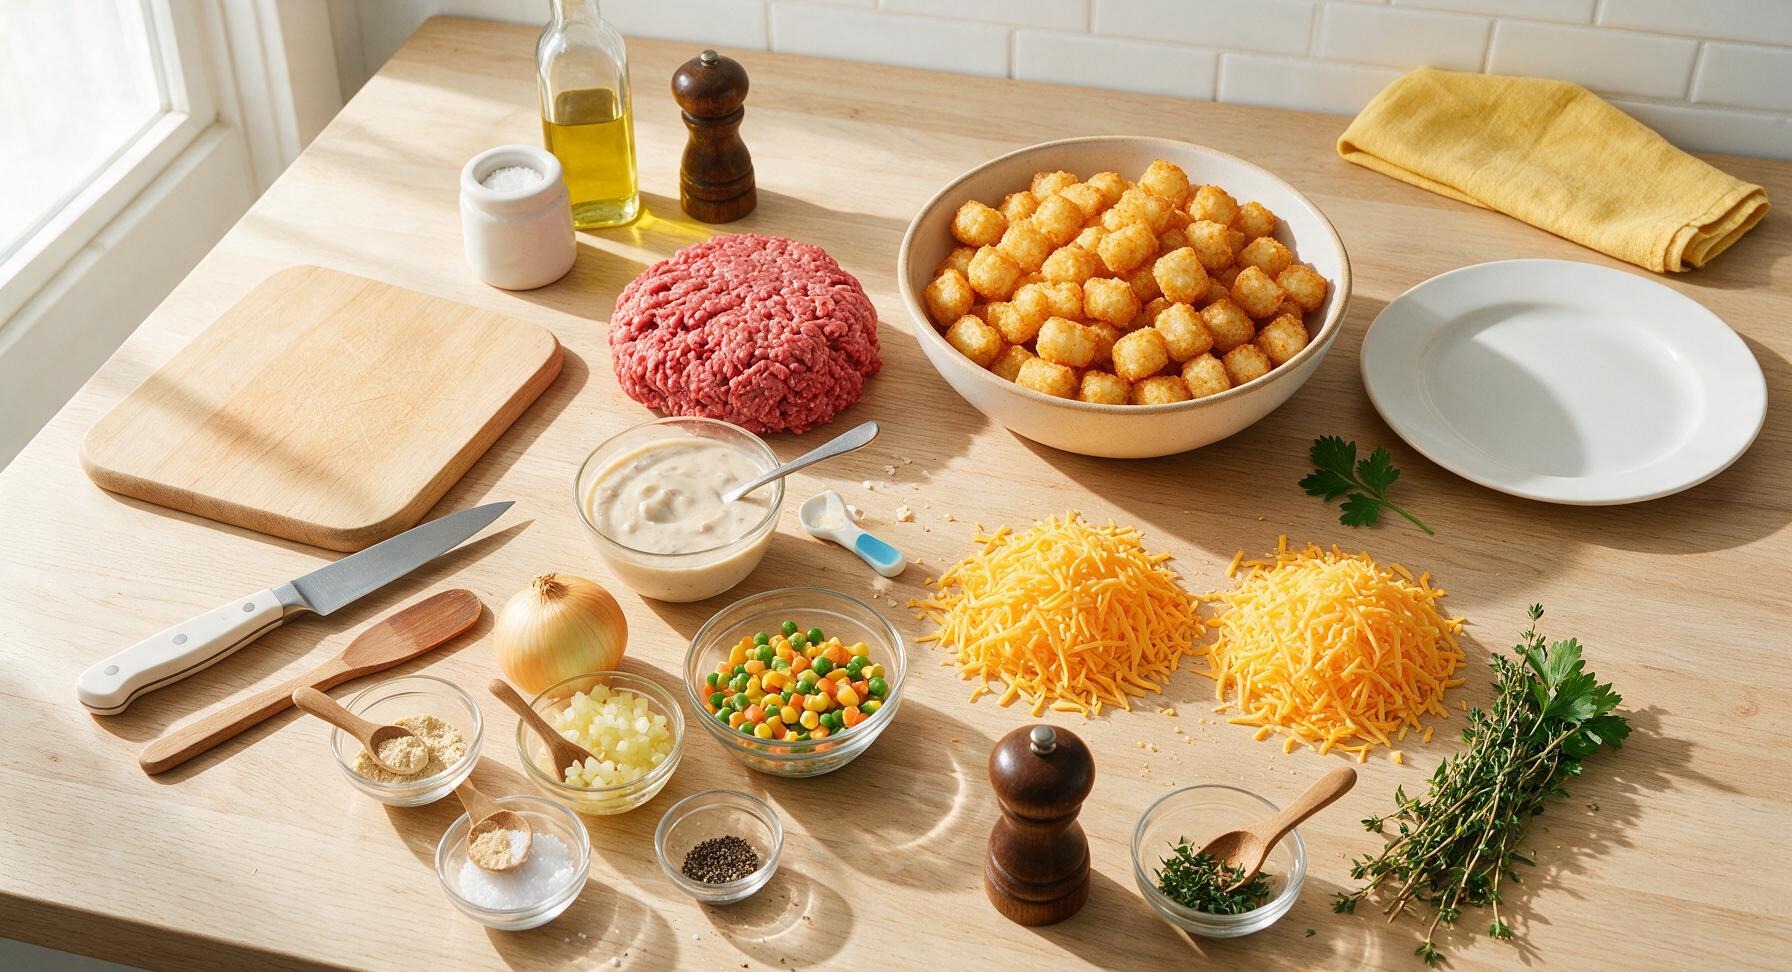
Ingredients
Steps
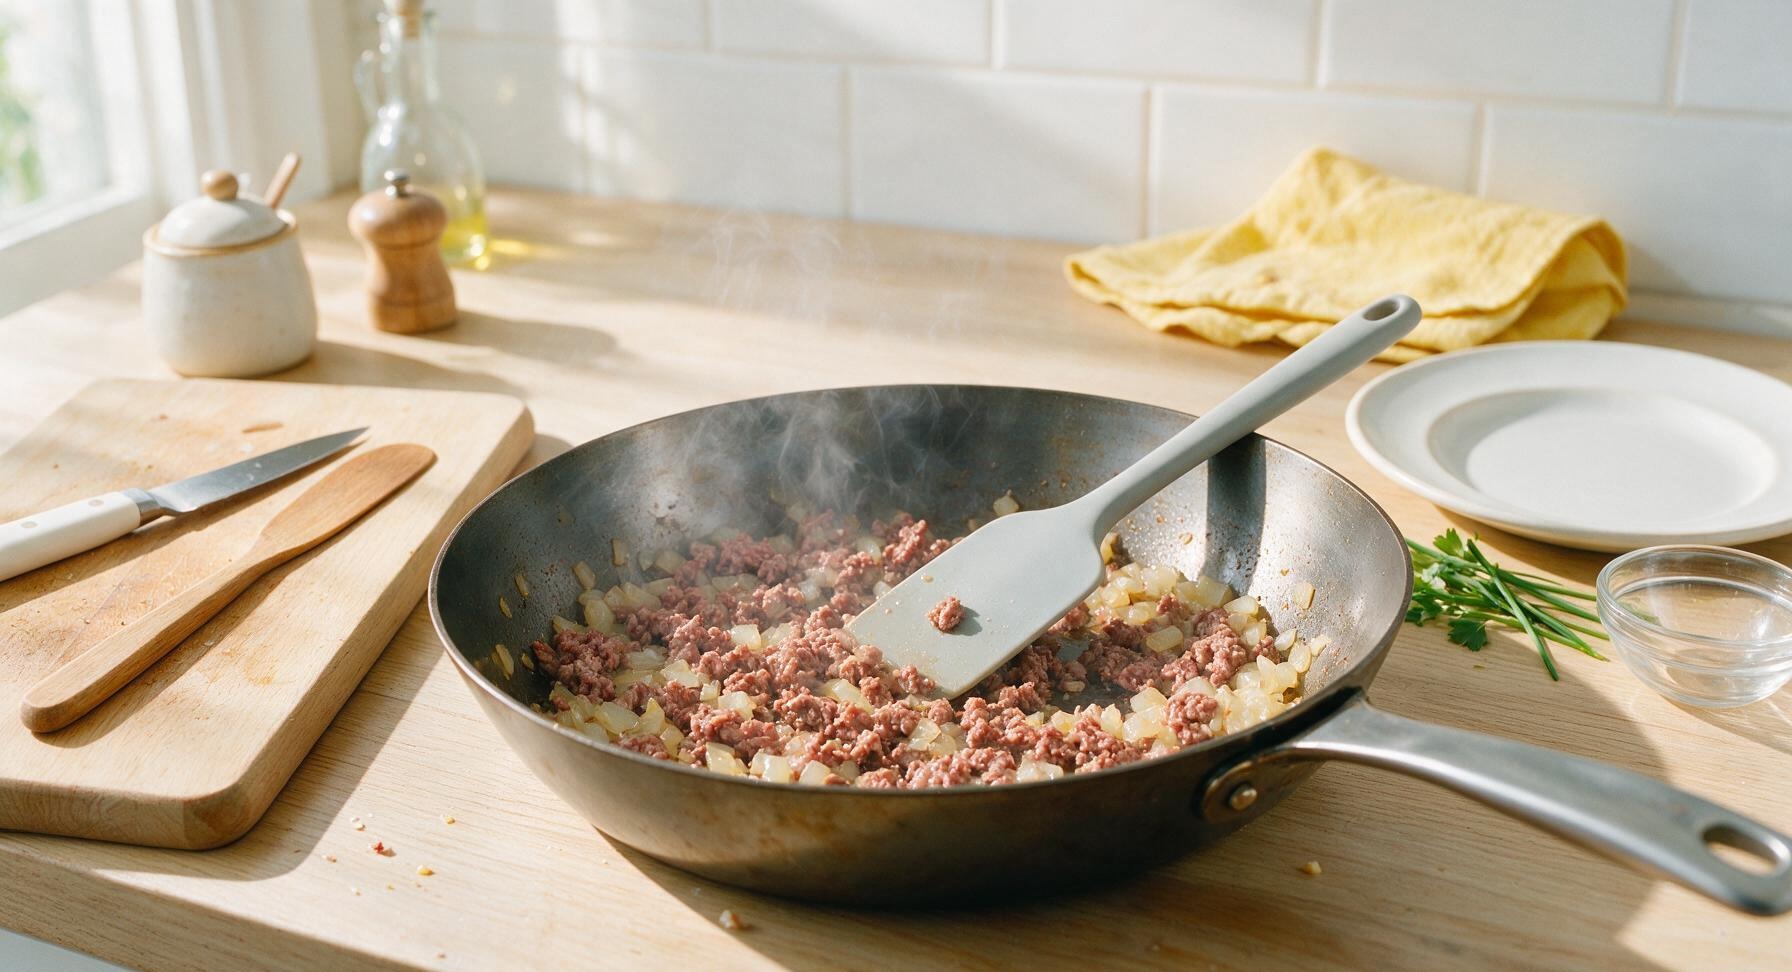
Brown Beef and Onion
Place the 12-inch seasoned carbon steel skillet over medium heat (350°F / 175°C). Add diced yellow onion and sauté for 3 minutes until soft and translucent. Add 450g 80/20 ground beef, break it apart with the light grey silicone spatula as it cooks for 7-8 minutes, until no pink remains and the beef is fully browned. Drain excess grease from the skillet to avoid a greasy final casserole.
Mix Creamy Filling
Reduce stovetop heat to low. Add the full can of condensed cream of mushroom soup, 1 cup of shredded sharp cheddar, frozen mixed vegetables, garlic powder, kosher salt, and black pepper to the skillet with browned beef. Stir with the silicone spatula for 2 minutes until fully combined, cheese is melted, and the mixture is a uniform creamy consistency with no dry soup clumps.

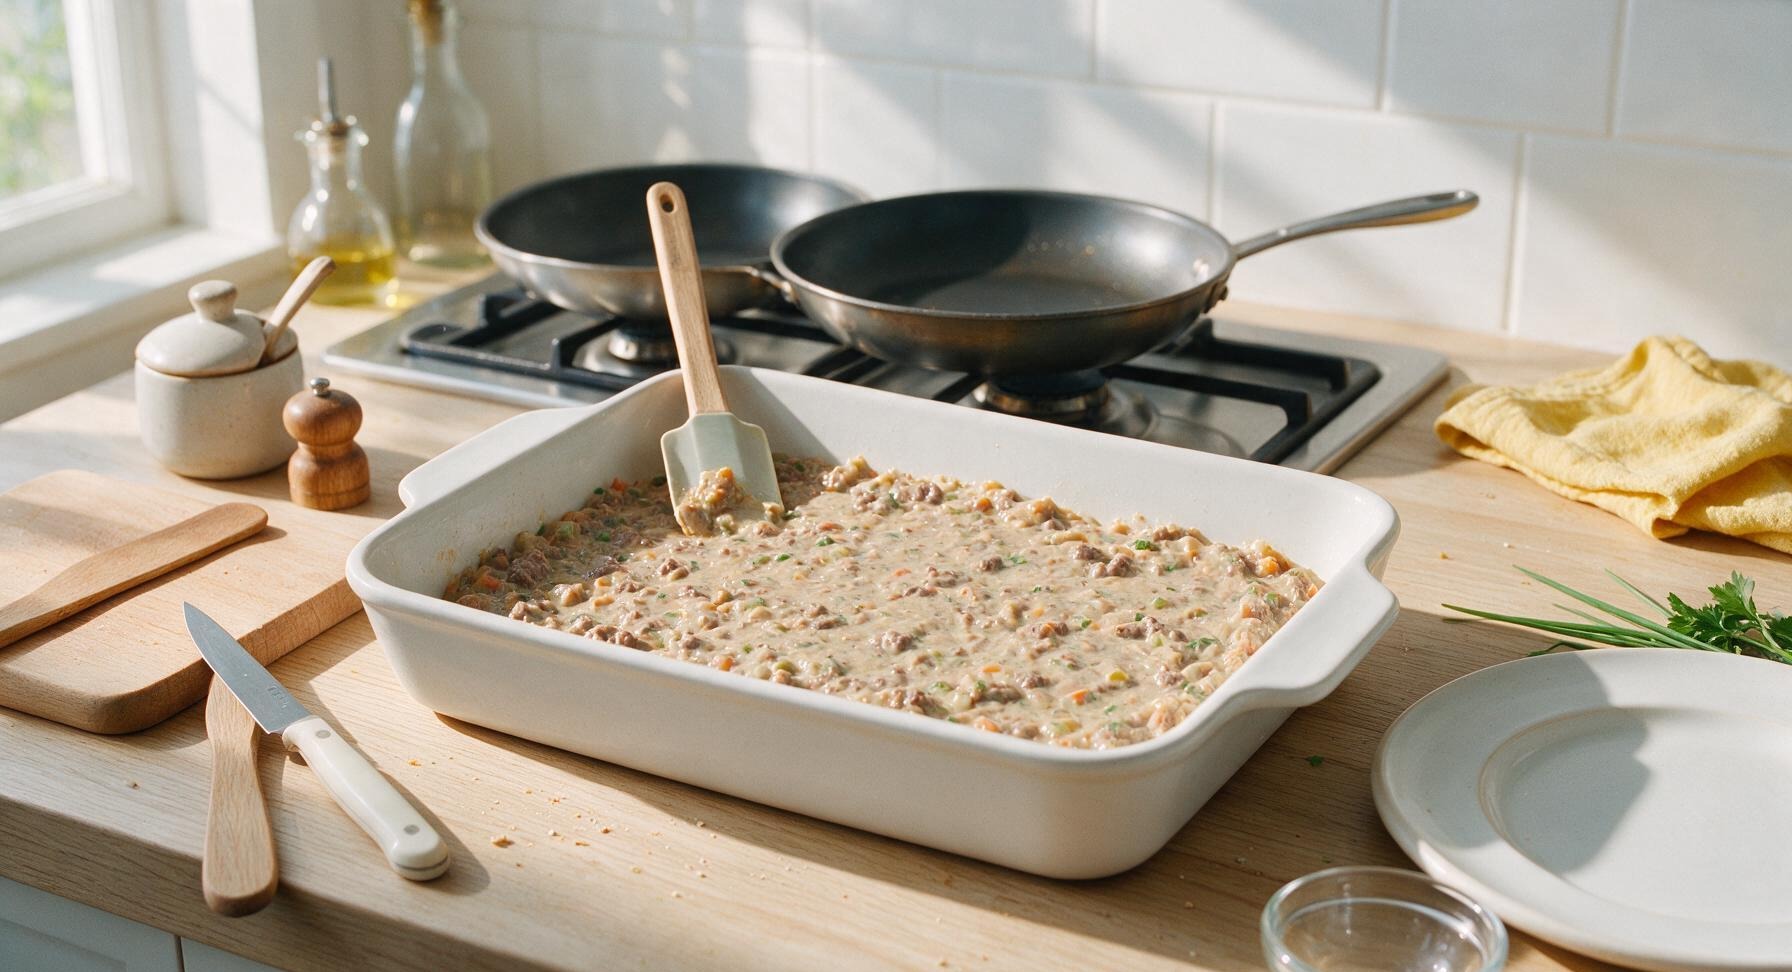
Layer Filling in Dish
Remove the skillet from heat. Pour the entire beef and vegetable mixture into the 9x13 inch matte white ceramic baking dish, spread it into an even, flat layer across the dish bottom with the silicone spatula, ensuring consistent thickness edge to edge for even cooking.
Arrange Tater Tot Layer
Arrange frozen tater tots in a single, tightly packed layer across the entire top of the beef filling—slight overlapping is fine, no perfect arrangement needed. Use roughly 3/4 of the tater tot bag for this layer. Place the baking dish in a preheated 400°F (200°C) oven and bake for 25 minutes, until tots are golden at the edges and starting to crisp.
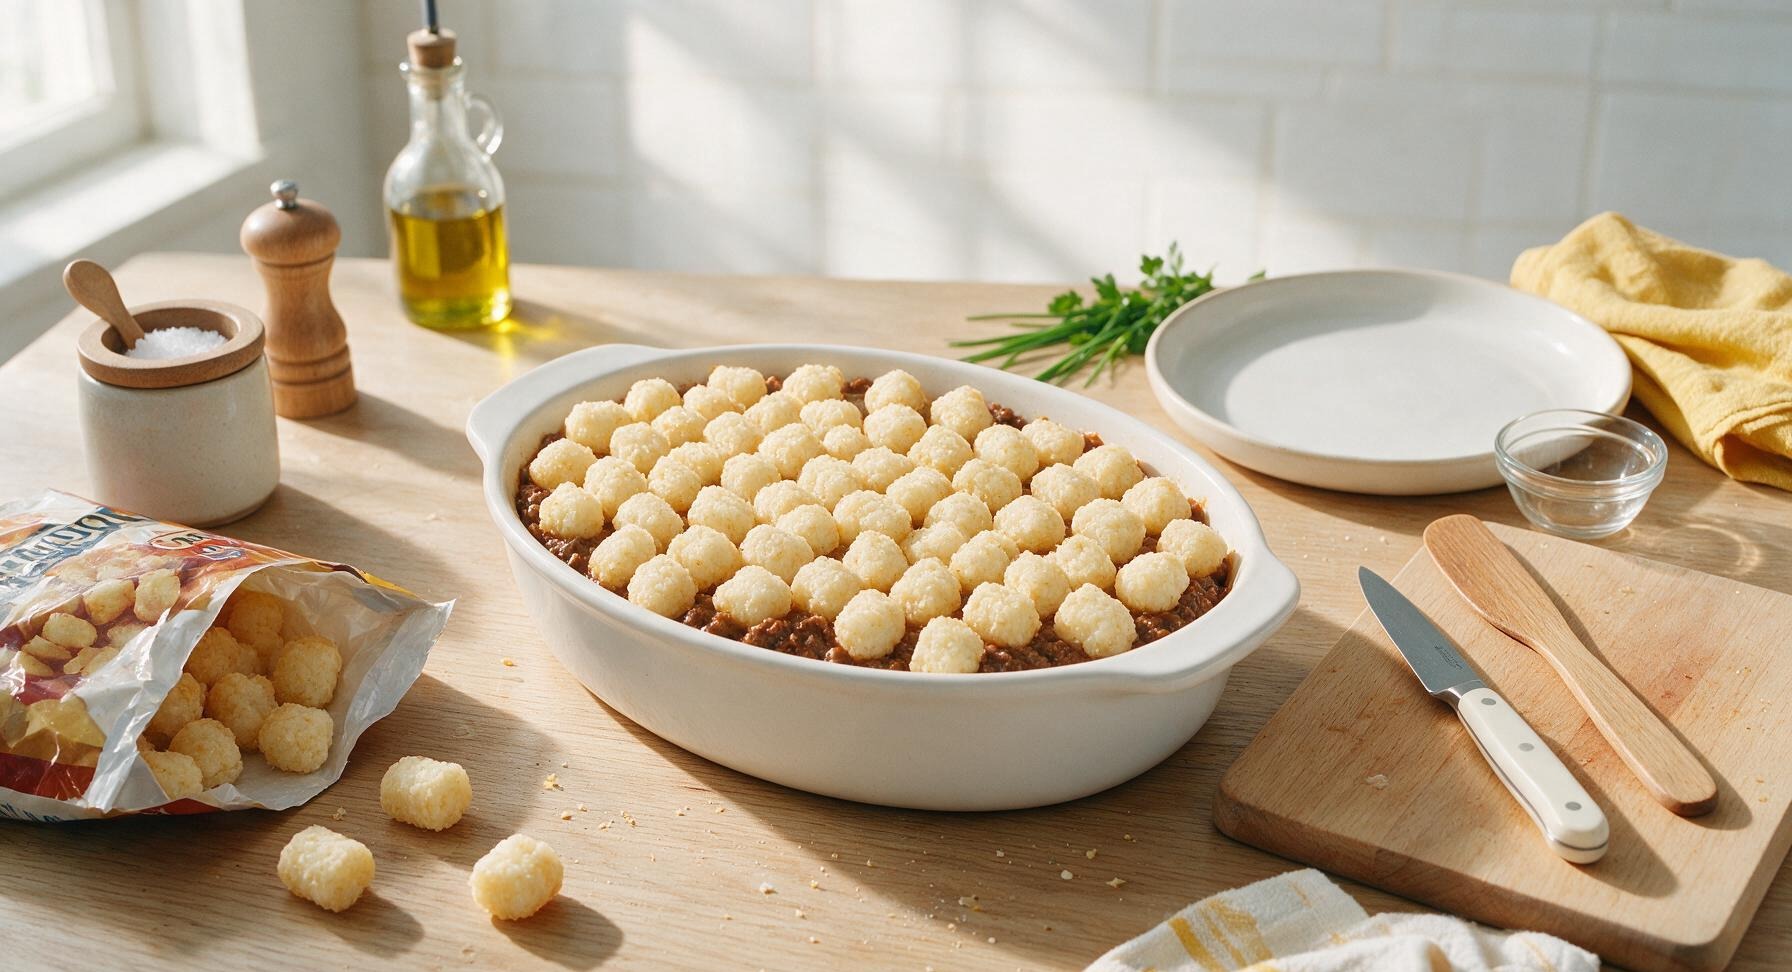
Crack Partially Baked Tots
Carefully remove the baking dish from the oven after 25 minutes (tots will be light golden and firm to the touch). Use the back of the silicone spatula to firmly press down on every tater tot, cracking their crispy outer shells to expose fluffy white potato inside. Flatten tots slightly so their cracked surfaces form an uneven, craggy top layer—this creates extra crispy nooks for cheese and sauce to settle into.
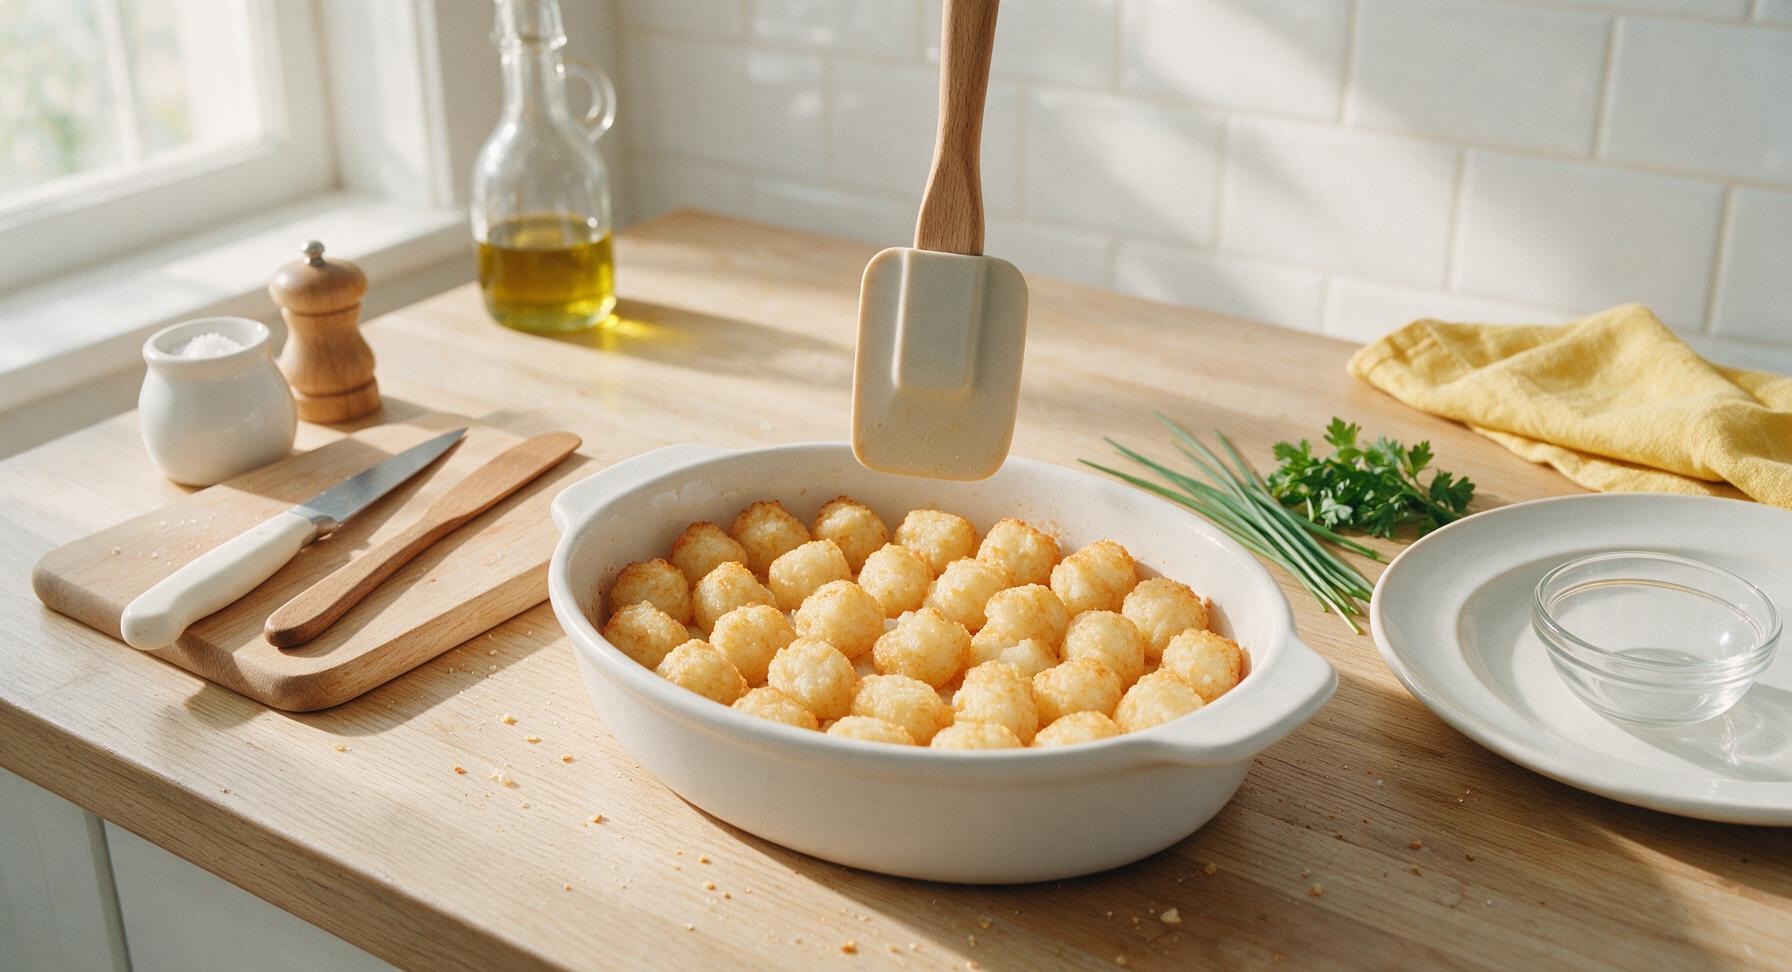
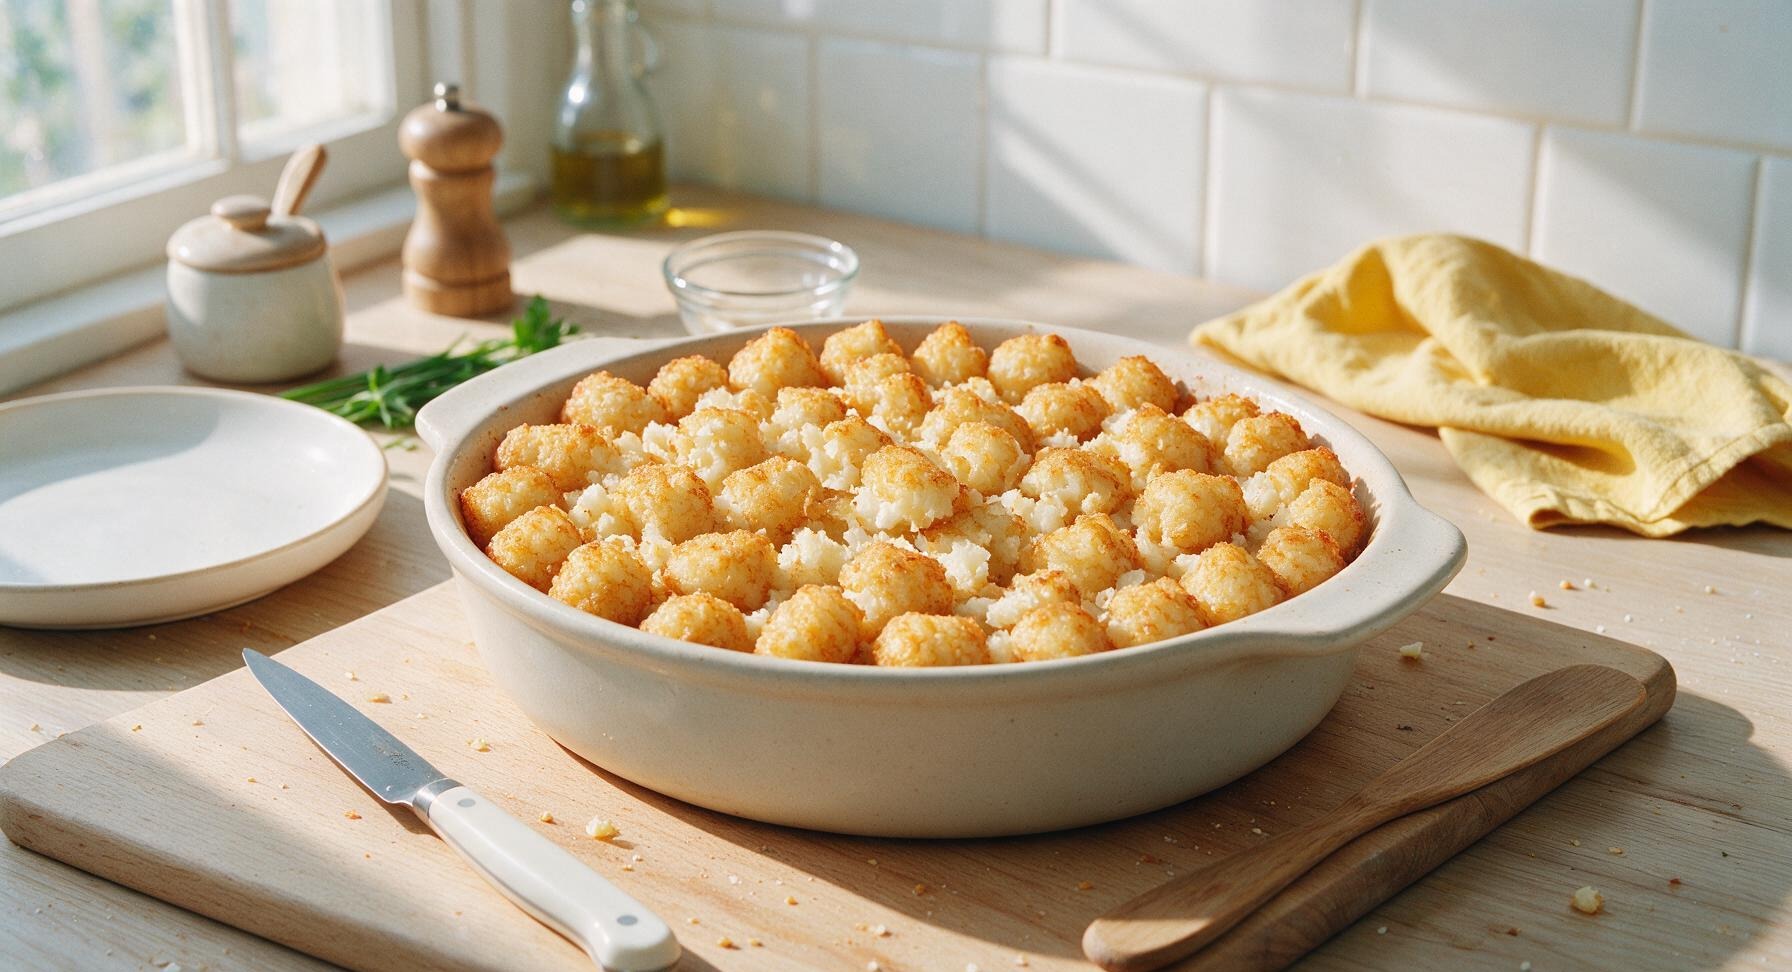
Top with Cheese and Bake
Sprinkle the remaining 1 cup of shredded sharp cheddar evenly across the cracked tater tot layer, making sure cheese falls into all the cracked crevices. Scatter picked fresh thyme leaves over the cheese. Return the baking dish to the 400°F oven and bake for an additional 20 minutes, until cheese is fully melted and bubbly, and cracked tater tot edges are deep golden and crispy.
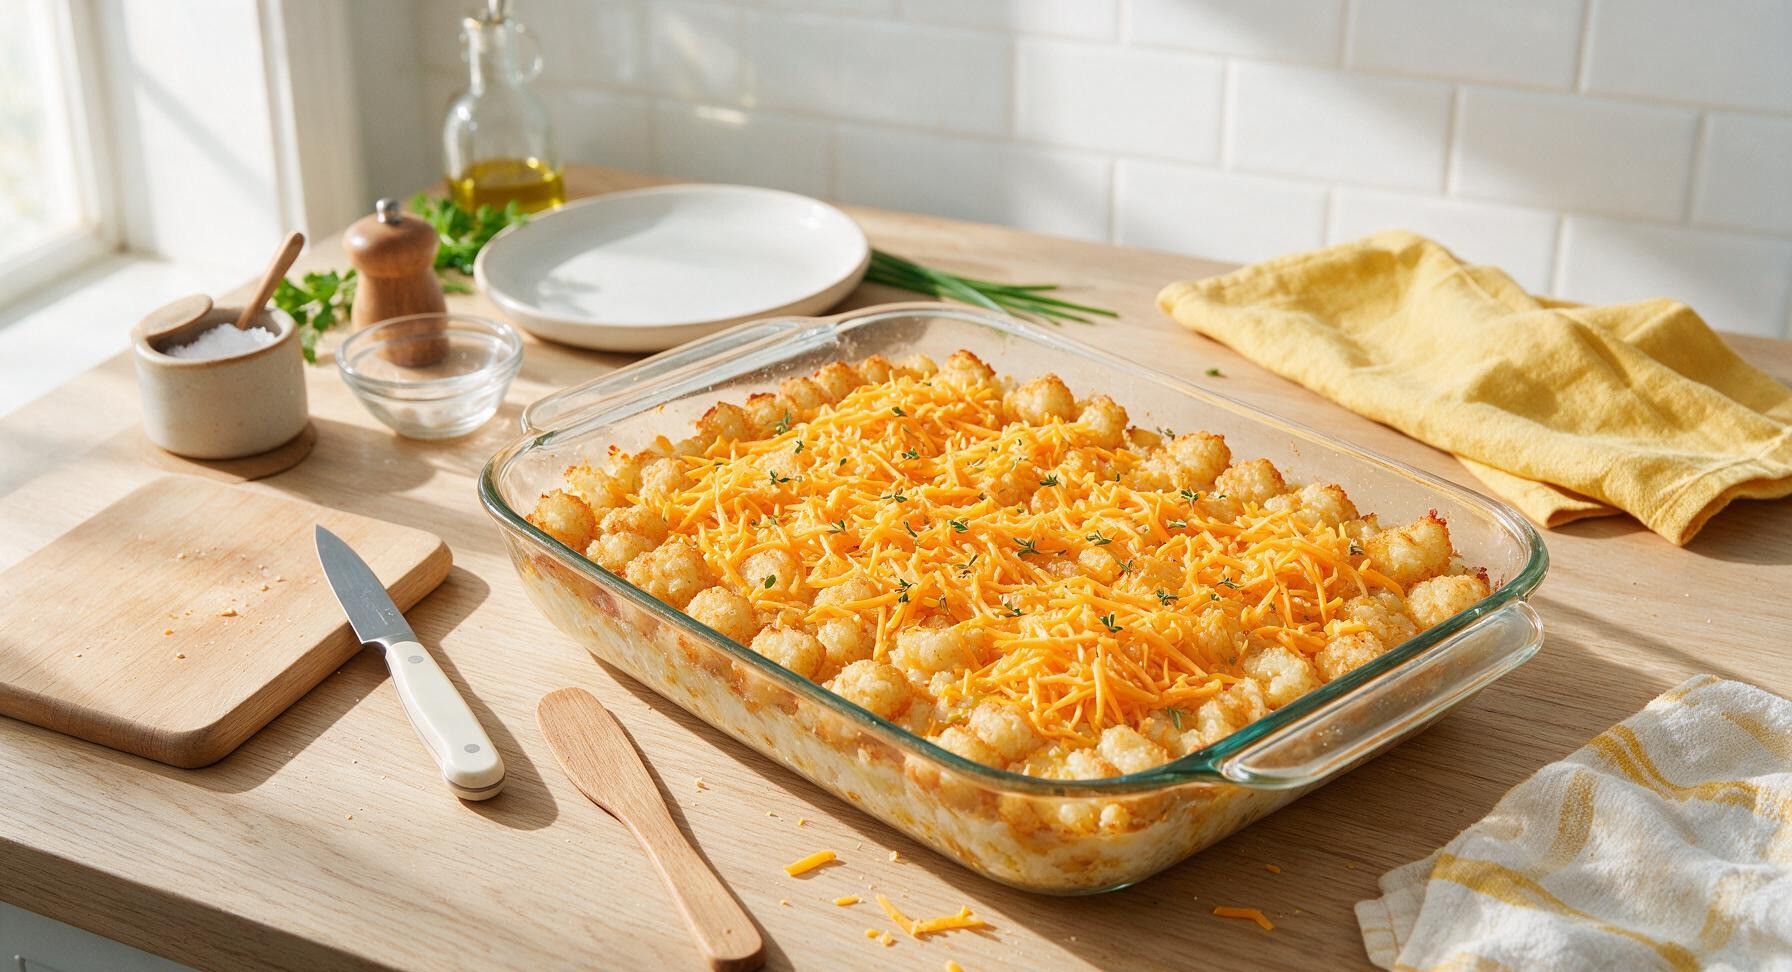
Rest and Serve Casserole
Remove the finished casserole from the oven, let it rest for 5 minutes at room temperature to set—this prevents the filling from running when scooped. Use the stainless steel serving spoon to scoop generous portions, ensuring each serving has a mix of crispy cracked tot top, melted cheese, and creamy beef filling.
Tips
2.Don’t skip the tot-cracking step: pressing partially baked tots breaks their crisp outer shell, letting fluffy potato expand and cheese seep into cracks, creating far more crunchy, textured bites than leaving tots whole on the casserole surface.
3.Let the casserole rest 5 minutes after baking: the creamy filling is very loose straight out of the oven, and this short rest lets it thicken and set so portions hold their shape instead of sliding apart on the plate.






OMG this Cracked Tater Tot Casserole was a total game changer for our Sunday family dinner! I threw in a handful of extra crumbled bacon because my crew goes feral for bacon, and even my pickiest 7-year-old went back for thirds. It was so easy to throw together after work too — no fancy chopping or weird ingredients required. I’m already planning to make a double batch for our neighborhood block party potluck next weekend!
I’ve tried so many tater tot casserole recipes that come out soggy in the middle, but this one was perfect! Crispy tater tots on top, creamy savory filling all the way through, and the 50 minute cook time was spot on — no guessing if it was done. I swapped the ground beef for lean ground turkey to lighten it up a bit, and it still tasted SO good. My husband already asked me to add it to our weekly meal prep rotation.
Made this for my roommates in our tiny apartment oven last night and we demolished half the pan in like 10 minutes. It’s so easy even someone who burns toast 90% of the time can pull it off — no fancy skills or equipment needed. Already texted the recipe link to my mom back home, she’s gonna lose her mind when she tries it.
So excited to make this for our family game night tomorrow! Quick question first — has anyone tried making this with gluten-free cream of mushroom soup? My youngest has celiac, so I have to swap out the regular canned soup, and I’ve had so many casseroles turn out gummy or weird with GF soup swaps before. Fingers crossed this works!
Brought this to our church potluck last Sunday and I swear half the congregation came up to ask me for the recipe! I added a sprinkle of extra sharp cheddar and some sliced green onions on top right before serving, and the pan was completely empty before I even got a second helping. Next time I’m making two full pans so I don’t miss out!