
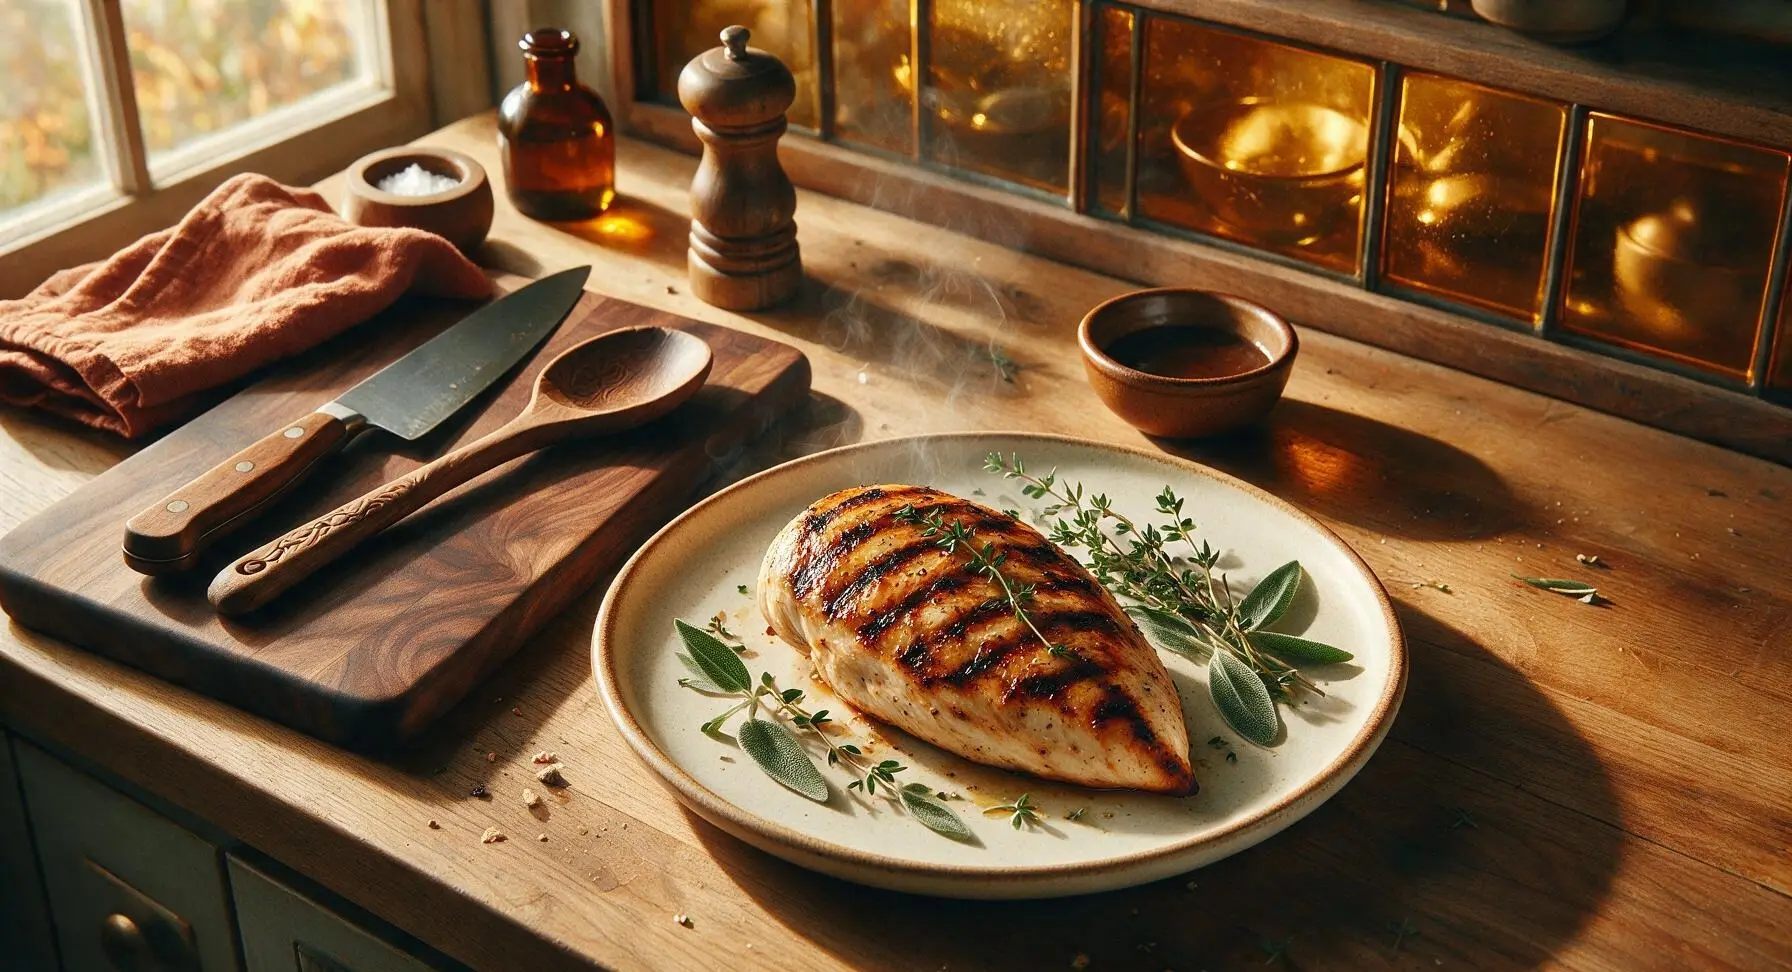
grilled boneless chicken breast

title 1
grilled boneless chicken breast
⏱️ cook time 12 minutes
🍽️ servings 4
⚡ Difficulty easy

intro

Perfectly juicy, smoky charred grilled boneless chicken breast, seasoned simply for maximum flavor—no dry, rubbery results. Ideal for summer meals, salads, and weekly meal prep.

Ingredients
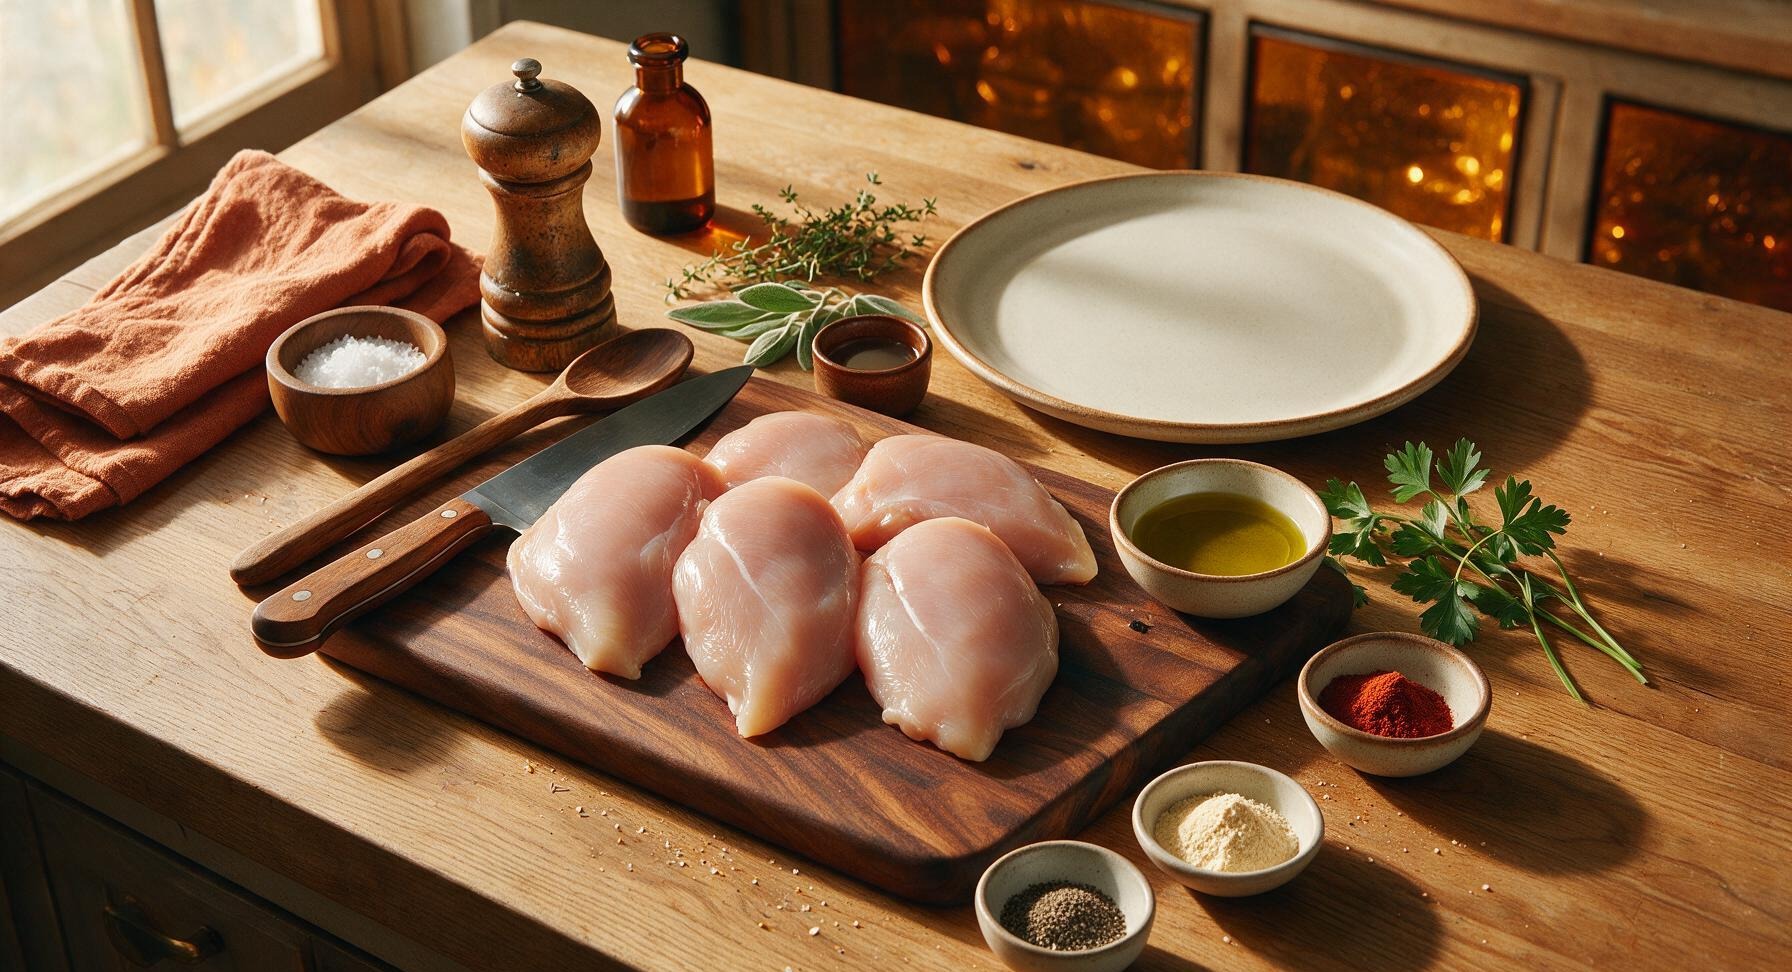
Boneless, skinless chicken breasts 4 pieces (170g each, ~680g total)
Extra-virgin olive oil 2 tablespoons
Kosher salt 1.5 teaspoons
Freshly ground black pepper 1 teaspoon
Garlic powder 1 teaspoon
Smoked paprika ½ teaspoon
Fresh flat-leaf parsley 3 sprigs

Steps

1

Pound Chicken Evenly

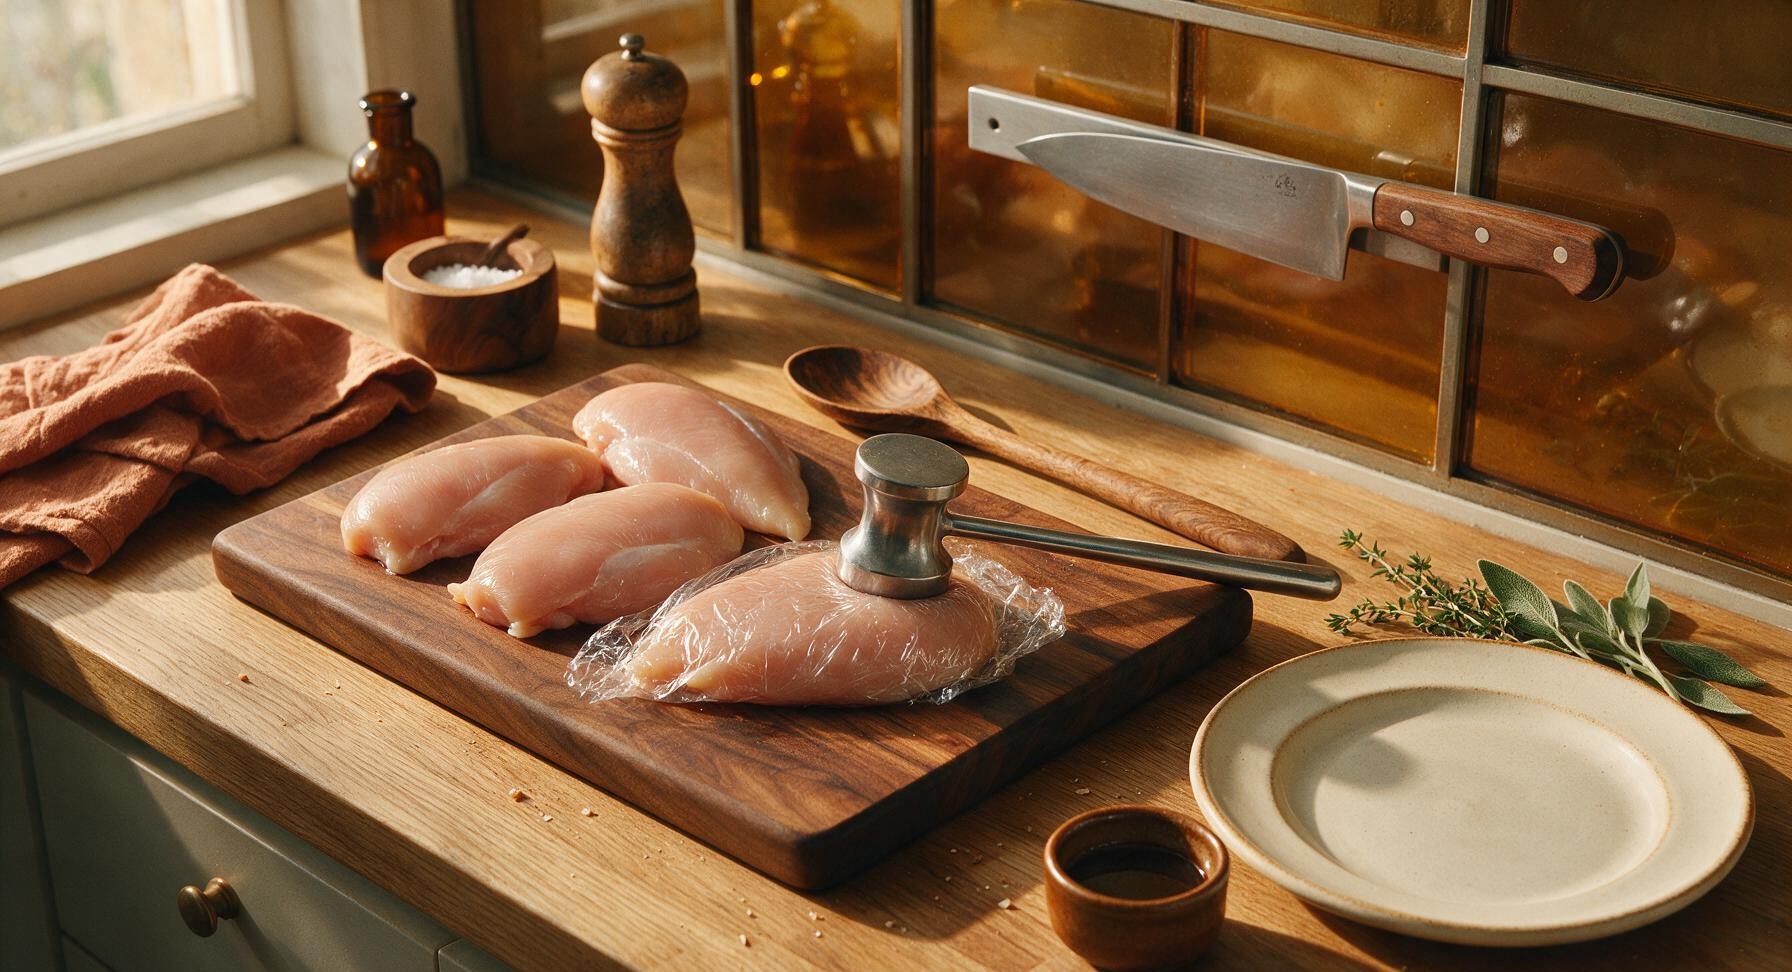
Place the 4 boneless skinless chicken breasts on the acacia wood cutting board. Cover with a piece of plastic wrap to prevent splatter. Use the stainless steel meat pounder to gently pound the thicker tapered end of each breast until the entire breast is a uniform 2cm (¾ inch) thickness. This ensures even cooking, so no dry thin edges or undercooked thick centers.
Step 1
step1:Pound Chicken Evenly
2

Mix Seasoning Blend

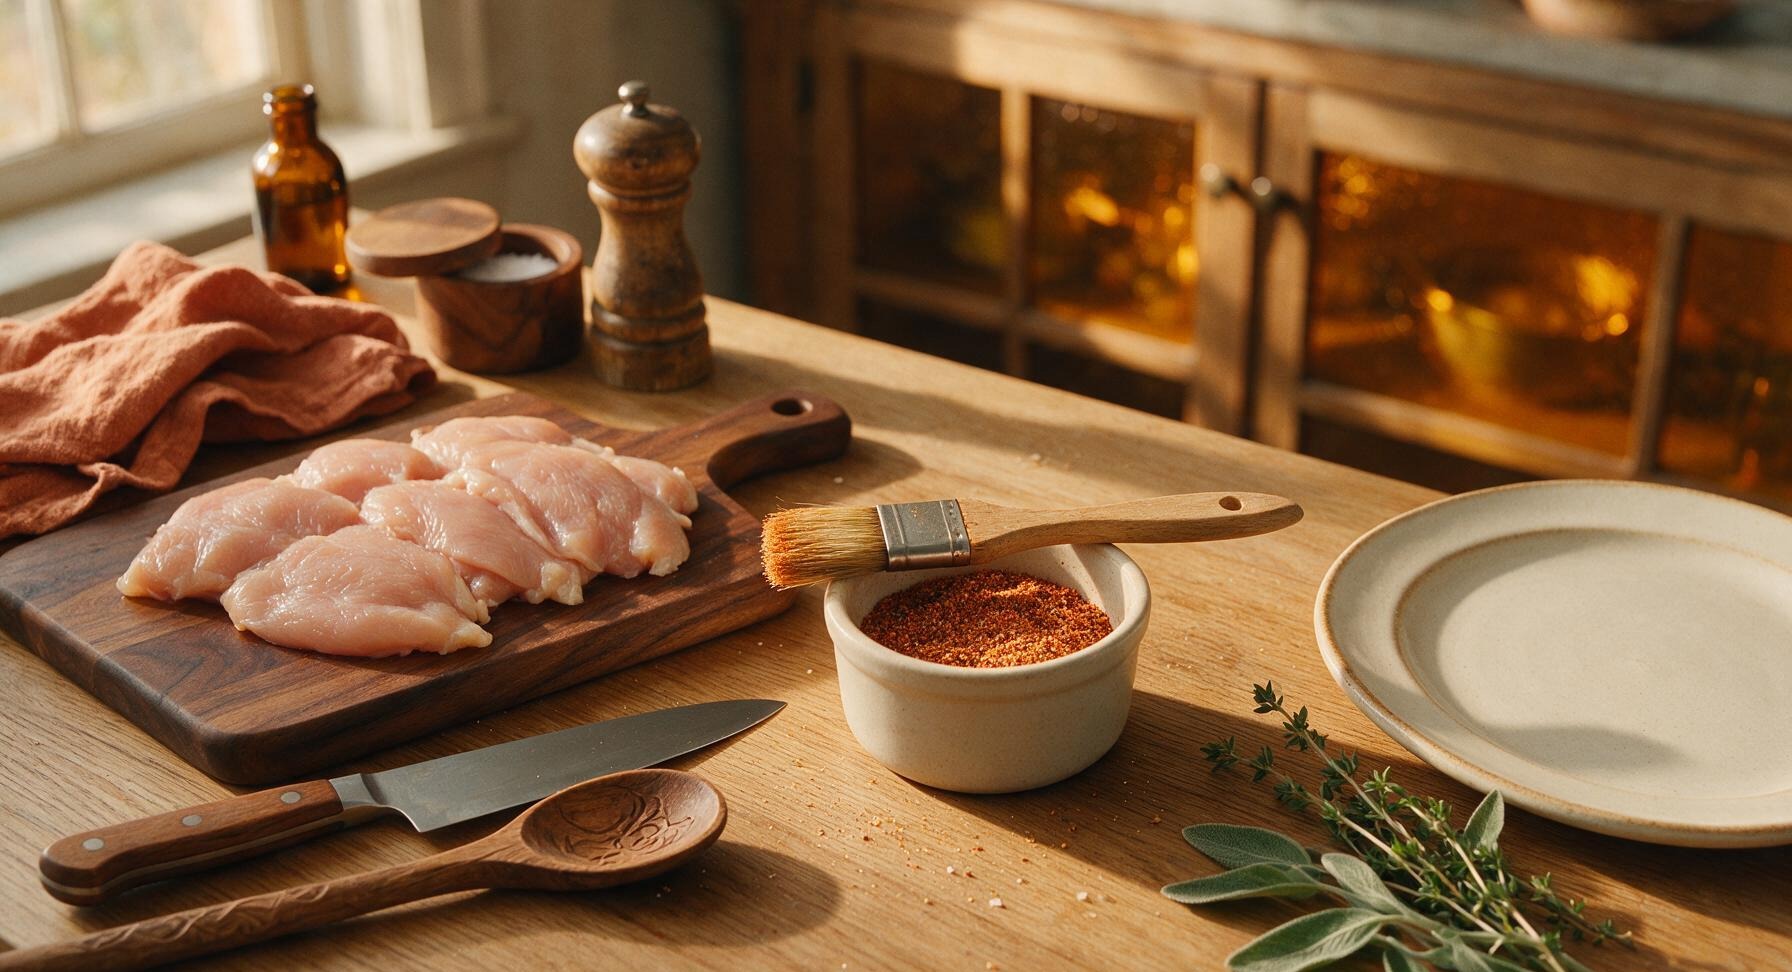
In the small matte off-white ramekin, combine 1.5 teaspoons kosher salt, 1 teaspoon freshly ground black pepper, 1 teaspoon garlic powder, and ½ teaspoon smoked paprika. Stir with the end of the pastry brush until evenly blended, with no clumps of paprika or garlic powder remaining.
Step 2
step2:Mix Seasoning Blend
3

Oil and Season Chicken

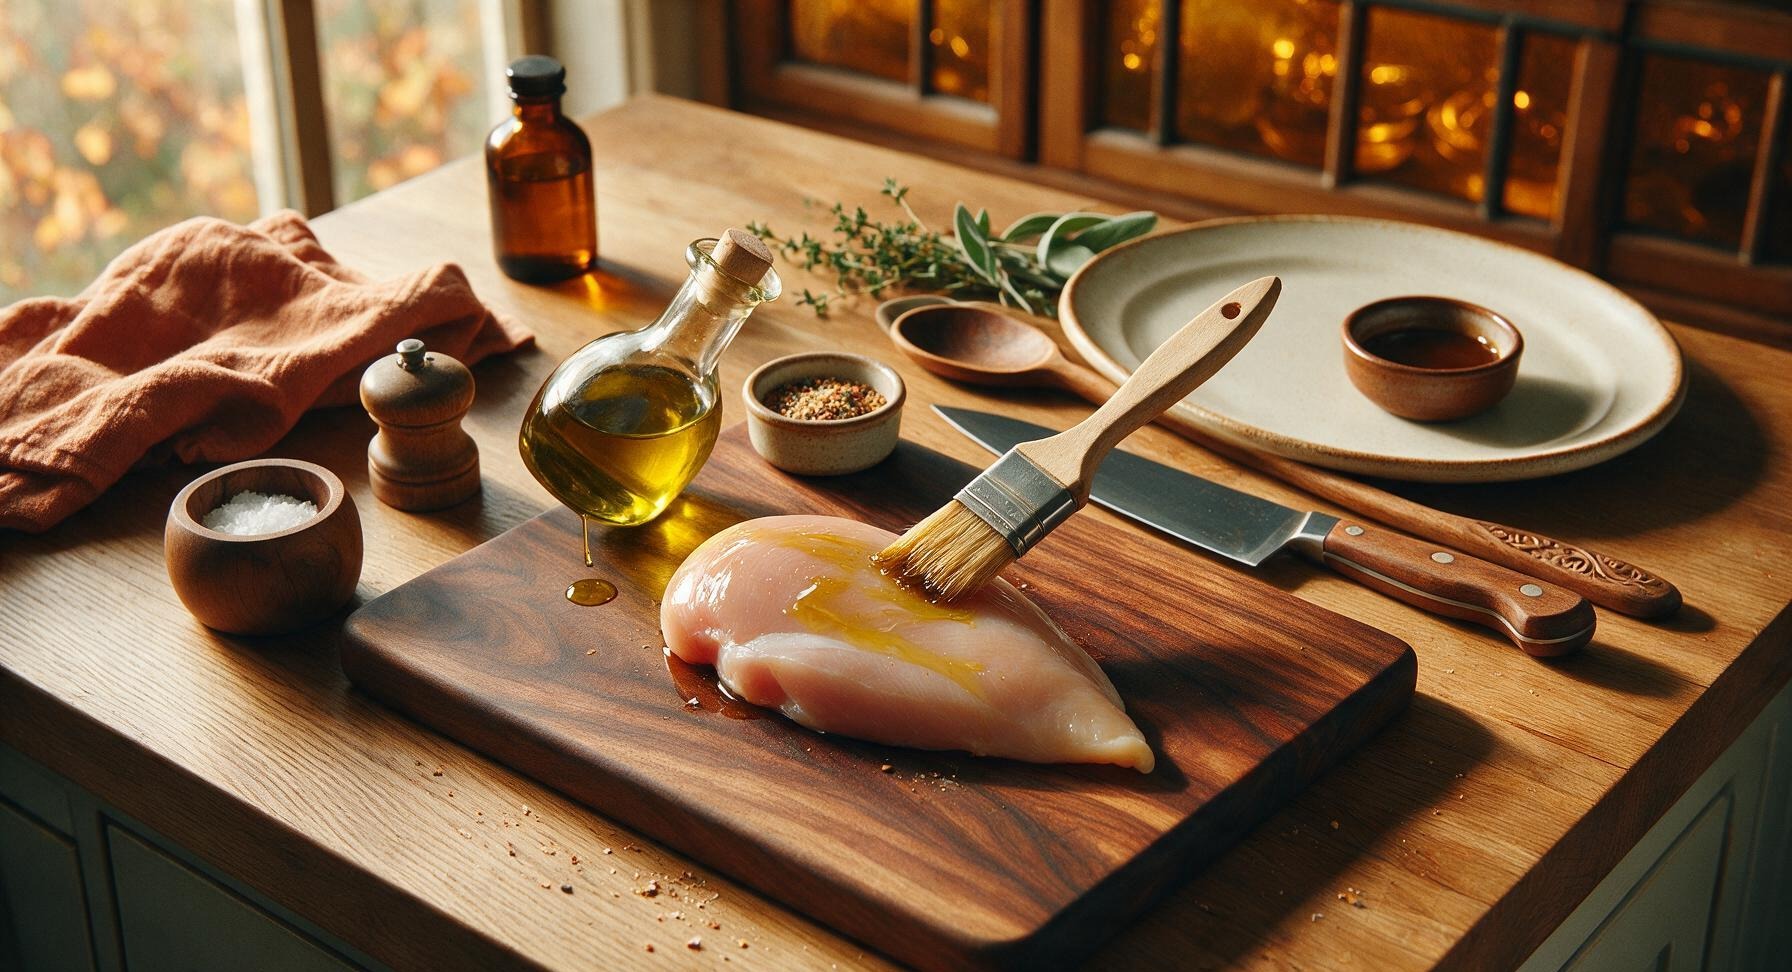
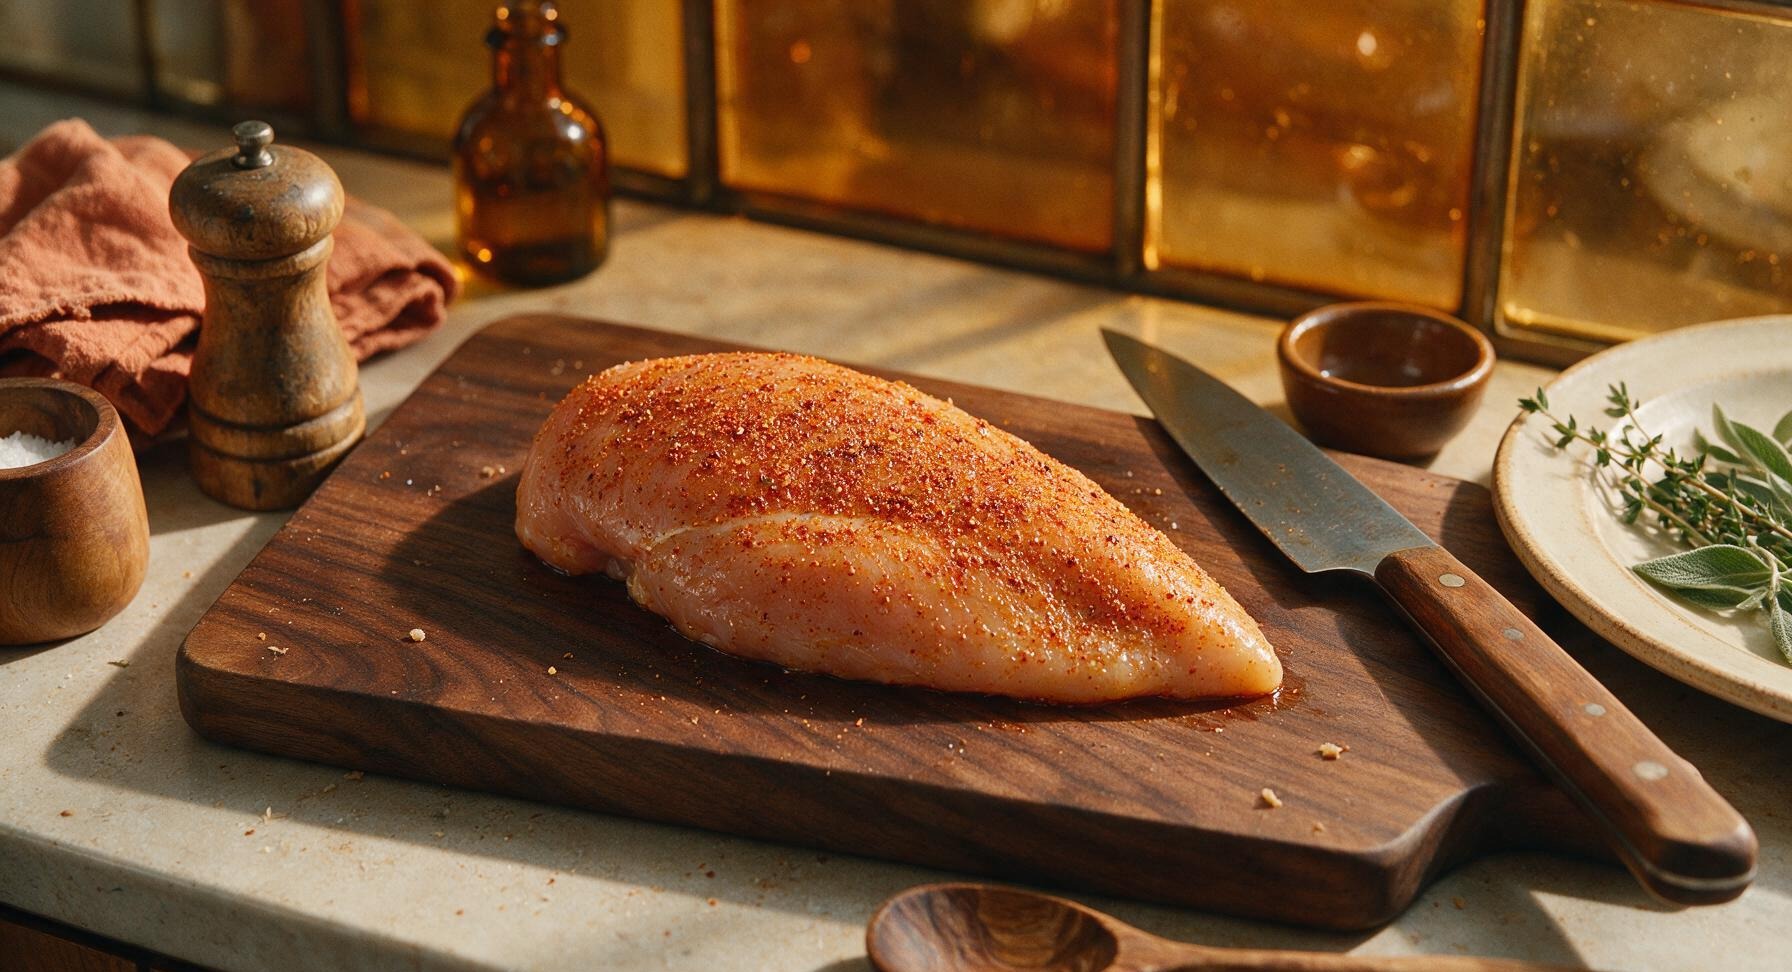
Drizzle 2 tablespoons of extra-virgin olive oil over all sides of the pounded chicken breasts, using the pastry brush to spread the oil into a thin, even coat across every surface. Sprinkle the mixed seasoning blend evenly over both sides of each breast, using your fingers to gently press the spices into the chicken so they adhere. Let the seasoned chicken rest for 5 minutes at room temperature while the grill preheats, so spices set and meat cooks more evenly.
Step 3
step3:Oil and Season Chicken
Step 3
step3:Oil and Season Chicken
4

Preheat Grill to High

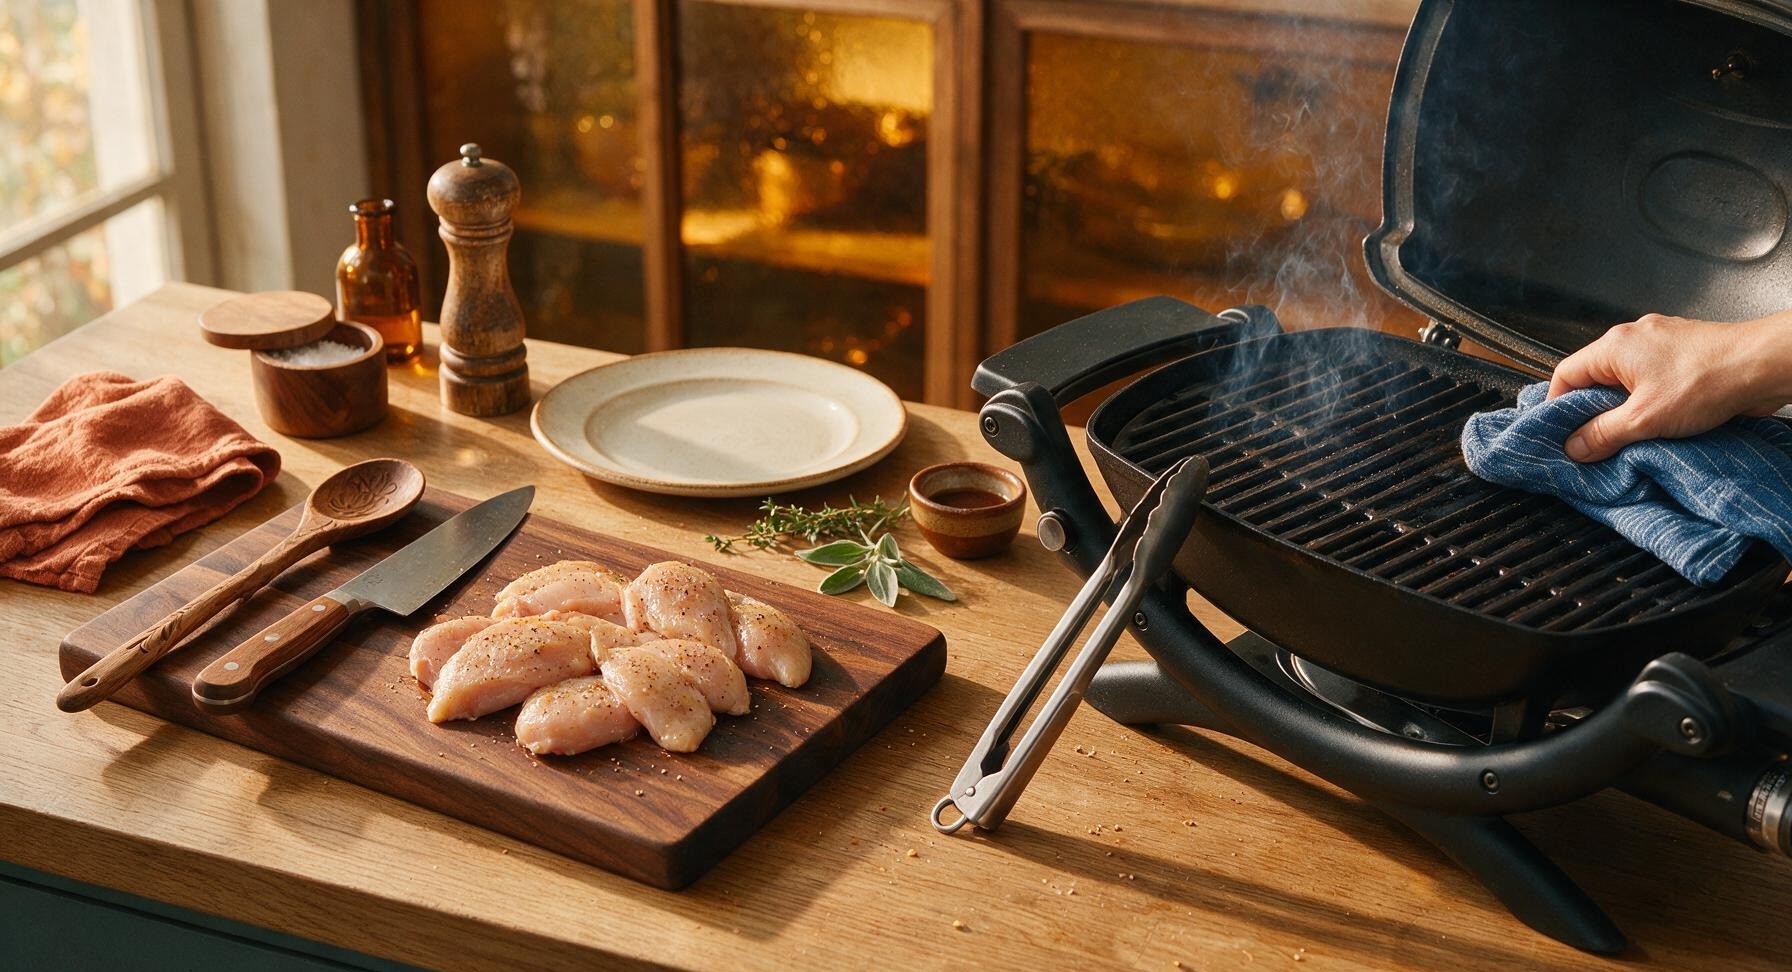
Place the tabletop portable propane grill on the far right section of the counter. Turn burners to high, close the lid, and preheat for 10 minutes until the grill grates reach 450°F (230°C). Right before adding chicken, use the folded edge of the blue striped kitchen towel to scrub the cast iron grates clean, then oil the grates lightly with a paper towel dipped in olive oil to prevent sticking.
Step 4
step4:Preheat Grill to High
5

Grill First Side

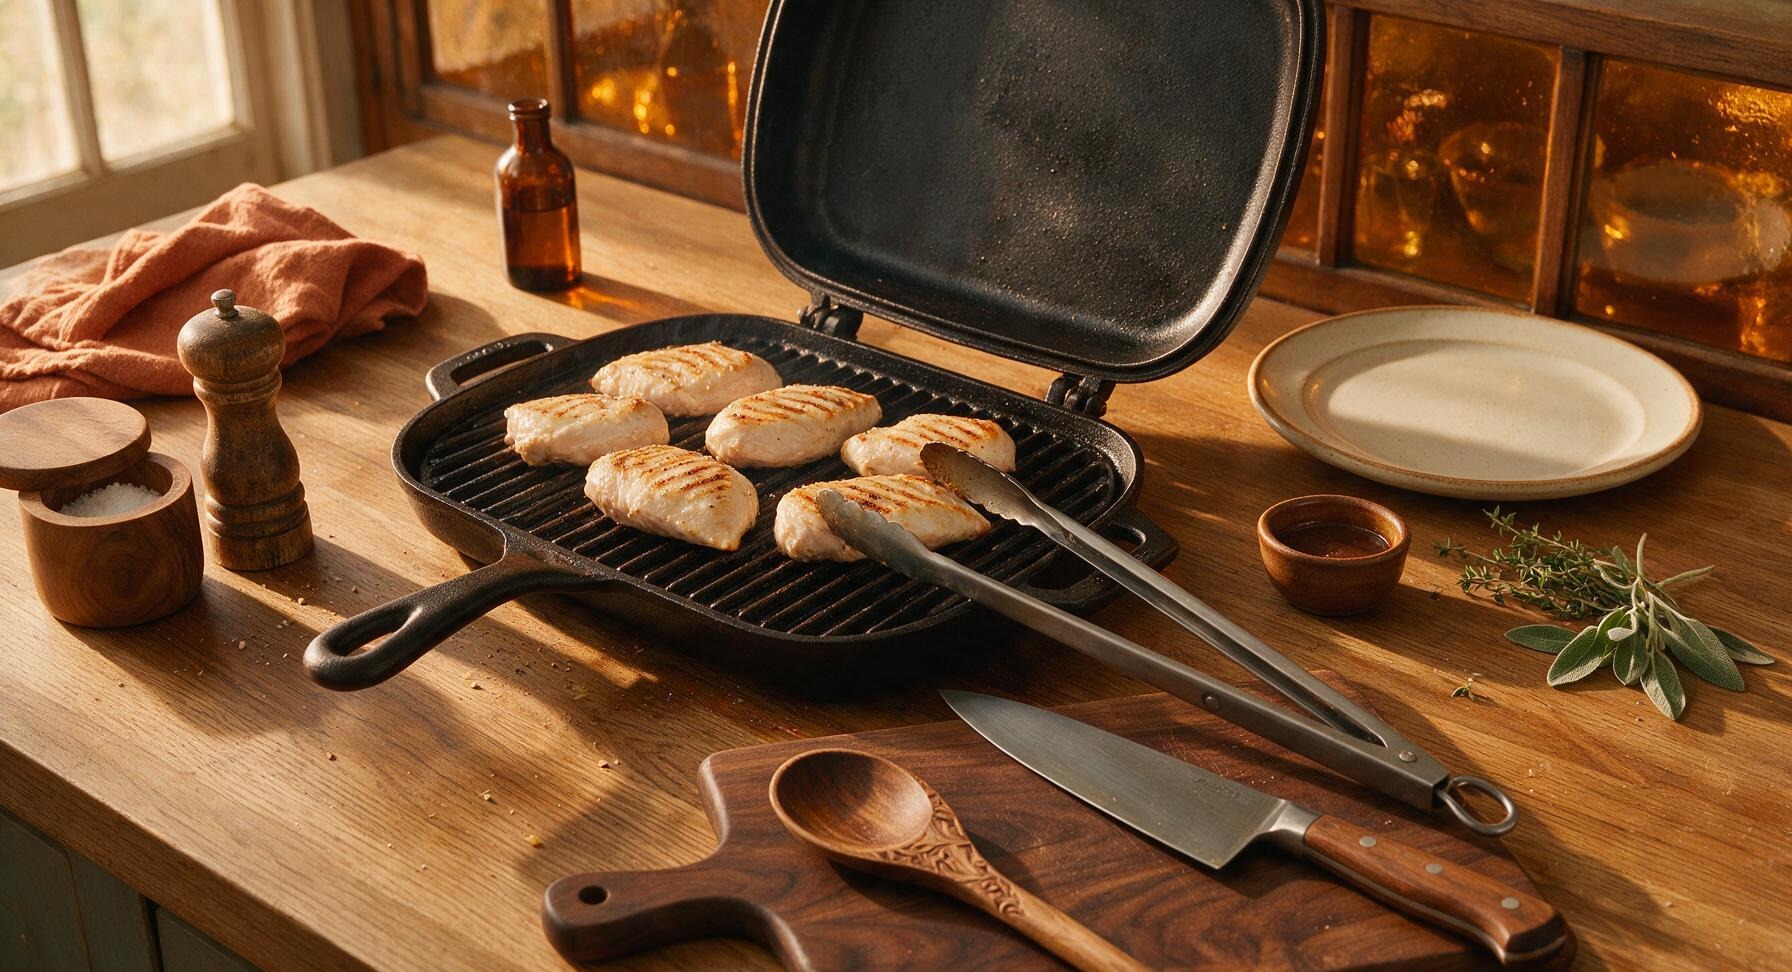
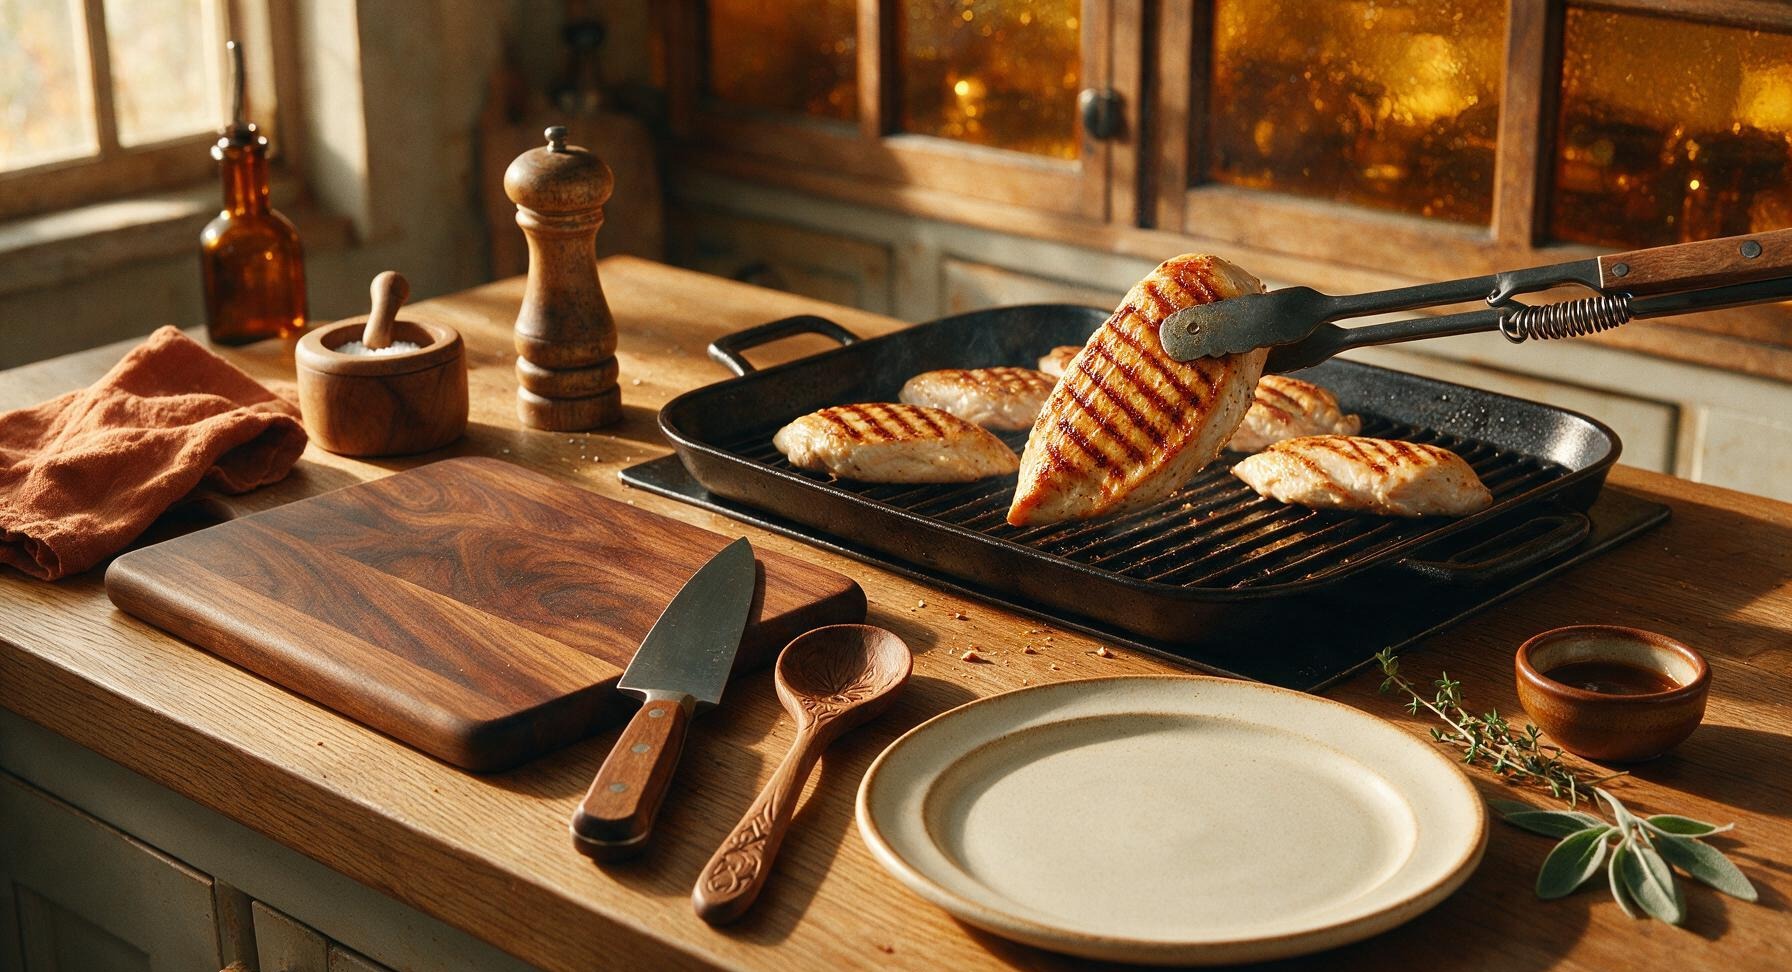
Use the long-handled grill tongs to place the seasoned chicken breasts directly on the hot oiled grill grates, smooth side down. Close the grill lid and cook for 6 minutes exactly at 450°F. Do not move, poke, or press the chicken during this time—this builds a deep, golden charred crust and distinct grill marks. After 6 minutes, the chicken will release easily from the grates without sticking.
Step 5
step5:Grill First Side
6

Flip and Cook Through

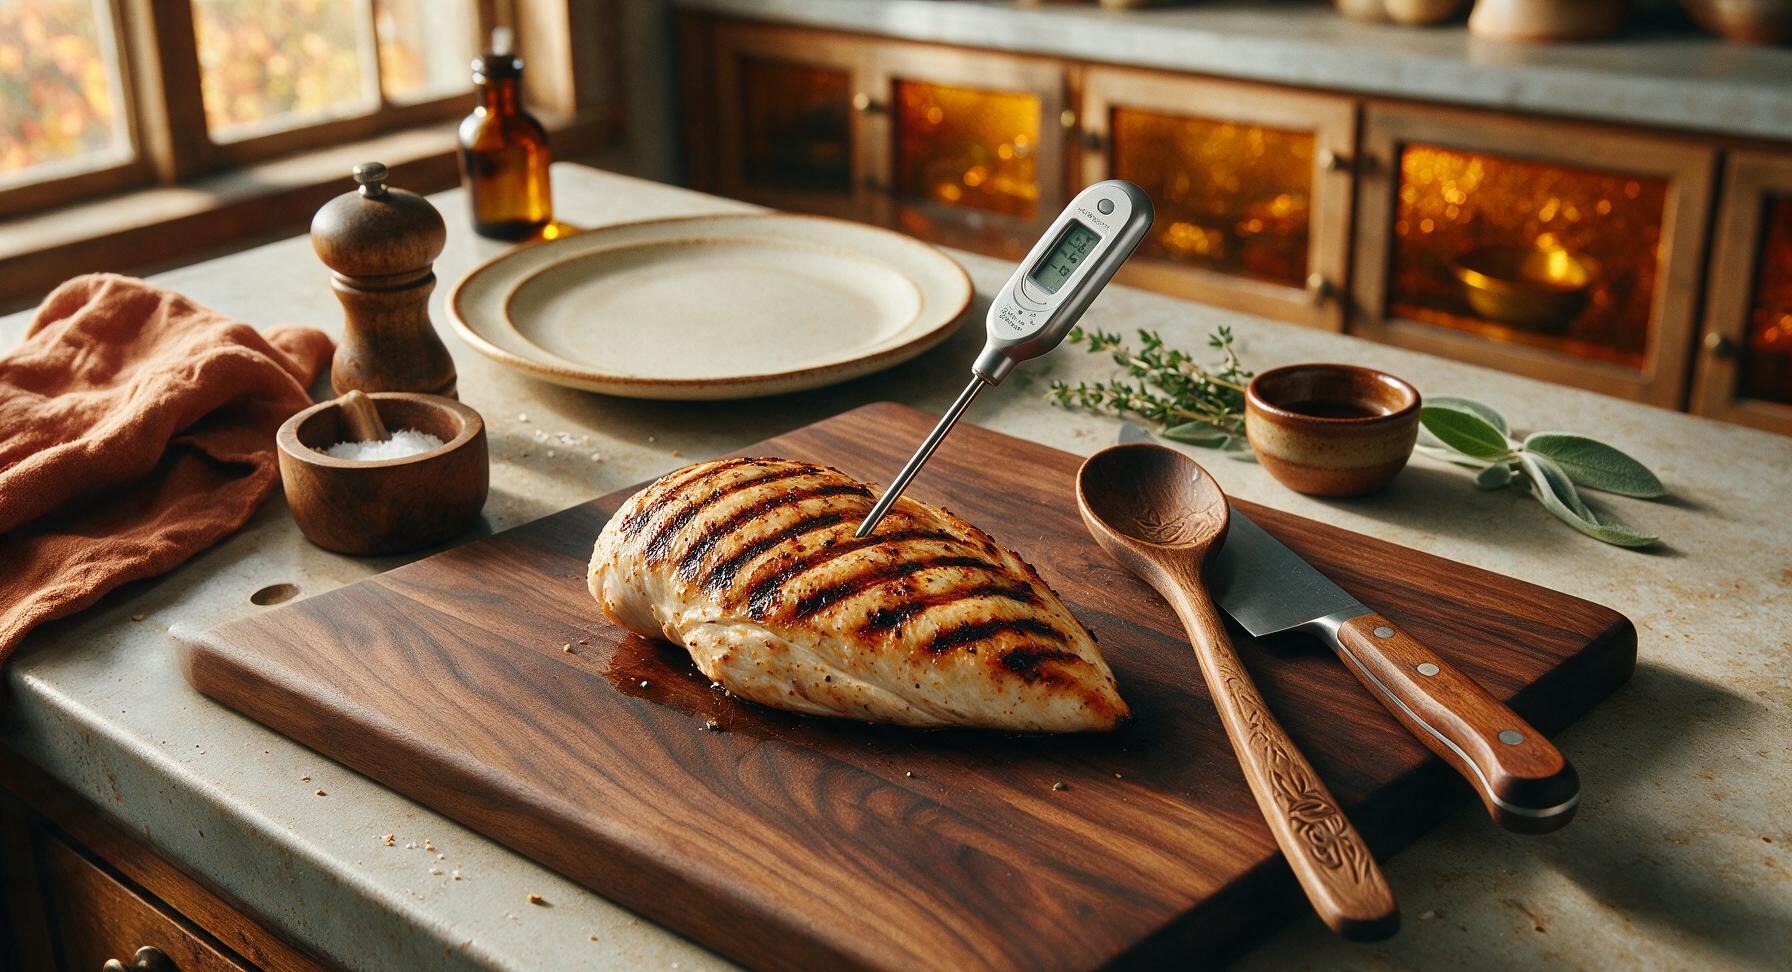
Use the grill tongs to flip each chicken breast to the second side. Close the lid and cook for another 5-6 minutes, until the instant-read meat thermometer inserted into the thickest part of the breast reads 160°F (71°C). The chicken will have deep, dark golden-brown grill marks on both sides, with no raw pink visible on the exterior. Remember: carryover cooking will raise the internal temperature to the food-safe 165°F (74°C) as it rests, so do not cook past 160°F to avoid dry meat.
Step 6
step6:Flip and Cook Through
Step 6
step6:Flip and Cook Through
7

Rest Cooked Chicken

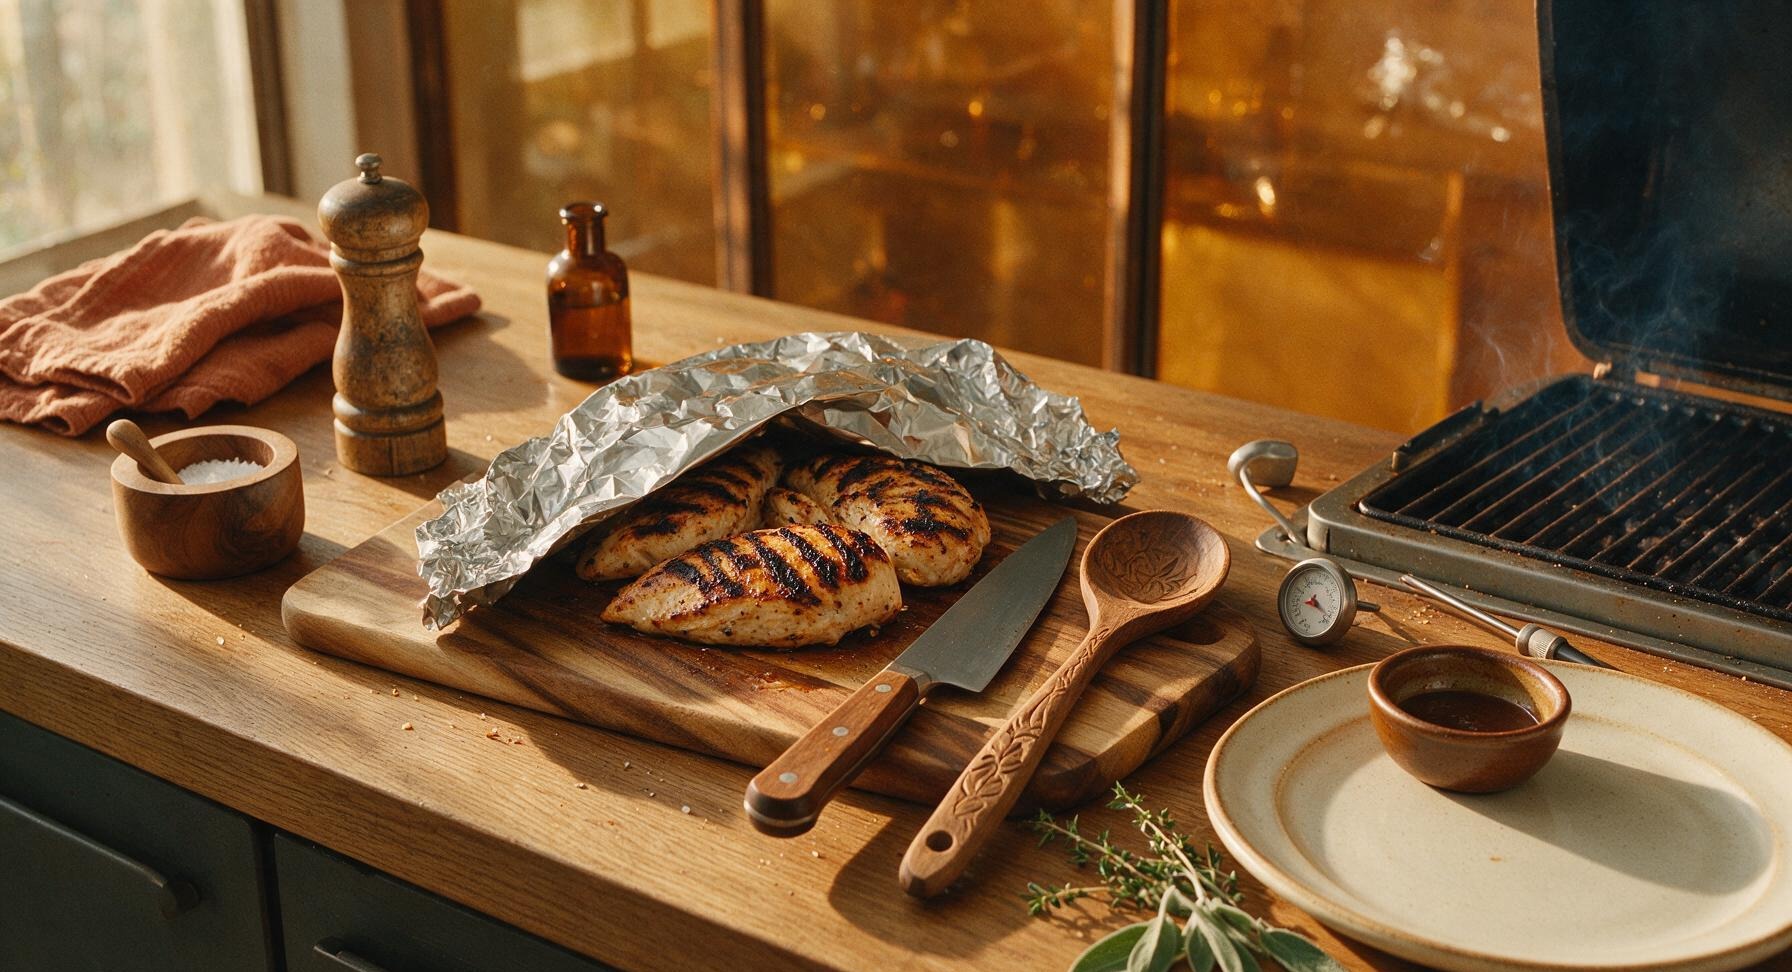
Use the grill tongs to transfer the cooked chicken breasts from the grill to the acacia wood cutting board. Loosely tent a small piece of crinkled aluminum foil over the top, and let the chicken rest for 5 full minutes. This allows the muscle fibers to relax and reabsorb juices, so every bite is juicy instead of juice running out onto the plate when you slice it.
Step 7
step7:Rest Cooked Chicken
8

Slice and Plate Dish

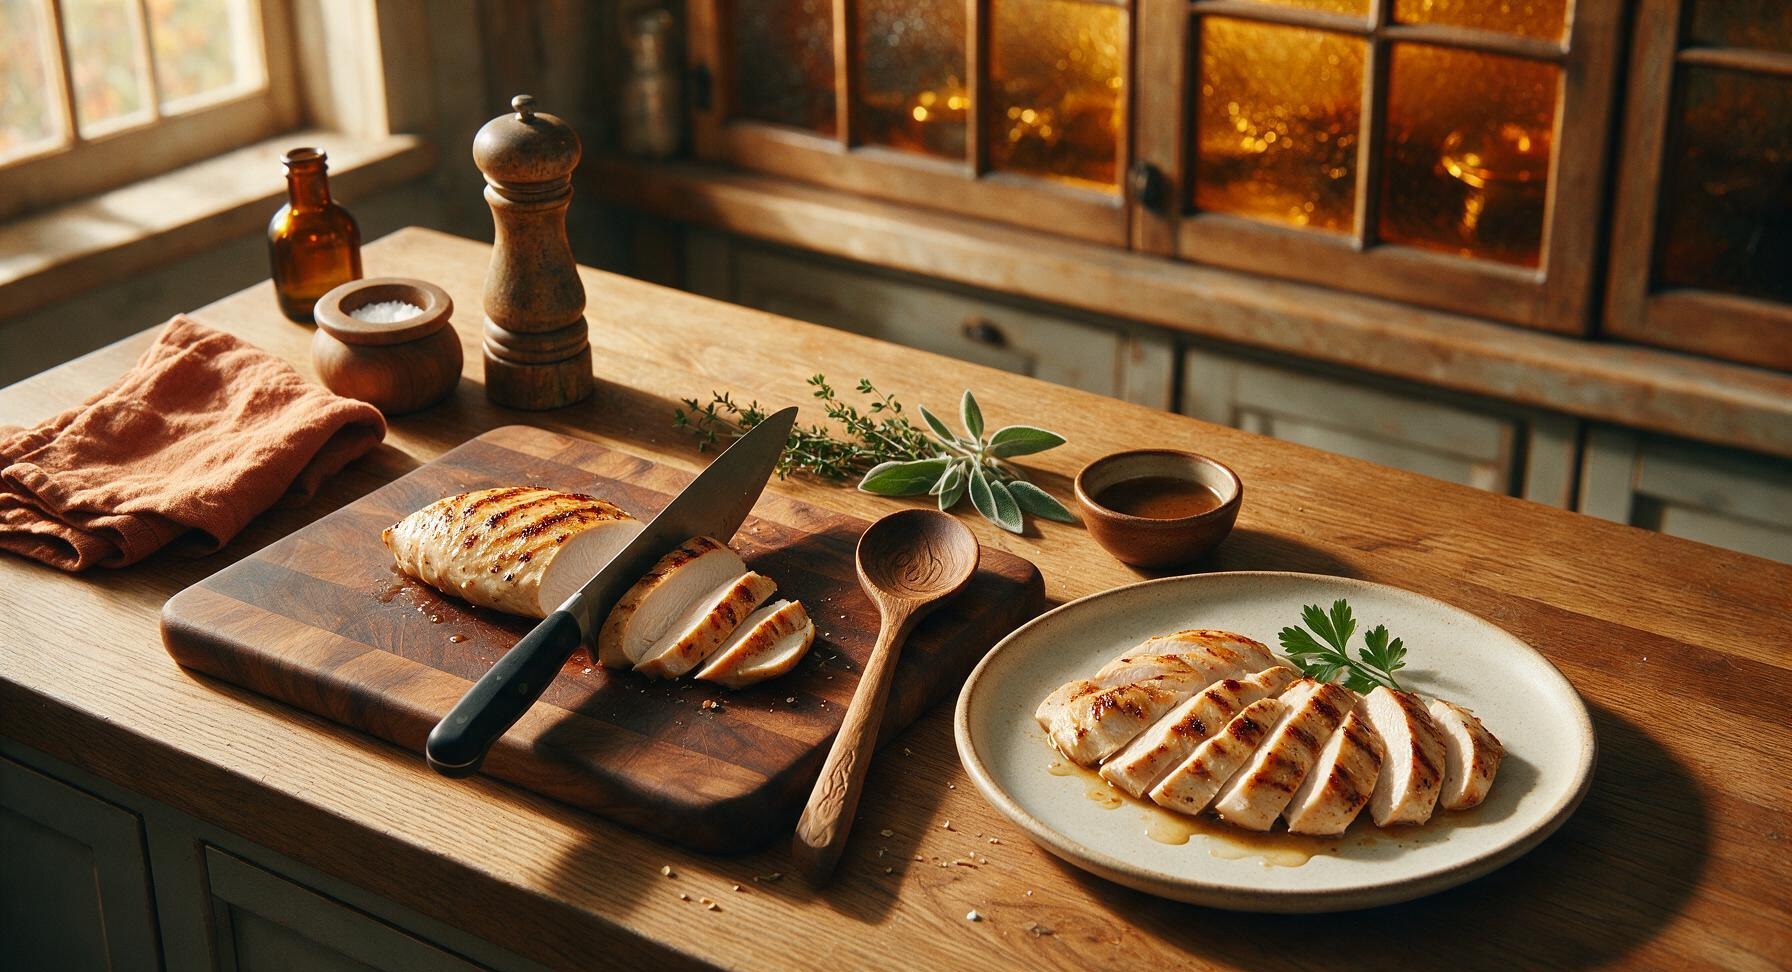
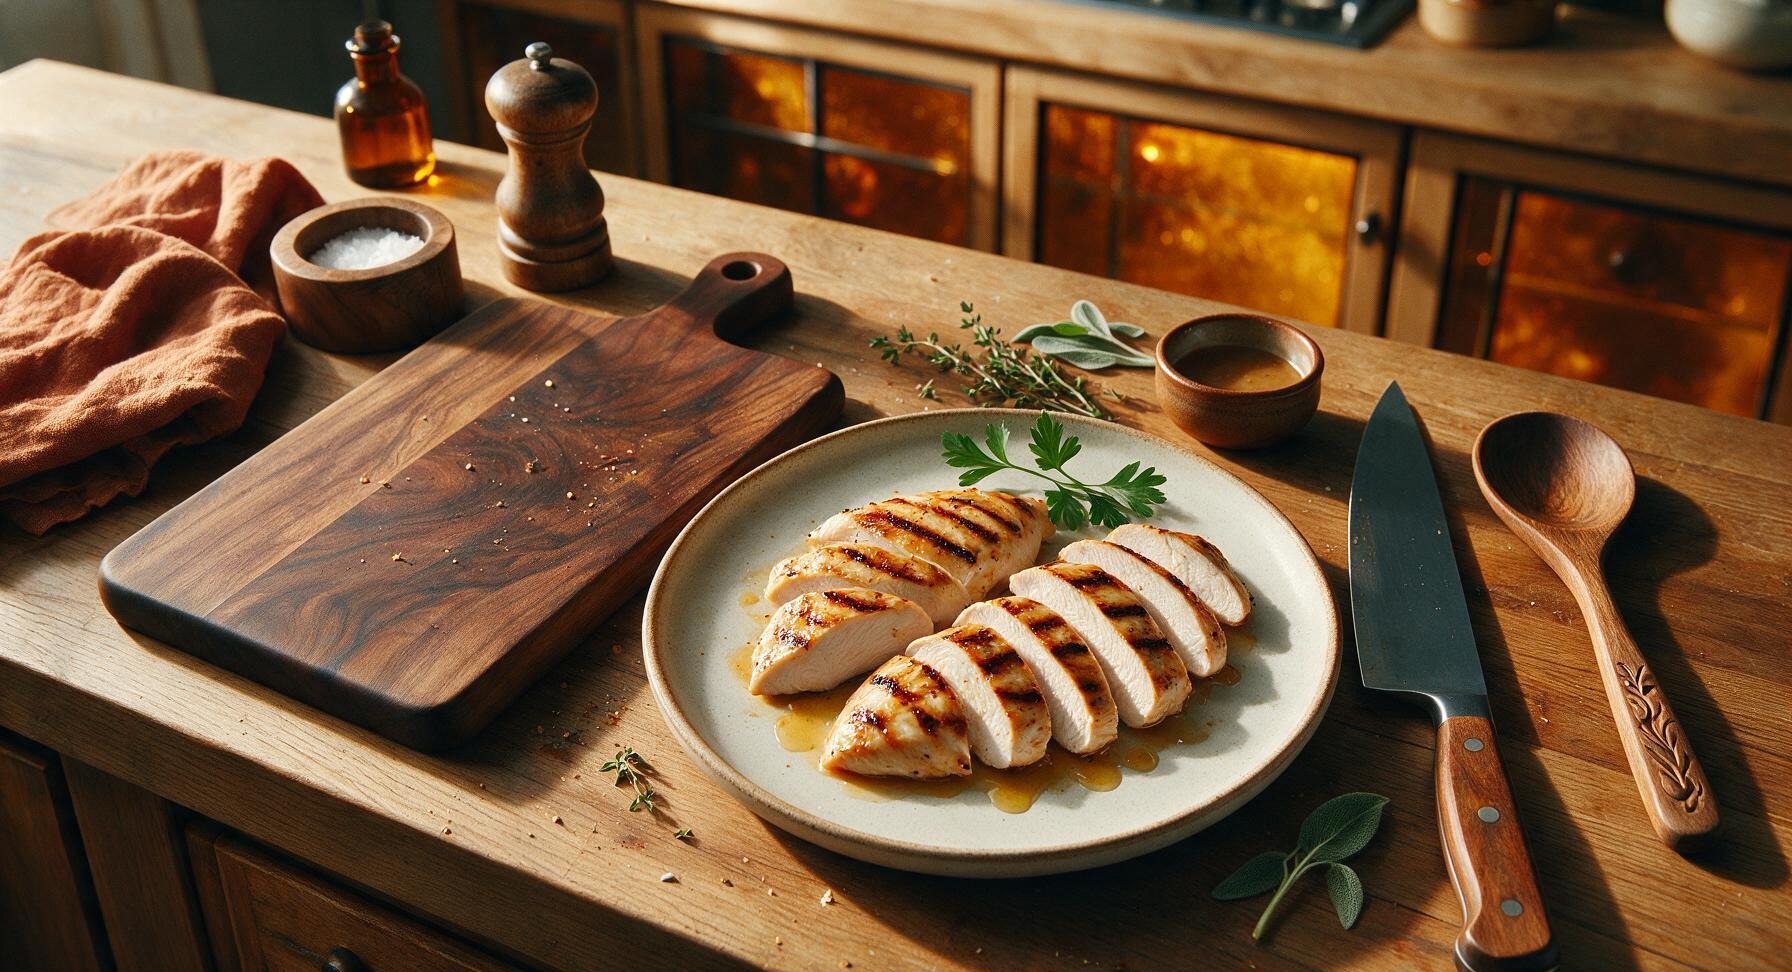
After resting, use the 20cm chef knife to slice each chicken breast against the grain into 1.5cm (½ inch) thick slices. Fan the sliced chicken across the center of the matte off-white ceramic dinner plate. Drizzle with any collected juices from the cutting board, and garnish with a sprig of fresh flat-leaf parsley before serving.
Step 8
step8:Slice and Plate Dish
Step 8
step8:Slice and Plate Dish

Tips

1.Pound chicken to a uniform ¾-inch thickness before seasoning: Uneven breasts will develop overcooked, dry thin edges and undercooked thick centers, even if you follow grill timing perfectly.
2.Never press, poke, or move chicken during the first 6 minutes of grilling: Constant shifting prevents deep, non-stick grill marks from forming, and squeezing the meat pushes out precious moisture that keeps chicken tender and juicy.
3.Remove chicken at 160°F internal temp, not 165°F, and rest 5 full minutes: Carryover cooking will raise the temperature to the food-safe 165°F as it rests, and resting lets muscle fibers reabsorb juices so they don’t run out onto your plate when sliced.


✨ You May Also Like

BBQ & Grilling
🍜 United States

Tender, melt-in-your-mouth beef brisket with a crisp, spiced bark, slow-smoked to deep smoky perfection, the iconic centerpiece of Texas backyard barbecue.

⏱️ 12 hours BBQ & Grilling ★ 4.4
BBQ & Grilling
🍜 Korea

Tender, sweet-savory marinated beef short ribs, a beloved Korean BBQ staple with caramelized, slightly charred edges and deep umami flavor, perfect for outdoor summer gatherings.

⏱️ 4 hours 2BBQ & Grilling ★ 4.8
BBQ & Grilling
🍜 United States

Juicy grilled beef patties topped with smoky homemade chili, melted cheddar, and tangy pickles on toasted brioche buns for a hearty, flavor-packed handheld meal.

⏱️ 40 minuteBBQ & Grilling ★ 4.7
BBQ & Grilling
🍜 United States

A sweet, smoky, tangy BBQ sauce brightened with peak-season dark cherries, ideal for glazing grilled ribs, chicken, pork, or summer roasted veggies.

⏱️ 35 minuteBBQ & Grilling ★ 4.7
BBQ & Grilling
🍜 United States

Rich, smoky, slightly sweet homemade bourbon BBQ sauce with deep caramel notes, ideal for glazing grilled ribs, chicken, and burgers at cookouts.

⏱️ 25 minuteBBQ & Grilling ★ 4.7
BBQ & Grilling
🍜 United States

Iconic Alabama-style BBQ featuring tender hickory-smoked chicken slathered in tangy creamy white sauce, a beloved regional Southern cookout staple.

⏱️ 3 hoursBBQ & Grilling ★ 5

grilled boneless chicken breast:Frequently Asked Questions

1.Why does my grilled boneless chicken breast always turn out dry and rubbery? ▾
That almost always traces back to three easy-to-fix mistakes: uneven breast thickness, cooking straight from the fridge, and overcooking past the safe temp due to missed carryover heat. Pound breasts to a uniform 1-inch thickness, let them sit 20 minutes at room temp before grilling, and pull them at 160°F to rest for juicy results every time.
2.Do I really need to pound my chicken breasts before grilling? ▾
Absolutely, and it takes barely 2 minutes! Most boneless breasts are thick on one tapered end and plump on the other, which means the thin end overcooks to rubber before the thick end reaches a safe temperature. Place breasts between plastic wrap, pound the thick end to a consistent 1-inch thickness with a meat mallet or heavy skillet for even cooking.
3.How far in advance should I season the chicken before grilling? ▾
For this simple, classic seasoning blend, you don’t need a long, complicated marinade. Coat breasts in olive oil, then season generously with kosher salt, pepper, and garlic powder 15 to 30 minutes before grilling. If you salt more than an hour ahead, the salt will draw out moisture that doesn’t have time to reabsorb, leading to drier results.
4.What grill temperature works best for juicy, not burnt, chicken breast? ▾
Aim for a medium-high grill surface temperature of 425°F to 450°F. That’s hot enough to build a nice, smoky char on the outside without burning the garlic powder and pepper seasonings, but not so hot that the exterior crisps before the interior cooks through. Give your grill 10 to 15 minutes to fully preheat before adding chicken.
5.Should I oil the grill grates, or just coat the chicken in oil? ▾
Do both for zero sticking and perfect, crisp grill marks! The light olive oil coating on your chicken adds flavor and helps seasonings adhere, but you should also wipe preheated grill grates with an oil-dipped paper towel held with tongs right before cooking. This creates a natural nonstick surface so you won’t tear the chicken when you flip it.
6.How long do I need to grill 1-inch thick boneless chicken breasts? ▾
For uniformly pounded 1-inch thick breasts, plan for 6 to 8 minutes of total cooking time, flipping once halfway through at the 3 to 4 minute mark. Resist the urge to flip repeatedly or press down on the chicken with a spatula—that squeezes out all the precious, juicy moisture you worked hard to lock in.
7.How do I check if chicken is done without cutting into it and losing juice? ▾
Skip slicing into the chicken mid-cook (that lets all the flavorful juices run out!) and use an instant-read thermometer inserted into the thickest part of the breast. Pull the chicken when it hits 160°F internal temp—carryover cooking will bring it up to the food-safe 165°F as it rests, so you won’t overcook it.
8.Why is it important to let grilled chicken rest before slicing it? ▾
Resting gives the hot, tense muscle fibers in the chicken time to relax and reabsorb all their juicy, flavorful juices. If you cut straight into the breast right off the grill, all those juices will run out onto your plate instead of staying in the meat. Let breasts rest tented loosely with foil for 5 full minutes before serving.
9.Can I make this recipe on an indoor grill pan if I don’t have an outdoor grill? ▾
Absolutely! This recipe works perfectly on a cast iron grill pan, or even a regular heavy skillet if that’s all you have. Preheat your pan over medium-high until it just starts to smoke, follow the same cooking time and temperature guidelines, and you’ll still get nice char marks and juicy chicken for weeknights or rainy weather.
10.Is this grilled chicken a good option for weekly meal prep? ▾
It’s ideal for meal prep! Let the cooked chicken cool completely, then store it in airtight containers in the fridge for up to 4 days. Slice it only right before you use it on salads, in wraps, over grain bowls, or reheat it gently (to avoid drying it out) for quick, high-protein meals all week long.
11.Why do you recommend kosher salt instead of regular table salt for seasoning? ▾
Kosher salt has larger, flakier crystals that distribute more evenly across the chicken surface, so you get consistent seasoning in every bite instead of random overly salty spots. It also adheres better to the oiled chicken than fine table salt, which can clump and dissolve too fast to build even, balanced flavor.
12.How do I get those perfect dark crisscross grill marks on my chicken? ▾
Start with fully preheated, clean, oiled grates, and lay the chicken down at a 45-degree angle to the grates. Don’t move it for the first 2 minutes of cooking, then rotate it 90 degrees on the same side for another 2 minutes before flipping once. Resist poking or shifting it early for restaurant-worthy marks every time.
13.Can I add extra seasonings beyond the basic salt, pepper, and garlic powder? ▾
Of course! This simple base recipe is super customizable. Add a pinch of smoked paprika for extra smokiness, a little dried oregano for Italian flair, a dash of cayenne for heat, or a squeeze of fresh lemon after grilling. Just skip sugary seasonings early on—they burn fast over medium-high heat and leave a bitter char.
14.My chicken stuck to the grill the last time I made it—what did I do wrong? ▾
Sticking almost always comes down to one of three issues: your grill wasn’t hot enough, you skipped oiling the grates, or you tried to flip the chicken too early. Chicken releases naturally from the grates once it develops a nice seared crust; if it sticks when you nudge it gently, give it another 30 seconds before flipping.
15.Should I brine my chicken breasts to make them even juicier? ▾
You absolutely can for extra insurance against dryness, though it’s not required for this recipe if you pound evenly and watch your internal temp. For a quick brine, dissolve 1 tablespoon of kosher salt per 4 cups of cold water, submerge breasts for 30 minutes, then pat fully dry before oiling and seasoning for extra plump results.
16.How do I reheat leftover grilled chicken without making it dry and rubbery? ▾
Skip the high-heat microwave blast that turns chicken tough and rubbery. Instead, reheat slices gently in a skillet over medium-low with a tiny splash of chicken broth or water, covered, for 2 to 3 minutes until just warmed through. You can also wrap whole breasts in foil and warm them in a 325°F oven for 10 minutes for juicy leftovers.

Comments (19)

2 days ago

OMG this is a total game changer! I’ve always messed up grilled chicken breast and ended up with dry, rubbery garbage, but this came out perfectly juicy in exactly 12 minutes like the recipe said. Served it at my weekend potluck and everyone asked for the recipe!

yesterday

Right?! I used to brine for hours before and this method cuts out all that extra work for even better results!

yesterday

So glad it was a hit at your potluck, Mia! The high-heat quick sear is really the secret to locking in that juice without extra prep steps.

1 week ago

Perfect for my Sunday meal prep! I make 6 of these every week to top salads, wraps, and grain bowls, and they stay juicy even after 4 days in the fridge. No more sad dry meal prep chicken!

5 days ago

Great call using this for meal prep, Jake! Pro tip: let the chicken rest 5 minutes before slicing to lock in extra moisture if you’re storing it for the week.

3 days ago

My kids loved it! I was worried the simple seasoning would be too bland for my picky eaters, but they cleared their plates and asked for seconds. 12 minute cook time meant I could get dinner on the table even between soccer practice dropoffs and homework help. SO good.

30 minutes ago

First time ever grilling chicken without my dad helping! It turned out way juicier than I expected, though I think I over-salted a tiny bit. Still way better than the frozen chicken patties I usually eat for dinner.

5 minutes ago

I did the same thing my first try! Cut the salt by 1/4 tsp next time and it’s perfect, I make this twice a week now.

5 minutes ago

So proud of you for giving grilling a shot, Tyler! You can always adjust the salt level to taste, and adding a squeeze of fresh lemon at the end helps cut any over-salted flavor too.

2 weeks ago

I’ve been grilling for 20+ years and wrote off boneless skinless breast as a lost cause for juicy results. Tried this recipe on a whim for a family dinner last weekend and I’m eating my words. Perfect grill marks, juicy all the way through, zero dry spots. 10/10.

1 week ago

Same here, old dog learning new tricks! I used to only do thighs on the grill but this method for breast is unbeatable.

2 hours ago

This is my new go-to for client meal plans! Super high protein, no fancy ingredients, easy enough for total beginners to nail, and the 12 minute cook time means no slaving over the grill after a long workout. Juicy enough that you don’t even need sauce if you don’t want it.

yesterday

Made these sliced up on a platter with different dipping sauces for my office potluck yesterday and they were gone in 10 minutes! Multiple coworkers asked if I catered them, no one believed I made them on my tiny apartment grill. So easy, so tasty.

2 hours ago

The dipping sauce platter is such a fun serving idea, Sarah! I love doing a honey mustard, BBQ, and tzatziki spread for parties too, it lets everyone customize their bite.

3 days ago

It was good, but mine stuck to the grill grates really bad even though I oiled them? Flavor was great and it was juicy, but I lost half the chicken to the grates which was a bummer.

2 days ago

Wait make sure your grates are screaming hot before you put the chicken down! If they’re not hot enough it’ll stick every time, no matter how much oil you use.

2 days ago

Tim is totally right! Preheating your grates for 10 full minutes before adding the chicken prevents sticking, and also helps get those perfect crispy grill marks. Give it another try next time!

5 days ago

Super solid recipe! I added a little extra paprika and garlic powder because I love bold flavor, and it turned out fantastic. Cook time was spot on, no dry bits at all. Will definitely add this to the regular weeknight rotation.

2 weeks ago

Cooked these over a campfire grill on my last camping trip and they turned out perfect! I was worried uneven campfire heat would make them dry or burnt, but keeping a close eye and flipping once like the recipe says worked like a charm. Juicy, flavorful, zero fuss.

1 week ago

Adding this to my camping meal list now! I always struggle to make decent protein over the campfire, this sounds ideal.

1 week ago

Y’all, my husband swears he hates grilled chicken breast because it’s “always dry” and he went back for THREE helpings tonight. I didn’t even tell him I used a new recipe, he just said this was the best chicken I’ve ever made. Game. Changer.

5 days ago

LMAO mine is the exact same way! He turned his nose up when I said we were having chicken breast for dinner and now he asks for it every single week.

3 days ago

Nothing beats a win with the picky household members! So glad this recipe won your husband over, Mara.

2 hours ago

Just moved into my first apartment with a balcony and this is the first thing I grilled! I was so nervous I’d undercook it or burn it, but the 6 minutes per side instruction was so easy to follow. It’s juicy, tastes amazing, I feel like a real adult now lmao.

30 minutes ago

Congrats on the new place, Leo! That’s such an exciting first grill win, we’re honored you picked our recipe to break in your balcony setup.

yesterday

Perfect for my low carb lifestyle! No weird sugary marinades, just simple seasoning, perfect juiciness, and it pairs so well with grilled veggies and cauliflower rice. I’ve already made it twice this week, it’s that good.

5 days ago

Made this for our extended family Sunday dinner with 12 people and it was a total hit! I doubled the recipe and every single breast came out perfectly juicy, even the ones I thought I might have overcooked a little. The easy difficulty rating is no joke, anyone can pull this off.

3 days ago

I need to make this for our next family gathering! I usually make thighs because I’m scared of drying out breast for a crowd, but this sounds foolproof.

2 days ago

Really great juicy texture, but I wish the seasoning was a little more creative? I ended up adding some chili flakes and parmesan at the end to give it more oomph, but the base cooking method is absolutely unbeatable. 12 minutes is wild, I used to cook chicken for 20+ minutes and it was always dry.

yesterday

We love the simple base seasoning because it’s so versatile! Adding chili flakes, parmesan, or even a BBQ rub is a great way to switch up the flavor to match whatever you’re serving it with.

yesterday

I rubbed mine with cajun seasoning last time I made it and it was insane! The cooking method works no matter what dry rub you use, it’s so flexible.

30 minutes ago

Just made this for dinner and even my golden retriever was sitting by the grill begging the whole time! The chicken was so juicy I didn’t even need to dip it in BBQ sauce, which is saying something because I put BBQ sauce on everything.

5 minutes ago

LMAO my cat did the same thing when I made this! She never begs for human food but the smell of this grilling was too good for her to ignore.

just now

First time meal prepping chicken that didn’t come out like a hockey puck! I cannot believe how easy this was, I was overcomplicating it for years with fancy brines and marinades. The 12 minute cook time is perfect for busy weeknights when I don’t have hours to spend in the kitchen.

1 week ago

I’ve tried every grilled chicken recipe on the internet looking for one that stays juicy, and this is the only one that delivers every single time. I teach a little grilling class for teens at the local community center and I already added this recipe to the curriculum, it’s that foolproof.

5 days ago

That means the world to us, thank you! We love hearing that this recipe is being passed along to new grillers, that’s exactly why we share these easy, reliable methods.

3 days ago

Made these sliced up for game day sliders last weekend and they were a massive hit! Juicy, flavorful, held up perfectly on little buns with pickles and cheese, and I didn’t have to spend all day manning the grill because they cooked so fast. Will 100% be making these for every tailgate this fall.



