
cracker barrel hash brown casserole
intro
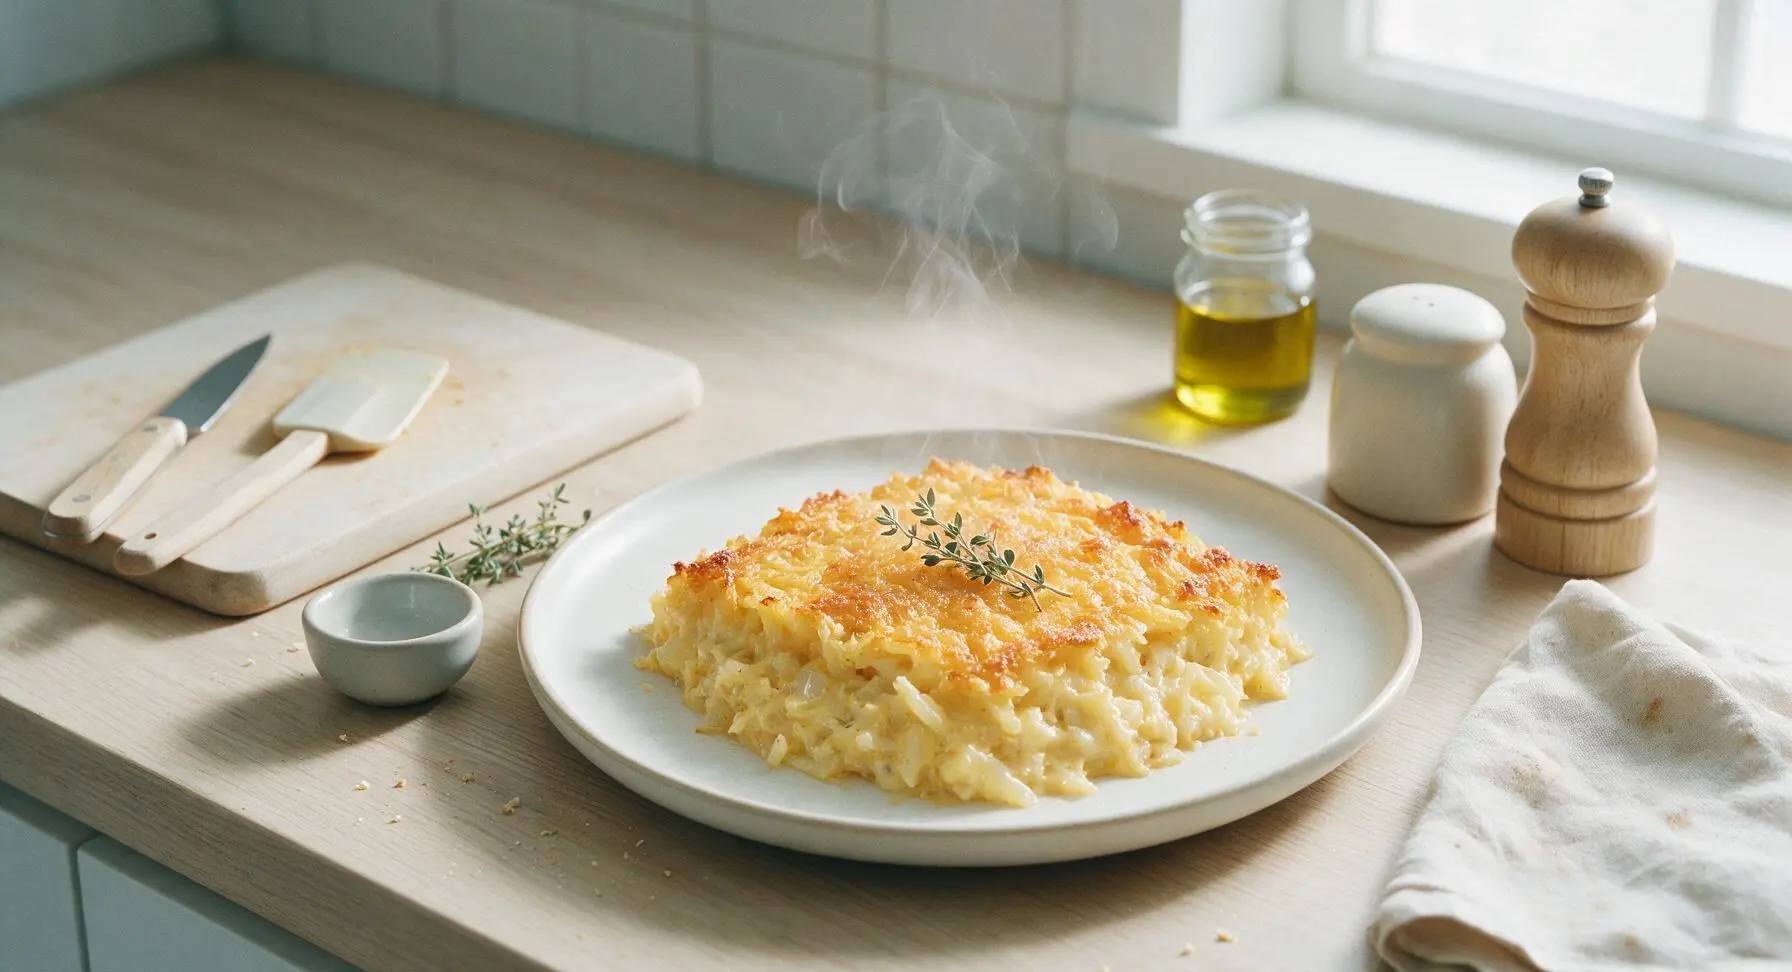
Creamy, cheesy, crispy-topped copycat Cracker Barrel hash brown casserole is the cozy, shareable Southern comfort side, identical to the beloved restaurant classic.
Ingredients
Steps
Preheat Oven and Prep Dish
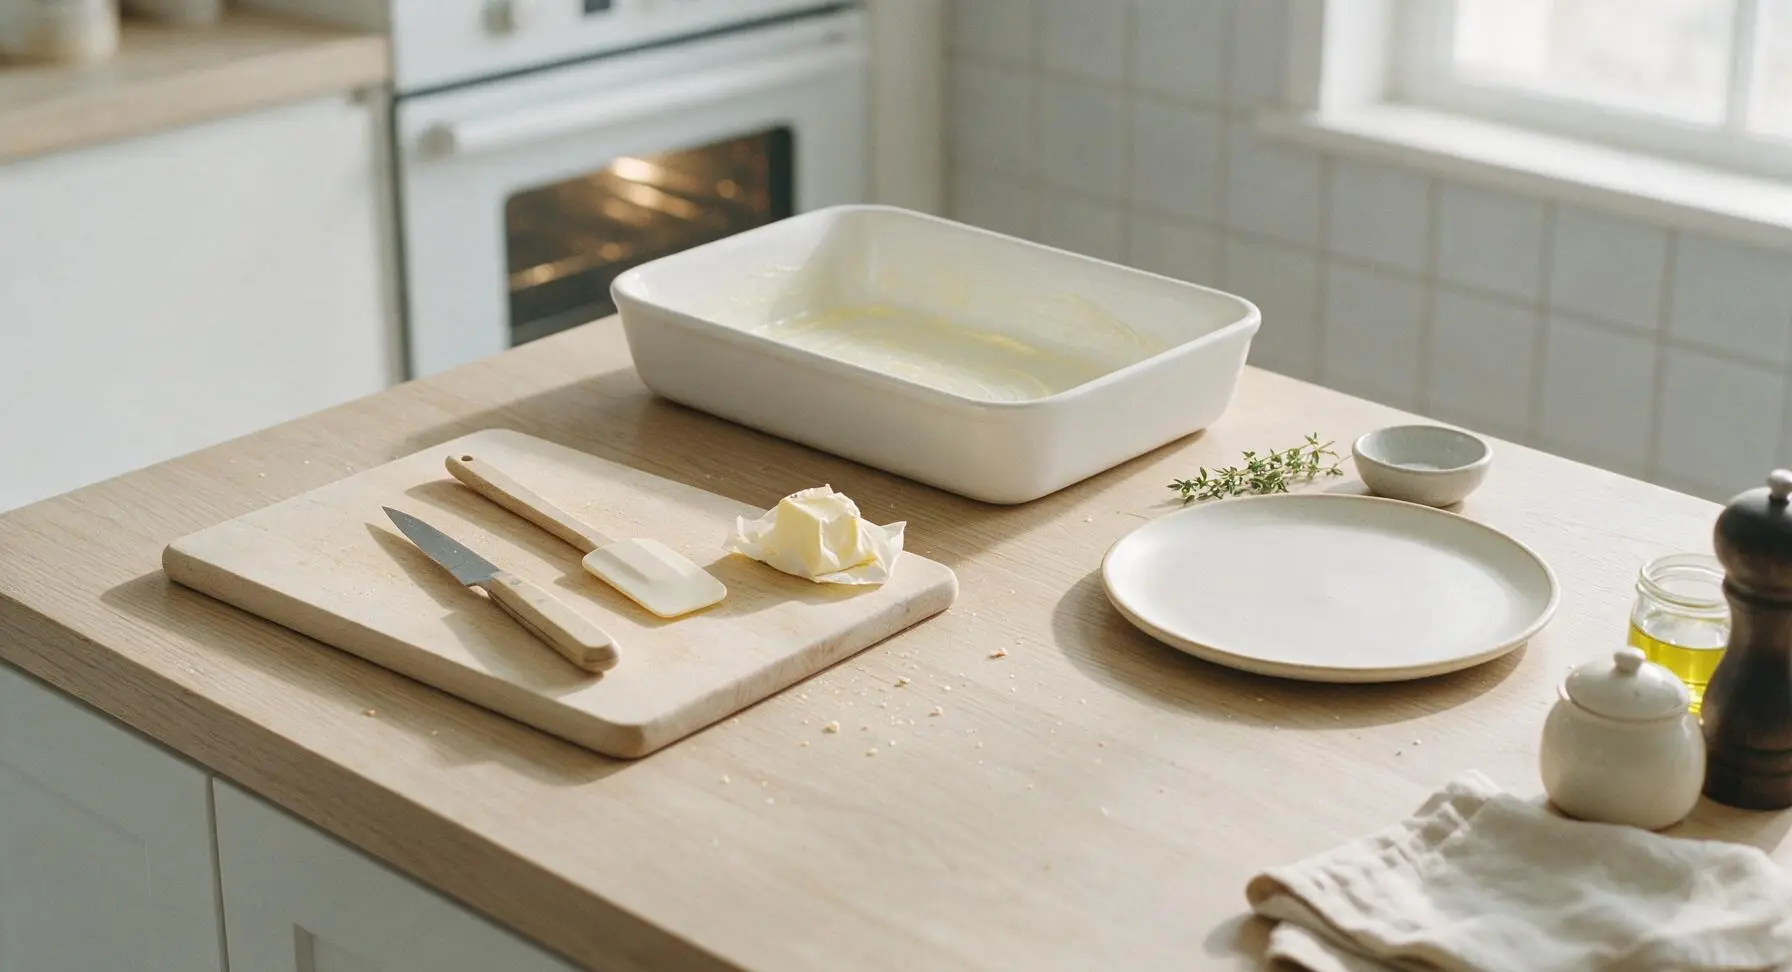
Preheat your oven to 350°F (175°C). Use a small pat of butter (taken from the measured 1/2 cup) to lightly grease the bottom and 1/2 inch up the sides of the 9x13 inch matte white ceramic baking dish, then set the dish in its center-back position on the counter. Greasing prevents the cheesy potato mixture from sticking to the dish during baking, for easy serving later.
Squeeze Hash Brown Moisture
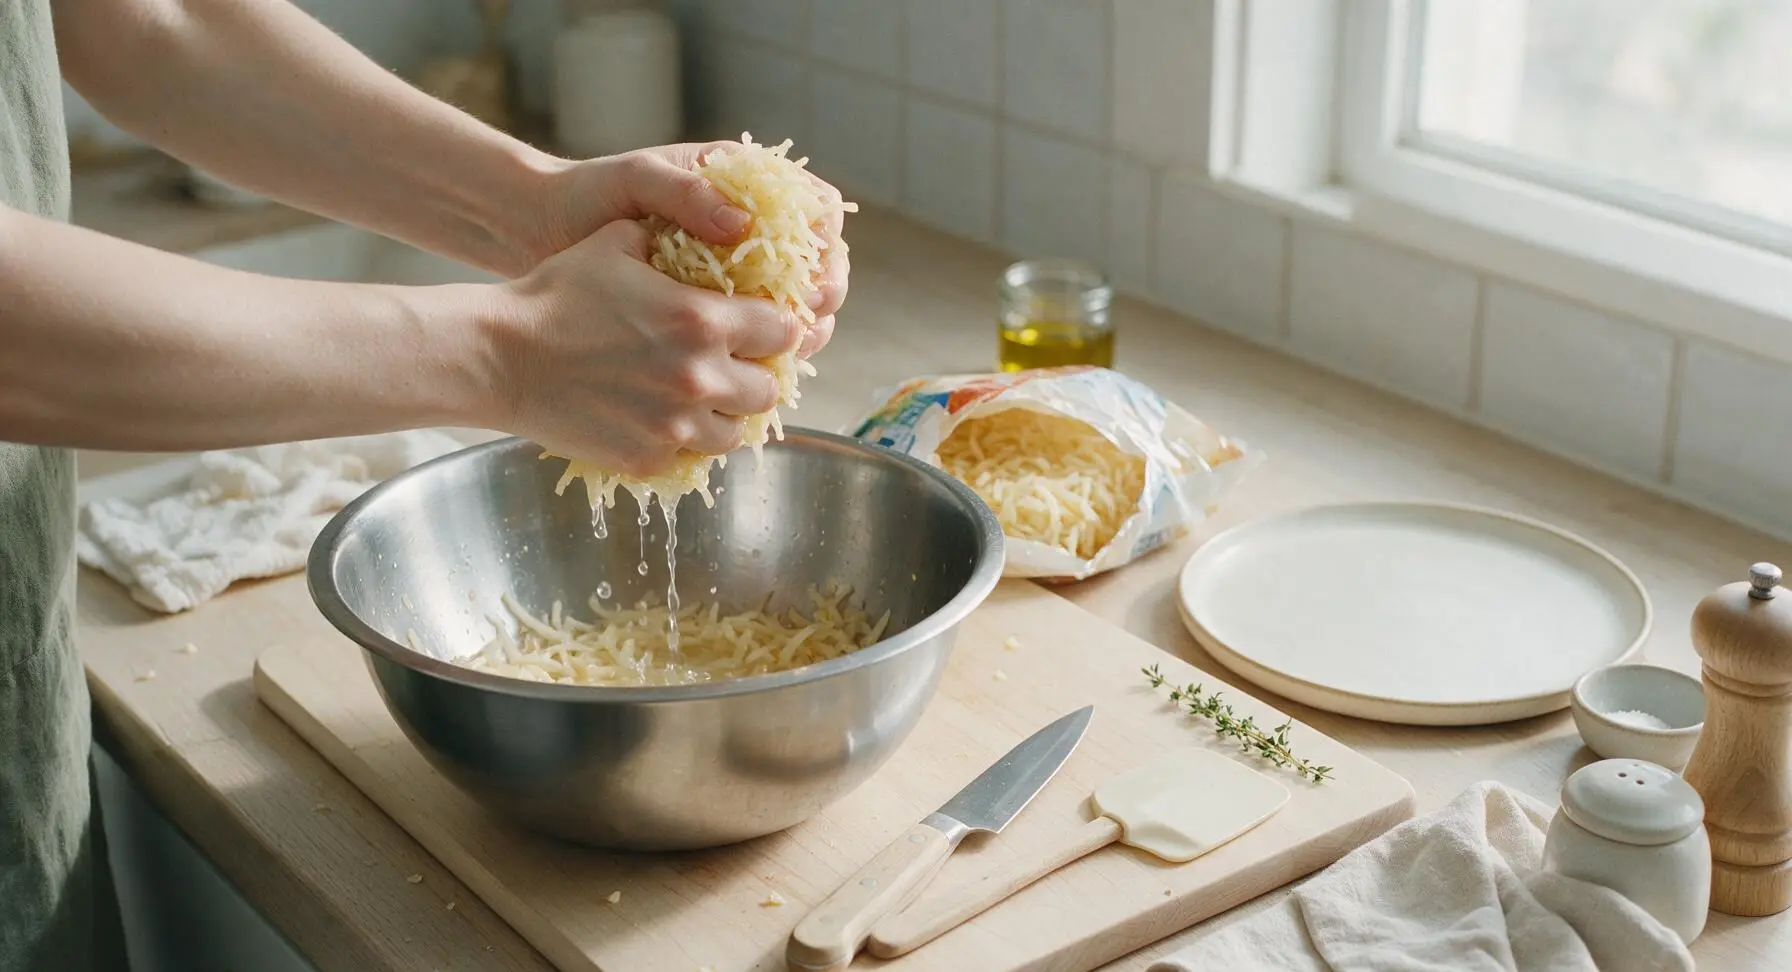
Transfer the thawed shredded hash browns to the light oak cutting board. Working in 1-cup batches, squeeze the shreds firmly between clean hands to remove as much excess starchy water as possible. Properly squeezed shreds will feel damp, not sopping wet; skipping this step leads to a watery, mushy final casserole. Transfer all squeezed shreds to the large stainless steel mixing bowl positioned left of the board.
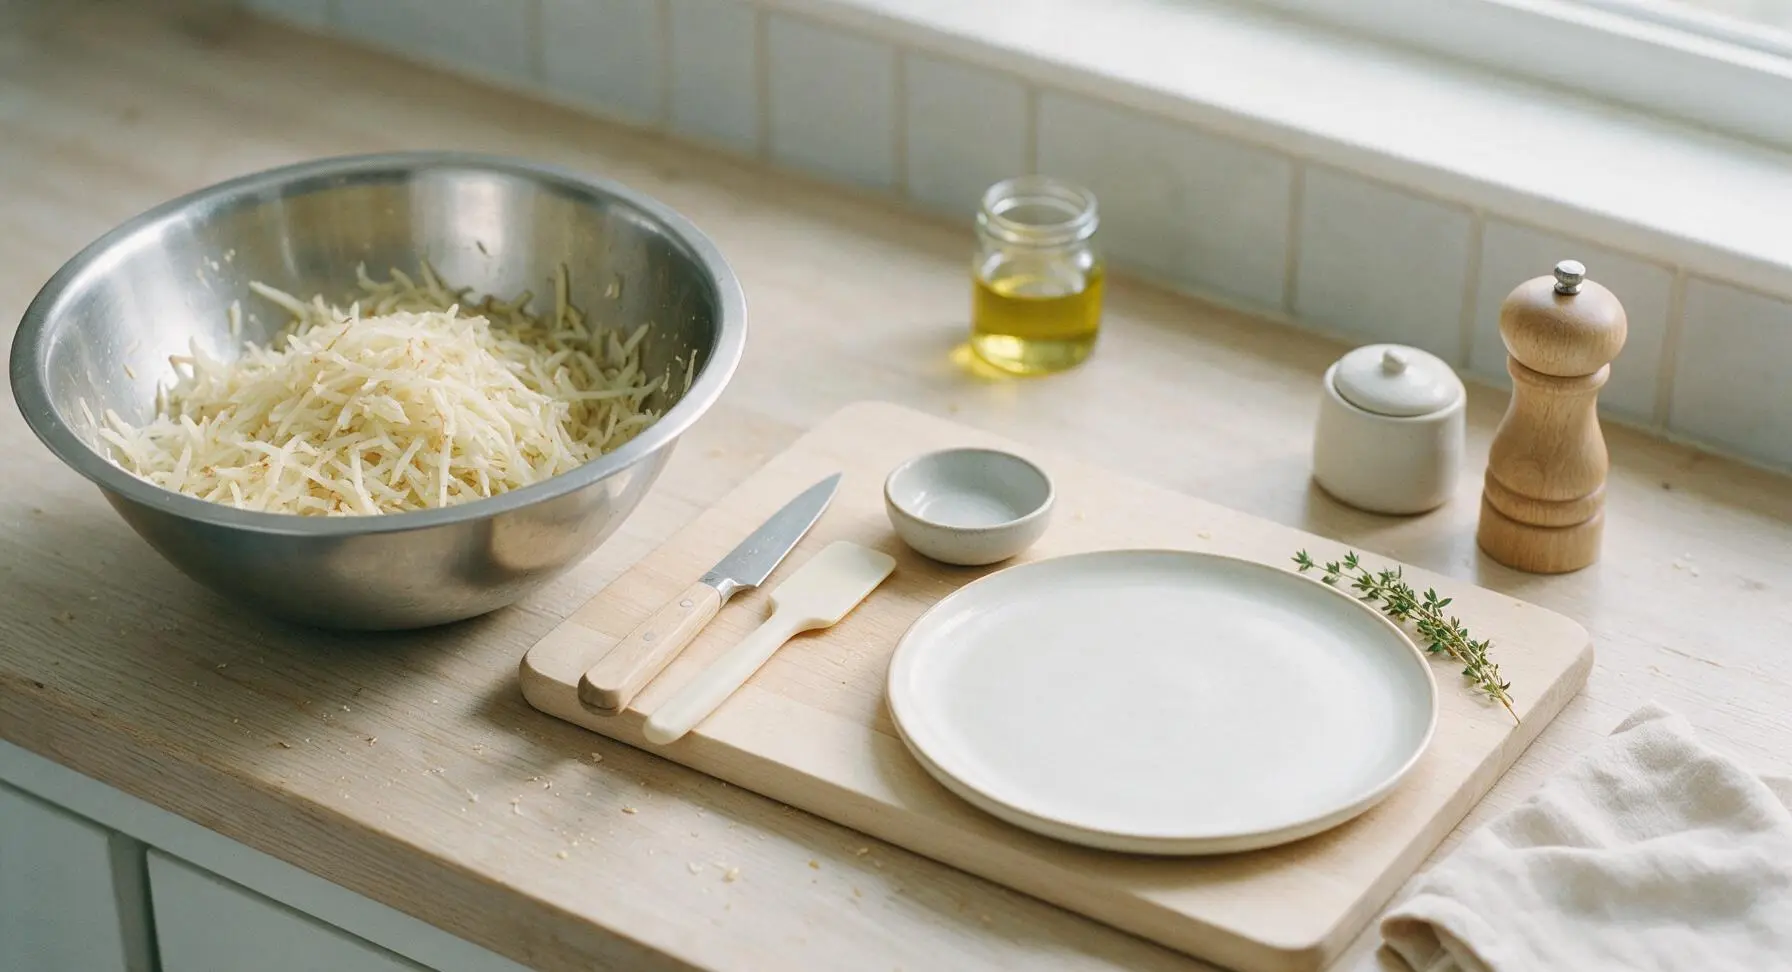
Mix Creamy Casserole Base
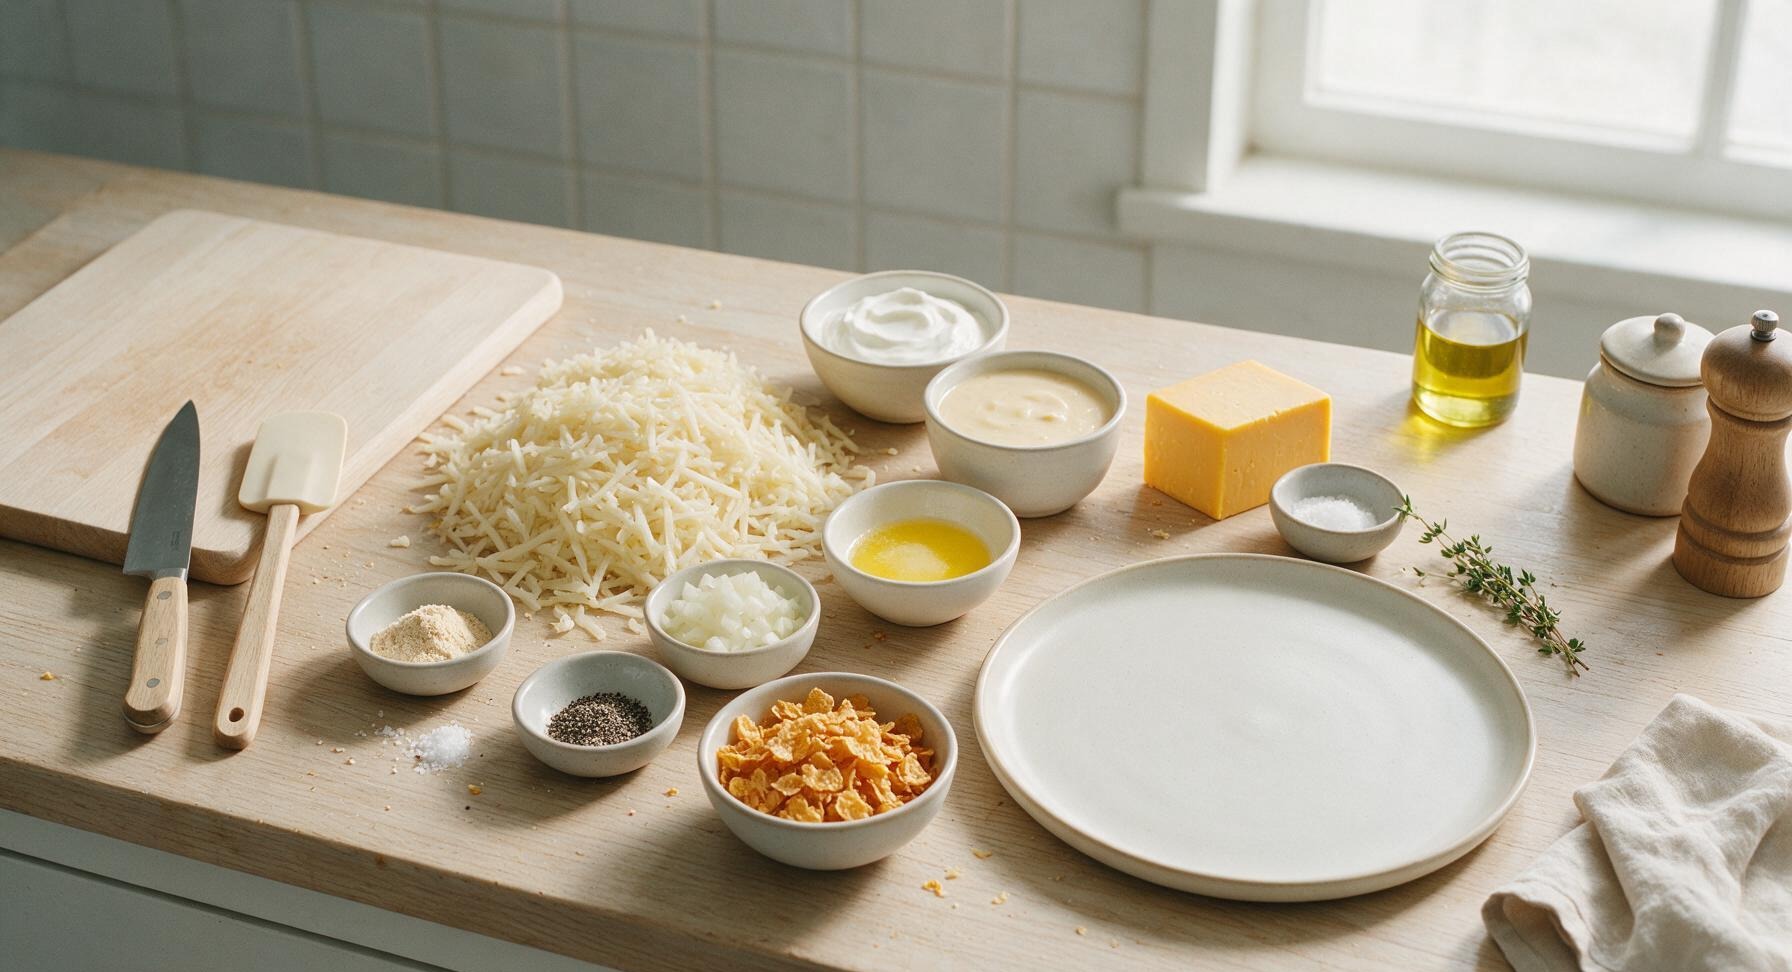
Add the full-fat sour cream, condensed cream of chicken soup, 1/4 cup of the melted butter, finely diced yellow onion, garlic powder, kosher salt, and black pepper to the mixing bowl with the squeezed hash browns. Use the cream-handled silicone spatula to stir thoroughly for 1-2 minutes, until every hash brown shred is evenly coated in the creamy pale mixture, with no dry clumps of condensed soup remaining at the bottom of the bowl.
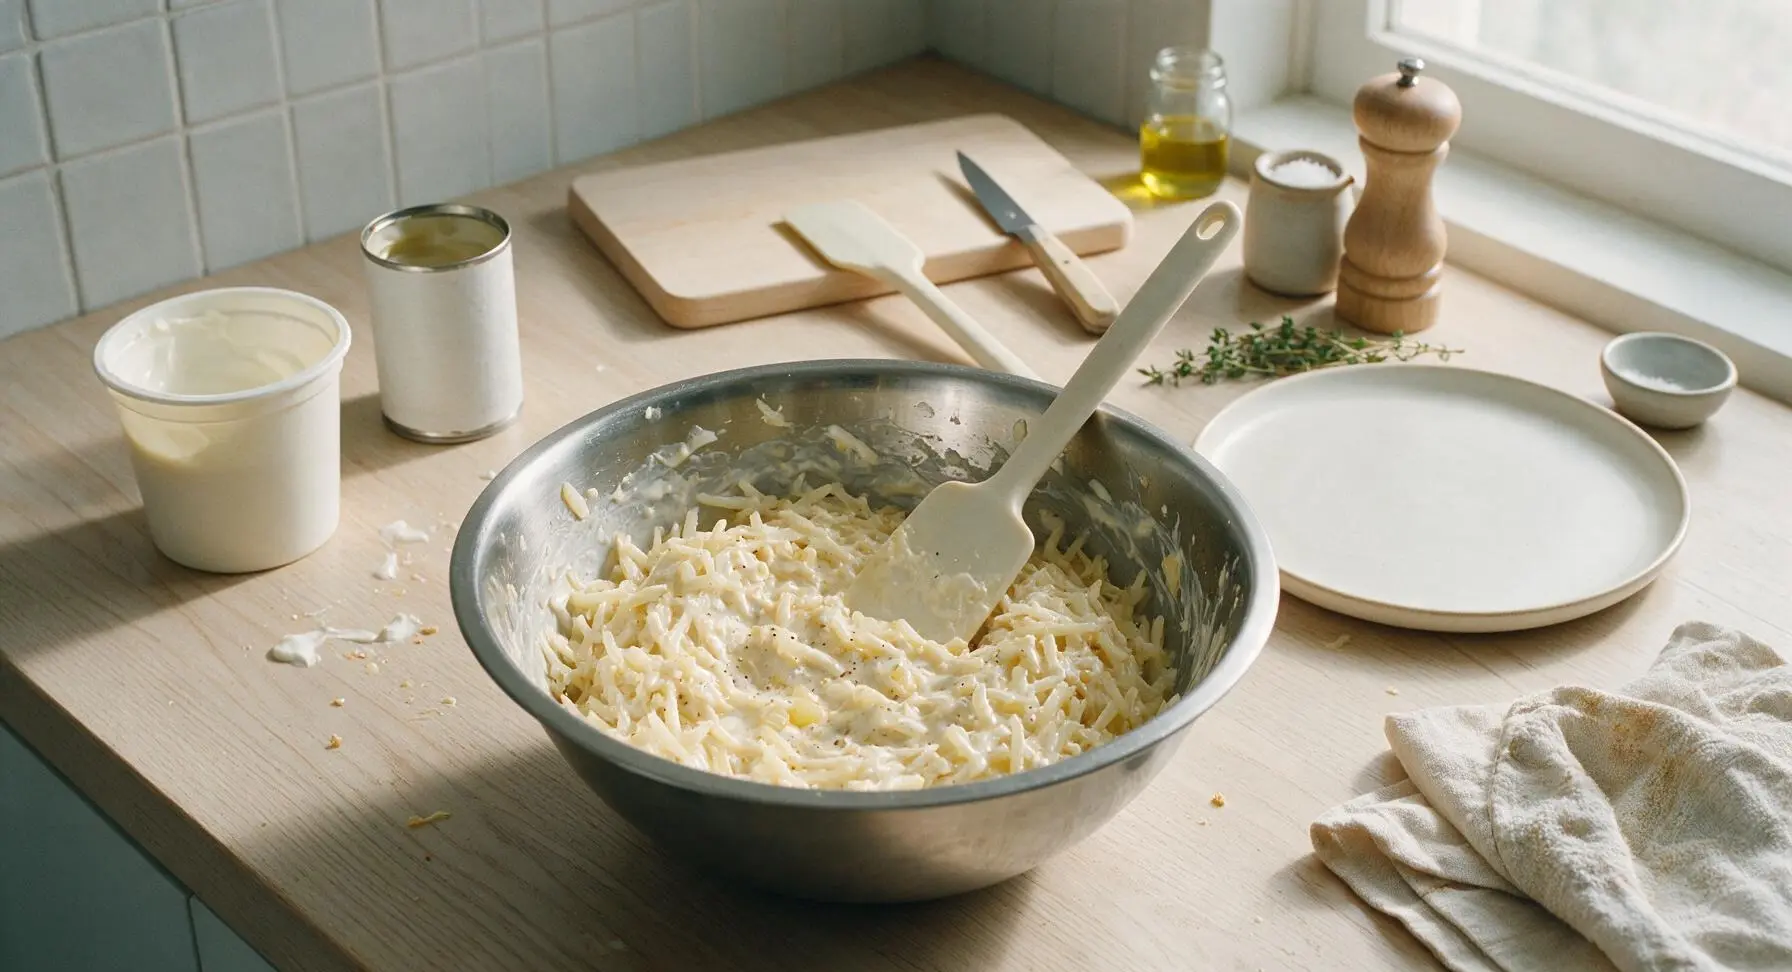
Fold in Shredded Cheddar
Shred the block of sharp yellow cheddar using the stainless steel box grater on its largest hole setting, reserving 1/2 cup of shredded cheese for a final topping if desired. Add the remaining 1.5 cups of shredded cheddar to the mixing bowl, folding gently with the silicone spatula for 30 seconds to distribute the cheese evenly throughout the hash brown mixture. Take care not to mash the potato shreds while folding, to keep the casserole texture light.
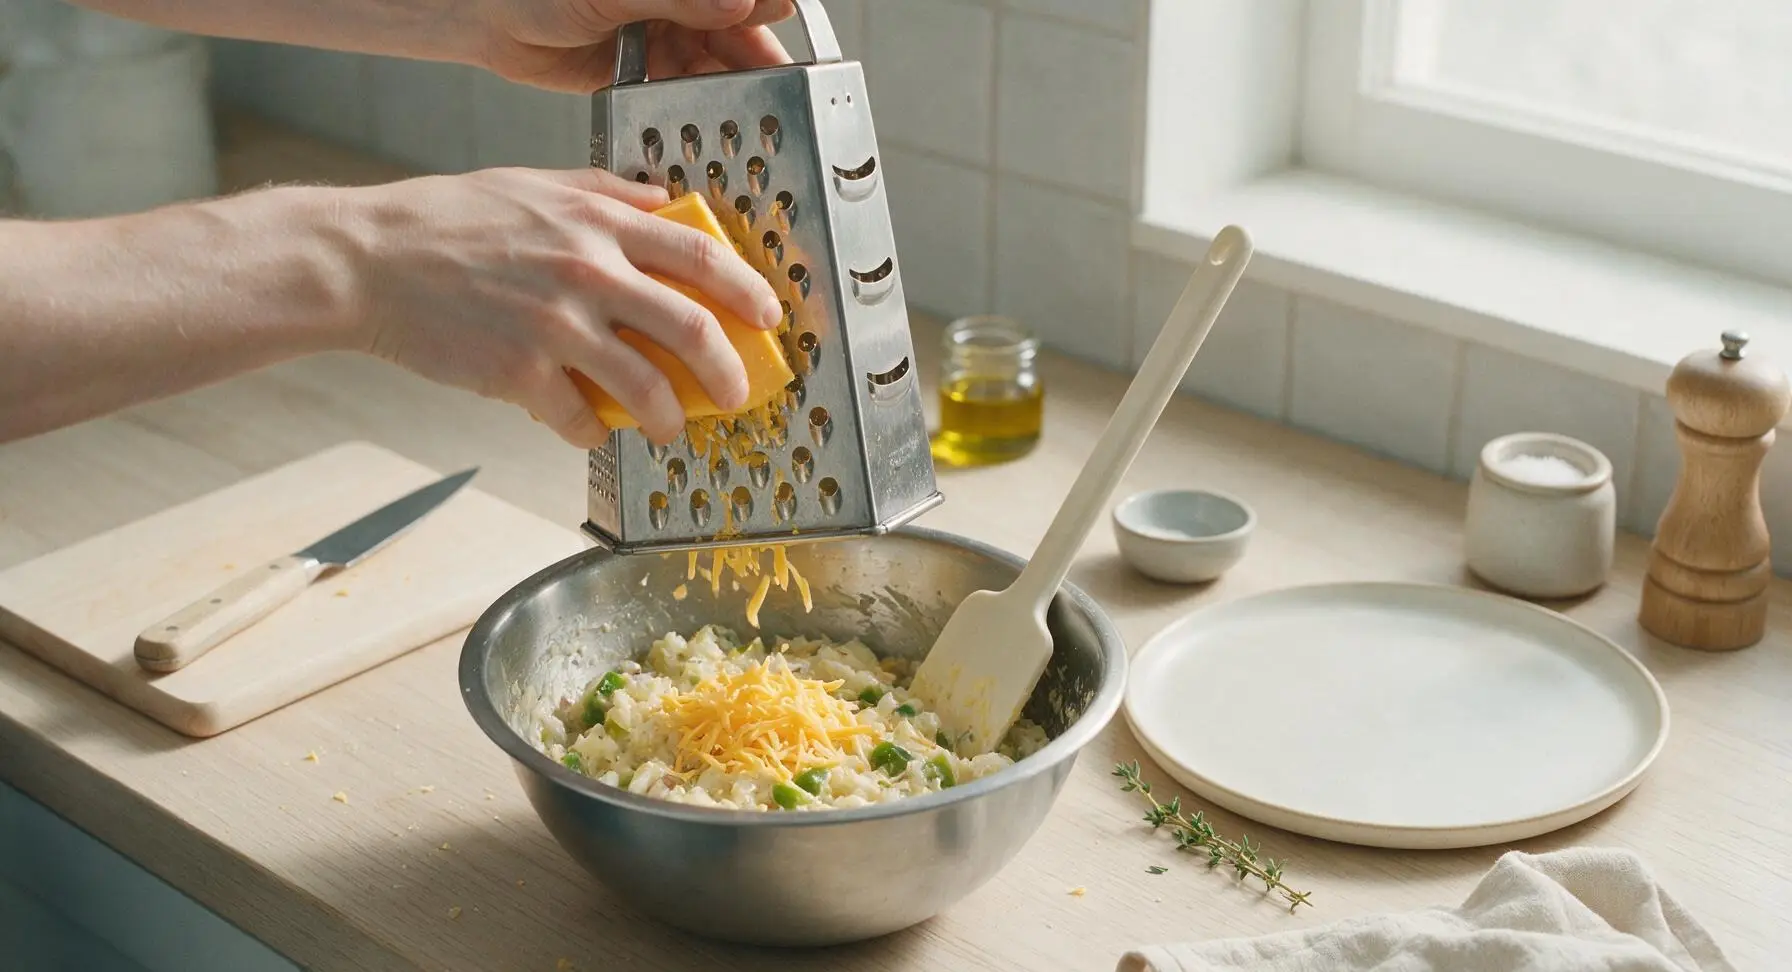
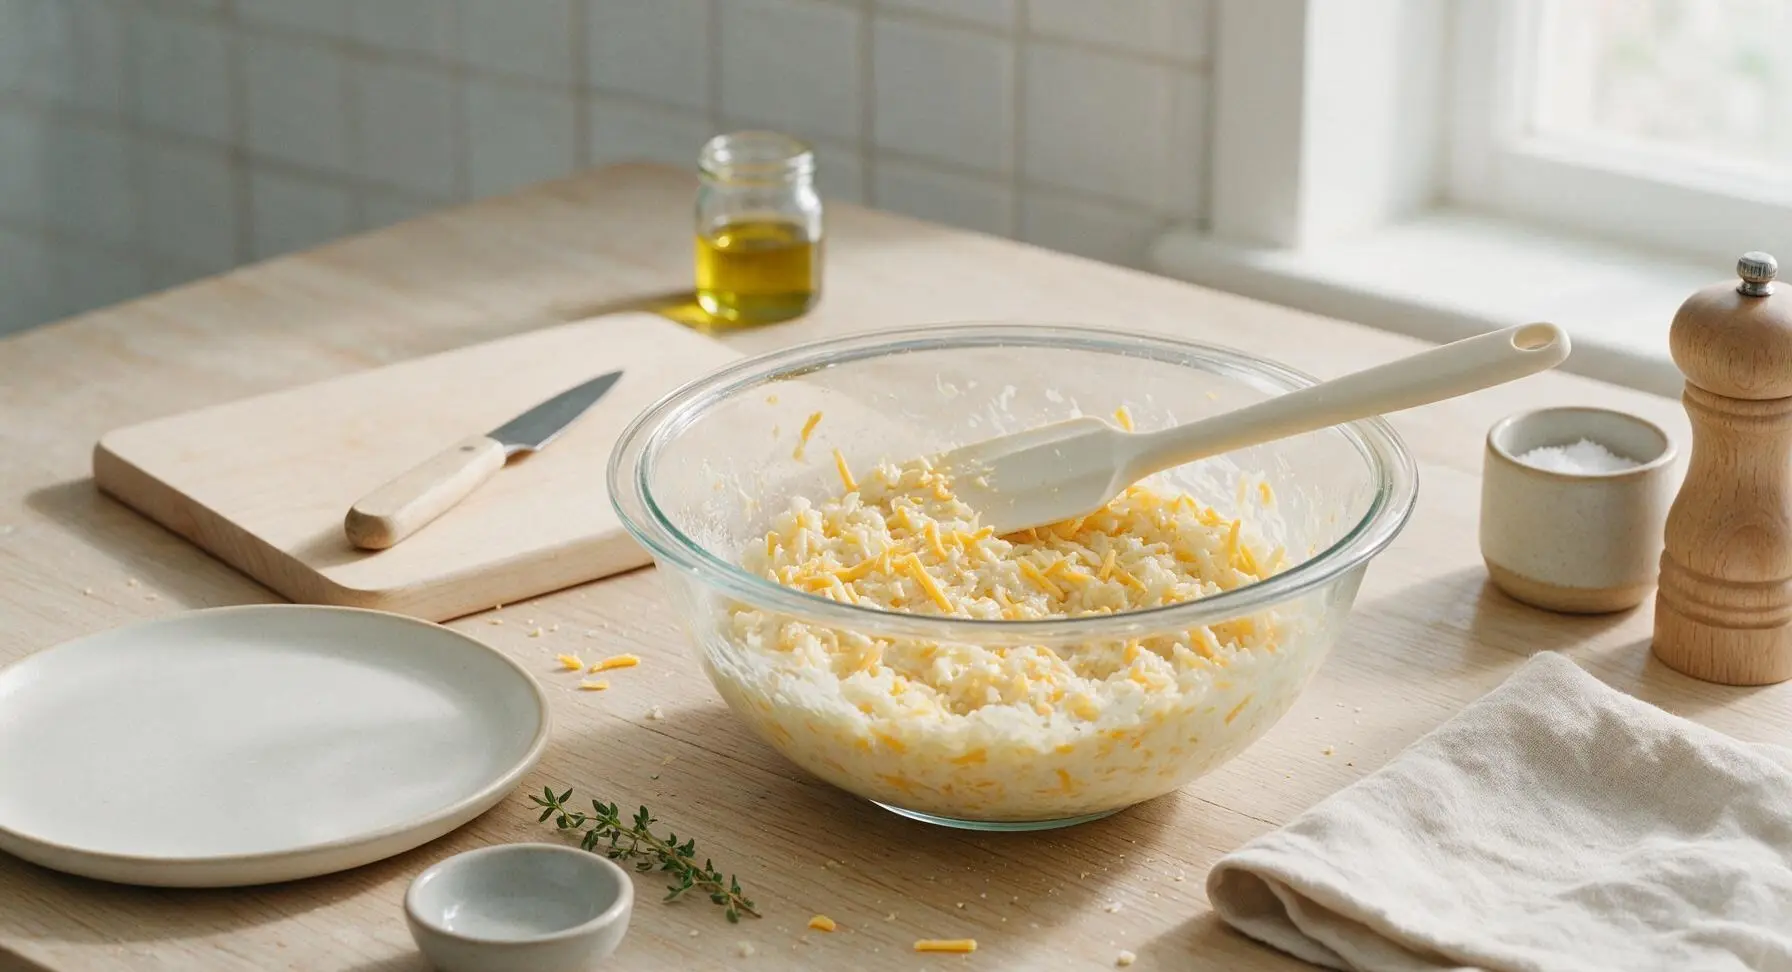
Transfer to Baking Dish
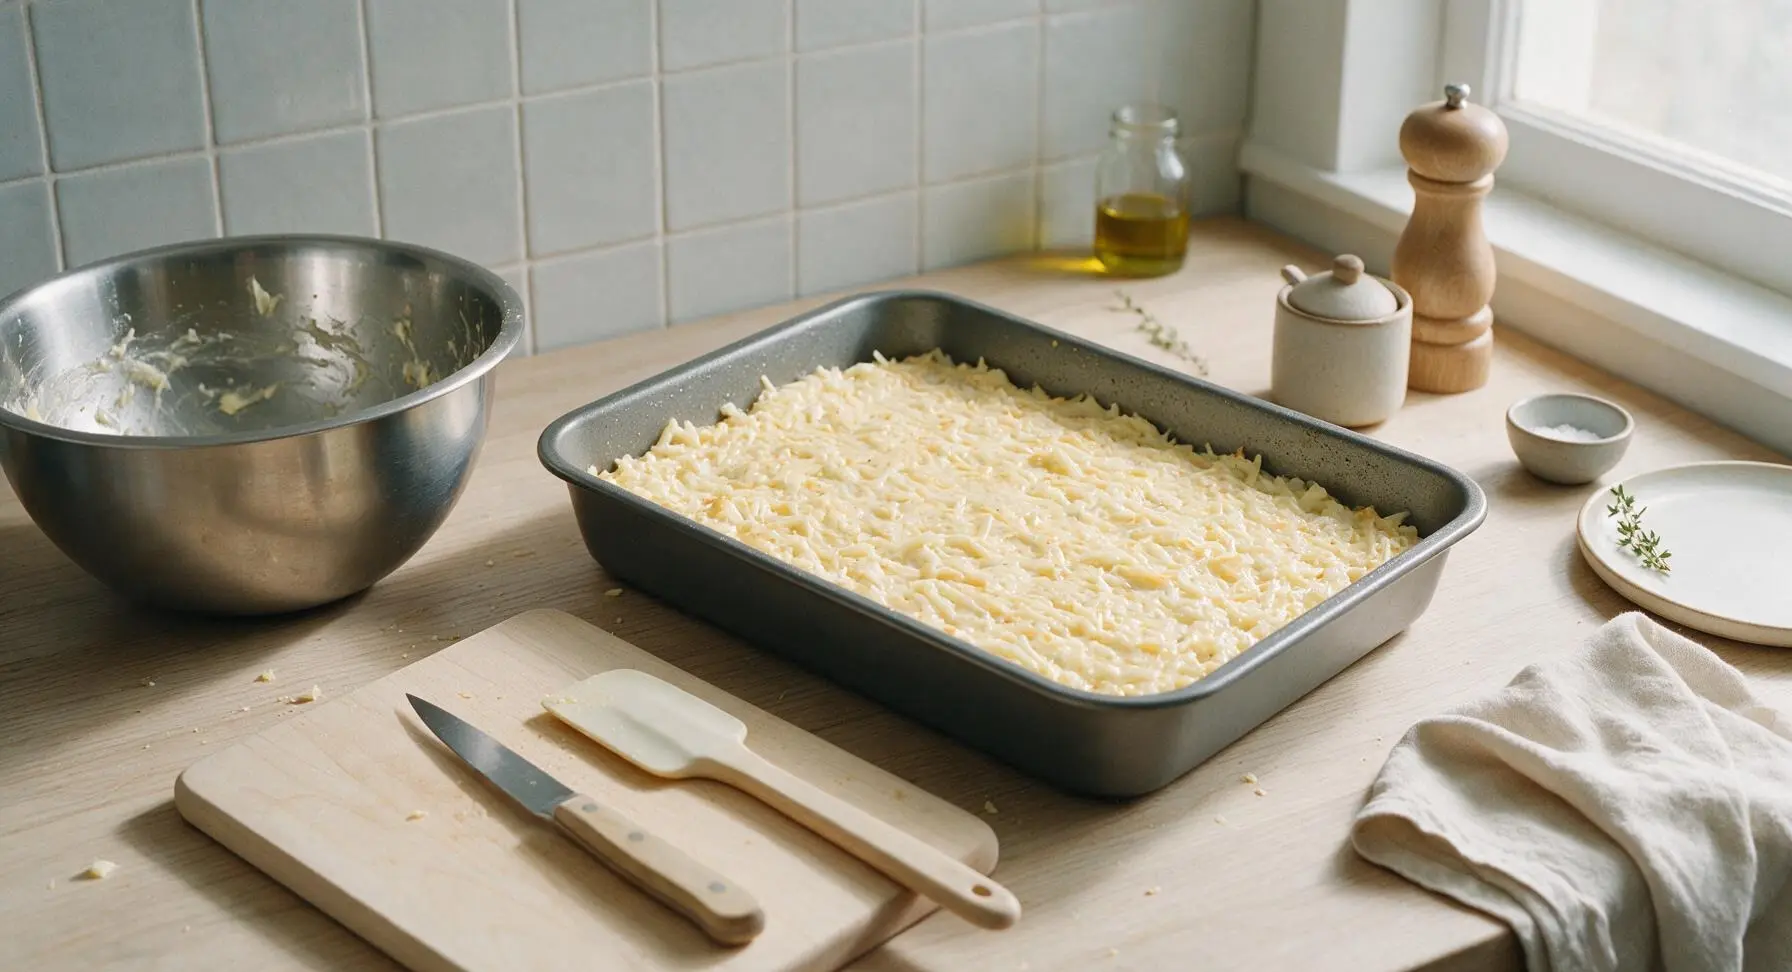
Scoop the entire cheesy hash brown mixture from the mixing bowl into the pre-greased 9x13 inch baking dish. Use the flat side of the silicone spatula to spread the mixture into an even, level layer across the dish, pressing very gently to eliminate large air gaps. Do not pack the mixture tightly, as this will result in a dense, heavy casserole instead of a light, creamy texture.
Add Crispy Cornflake Topping
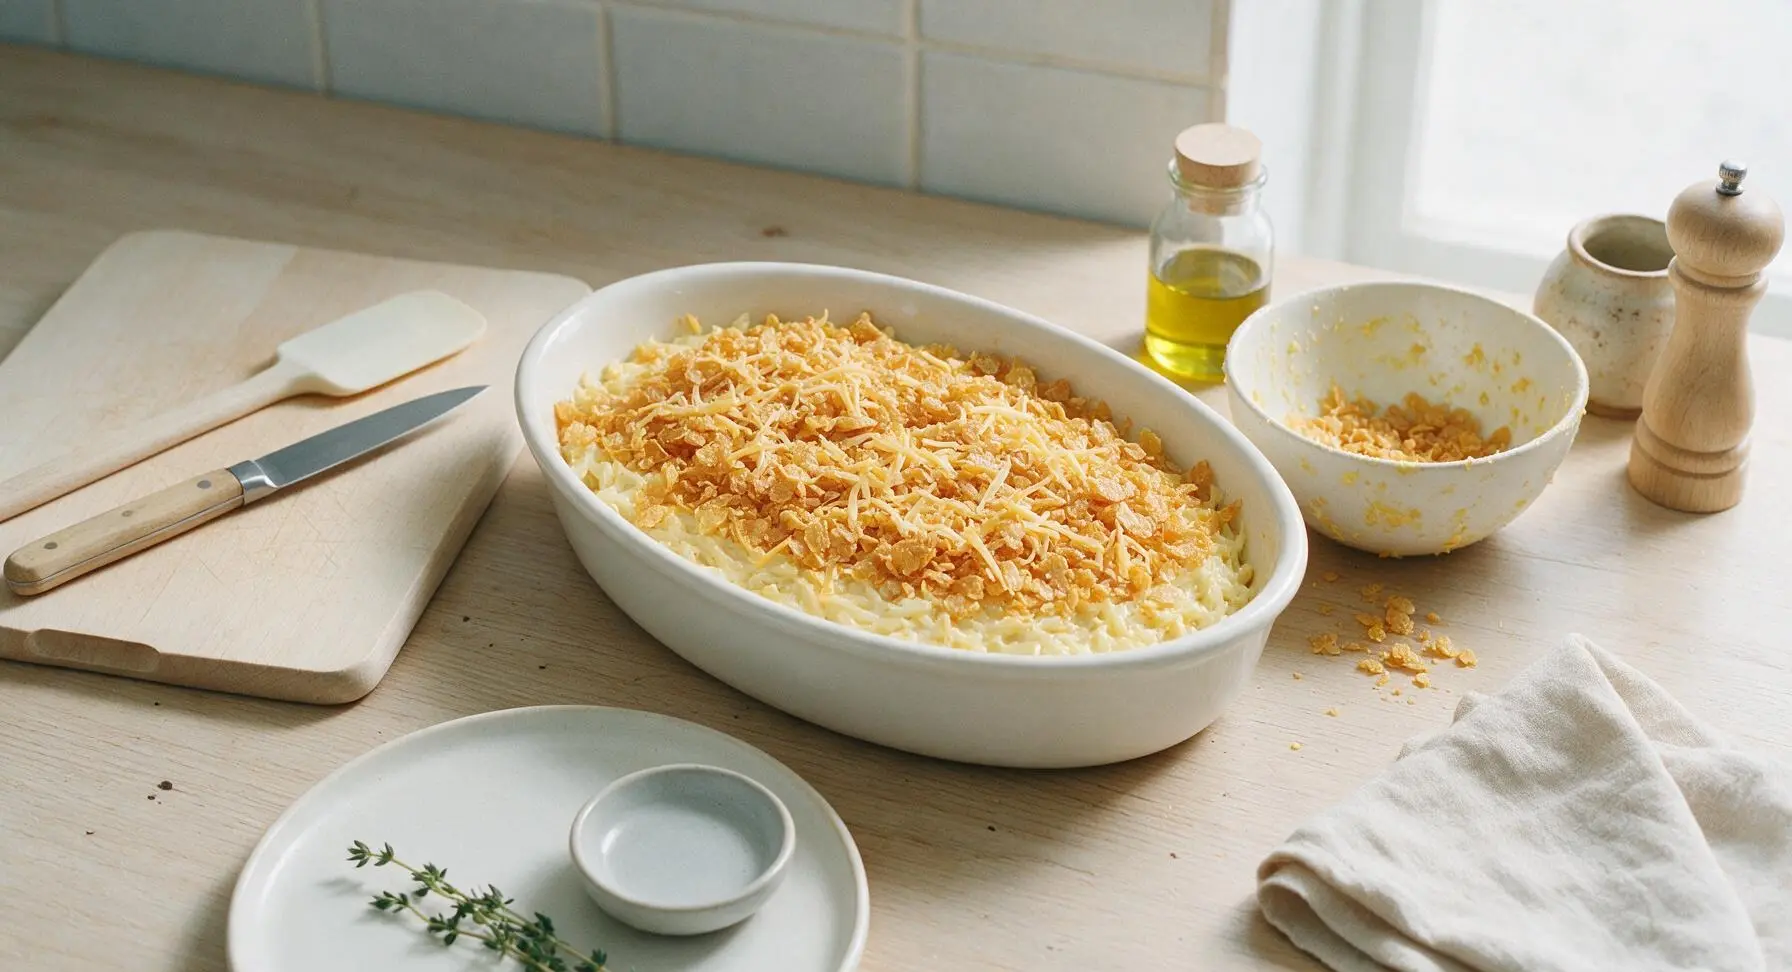
In a small bowl, toss the crushed cornflakes with the remaining 1/4 cup of melted butter until every flake is lightly and evenly coated. Sprinkle the buttered cornflakes in a loose, even layer over the top of the hash brown mixture in the baking dish, then top with the reserved 1/2 cup of shredded cheddar if using. Do not press the topping down into the potato mixture, to keep it light and crispy after baking.
Bake Until Golden Bubbly
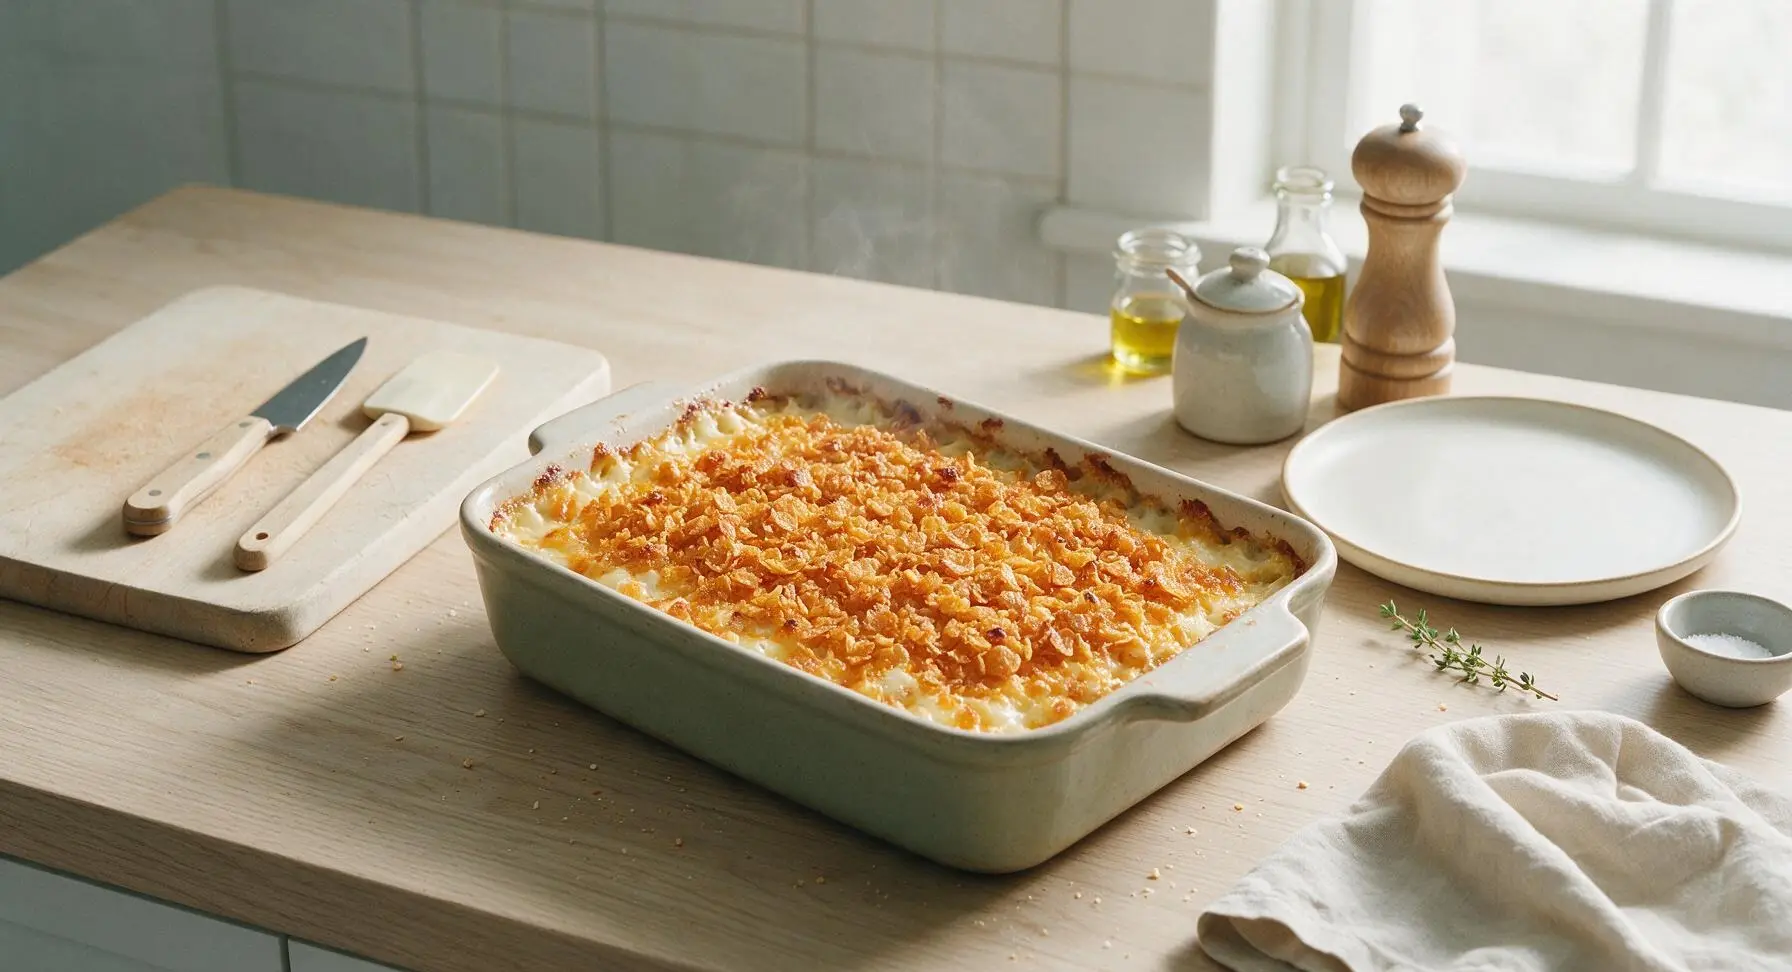
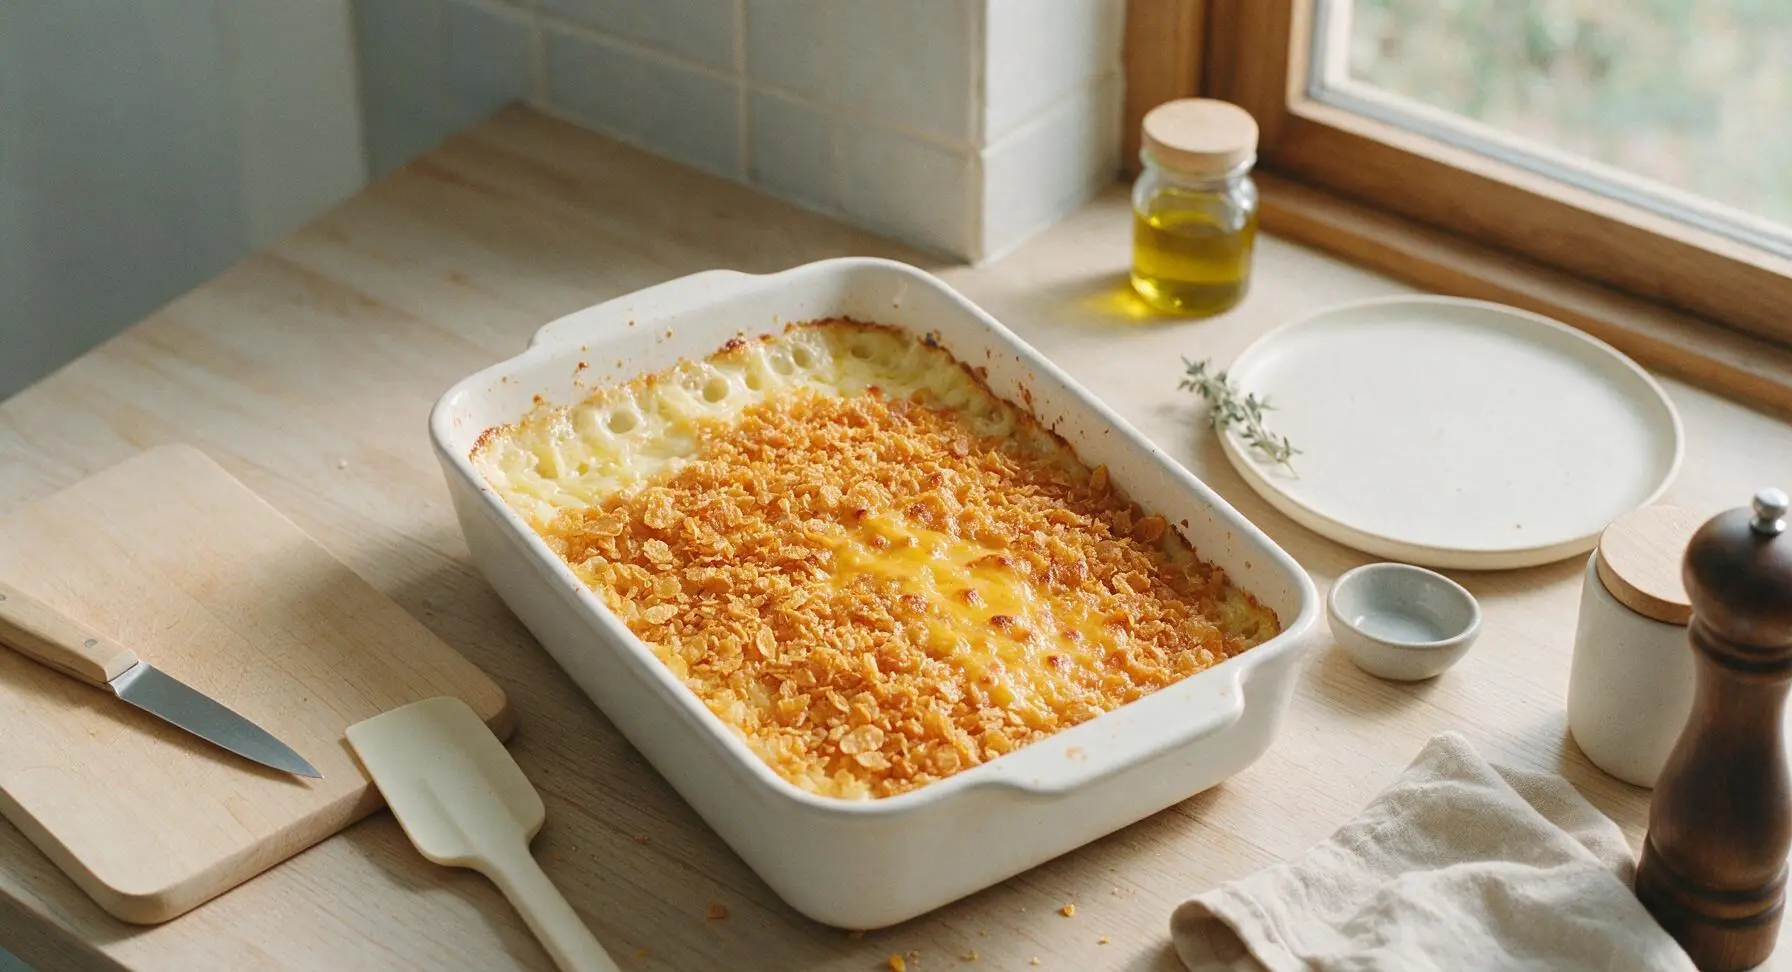
Place the baking dish on the middle rack of the preheated 350°F (175°C) oven. Bake for 45-50 minutes, until the edges of the casserole are bubbling vigorously, the cornflake topping is deep golden brown and crispy, and the center is fully set (no runny liquid visible when you jiggle the dish slightly). Remove the dish from the oven and let it rest for 5 minutes at room temperature before serving, to allow the creamy filling to set.
Tips
2.Shred your own cheddar from a block instead of using pre-shredded bagged cheese: pre-shredded cheese is coated in potato starch and anti-caking agents that prevent it from melting smoothly, leading to a grainy, less cohesive cheese flavor and texture in the finished casserole.
3.This casserole can be fully assembled 1–2 days ahead and stored covered in the refrigerator for potlucks or busy weeknights: wait to add the buttered cornflake topping until right before baking to keep the topping crispy, rather than soggy from absorbing moisture from the potato filling as it chills.






OMG this tastes EXACTLY like the Cracker Barrel version I beg my husband to stop at on every road trip! I made this for our Sunday family dinner last night and even my super picky 7 year old, who only eats chicken nuggets 90% of the time, asked for seconds. So creamy, perfectly cheesy, no weird tangy aftertaste like some other copycat recipes I’ve tried over the years. 10/10 will be making this for our next office potluck too!
Total game changer for weekly meal prep! This was so easy to throw together on Sunday, I portioned it out for weekday breakfasts alongside some scrambled eggs and turkey sausage, and it reheats like a dream. No fancy hard-to-find ingredients, 10 minutes of prep tops, pop it in the oven — perfect for busy weeks when I’m running out the door to work. Only tweak I made was adding a little extra sprinkle of sharp cheddar on top the last 10 minutes of baking, chef’s kiss.
Made this for my buddy’s football watch party over the weekend and the whole pan was gone in 15 minutes. People kept asking me for the recipe, I felt like a genius lol. Only pro tip: if you love that crispy top, add a handful of crushed cornflakes mixed with melted butter like Cracker Barrel does, it takes it over the top. SO good.
I’ve been trying to copy Cracker Barrel’s hash brown casserole for our family holidays for years and I swear this recipe is dead on! I was worried it would be too fussy for my grandkids to help with, but it’s so easy even my 10 year old granddaughter Lila helped mix everything together. We brought it to our church potluck last Sunday and got so many compliments, three different ladies asked me for the recipe! Will be saving this to make for Thanksgiving this year for sure.
Wait, this is so easy I almost didn’t believe it would turn out right? I don’t cook a ton, I mostly order takeout, but I was craving that Cracker Barrel comfort food and didn’t want to drive 45 minutes to the closest location. This came out perfect first try! I didn’t have any cream of chicken soup so I used cream of mushroom instead and it still slapped. Only knock is I wish the recipe mentioned the optional cornflake topping — I saw someone mention it in another comment so I threw it on, and it was chef’s kiss, but I would’ve loved to see that in the official instructions. Still so good, will make again!