
Cranberry Millet Stuffing
intro
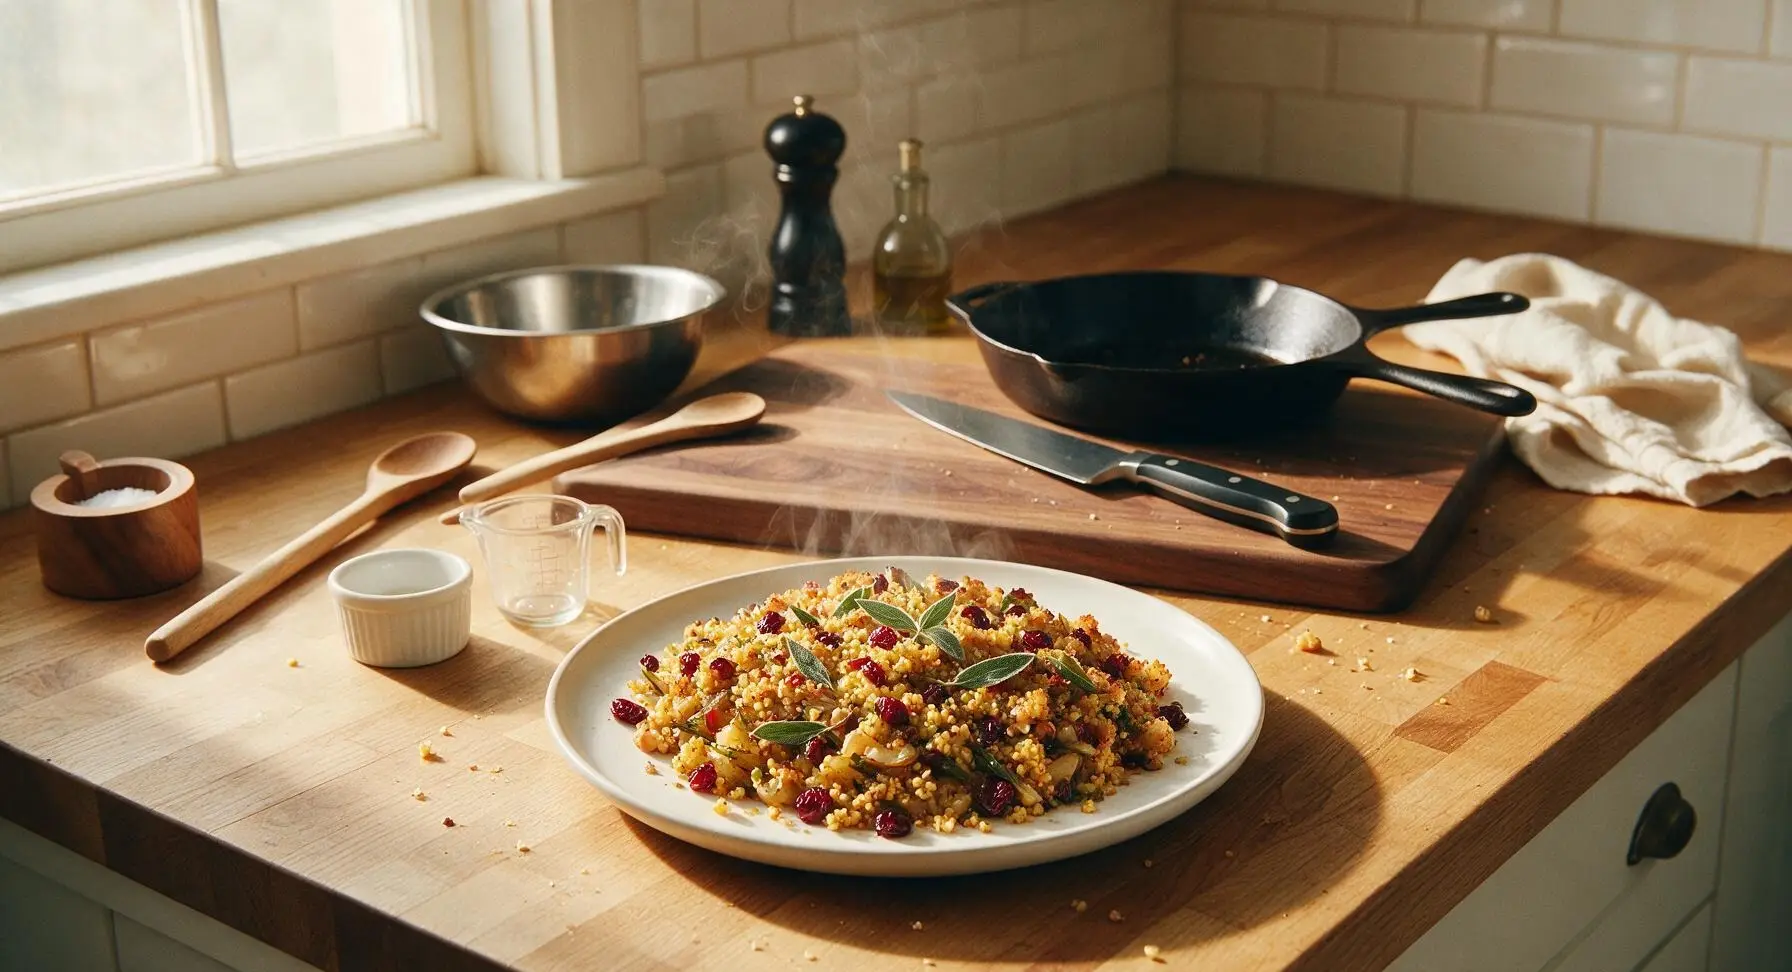
A light, gluten-free twist on classic Thanksgiving stuffing, with nutty toasted millet, tart dried cranberries, aromatic sage, and sautéed veggies, baked to golden crisp-edged perfection.
Ingredients
Steps
Prep and Measure Ingredients
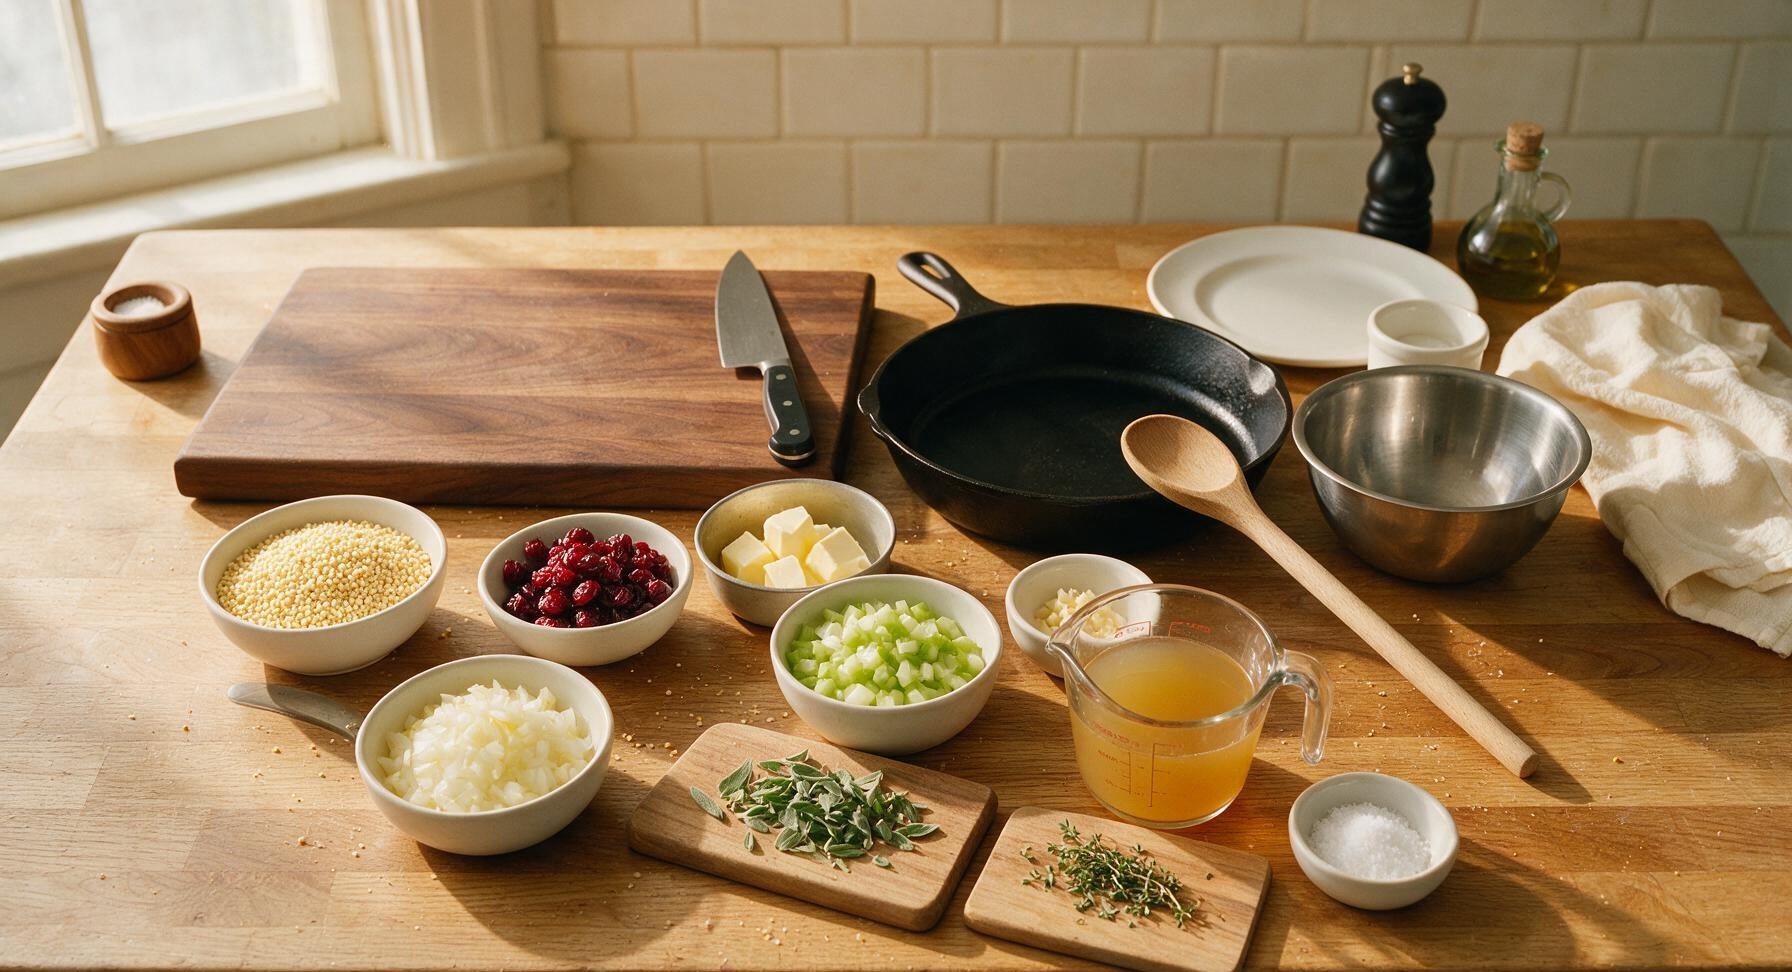
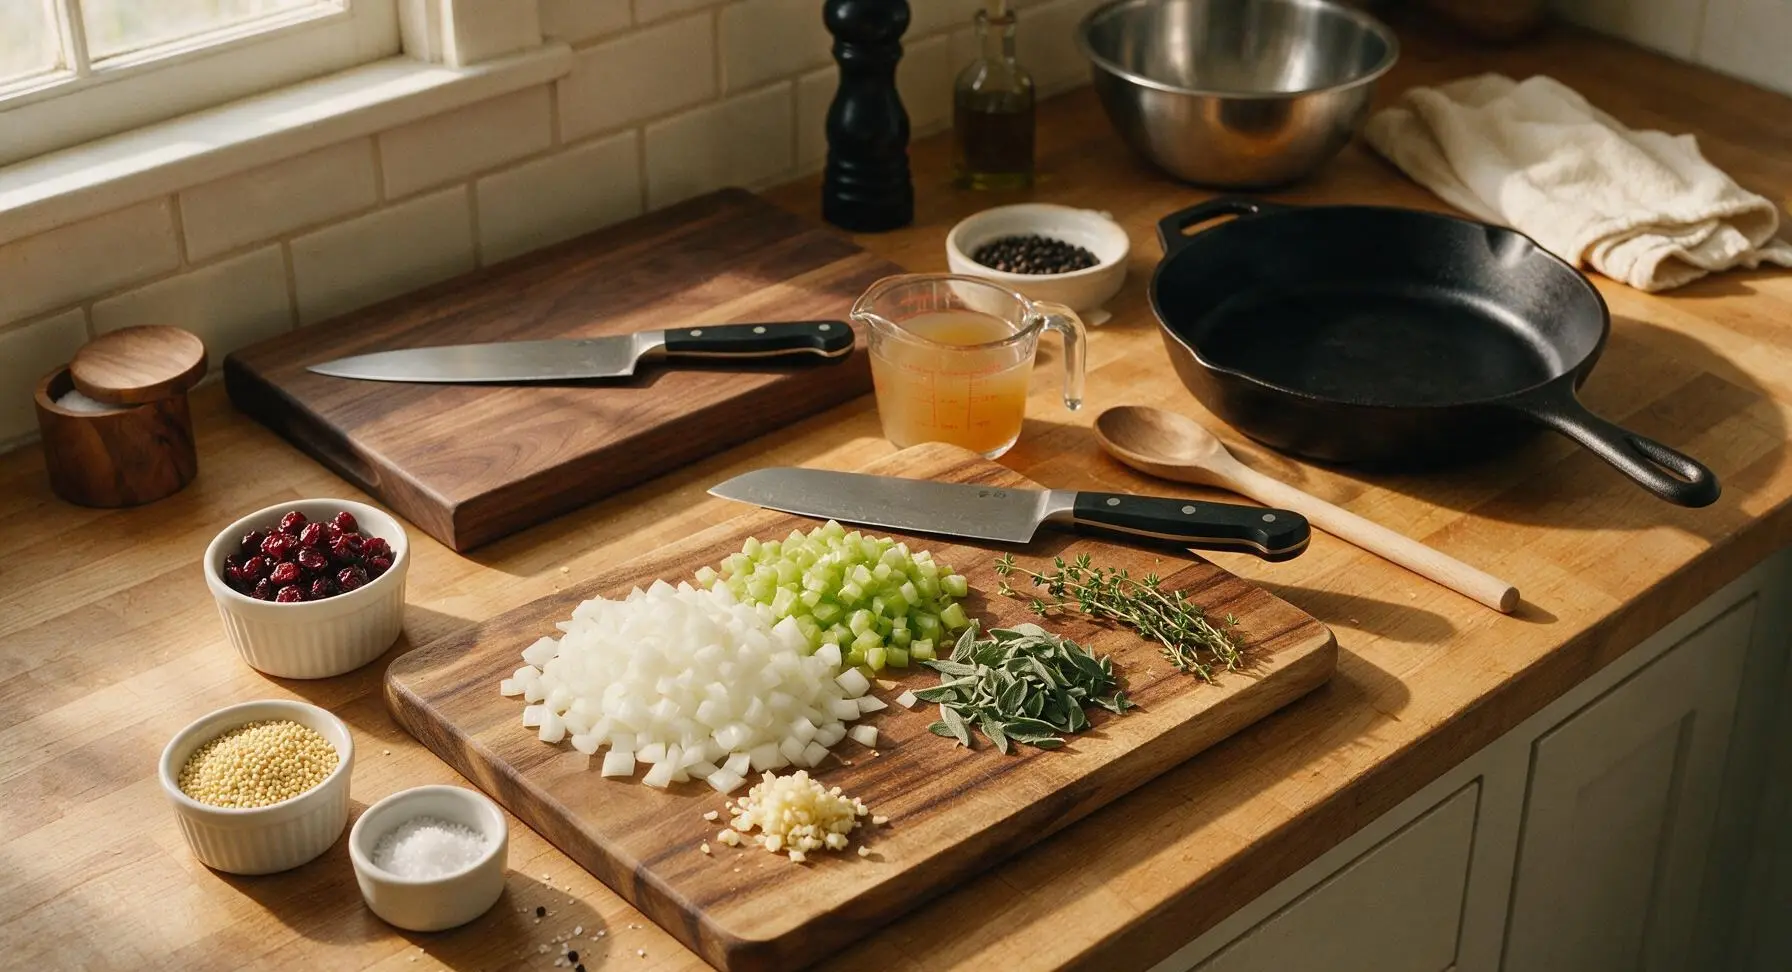
Place the whole onion, celery, garlic, and fresh herbs on the acacia wood cutting board. Using the 7-inch santoku knife, finely dice onion and celery into uniform ¼-inch pieces, mince garlic, chop sage leaves, and strip thyme leaves from their woody stems. Use the stainless steel measuring spoons and clear glass measuring cup to portion all remaining ingredients into the small clear glass ramekins, setting them within easy reach for smooth cooking flow.
Toast Dry Millet
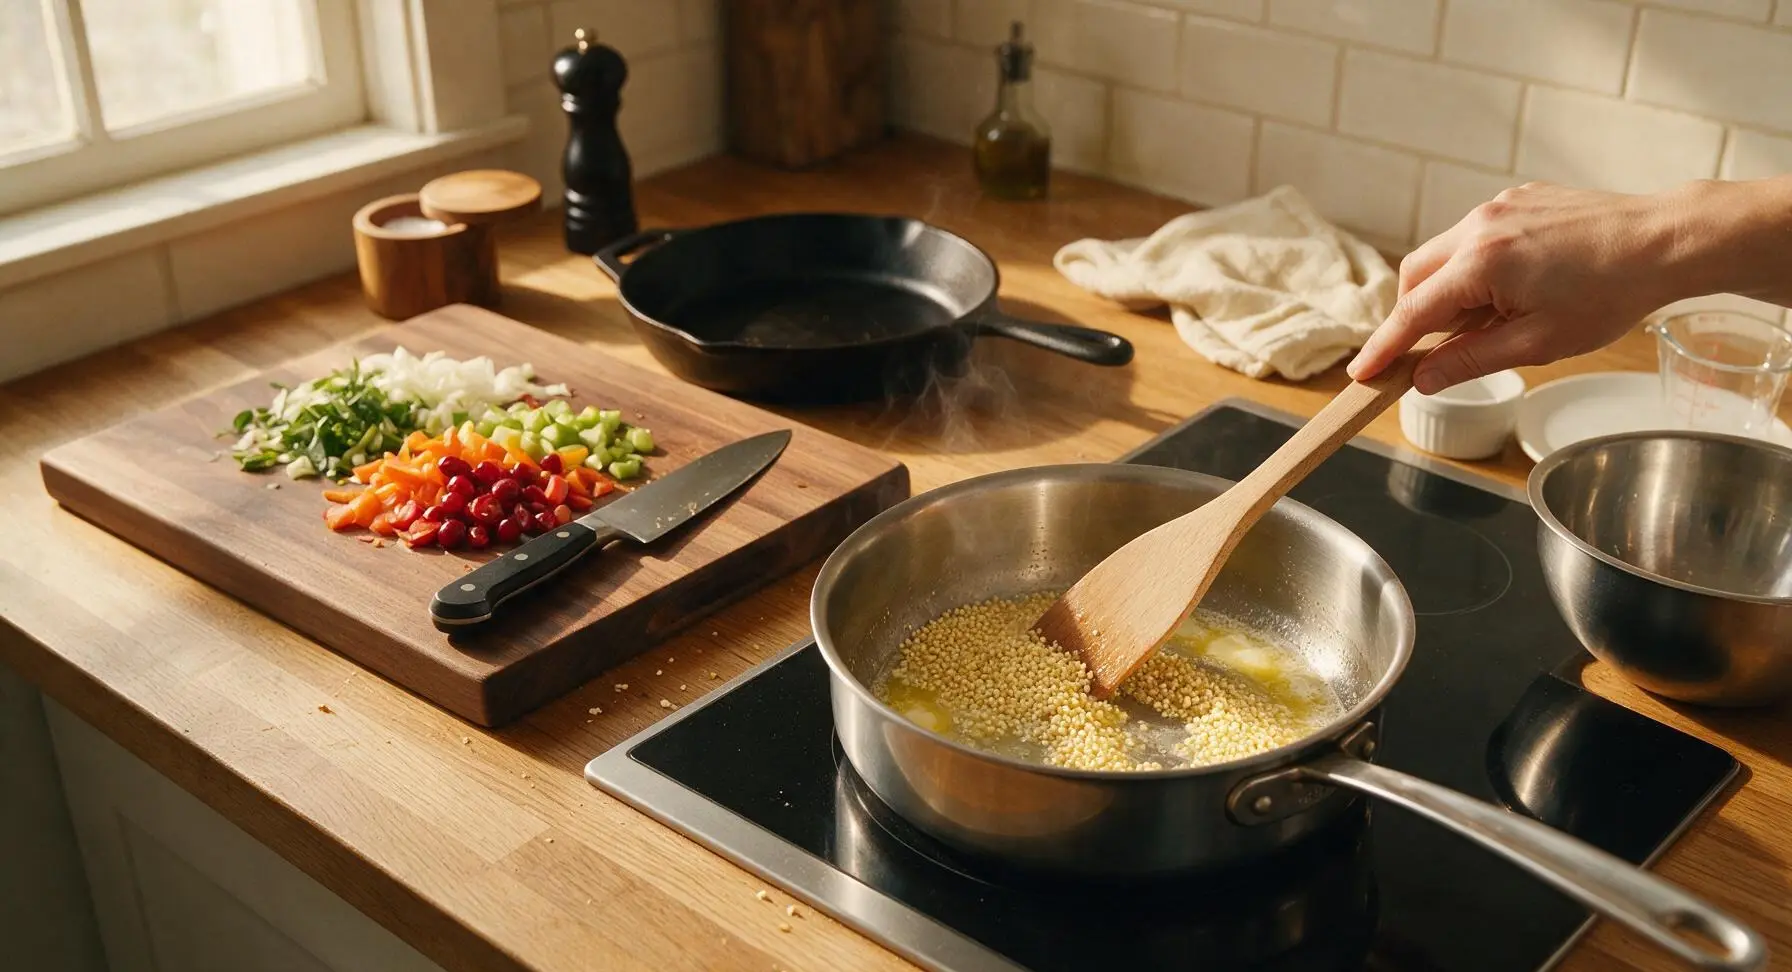
Place the 3-quart stainless steel saucepan on the flush-mounted matte black induction cooktop (right third of the counter) over medium heat. Add 1.5 tablespoons of unsalted butter, and once melted, pour in the measured hulled millet. Toast, stirring constantly with the long beech wood spatula, for 4-5 minutes until the millet turns a pale golden shade and releases a rich, nutty aroma. Watch closely to avoid scorching, as millet can burn quickly once heated through.
Sauté Aromatic Veggies
Push the toasted millet to the outer edges of the saucepan, add the remaining 1.5 tablespoons of butter to the center of the pan. Once melted, add the diced onion, celery, and a pinch of kosher salt. Sauté for 5-6 minutes, stirring occasionally with the beech wood spatula, until vegetables are soft and translucent with no raw crunchy texture remaining. Add the minced garlic, chopped sage, and thyme leaves, and cook for 30 seconds more until fragrant, taking care not to burn the garlic which will turn bitter.
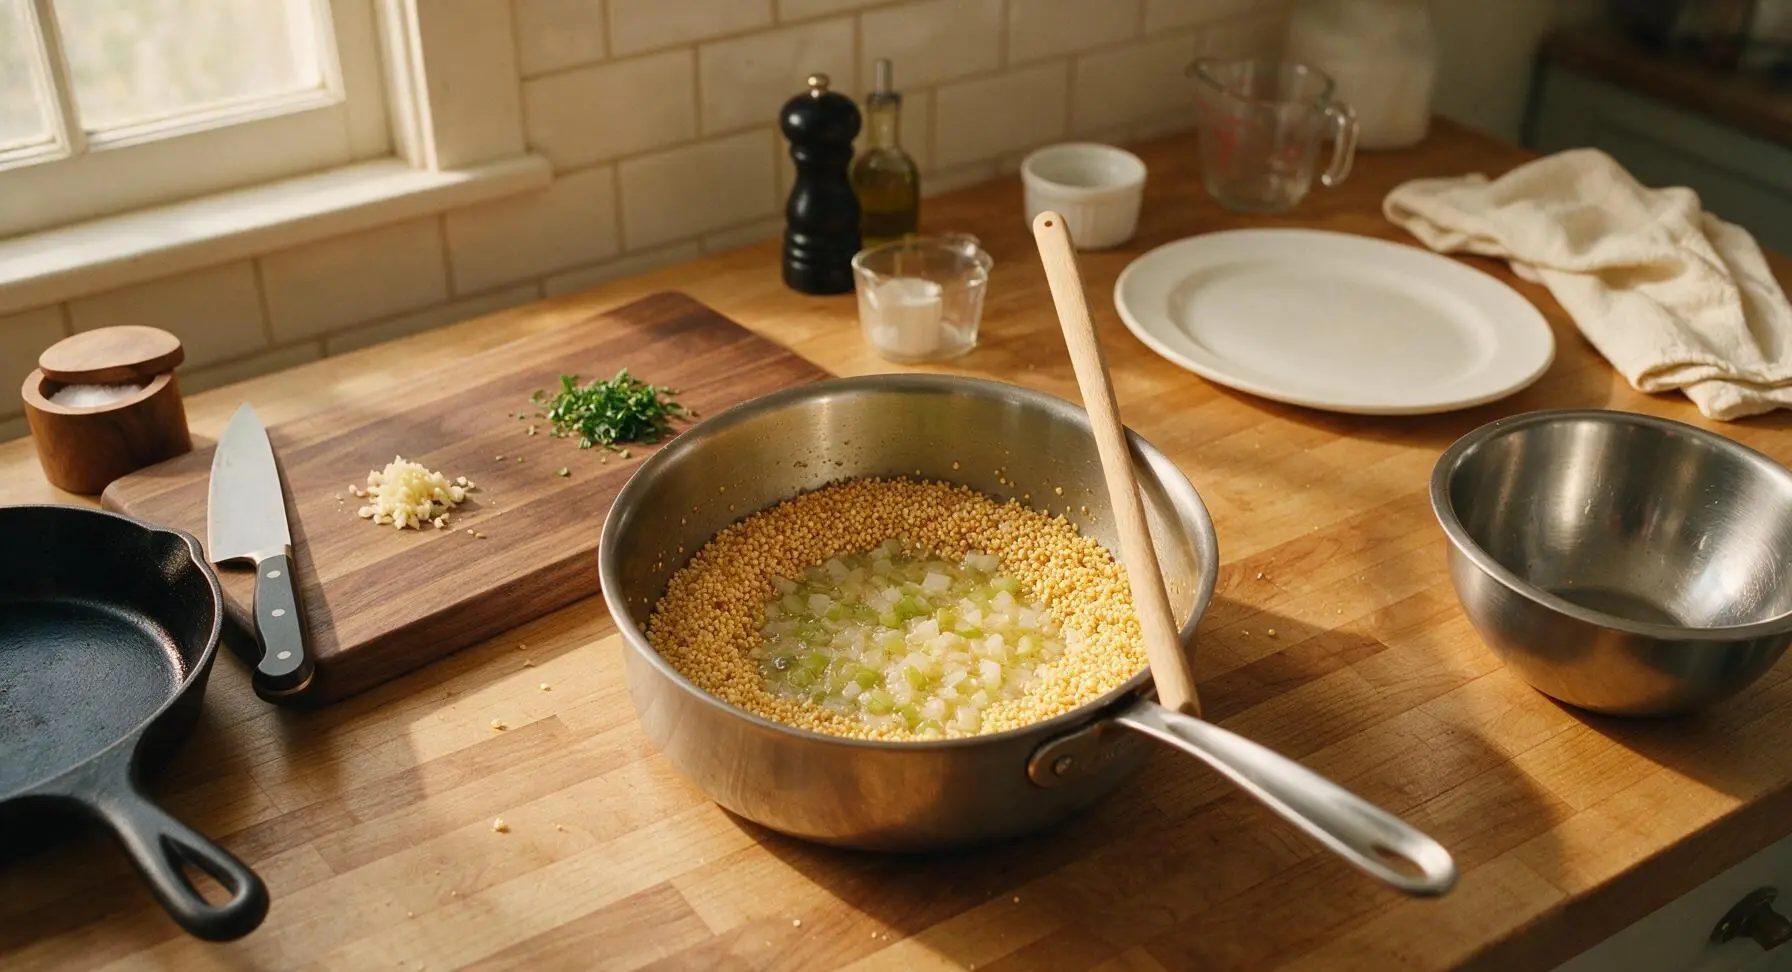
Simmer Millet Tender
Pour the measured vegetable broth from the clear glass measuring cup into the saucepan with the millet and vegetables, add the remaining kosher salt and black pepper, and stir to fully combine. Bring the liquid to a gentle rolling boil, then reduce heat to the lowest setting, cover the pan with its matching stainless steel lid, and simmer for 15 minutes. Do not lift the lid during cooking, as trapped steam is required to cook millet into light, separate grains. After 15 minutes, remove the pan from heat and let it rest, covered, for 5 additional minutes.
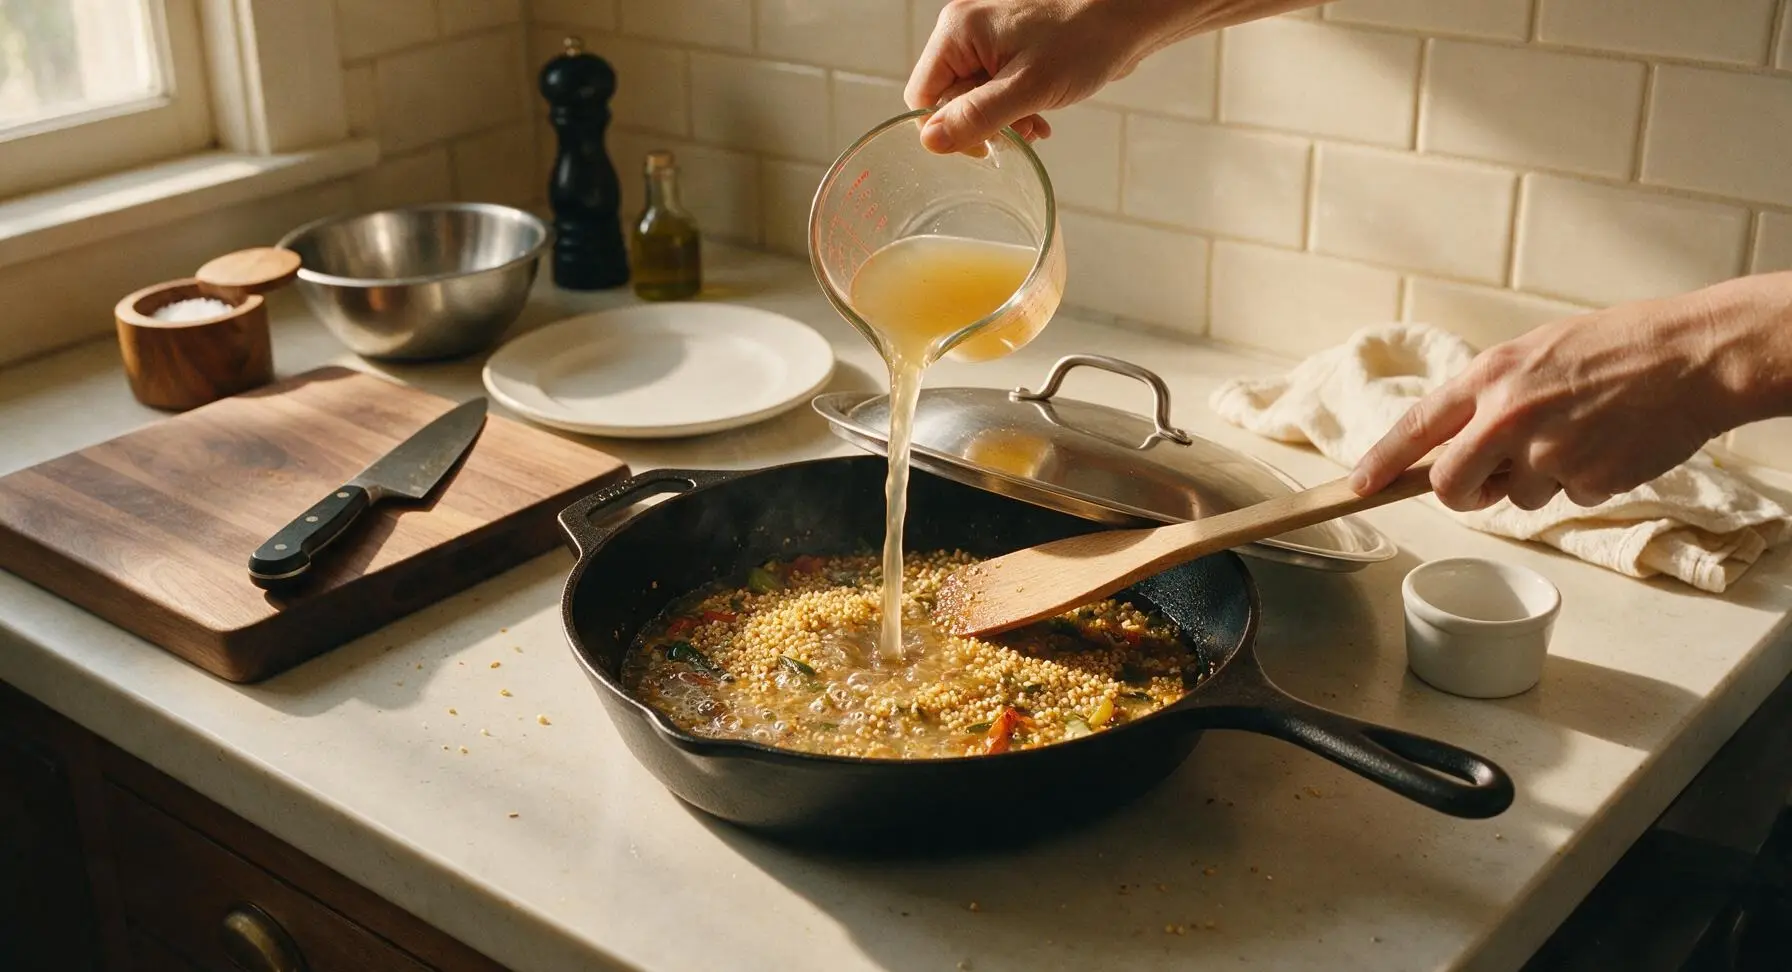
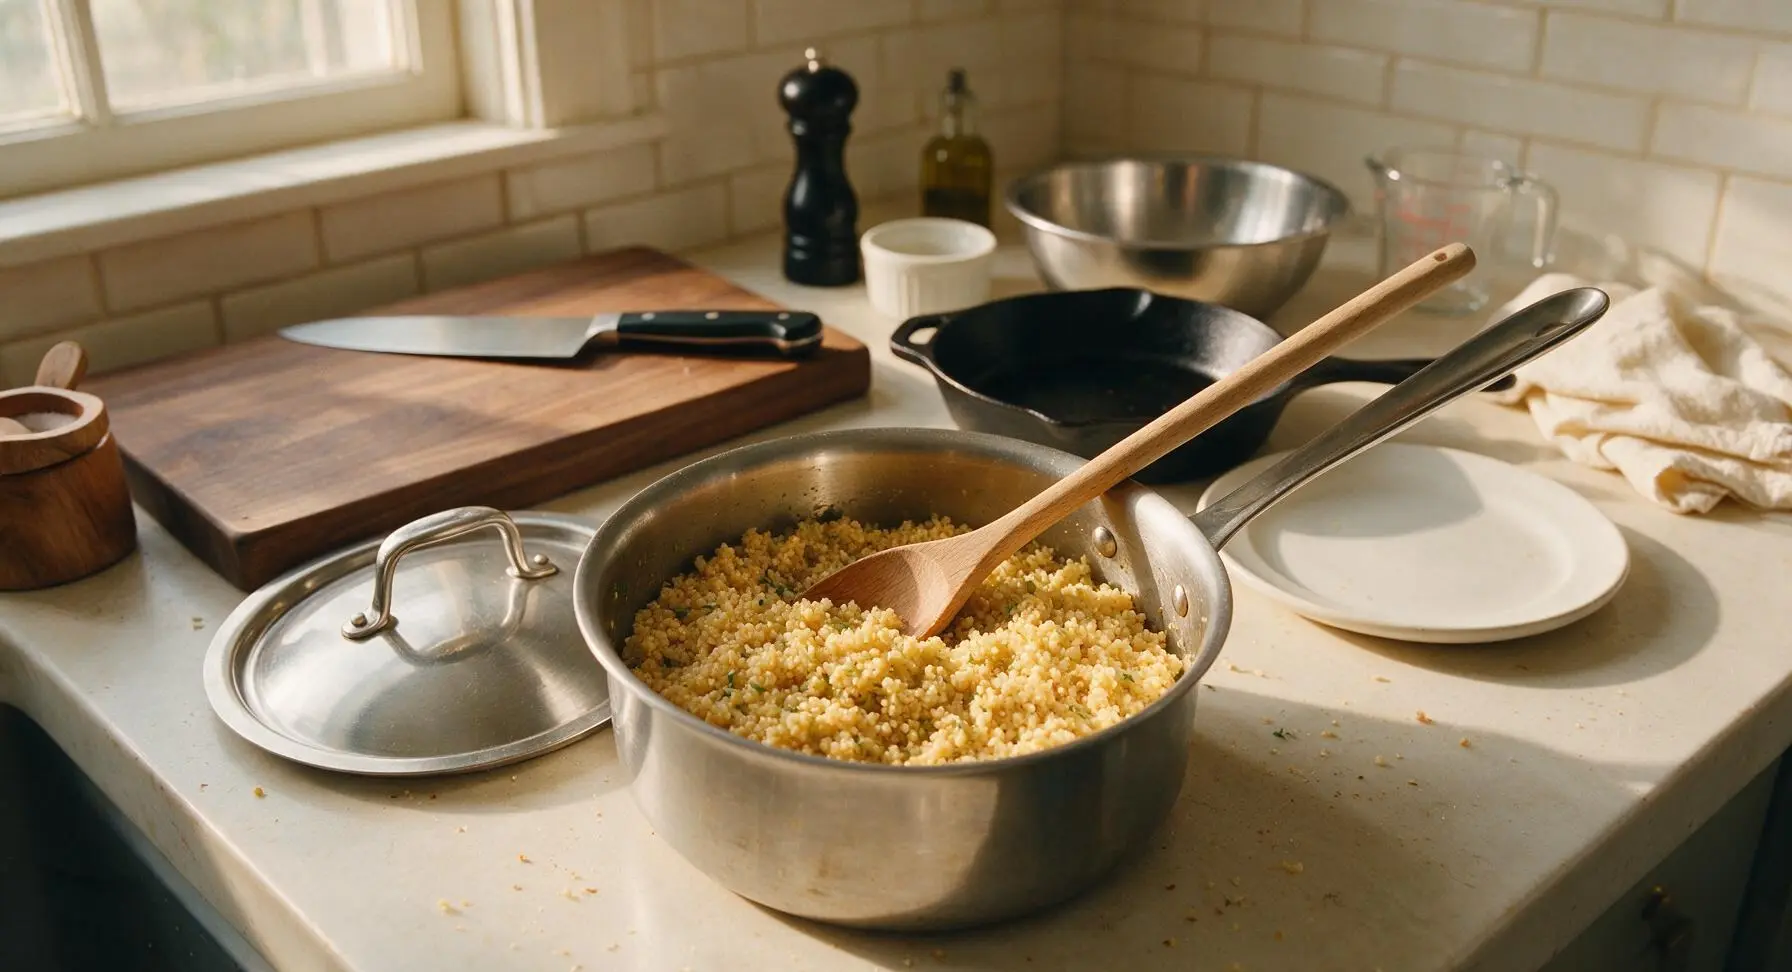
Fold in Cranberries
Use the stainless steel dinner fork to gently fluff the cooked millet, breaking up any small clumps without mashing the grains. Add the measured dried cranberries, stirring gently with the beech wood spatula to distribute them evenly throughout the millet mixture. Let the mixture sit for 2 minutes to allow residual heat to slightly plump the cranberries before baking.
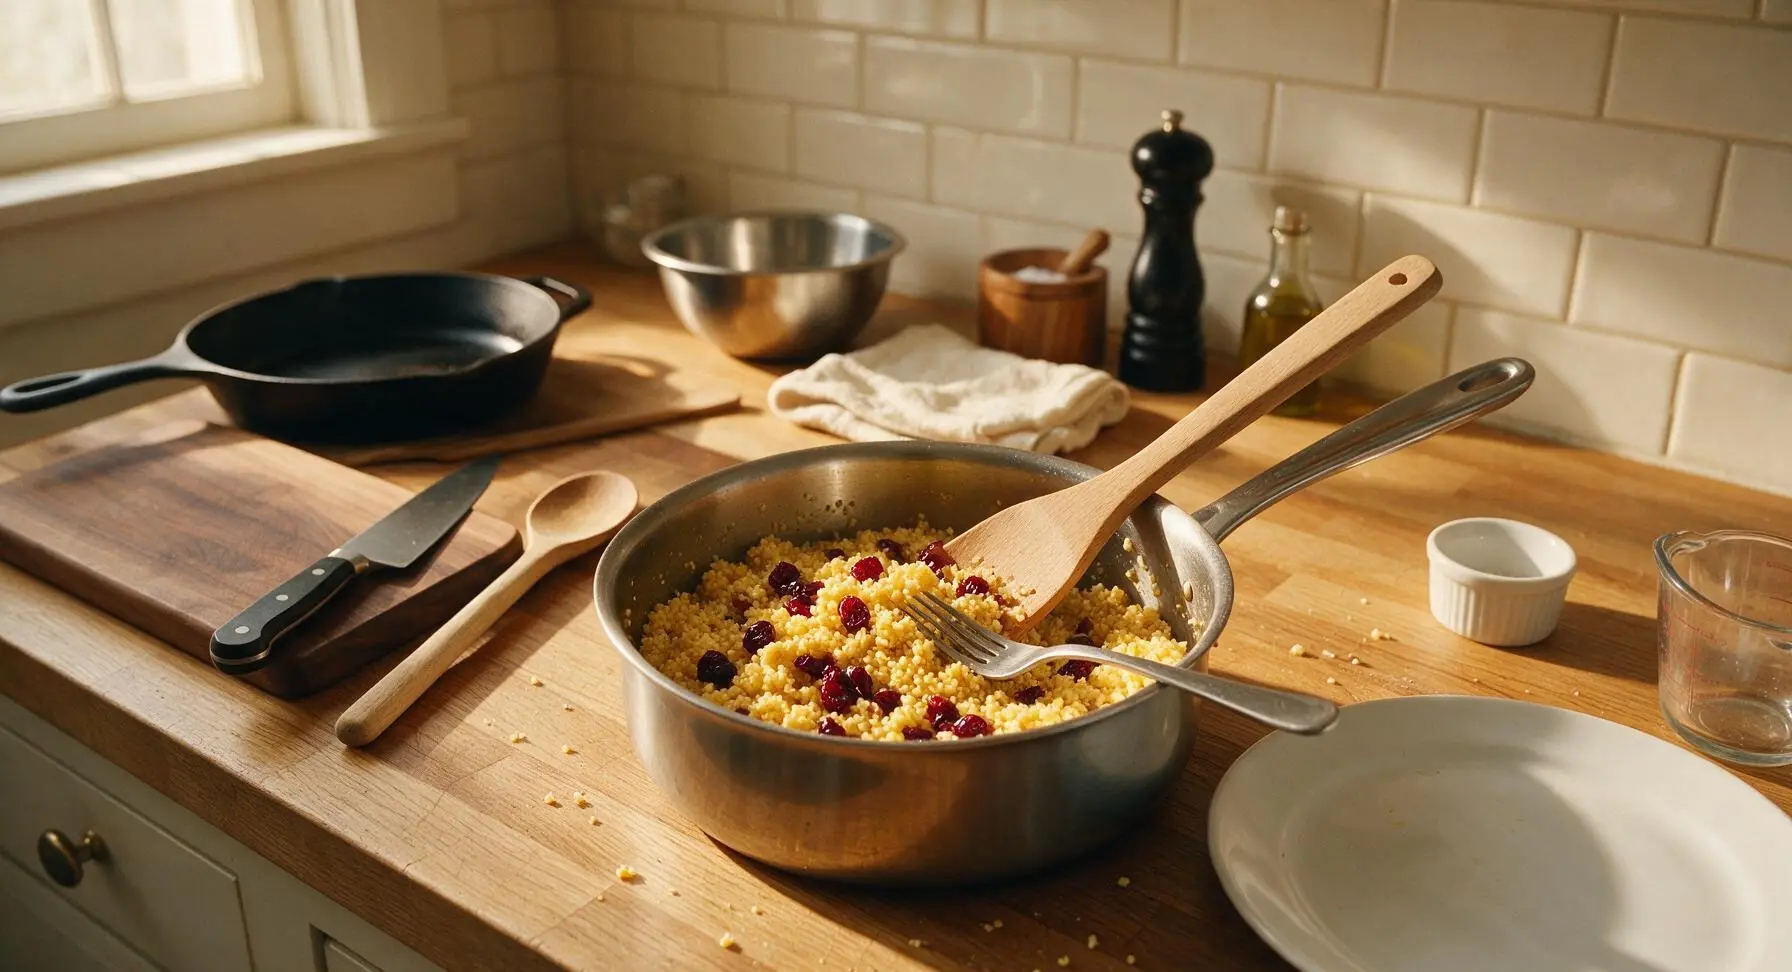
Transfer to Baking Dish
Use the leftover butter wrapper to lightly grease the interior of the matte cream square ceramic baking dish, avoiding extra mess. Scoop the millet and cranberry mixture from the saucepan into the baking dish, spreading it into a loose, even layer with the beech wood spatula. Do not press the mixture down tightly, as compacting it will result in a dense, mushy final texture instead of light, crisp edges.
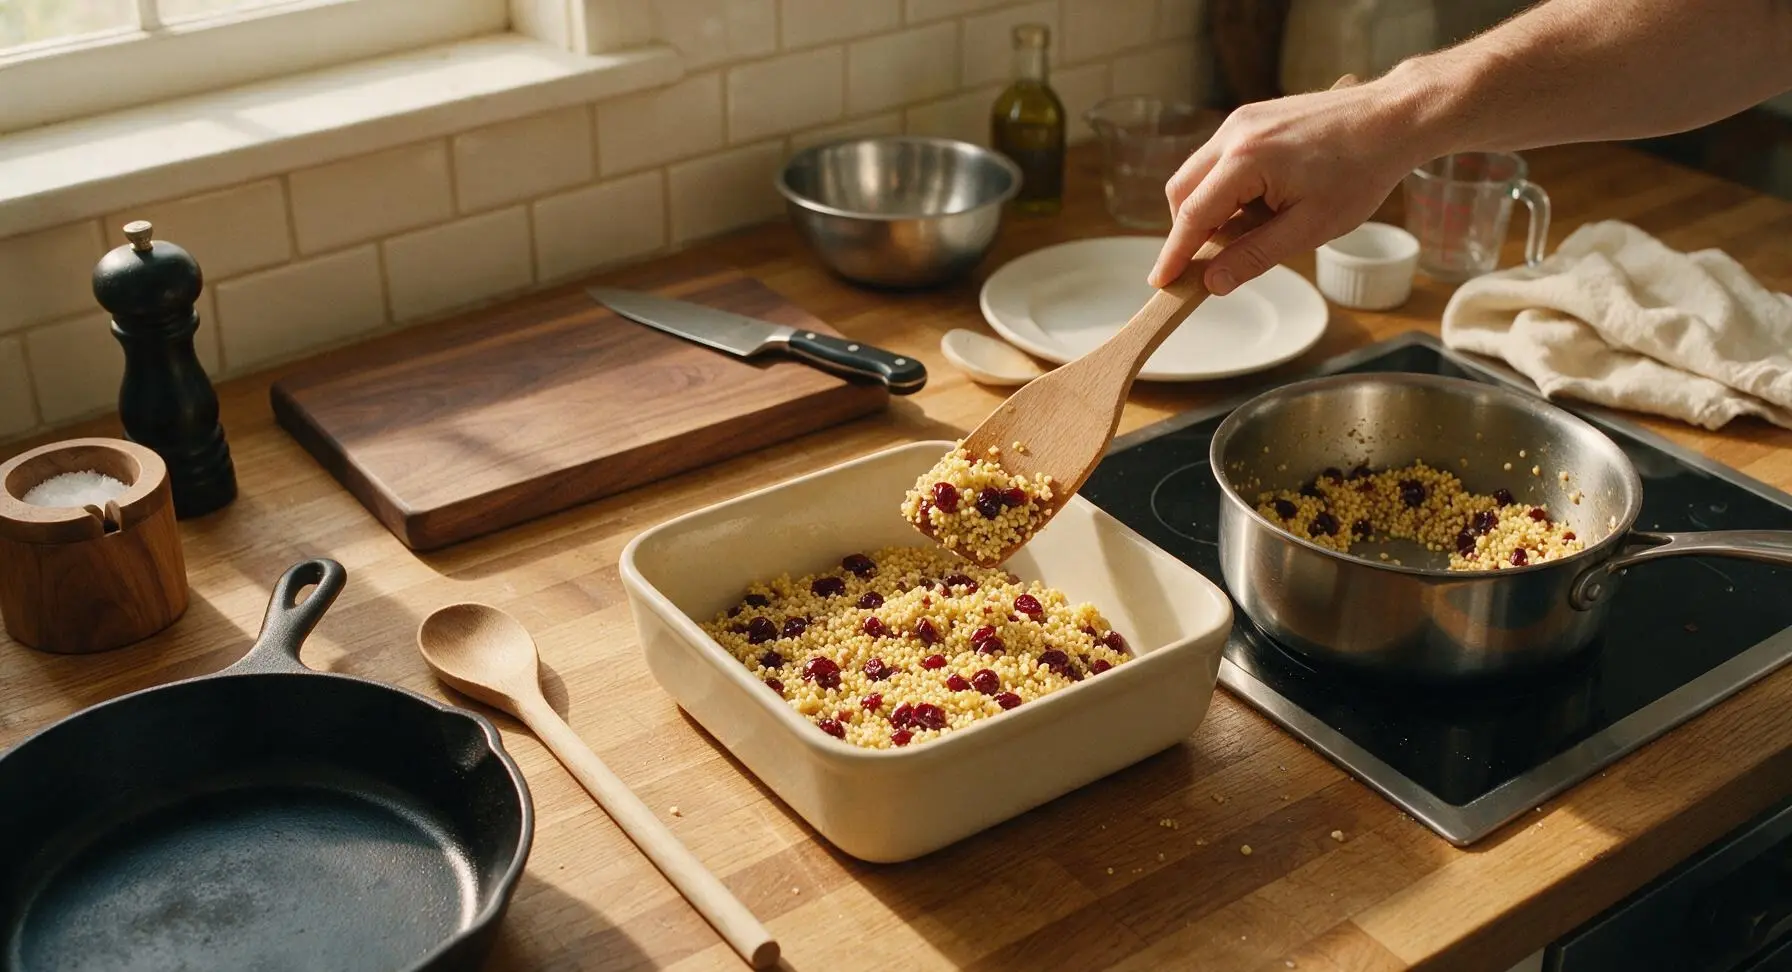
Bake to Golden Crisp
Carefully place the filled baking dish into an oven preheated to 375°F (190°C). Bake for 20 minutes, uncovered, until the top of the stuffing is light golden brown, with crisp, toasty edges around the sides of the dish, and the cranberries are plump and juicy. Covering the dish during baking will trap steam and prevent the desired crisp top from forming.
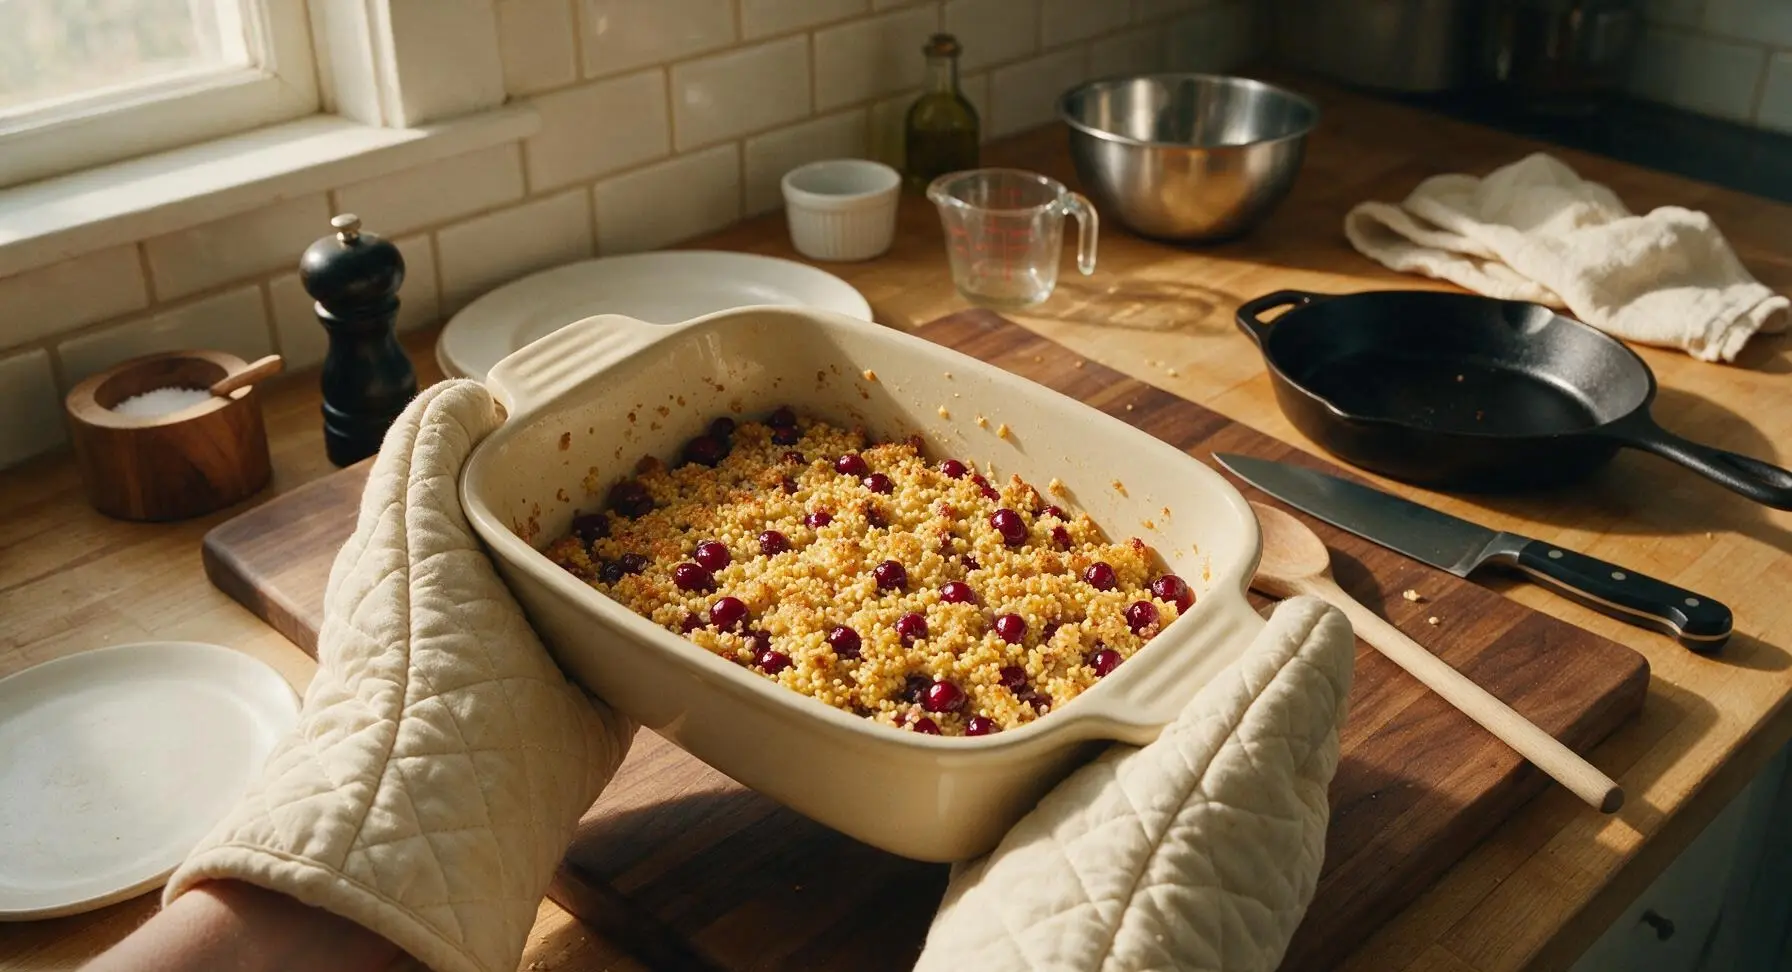
Rest and Serve
Let the baked stuffing rest for 5 minutes at room temperature to allow grains to set and flavors to meld. Use the stainless steel serving spoon to scoop generous 1-cup portions onto the matte terracotta dinner plates, garnishing each portion with a single crisp sage leaf if desired. Serve warm alongside roasted turkey, green beans, or other favorite holiday dishes.
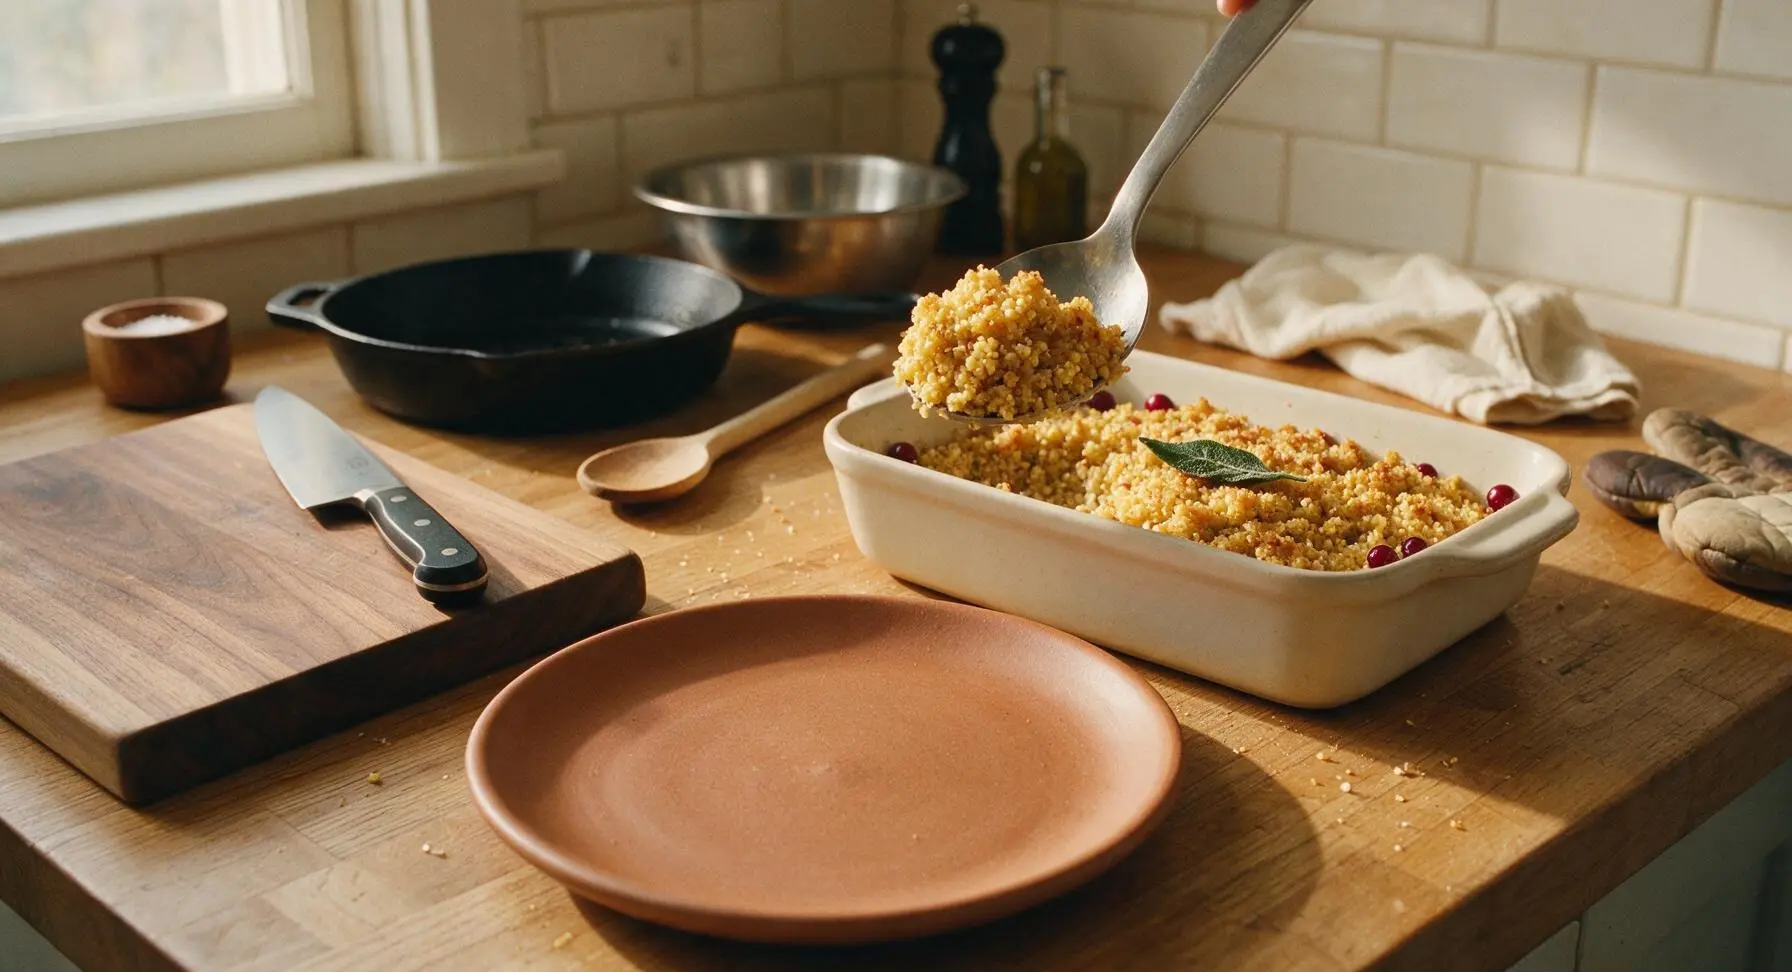
Tips
2.Avoid packing the millet mixture into the baking dish: Pressing the grains down tightly creates a dense, mushy final texture. Keeping the layer loose allows hot oven air to circulate around the grains, creating light, crisp edges and a fluffy interior that mirrors the texture of classic bread stuffing without gluten.
3.Prep ahead for low-stress holiday meals: The entire millet and cranberry mixture can be prepped and stored in an airtight container in the refrigerator for up to 2 days before baking. Add 5 minutes to the total baking time if using a chilled mixture to ensure it heats through fully and develops a crisp top.






OMG this cranberry millet stuffing was a total game changer for our Thanksgiving dinner this year! I was nervous to swap regular bread stuffing for something grain-based but my kids loved it, even the picky one who picks out every cranberry usually ended up asking for seconds. So easy to throw together too, didn’t take forever like my old stuffing recipe.
Made this for a work potluck last week and people were hounding me for the recipe before I even finished my first serving! The tart cranberries pair so perfectly with the nutty millet, I added a little extra sage because I grow it in my windowsill and it slapped. 10/10 will make again for Christmas dinner.
Wait, does this hold up for meal prep? I’m always looking for make-ahead sides for my weekly lunches, and I love that millet is gluten free so I can bring it to work without worrying about upsetting my stomach. Just wondering if it gets mushy if I store it in the fridge for 3-4 days?
SO good! I’ve been trying to add more whole grains to our family dinners and this didn’t feel like a “healthy swap” at all, it just tasted like cozy holiday comfort food. I did toss in a handful of toasted pecans for a little extra crunch and it was chef’s kiss.
Super easy recipe, came together in right around 45 minutes like the recipe said which was perfect because I was juggling three other sides when I made this for Sunday supper. Only note is I wish I’d added a touch more salt, but that’s totally personal preference! Will absolutely make again.
First time cooking millet ever, and I was worried I’d mess it up but this recipe was so straightforward! Made it for my wife’s first postpartum family visit and everyone raved. The only issue I had was my millet was a little crunchier than I expected, did I not cook it long enough?
Brought this to my neighborhood block party potluck last weekend and it was the first side dish to get completely wiped out! Multiple neighbors asked if I’d bring it back for the holiday potluck in December, I felt like such a rockstar. Love that it’s not heavy like traditional stuffing so you don’t feel sluggish after eating it.
As someone with celiac, I’m always on the hunt for stuffing recipes that don’t use gluten free bread that turns to gummy garbage after 10 minutes. This was perfect! The millet has such a great hearty texture, the cranberries add the perfect pop of sweetness, I didn’t even miss the bread at all. 10/10.
Wait, can I make this the night before Thanksgiving and reheat it day of? I’m trying to get as much prep done ahead of time as possible this year so I’m not stuck in the kitchen the whole time my family is over watching football.
Great macro-friendly side dish! I’ve been mixing this with roasted chicken for my post-workout meals all week and it’s so satisfying, doesn’t feel like boring “diet food” at all. The dried cranberries add just enough sweetness to keep it interesting.
Full transparency, I hate cranberries. Like, avoid them at all costs hate them. But my partner begged me to make this for our early Thanksgiving dinner so I caved, and… I actually loved it? The cranberries are balanced out so well by the savory millet and herbs that they don’t hit me with that super tart punch I usually hate. Who knew!
I used fresh cranberries instead of dried because I had a bag leftover from making cranberry sauce, and it was unreal! The little bursts of juicy fresh cranberry took this to the next level, I don’t think I’ll ever go back to dried in this recipe. So versatile too, love that you can tweak it based on what you have in the pantry.
Okay full disclosure I’m a total disaster in the kitchen, like I burn toast half the time. But this recipe was actually easy enough for me to pull off without a single mishap! Made it for my roommate’s birthday dinner and he thought I spent hours on it, little does he know it only took 45 minutes total. Win!