
Creamy Grits
intro
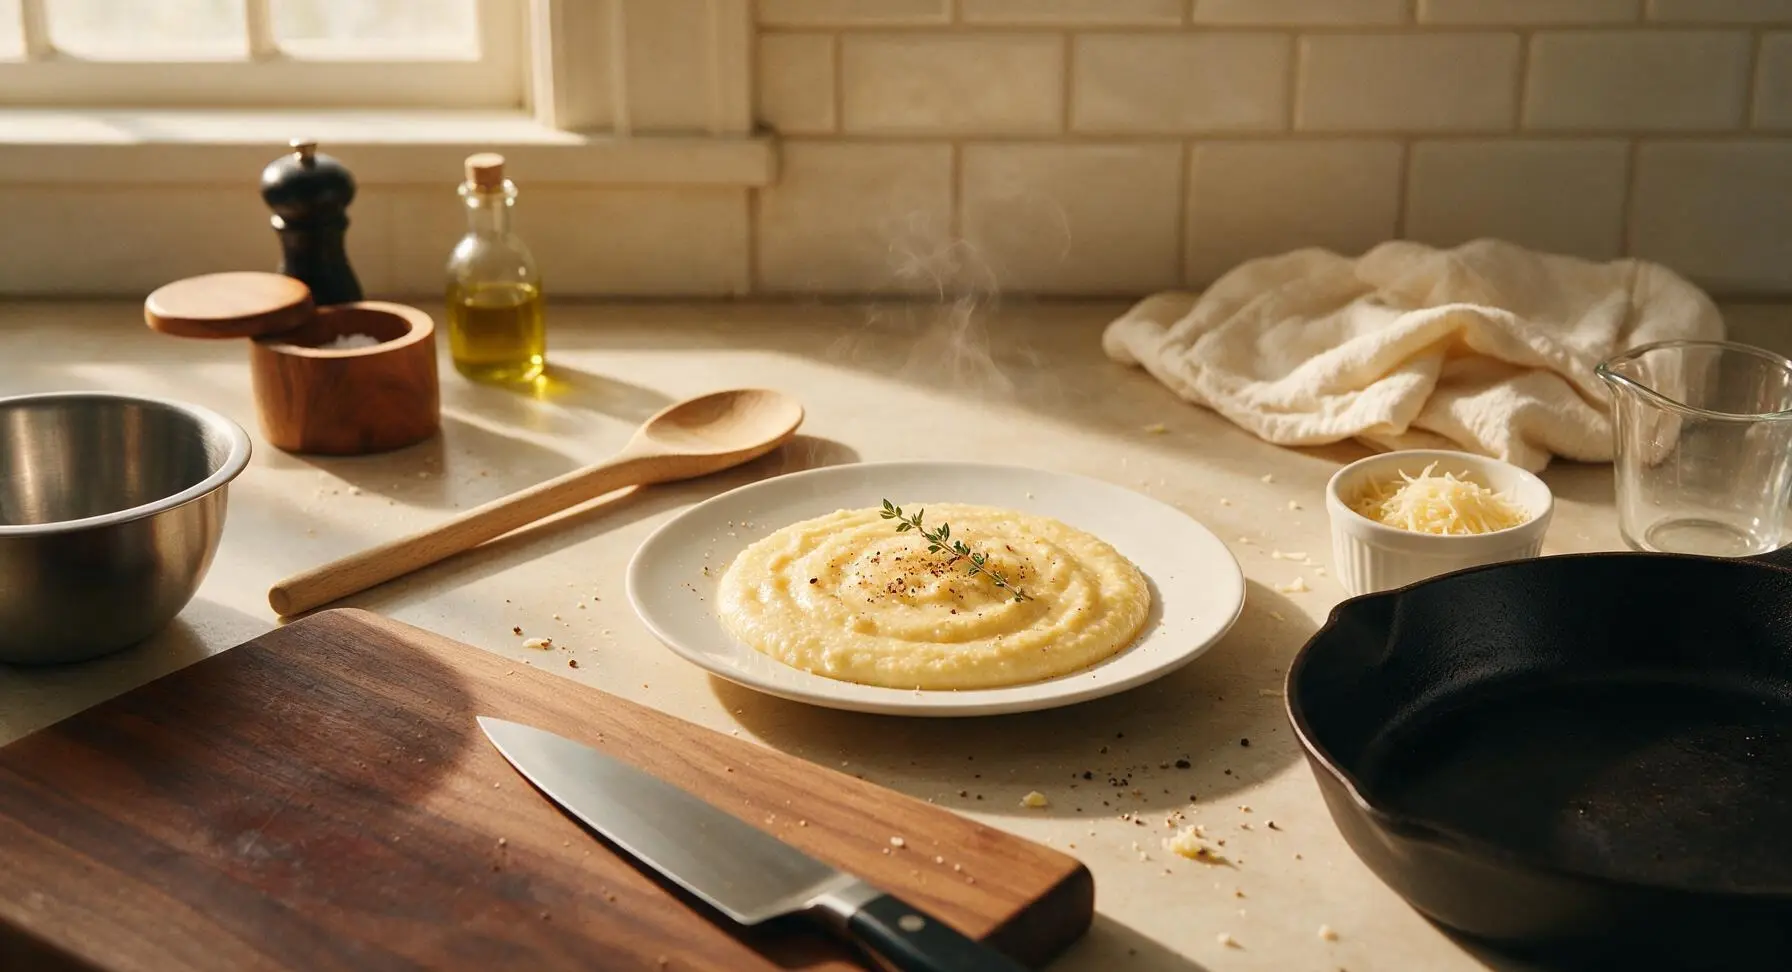
Silky, rich, and deeply comforting, these slow-cooked Southern creamy grits are a versatile staple, pairing perfectly with fried chicken, shrimp, or poached eggs for any meal.
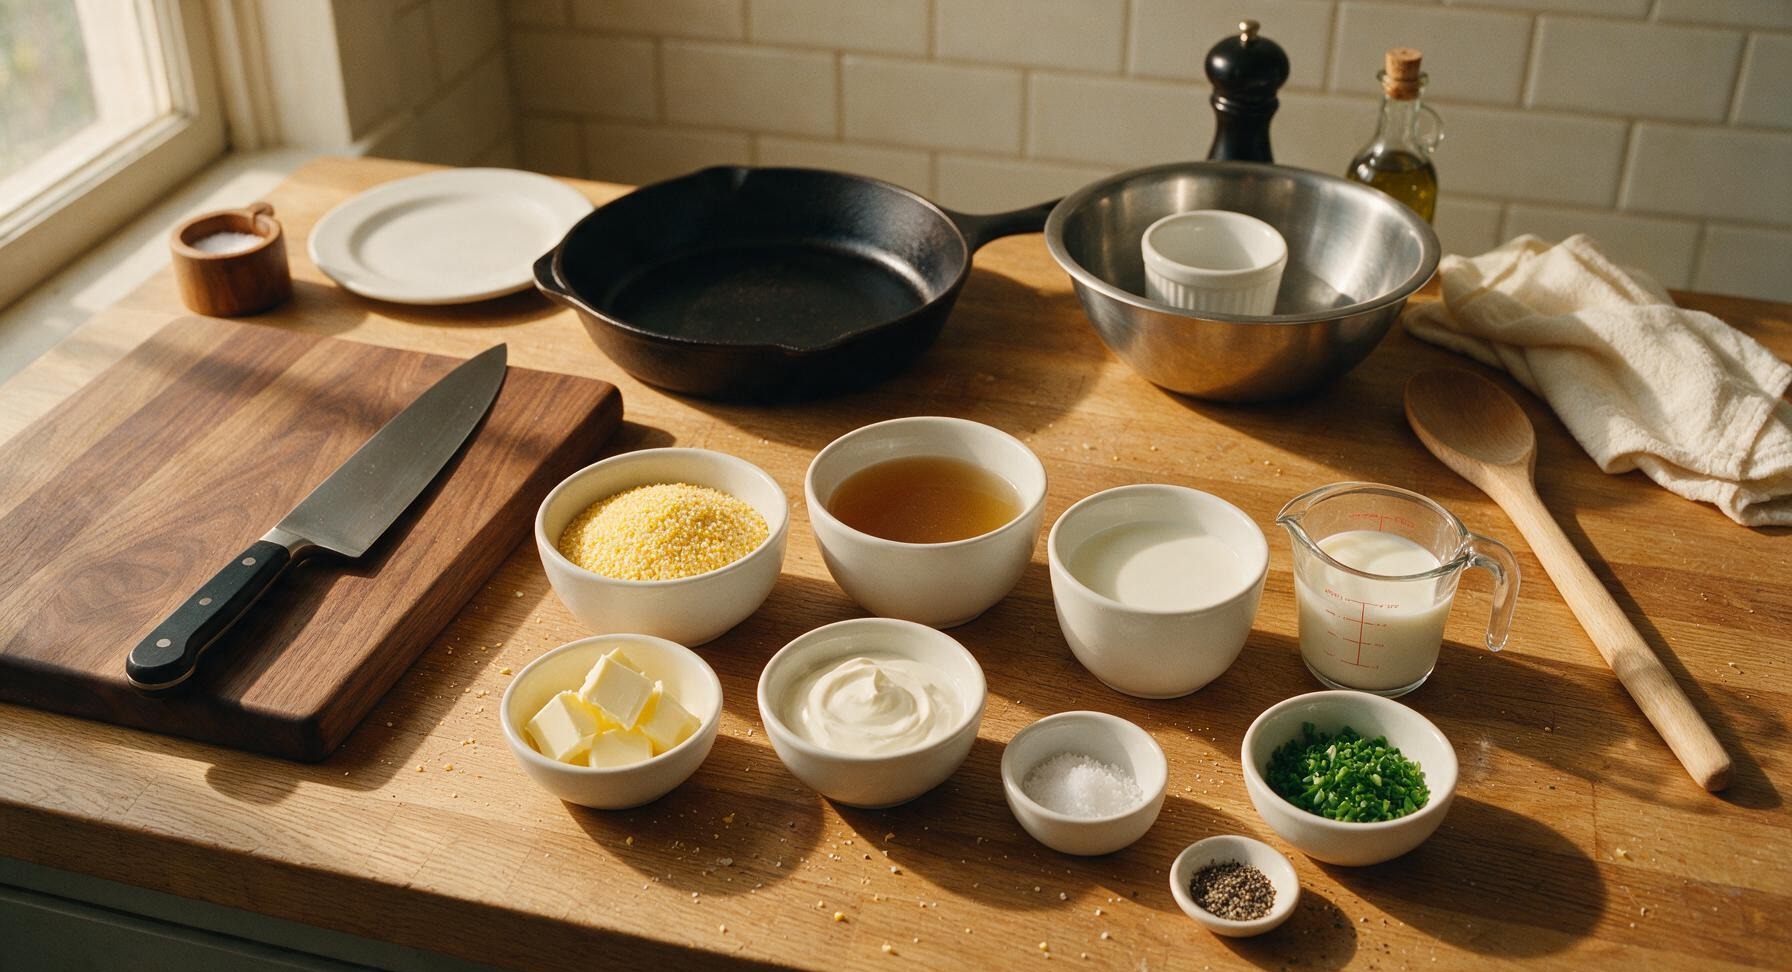
Ingredients
Steps
Heat Cooking Liquid
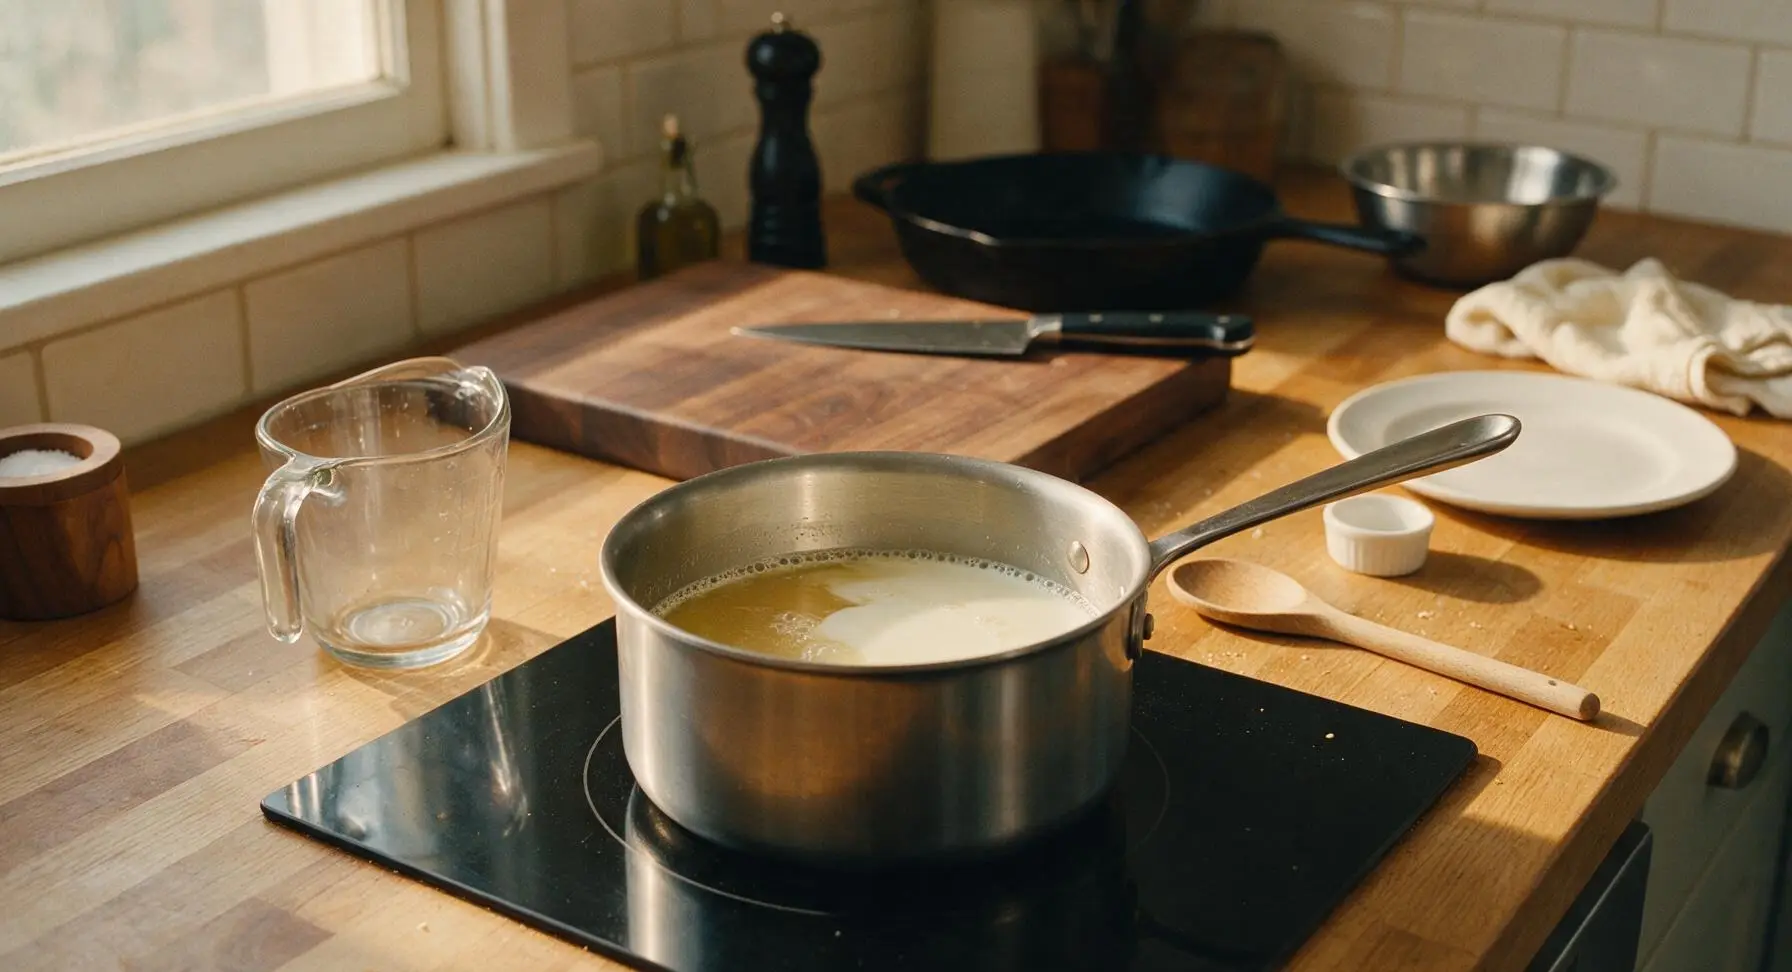
Place the 3-quart stainless steel saucepan on the center of the flush-mounted induction burner over medium heat. Pour 3 cups low-sodium chicken stock and 1 cup whole milk into the pan, add 1 tsp kosher salt, and bring to a gentle rolling simmer (around 190°F / 88°C). Do not let the liquid boil rapidly, as this can cause milk to scald; you will see small, steady bubbles breaking along the pan edges when the correct temperature is reached.
Whisk in Grits Gradually
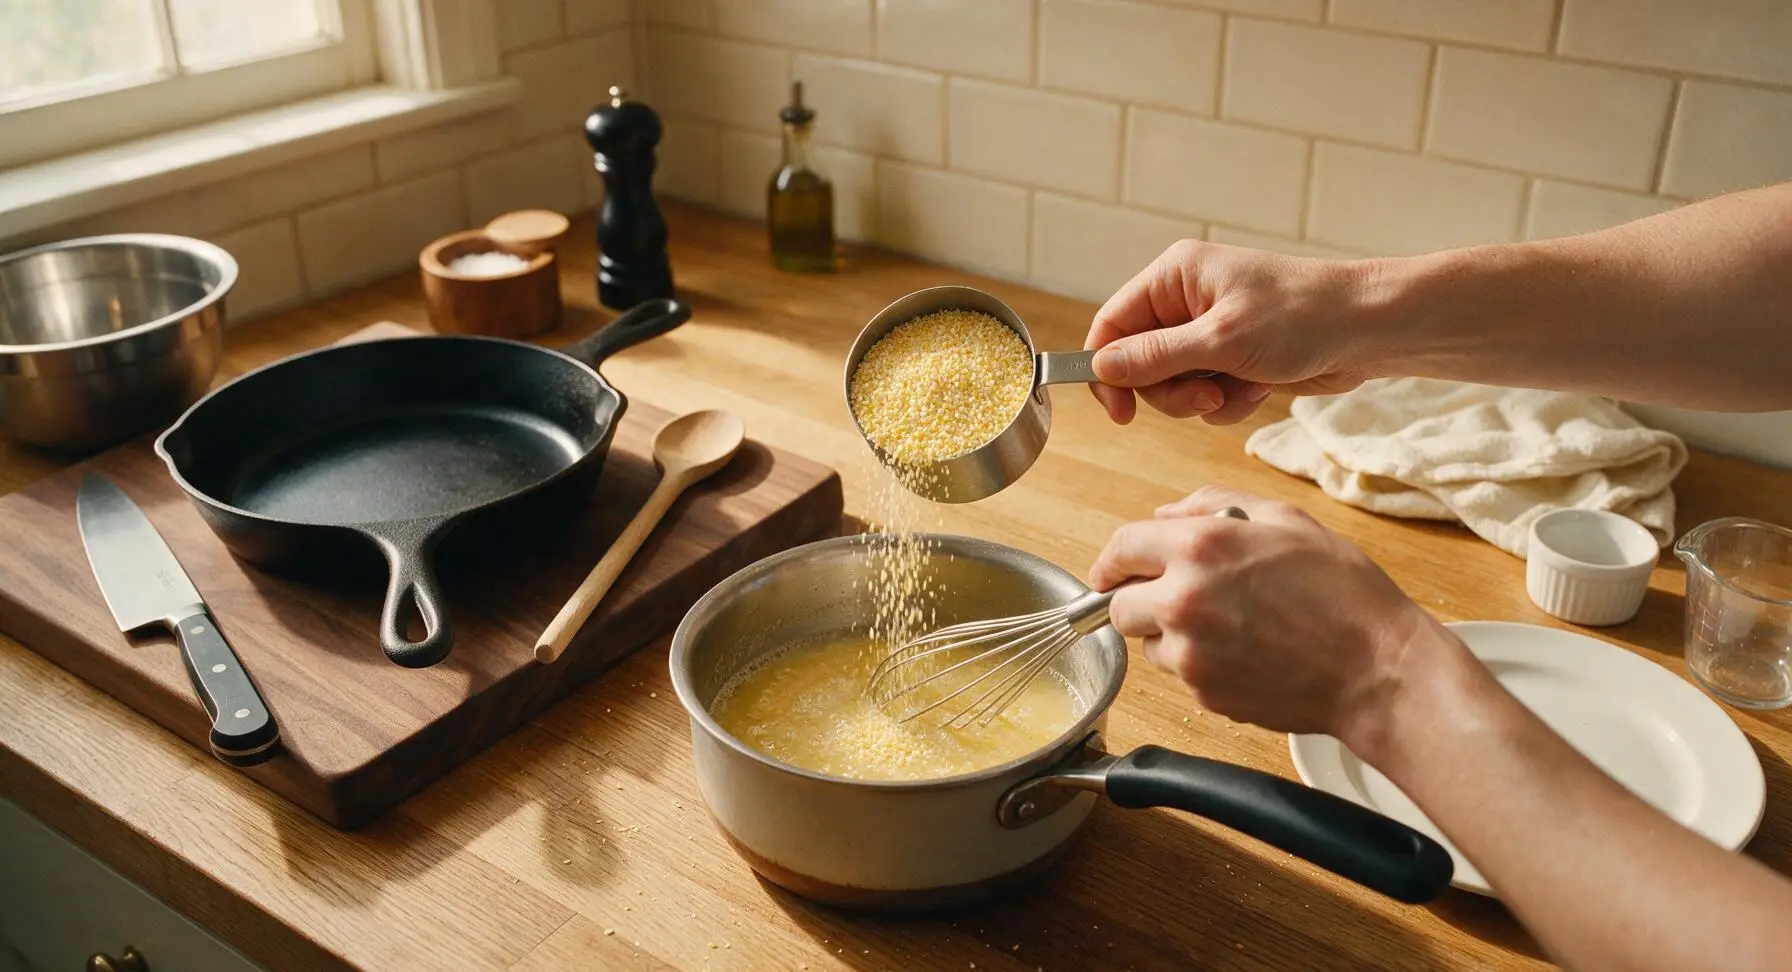
Once the liquid reaches a steady gentle simmer, slowly pour 1 cup stone-ground grits into the pan in a thin, steady stream, whisking constantly with the small stainless steel whisk as you pour. This slow addition and constant whisking prevents dry clumps from forming that cannot be broken down later. Continue whisking for 1 full minute after all grits are added to ensure no lumps stick to the pan bottom.
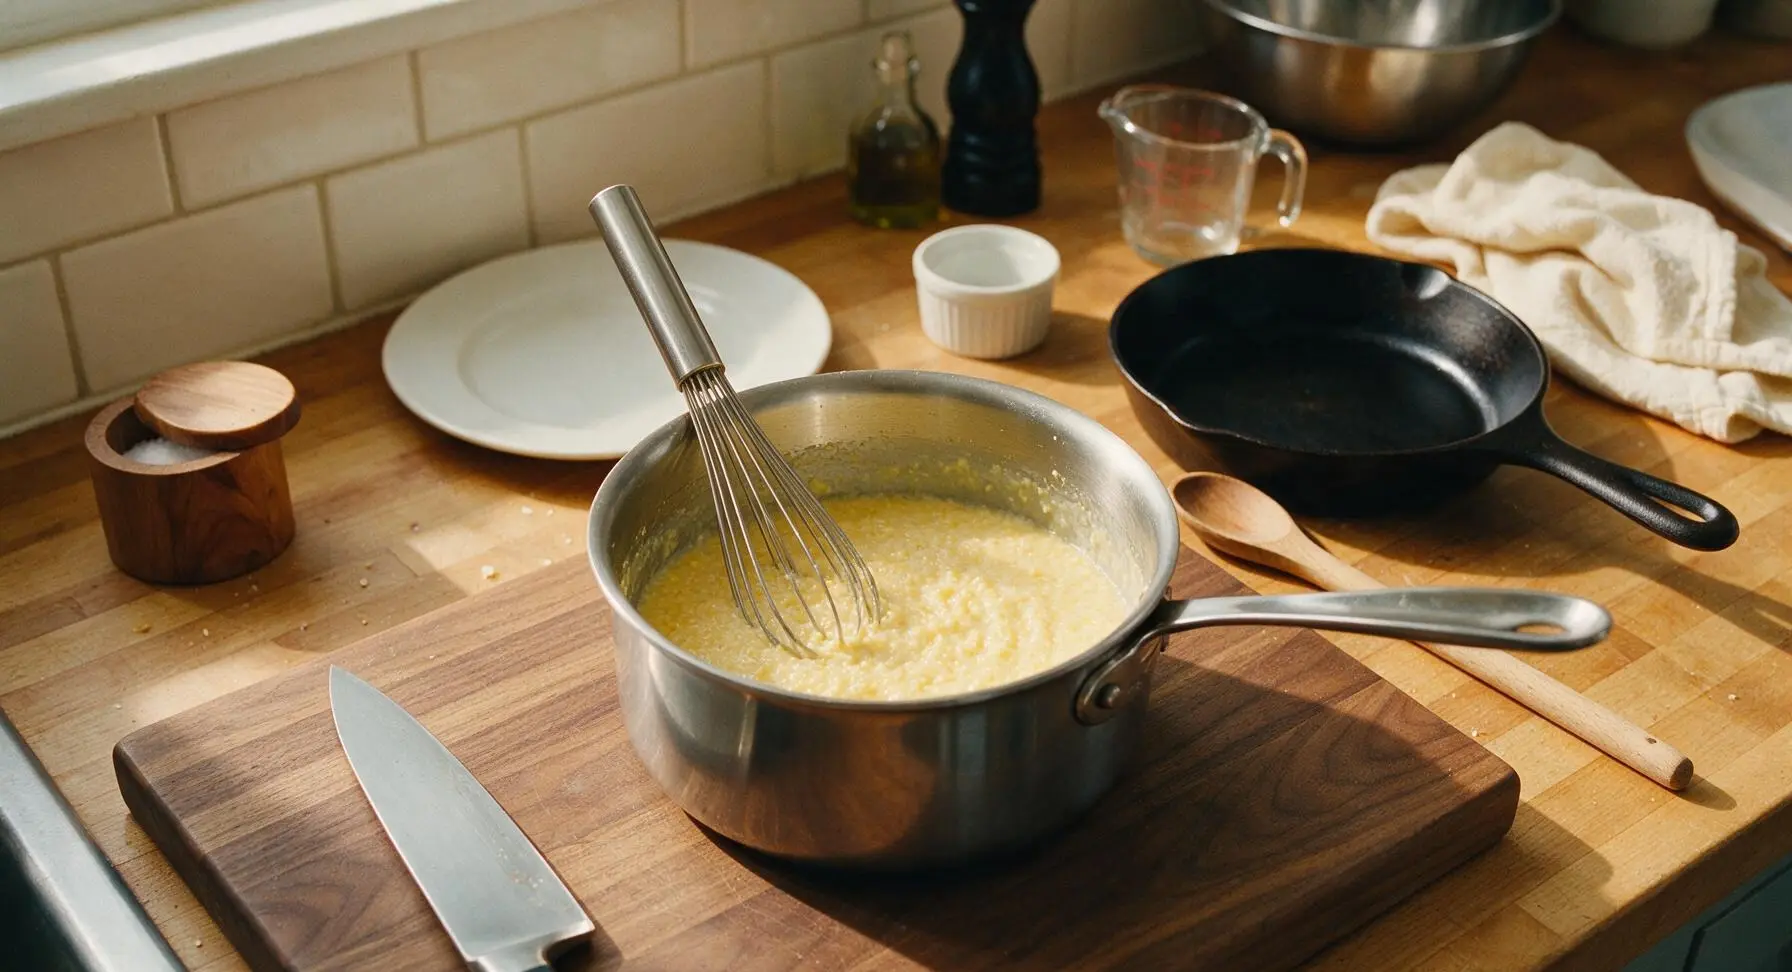
Simmer Grits Slowly
Reduce the induction burner heat to the lowest setting (around 200°F / 93°C) to maintain a very gentle, lazy bubble – rapid boiling will make grits grainy and cause them to stick to the pan. Switch from the whisk to the beech wood stirring spoon, and stir the grits every 2 to 3 minutes to prevent sticking, scraping the bottom and corners of the pan thoroughly each time. Cook for 20 minutes total at this low heat.
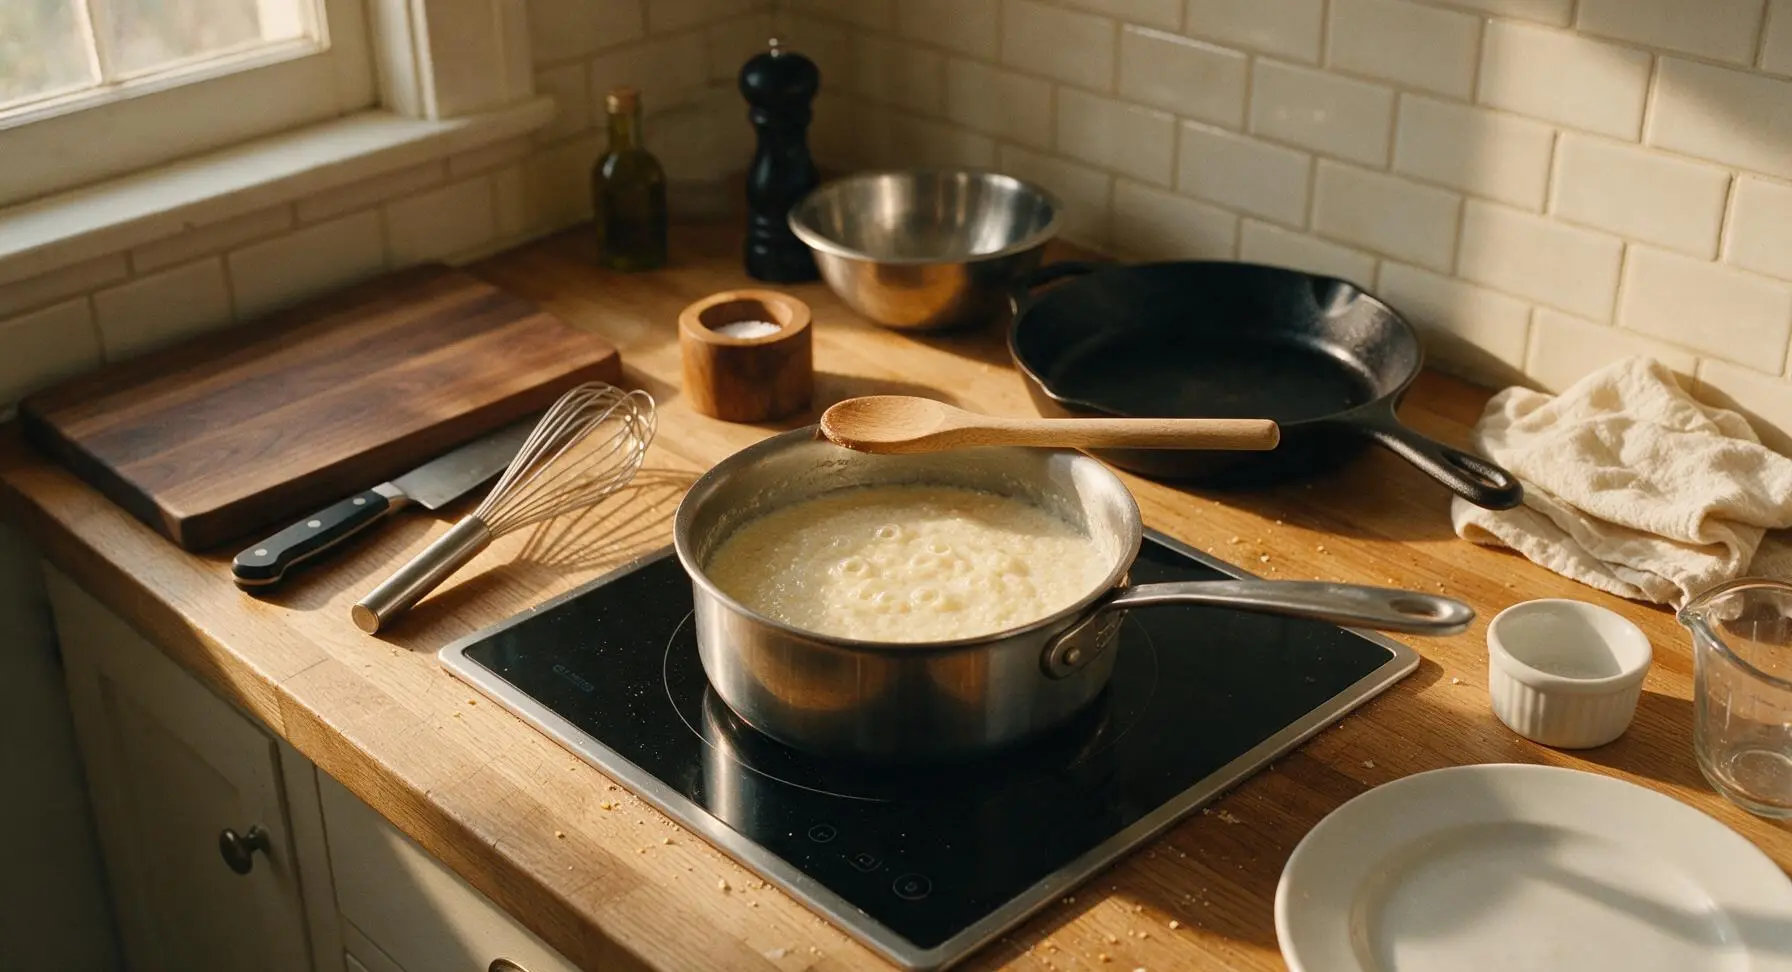
Stir at Regular Intervals
As the grits cook, they will gradually thicken and absorb the liquid. Every 3 minutes, use the beech wood spoon to scrape the entire bottom of the pan, making sure no thickened grits bake onto the base. If the grits become too thick before the 20 minute cook time ends, stir in 2 tbsp extra warm stock or milk to thin to a soft, pourable consistency. The grits are ready at this stage when they are completely tender, with no gritty, crunchy texture when you taste a small spoonful.
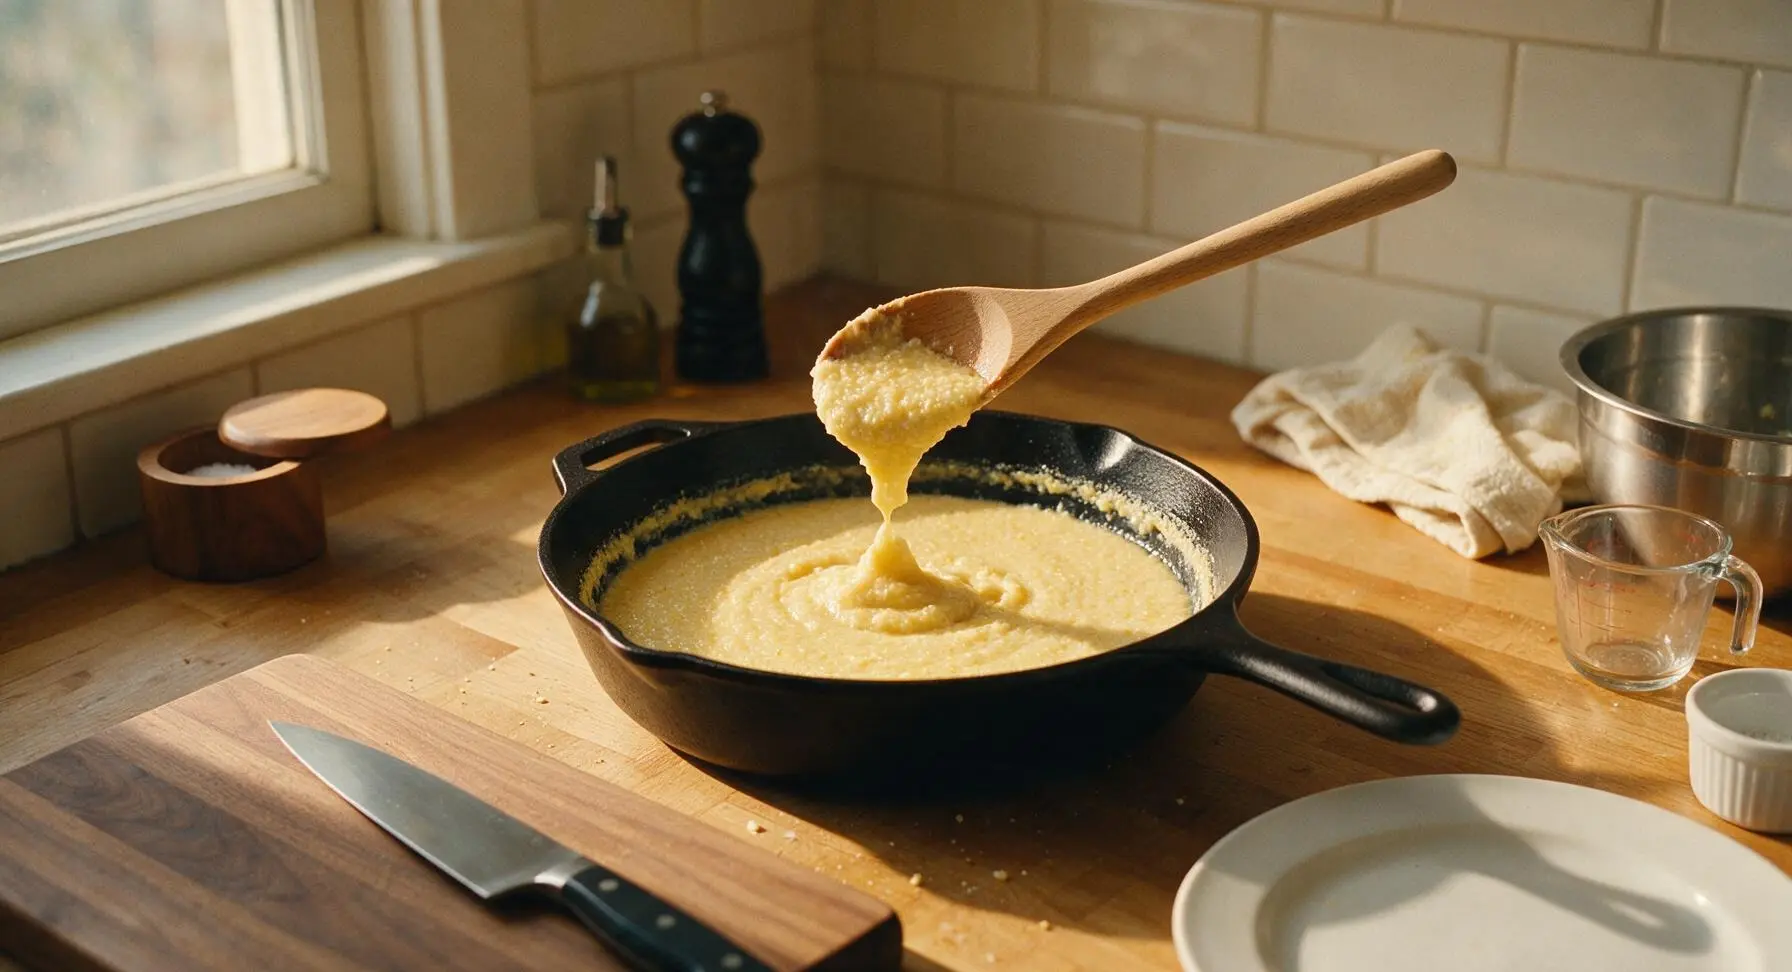
Enrich with Dairy
Once grits are fully tender after 20 minutes of slow simmering, turn off the heat. Add 4 tbsp cut unsalted butter and 1/4 cup heavy cream to the pan, stirring gently with the silicone spatula to combine until the butter is fully melted and the grits take on a rich, silky, pale golden sheen. Do not over-stir at this stage, as this can make the grits gluey.
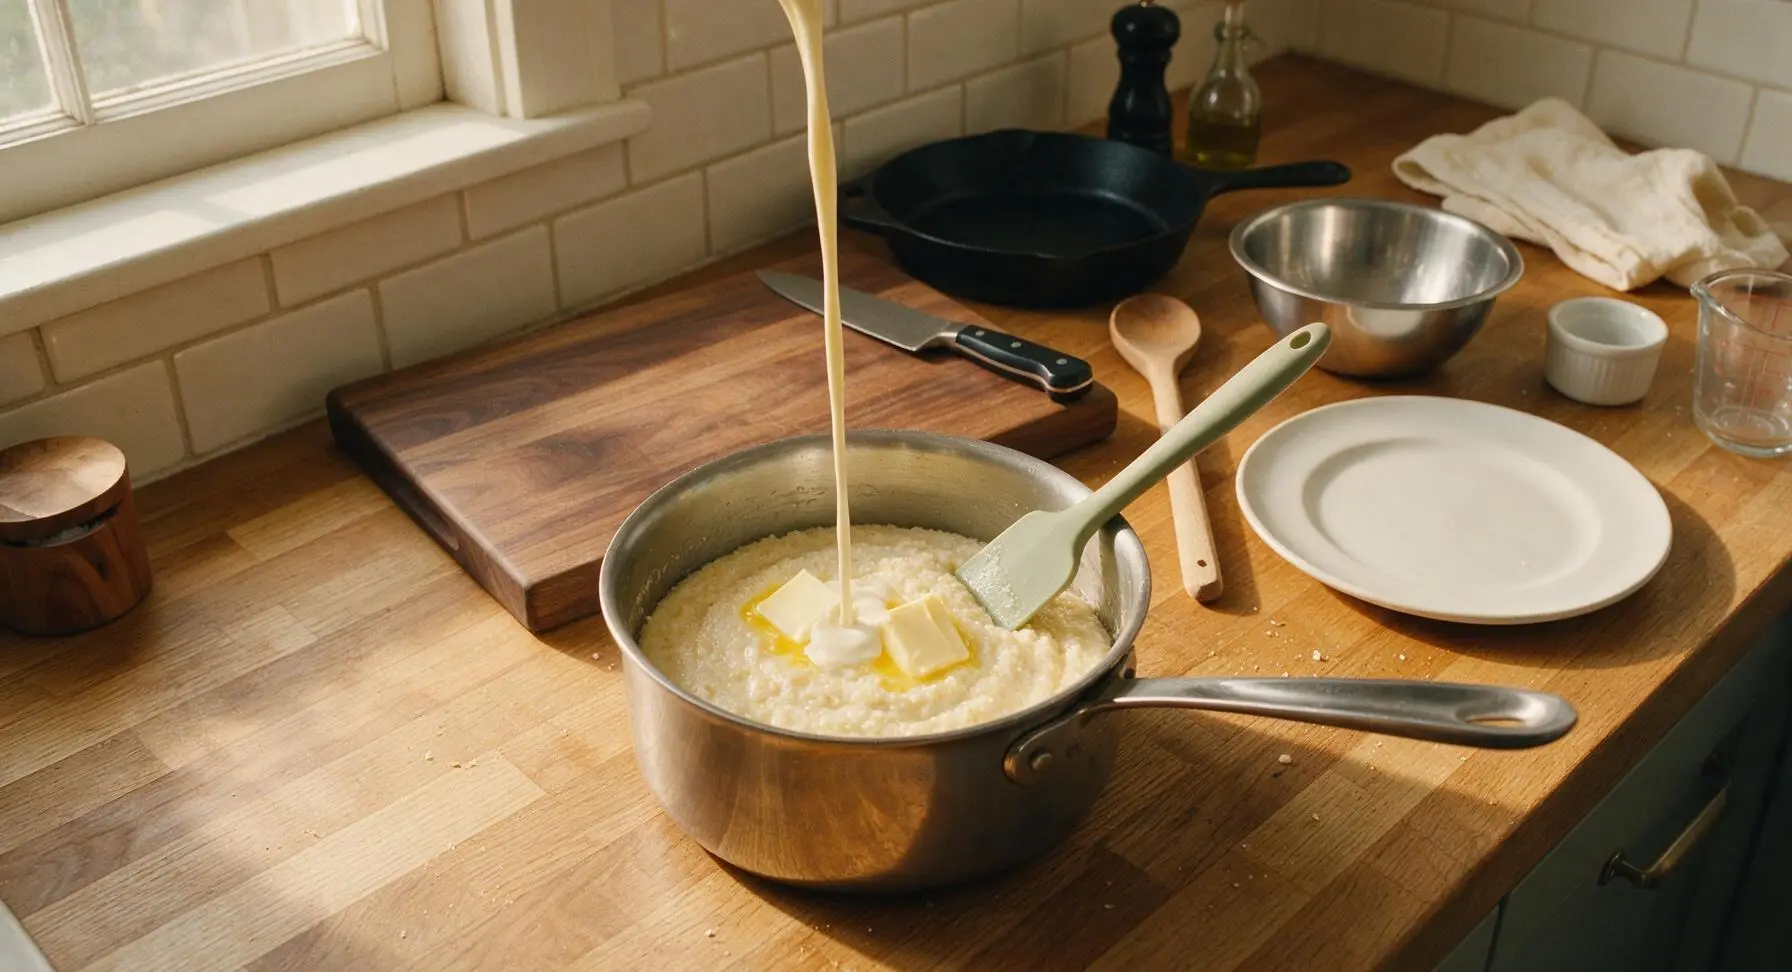
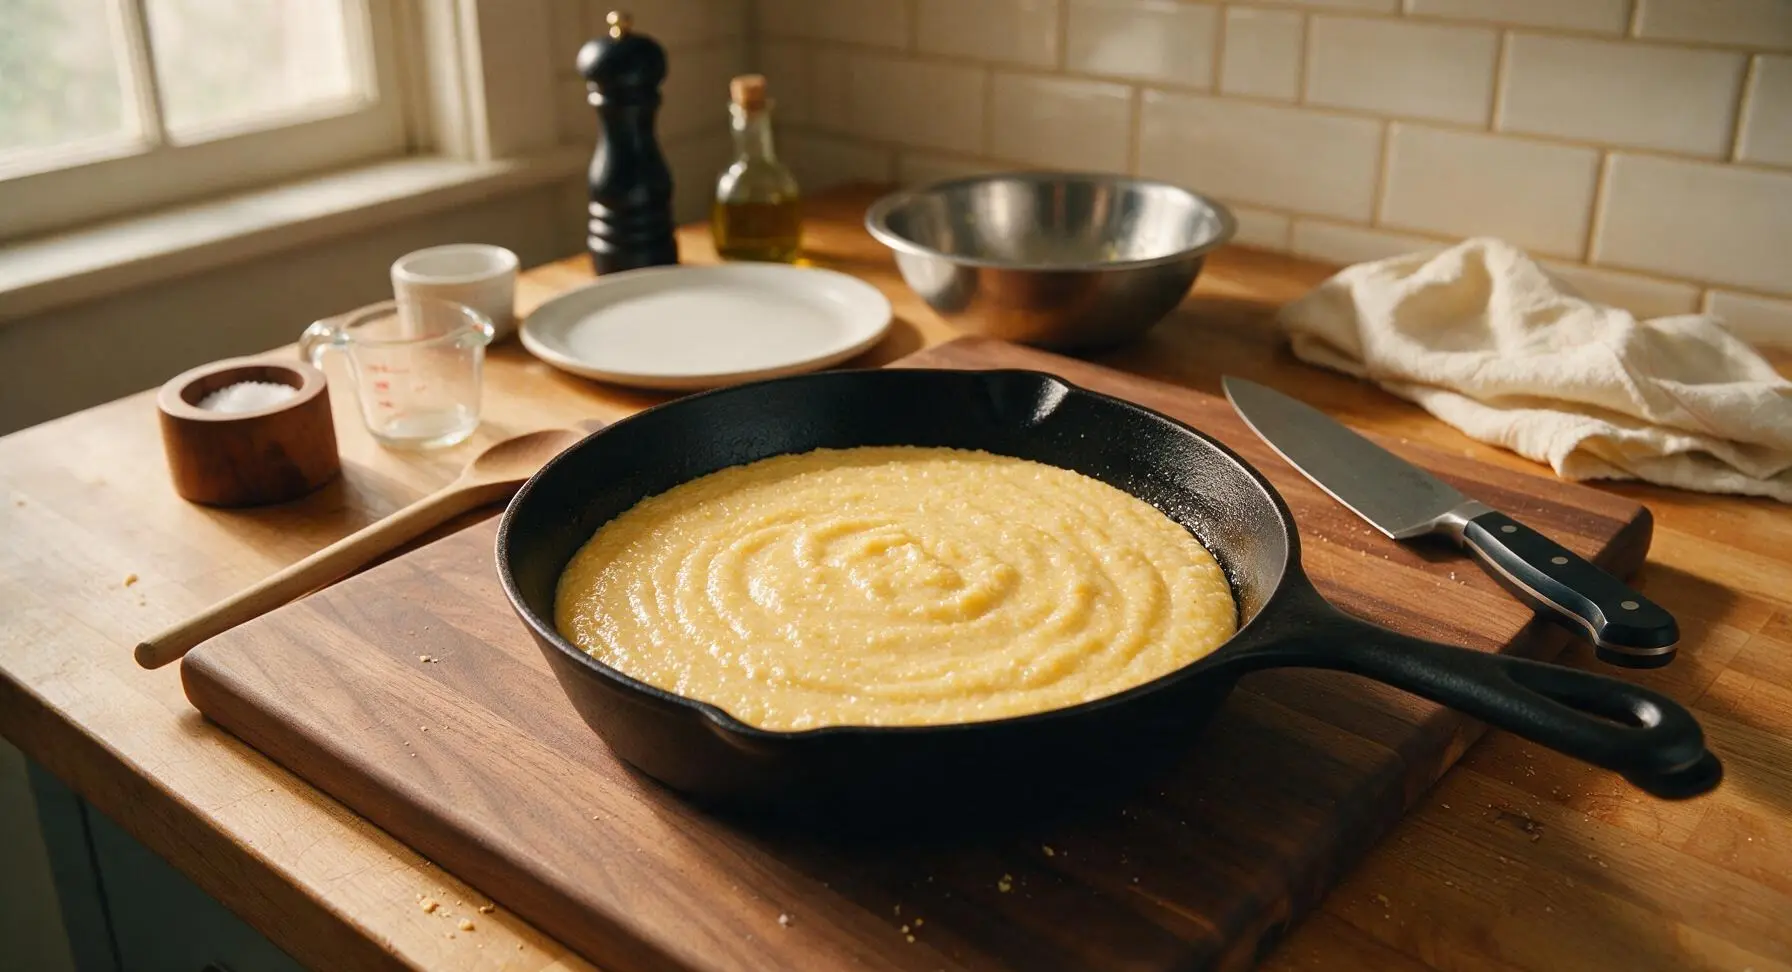
Adjust Final Seasoning
Taste the grits, and add an extra pinch of kosher salt if needed, plus 1/4 tsp freshly ground black pepper. For an extra layer of warm depth, add a tiny pinch of freshly grated nutmeg if desired, stirring gently to distribute the seasoning evenly. Let the grits rest for 3 minutes off heat to thicken slightly before serving – they will continue to set as they cool.
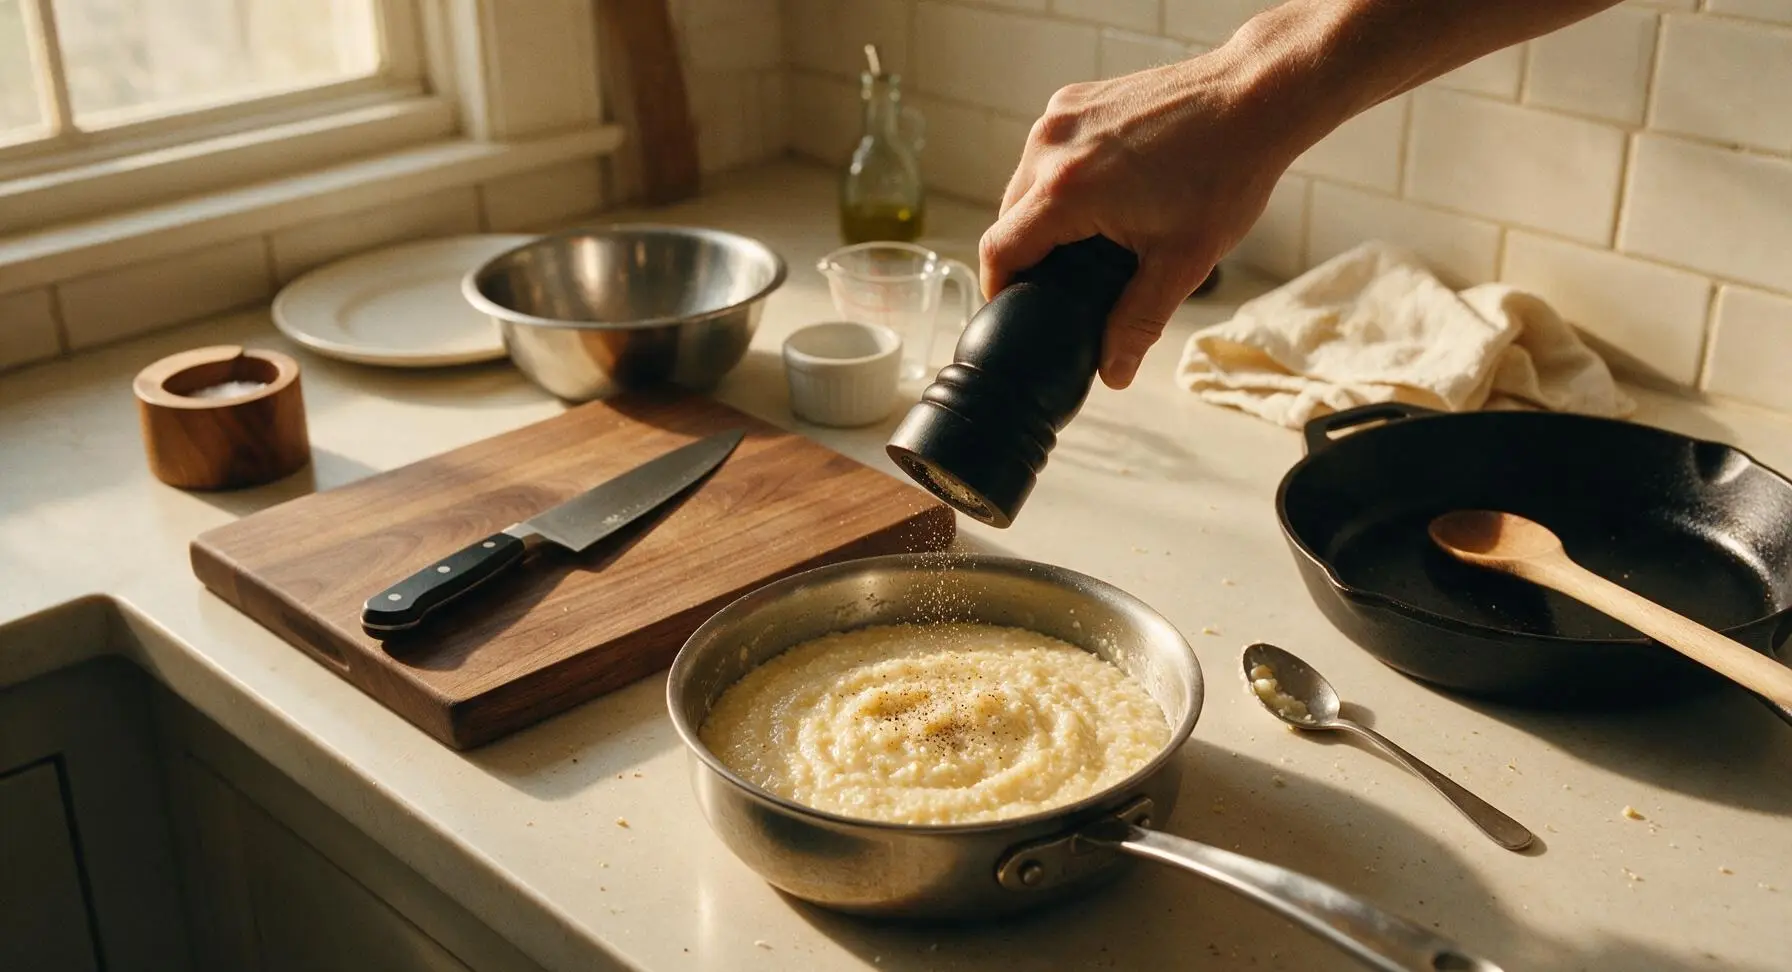
Plate and Serve Grits
Scoop the finished creamy grits into the matte cream ceramic shallow serving bowl, using the silicone spatula to scrape every last bit from the pan. Make a small shallow well in the center of the grits mound, top with an optional extra tiny pat of butter, and sprinkle with 1 tbsp finely chopped fresh chives for a bright, fresh garnish. Serve immediately while hot.
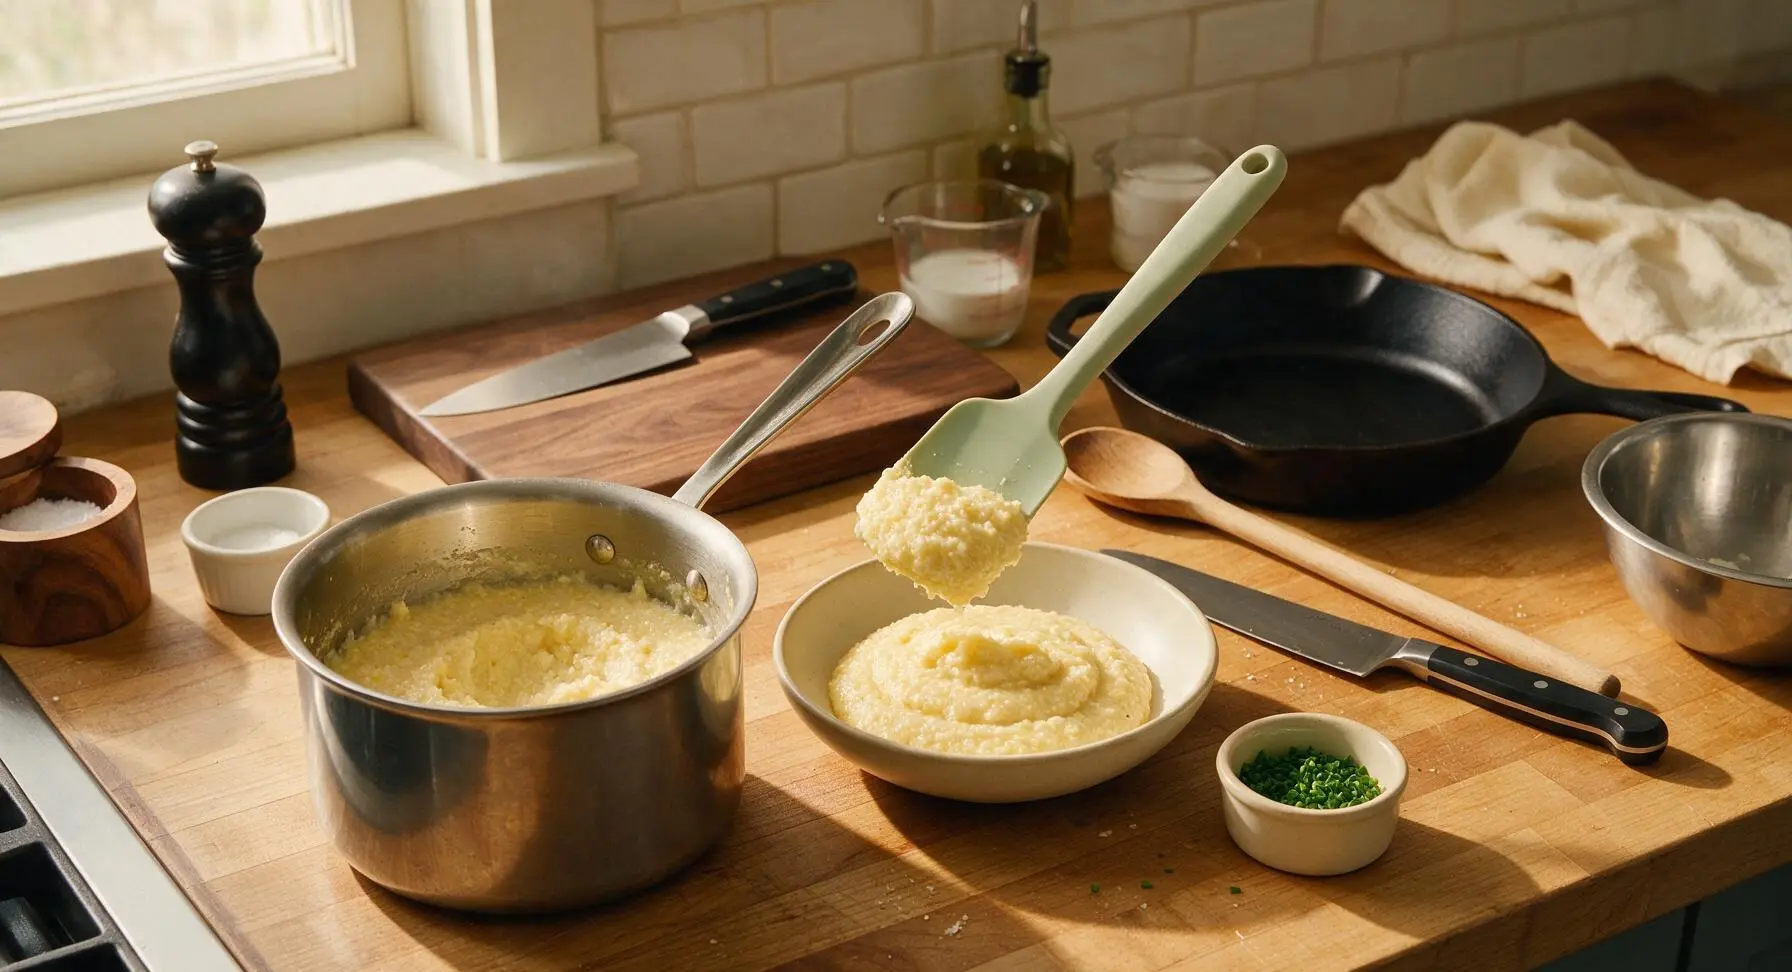
Tips
2.Maintain a low, gentle simmer throughout the cook time: boiling grits over high heat causes corn starch granules to break down unevenly, resulting in a gritty, grainy mouthfeel instead of smooth silkiness, and drastically increases the risk of burnt, stuck-on grits at the pan bottom.
3.Add butter and heavy cream only after turning off the heat: boiling dairy causes milk fats to separate from the liquid, leaving a greasy, oily film on top of grits instead of a fully integrated, rich creaminess that coats every spoonful.






OMG these are EXACTLY the grits my grandma used to make! I’ve been chasing that creamy, no-lump texture for years and this recipe nailed it. Cooked them up for Sunday brunch alongside fried catfish and my whole family went back for seconds. So easy too, only took 25 minutes total which was perfect for a lazy weekend. 10/10 will make every week now!
Game changer for my weekend cookouts! I used to make boring instant grits for our potluck sides and no one touched them, but these creamy bad boys were the first dish empty last Saturday. Served them with a sprinkle of sharp cheddar and crumbled bacon on top, chef’s kiss. Super easy recipe, even for a guy who usually only burns stuff on the grill.
My kids LOVED these! I’ve been struggling to find easy side dishes that aren’t just mac and cheese for weeknight dinners, and these were a total home run. I stirred in a little parmesan at the end and even my picky 7 year old asked for a second helping. Cook time was so fast, perfect for when we’re running between soccer practice and homework.
These are perfect for meal prep! I made a big batch on Sunday and portioned them out for breakfast all week, reheated with a splash of milk and they stayed just as creamy as day one. Way better than the sad breakfast sandwiches I usually grab on my way to work. Only note: I added a little extra butter because, duh, butter makes everything better.
I’ve been making southern grits for over 50 years and I have to say, this recipe is spot on. A lot of new recipes overcomplicate them with fancy add-ins but this keeps it simple, creamy, just the right amount of salt. Tastes exactly like the grits we used to get at the old diner down in Savannah when I was a kid. Easy enough for anyone to follow too.
I’m a born and raised yankee who never really got the hype around grits until I made these. SO good! I always thought grits were supposed to be bland and lumpy but these were so rich and creamy, I ate them for dinner with shrimp on top and immediately texted the recipe to all my friends. Who knew something so easy could taste that good?
Made these for a late night dinner after a 12 hour shift and they were such a cozy, perfect meal. I didn’t have a ton of energy to cook so the 25 minute cook time was a lifesaver, and I didn’t even have to run to the store since I already had all the ingredients in my pantry. Topped with a runny fried egg and some hot sauce, *chef’s kiss*.
Super easy recipe for a college kid who barely knows how to boil water! I made these in my dorm room shared kitchen for my roommates and we all devoured them. I added a handful of shredded cheese because that’s all I had in the mini fridge, and they tasted like restaurant quality. Way cheaper than ordering takeout too!
I’ve tried so many creamy grits recipes that come out too watery or too thick, but this ratio is perfect! I made them for my brunch date last weekend and my date said they were better than the ones at our favorite fancy brunch spot downtown. Will absolutely be adding this to my regular rotation.
Great base recipe! I swapped the regular milk for oat milk to make it dairy free for my sister who’s visiting, and it still came out super creamy and delicious. I was worried non-dairy milk would make them taste weird but you couldn’t even tell the difference. Perfect for accommodating different dietary needs at family dinners.
Now THIS is how you make proper grits! None of that runny, flavorless stuff people try to pass off as southern cooking these days. I taught my granddaughter to make these last weekend using this recipe, and she’s already texted me twice to say she’s made them for her friends. Easy, straightforward, tastes like home.
I make these every time I have friends come over after a morning hike! They’re hearty, filling, and everyone raves about how creamy they are. I usually set out a little topping bar with cheese, green chiles, hot sauce, and crumbled sausage so people can customize their own bowls. So easy to make for a crowd too.
Solid recipe! I followed the directions exactly and the grits came out perfectly creamy, no lumps at all. I will say I added a little extra salt and a pinch of garlic powder to give them a little more depth, but that’s just my personal preference. Great easy side for any meal.