
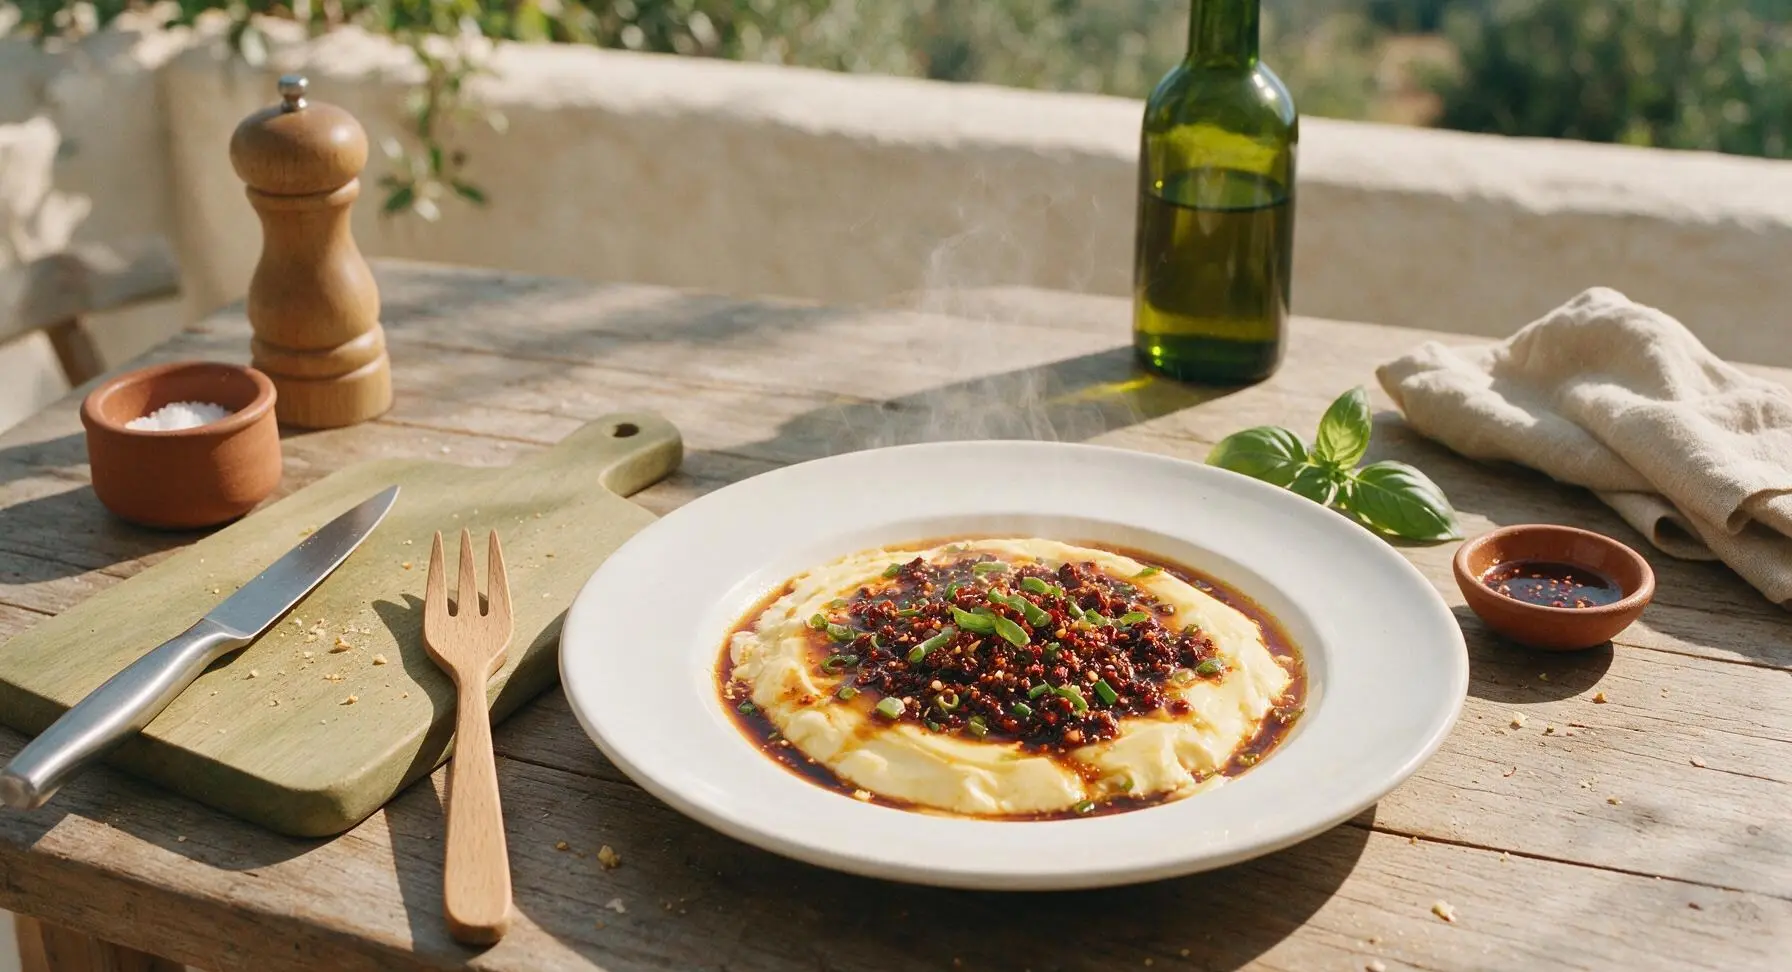
custard chili

title 1
custard chili
⏱️ cook time 15 minutes
🍽️ servings 4
⚡ Difficulty easy

intro

Silky, jiggly savory steamed egg custard topped with sizzling fragrant Sichuan chili, umami soy, and scallions—light, comforting, with balanced warm heat for a quick weeknight bite.

Ingredients
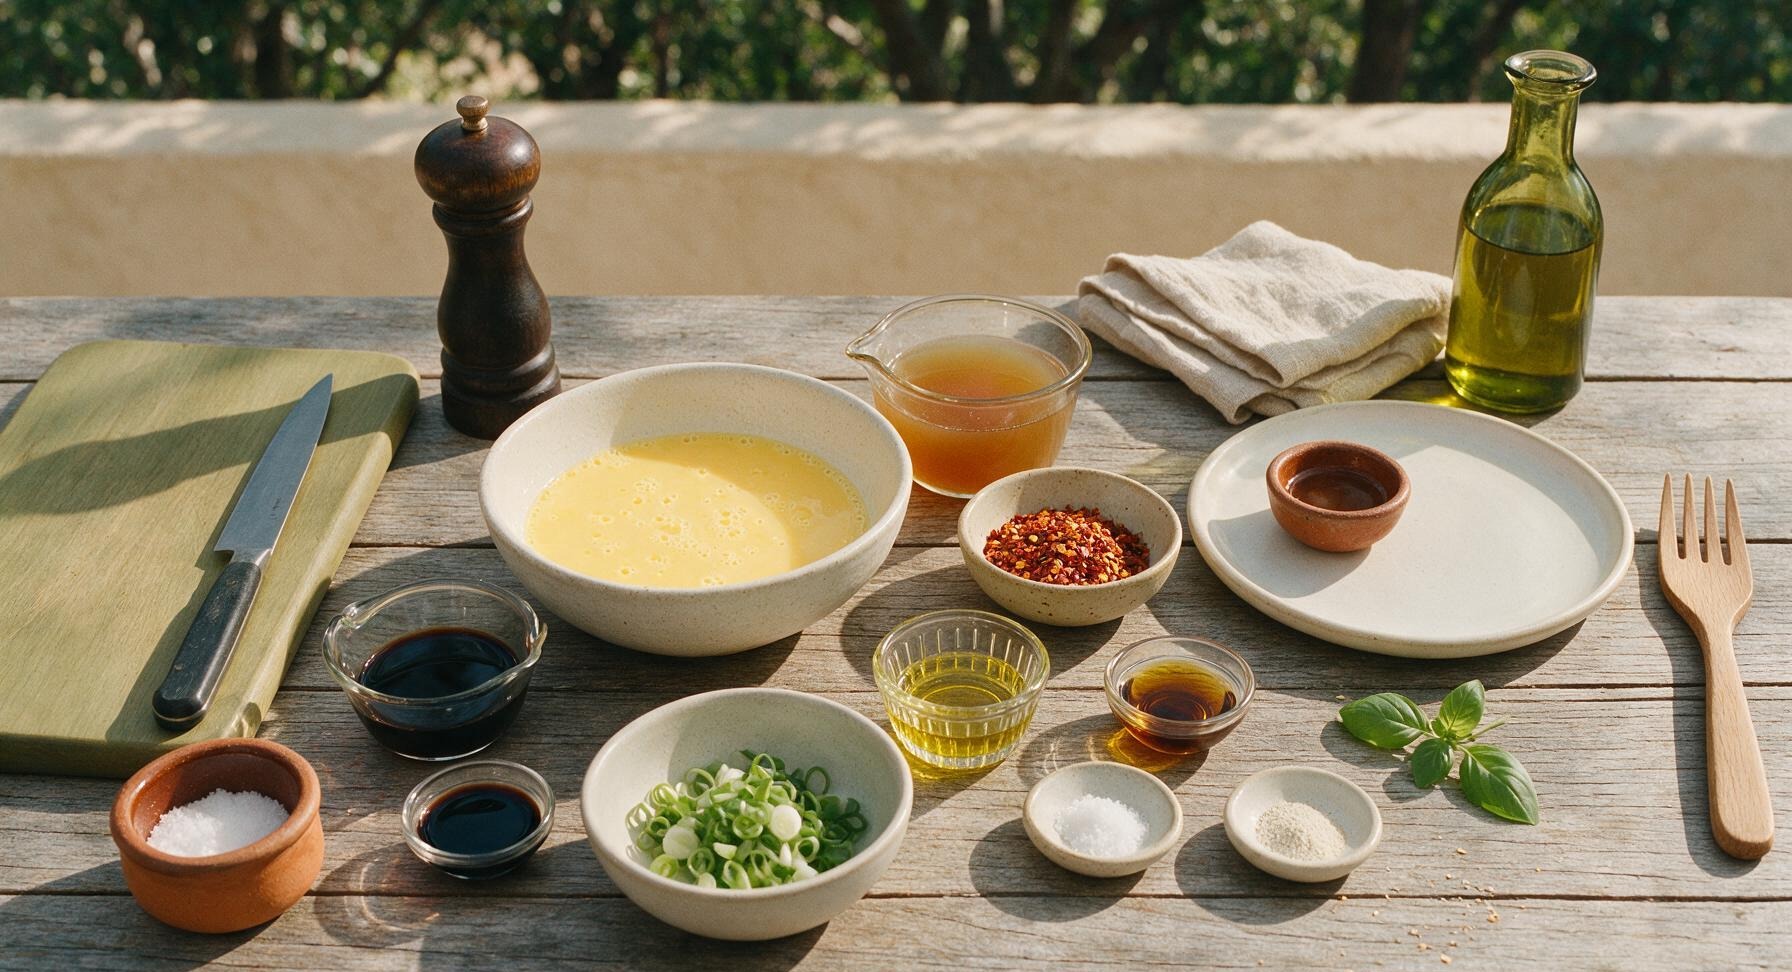
Large room-temperature eggs 4 (200g shelled)
Low-sodium chicken stock, warmed to 40C/105F 300ml
Dried Sichuan chili flakes 2 tbsp
Light soy sauce 1.5 tbsp
Neutral vegetable oil (canola/sunflower) 1 tbsp
Toasted sesame oil 1 tsp
Fine sea salt 1/4 tsp
Ground white pepper 1/8 tsp
Fresh scallions 2 stalks, finely chopped

Steps

1

Whisk egg base

Crack the 4 room-temperature eggs into the medium matte white ceramic mixing bowl. Add 1/4 tsp fine sea salt and 1/8 tsp ground white pepper. Use the long-handled light bamboo whisk to beat the eggs gently for 45 seconds, just until the yolks and whites are fully combined with no visible streaks of clear egg white. Do not over-whisk to avoid creating excess air bubbles, which will cause a pockmarked, uneven custard surface.
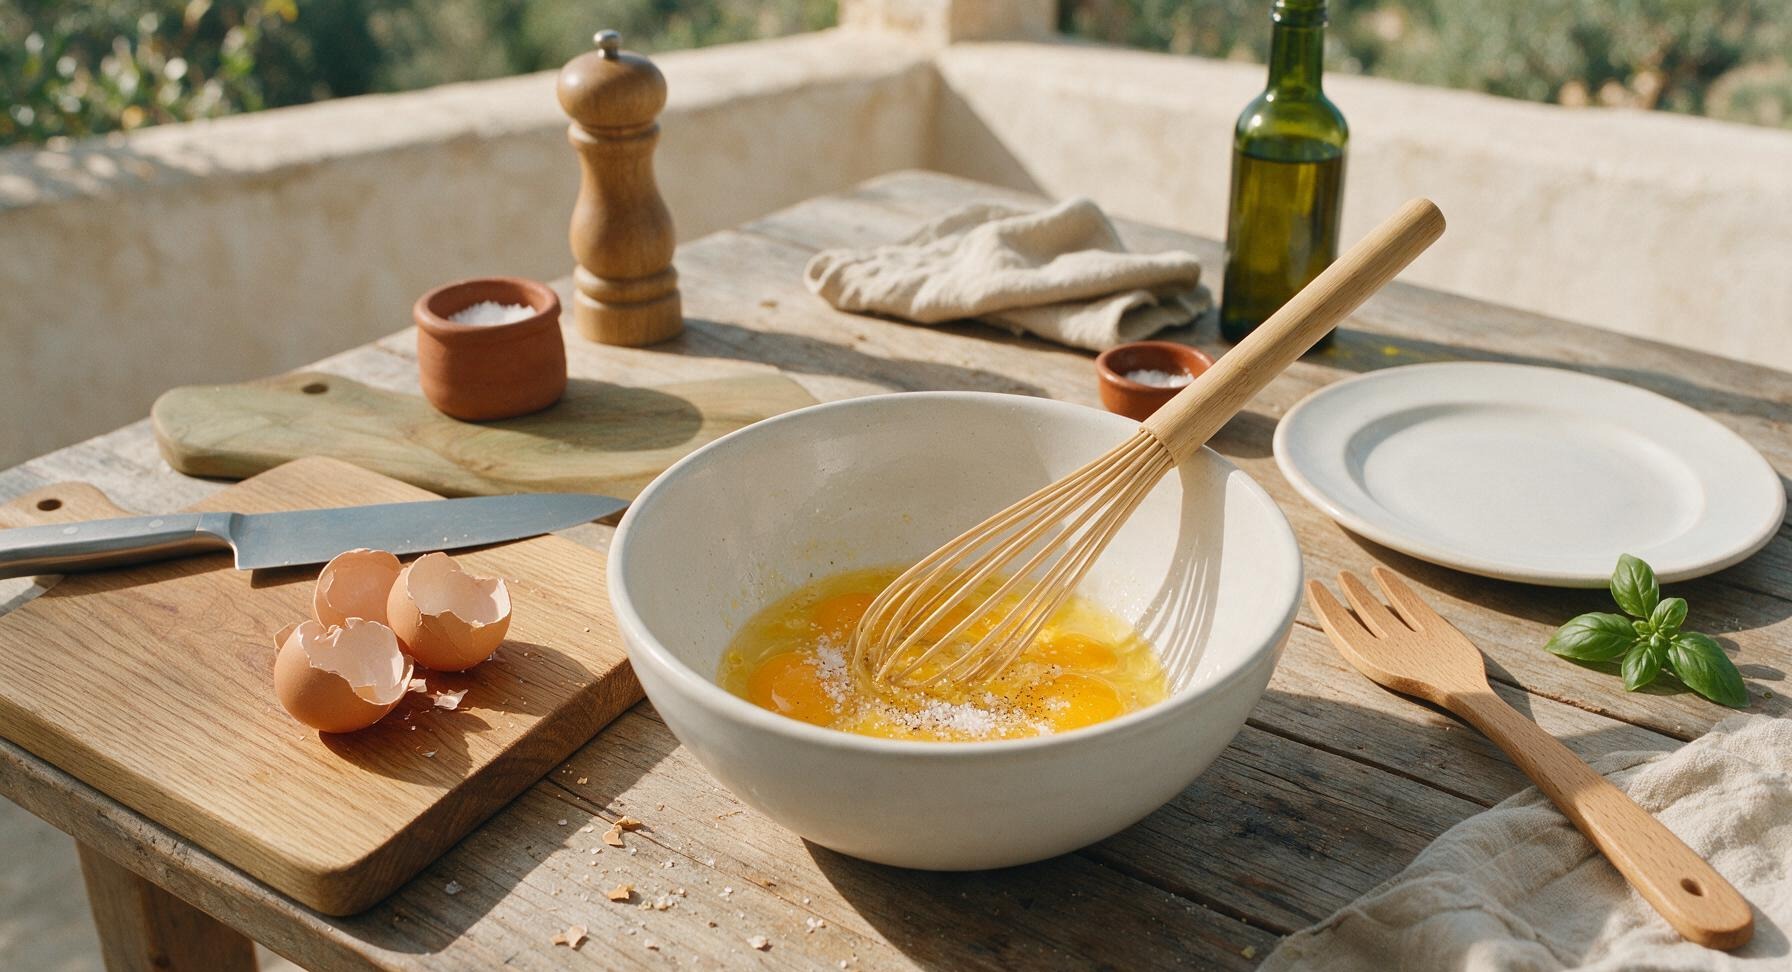
Step 1
step1:Whisk egg base
2

Combine warm stock

Slowly pour the 300ml 40C (105F) warm low-sodium chicken stock into the beaten egg mixture while stirring constantly with the bamboo whisk. Stir at a slow, steady pace to fully incorporate the stock without creating thick froth on the surface. The final mixture should be a uniform pale golden color, thin enough to pour easily but with a slight silky viscosity.
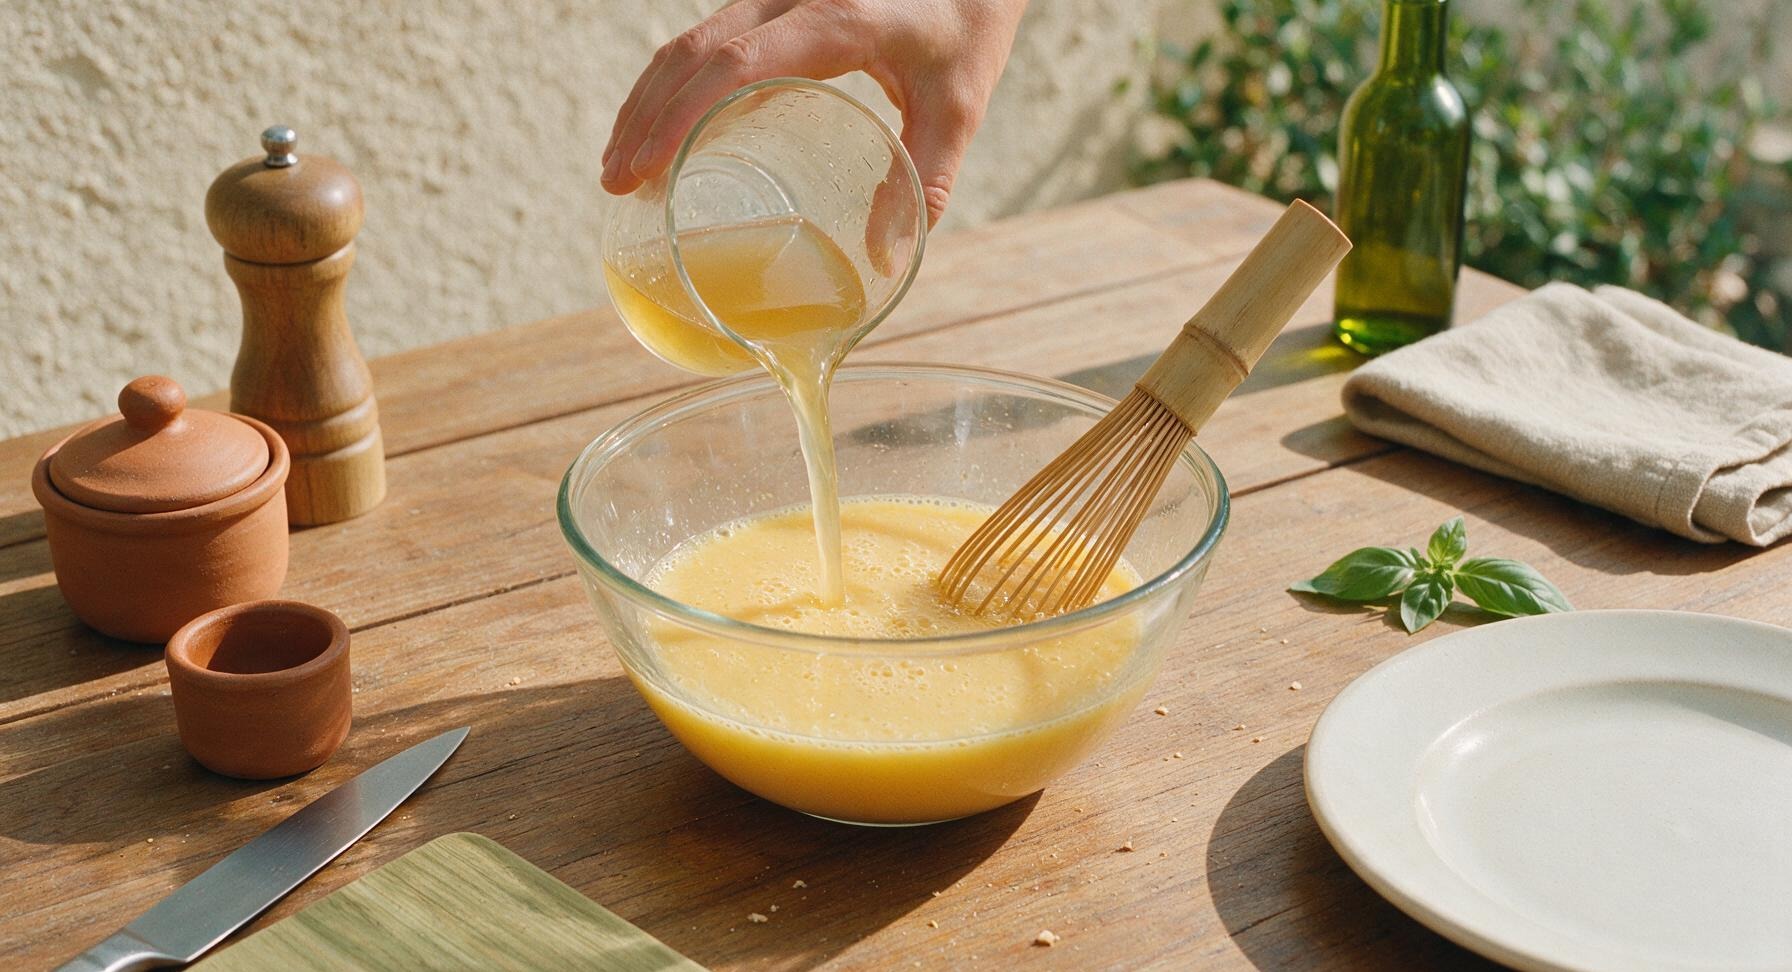
Step 2
step2:Combine warm stock
3

Strain for silkiness

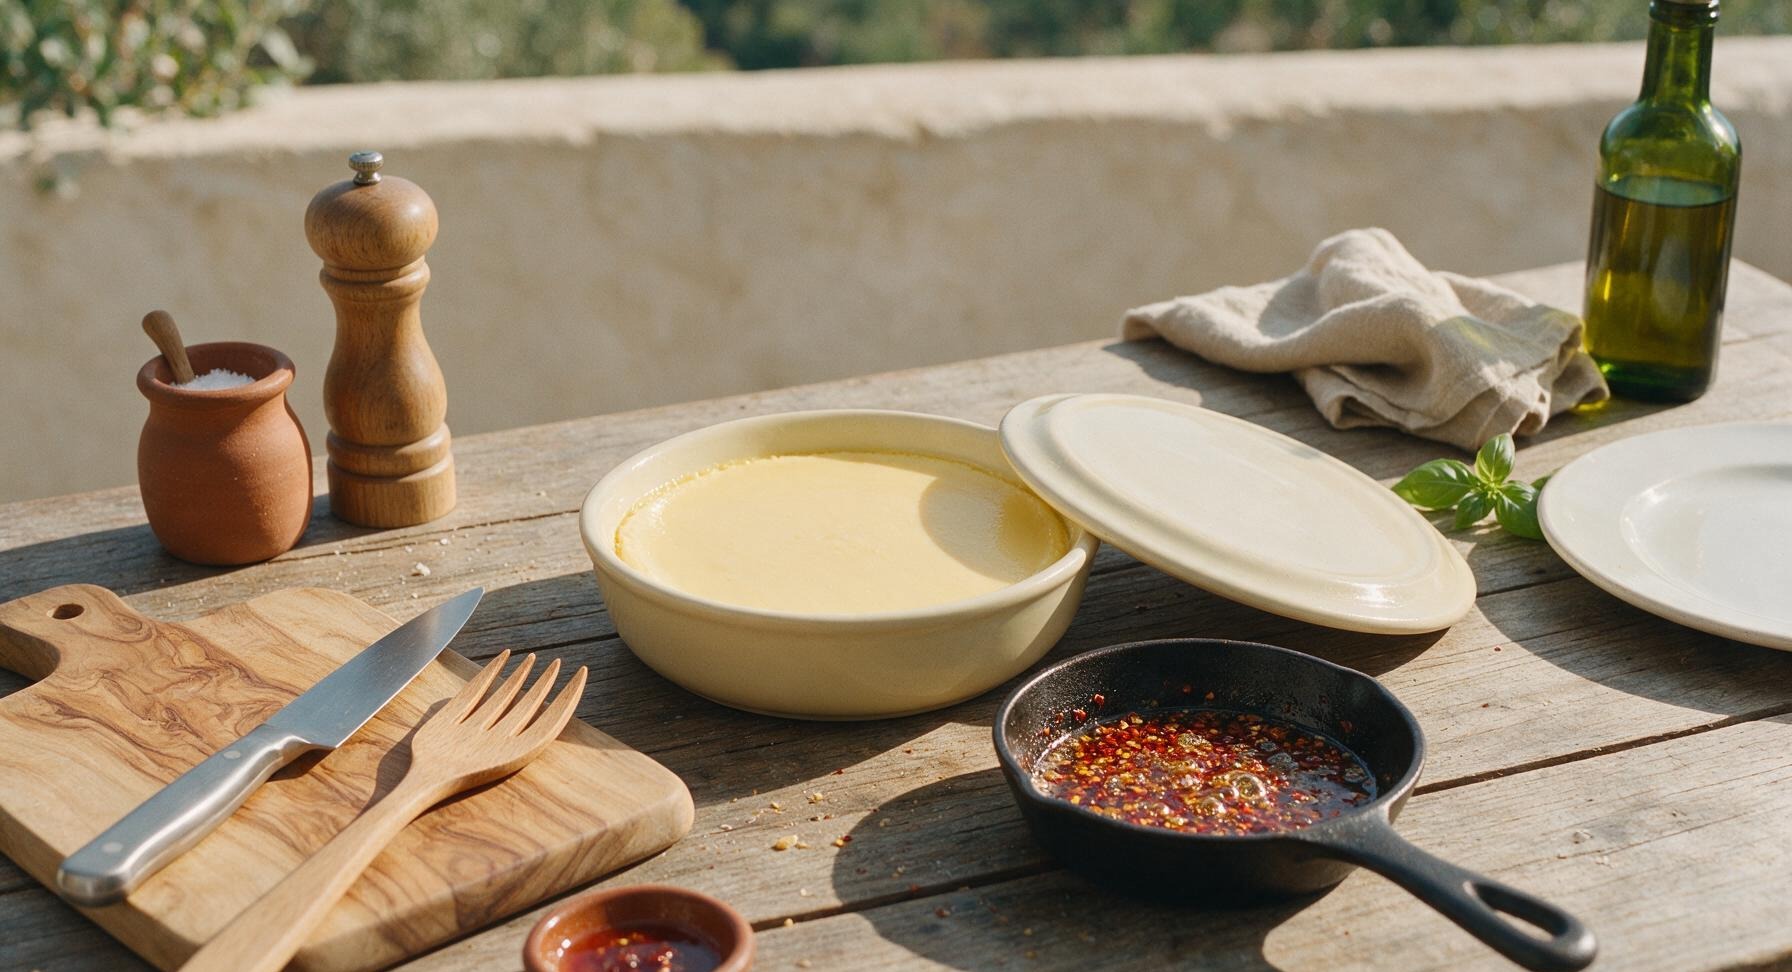
Place the 10cm fine-mesh stainless steel sieve over the top of the pale cream ceramic serving bowl. Pour the egg and stock mixture slowly through the sieve to catch any stringy egg chalazae and remaining large air bubbles. For ultra-silky custard, strain the mixture a second time through the sieve, then use a clean spoon to skim off any tiny remaining bubbles on the surface of the liquid in the serving bowl. The strained liquid should be completely smooth, with no lumps or visible froth.
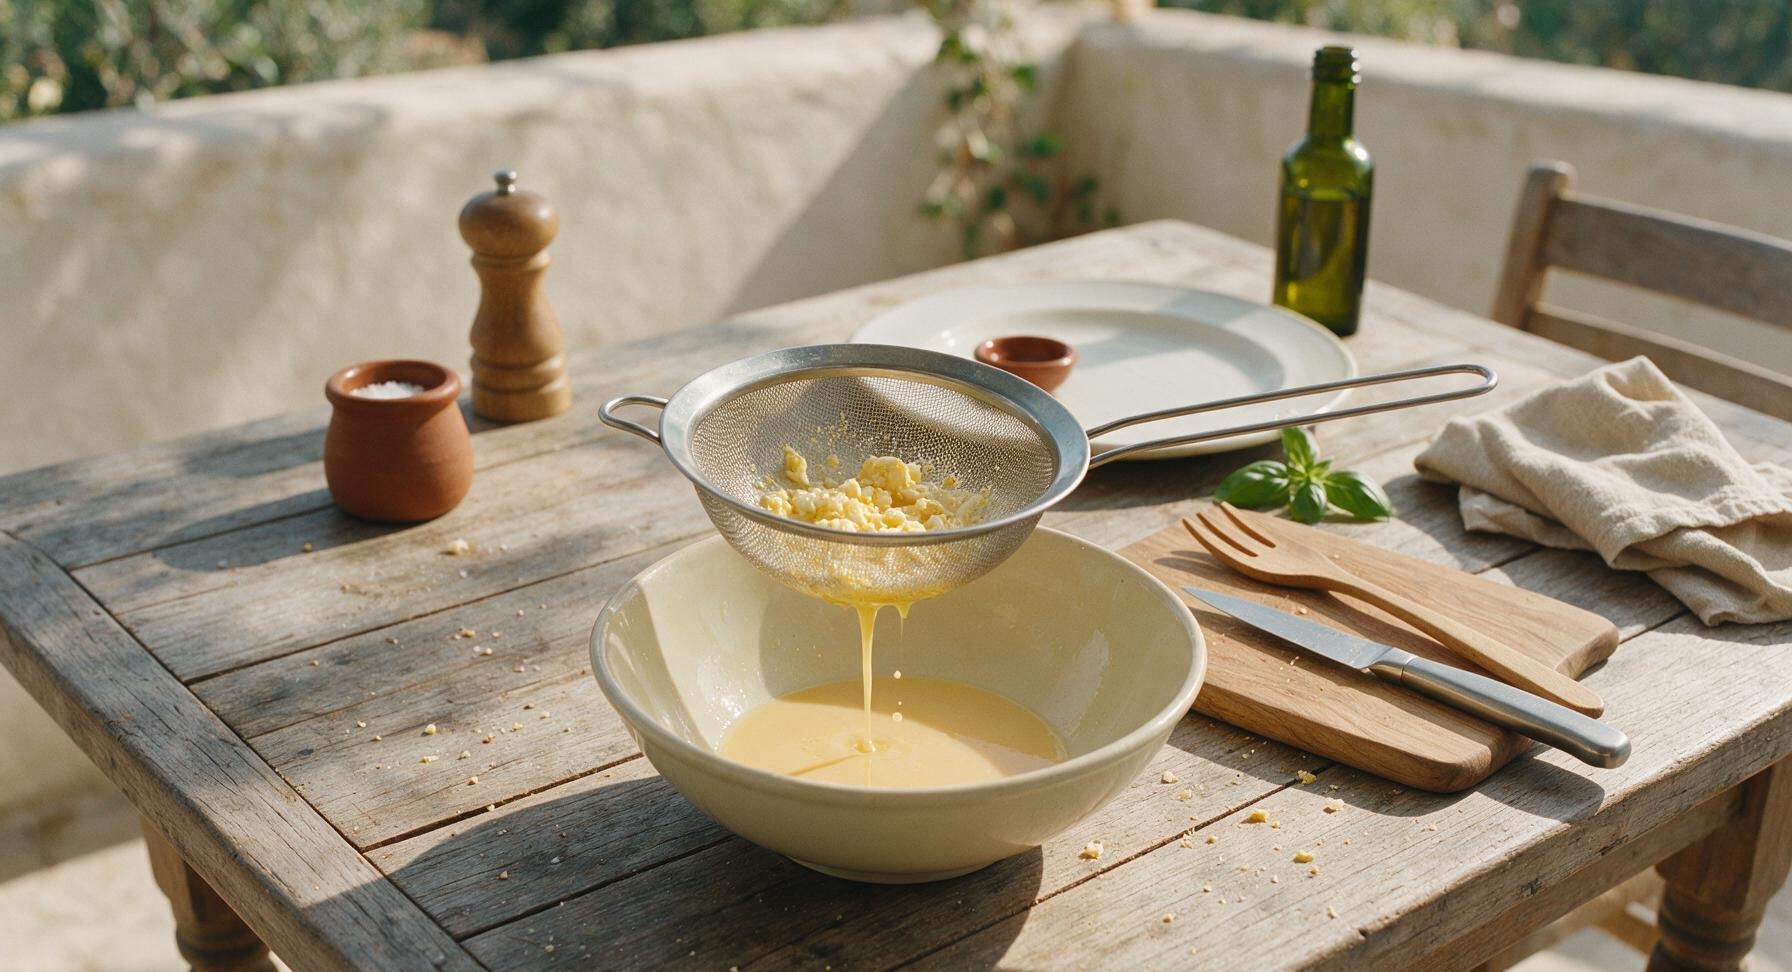
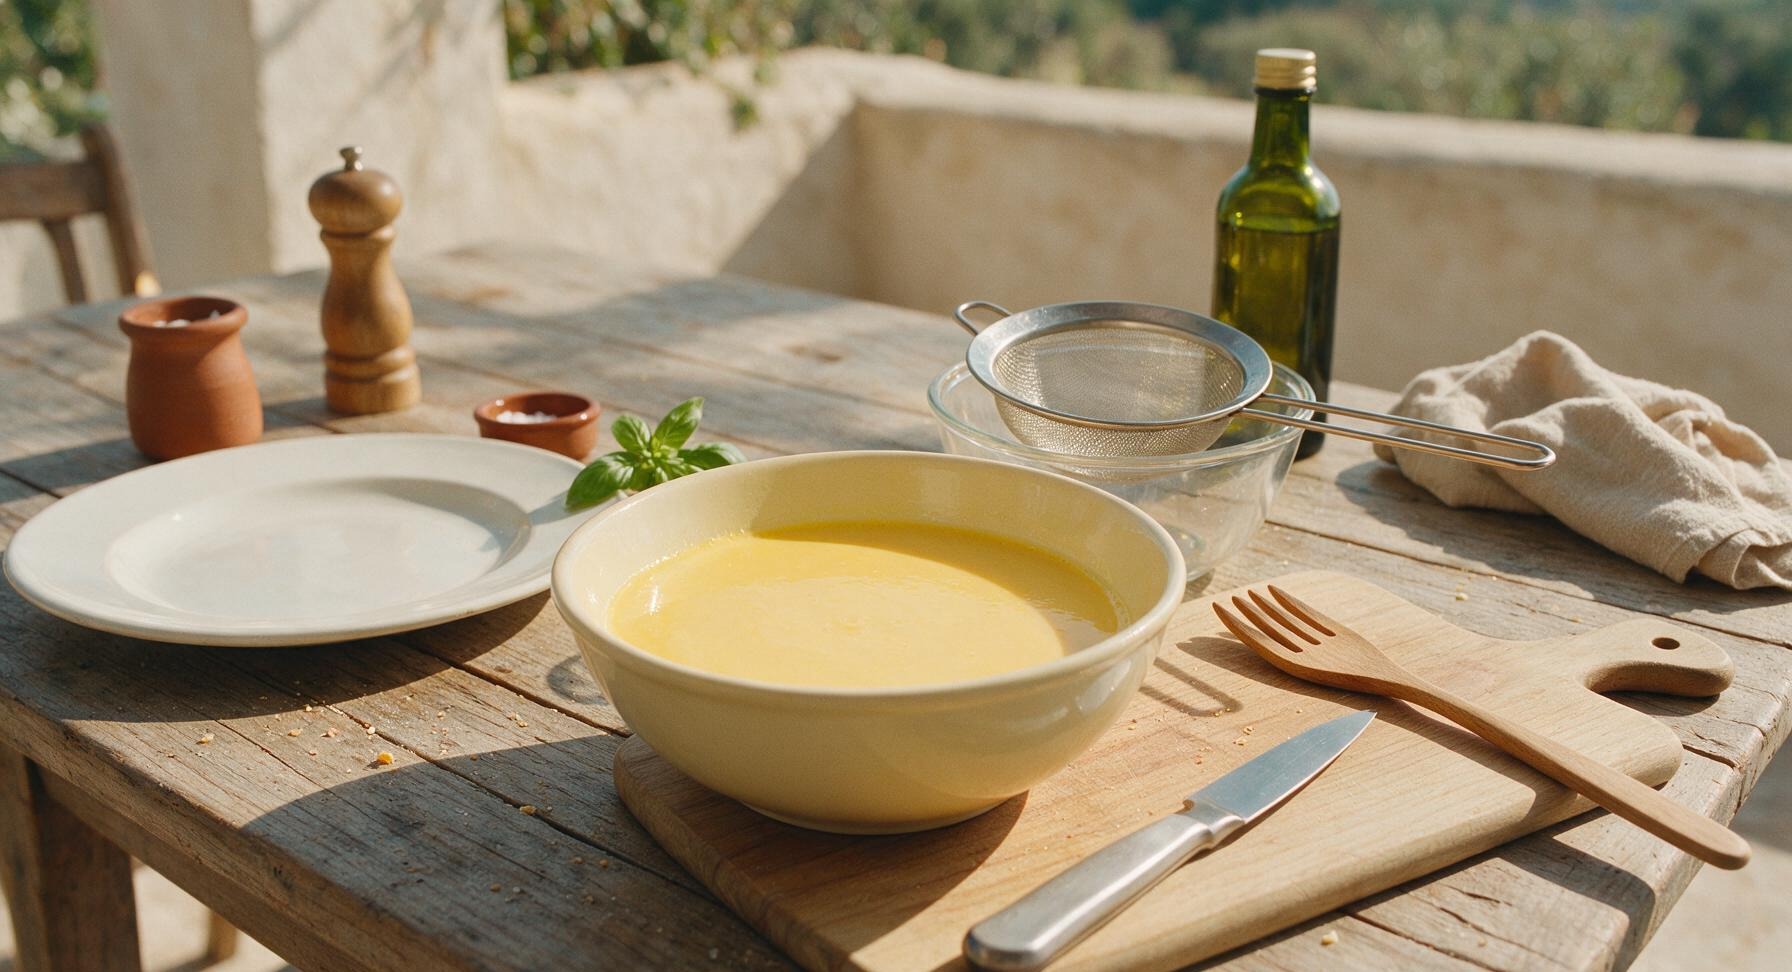
Step 3
step3:Strain for silkiness
Step 3
step3:Strain for silkiness
4

Steam until set

Fill the 24cm stainless steel steamer pot with 5cm of cold water, bring to a rolling boil over medium heat (water will bubble steadily and produce visible wispy steam). Cover the pale cream serving bowl tightly with a small heatproof plate to prevent water droplets from falling on the custard surface, then place the bowl into the steamer insert. Set the glass lid on the pot, reduce heat to low to maintain a gentle simmer, and steam for 10-12 minutes. The custard is done when the center jiggles slightly like firm Jell-O, with no runny liquid when you insert a toothpick 1cm into the center. Do not steam over high heat, as this will create a porous, rubbery custard texture.
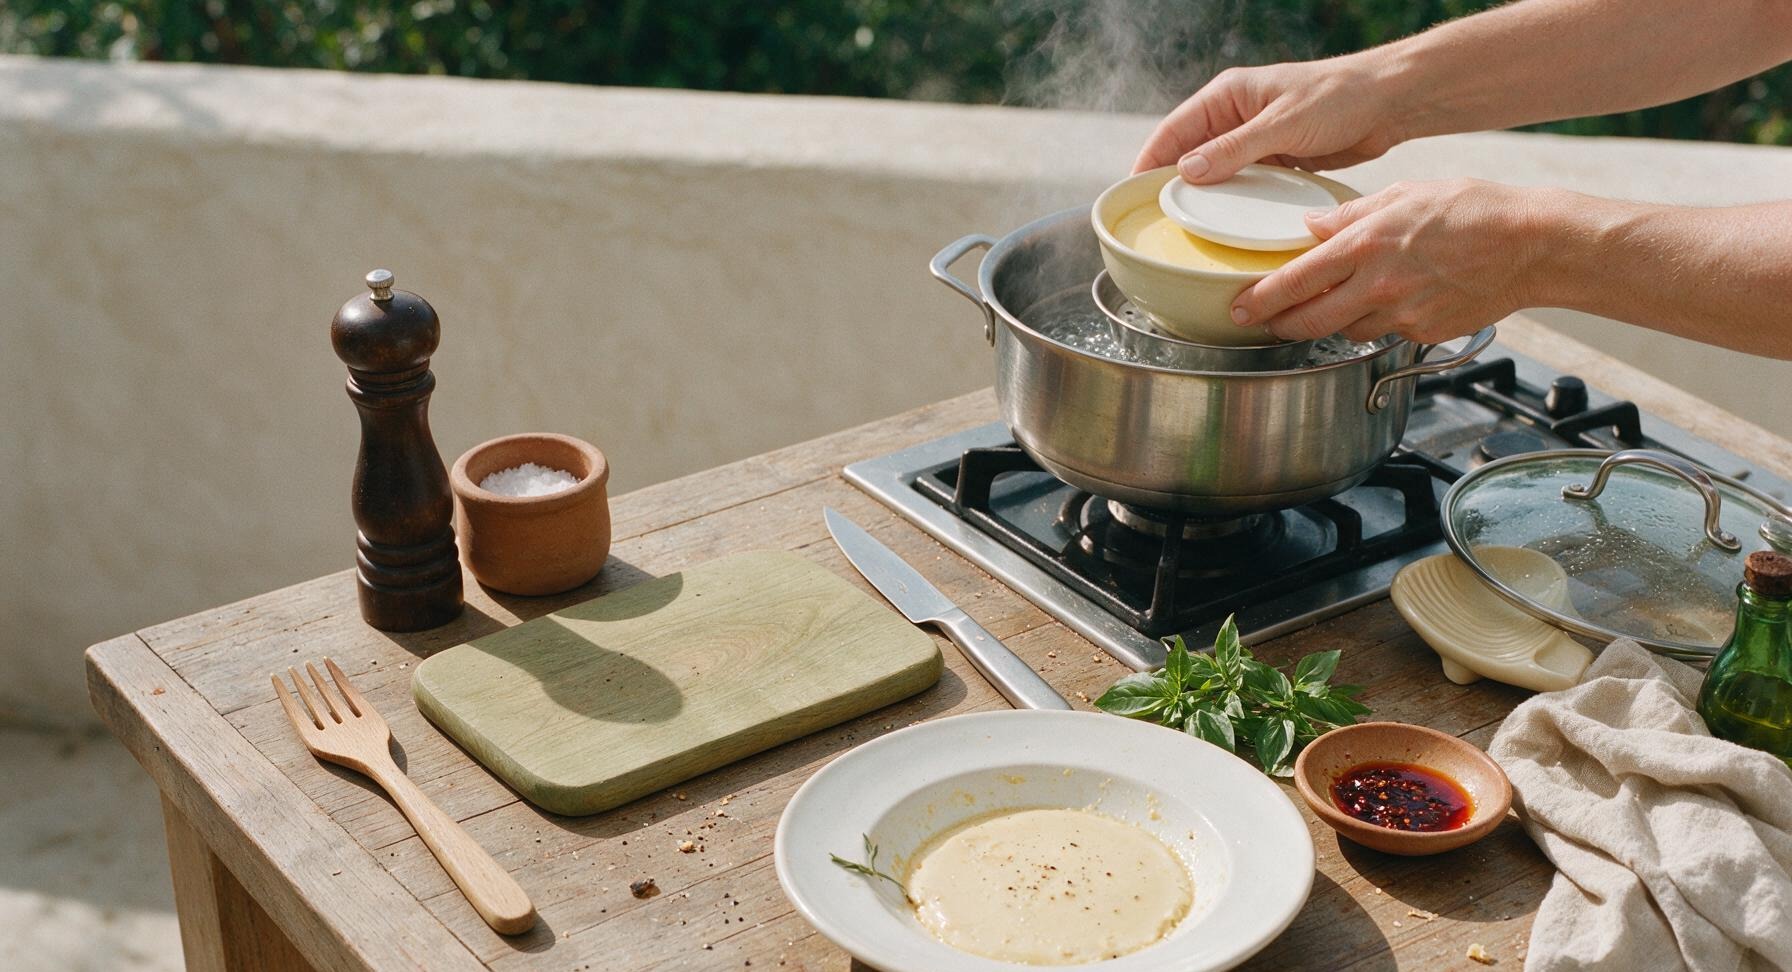
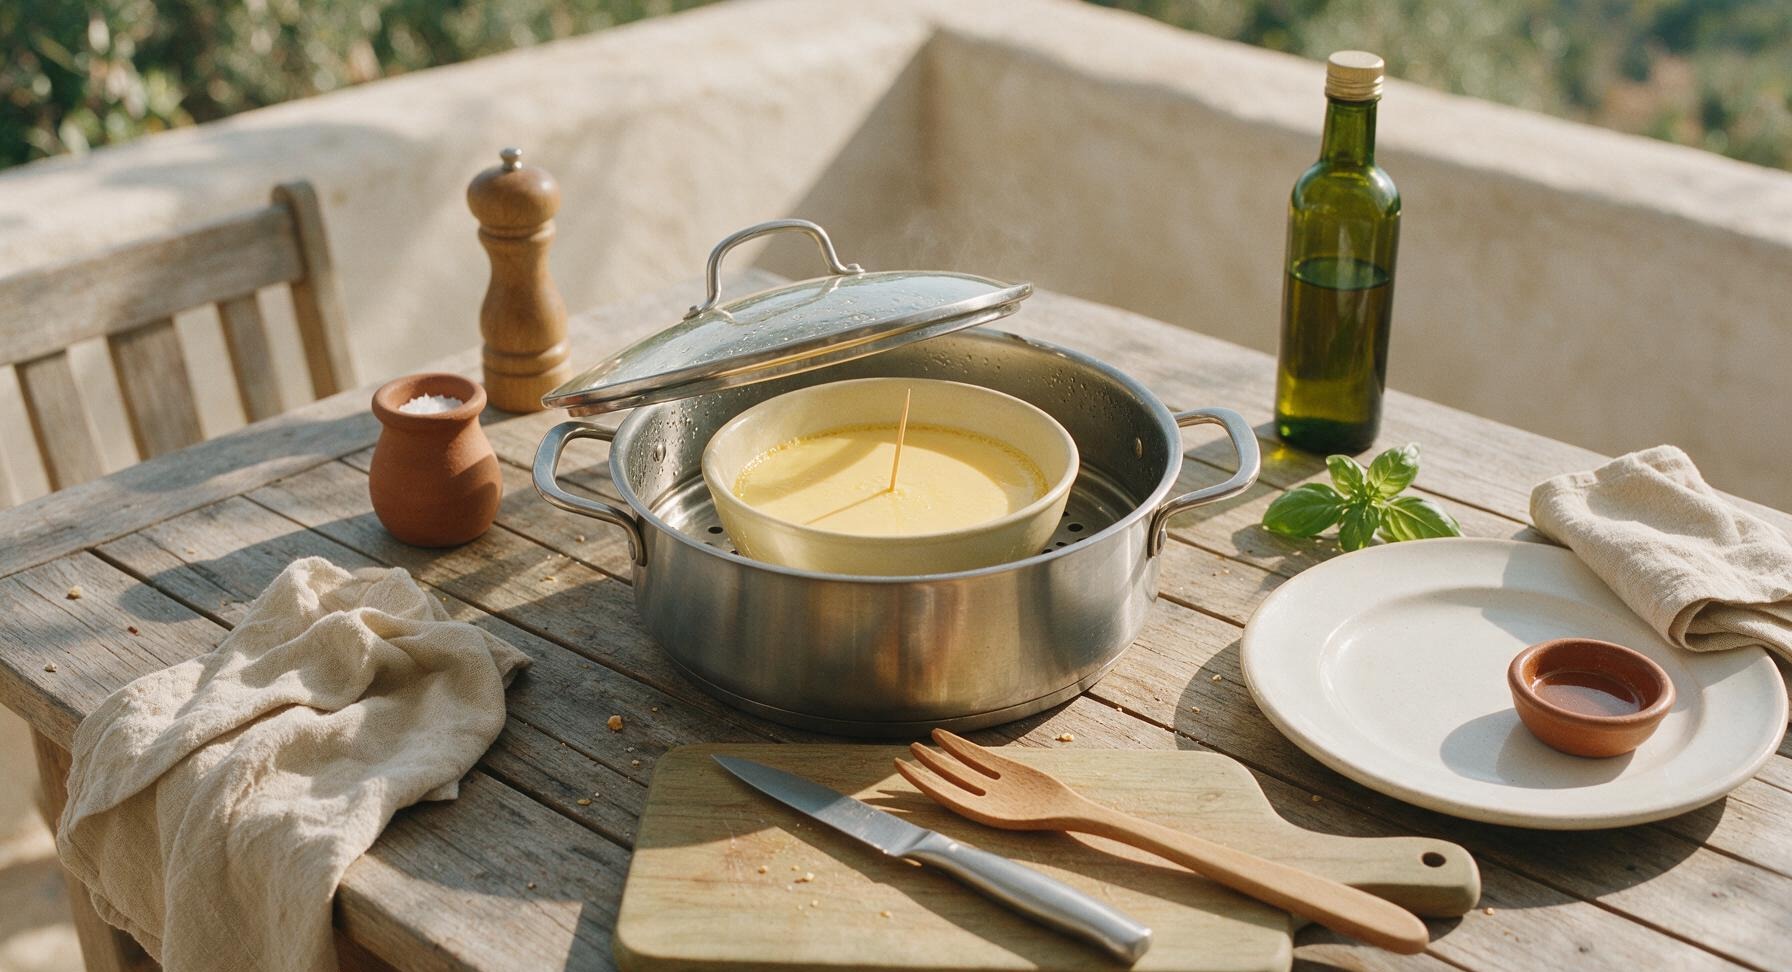
Step 4
step4:Steam until set
Step 4
step4:Steam until set
5

Sizzle chili oil

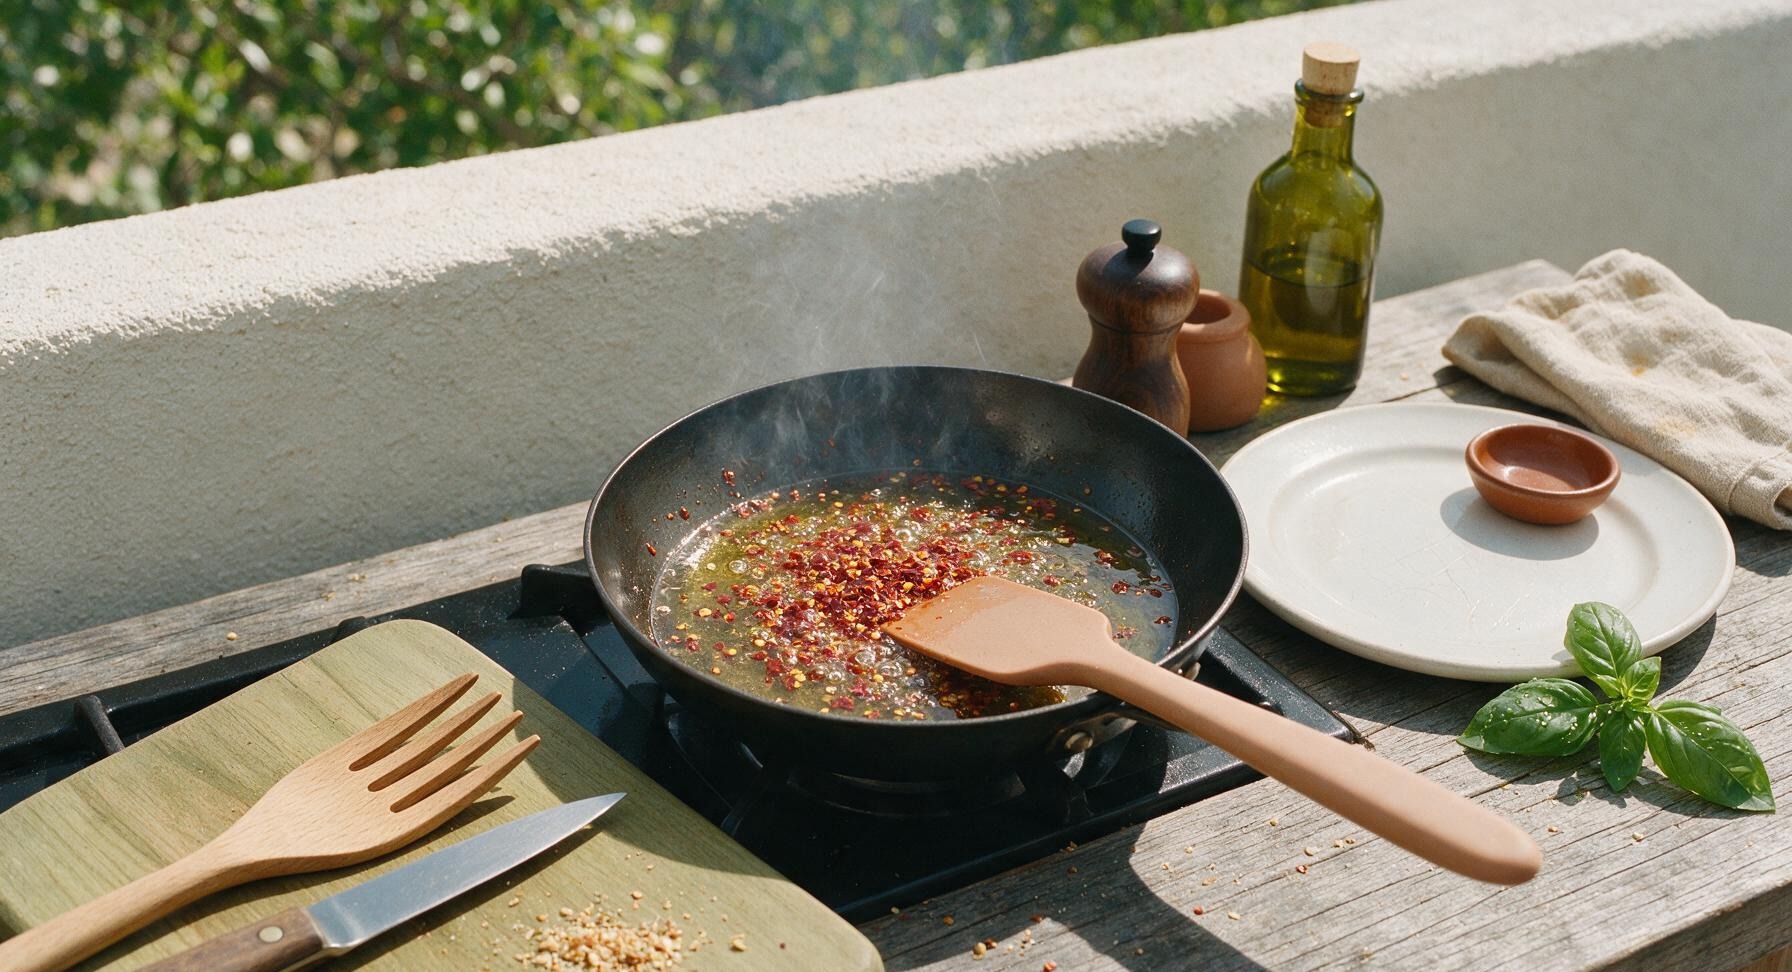
While the custard steams, place the small 12cm matte black carbon steel skillet on the back left stovetop burner over medium heat. Add 1 tbsp neutral vegetable oil, heat for 1 minute until the oil shimmers (approx 180C/350F). Turn off the heat, add the 2 tbsp dried Sichuan chili flakes to the hot oil, and stir once with the pale terracotta silicone spatula: the chili will sizzle gently and release a deep, fruity, fragrant aroma, turning a slightly darker bright red. Do not burn the chili, as it will turn bitter and ruin the dish’s flavor.
Step 5
step5:Sizzle chili oil
6

Dress finished custard

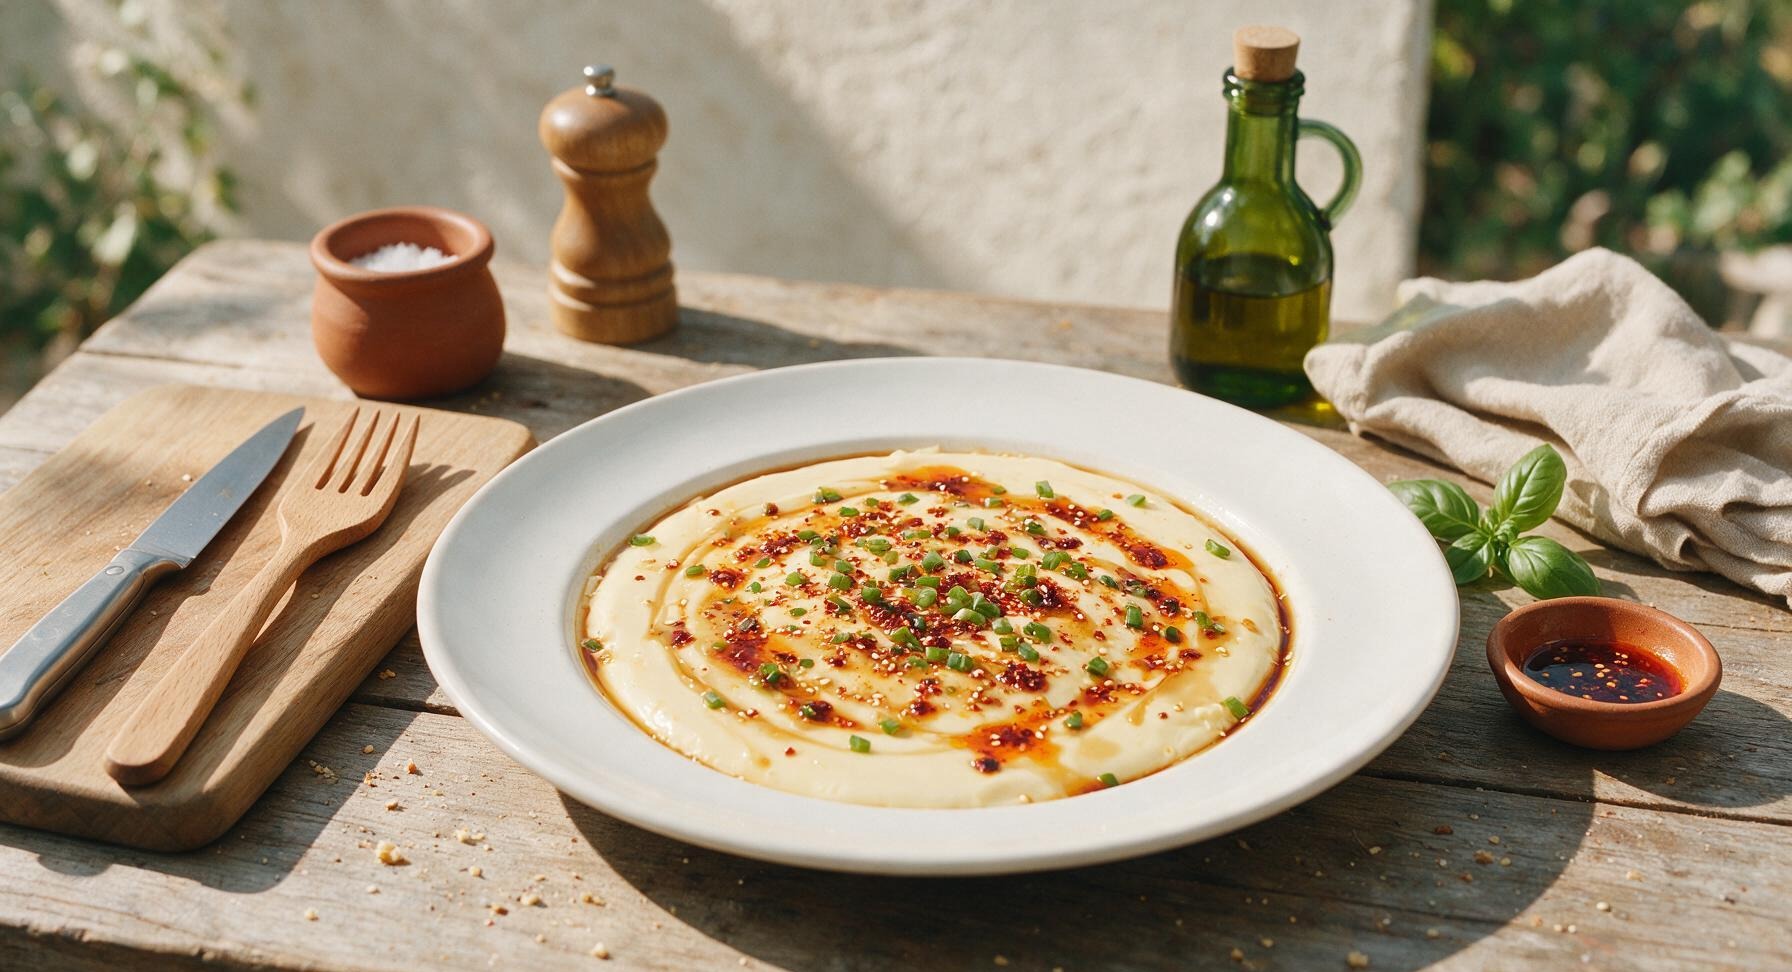
Carefully lift the steamer insert out of the pot, use oven mitts to remove the pale cream serving bowl, and take off the covering plate. Drizzle 1.5 tablespoons of light soy sauce and 1 teaspoon of toasted sesame oil evenly across the smooth custard surface. Pour the hot sizzled chili oil and toasted chili flakes from the small skillet over the custard, moving in a slow circle to distribute the oil evenly; you will hear a soft, satisfying sizzle as the hot oil hits the cool custard surface. Top evenly with the finely chopped fresh scallions, and serve immediately while warm.
Step 6
step6:Dress finished custard
Step 6
step6:Dress finished custard

Tips

1.Use room-temperature eggs and lukewarm (not boiling) stock for the silkiest texture: cold eggs mixed with cold liquid cook unevenly during steaming, leading to rubbery edges and a runny, unset center.
2.Always cover the custard bowl with a small plate before steaming: condensed water droplets dripping from the steamer lid will create pockmarks and watery pockets on the custard surface, ruining its signature smooth, jiggly finish.
3.Heat chili flakes off the direct flame after adding to hot oil: residual pan heat is enough to toast the chili and release its deep, fruity aroma, while sustained high heat will burn the flakes in seconds and leave a bitter, acrid taste in the final dish.


✨ You May Also Like

Side Dishes
🍜 India

Velvety, aromatic all-purpose curry sauce perfect for tossing with roasted veggies, grilled protein, or rice for fast, cozy, flavorful meals.

⏱️ 25 minuteSide Dishes ★ 4.8
Side Dishes
🍜 Spain

Tender, starchy boiled yuca tossed in bright, garlicky citrus mojo sauce—an iconic, zesty side that pairs beautifully with roasted pork, grilled meats, and rice and beans.

⏱️ 40 minuteSide Dishes ★ 5
Side Dishes
🍜 United States

Tender, paper-thin potato flatbread, a beloved Norwegian-American Minnesota Christmas staple, griddled until softly spotted and served warm with butter.

⏱️ 1 hour 30Side Dishes ★ 4.6
Side Dishes
🍜 United States

Rich, deeply savory cured salt pork, a long-lasting kitchen staple perfect for frying crispy as a side or adding umami to stews, beans, and chowders.

⏱️ 7 days (2Side Dishes ★ 4.9
Side Dishes
🍜 United States

Crispy, tangy classic Southern fried green tomatoes with a crunchy cornmeal crust, served hot for a nostalgic, comforting summery bite.

⏱️ 25 minuteSide Dishes ★ 4.9
Side Dishes
🍜 United States

Moist, golden-crusted savory muffins with sweet corn, zesty jalapeño, and melted cheddar, perfect for pairing with smoky summer grilled fare.

⏱️ 30 minuteSide Dishes ★ 4.9

custard chili:Frequently Asked Questions

1.Why does my steamed custard turn out rubbery instead of silky and jiggly? ▾
Two common mistakes cause rubbery custard: overcooking, and using stock that’s too hot or too cold when mixing. Stick to a 1:1.5 egg-to-warmed stock ratio, strain the mixture to remove lumpy egg strands, and steam over low gentle heat to get that perfect wobbly, melt-in-your-mouth texture every time.
2.Do I really need to bring eggs to room temperature for this recipe? ▾
Yes, it makes a noticeable difference! Cold eggs mix poorly with warm stock, creating uneven clumps that lead to a textured, not silky, custard. Room temperature eggs blend smoothly, incorporate evenly with stock, and cook more consistently during steaming for that perfectly smooth, uniform set we’re going for.
3.Can I substitute low-sodium chicken stock with something else if I don’t have it on hand? ▾
Absolutely! Swap it for equal parts low-sodium vegetable stock, diluted dashi, or even warm filtered water mixed with a tiny pinch of sugar and white pepper if you’re in a pinch. Just skip full-sodium stock, since the light soy sauce topping already adds plenty of salty umami to the finished dish.
4.Why does the recipe specify warming the stock to exactly 105°F? ▾
That lukewarm temperature is the sweet spot for silky custard! Stock that’s too cold makes the egg mixture set slowly and develop a pockmarked surface, while boiling-hot stock cooks eggs on contact and creates lumpy, curdled bits. 105°F is just warm to the touch, so it blends seamlessly without scrambling eggs.
5.How do I prevent a pockmarked, uneven surface on my steamed custard? ▾
Pockmarks come from trapped steam dripping back onto the custard as it cooks, plus air bubbles left in the egg mixture before steaming. After pouring your strained custard into the dish, pop visible bubbles with a toothpick, then cover the dish tightly with plastic wrap or a lid to block dripping condensation.
6.What’s the ideal steaming time for this custard? ▾
For a standard 8-inch shallow heatproof dish, 8 to 10 minutes over low, gently simmering steam is perfect. You’ll know it’s done when the edges are fully set, and the center jiggles slightly like Jell-O when you nudge the dish—residual heat will finish setting the center as it rests 2 minutes before you add toppings.
7.I don’t have Sichuan chili flakes—can I use regular red pepper flakes instead? ▾
You can, but you’ll miss that signature deep, toasty, slightly numbing Sichuan flavor! If substituting, use 2/3 the amount of regular crushed red pepper, and add a tiny pinch of ground Sichuan peppercorn if you have it to replicate that subtle tingly, warm heat that makes this dish feel distinctively Sichuan.
8.How hot should the oil be when I pour it over the chili flakes and scallions? ▾
Aim for 350°F to 375°F—if you don’t have a thermometer, test it by dropping one chili flake into the oil: it should sizzle gently and bubble immediately, not burn and turn black in 2 seconds. Oil that’s too hot scorches chili into bitter, acrid bits, while too-cool oil won’t unlock that deep, fragrant chili aroma.
9.Can I make this custard ahead of time for meal prep? ▾
You can steam the plain custard base up to 2 days ahead, stored tightly covered in the fridge. Wait to add the hot oil, chili, soy, and scallion topping until right before serving, though—the sizzling oil gives the dish its bright, aromatic punch, and cold custard only needs 30 seconds in the microwave to gently reheat.
10.Is this dish spicy enough for people who love bold Sichuan heat? ▾
It’s got balanced, warm rather than searing heat as written, but you can easily dial it up! Add an extra half teaspoon of chili flakes, a pinch of cayenne, or a drizzle of chili crisp to the topping before pouring the hot oil if you want a bigger kick, without ruining the delicate, silky custard base.
11.Do I need a special bamboo steamer to make this recipe? ▾
Not at all! A regular metal steamer basket set inside a lidded pot works perfectly, as does a makeshift steamer made by setting a heatproof dish on top of a small inverted ramekin in a covered pot with an inch of simmering water. The only rule: make sure water never touches the bottom of your custard dish.
12.Why do I need to strain the egg mixture before steaming? ▾
Straining removes the stringy chalaza bits from eggs, plus any small clumps of partially mixed egg that would cause lumps or uneven texture in the finished custard. Even if you whisk really thoroughly, straining through a fine-mesh sieve is the easiest, most reliable trick to get that flawlessly smooth, restaurant-worthy silky texture.
13.Can I add extra mix-ins like minced meat or shrimp to the custard? ▾
Absolutely! If you want to make this a more substantial meal, add a thin layer of finely minced marinated pork or peeled, deveined small shrimp to the bottom of the dish before pouring in the egg mixture. Just keep add-ins thin and evenly spread, so they don’t weigh down the custard or keep it from setting evenly.
14.What’s the best egg-to-stock ratio for that perfectly jiggly texture? ▾
Stick to 1 part beaten egg to 1.5 parts warmed stock by volume for ideal results. If you like a firmer, denser custard, you can drop that to 1:1.25, and if you want an ultra-delicate, melt-in-your-mouth texture, you can go up to 1:1.75—any more stock than that, and the custard won’t hold its shape.
15.Why use neutral oil instead of sesame oil for the sizzle topping? ▾
Neutral oils like canola or sunflower have a high smoke point, so they won’t burn or develop off flavors when heated to sizzling temperature, and they let the bright aroma of toasted chili and scallions take center stage. You can stir in 1/4 teaspoon of toasted sesame oil at the end for nuttiness, but don’t heat it directly or it will turn bitter.
16.My custard separated and had watery liquid at the bottom—what did I do wrong? ▾
That watery layer (called syneresis in cooking) happens when custard is cooked at too high a heat, or steamed for too long. High heat makes egg proteins tighten up and squeeze out excess moisture, so make sure your water is at a gentle simmer, not a rolling boil, and pull the custard as soon as the center is just barely set.

Comments (12)

3 days ago

OMG this was SO good!!! I threw this together last minute for our family dinner as a fun twist on taco night and even my super picky 7 year old asked for seconds. The silky texture is insane, I never thought custard and Sichuan spice would work this well. That 15 minute cook time is a total game changer for busy weeknights!

2 days ago

Wait you served this with taco fixings? That’s such a smart idea! I was just gonna eat it plain with steamed rice, gonna have to try that taco twist next time I make it

2 days ago

So glad your kiddo loved it! Serving it with taco toppings is such a fun hack, we love topping ours with a little crispy fried shallots too for extra crunch against that smooth custard!

3 days ago

Brought this to my office potluck earlier this week and people were begging for the recipe before I even left! It’s so creamy without being heavy, and the Sichuan numbing spice is just the right kick— not too overwhelming for folks who don’t eat super spicy food regularly.

2 days ago

That makes us so happy to hear! It’s such a great shareable dish because the spice level is super easy to adjust by adding more or less chili oil to match whatever crowd you’re serving.

1 week ago

Added this to my weekly meal prep rotation! It reheats like a dream in the microwave, no weird grainy texture like other egg custard dishes I’ve tried. I portion it out with steamed broccoli and brown rice for quick work lunches all week, 10/10.

5 days ago

Wait is there a good vegan swap for the eggs here? I’ve been dying to try this but I don’t eat animal products, that silky texture looks so dreamy!

3 days ago

I used blended silken tofu with a little cornstarch and it came out almost identical! Just steam it a couple extra minutes to set fully, works perfect for vegan diets.

3 days ago

Great question! Pat’s silken tofu swap is spot on—we’ve tested it with 12 oz of blended silken tofu + 1 tsp cornstarch and it gets that same silky texture, just add a little extra soy sauce to amp up the savoriness without the eggs!

yesterday

Really solid base recipe! I added an extra pinch of Sichuan peppercorn powder because I’m obsessed with that tingly numbing vibe, plus a handful of crumbled ground pork for extra protein. Will definitely make again, it’s so easy even for someone who burns toast half the time lmao

2 hours ago

The ground pork add sounds insane, I’m definitely stealing that for my next batch! I bet that salty savoriness cuts through the smooth custard so well.

2 weeks ago

Made this for my date night in last weekend and my partner thought I ordered takeout from our favorite local Sichuan spot! It looks fancy but takes literally no time to pull together, I felt like a total pro pulling it out of the steamer. Served it with garlic green beans on the side, chef’s kiss.

30 minutes ago

First time making any kind of Sichuan dish and this was so forgiving! I accidentally added a little too much soy sauce at first but just diluted it with a splash of chicken broth and it still turned out amazing. That silky texture is no joke, I was shocked how smooth it came out on my first try.

5 minutes ago

That’s the best part of this recipe—it’s super hard to mess up! So proud of you for nailing it on your first Sichuan cook, that chicken broth save was total genius.

1 week ago

How spicy is this if I cut the chili oil in half? My kids can handle a tiny bit of heat but anything more than mild is a no go in our house, don’t wanna waste ingredients!

5 days ago

I cut the chili oil completely when I made it for my toddlers and it was still super flavorful! The Sichuan peppercorn gives it that warm tingle without actual burn if you skip the extra chili oil.

5 days ago

Totally family friendly when you adjust the chili oil! Even with no chili oil at all, the savory custard base is delicious, and you can always serve extra chili oil on the side for the adults who want more heat.

2 hours ago

Made this before a big day hike last weekend and it kept me full for hours! So much lighter than regular heavy bean chili, I didn’t get that sluggish post-meal feeling I usually get. Will be a regular pre-hike meal for me now.

30 minutes ago

Oh this is such a good pre-hike idea! I’m always looking for non-sugary foods that pack well, gonna wrap a portion up in foil for my hike next weekend.

3 days ago

I was skeptical about a 'custard chili' at first but this recipe won me over. The texture is perfectly silky, no lumps at all if you strain the egg mixture like the instructions say (don’t skip that step, folks!). Great simple recipe with big, bold flavor.

5 minutes ago

Wait can I make this without a fancy steamer? I only have a tiny dorm microwave and a basic rice cooker, no steamer basket or anything, this looks so good but I don’t have special equipment lol

just now

I make this in my rice cooker all the time! Just put the custard mixture in a heatproof bowl, set it on the little steam tray that comes with most rice cookers, add a cup of water to the pot and hit cook, takes like 12 minutes.

just now

You totally don’t need a fancy steamer! A makeshift setup with a colander over a pot of boiling water works too, or even the microwave in 30 second bursts if you watch it closely, though the rice cooker method works perfectly for that classic silky texture.

yesterday

Y’all the leftovers are even better the next day!! The flavors meld so much overnight, I ate a cold scoop straight out of the container when I got home from work last night no shame. 10/10, will be making a double batch every time from now on.

2 hours ago

We’re so glad you love the leftovers! Pro tip: a quick 20 second zap in the microwave or even eating it cold is chef’s kiss, the custard stays silky even after a full night in the fridge.



