
Dandelion Greens
intro
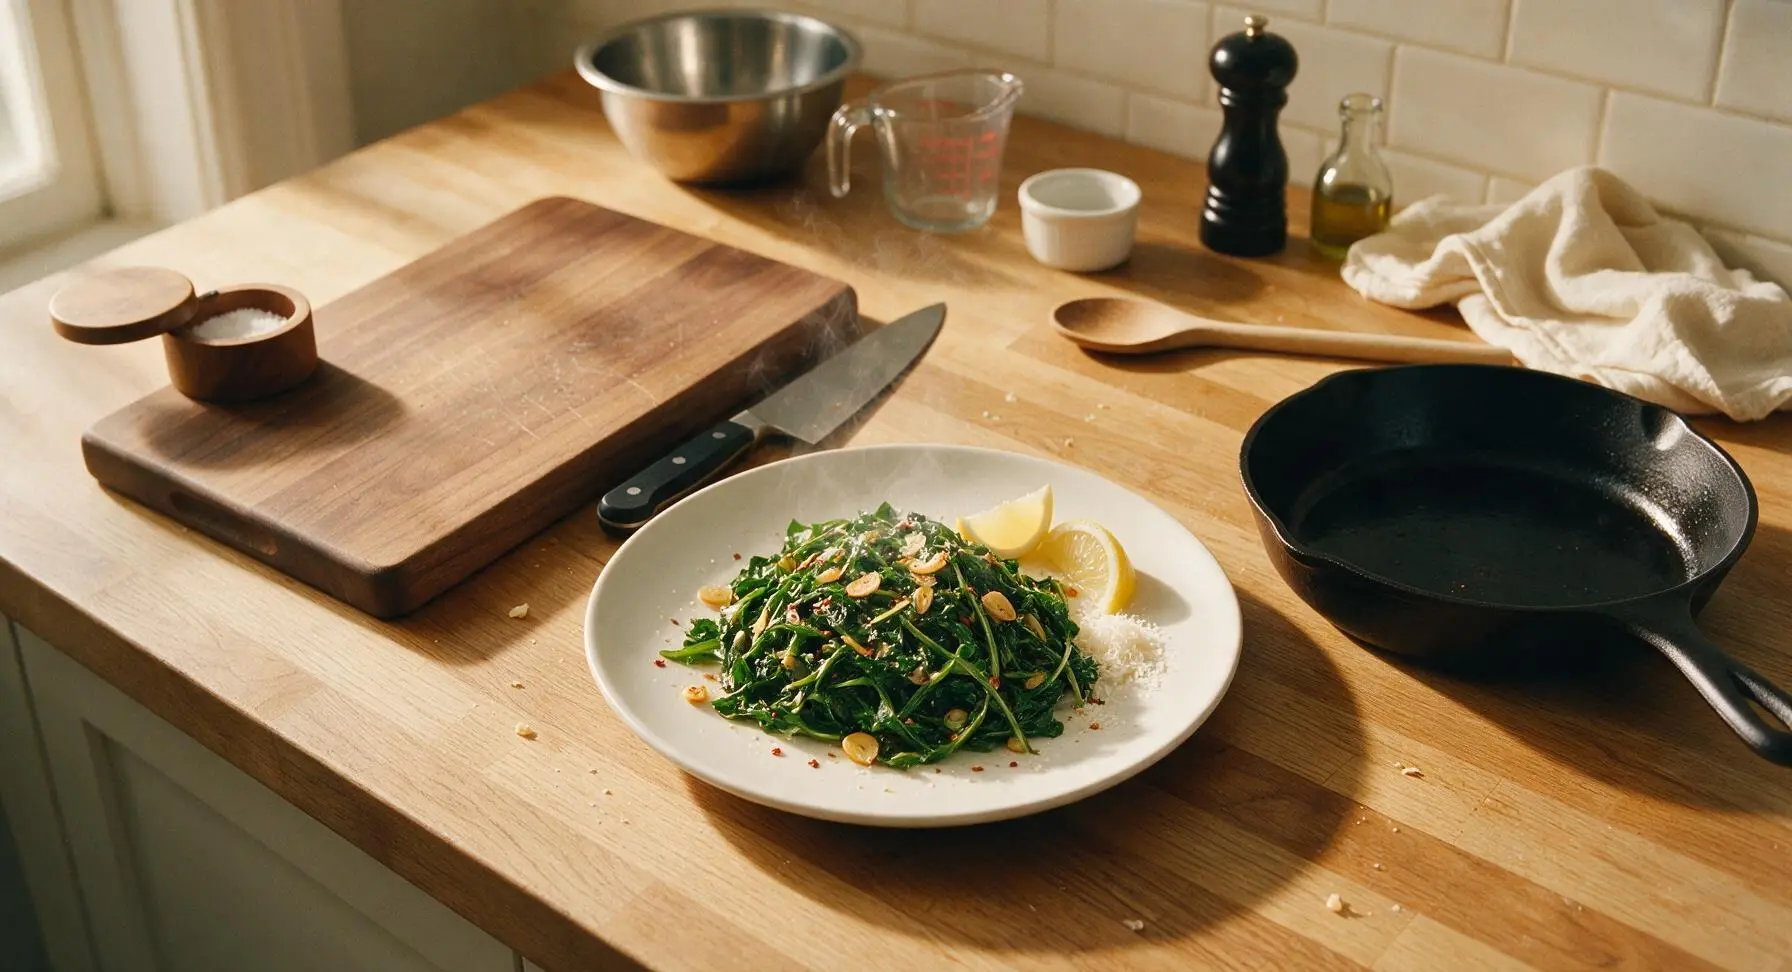
Tender, gently bitter sautéed dandelion greens brightened with garlic, red pepper, and fresh lemon—a nutrient-dense, quick side that pairs beautifully with roasted meats, pasta, or eggs.
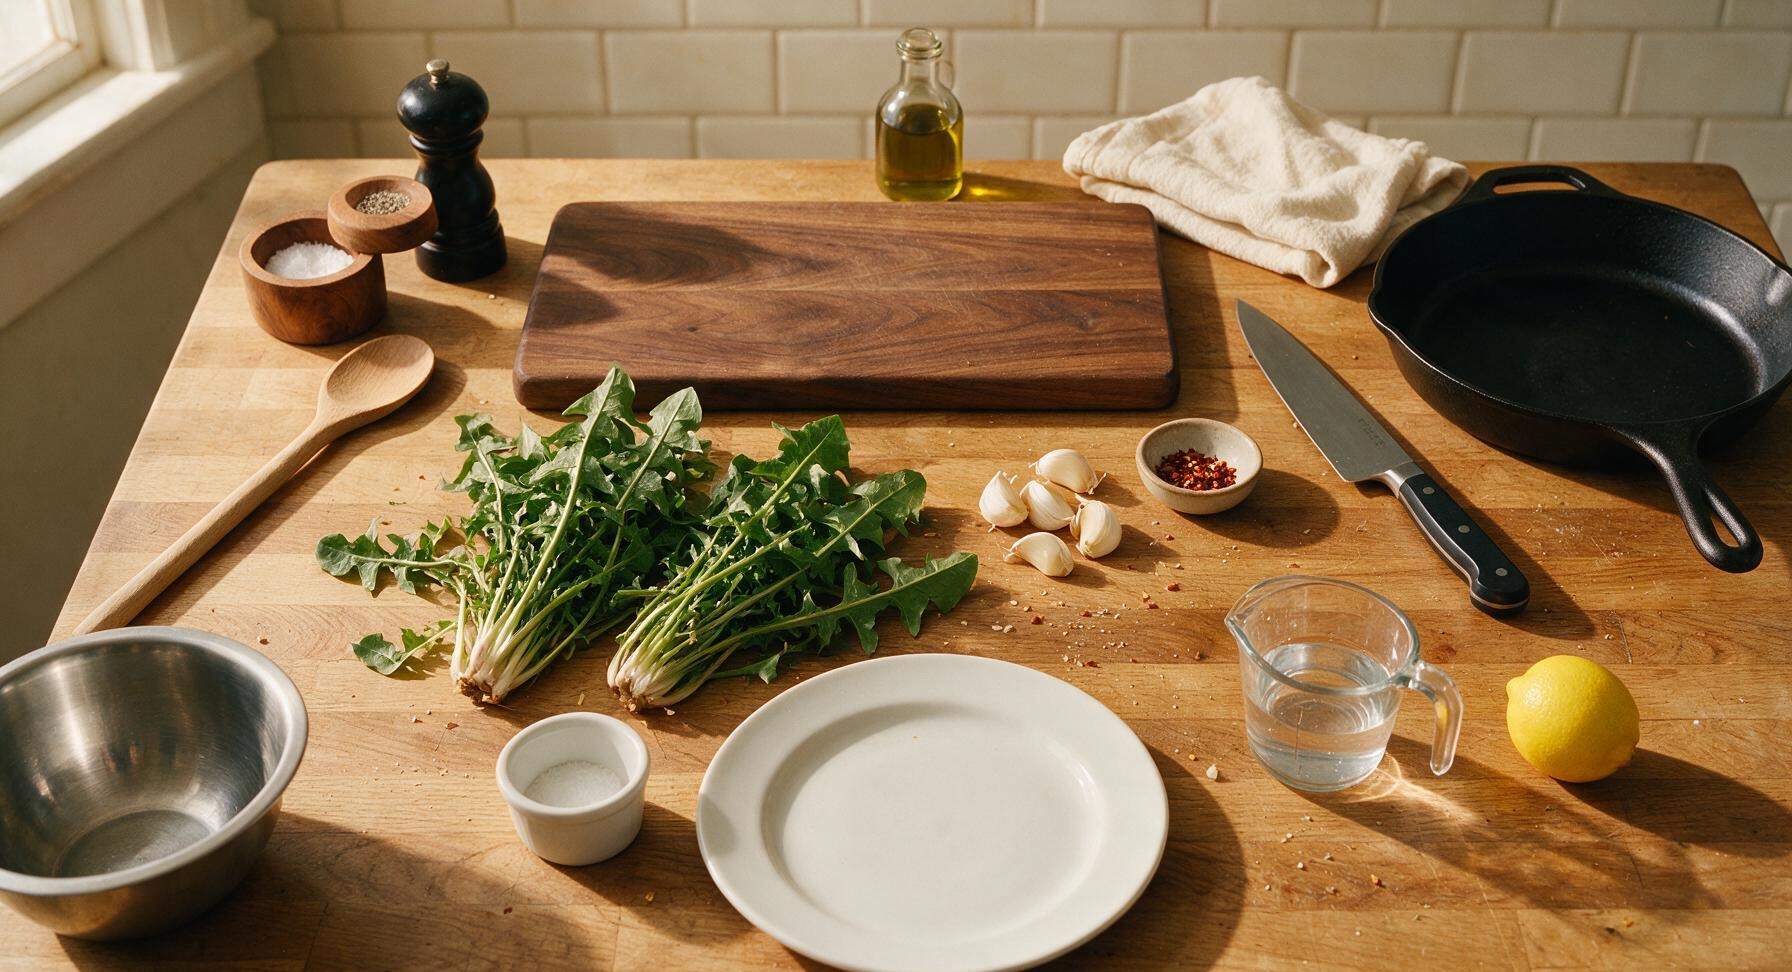
Ingredients
Steps
Wash and Trim Greens
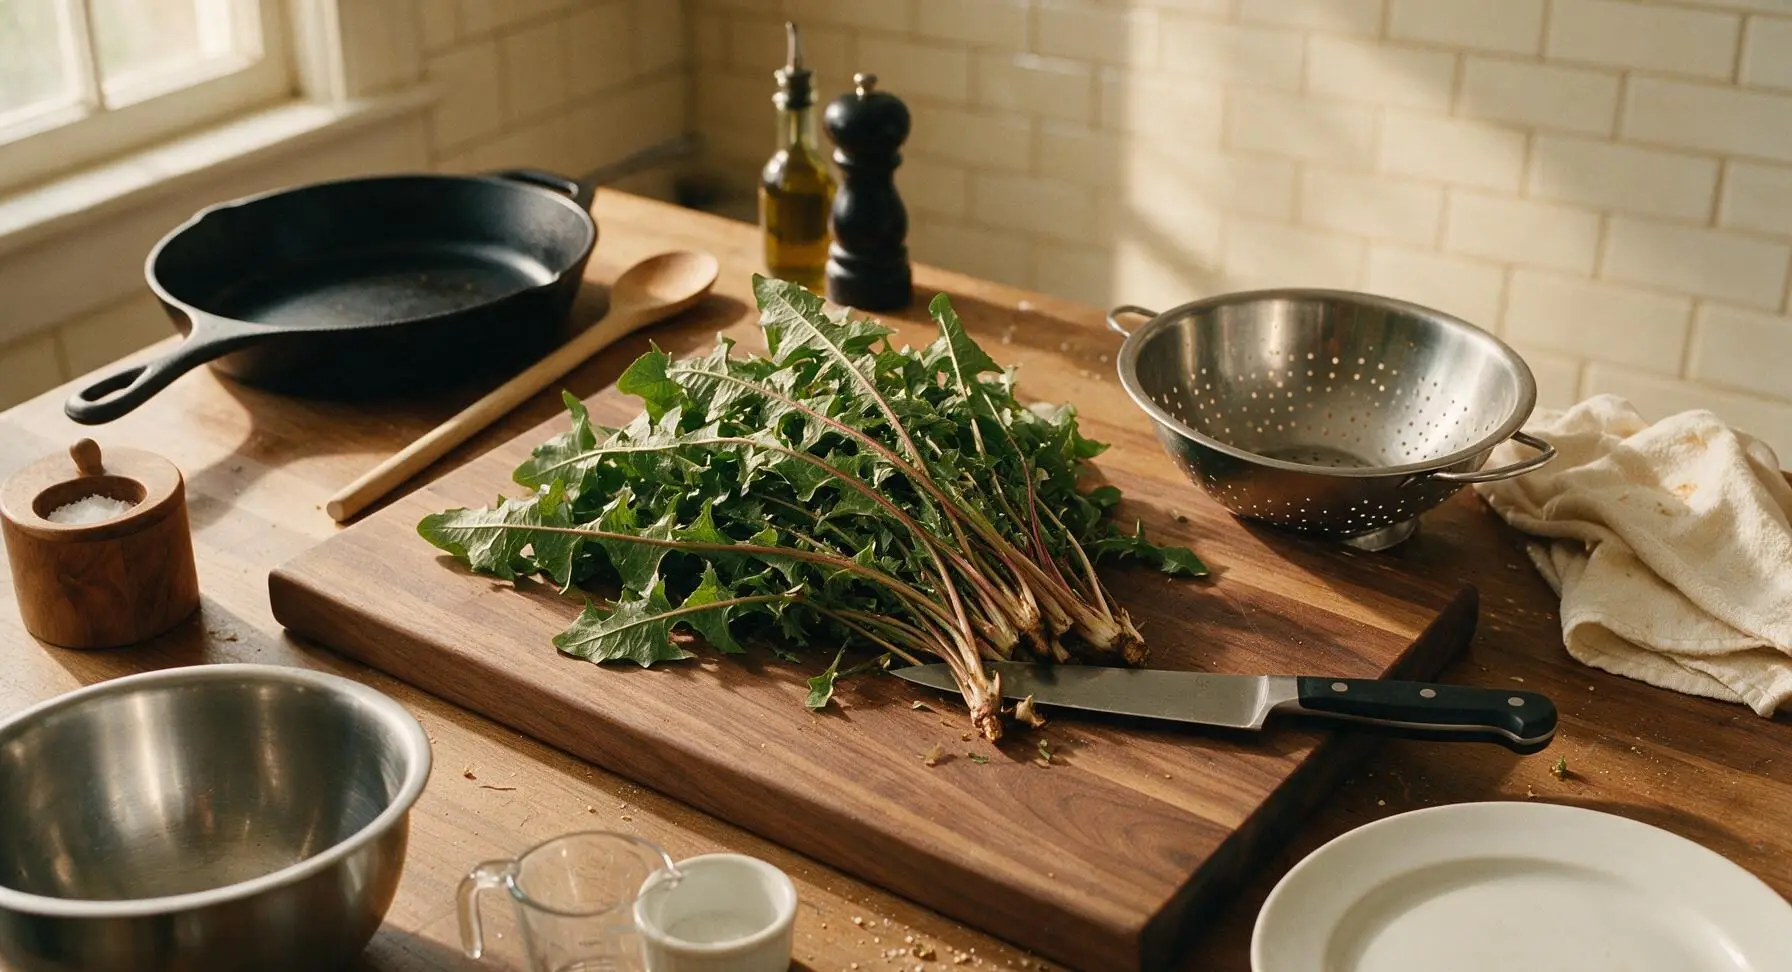
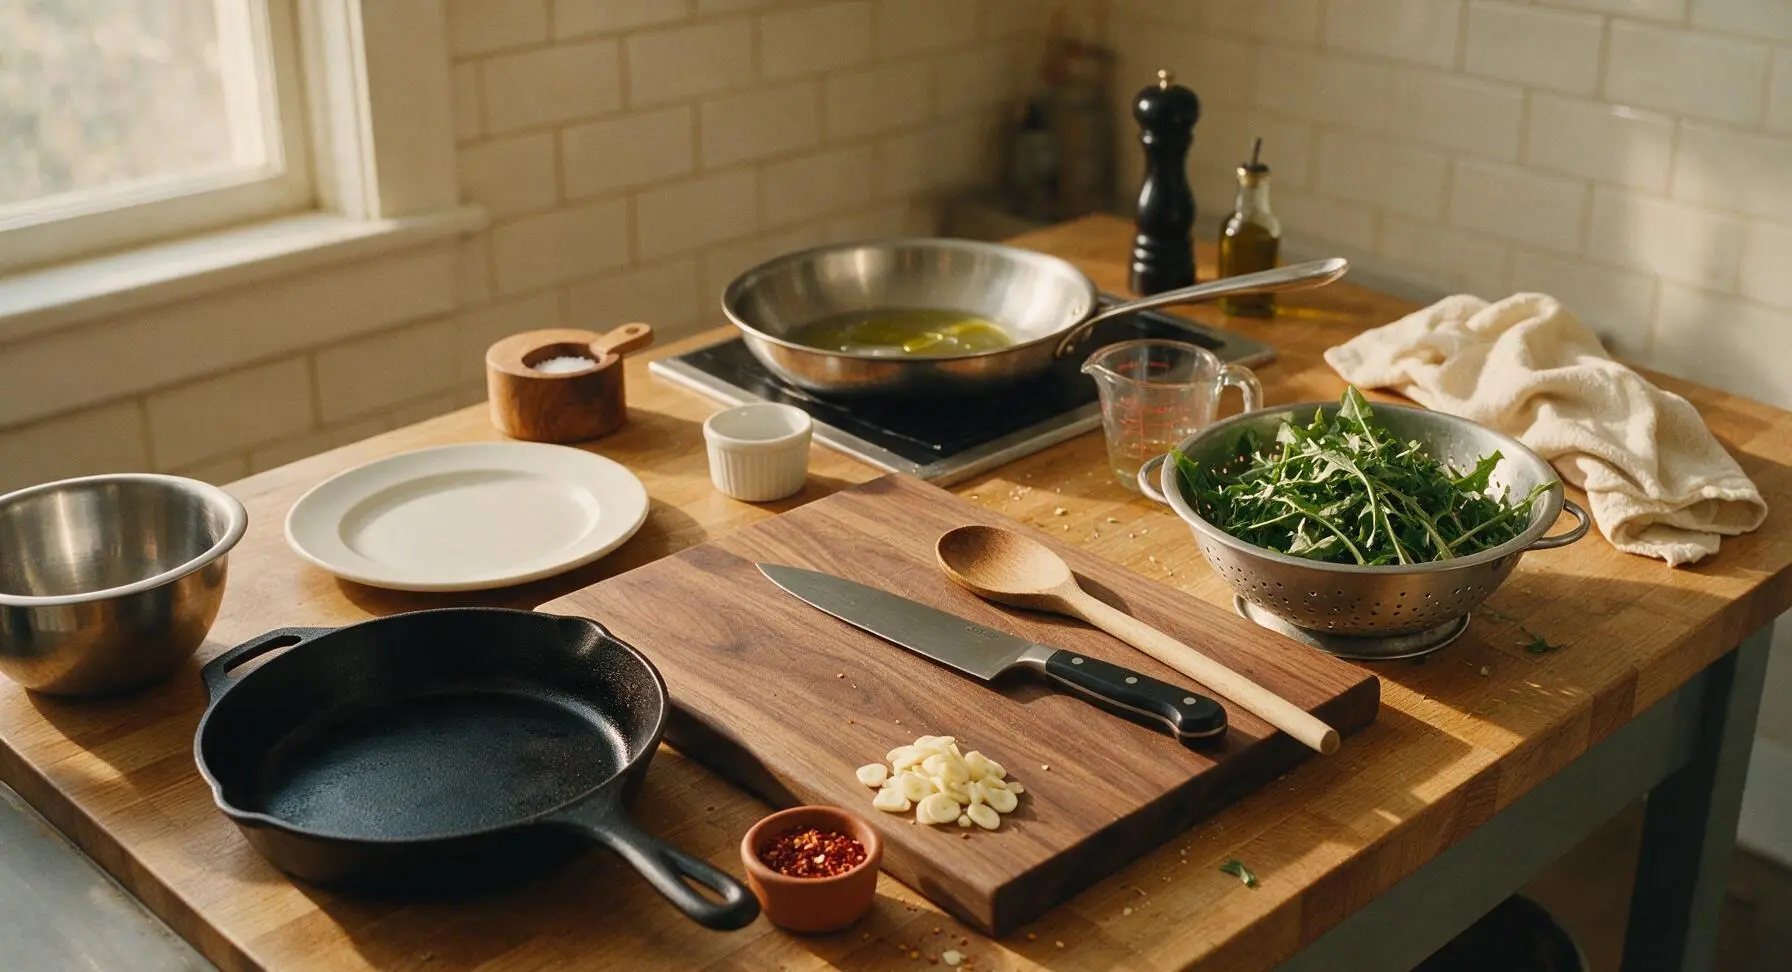
Place the fresh dandelion greens on the acacia wood cutting board. Use the 8-inch stainless steel chef knife to trim off and discard the tough, woody bottom 1 inch of the stems. Transfer trimmed greens to the stainless steel colander, and rinse thoroughly under cold running water to remove all dirt and grit trapped in the leaf crevices. Shake off excess water, but do not fully dry—leaving a light coating of water on the leaves helps them wilt evenly and prevents garlic from burning later.
Slice Garlic Thinly
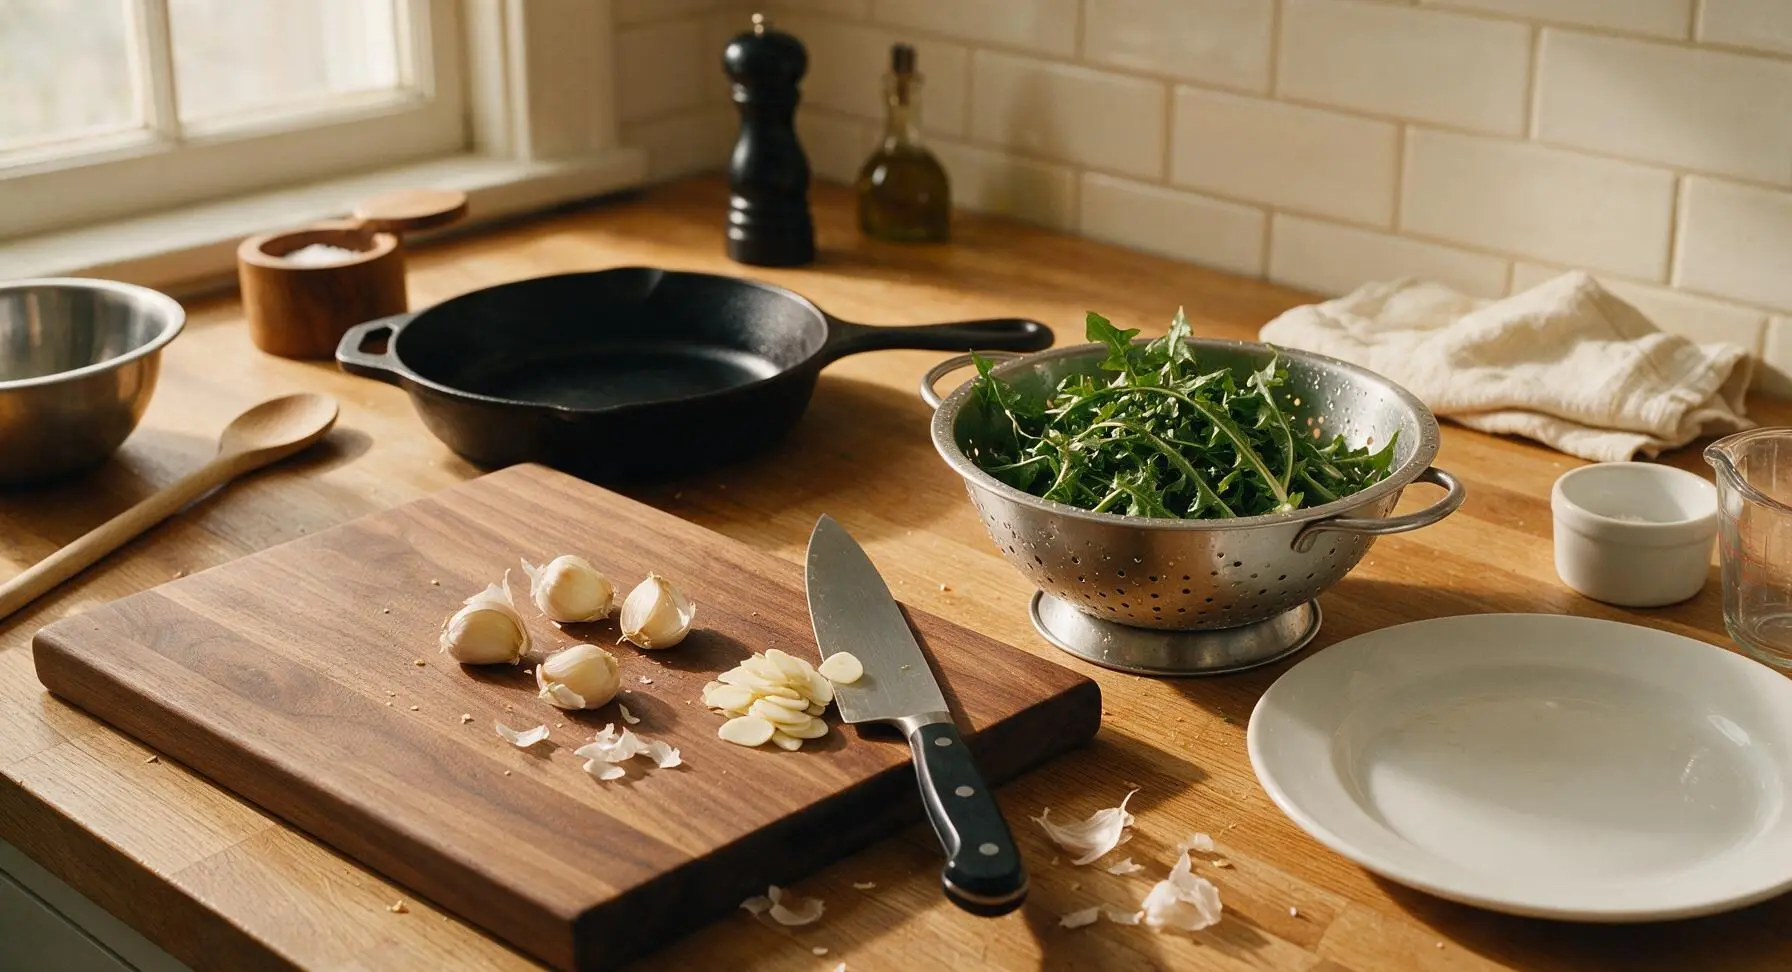
Set the colander of washed, trimmed greens aside to the right of the cutting board. Peel the papery outer skins from the 4 garlic cloves, then lay them flat on the acacia cutting board. Use the chef knife to slice the garlic into uniform 1/8-inch thick slices; avoid chopping too finely, as thin slices will crisp gently without burning quickly during cooking.
Sauté Garlic and Pepper
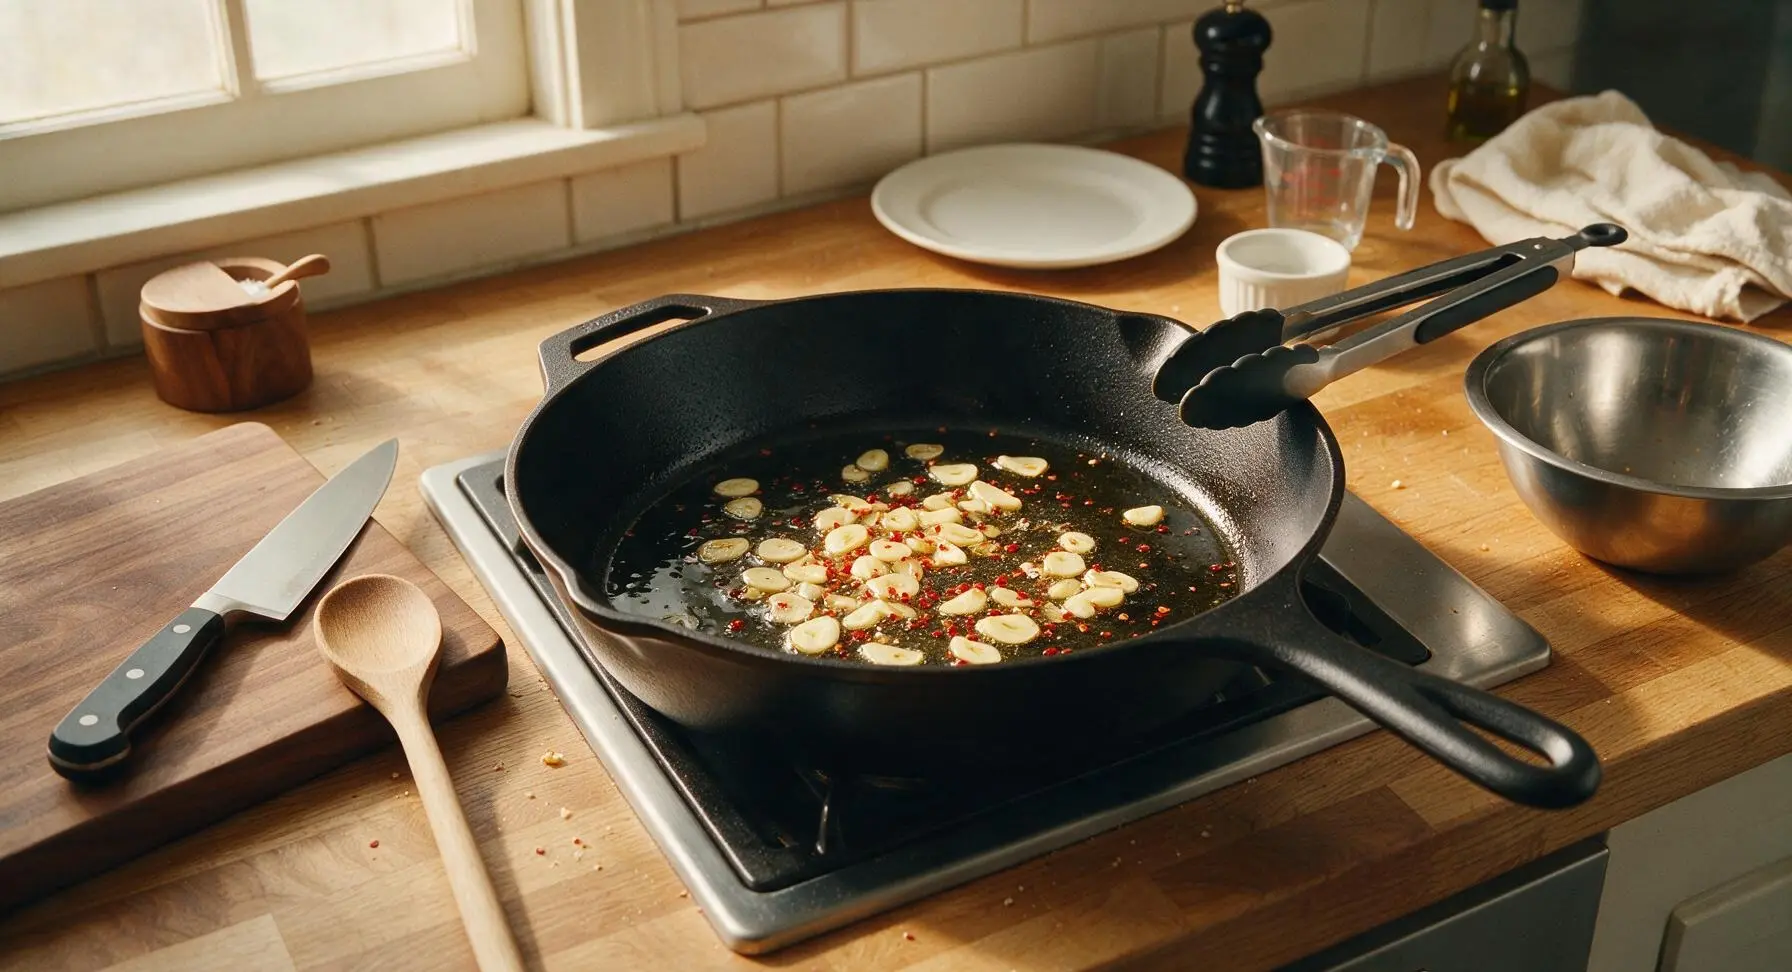
Place the 12-inch stainless steel skillet on the stovetop set into the back center of the counter work surface over medium heat. Add the 2 tablespoons of olive oil from the glass measuring cup, and warm for 30 seconds until the oil shimmers but does not smoke. Add the sliced garlic and 1/4 teaspoon crushed red pepper flakes from the terracotta ramekin, and sauté for 30 to 45 seconds, stirring constantly with the silicone-tipped tongs, until the garlic turns pale golden and fragrant. Do not let the garlic turn dark brown, as it will develop a harsh, bitter flavor.
Add Greens to Skillet
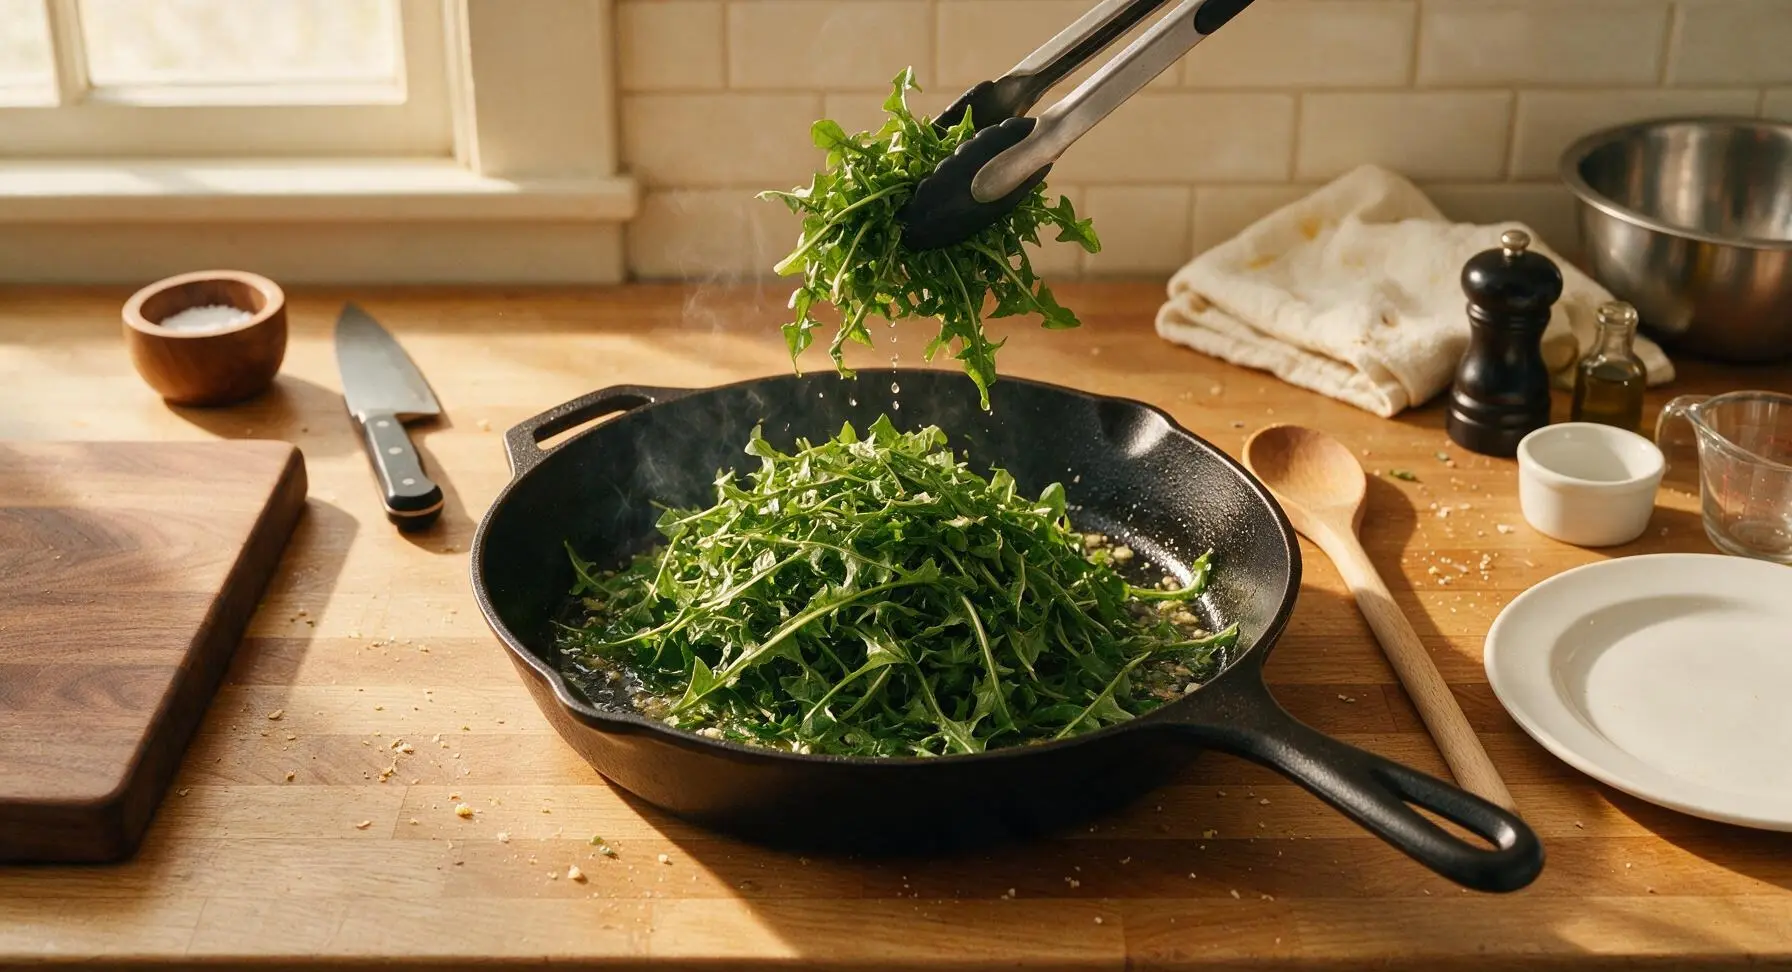
Carefully add the damp, trimmed dandelion greens to the skillet in 2 to 3 small batches, using the tongs to turn and toss them as they start to wilt from the heat. Once all greens are added to the pan, pour in the 1/4 cup of water, and season with 1 teaspoon kosher salt from the salt cellar and 1/2 teaspoon freshly ground black pepper from the pepper grinder. Toss once more to coat the greens evenly in the garlicky oil and seasoning.
Simmer Until Tender
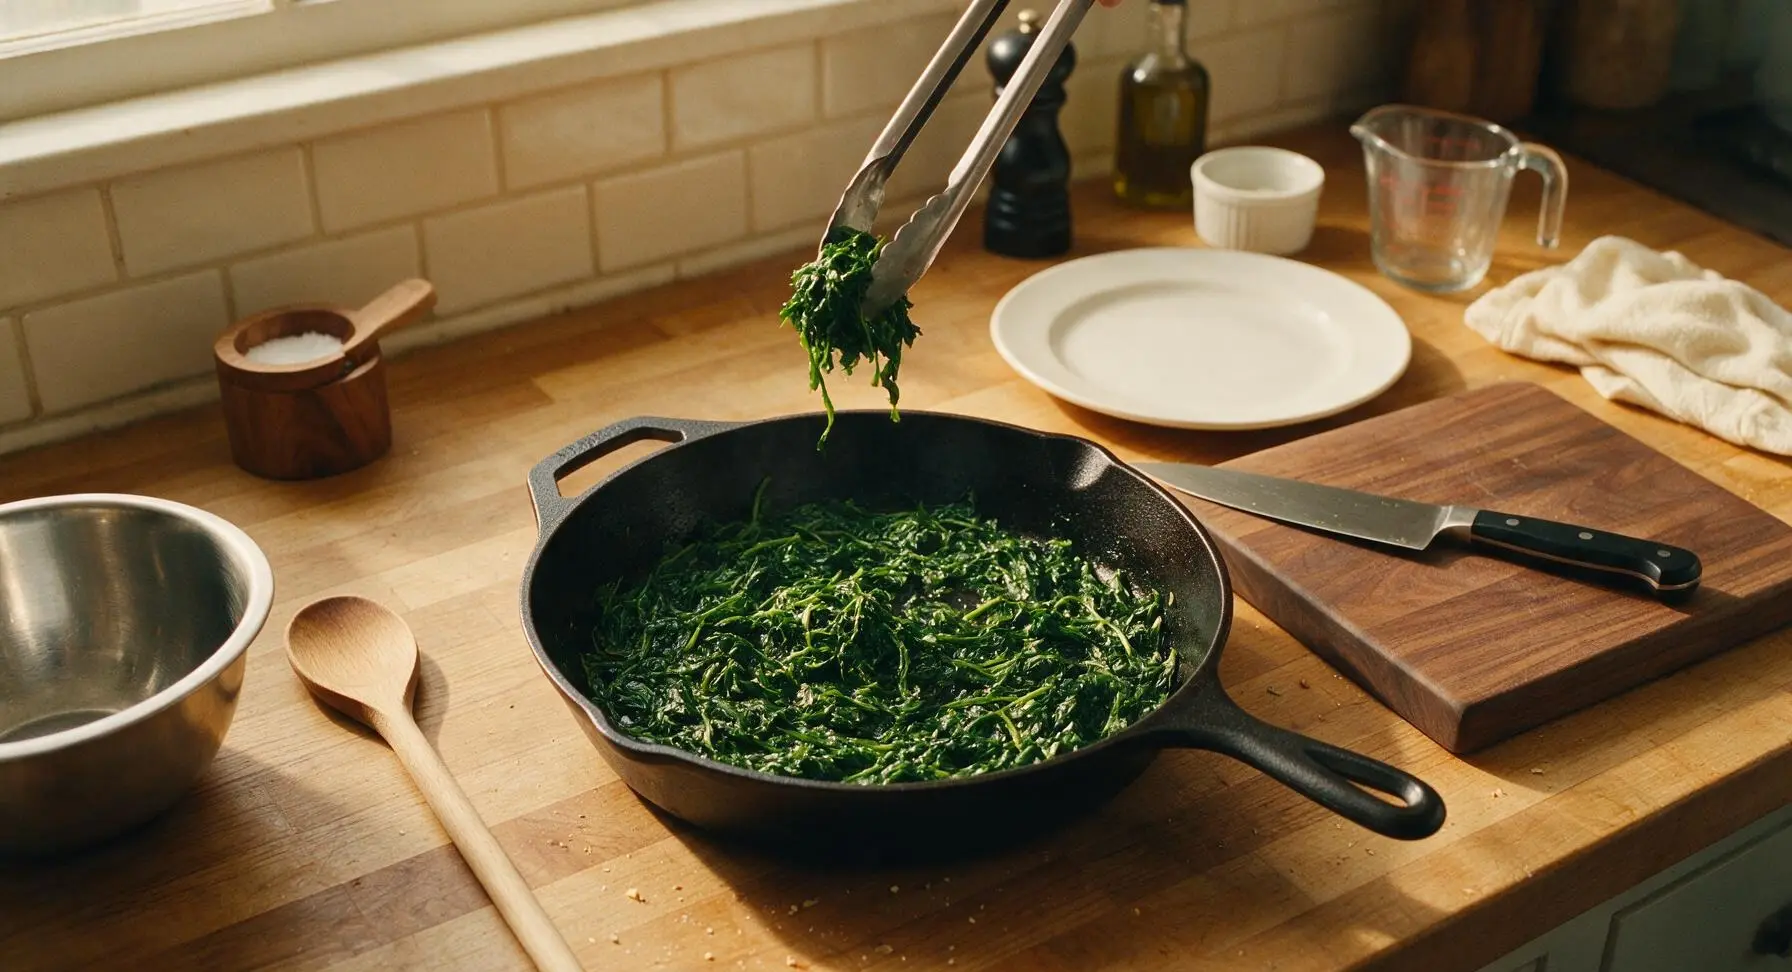
Reduce the stovetop heat to medium-low, cover the skillet loosely, and let the greens cook for 8 to 10 minutes, tossing with the tongs every 2 minutes to prevent sticking or burning on the pan bottom. The greens are done when they are fully wilted, tender but not mushy, with a slight pleasant firm bite remaining to the thinner stems, and all free water in the pan has evaporated.
Finish with Lemon
Turn off the stovetop heat. Use the handheld stainless steel citrus juicer to squeeze juice from half the lemon over the cooked greens, tossing once more with the tongs to distribute the bright, acidic juice evenly across all the leaves. Taste a small bite, and adjust salt or pepper if needed to balance flavors.
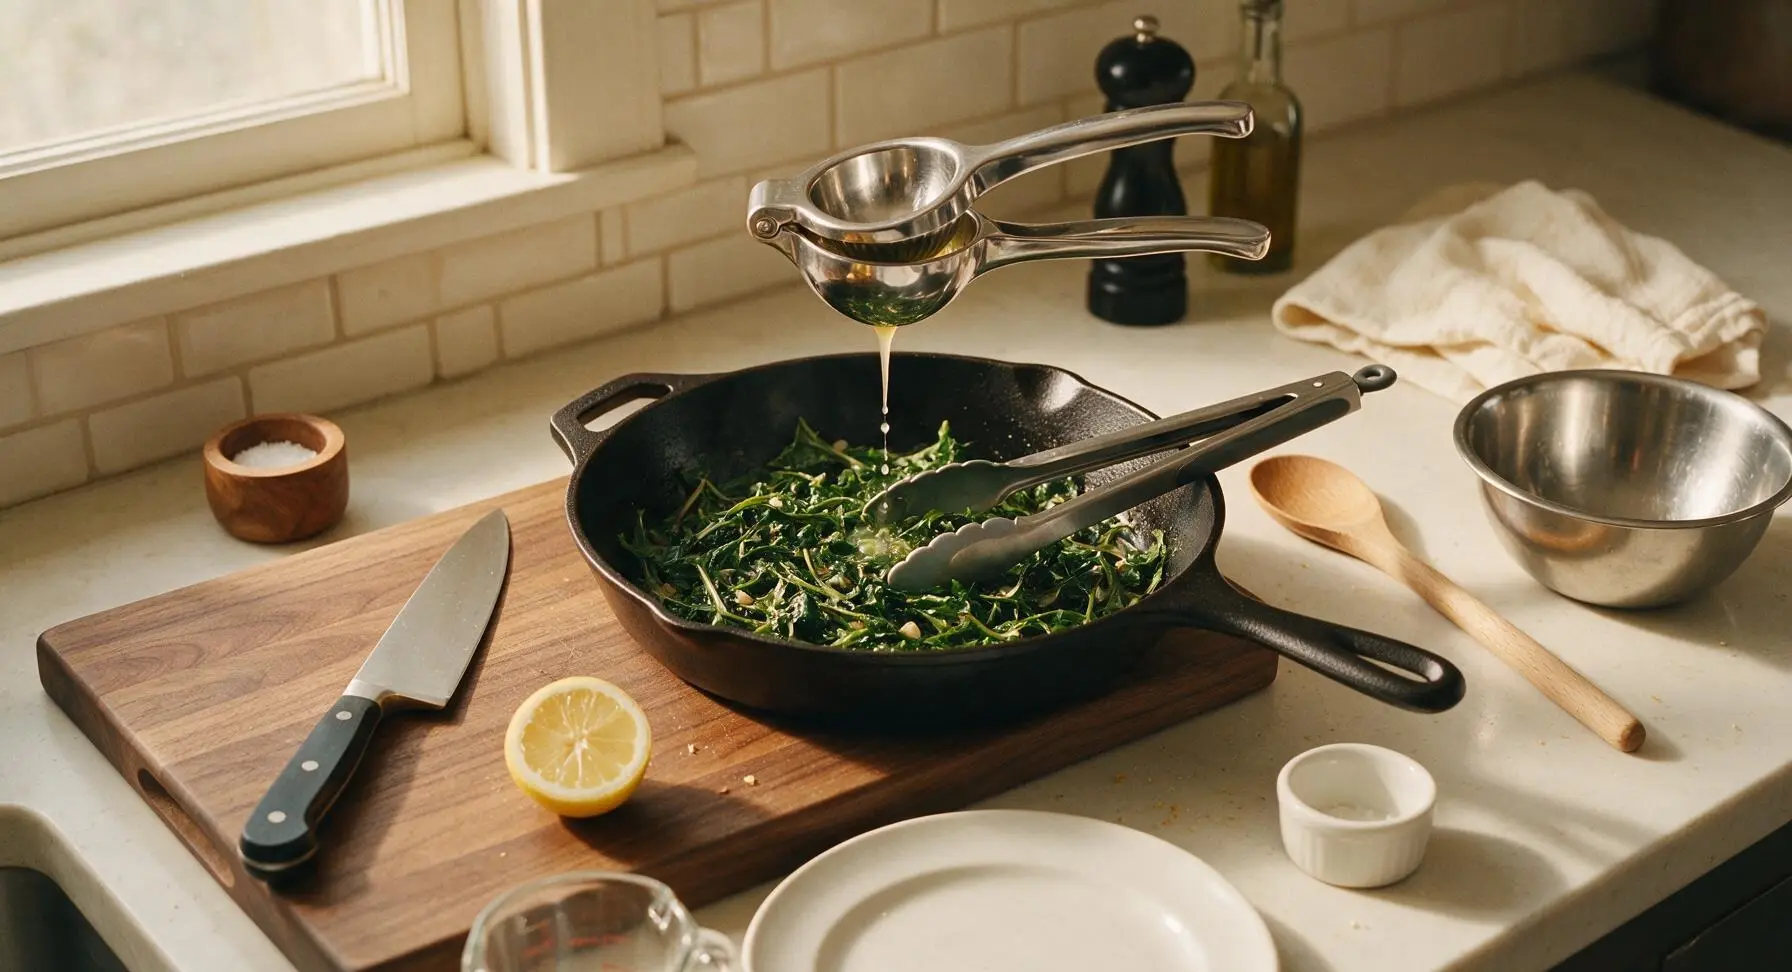
Plate for Serving
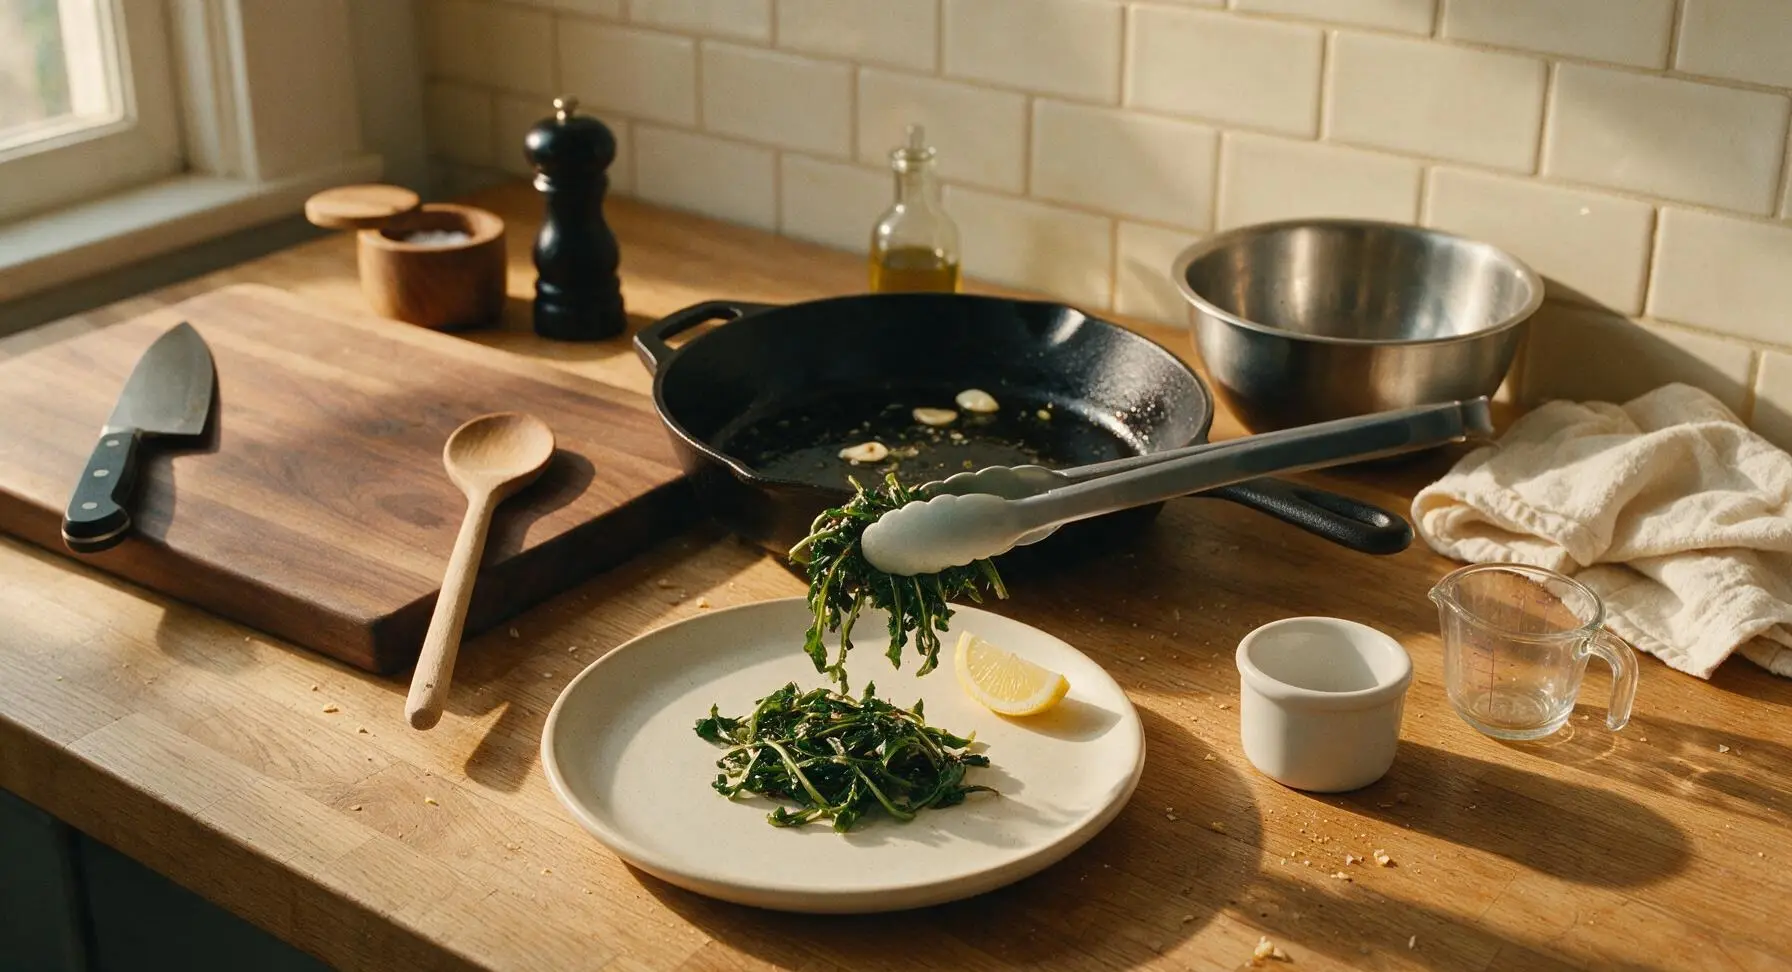
Use the tongs to transfer the finished dandelion greens to the matte off-white ceramic dinner plate, mounding them loosely in the center rather than packing them tightly. Cut the remaining lemon half into 4 thin wedges, and place one wedge on the plate rim for squeezing tableside. Add a tiny pinch of extra red pepper flakes for color if desired.
Tips
2.Add the greens the second the garlic turns pale golden: sliced garlic can go from fragrant and nutty to harshly bitter in as little as 10 seconds, so waiting for deep brown color will ruin the dish’s balanced flavor.
3.For less bitter greens, blanch trimmed dandelion greens in boiling heavily salted water for 1 minute before sautéing, then shock them in ice water to stop cooking: this leaches out excess bitter milky sap from the stems while keeping the leaves bright green and tender, perfect for eaters new to bitter greens.






OMG I just picked a ton of dandelion greens from my backyard this weekend and had no clue what to do with them! This recipe was SO easy, took barely 10 minutes even with prep, and the lemon cuts that bitter edge perfectly. My husband who HATES all leafy greens went back for seconds. Game changer!
Made this last night for our weekly family dinner to go with baked chicken and roasted potatoes, and even my two picky toddlers ate it! I added a tiny pinch of red pepper flakes for a little kick, chef’s kiss. Will be adding this to our regular rotation for sure.
Perfect quick side for my Sunday meal prep! It holds up really well in the fridge for 3-4 days, which is a huge win for weekday lunches. I squeezed a little extra lemon on top before packing and it stayed bright and flavorful. 10/10.
Full transparency: I thought dandelion greens were gonna be too bitter for me, but I grabbed a bunch on sale at the farmers market and gave this a shot. The garlic and lemon balance everything out so well! I did blanch them for 1 minute first like my grandma used to do with collards and that mellowed them even more.
Brought this to our neighborhood potluck last weekend and people were hovering over the bowl! I got so many requests for the recipe, I just sent the link to half the block. Who knew such a simple side would be the star of the spread?
Super easy for someone who’s just learning to cook! I’ve been intimidated by cooking greens other than spinach, but this was totally foolproof. Only thing I messed up was burning the garlic a little at the start, oops, still tasted great though.
Made this as a side for my vegan tofu scramble this morning and it was *chef’s kiss*. I added a sprinkle of nutritional yeast at the end for a little umami boost, and paired it with some crusty sourdough. Perfect lazy weekend brunch.
Been foraging dandelions for years and usually just make tea or pesto out of the leaves, so I was excited to try a cooked preparation. This is hands down my new favorite way to make them! The cook time is spot on — 12 minutes total is exactly enough to get them tender without turning mushy.
This is perfect for my low carb diet! Only a few simple ingredients, no weird additives, and it’s packed with nutrients. I served it with pan-seared salmon last night and it was the perfect light dinner after my workout.
This reminds me so much of the garlicky broccoli rabe my grandma used to make! The lemon brightness is such a nice touch, I usually make my bitter greens with just garlic and olive oil so the lemon was a fun new twist. I’ll be making this for Sunday supper this week.
Can’t beat the price on this! A big bunch of dandelion greens at my grocery store was $1.29, I already had garlic, lemon, and olive oil at home. Fed me and my roommate for under $2 total for the side, that’s unbeatable right now with grocery prices so high.
So happy to find a side dish that’s naturally gluten free, nut free, dairy free, and actually tastes good! I have so many food restrictions in my house and it’s hard to find recipes everyone can eat without making 3 separate things. This was a hit across the board.
I doubled the garlic (obviously, who doesn’t?) and it was perfect. Don’t skip the fresh lemon either — I tried bottled lemon juice once on a similar recipe and it just doesn’t hit the same. Fresh is 100% worth it.
I’ve been cooking dandelion greens for over 60 years, and this recipe is exactly how my mother taught me to make them. Simple, no fancy frills, lets the flavor of the greens shine through. Kids these days overcomplicate veggies with too many sauces and seasonings, this is just right.
Made a double batch of this to drop off for my neighbor who just had a baby, along with some lemon chicken and rice. She texted me later saying it was the first thing she’d eaten all week that didn’t taste like takeout, and she asked for the recipe immediately!
I added a splash of apple cider vinegar at the end along with the lemon, and a little sprinkle of parmesan cheese. Game changer! It cut the last little bit of bitterness and added the perfect savory tang. Don’t knock it till you try it!
12 minute cook time is no joke! I got home late from work, threw this together while my pasta boiled, and had a full, healthy dinner on the table in 15 minutes flat. Perfect for busy weeknights when I don’t have the energy for a big production. Will be making this on repeat.