Dinner Roll (various)

Dinner Roll (various)
⏱️ cook time 2 hours 15 minutes
🍽️ servings 8
⚡ Difficulty medium

intro

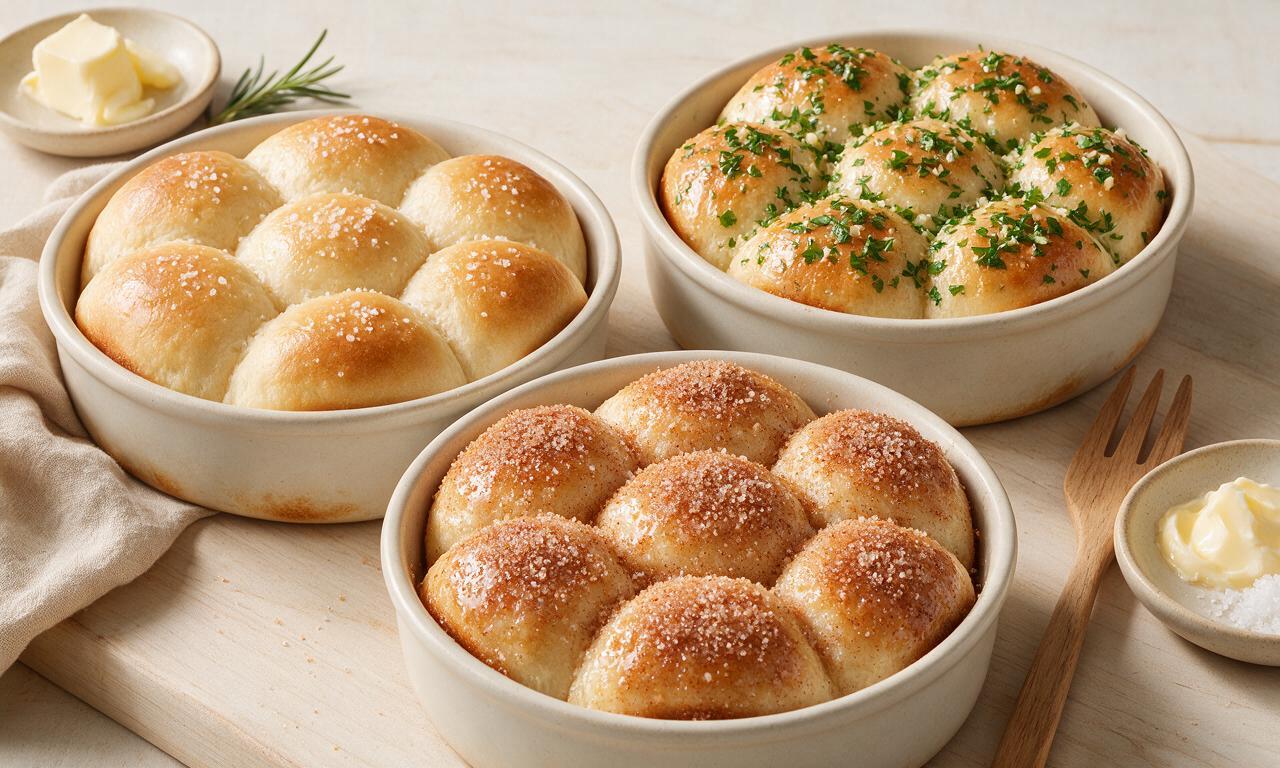
Soft, buttery, pillowy homemade dinner rolls in 3 classic variations (plain salted, garlic herb, cinnamon sugar), perfect for pairing with cozy family meals.

Ingredients

All-purpose flour 480 grams (4 cups, spooned and leveled)
Active dry yeast 7 grams (1 standard 1/4 oz packet)
Whole milk 240 ml (1 cup), warmed to 100°F/38°C
Unsalted butter 57 grams (4 tablespoons), melted and slightly cooled, divided
Large egg 50 grams (1 large, room temperature)
Granulated sugar 50 grams (4 tablespoons), divided
Fine sea salt 6 grams (1 teaspoon)
Garlic powder 3 grams (1 teaspoon)
Dried parsley 1 gram (1/2 teaspoon)
Ground cinnamon 2 grams (1 teaspoon)
Flaky sea salt 1 gram (1/4 teaspoon)

Steps

1

Activate the yeast

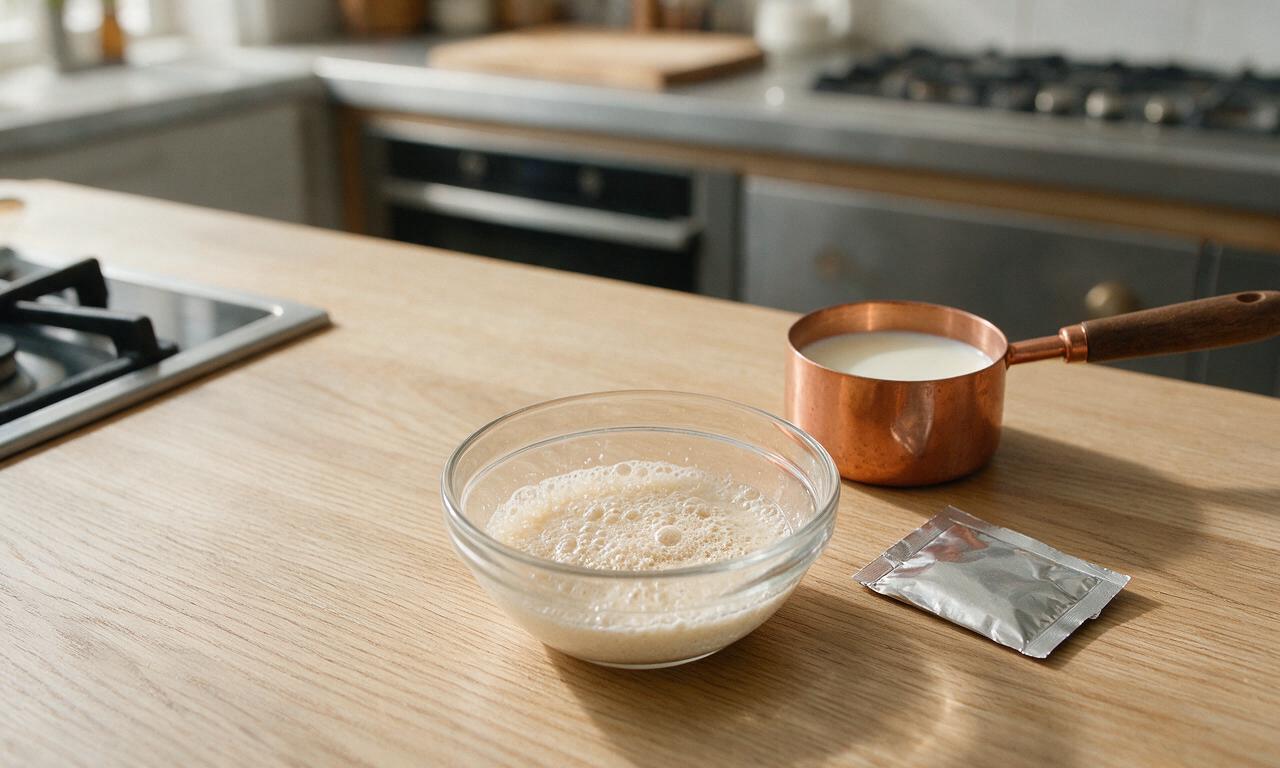
In a small bowl, combine warmed whole milk (100°F/38°C, do not use hotter milk as it will kill yeast), 1 tablespoon of the measured granulated sugar, and active dry yeast. Stir gently once to combine, then let rest for 5-7 minutes until the mixture forms a thick, foamy, frothy top that confirms the yeast is active. If no foam forms after 7 minutes, replace your yeast and restart to avoid dense rolls.
Step 1
step1:Activate the yeast
2

Mix the base dough

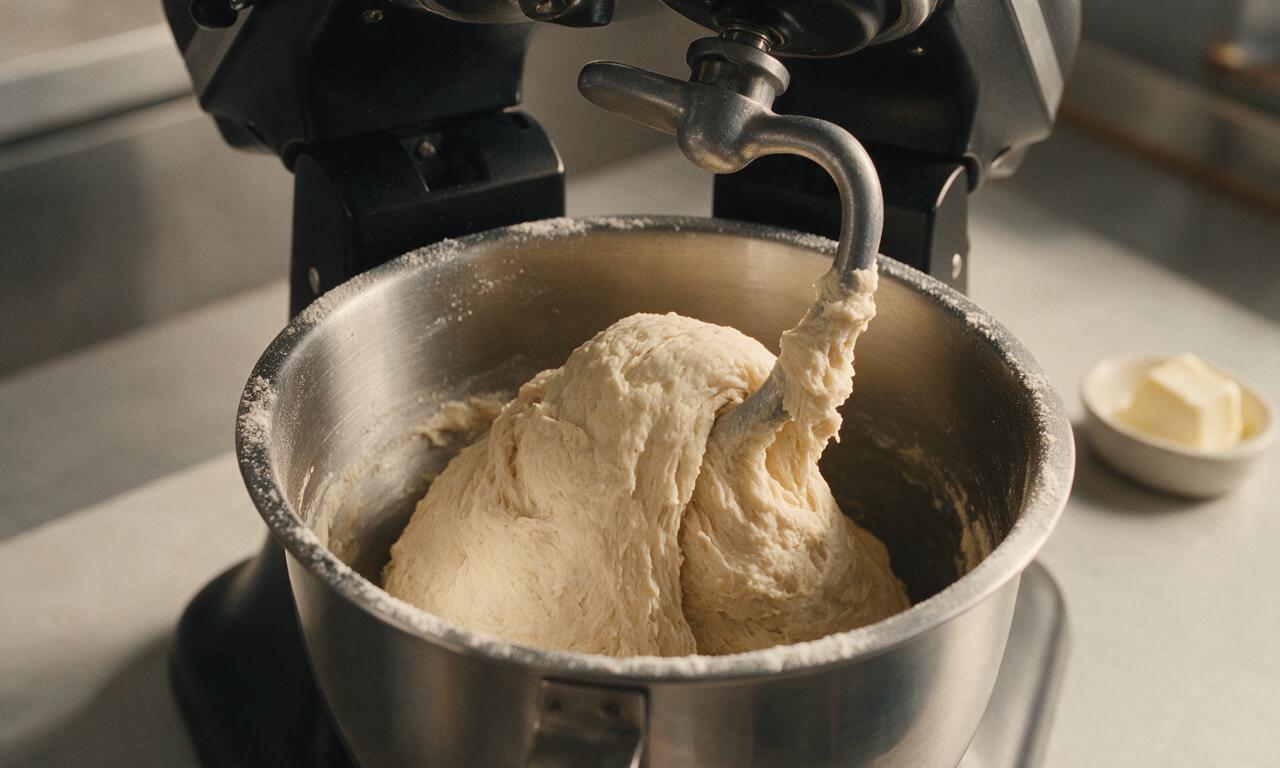
In the bowl of a stand mixer fitted with a dough hook attachment, combine the remaining 1 tablespoon granulated sugar, fine sea salt, 3 tablespoons of the melted cooled butter, room temperature large egg, and activated yeast mixture. Add all-purpose flour 1 cup (120g) at a time, mixing on low speed (mixer setting 2) for 4 minutes until a shaggy, soft dough forms that pulls cleanly away from the sides of the bowl.
Step 2
step2:Mix the base dough
3

Complete first rise

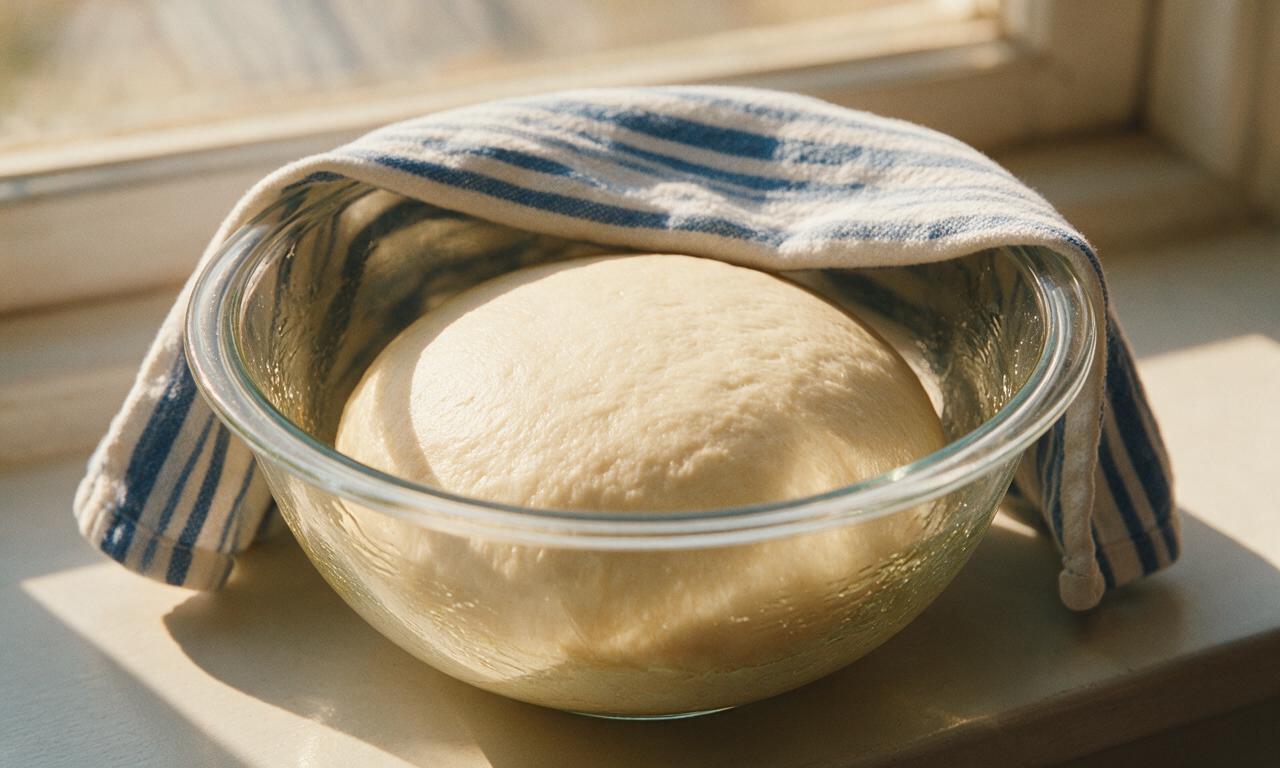
Turn the mixed dough out onto a lightly floured work surface, knead by hand for 1 minute to form a smooth, tight round ball. Grease a large clean mixing bowl with a thin coating of butter from the measured amount, place the dough ball inside, and turn to coat all sides of the dough in butter. Cover the bowl tightly with a damp lint-free kitchen towel, and let rise in a warm, draft-free spot (75°F/24°C) for 1 hour until the dough doubles in size when poked with a floured finger.
Step 3
step3:Complete first rise
4

Portion and flavor rolls

Punch the risen dough down firmly to release all trapped air, then turn out onto a clean work surface. Divide the dough evenly into 12 equal portions (45g/1.6oz each). For plain salted rolls: shape 4 portions into tight, smooth balls. For garlic herb rolls: knead garlic powder and dried parsley into 4 portions before shaping into balls. For cinnamon sugar rolls: toss 4 portions in a mix of ground cinnamon and the remaining 2 tablespoons of granulated sugar before shaping. Arrange all shaped rolls 2.5cm (1 inch) apart in a greased 23x33cm (9x13 inch) metal baking pan.
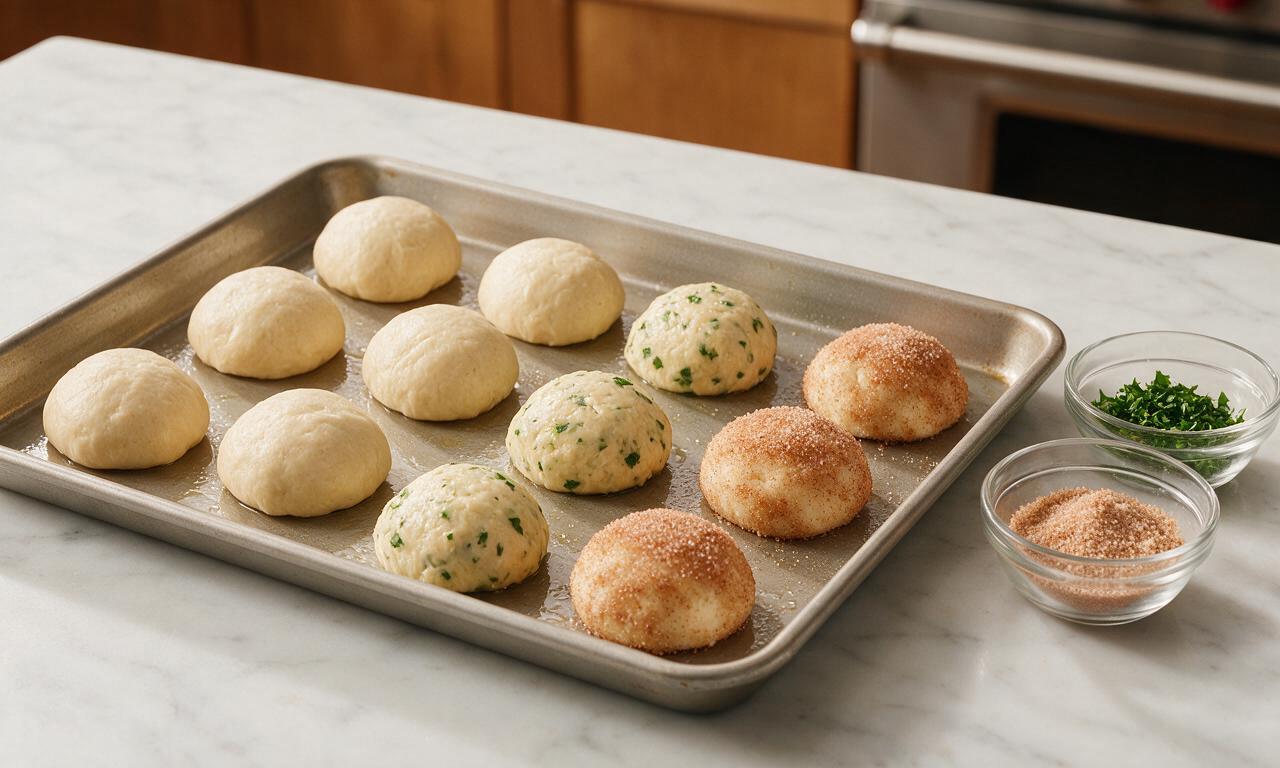
Step 4
step4:Portion and flavor rolls
5

Complete second rise

Cover the pan of shaped rolls loosely with the same damp kitchen towel, and let rise again in the same warm draft-free spot for 30-35 minutes, until the rolls puff up and press against each other, nearly doubling in size again. Preheat your oven to 375°F (190°C) during the last 10 minutes of this second rise to ensure it is fully heated when baking.
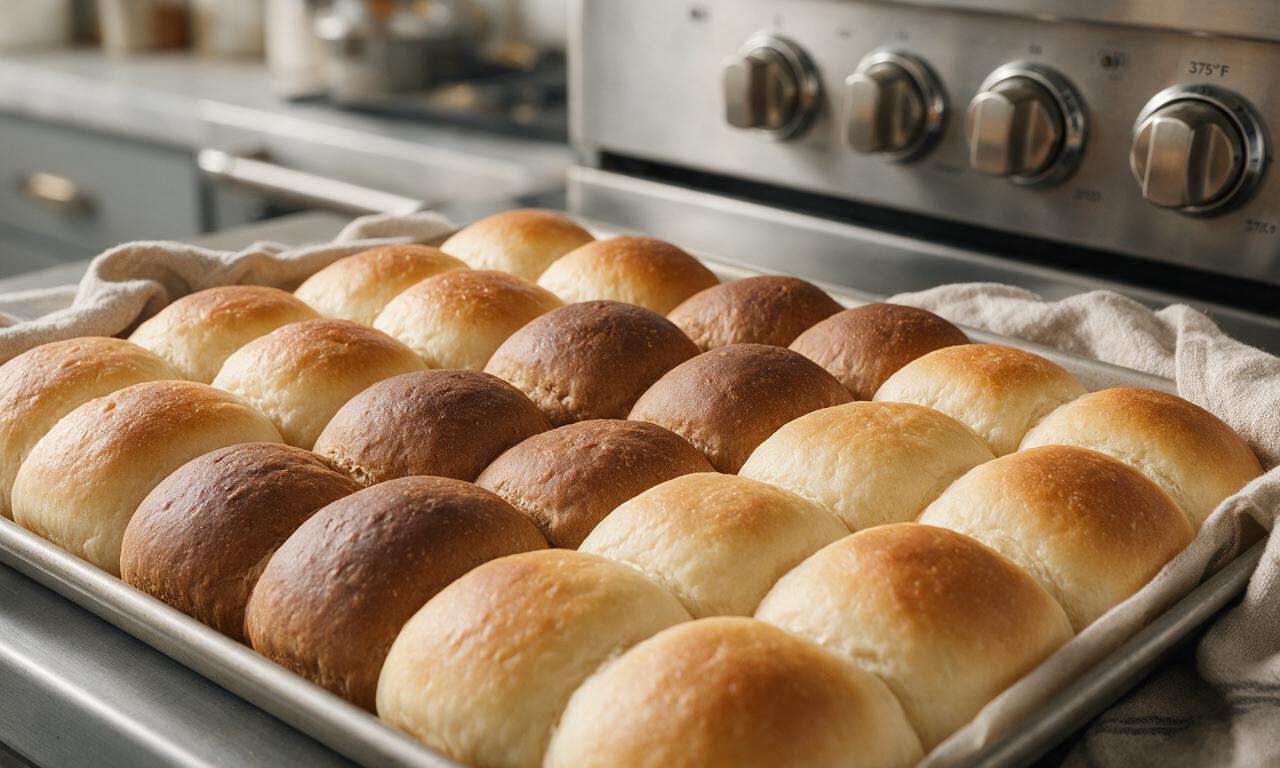
Step 5
step5:Complete second rise
6

Bake to golden perfection

Remove the towel from the pan, brush the tops of all rolls with the remaining melted butter. Bake on the middle oven rack at 375°F (190°C) for 18-20 minutes, rotating the pan 180 degrees halfway through baking, until the tops are deep golden brown and the internal temperature of the rolls reaches 190°F (88°C). Top plain salted rolls with flaky sea salt immediately after removing from the oven.
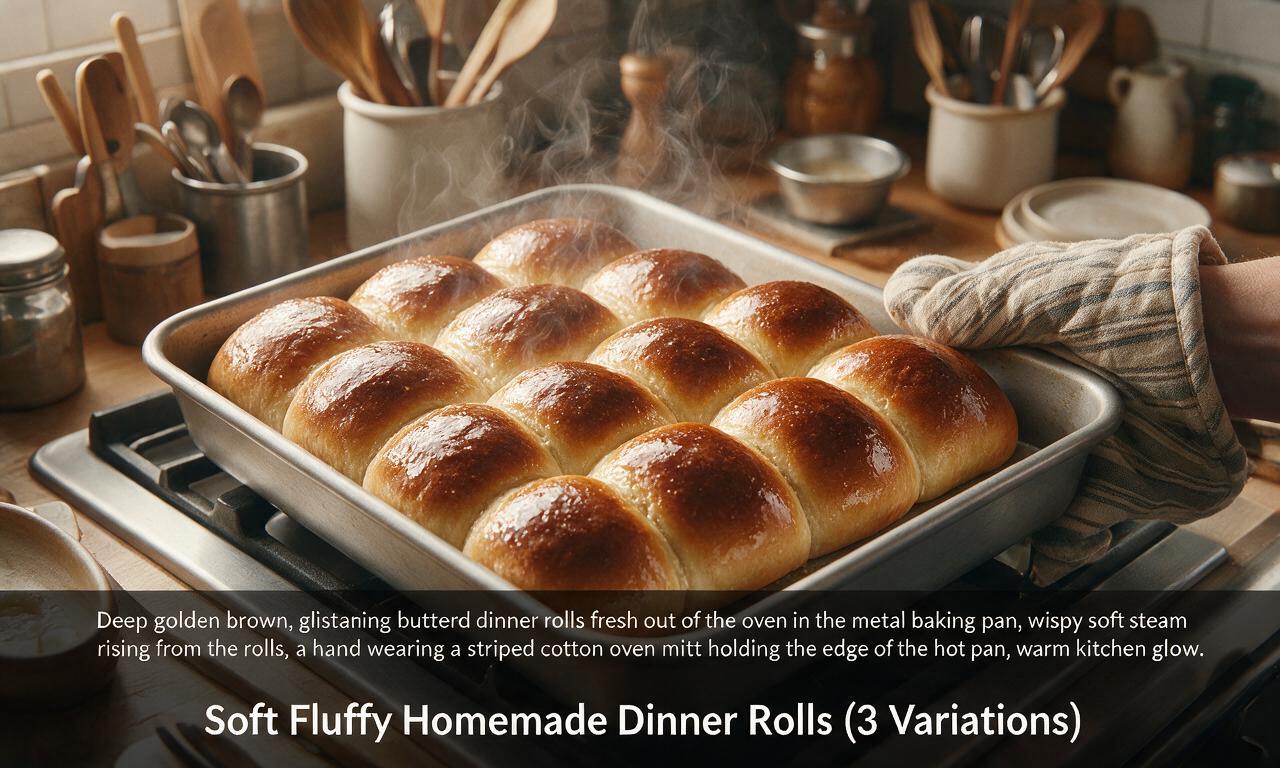
Step 6
step6:Bake to golden perfection
7

Cool and serve rolls

Let the baked rolls cool in the pan for 5 minutes, then use a spatula to transfer them to a wire cooling rack to cool for an additional 10 minutes before serving. Serve warm with extra softened butter, fruit jam, or alongside soups, roasted meats, or seasonal side dishes.
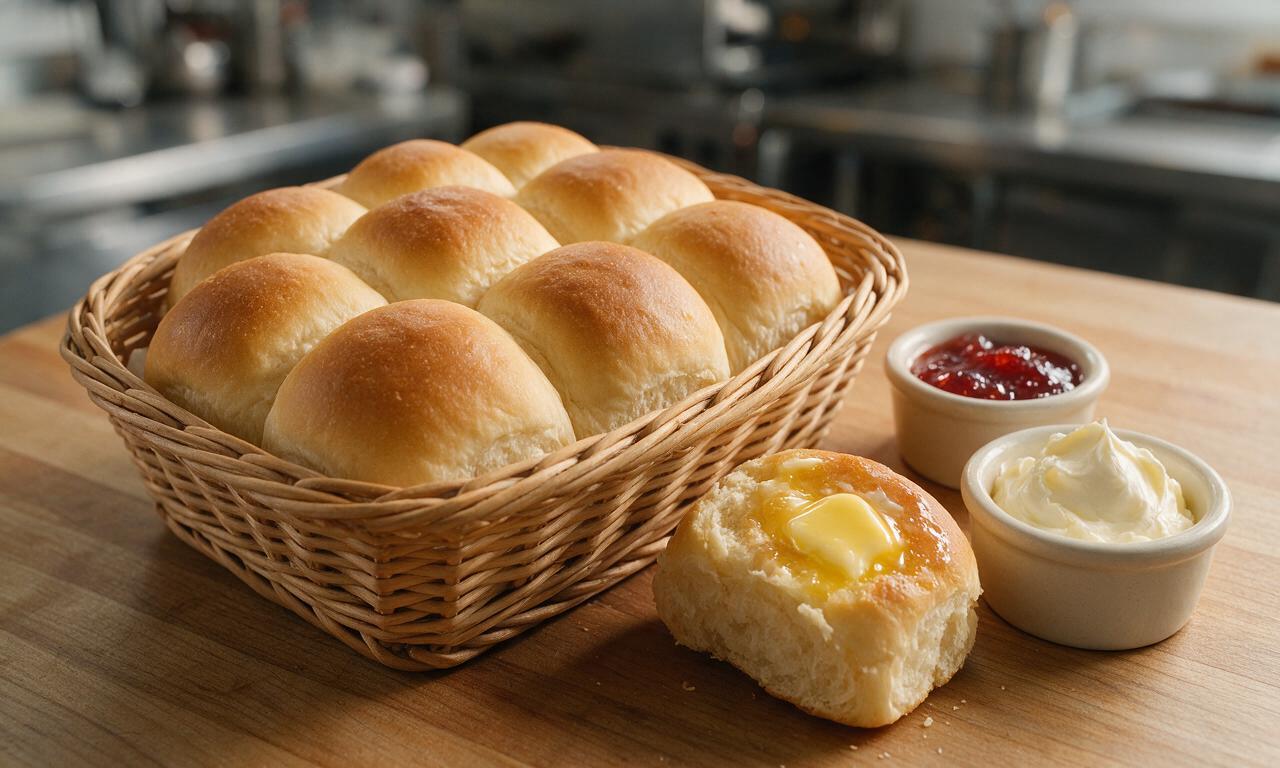
Step 7
step7:Cool and serve rolls

Tips

1.If your kitchen is cooler than 75°F, create a consistent proofing spot by turning your oven light on and placing covered dough inside—the light generates just enough heat for perfect rising without overheating the dough.
2.For make-ahead prep: after shaping rolls in the pan, cover tightly with plastic wrap and refrigerate for up to 12 hours, then let sit at room temperature for 45 minutes to complete the second rise before baking.
3.Avoid adding extra flour during kneading to prevent dense, tough rolls: properly mixed dough will be soft and slightly tacky to the touch, not sticky enough to leave residue on your fingers.
✨ You May Also Like

Side Dishes
🍜 India

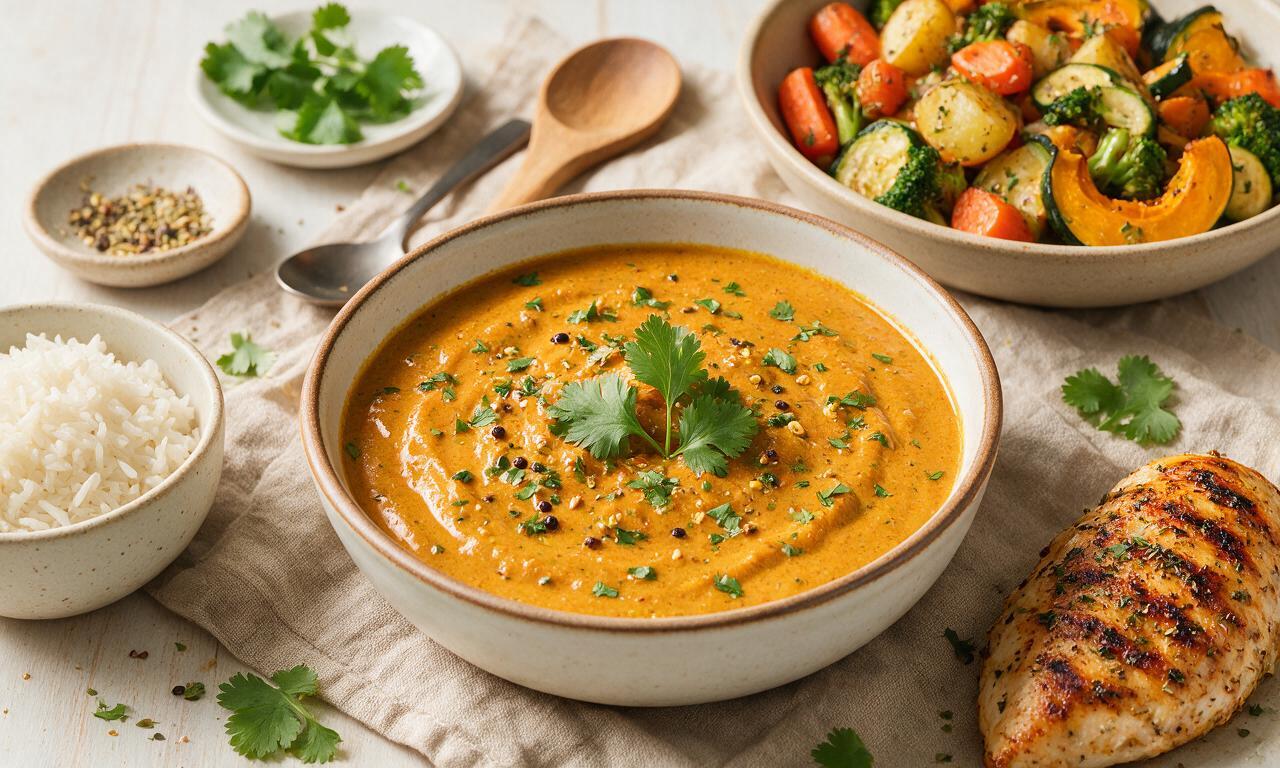
Velvety, aromatic all-purpose curry sauce perfect for tossing with roasted veggies, grilled protein, or rice for fast, cozy, flavorful meals.

⏱️ 25 minuteSide Dishes ★ 4.7
Side Dishes
🍜 Spain

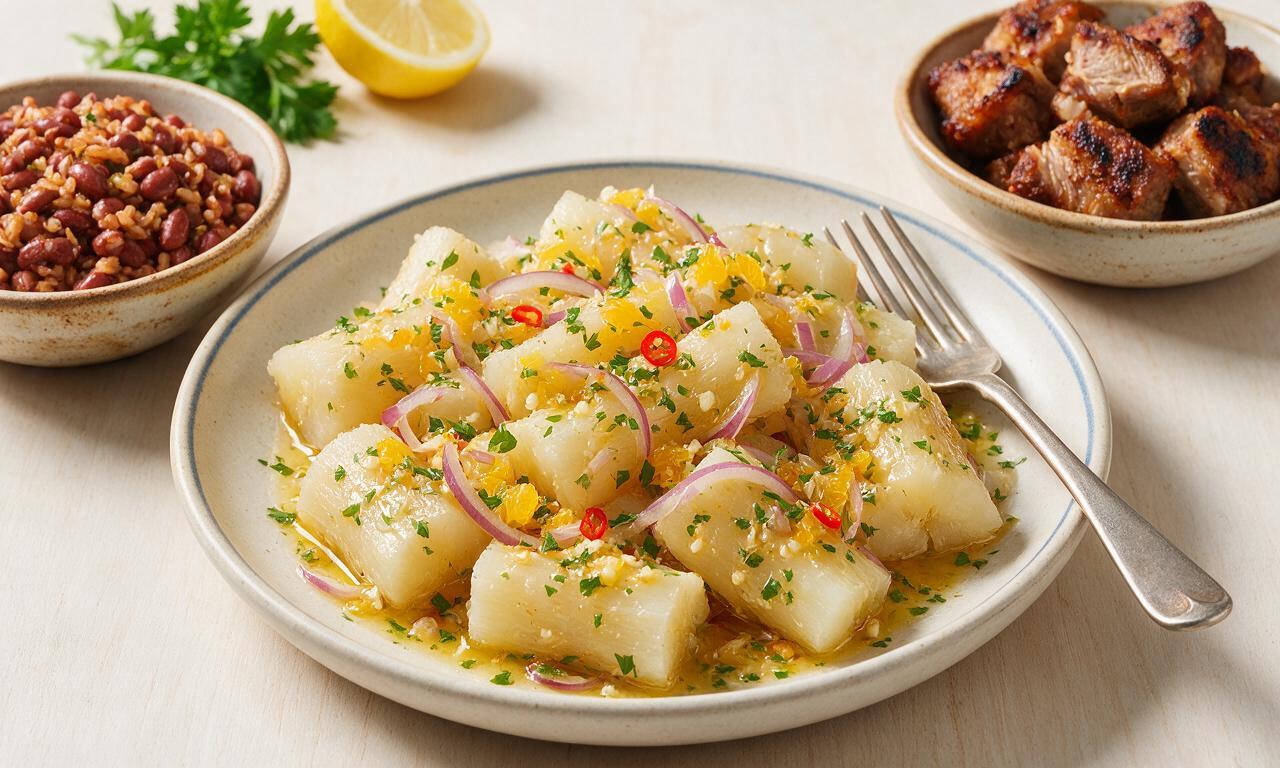
Tender, starchy boiled yuca tossed in bright, garlicky citrus mojo sauce—an iconic, zesty side that pairs beautifully with roasted pork, grilled meats, and rice and beans.

⏱️ 40 minuteSide Dishes ★ 4.8
Side Dishes
🍜 United States

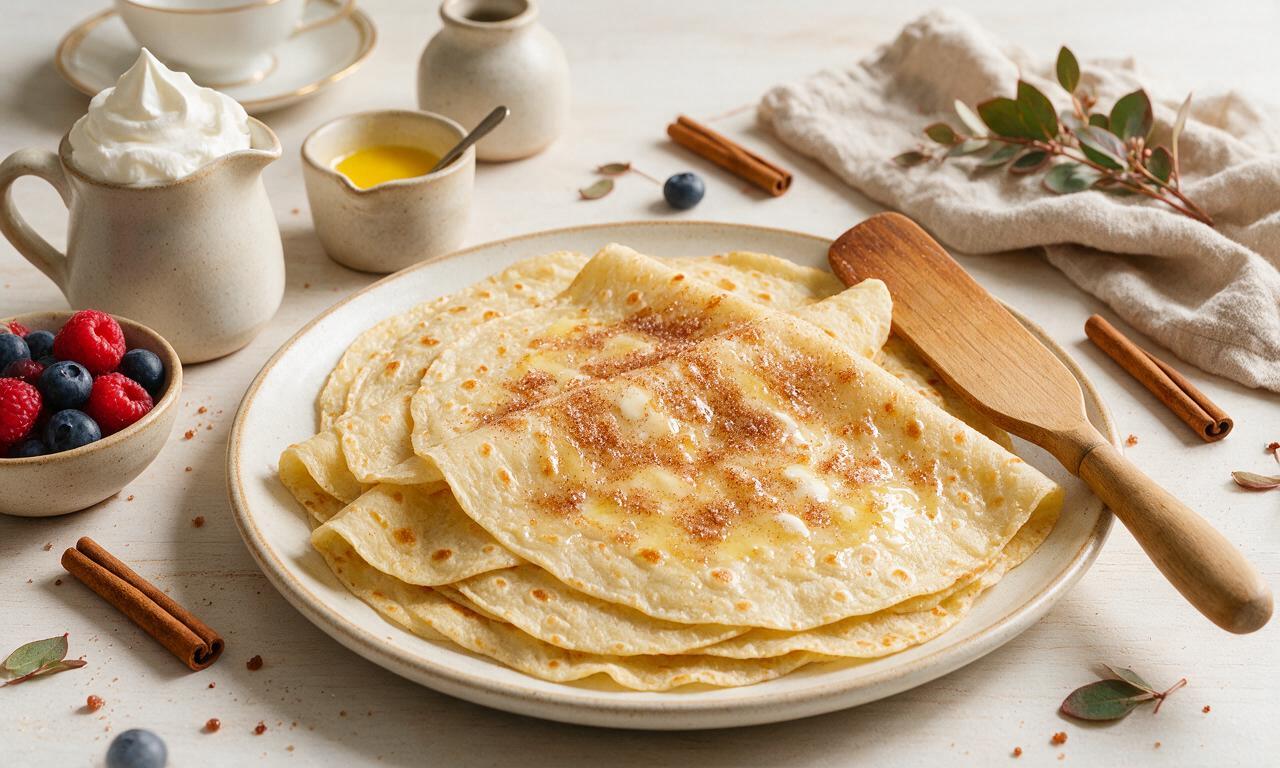
Tender, paper-thin potato flatbread, a beloved Norwegian-American Minnesota Christmas staple, griddled until softly spotted and served warm with butter.

⏱️ 1 hour 30Side Dishes ★ 4.8
Side Dishes
🍜 United States

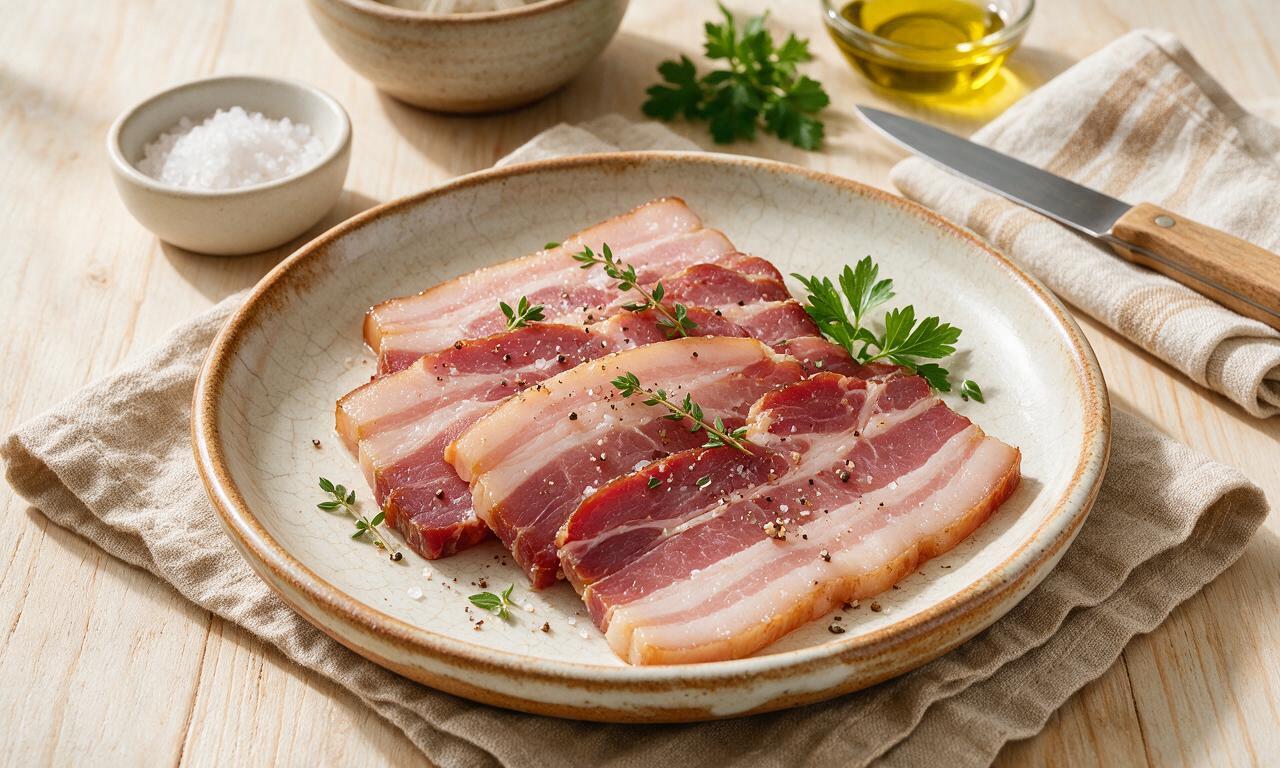
Rich, deeply savory cured salt pork, a long-lasting kitchen staple perfect for frying crispy as a side or adding umami to stews, beans, and chowders.

⏱️ 7 days (2Side Dishes ★ 4.9
Side Dishes
🍜 United States

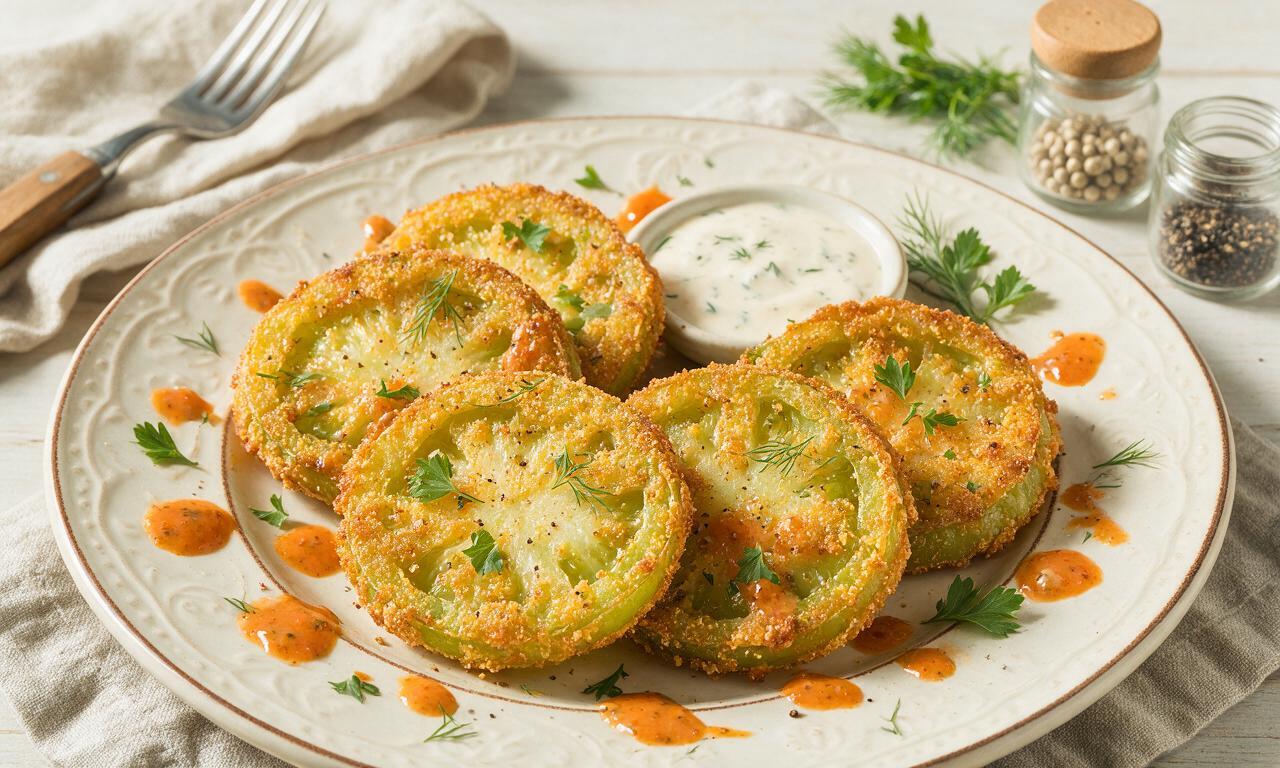
Crispy, tangy classic Southern fried green tomatoes with a crunchy cornmeal crust, served hot for a nostalgic, comforting summery bite.

⏱️ 25 minuteSide Dishes ★ 4.9
Side Dishes
🍜 United States

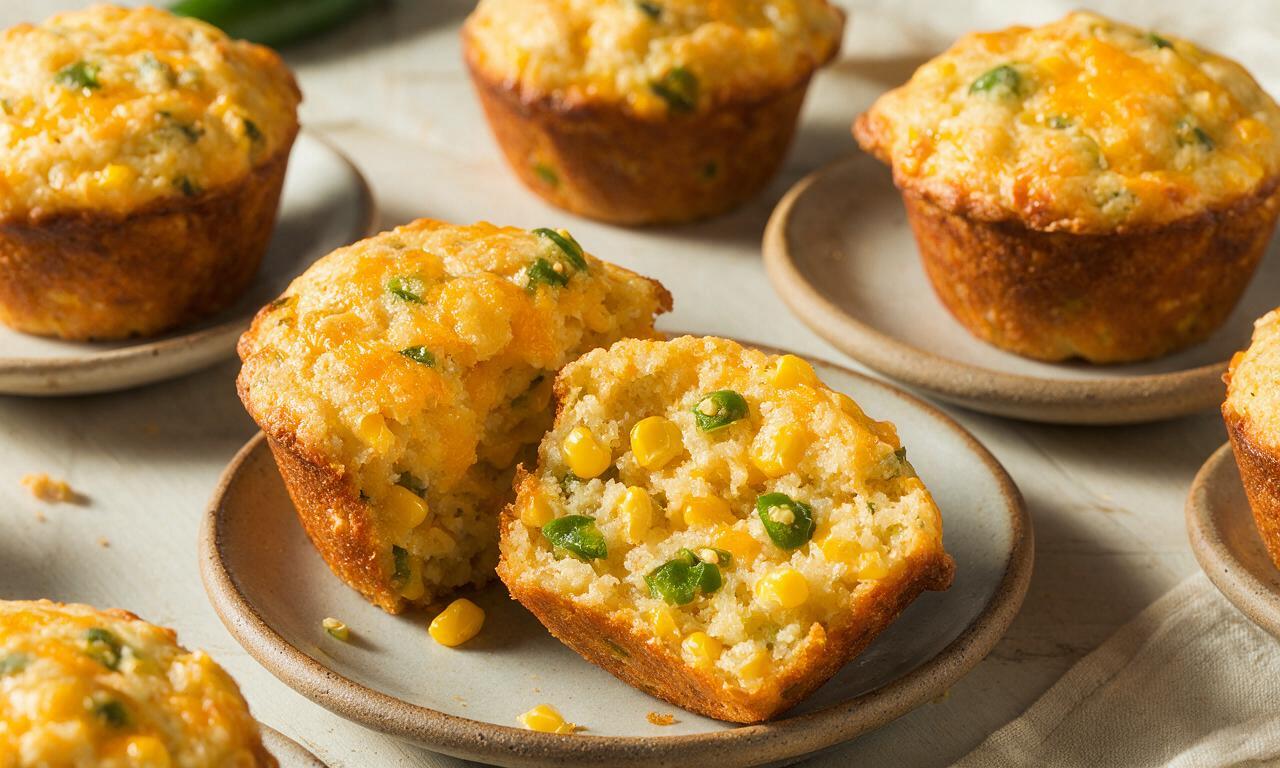
Moist, golden-crusted savory muffins with sweet corn, zesty jalapeño, and melted cheddar, perfect for pairing with smoky summer grilled fare.

⏱️ 30 minuteSide Dishes ★ 4.8

Dinner Roll (various):Frequently Asked Questions

1.Why did my dinner rolls turn out dense instead of soft and fluffy?
Dense rolls almost always trace back to yeast or rising issues! First, confirm your milk is 105–110°F when you add yeast—too hot kills it, too cold slows rise. Don’t dump in extra all-purpose flour while kneading, and make sure you let the dough double fully in size both before and after shaping for that light, pillowy crumb.
2.Can I make these rolls ahead of time for a family dinner or holiday meal?
Absolutely! For easiest prep, shape the rolls, cover them tightly, and let them do a slow second rise in the fridge for up to 16 hours. Pull them out 1 hour before baking to come to room temp and puff up, or bake fully, freeze for up to 1 month, and reheat wrapped in foil at 325°F for 10 minutes.
3.How do I make all three variations from one batch of base dough?
It’s super simple! After the dough completes its first rise, divide it evenly into three portions. Leave one plain to brush with salted melted butter post-bake; fold minced garlic and chopped mixed herbs into the second portion before shaping; toss the third portion of baked rolls in melted butter and cinnamon sugar right out of the oven.
4.Can I use low-fat milk instead of whole milk for this recipe?
Whole milk gives the softest, richest crumb because its natural fat tenderizes the dough and feeds the yeast for a better rise. You can use 2% milk in a pinch, but skip skim—it’s too watery and will lead to drier rolls. If you use lower-fat milk, add 1 extra tablespoon of melted unsalted butter to make up for missing fat.
5.How do I tell when the rolls are done baking without drying them out?
Skip the toothpick test here! Look for a light, even golden-brown top, then pull one roll out and tap its bottom—if it sounds hollow, it’s done, usually 18–22 minutes at 375°F. Don’t wait for a deep dark crust; overbaking is the number one cause of tough, dry dinner rolls, so err on the lighter side.
6.My active dry yeast didn’t foam when I proofed it—should I still use it?
Toss that yeast, no exceptions! That bubbly foam after 5–10 minutes in warm milk (with a tiny pinch of sugar) is proof your yeast is alive and strong enough to leaven the rolls. No foam means the yeast is expired or heat-killed, and using it will leave you with flat, dense rolls that waste your other ingredients.
7.Can I make these rolls egg-free for a dietary restriction?
You absolutely can! Swap the large egg for ¼ cup unsweetened plain applesauce, or 3 tablespoons warm whole milk mixed with 1 tablespoon ground flaxseed left to thicken for 5 minutes. The crumb will be slightly less rich than the original, but brushing the tops with extra melted butter before baking keeps them soft and golden.

Comments (18)

3 days ago

OMG these rolls are a GAME CHANGER for our weekly Sunday family dinner! I did the garlic herb variation and my kids literally fought over the last one. So soft and fluffy, even better than the ones we get at our favorite steakhouse. Only note is I had to let my dough rise a little longer because my kitchen is pretty cold this time of year, but totally worth the extra wait.

2 days ago

Same! My kitchen stays cold in the winter too, I set my dough near the space heater for the first rise and it puffed up perfectly in the time the recipe said

2 hours ago

So glad you loved them! The cold kitchen rise hack is such a great tip — if your space is under 70°F, adding 10-15 minutes to each rise time works perfectly too, no fancy equipment needed.

5 days ago

I brought the parmesan crusted variation to my office potluck yesterday and people were begging me for the recipe before I even set the platter down! They stayed soft for HOURS after I baked them, which is always my biggest issue with homemade rolls. 10/10, will be making these for every holiday from now on.

3 days ago

That makes us so happy to hear! The parmesan version is our go-to for potlucks too — the little bit of melted butter under the cheese crust helps lock in moisture so they don’t dry out fast.

2 days ago

I did the parmesan one too! Added a little sprinkle of red pepper flakes on top for a tiny kick and it was chef’s kiss

1 week ago

Wait, I’ve never made yeast bread before in my life and I was so nervous these would flop, but they turned out SO good? I did the cinnamon sugar variation for a brunch with my roommates and we ate half the pan straight out of the oven. The step-by-step instructions were so easy to follow, even for someone who burns toast half the time lmao. Only question — can I freeze the baked rolls for later?

5 days ago

I froze a batch last month! Let them cool completely, toss em in a freezer bag, and when you want em just thaw on the counter for 20 mins and warm in the oven for 5, they taste just as fresh

2 days ago

That’s exactly right! We love freezing these for quick weeknight sides — just make sure to squeeze all the air out of the freezer bag to prevent freezer burn, and they’ll keep for up to 3 months. So proud of you for nailing your first yeast bread!

5 days ago

Tried making these at 7,000 ft elevation and the dough rose way faster than the recipe said, so I had to check on it 20 mins early! I went with the classic plain version to go with our chili dinner last night, and they were perfectly pillowy. Anyone else have high altitude tips for next time?

3 days ago

Great catch! At high altitude, yeast doughs do rise much faster because of the lower air pressure. Next time, try reducing the yeast by 1/4 teaspoon and adding an extra tablespoon of flour to keep the structure sturdy, and keep an eye on that rise time like you did!

2 days ago

I’m at 6,000 ft and I do exactly that! Also don’t let them overproof or they’ll deflate when you put em in the oven, learned that the hard way last Thanksgiving lmao

2 weeks ago

I meal prepped a double batch of these on Sunday and they’ve been perfect for quick school lunches and weeknight sides all week! Did half garlic herb, half plain, and my picky 7 year old who refuses to eat any bread besides store-bought white bread asked for seconds. Worth every minute of prep time, even with my chaotic kitchen.

1 week ago

Oh that’s such a good idea to do a double batch! I never thought to make these ahead for school lunches, my kid would lose his mind over garlic rolls with his pasta

3 days ago

We love a good meal prep win! So glad your picky eater approved — that’s the highest possible praise in our book. The rolls hold up great in the fridge for up to 5 days if you keep them in an airtight container, too.

2 hours ago

Wait, has anyone tried making these with a 1:1 gluten free flour blend? I’ve been searching for a soft gluten free dinner roll recipe that doesn’t taste like cardboard, and this one looks so good I’m tempted to experiment. The regular version was my go-to before I had to cut out gluten, so I’m crossing my fingers it works!

30 minutes ago

Great question! We’ve tested this with a couple 1:1 GF flour blends (we recommend the one with xanthan gum already added) and it works really well — you might need to add an extra 2 tablespoons of milk to get the dough to the right soft consistency, and let the first rise go about 20 minutes longer. Let us know how it turns out if you try it!

5 minutes ago

I did it last week with Bob’s Red Mill 1:1 blend and it was incredible! My whole family (none of whom are GF) couldn’t tell the difference. Definitely add that extra milk like the admin said, mine was a little crumbly at first until I adjusted

1 week ago

Made these to go with my smoked brisket over the weekend, did the garlic butter variation, and my buddies said they were better than the rolls at the famous BBQ joint down the road. Not gonna lie, I was pretty proud of myself. The texture is spot on, no dense weird spots like every other roll recipe I’ve tried.

5 days ago

There is no higher compliment than being better than a Texas BBQ joint’s rolls — that’s legendary! So stoked these worked out for your brisket night, that sounds like the perfect meal.

3 days ago

I made these in my tiny dorm kitchen with just a hand mixer and a cheap baking sheet, and they still turned out fluffy as hell? Did the cinnamon sugar version for my floor’s late night study session and everyone came back for two or three. Way cheaper than buying rolls from the campus bakery, too.

2 days ago

Dorm kitchen win! That’s so impressive pulling these off with limited equipment — we love that you shared them with your floor, that’s what good food is all about. Pro tip: you can even let the dough rise in a warm (turned off!) microwave if your dorm is extra chilly.

2 weeks ago

I’ve been making dinner rolls for over 40 years, and I have to say this recipe is a new staple in my house. I was skeptical of the method for getting them extra fluffy, but it absolutely works. My grandkids kept saying these are “the cloud rolls” because they’re so light. I added a little extra honey to the dough for a subtle sweetness, chef’s kiss.

1 week ago

What a sweet nickname — “cloud rolls” is officially what we’re calling them around the test kitchen now! Adding extra honey sounds like the perfect tweak, we’re going to have to try that next time we bake a batch. So honored an experienced bread baker like you loves the recipe.

5 days ago

I live in Florida where it’s 85 degrees and humid half the year, so my dough was super sticky when I first mixed it. I added a little extra flour as I was kneading and it turned out perfect! Did the parmesan version to go with my shrimp boil last weekend and every single roll was gone. 10/10.

3 days ago

Humidity can definitely do a number on dough consistency! Your tweak of adding extra flour as you knead is exactly what we recommend — start with the amount in the recipe, then add a tablespoon at a time until it’s soft and not sticky to the touch, just like you did. Sounds like the perfect pairing with a shrimp boil!

30 minutes ago

Wait, I accidentally used salted butter instead of unsalted for the garlic herb topping and it was still amazing? I was worried it would be too salty but it was totally fine, just cut back a tiny bit on the extra salt I sprinkled on top. These are so forgiving, even for someone who messes up recipe measurements all the time like me.

5 minutes ago

We’re all about forgiving recipes around here! Using salted butter is such an easy swap, we do it all the time when we don’t have unsalted on hand — just adjusting the added salt like you did is the perfect move, so glad it worked out for you.

yesterday

Made these for our Italian night last night, did the garlic parmesan twist on them (added a little Italian seasoning to the parmesan topping) and they were the perfect side for my lasagna. My partner said we never need to buy store-bought dinner rolls again, and I have to agree. So much better for barely more effort.

2 hours ago

That Italian seasoning twist sounds incredible — we’re totally stealing that for our next pasta night! Nothing beats homemade rolls with a big pan of lasagna, that sounds like the coziest meal ever. So glad your partner is on the homemade roll train now!

1 week ago

Tried the classic plain version for my Thanksgiving test run last week, and they were so good I don’t even need to test any other roll recipe for the big day. Only thing is I wish I’d made a double batch, my roommates ate half the pan before I even got to try one with my soup lmao.

5 days ago

Pro tip for Thanksgiving: make two double batches. I learned that the hard way last year when my cousin brought his three teen boys and they polished off an entire pan of rolls in 10 minutes

2 weeks ago

Game changer for my weekly meal prep! I bake a batch every Sunday, portion them out with my grilled chicken and veggies, and they hold up all week. The garlic herb one is my personal favorite, I add a little extra parsley on top for color. 10/10, no notes.

2 days ago

Made the cinnamon sugar variation for our Saturday morning brunch with friends, served them with whipped honey butter, and everyone thought I picked them up from a fancy bakery. They’re so soft and fluffy, I still can’t believe I made them from scratch. Will definitely be a regular on our brunch menu.

just now

I added a little rosemary and sea salt to the classic version to go with my lentil soup last night, and it was the coziest fall meal ever. The rolls had that perfect pull-apart texture, and the crust was just buttery enough without being greasy. Already planning to make another batch this weekend for my neighbor who just had a baby.

3 days ago

I hosted my first ever Friendsgiving over the weekend and made all three variations! The garlic herb was the fan favorite, but the cinnamon sugar ones were a huge hit with the people who brought sweet potato casserole. Zero leftovers, which is always the sign of a good recipe. Only thing I’d change next time is make more, obviously.

2 hours ago

As someone who works 9-5 and doesn’t have a ton of time for weeknight cooking, I was worried this would take too long, but most of the time is just waiting for the dough to rise! I threw the dough together right when I got home from work, let it rise while I walked my dog and helped my kid with homework, and had fresh rolls on the table by dinner. So doable even on busy weeknights, don’t let the cook time scare you!