
Dinner Rolls
intro
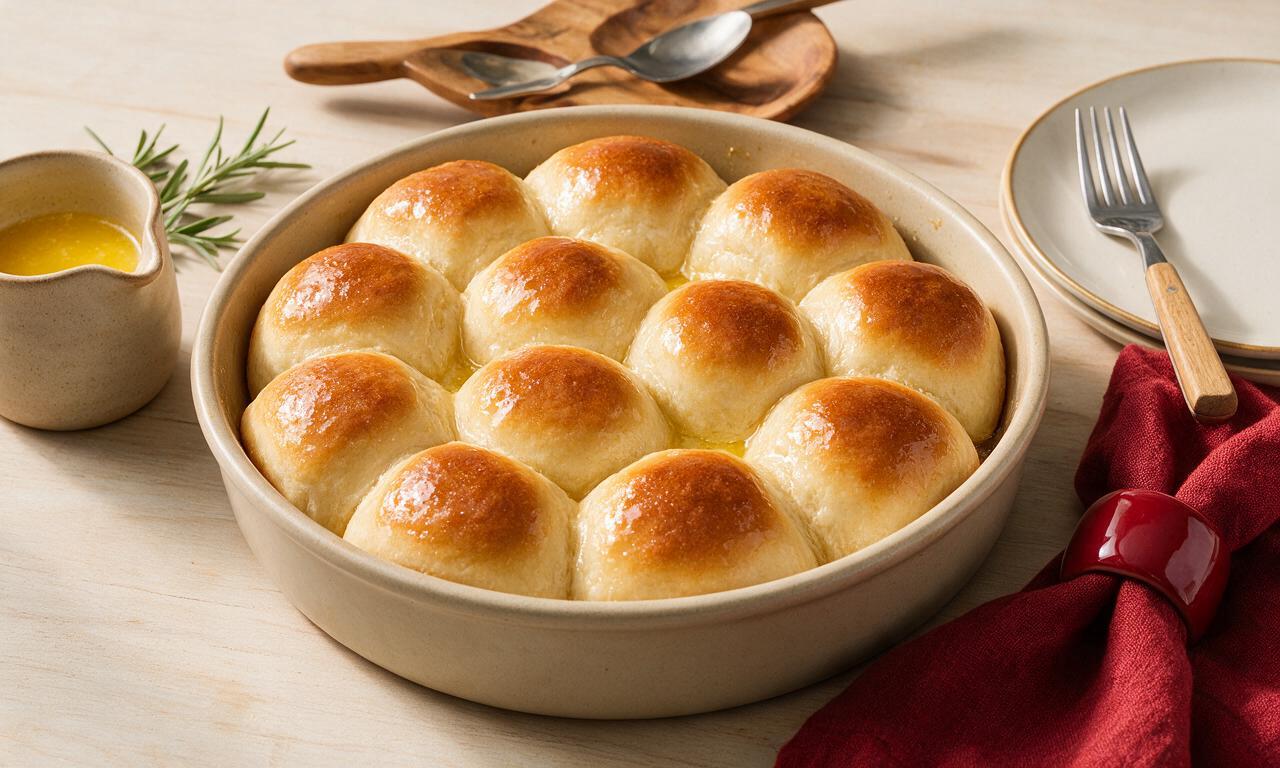
Soft, buttery, pillowy homemade dinner rolls with a tender crumb and golden top, perfect for sopping up gravy alongside hearty holiday meals.
Ingredients
Steps
Activate the yeast
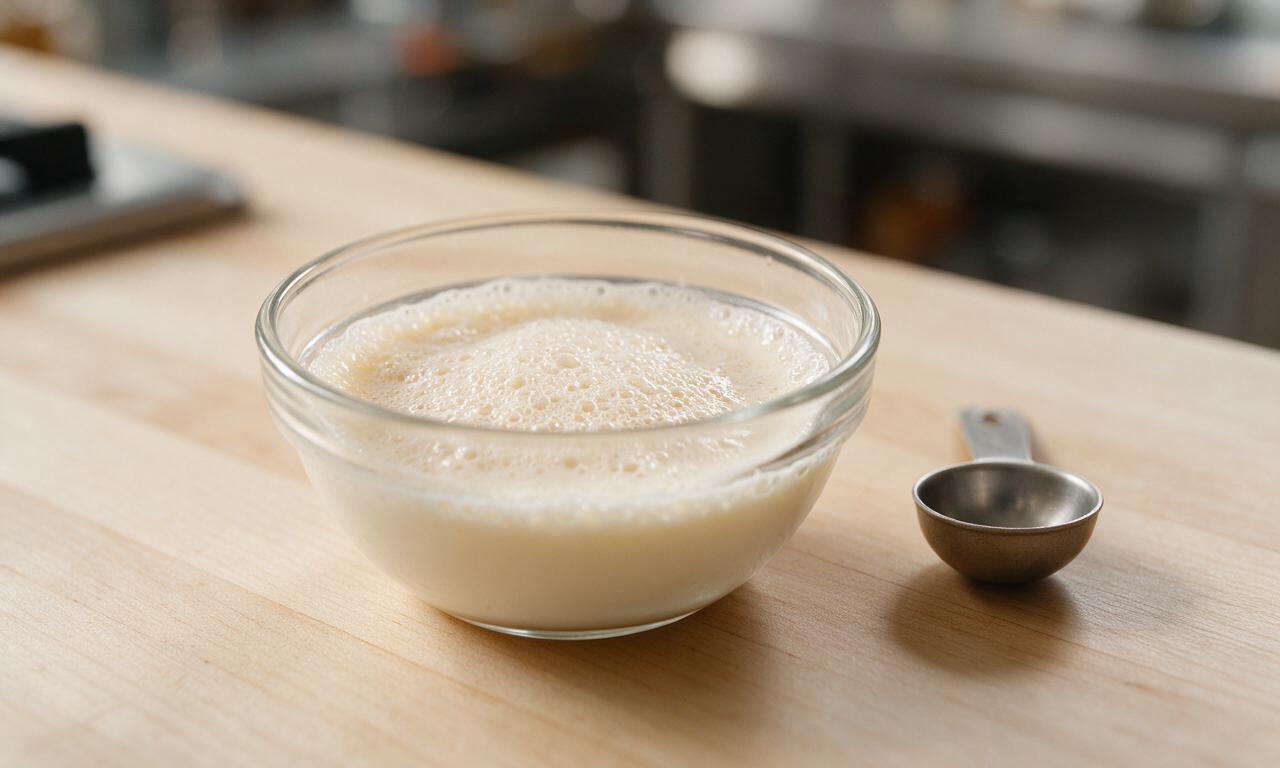
In a small mixing bowl, combine the warmed 37°C (98°F) whole milk, 1 tablespoon of the measured granulated sugar, and active dry yeast. Stir once gently to combine, then rest for 5-7 minutes in a warm, draft-free spot until the surface is foamy and smells distinctly of fresh yeast. If no foam forms after 7 minutes, your yeast is inactive and should be replaced.
Mix the shaggy dough
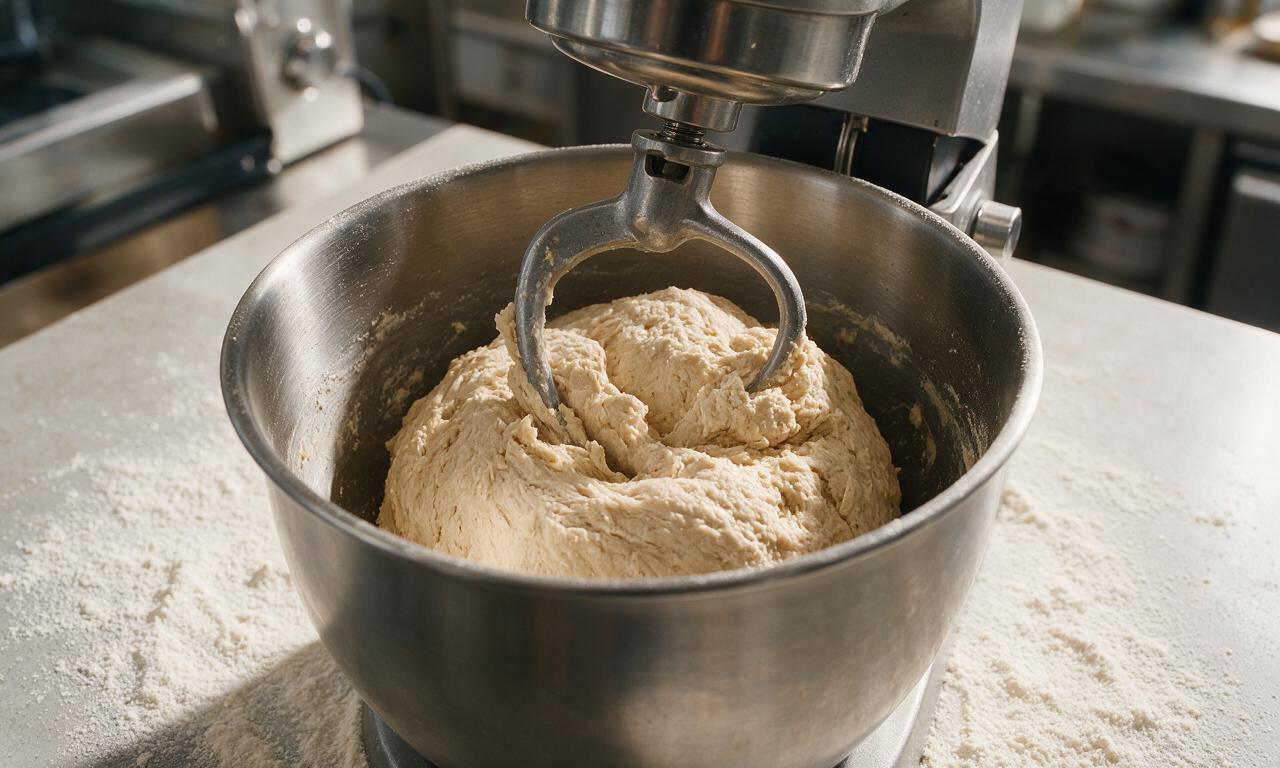
In the bowl of a stand mixer fitted with a dough hook attachment, add the remaining 1 tablespoon sugar, cooled melted butter (from the 4 tbsp measured for dough), room temperature eggs, and foamy activated yeast mixture. Mix on low speed (setting 2) for 30 seconds to combine liquids, then gradually add all measured flour and fine sea salt, mixing for 2 full minutes until a shaggy, slightly sticky dough forms that pulls away from the bowl sides.
Knead and first proof
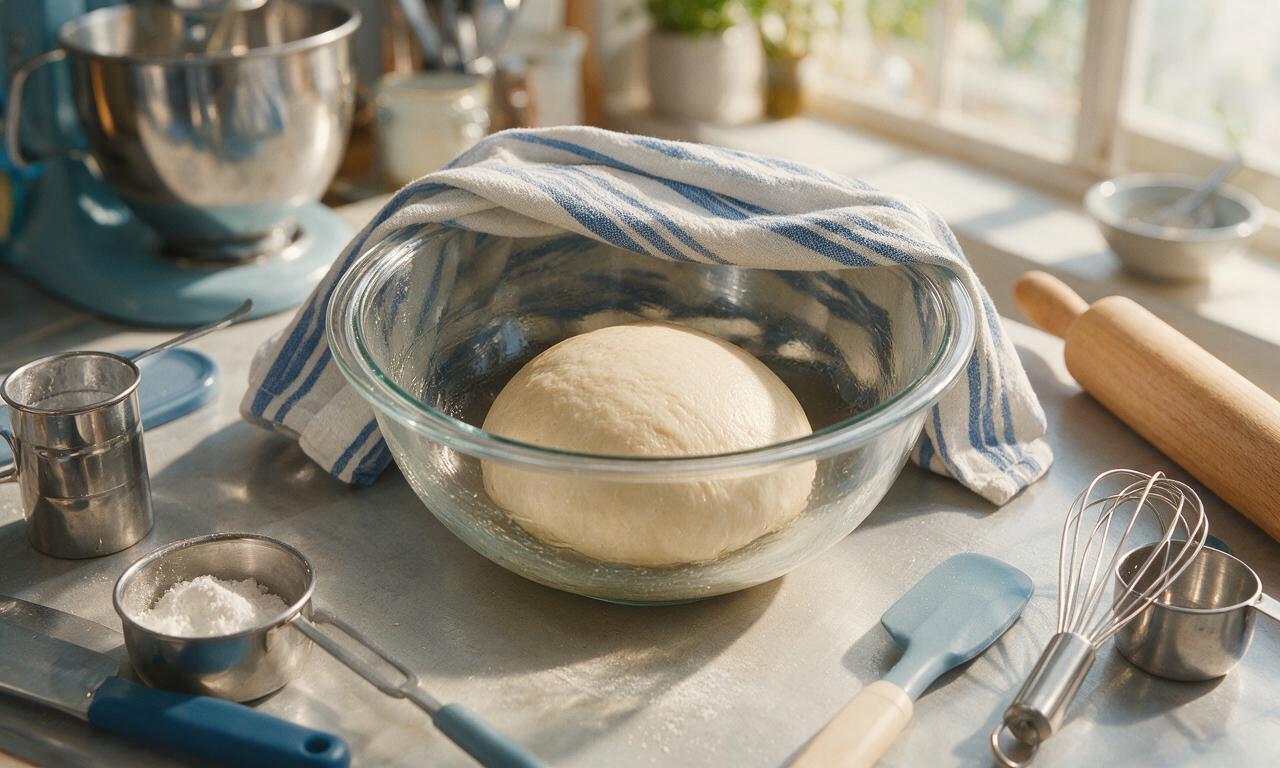
Increase the mixer speed to medium-low (setting 3) and knead the dough for 6-7 minutes, until it becomes smooth, elastic, and springs back slowly when poked with a floured finger. Lightly grease a large clean glass bowl with the reserved 1 teaspoon of butter, place the kneaded dough inside, and turn to coat all surfaces in butter. Cover tightly with a damp cotton kitchen towel, and let rise in a 24°C (75°F) draft-free spot for 60 minutes, until the dough doubles in volume.
Shape individual rolls
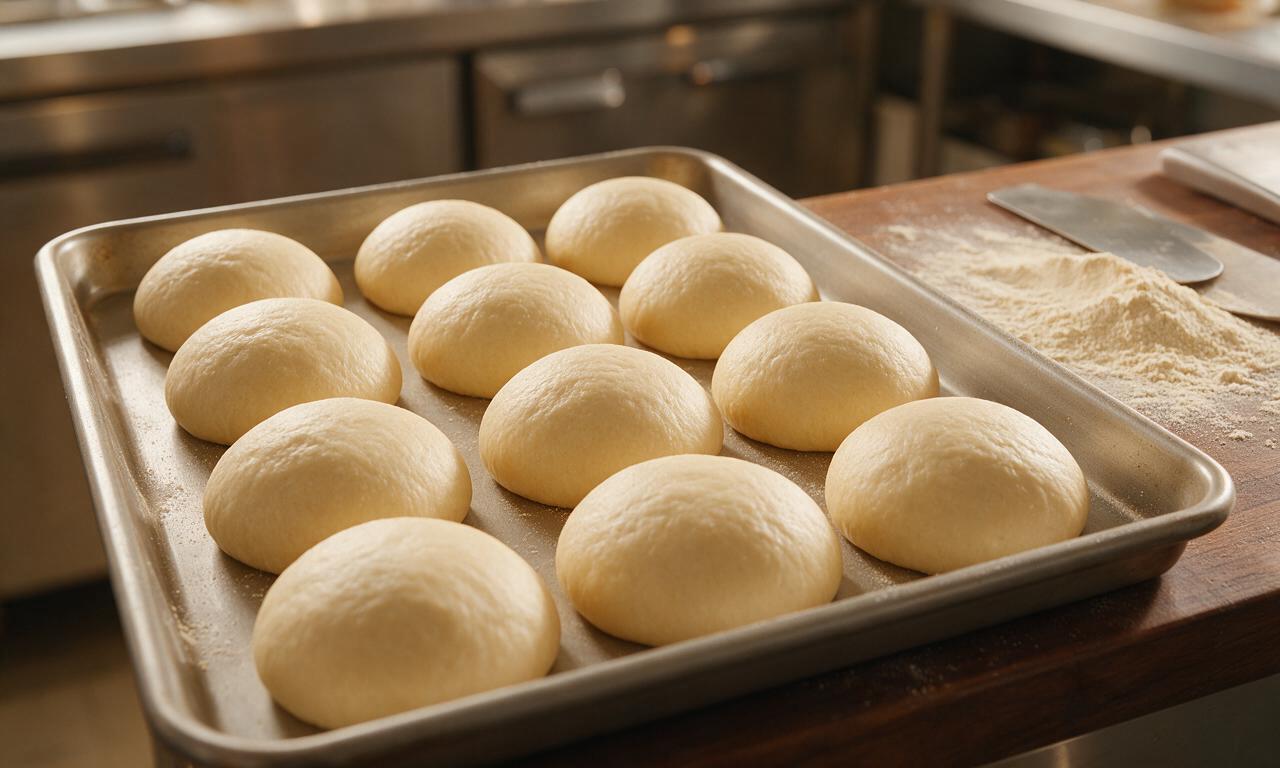
Once the dough has doubled, punch firmly in the center to release all trapped air, then turn out onto a lightly floured work surface. Divide the dough evenly into 12 equal pieces (each ~75 grams / 2.6 ounces), then shape each piece into a tight, smooth ball by tucking the ragged edges under and rolling against the counter with a cupped palm. Arrange the dough balls 2cm (1 inch) apart in a greased 23x33cm (9x13 inch) metal baking pan.
Second rise and preheat
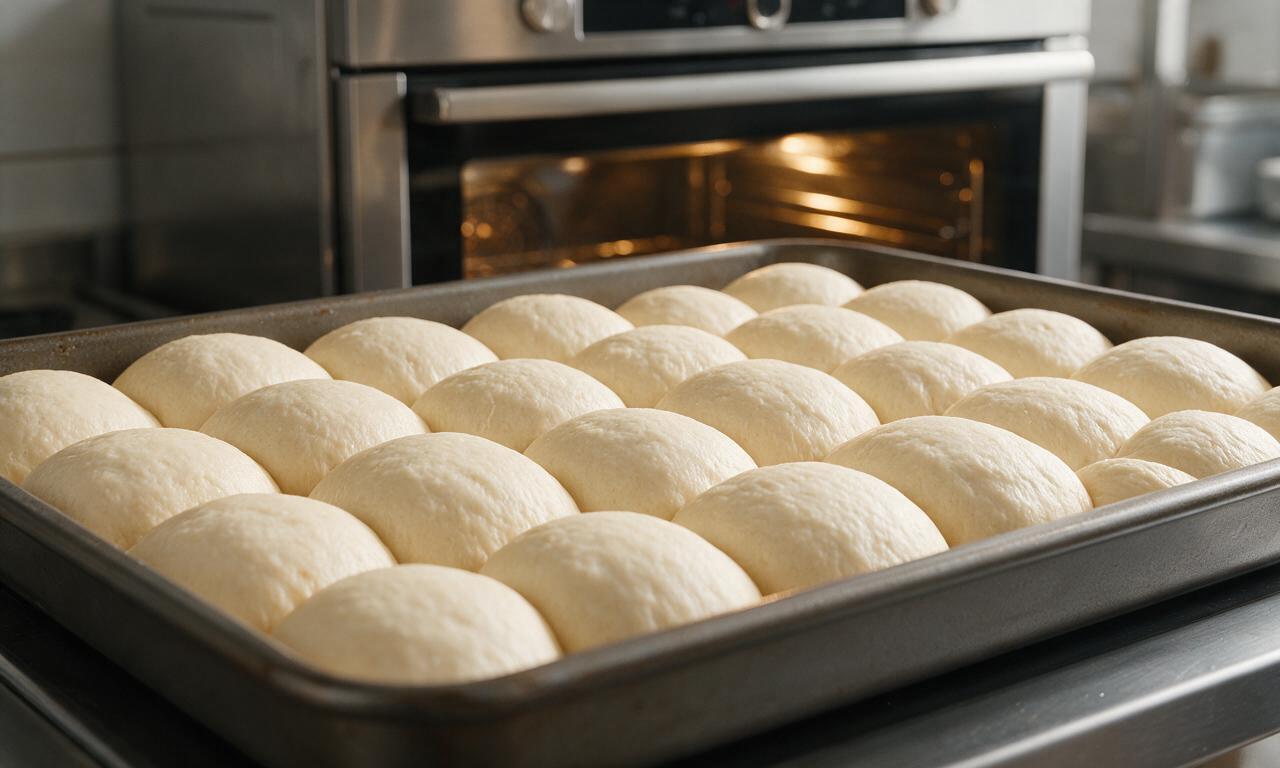
Cover the pan of shaped rolls with the same damp kitchen towel, and let rise a second time in the same warm spot for 30-35 minutes, until the rolls are puffed, touching one another, and leave a slow-rebound indent when poked gently. Fifteen minutes before the second rise finishes, adjust your oven rack to the middle position and preheat the oven to 190°C (375°F).
Bake to golden brown
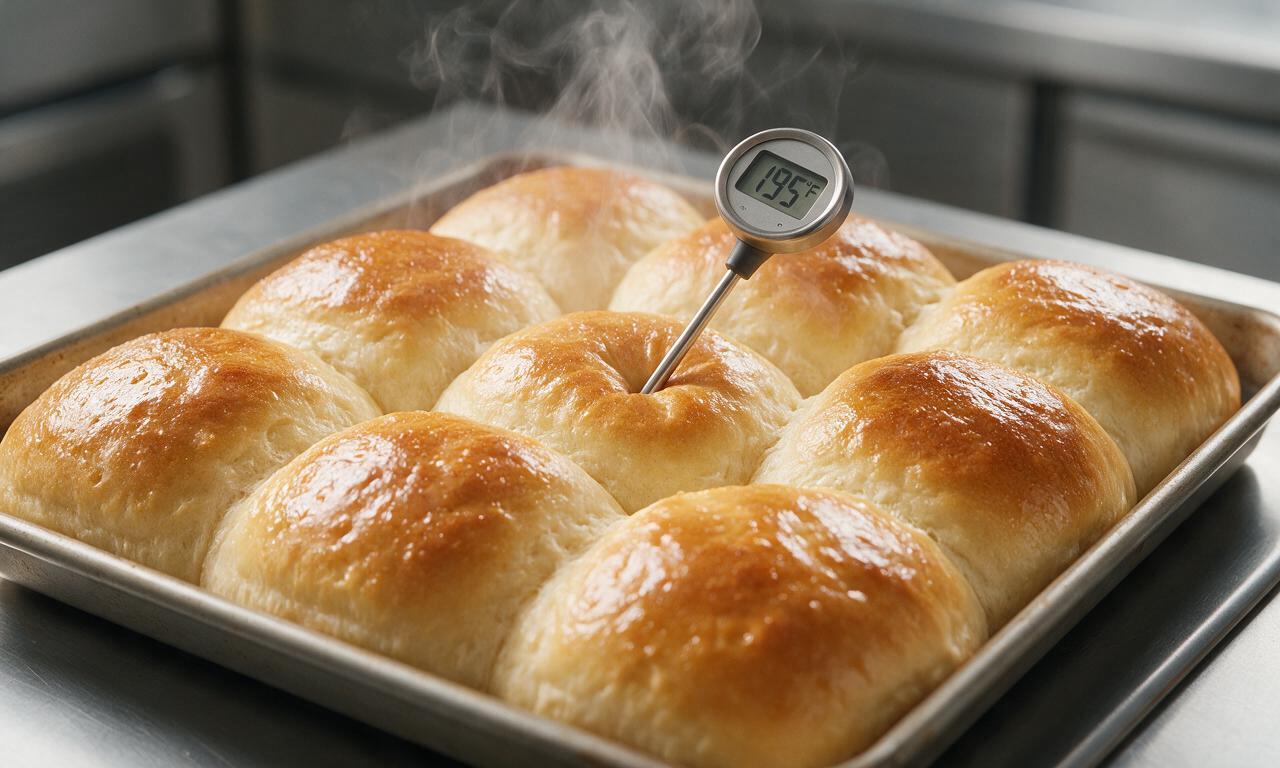
Remove the kitchen towel from the pan, and bake the rolls on the middle oven rack for 18-22 minutes, until the tops are a deep, even golden brown and the internal temperature of the center roll reaches 88°C (190°F) on an instant-read thermometer. If the tops darken too quickly after 12 minutes of baking, tent loosely with a sheet of aluminum foil to prevent burning.
Butter and serve warm
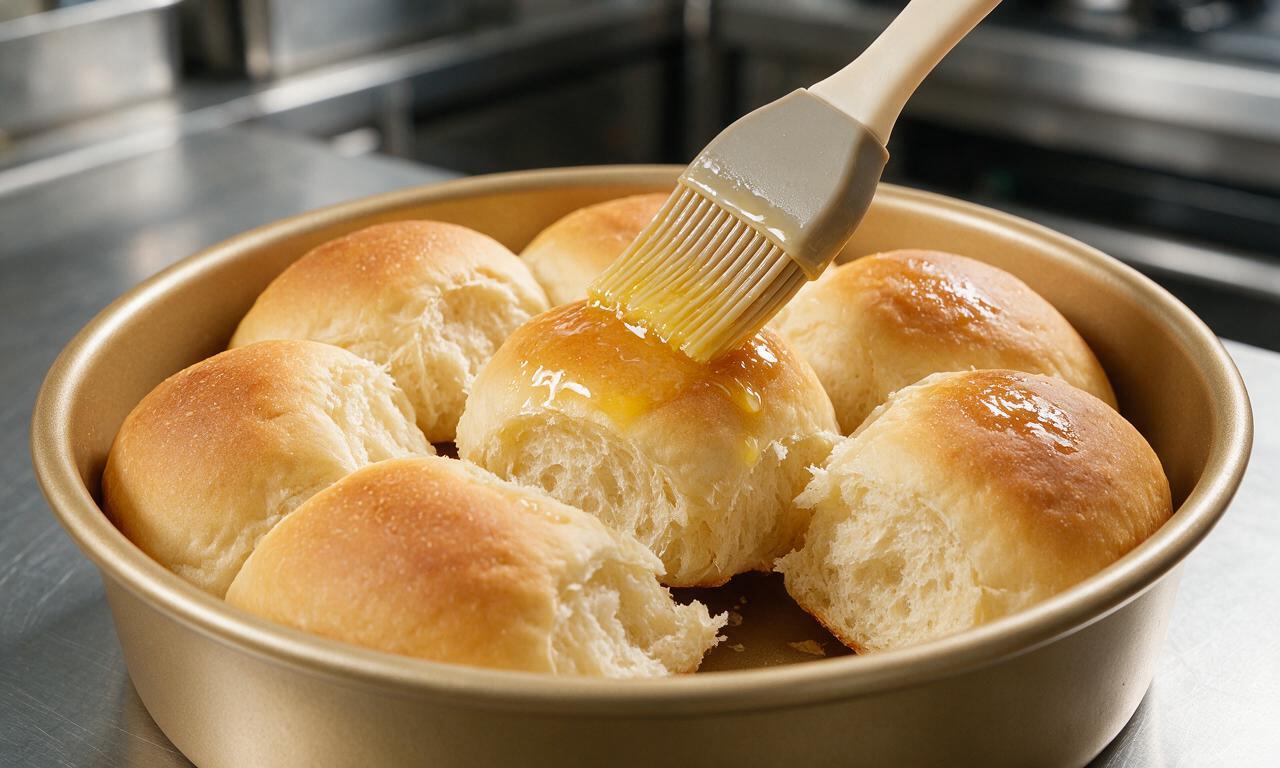
Immediately after pulling the pan from the oven, brush the tops of the hot rolls with the reserved 1 tablespoon of melted butter, then let the rolls cool in the pan for 5 minutes before pulling apart and serving warm.
Tips
2.If your kitchen is colder than 21°C (70°F), let your dough rise inside a turned-off oven with the interior light on to create a consistent, warm, draft-free environment for proofing.
3.Store leftover cooled rolls in an airtight container at room temperature for up to 3 days; reheat for 10 seconds in the microwave or 5 minutes in a 150°C (300°F) oven to restore their soft, fluffy texture.
OMG these rolls came out SO fluffy! I made them for our Sunday family dinner last night and every single person asked for the recipe. Even my super picky 7 year old ate three, which is basically a miracle. Game changer for holiday potlucks too, I’m already planning to make a double batch for Thanksgiving. Only note: I let the second rise go 10 mins longer than the recipe said because my kitchen is a little cold this time of year, and that worked perfectly.
Okay, full transparency, I’ve never made yeast bread before in my life, so I was super intimidated by the medium difficulty rating. These actually turned out way better than I expected! They were soft and buttery, but mine deflated a tiny bit right before I put them in the oven. Any idea what I did wrong there? Still tasted amazing though, my roommate ate half the pan in one sitting.
These are now a permanent part of my weekly meal prep! I make a batch on Sundays, slice them up, and keep them in the freezer for quick breakfasts and dinner sides all week. They reheat perfectly in the microwave for 15 seconds with a little pat of butter – tastes just as fresh as the day I baked them. 10/10, way better than the store-bought frozen rolls I used to buy.
Wait, is it normal that these came out even softer than the Hawaiian rolls I get at the grocery store? I used bread flour instead of all-purpose because that’s what I had in the pantry, and brushed the tops with melted garlic butter right when they came out of the oven. *Chef’s kiss* My whole family is begging me to make these every week now.
Taste was 10/10 but wow, the 2.5 hour cook time is no joke! I tried to squeeze these in before my kid’s soccer practice and totally ran out of time for the full second rise, so they were a little denser than I wanted. Don’t be like me – block off the full time, these are worth it!
I signed up to bring bread to my neighborhood block party last weekend and panicked because I never bake, but this recipe was so easy to follow! I got so many compliments, multiple neighbors asked if I bought them from the fancy bakery downtown. Total confidence boost, I’ll be making these for every gathering from now on.
I was worried I wouldn’t be able to make these work with my dairy allergy, but I swapped the milk for oat milk and the butter for vegan butter, and they came out just as fluffy and soft as the pictures look! I was convinced dairy free rolls would be dense and cardboard-y, but these proved me so wrong. Even my non-dairy-free husband preferred them to the regular rolls we usually buy.
Tested these out ahead of our Friendsgiving dinner next month to make sure they were good enough to serve, and wow. These are better than any dinner roll I’ve had at a restaurant, let alone homemade. The only thing I’m worried about is making enough – I made a 12 roll batch and my roommates and I ate 8 of them in 20 minutes. Might need to triple the recipe for the actual event.