
disney grilled cheese
intro
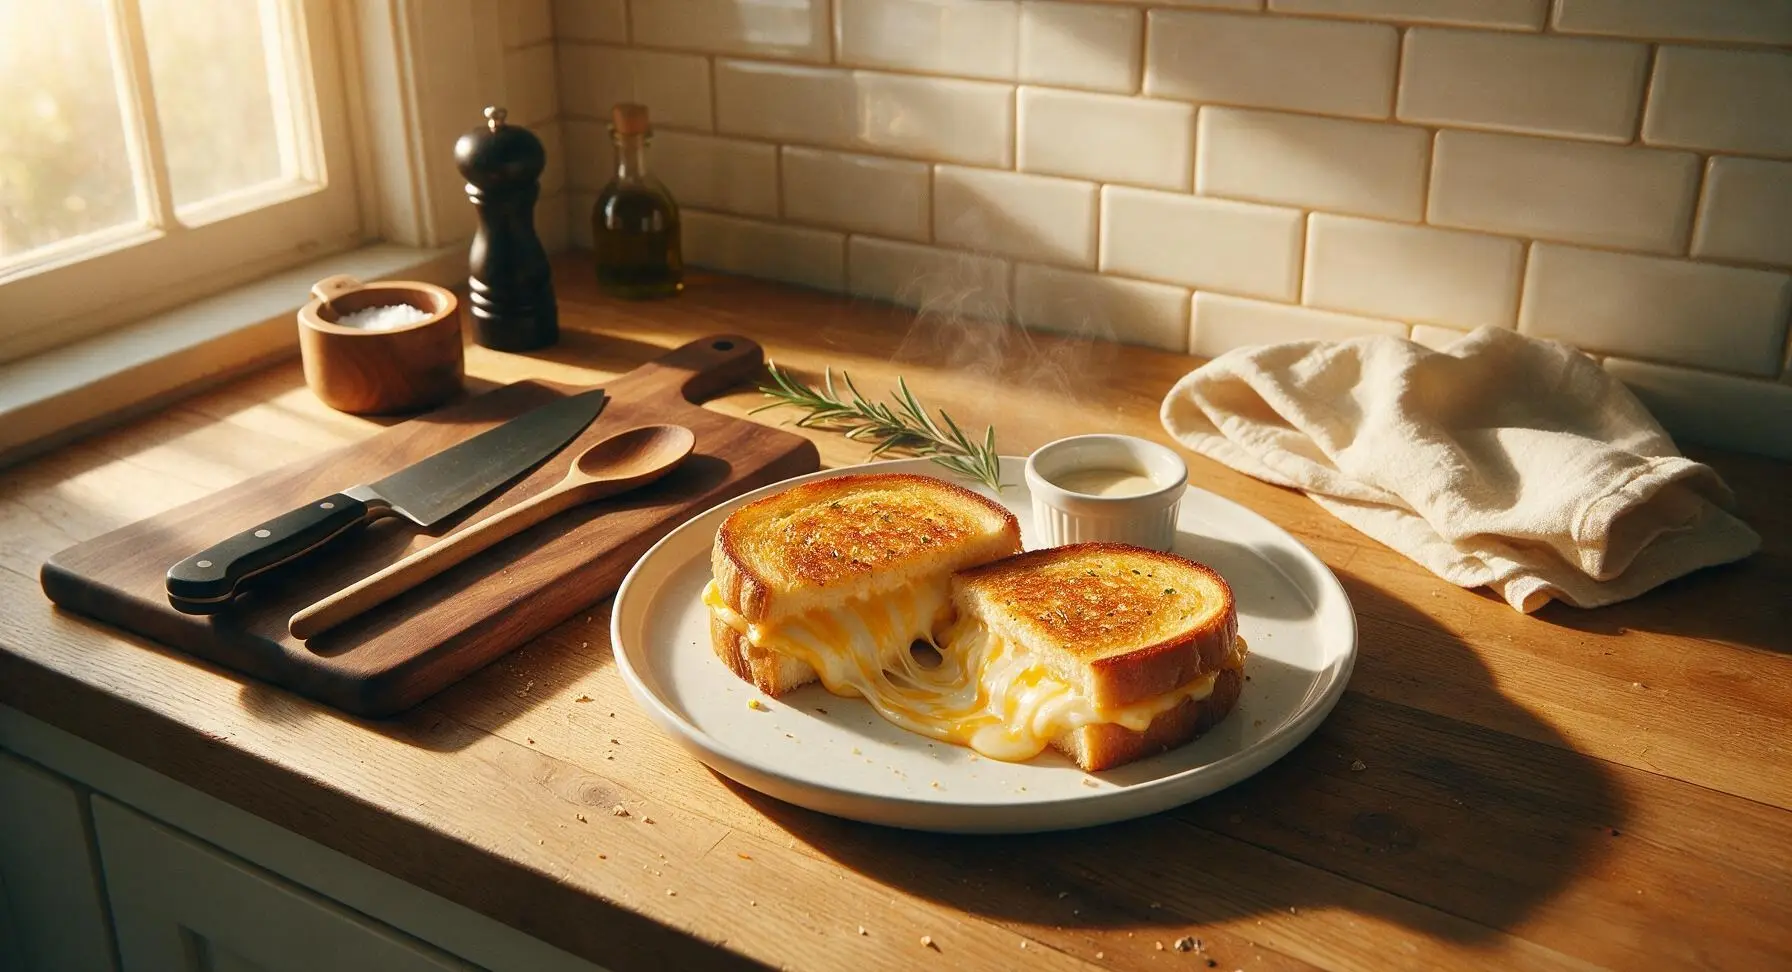
The iconic Disney Parks grilled cheese: ultra-gooey three-cheese filling, subtle garlic flavor, and crispy golden buttery bread, with that famous perfect cheese pull in every bite.
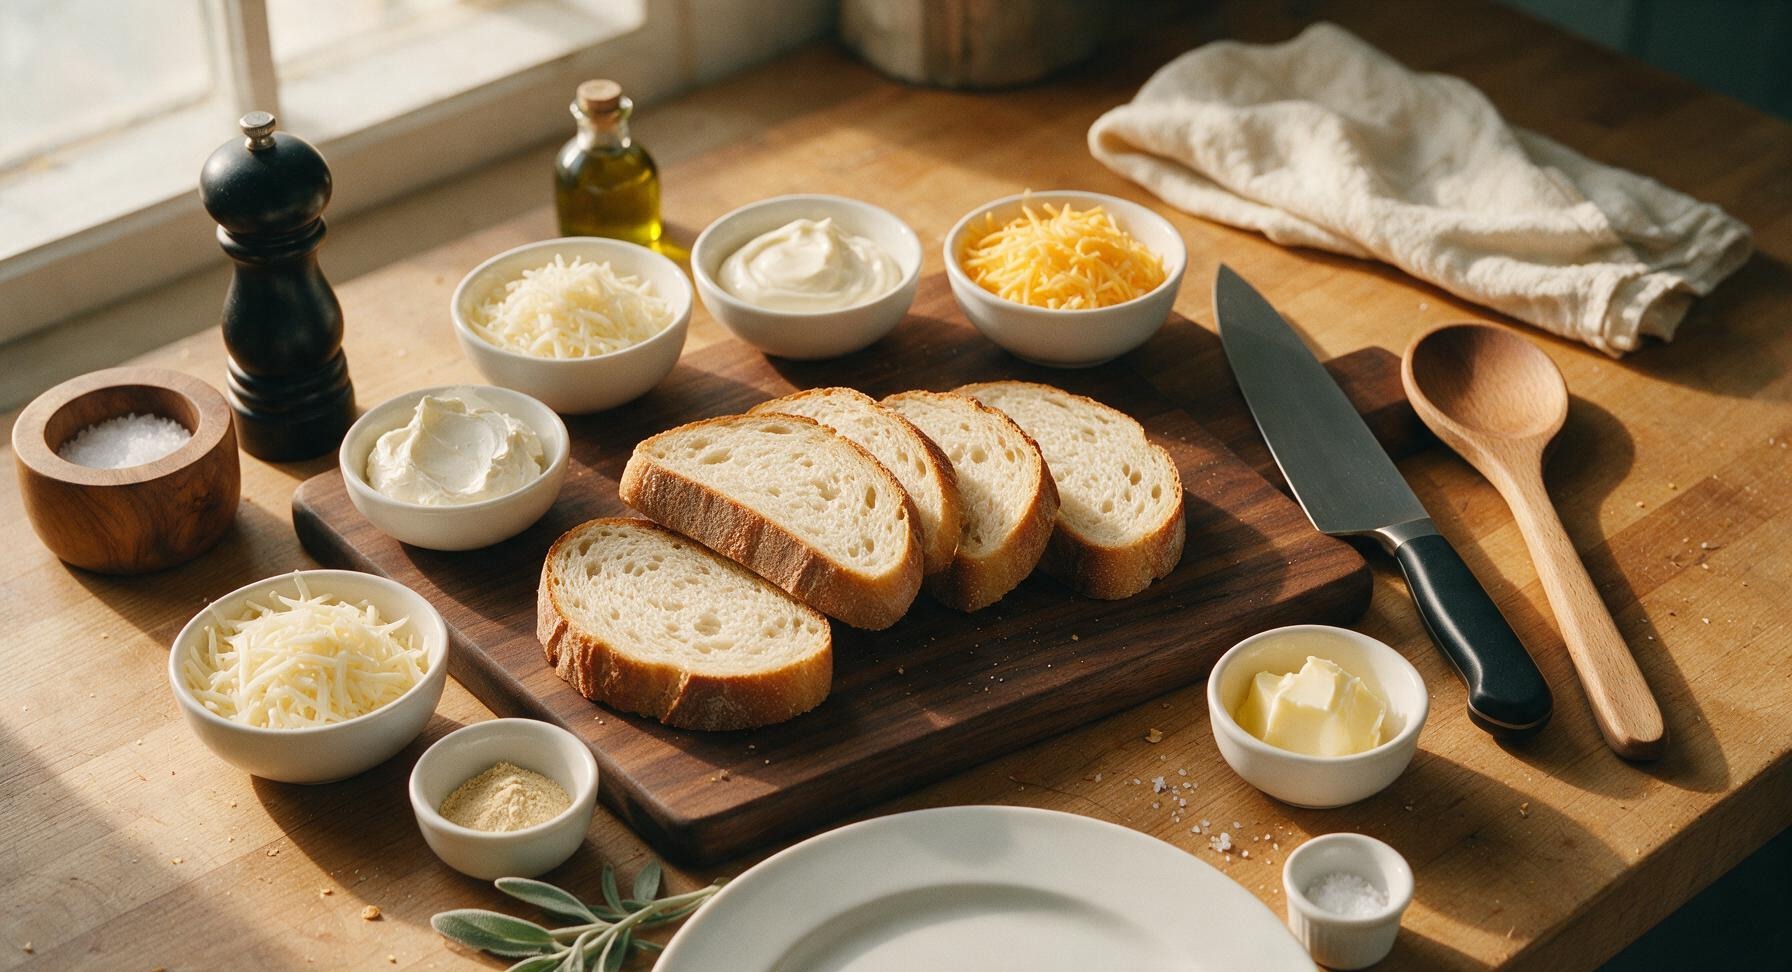
Ingredients
Steps
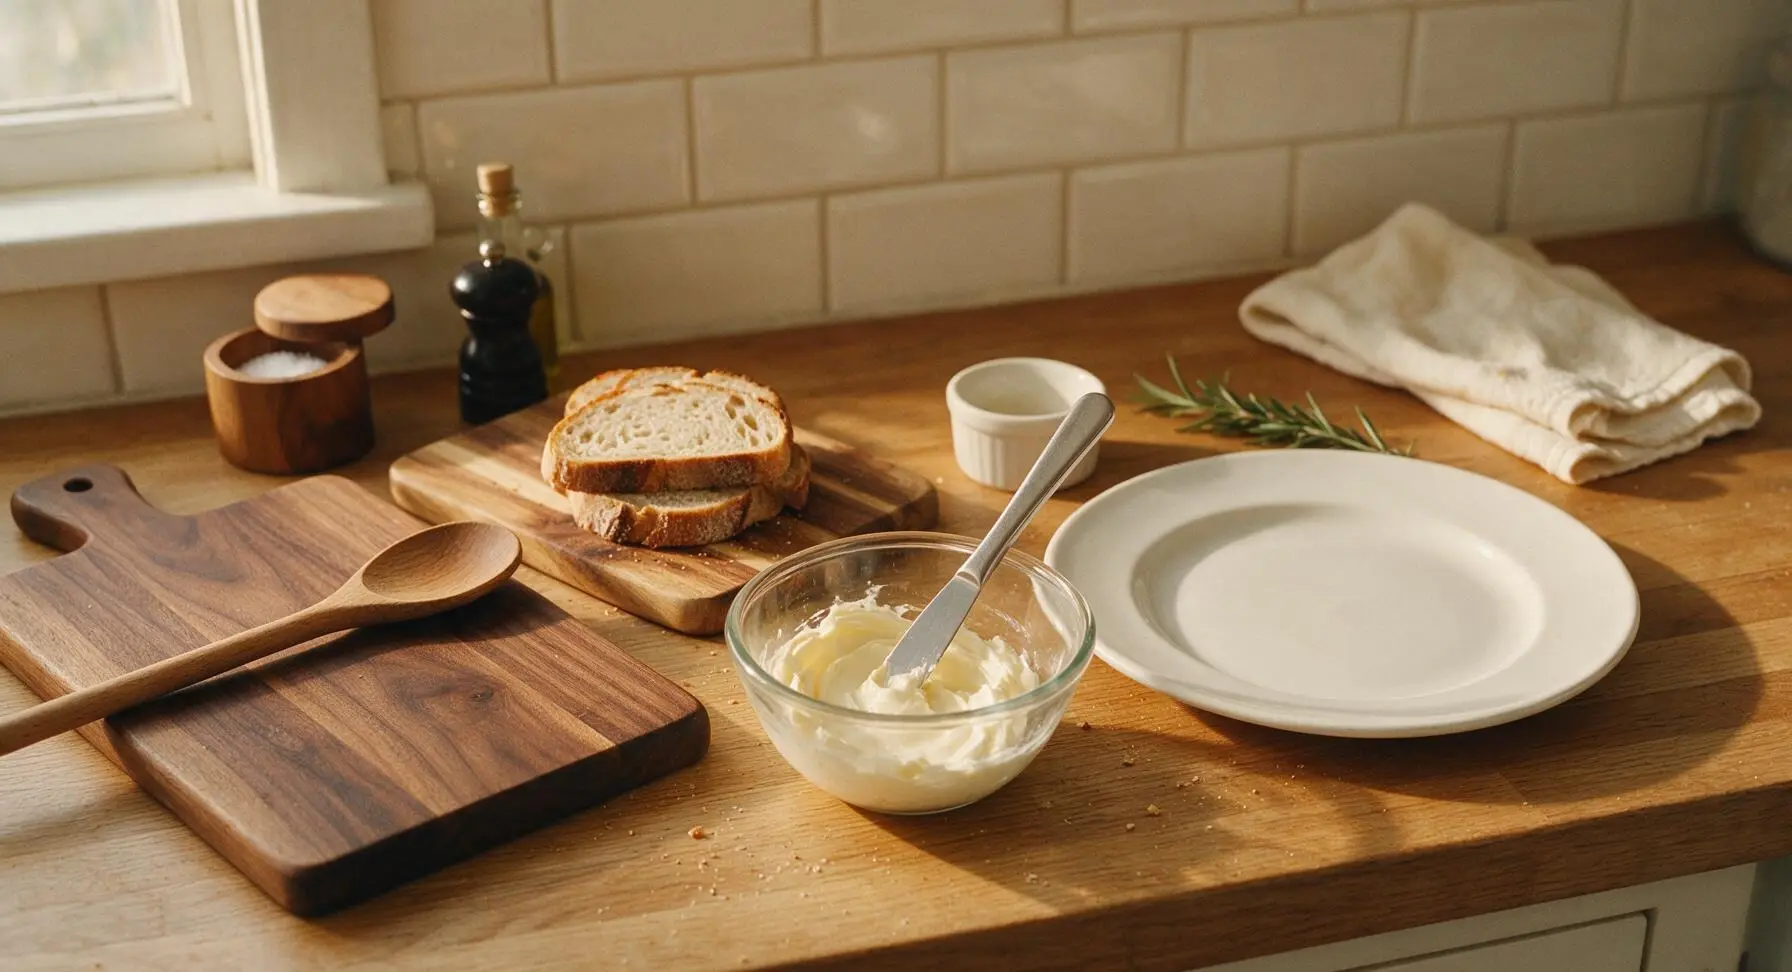
Mix Cream Cheese Spread
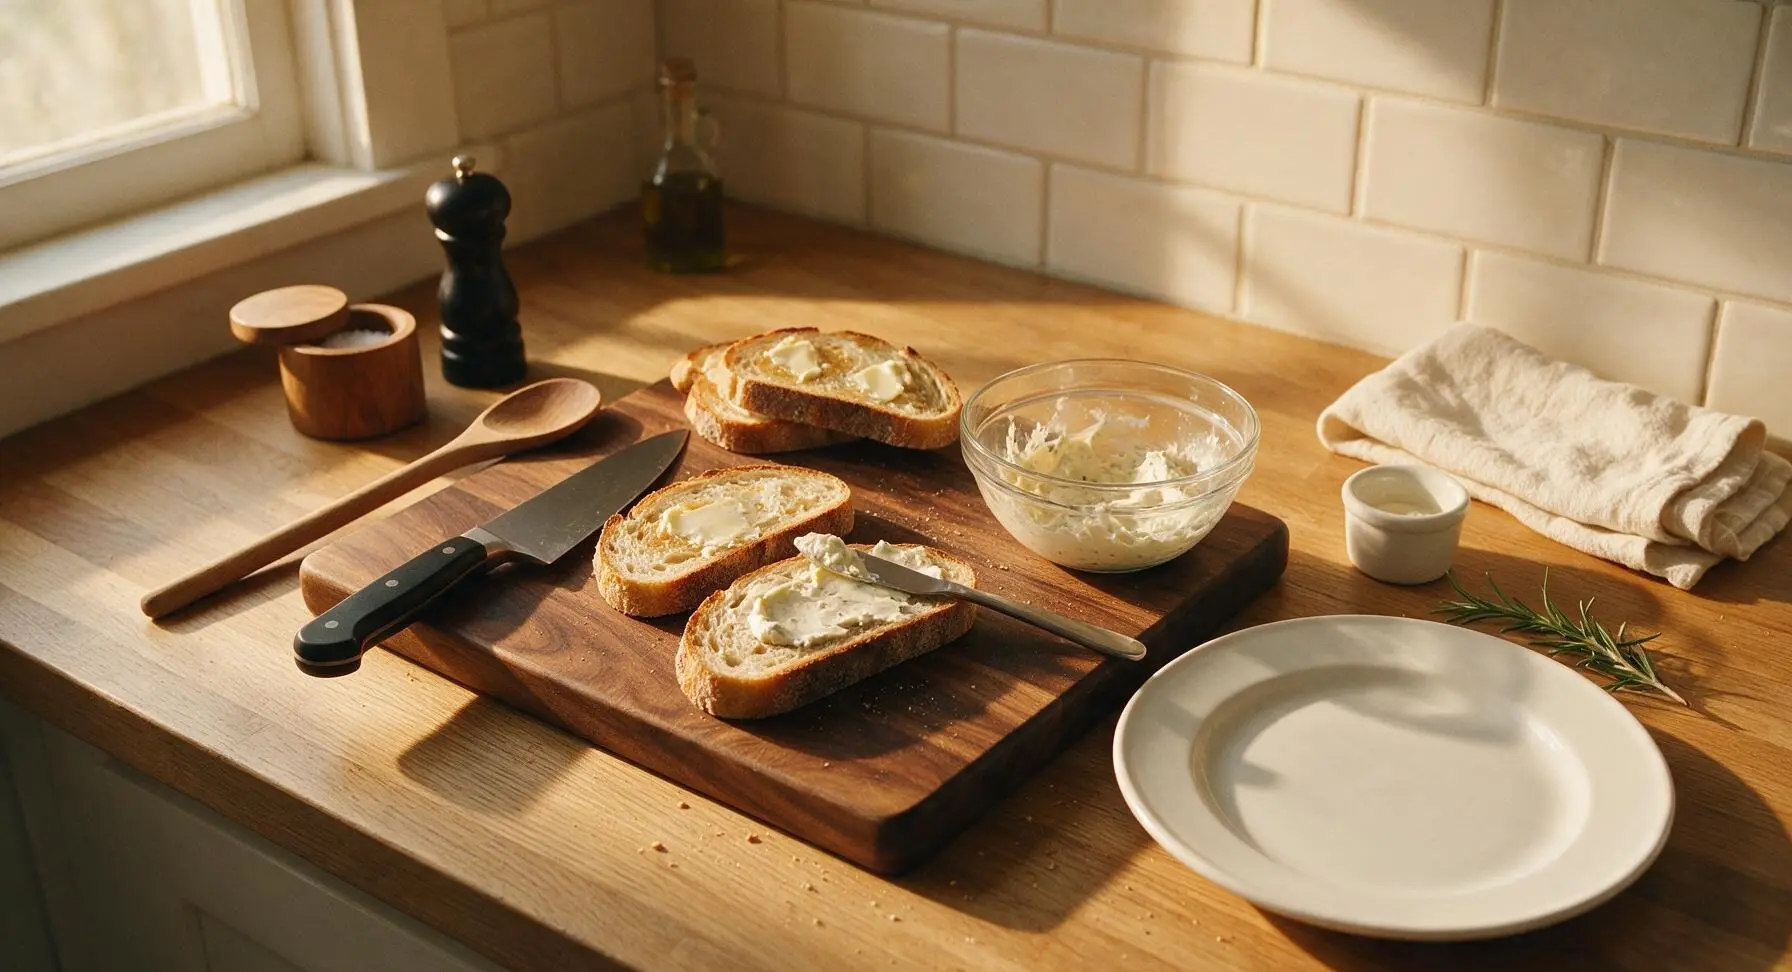
Place the softened 85g cream cheese, 30g mayonnaise, and 1/2 tsp garlic powder into the small clear glass mixing bowl. Use the stainless steel butter knife to stir until completely smooth, with no lumps of cream cheese remaining. The finished mixture should be pale, creamy, and easily spreadable at room temperature.
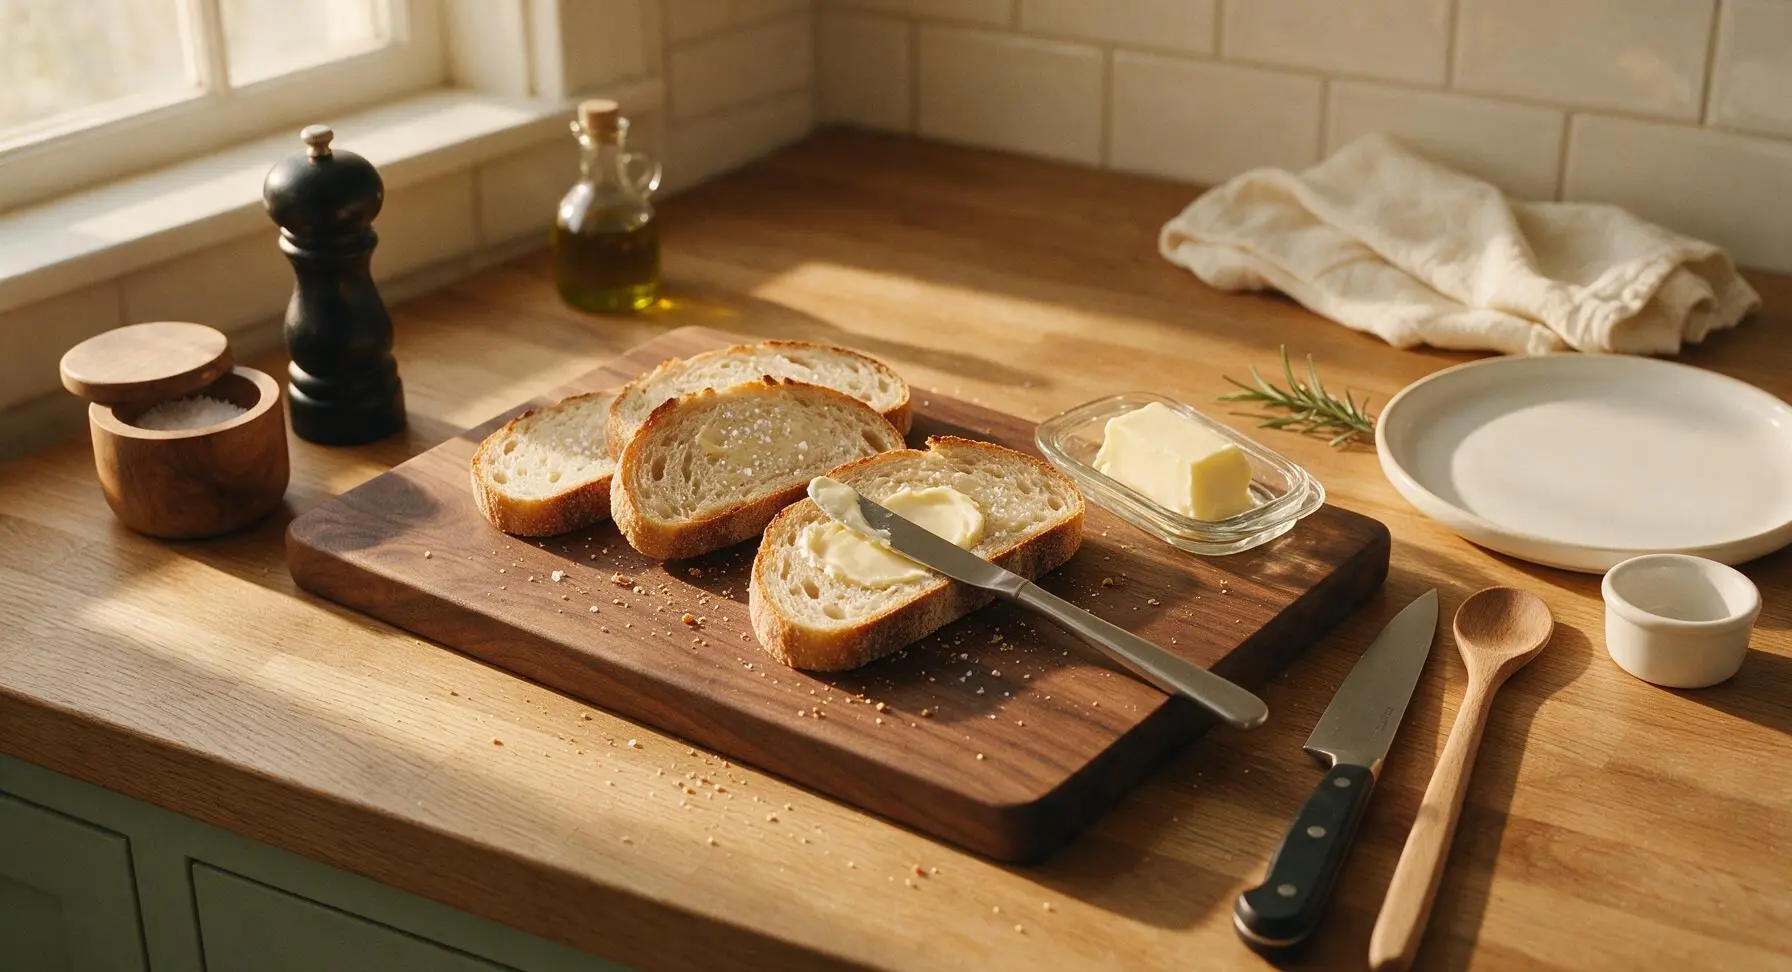
Butter Sourdough Slices
Lay all 4 thick sourdough slices flat on the acacia wood cutting board. Use the butter knife to spread a thin, even layer of softened unsalted butter (roughly 1 tsp per slice) across one side of every slice. Lightly sprinkle the buttered surfaces with a pinch of flaky sea salt; these buttered sides will face the pan to create a crispy, golden crust.
Spread Cheese Base
Flip two of the bread slices so the buttered side faces down on the cutting board. Divide the smooth cream cheese mixture evenly between these two slices, spreading it in a thin, even layer all the way to the bread edges. This edge-to-edge spread prevents dry bites and helps the shredded cheese adhere during cooking.
Add Shredded Cheese
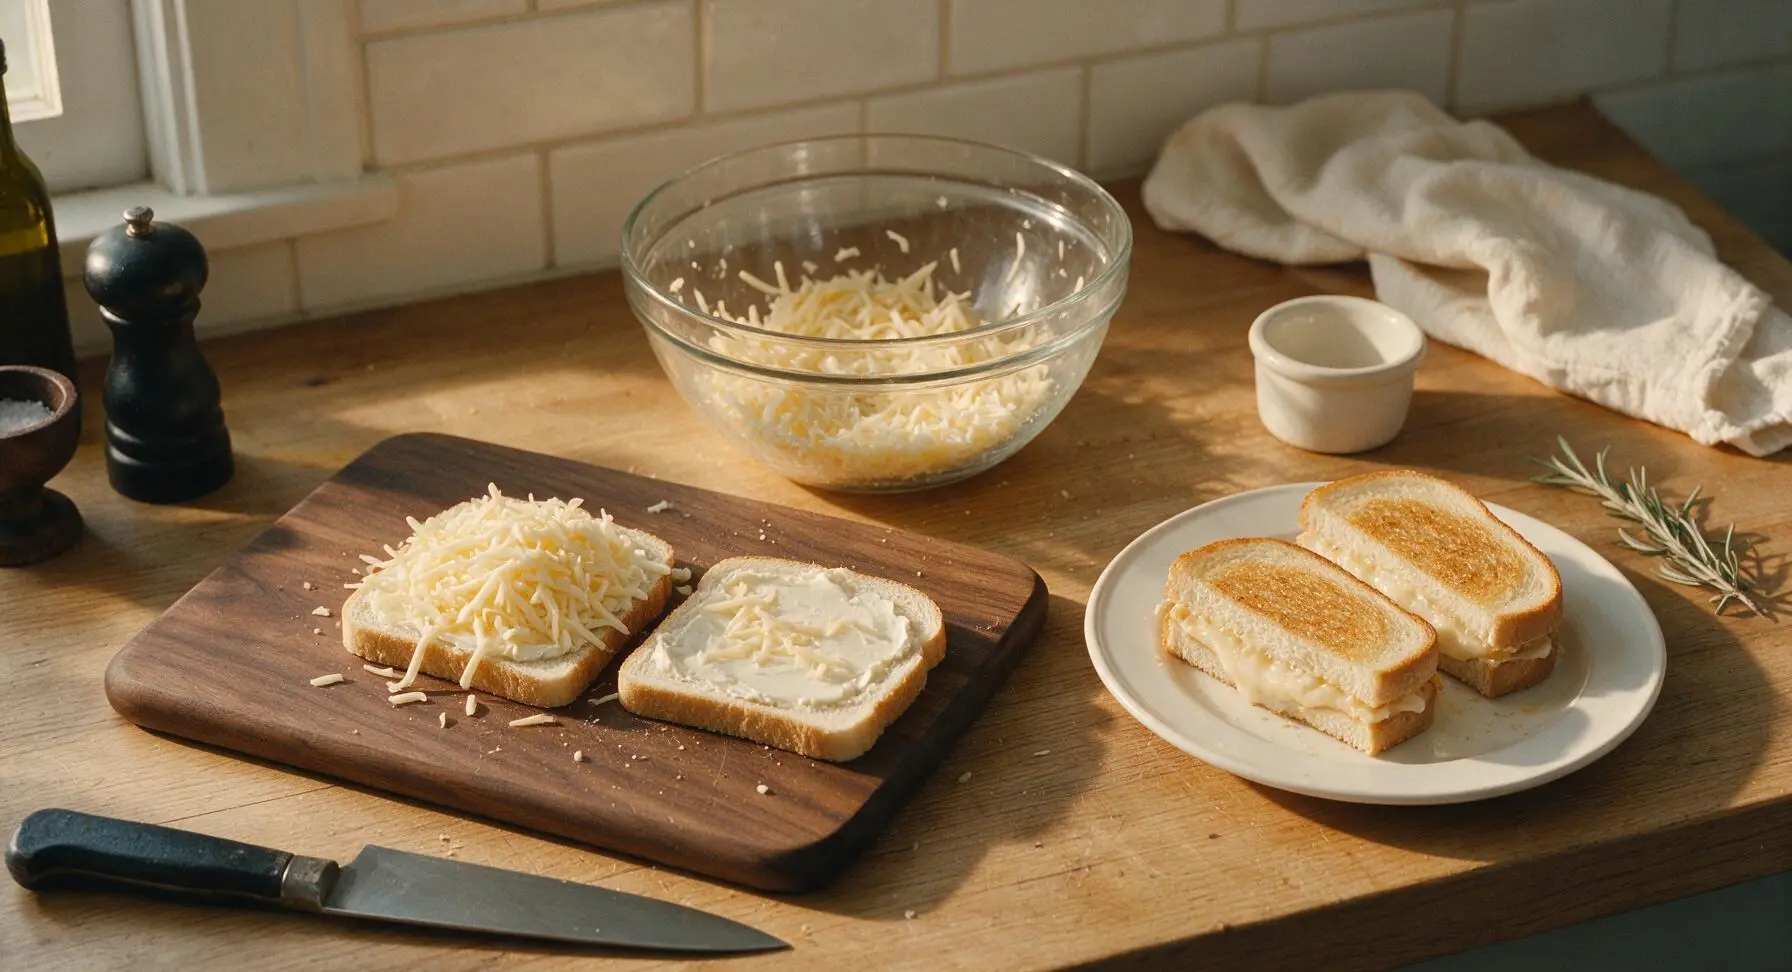
Toss the 40g shredded sharp cheddar and 40g shredded provolone together lightly in the glass mixing bowl (no need to wash it after the cream cheese spread). Pile the mixed shredded cheese evenly on top of the cream cheese-covered bread slices, spreading it to the edges—do not overpack, or cheese will ooze out during cooking. Top each with the remaining two bread slices, buttered side facing out, to form two full sandwiches.
Preheat Cooking Skillet
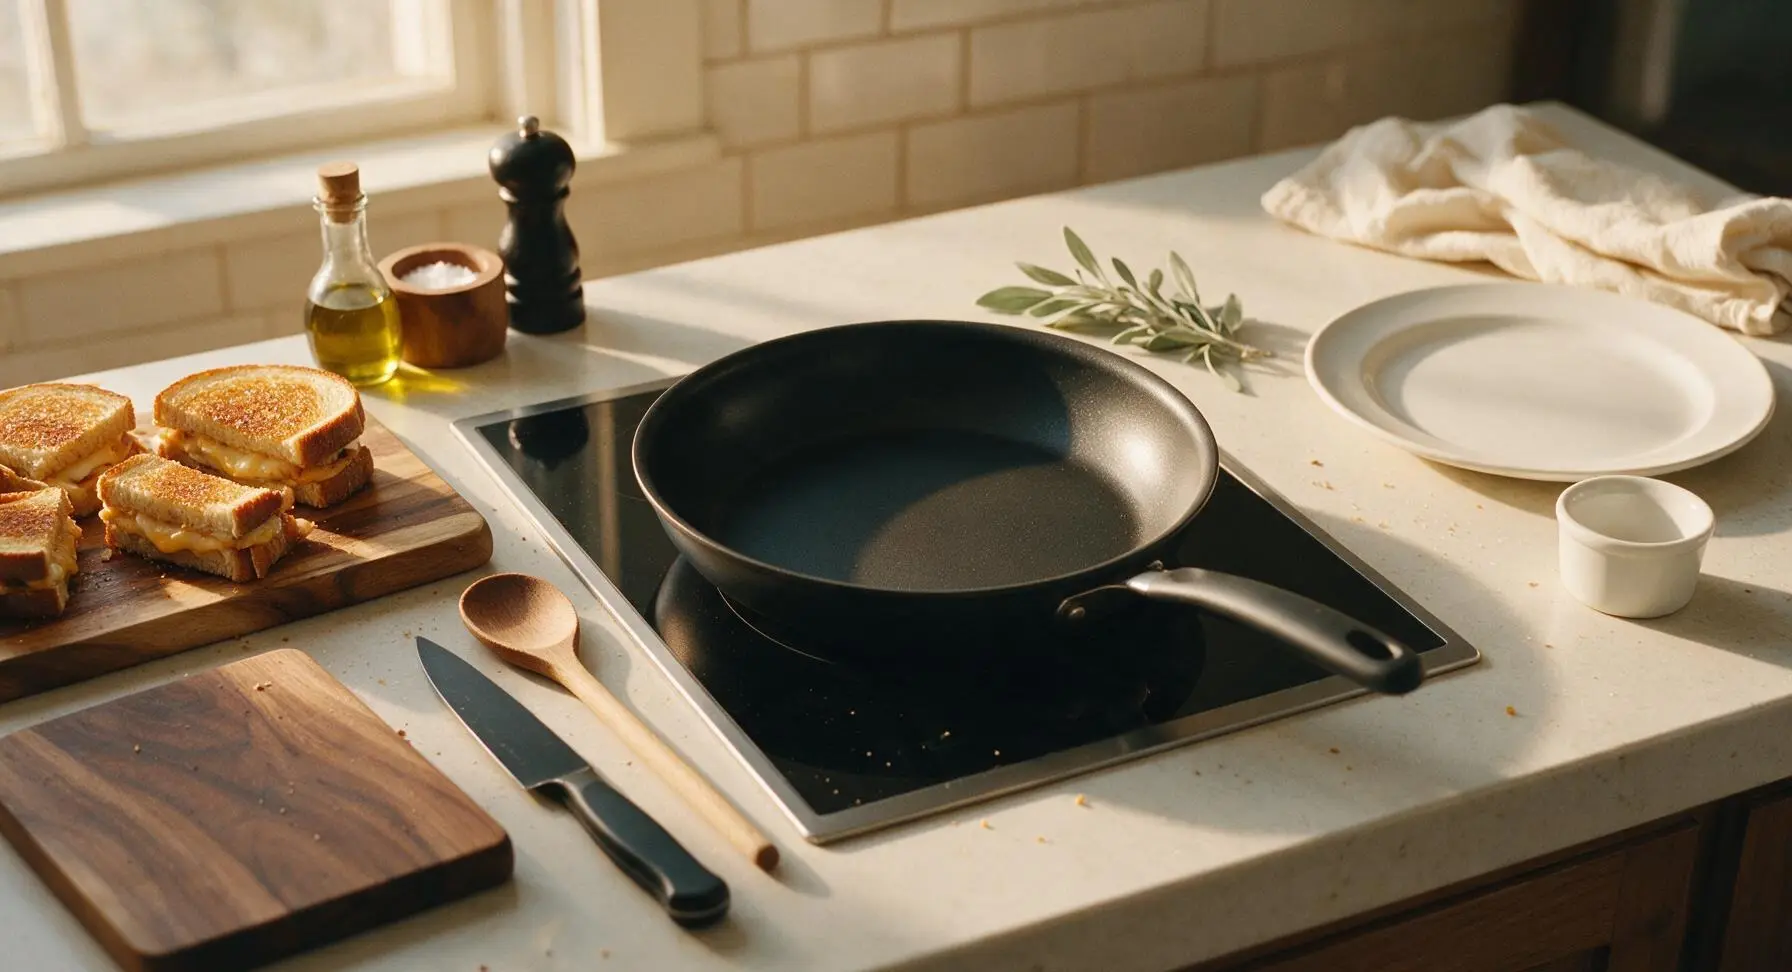
Retrieve the 10-inch matte black non-stick skillet from below-counter storage and set it on the flush-mounted center induction burner. Preheat to medium-low heat (325°F / 160°C) for 2 minutes. Note: Higher heat will burn the bread before the center cheese fully melts.
Cook First Side
Carefully place one assembled sandwich into the preheated skillet. Cook for 3 to 4 minutes, until the bottom bread is deep golden brown and crispy, and the cheese closest to the pan starts to bubble at the edges. Do not press down hard on the sandwich while cooking, as this squeezes out melted cheese.
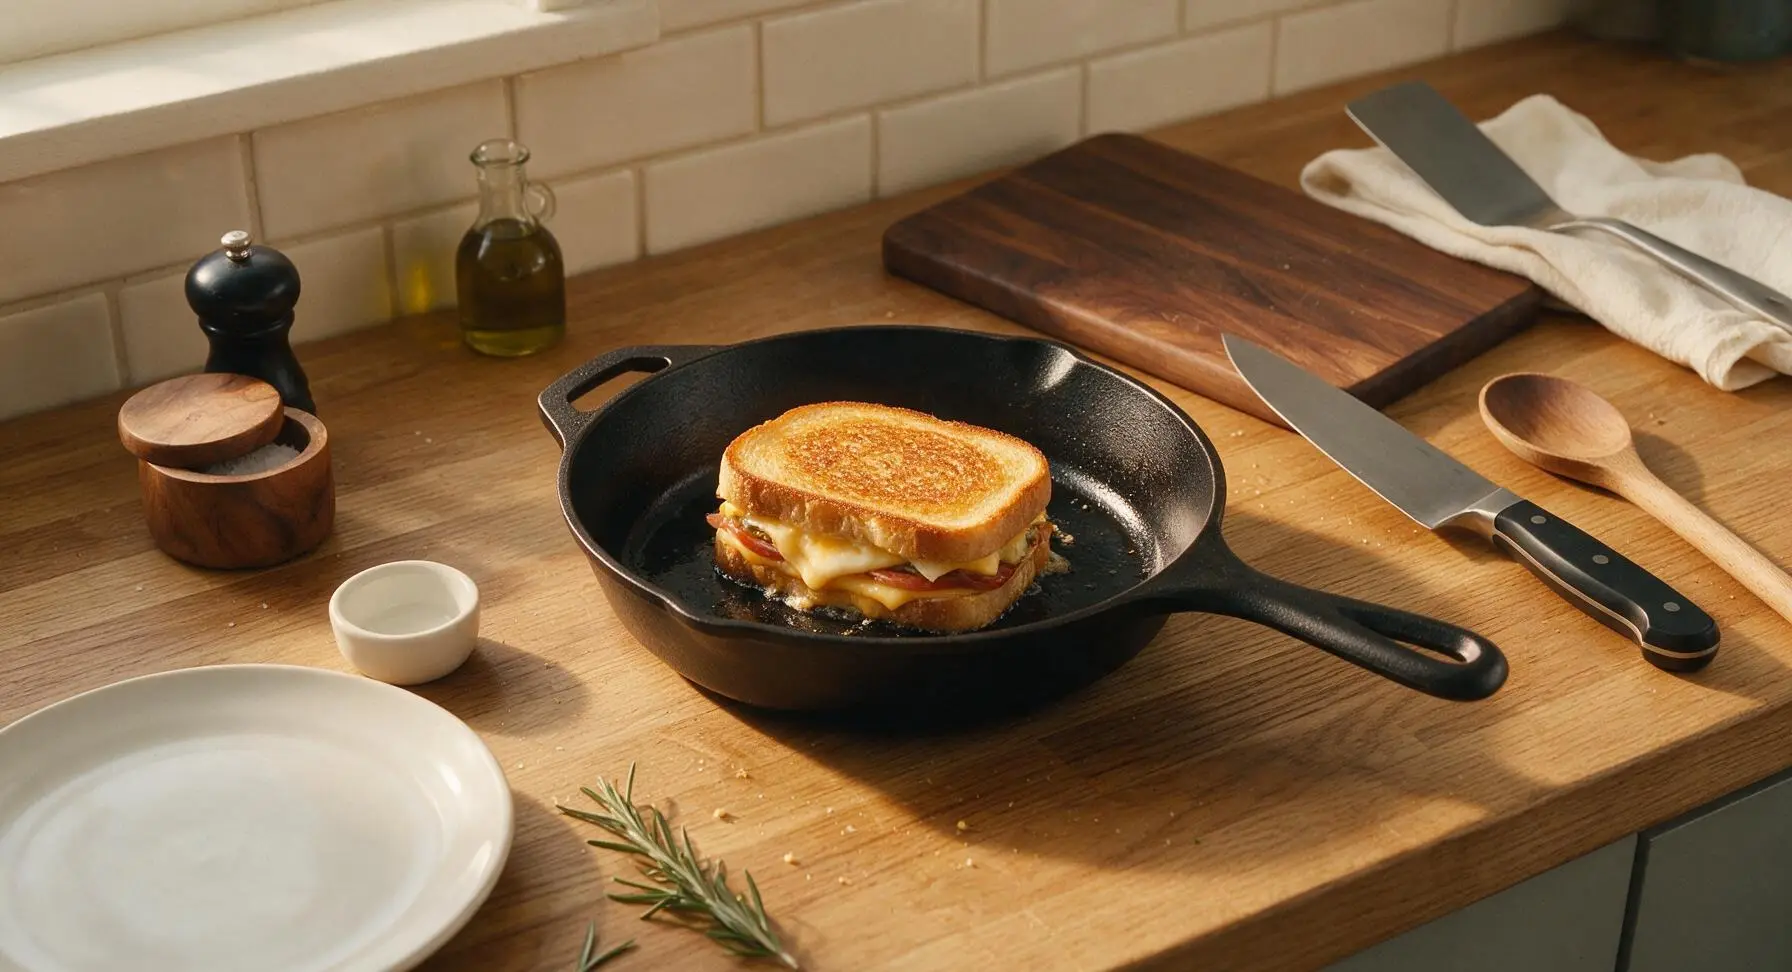
Flip and Finish Cooking
Use the stainless steel offset spatula to carefully flip the sandwich in one smooth, steady motion. Cook for another 3 to 4 minutes, until the second side is equally golden and crispy, and all inner cheese is fully melted with no firm shreds remaining. Move the finished sandwich to the cream white ceramic plate, then repeat the cooking process with the second sandwich.
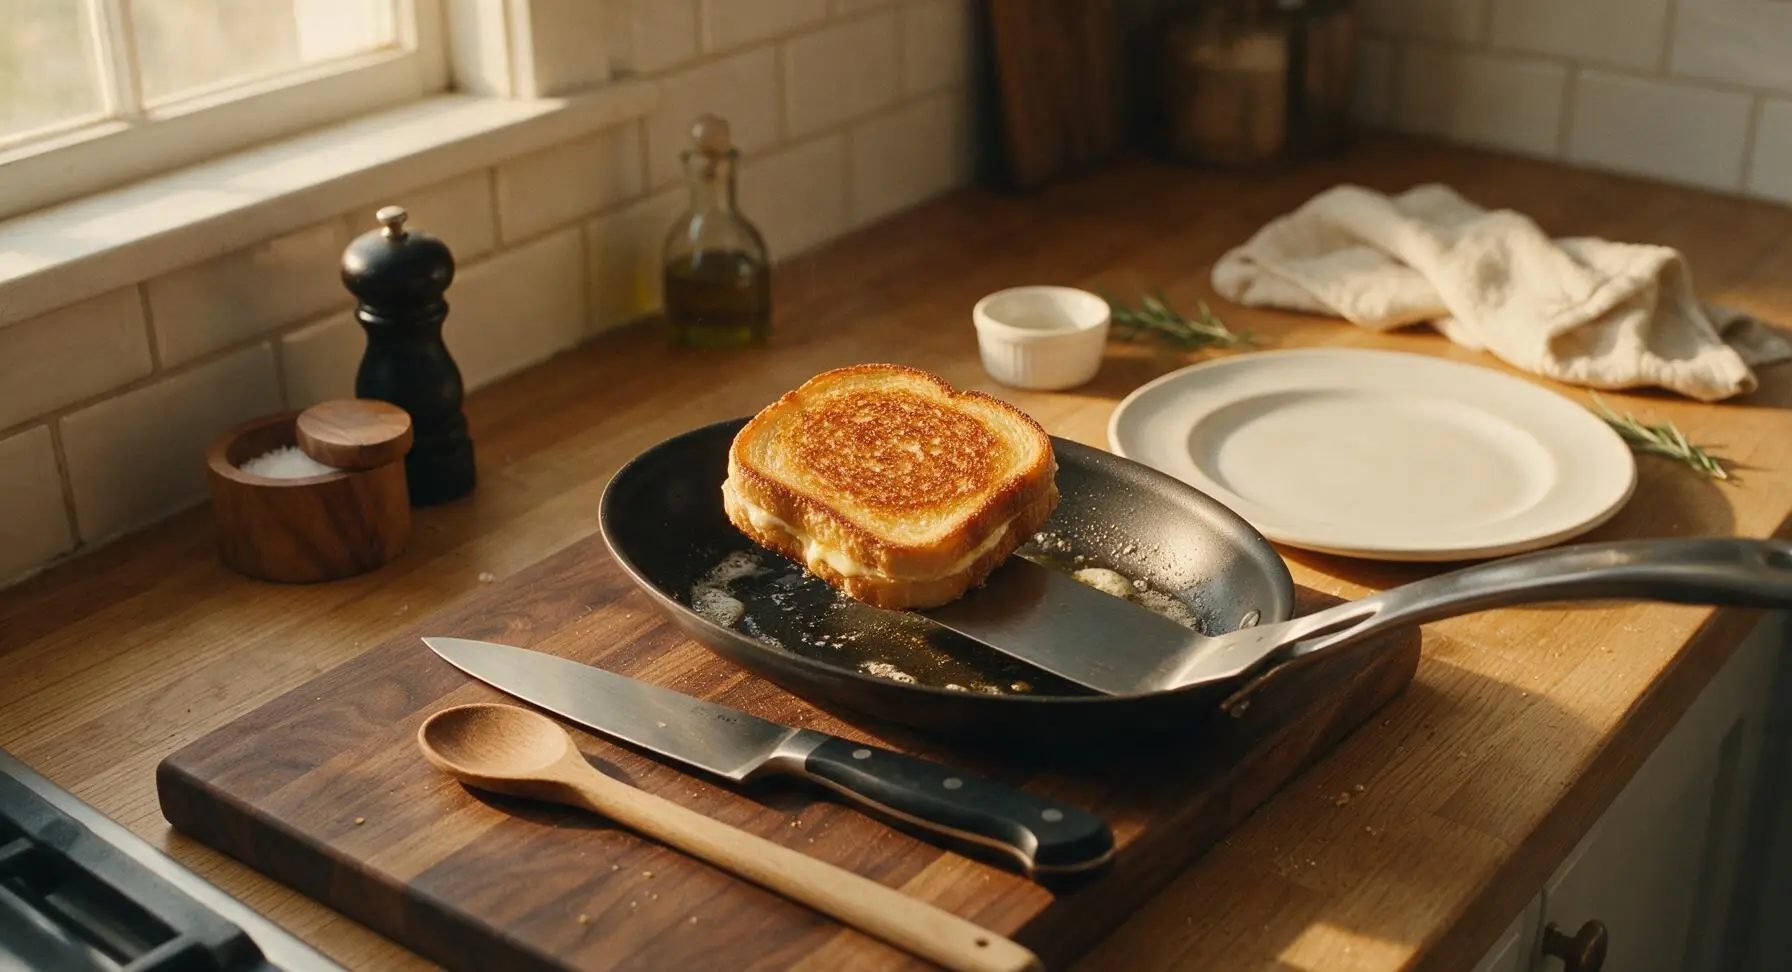
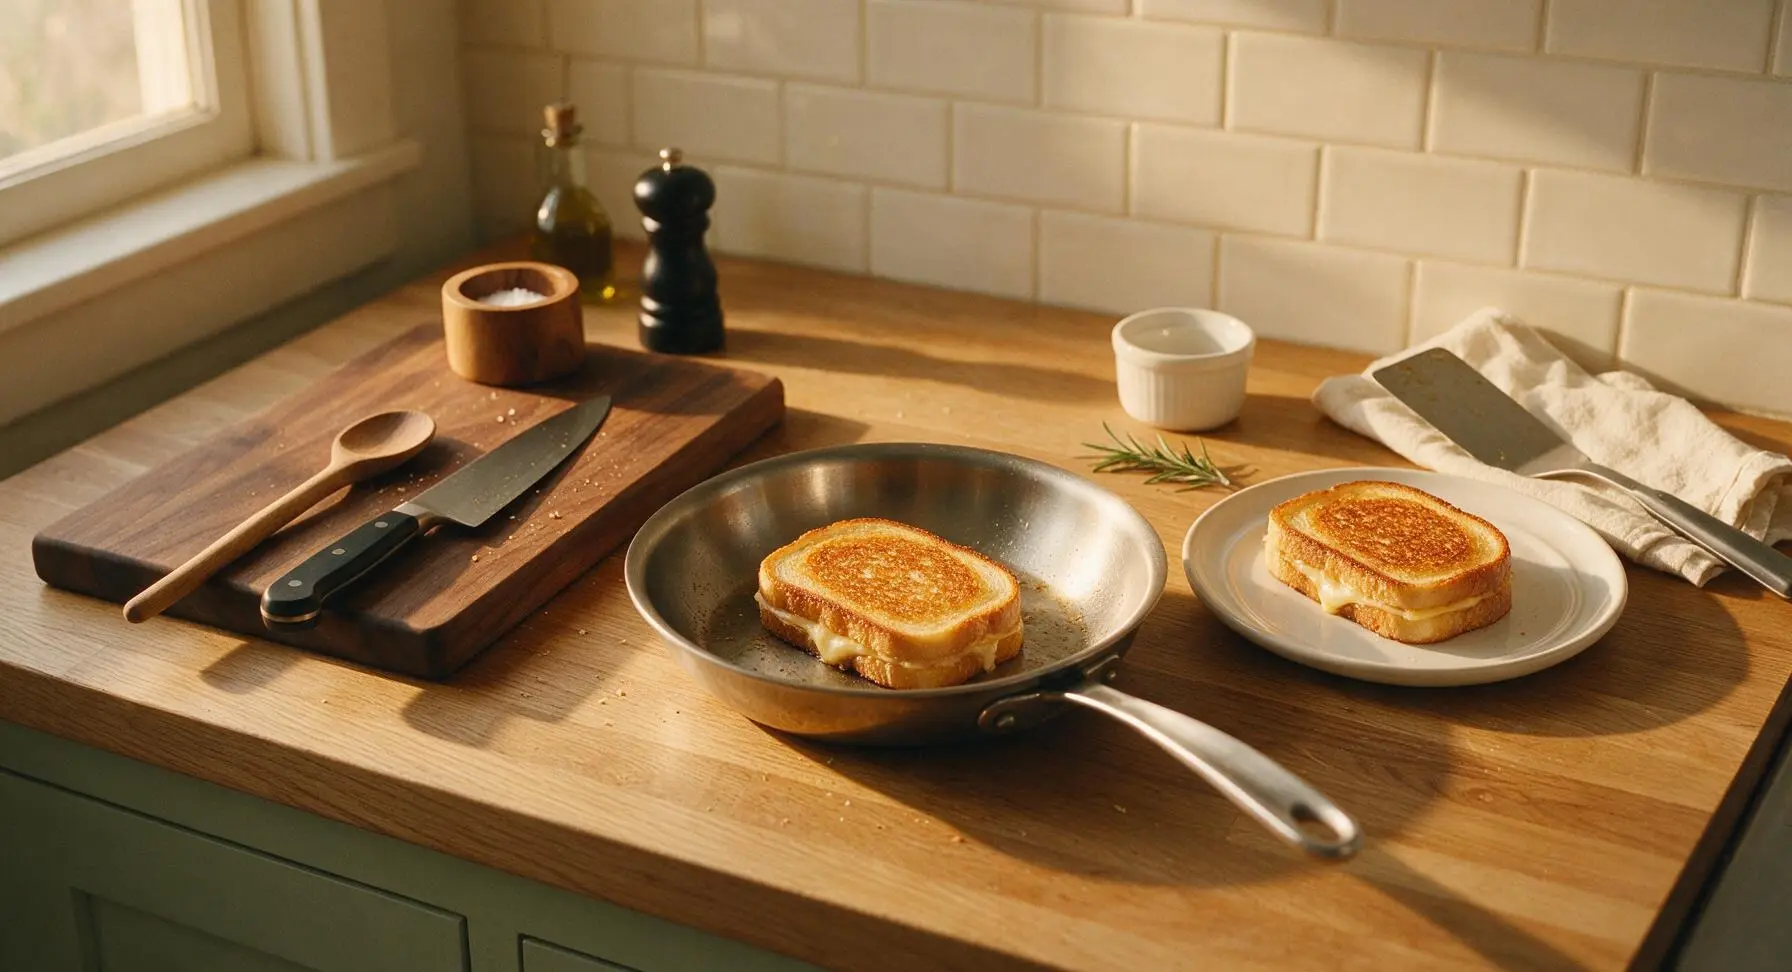
Rest, Cut, and Serve
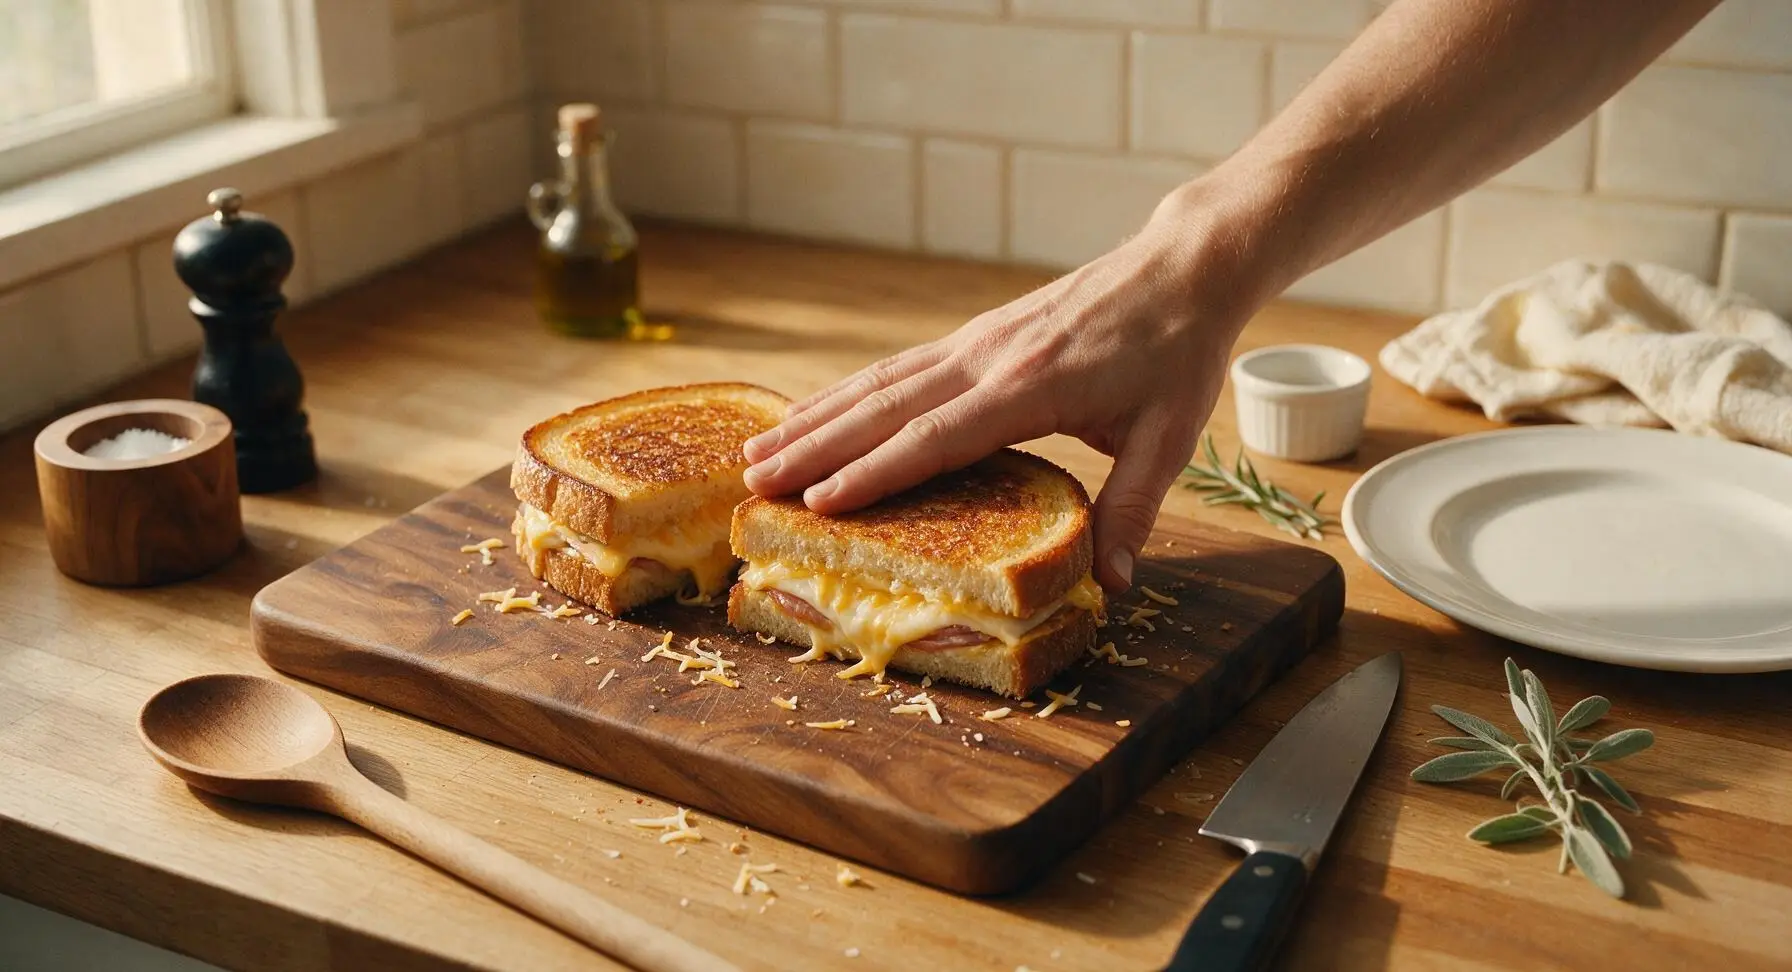
Let both cooked sandwiches rest on the cream white plate for 1 full minute to allow the cheese to set slightly. Use the serrated sandwich knife to cut each sandwich diagonally into two triangles, arrange on the plate, and add a tiny thyme sprig garnish if desired. Serve immediately for the best cheese pull.
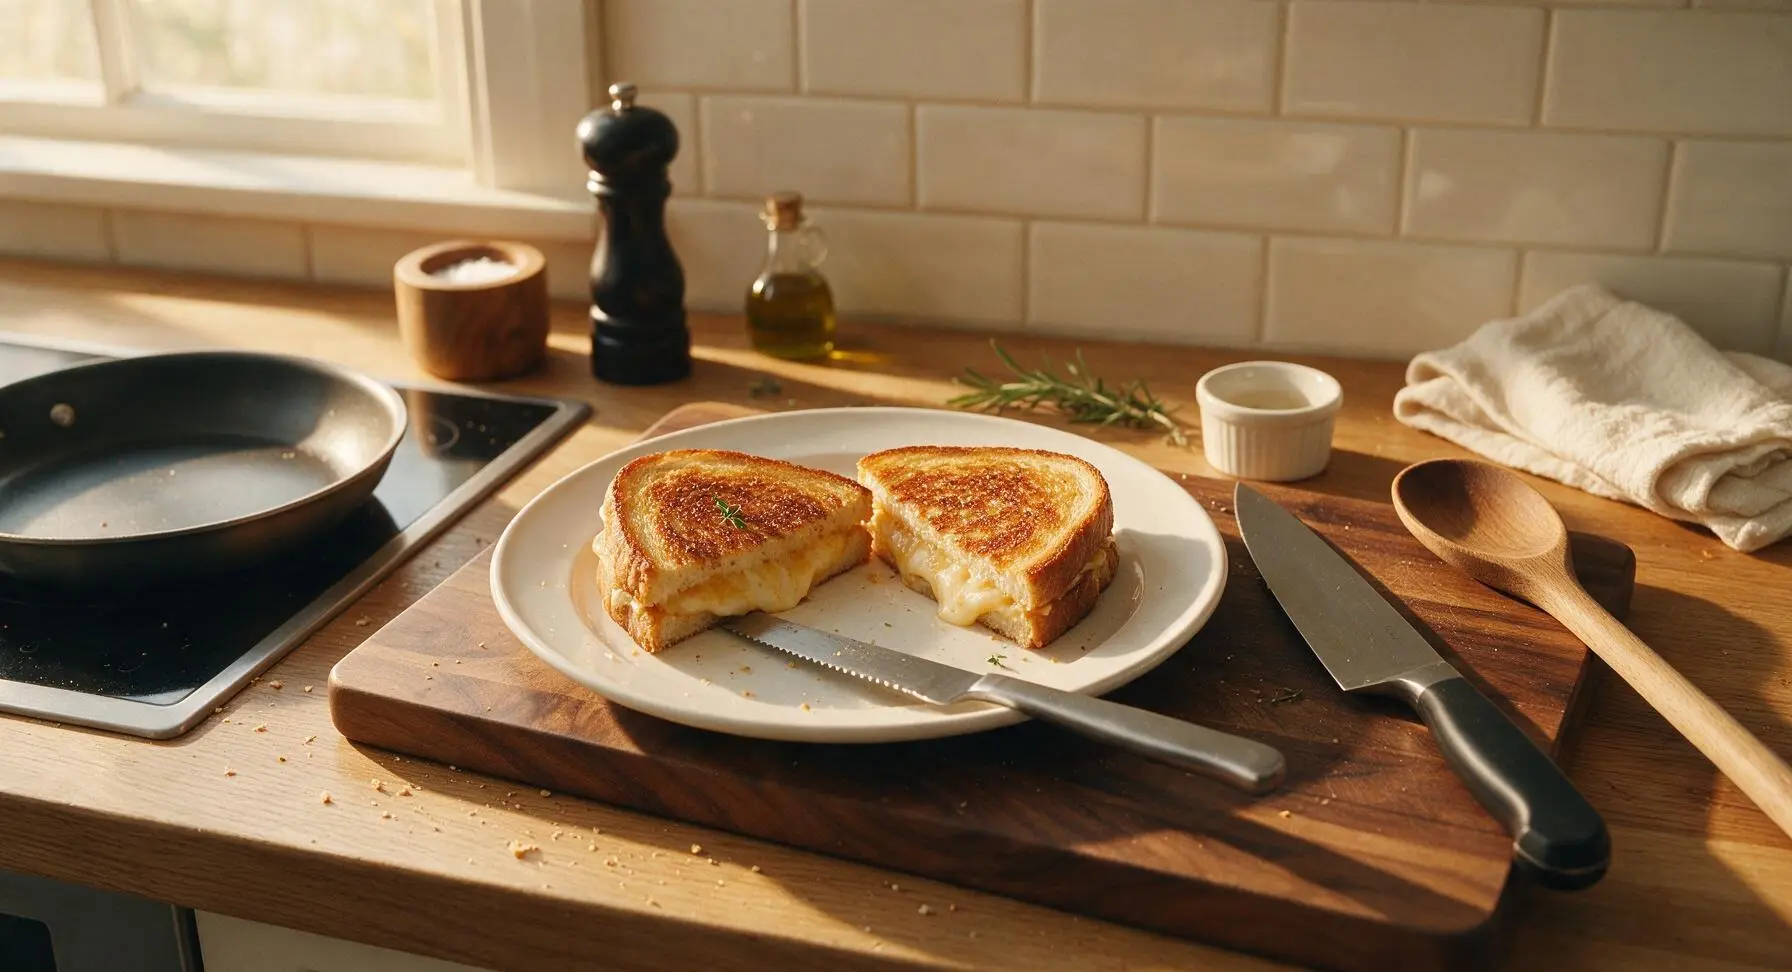
Tips
2.Keep heat at medium-low the entire cooking time: High heat will quickly burn the buttered bread to a dark, bitter crust before the thick inner cheese layer has time to fully melt, resulting in burnt edges and firm, un-melted cheese in the center.
3.Don’t skip the 1-minute rest after cooking: This short rest lets the melted cheese thicken slightly, so you get that perfect, stretchy cheese pull instead of all the molten cheese running out onto the plate the second you cut into the sandwich.






OMG this tastes EXACTLY like the grilled cheese we got at Magic Kingdom last month!!! I was so skeptical copycat recipes never hit right but this one? Game changer. My 6 year old begged for seconds before he even finished his first half. SO good, we’re making these every Sunday for family lunch now.
Super quick and easy, perfect for a weeknight dinner when I don’t feel like cooking a whole meal. Only reason it’s not 5 stars is I burned the first one a little because I had the heat too high—oops. Tasted great once I turned the burner down, though. Will definitely make again.
I brought these to a neighborhood potluck last weekend and people were literally asking me for the recipe before they even finished their bite! The garlic spread on the bread takes it totally over the top, I can’t believe how much flavor is packed into such a simple sandwich. 10/10.
Meal prep win! I made a batch of these on Sunday, wrapped them individually in foil, and popped them in the fridge for quick lunches all week. They reheat perfectly in the toaster oven—no soggy bread! My teen said they’re better than the school cafeteria’s grilled cheese, which is the highest possible compliment tbh.
Taste was great but I wish the recipe noted that you should use thick cut sourdough! I used regular thin sandwich bread and it got all soggy from the cheese spread, kind of fell apart when I flipped it. Flavor was on point though, so I’ll try again with better bread next time.
I’ve made this three times already! It’s easy enough for my 10 year old granddaughter to help me make when she comes over after school, and she thinks it’s such a fun treat to have “Disney food” at home. We even cut them into Mickey shapes with our cookie cutter last time, so cute!
Tastes insane! I added a couple slices of cooked bacon to mine for extra protein and it slapped. Only heads up it’s a little richer than I expected, so I could only eat half a sandwich with a side of tomato soup before I was stuffed. Great recipe overall!
I’ve literally never made grilled cheese that didn’t come out burnt or with unmelted cheese before, and this turned out perfect first try!!! The cook time note to keep the heat on medium low the whole time was so helpful, I always crank the heat too high because I’m impatient. So proud of myself haha, this is going to be my new go-to comfort food.