
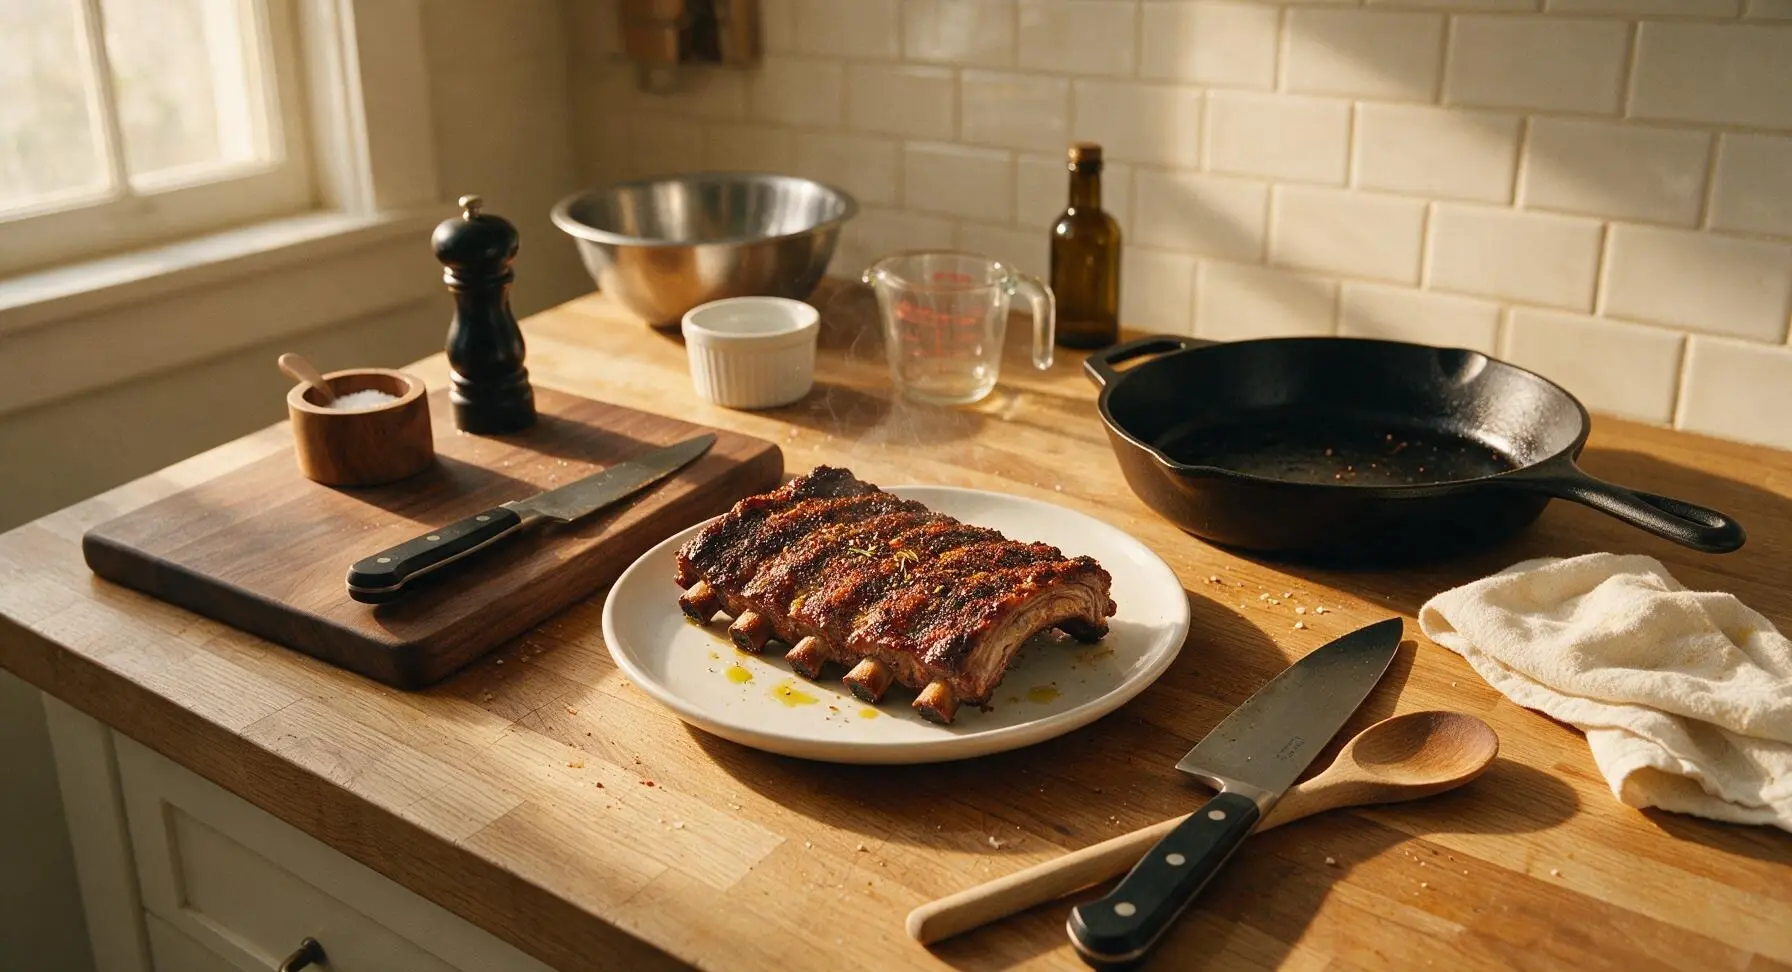
Dry Rub Ribs

title 1
Dry Rub Ribs
⏱️ cook time 3 hours 30 minutes
🍽️ servings 4
⚡ Difficulty medium

intro

Fall-off-the-bone tender pork ribs coated in a smoky, savory dry rub, slow-cooked to crisp, caramelized bark perfection—no heavy sauce required for this iconic summer BBQ staple.

Ingredients
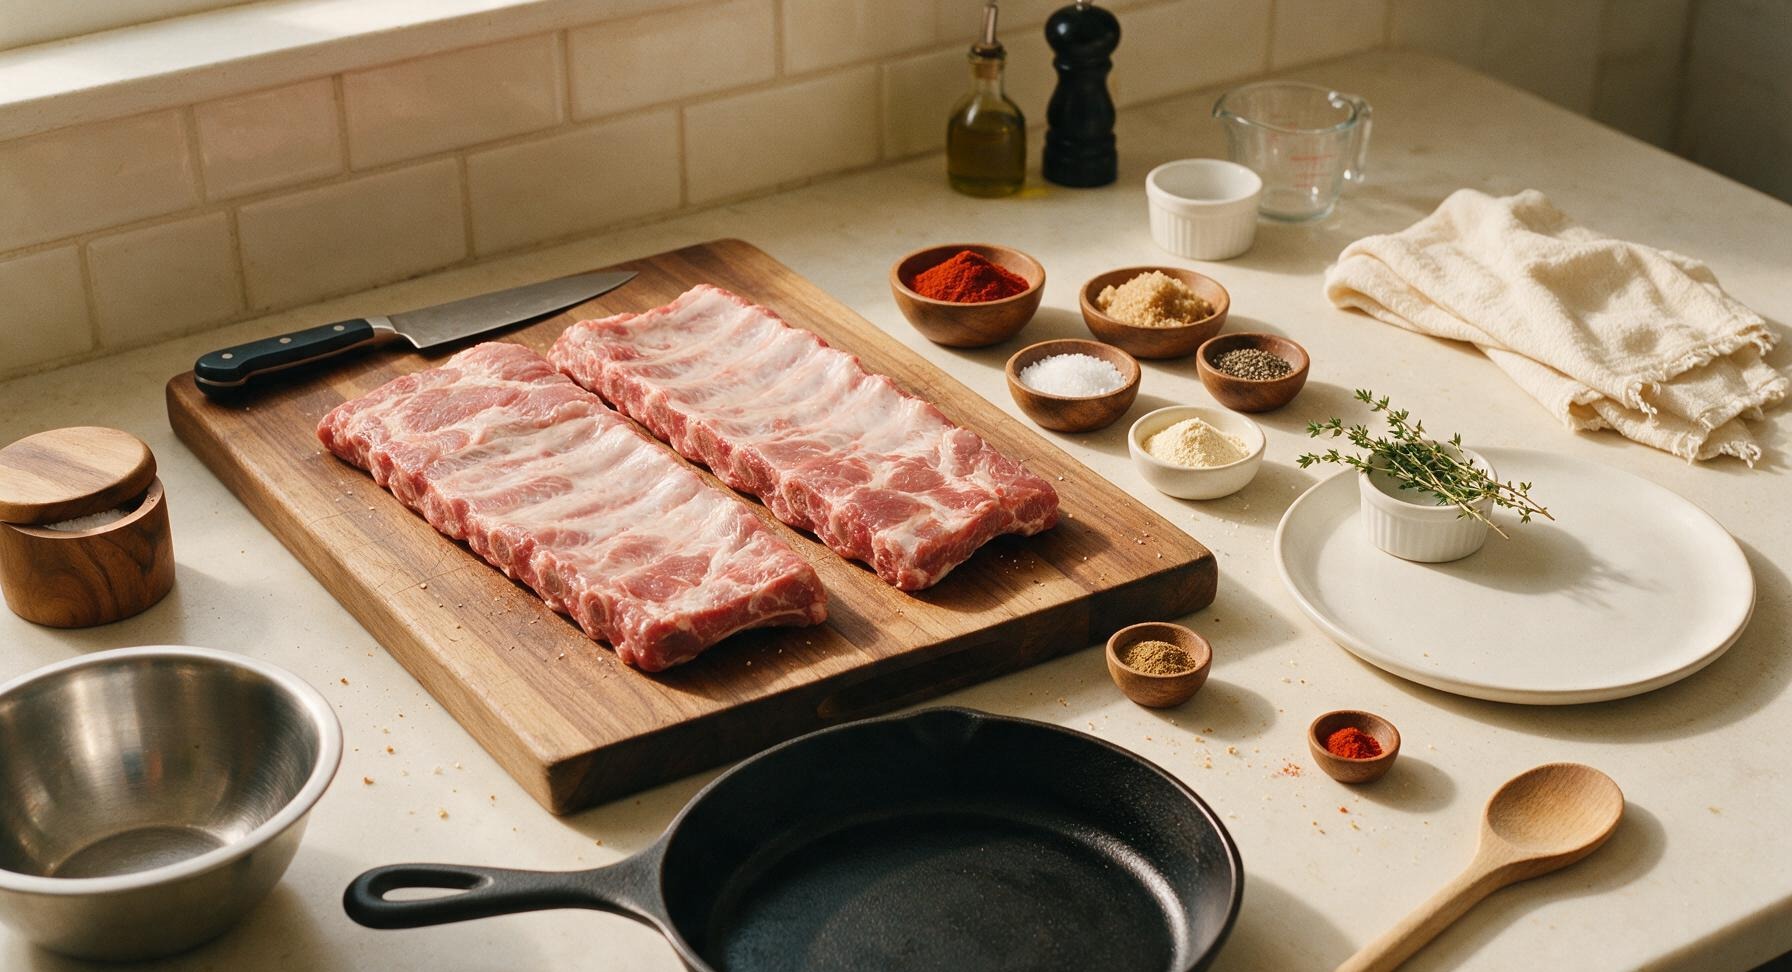
St. Louis-style pork spare ribs 2 racks (approx 1.8kg total)
Smoked paprika 3 tbsp
Light brown sugar 2 tbsp
Kosher salt 2 tbsp
Freshly cracked black pepper 1 tbsp
Garlic powder 1 tbsp
Onion powder 1 tsp
Ground cumin 1 tsp
Cayenne pepper 1/4 tsp
Fresh thyme sprigs 5 sprigs

Steps

1

Trim Rib Silverskin

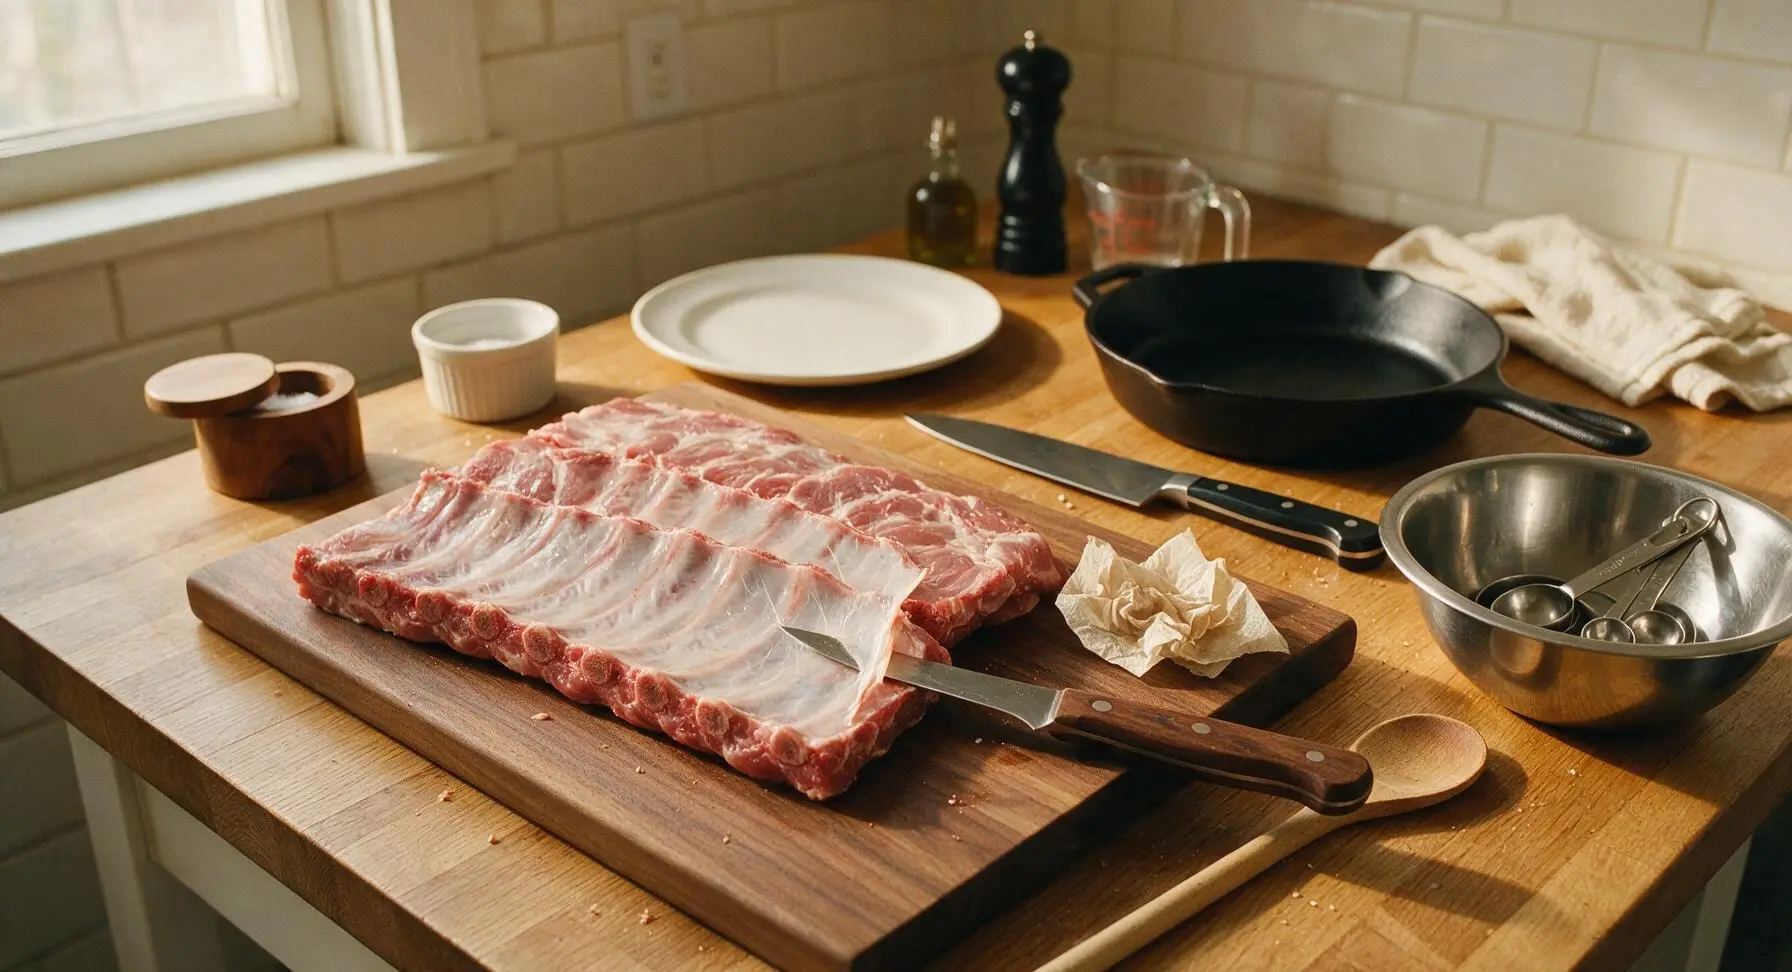
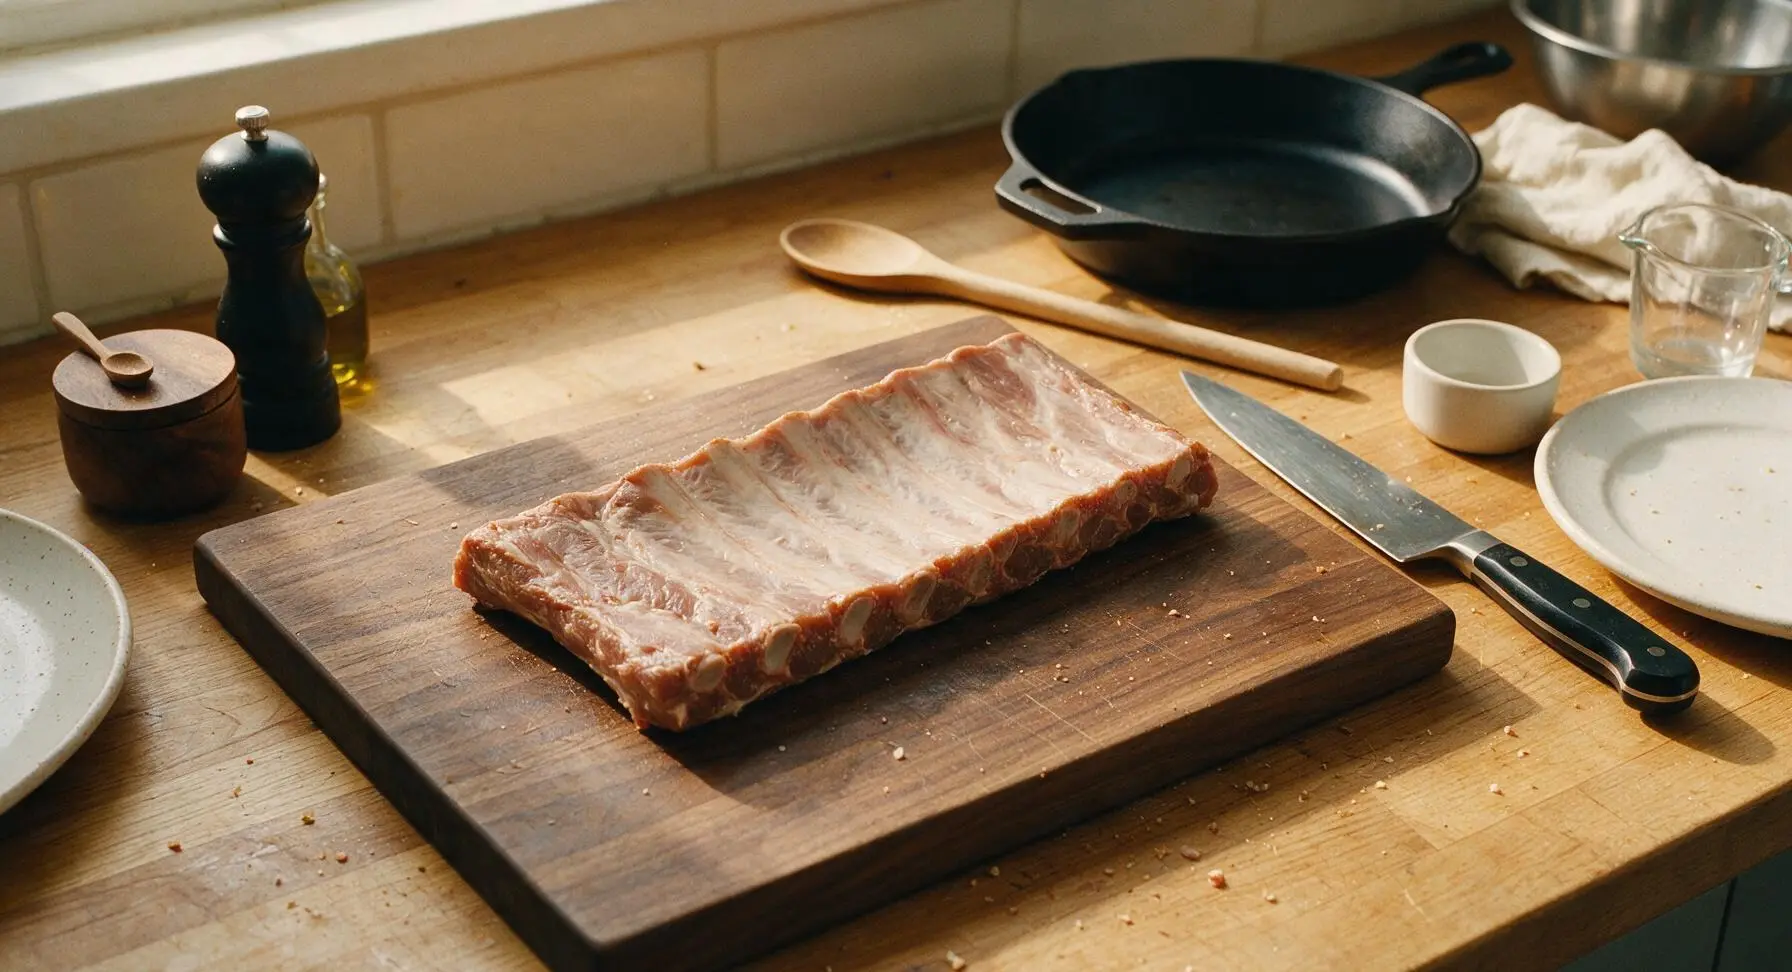
Place the raw St. Louis-style rib racks bone-side up on the maple end-grain cutting board. Use the 6-inch walnut-handled boning knife to slide the tip under the edge of the thin, papery silverskin membrane covering the bone side. Grip the loose edge of the membrane with a crumpled paper towel for traction, then pull steadily to remove it in one full sheet. Trim any large, loose hard fat deposits from the rack edges, leaving a uniform 1/4-inch fat cap on the meaty side. Pat all surfaces of the ribs completely dry with paper towels to help the rub adhere.
Step 1
step1:Trim Rib Silverskin
Step 1
step1:Trim Rib Silverskin
2

Mix Dry Rub Spices

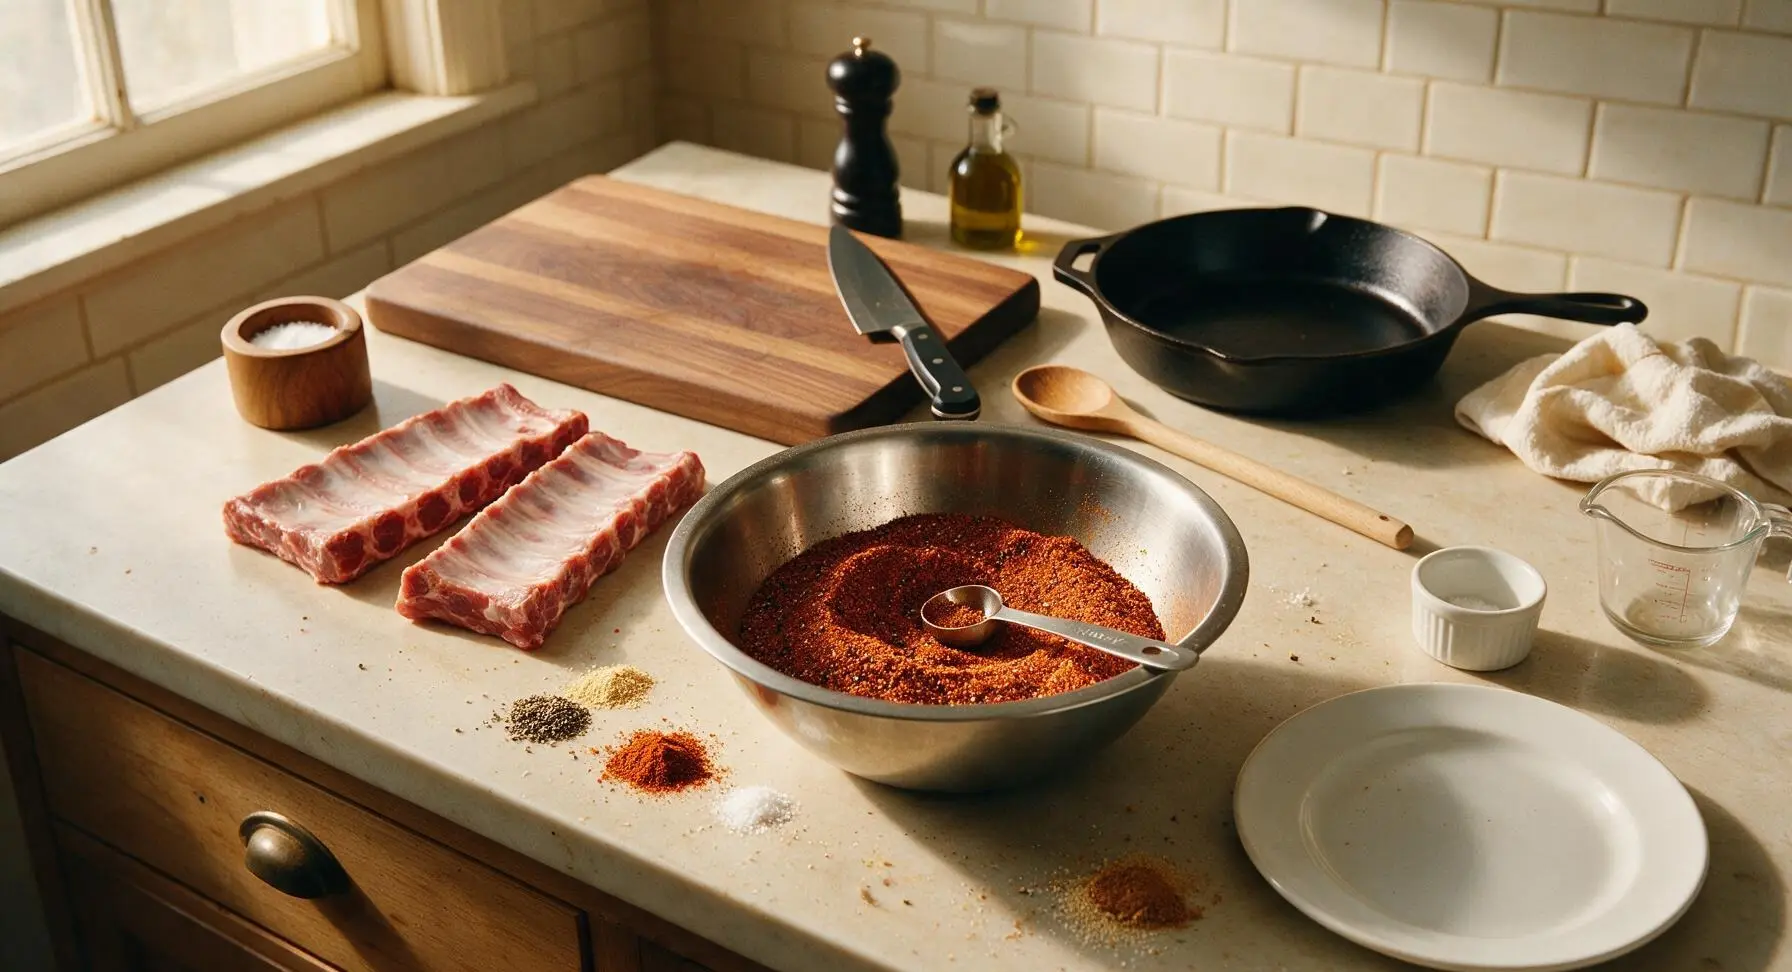
Add all measured spices (3 tbsp smoked paprika, 2 tbsp light brown sugar, 2 tbsp kosher salt, 1 tbsp cracked black pepper, 1 tbsp garlic powder, 1 tsp onion powder, 1 tsp ground cumin, 1/4 tsp cayenne pepper) to the small brushed stainless steel mixing bowl. Stir thoroughly with the 1 tbsp measuring spoon until all spices are evenly combined, pressing any clumps of brown sugar against the bowl wall to break them up. The finished rub will be a uniform deep rust color with visible flecks of black pepper.
Step 2
step2:Mix Dry Rub Spices
3

Coat Ribs With Rub

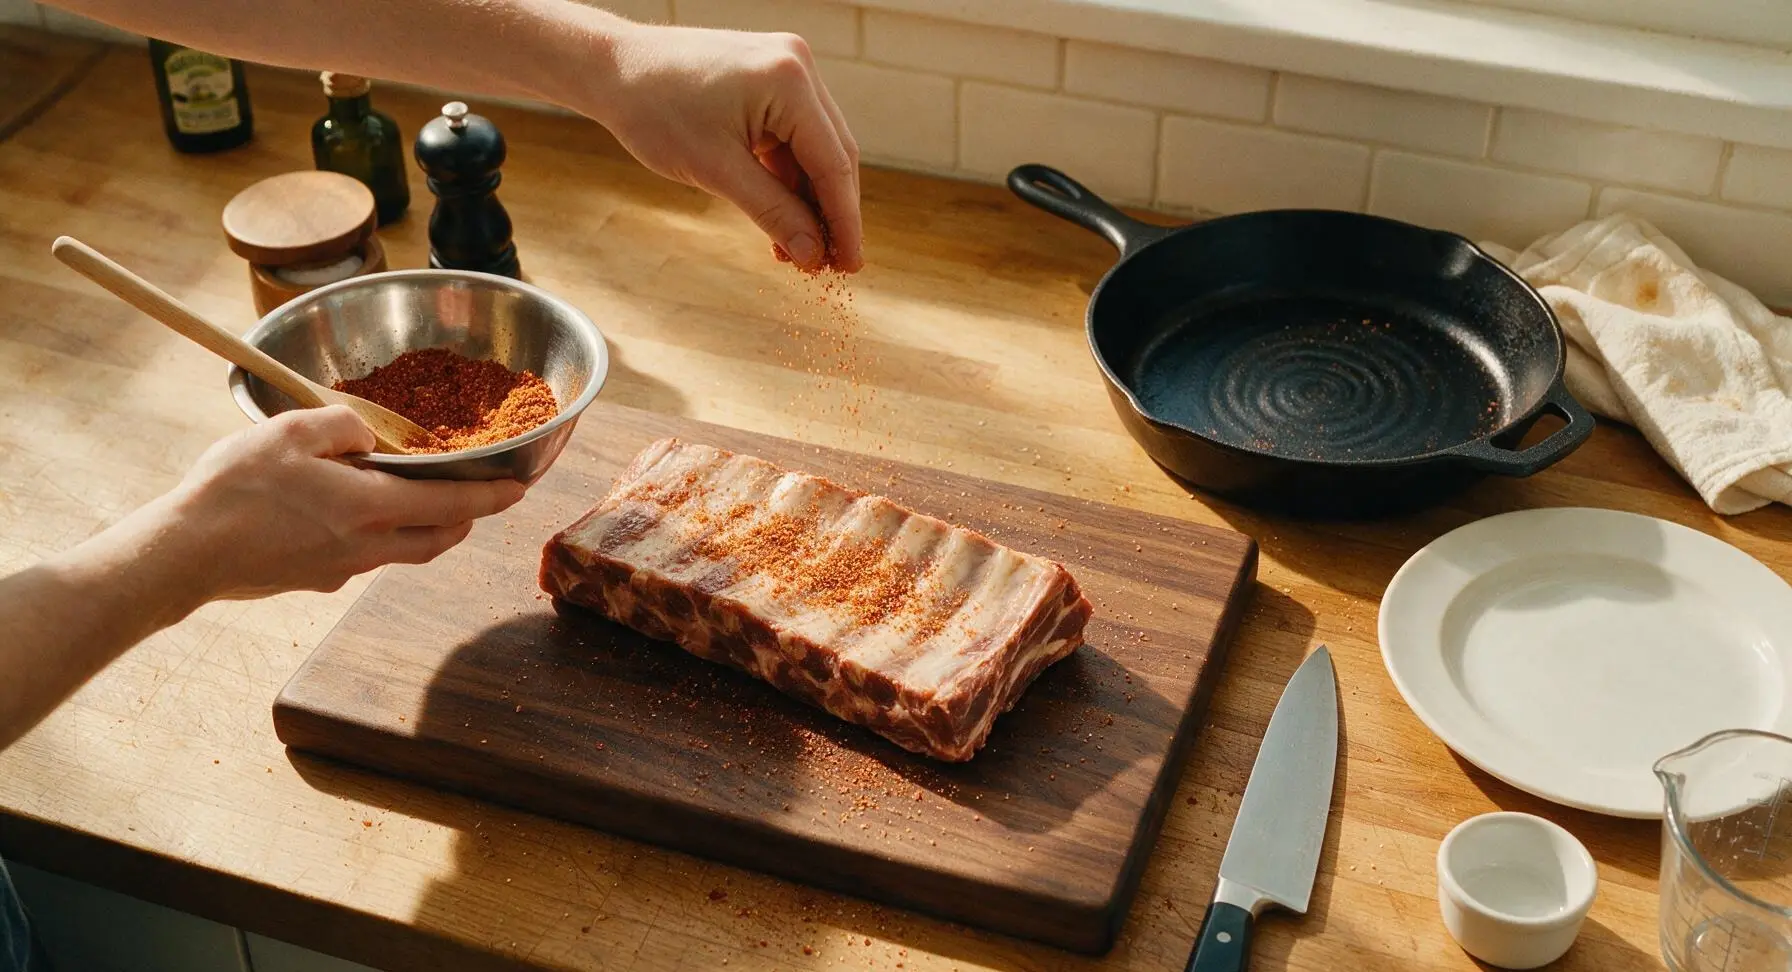
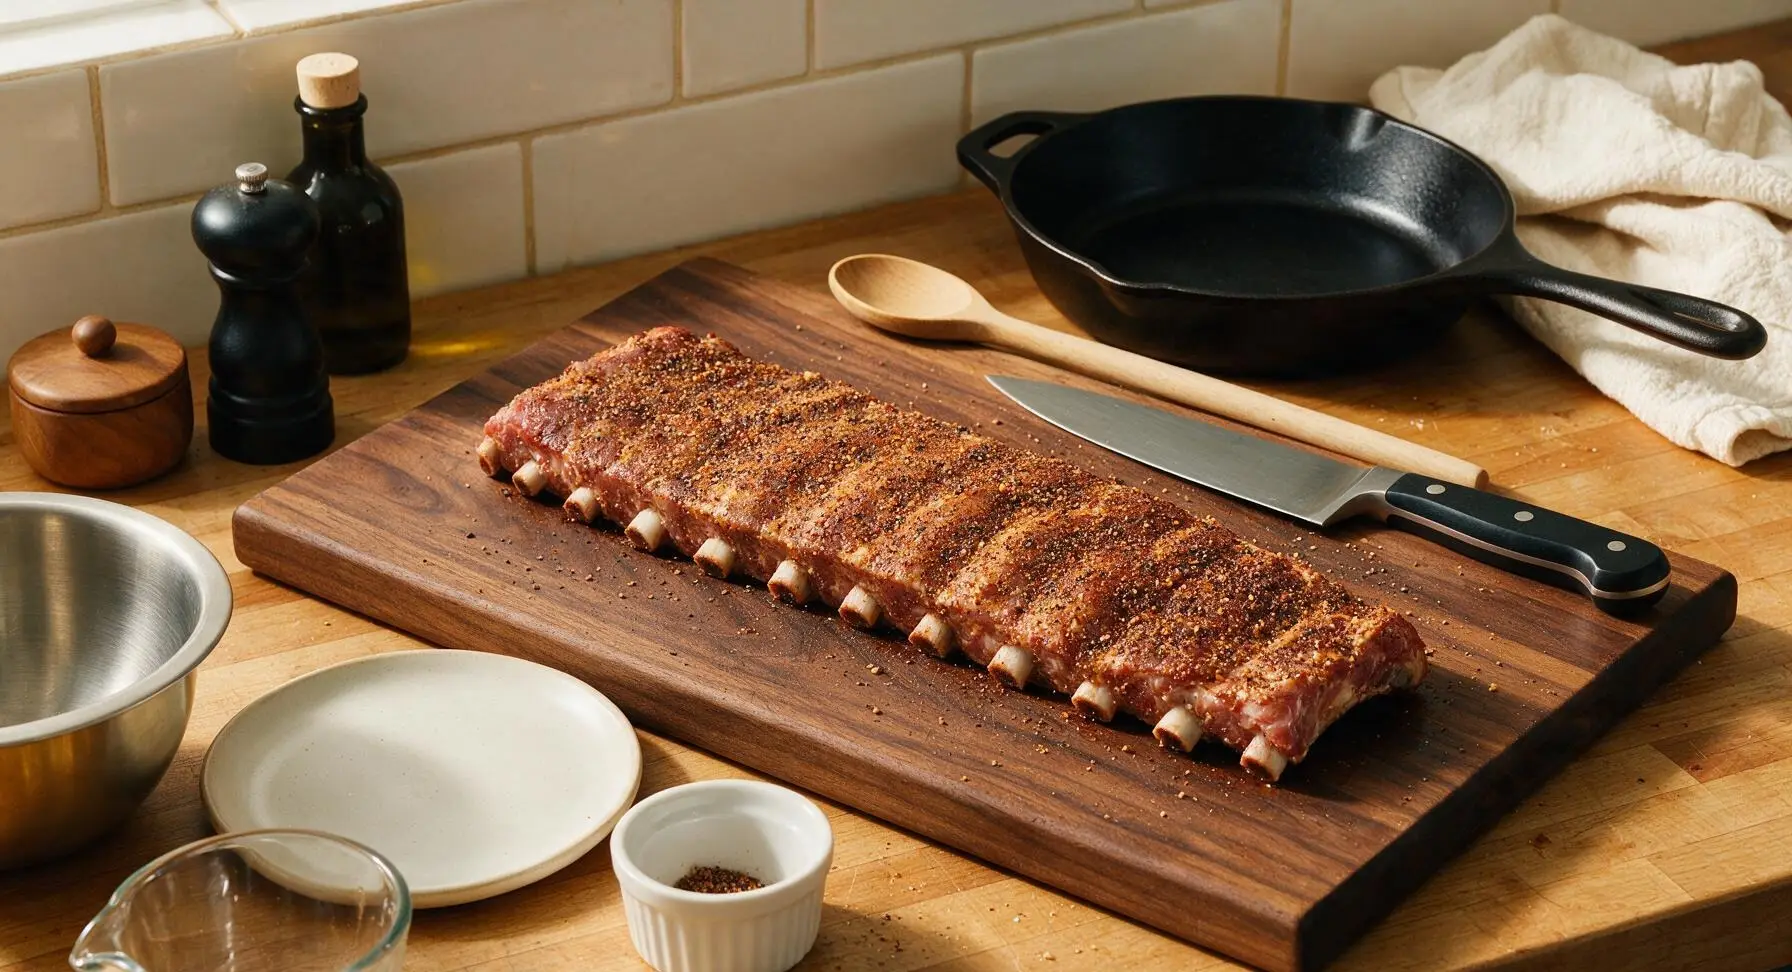
Sprinkle the dry rub evenly over every surface of the trimmed ribs – meaty side, bone side, and cut edges – using roughly 2 tbsp of rub per rack. Press the rub firmly into the meat surface with clean, dry hands to create a tight, even coating; avoid rubbing so hard that the spice layer clumps or wipes off. Let the seasoned ribs rest at room temperature for 30 minutes to allow the salt to penetrate the meat and the rub to form a slightly tacky surface that will create a crisp bark during cooking.
Step 3
step3:Coat Ribs With Rub
Step 3
step3:Coat Ribs With Rub
4

Cook Ribs Low and Slow

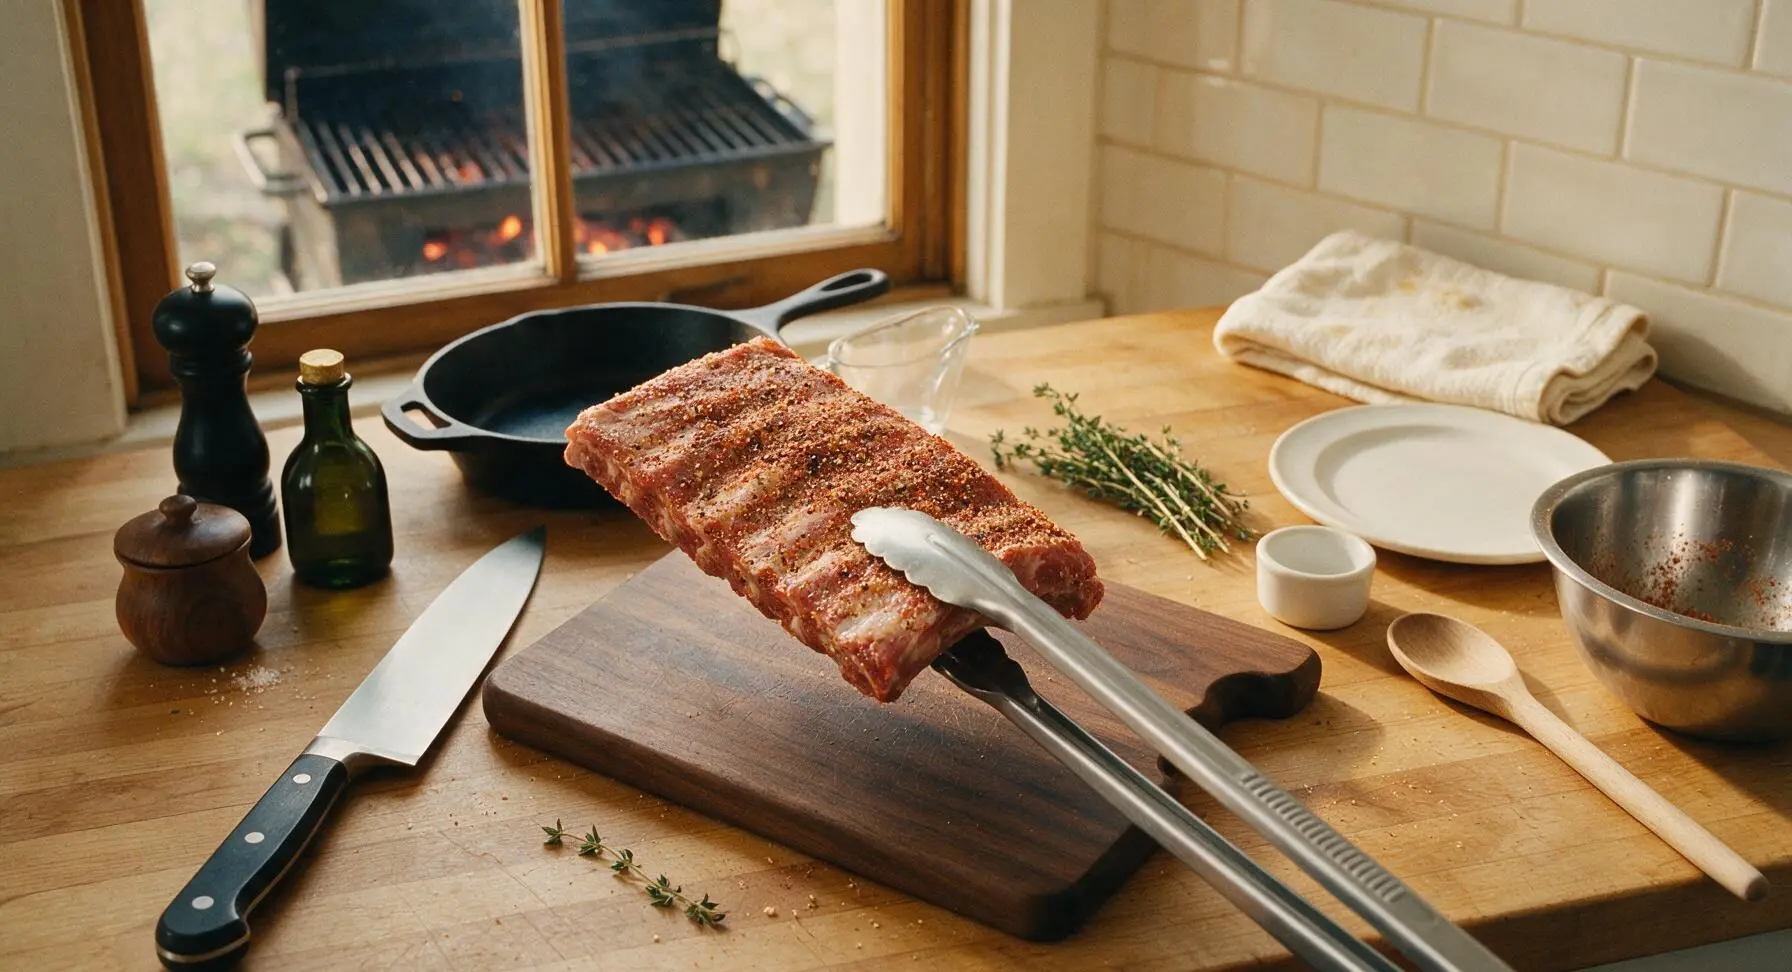
Preheat your grill or oven to 225°F (107°C), configured for indirect heat (no direct flame under the rib cooking area). Pluck 2 sprigs from the fixed thyme bundle. Use the long-handled tongs to transfer the seasoned rib racks bone-side down to the cool zone of the grill (or to a wire rack set inside a rimmed baking sheet for oven cooking). Place the plucked thyme sprigs on the cooking grate near the ribs to add a subtle herbal aroma as they cook. Close the lid and cook for 3 hours, maintaining a steady 225°F temperature, avoiding opening the lid for the first 2 hours of cook time.
Step 4
step4:Cook Ribs Low and Slow
5

Test Rib Doneness

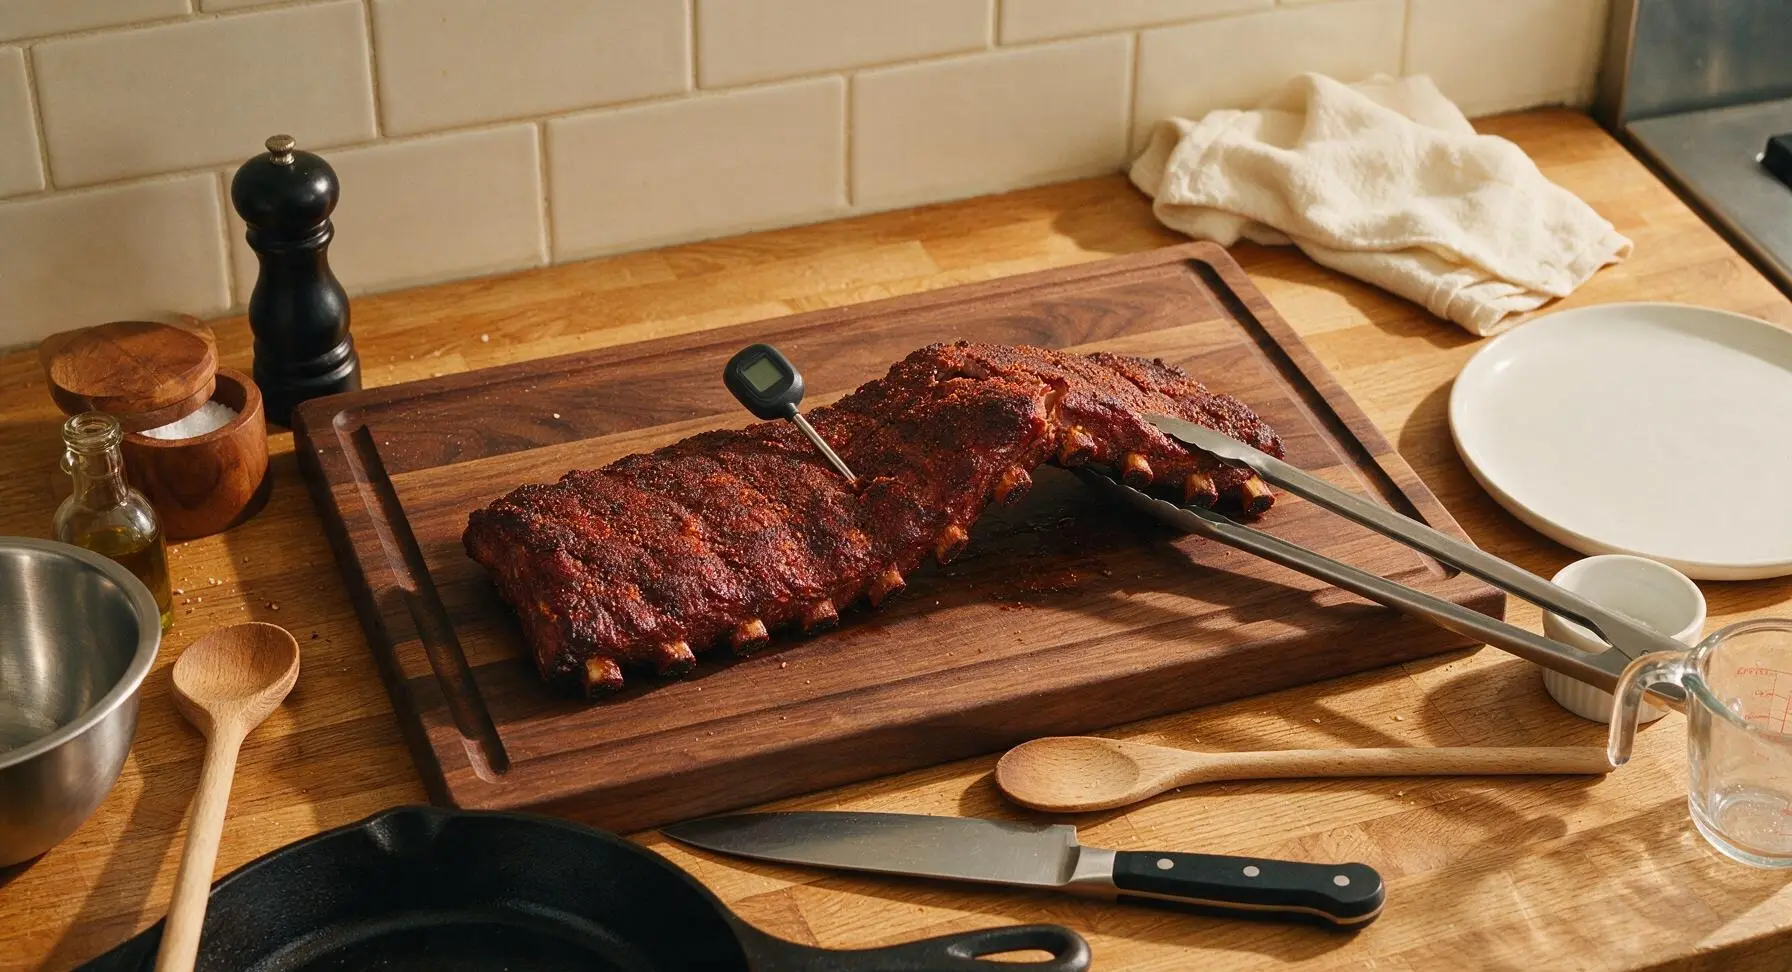
After 3 hours of cooking, open the grill and use the tongs to transfer one rib rack back to the maple cutting board. Insert the digital instant-read thermometer into the thickest part of the meat, avoiding contact with bone, to check for an internal temperature of 195°F (90°C). Confirm doneness with a visual test: lift one end of the rack with tongs – the rack should bend easily, with a small crack forming in the spice bark on the top surface, and meat pulling back 1/4 inch from the ends of the bones. If not yet tender, return the ribs to the grill, cook for an additional 20-30 minutes, and re-test.
Step 5
step5:Test Rib Doneness
6

Rest Cooked Ribs

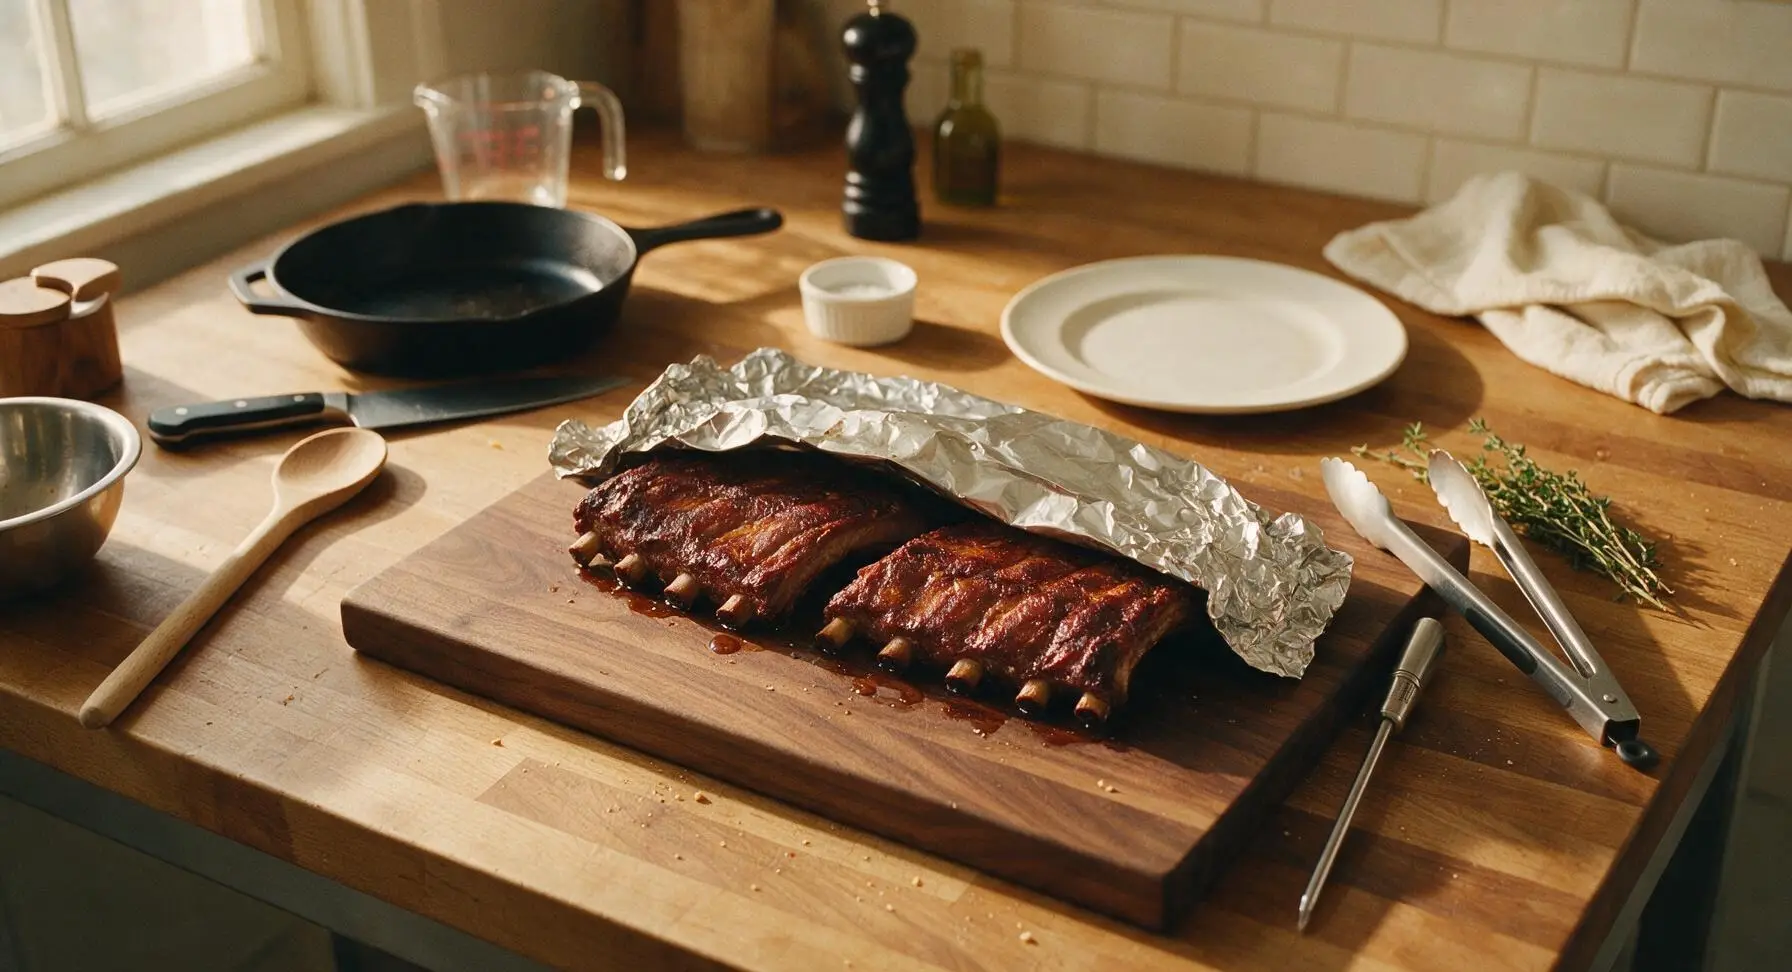
Once the ribs reach proper temperature and tenderness, transfer both racks back to the maple cutting board. Tent loosely with a single sheet of lightweight aluminum foil (do not wrap tightly, as this will steam the bark and make it soft). Let the ribs rest for 15 minutes at room temperature to allow the muscle fibers to relax and reabsorb rendered juices, which prevents dry meat and running juice when slicing.
Step 6
step6:Rest Cooked Ribs
7

Slice and Plate Ribs

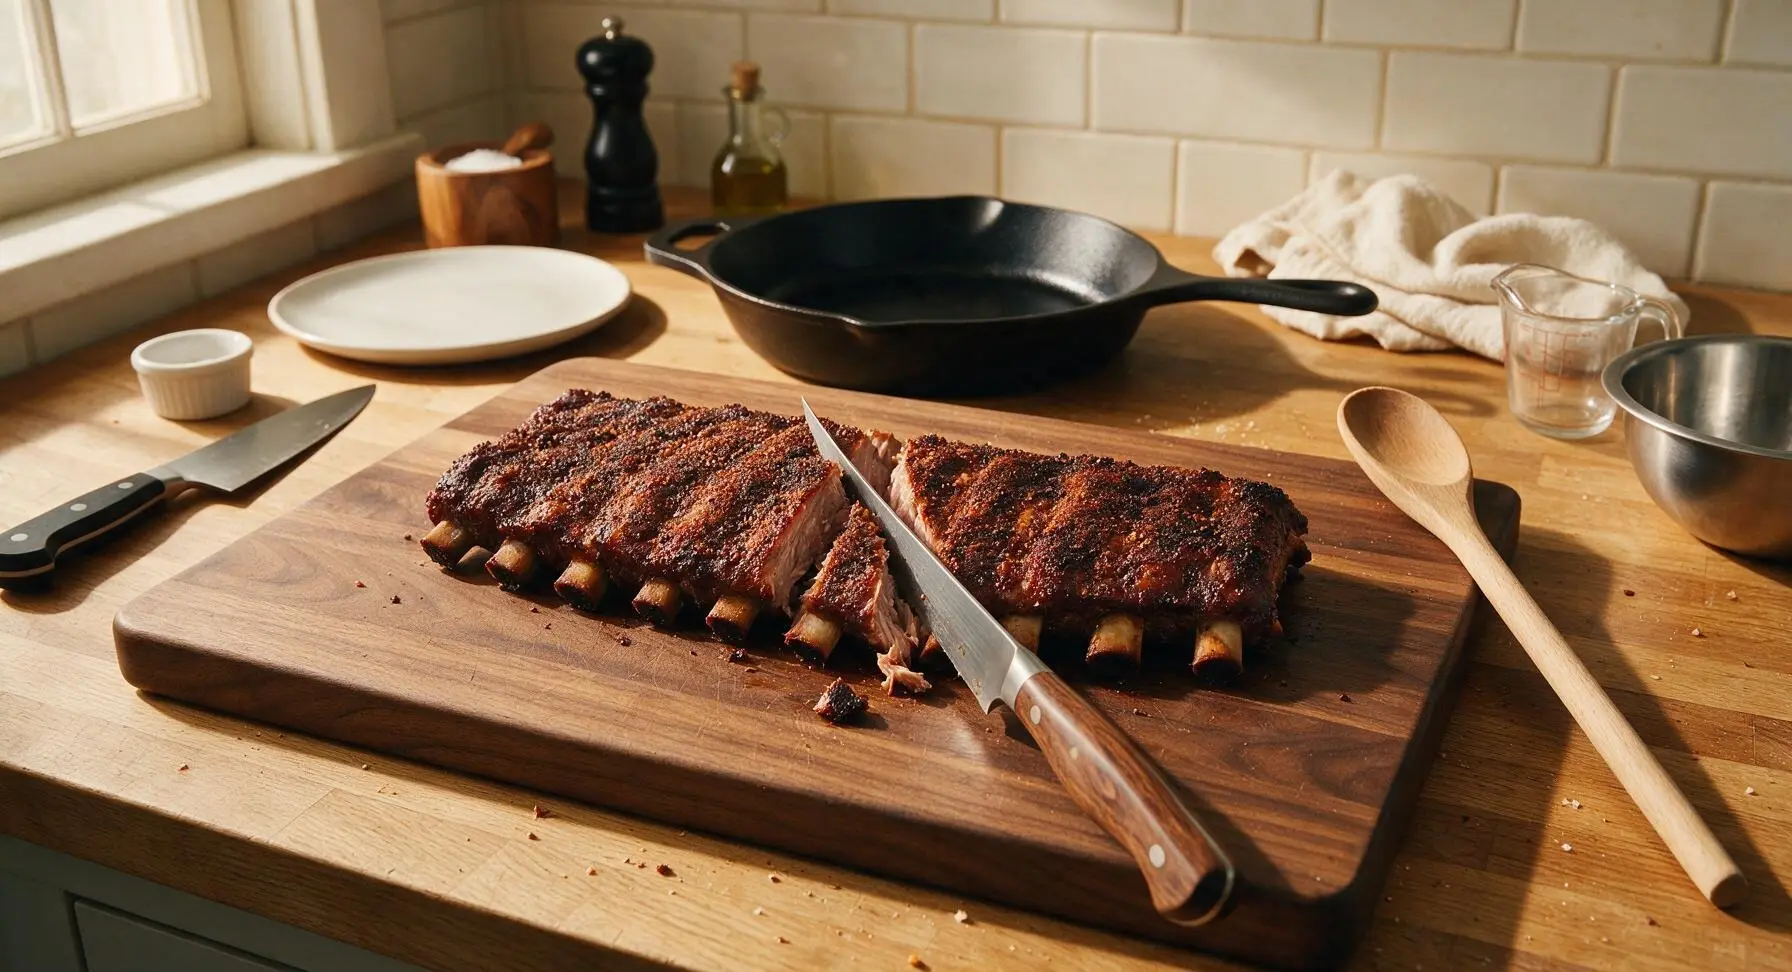
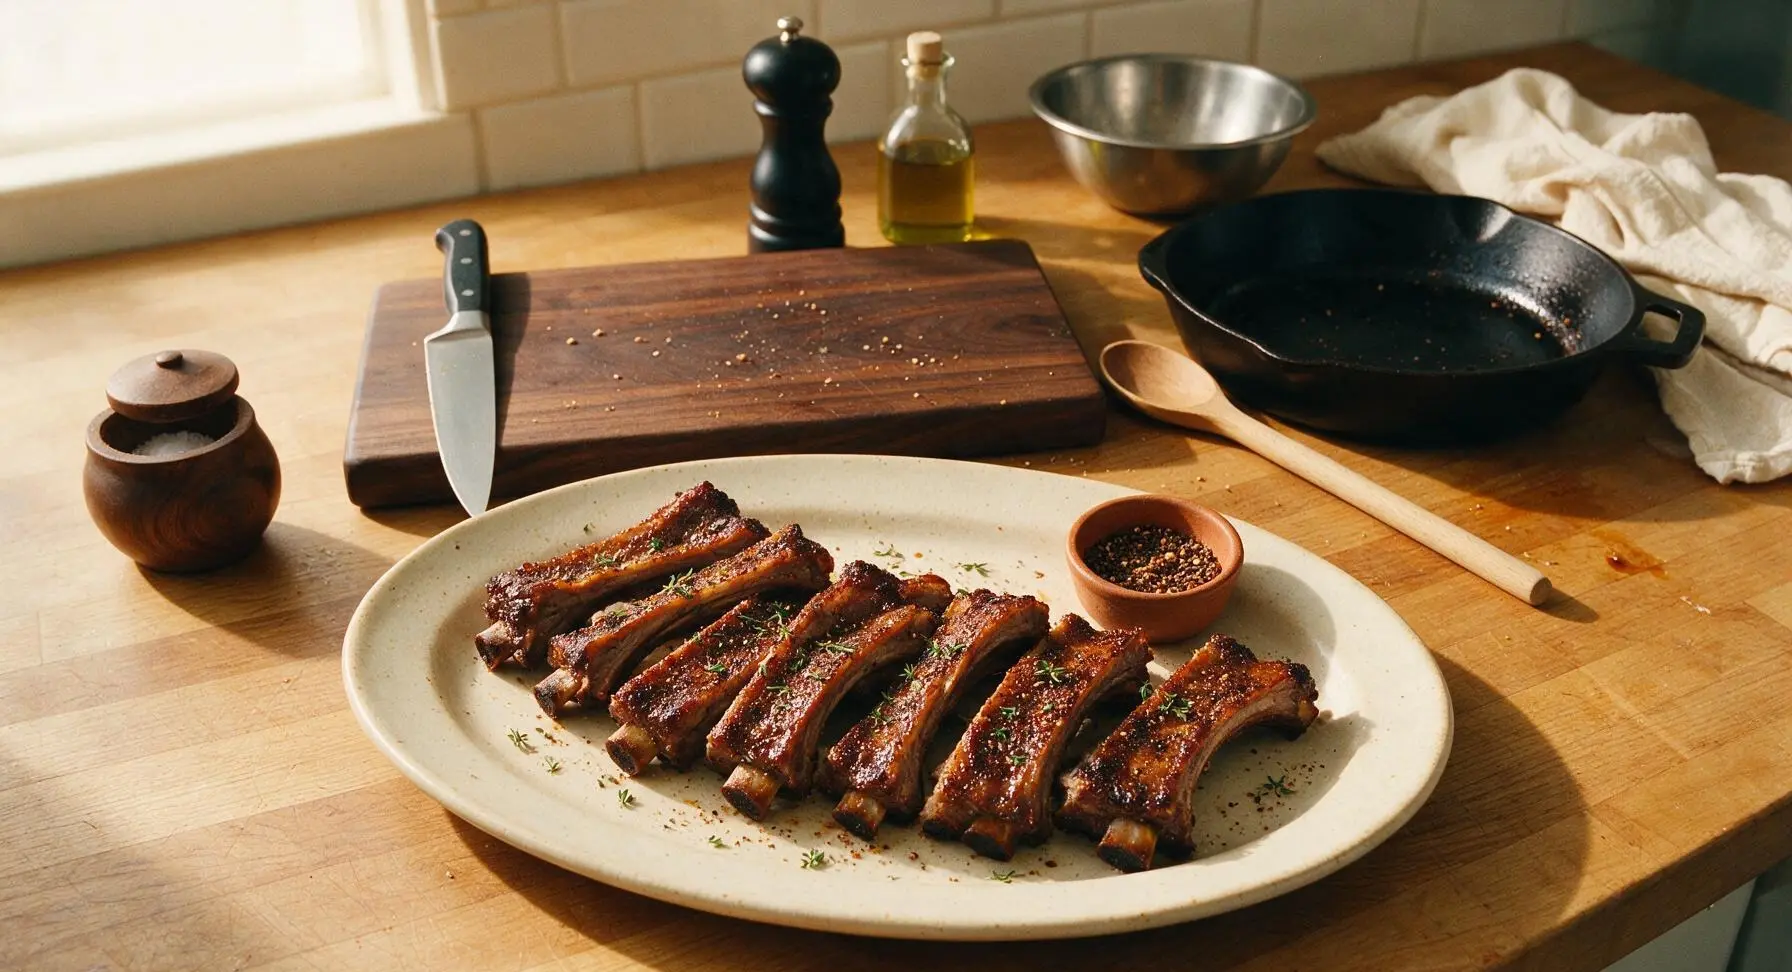
After resting, remove the foil tent. Use the 6-inch boning knife to slice cleanly between each individual rib bone, cutting through the meat in one smooth motion to create single-bone portions. Arrange the sliced ribs in a gentle overlapping fan across the large oval matte cream ceramic serving platter. Sprinkle lightly with a pinch of reserved dry rub and a few picked fresh thyme leaves, then set the small terracotta ramekin of extra dry rub on the platter for serving.
Step 7
step7:Slice and Plate Ribs
Step 7
step7:Slice and Plate Ribs

Tips

1.Always remove the full papery silverskin membrane from the bone side of the ribs: this tough connective tissue does not break down during low-and-slow cooking, and will leave an unpleasantly chewy, rubbery layer if left attached. Use a crumpled paper towel to grip the slippery membrane for better traction than bare hands.
2.Avoid opening the grill or oven lid frequently during the first 2 hours of cooking: every lid release drops the internal cooking temperature by 25–50°F, extending total cook time and preventing the dry rub from forming a crisp, caramelized bark on the rib surface.
3.Skip wrapping ribs in foil (the 'Texas crutch') for authentic dry rub texture: tight wrapping traps steam that softens the spice crust into a mushy layer. The steady 225°F cooking temperature will slowly render fat and break down tough connective tissue without steaming, preserving the signature crisp bark.


✨ You May Also Like

BBQ & Grilling
🍜 United States

Tender, melt-in-your-mouth beef brisket with a crisp, spiced bark, slow-smoked to deep smoky perfection, the iconic centerpiece of Texas backyard barbecue.

⏱️ 12 hours BBQ & Grilling ★ 4.4
BBQ & Grilling
🍜 Korea

Tender, sweet-savory marinated beef short ribs, a beloved Korean BBQ staple with caramelized, slightly charred edges and deep umami flavor, perfect for outdoor summer gatherings.

⏱️ 4 hours 2BBQ & Grilling ★ 4.8
BBQ & Grilling
🍜 United States

Juicy grilled beef patties topped with smoky homemade chili, melted cheddar, and tangy pickles on toasted brioche buns for a hearty, flavor-packed handheld meal.

⏱️ 40 minuteBBQ & Grilling ★ 4.7
BBQ & Grilling
🍜 United States

A sweet, smoky, tangy BBQ sauce brightened with peak-season dark cherries, ideal for glazing grilled ribs, chicken, pork, or summer roasted veggies.

⏱️ 35 minuteBBQ & Grilling ★ 4.7
BBQ & Grilling
🍜 United States

Rich, smoky, slightly sweet homemade bourbon BBQ sauce with deep caramel notes, ideal for glazing grilled ribs, chicken, and burgers at cookouts.

⏱️ 25 minuteBBQ & Grilling ★ 4.7
BBQ & Grilling
🍜 United States

Iconic Alabama-style BBQ featuring tender hickory-smoked chicken slathered in tangy creamy white sauce, a beloved regional Southern cookout staple.

⏱️ 3 hoursBBQ & Grilling ★ 5

Dry Rub Ribs:Frequently Asked Questions

1.What makes St. Louis-style pork spare ribs the ideal cut for this classic dry rub recipe? ▾
St. Louis-style ribs are trimmed of tough cartilage, the small brisket bone, and excess skirt meat for a uniform, rectangular shape that cooks completely evenly. They have the perfect fat-to-meat ratio to stay juicy through long slow cooking, delivering rich, porky flavor that pairs beautifully with the smoky rub, unlike leaner, milder baby back ribs that can dry out easily.
2.Can I substitute baby back ribs for St. Louis-style spare ribs in this recipe? ▾
Absolutely, just adjust your cook time to account for their smaller size. Baby back ribs are cut from the loin, so they are leaner and will cook 30 to 45 minutes faster than St. Louis spares. Start checking for doneness after the 2-hour mark to avoid drying them out, and note they will have a slightly milder, less rich pork flavor than traditional spare ribs.
3.What is the ideal ratio for the core dry rub ingredients for one rack of ribs? ▾
For a standard 3-pound St. Louis rack, use 3 tablespoons smoked paprika, 2 tablespoons packed light brown sugar, 1.5 tablespoons kosher salt, and 1 tablespoon freshly cracked black pepper as your base. This balance hits smoky, sweet, salty, and peppery notes without overpowering the natural pork flavor. You can add a pinch of garlic or onion powder if you like, but that core mix is the tried-and-true classic.
4.Do I really need to remove the thin membrane from the back of the ribs before adding rub? ▾
Yes, skipping this step leaves you with a tough, chewy, rubbery layer that ruins the texture of finished ribs. Slide a butter knife under the silverskin membrane at one narrow end of the rack, grip the loose edge with a paper towel for traction, and pull it off in one smooth sheet before seasoning. It takes 30 seconds and makes a massive difference in your final bite.
5.How far in advance can I apply the dry rub to the ribs before cooking? ▾
You can apply the rub anywhere from 1 hour before cooking to 12 hours ahead, with the ribs covered and stored in the fridge. If you season more than 1 hour ahead, the salt and sugar will draw out small amounts of moisture that dissolve the rub, helping it form that crisp, caramelized bark as it cooks. Don’t season more than 24 hours ahead, as the meat will get too firm and cured-tasting.
6.What cooking temperature gives that perfect fall-off-the-bone tender result? ▾
Keep your grill, smoker, or oven set to a steady 225°F for the entire cook. That low, slow heat gradually breaks down the tough connective tissue in the ribs without seizing the meat into tough, dry strands. Resist the urge to crank the heat to speed things up—high heat will burn your rub and leave you with tough ribs long before the interior gets tender.
7.How long does a full rack of St. Louis-style ribs take to cook at 225°F? ▾
A standard 3-pound St. Louis rack will take 4.5 to 5.5 hours total at 225°F if you skip wrapping for maximum bark crispness. You’ll know they’re done when you can twist a middle rib bone with gentle pressure and it pulls cleanly out of the meat with almost no resistance, and the internal temperature hits 195 to 203°F.
8.Do I need to wrap ribs in foil or butcher paper partway through cooking? ▾
Wrapping is totally optional for this dry rub recipe! If you love ultra-tender ribs that fall straight off the bone, wrap them in foil (with a tiny splash of apple juice, if you like) at the 3-hour mark for 1 hour, then unwrap for the final 30 minutes to set the bark. If you prefer a firmer bite and thicker, crispier bark, skip wrapping entirely.
9.How do I get that perfect crisp, caramelized bark without using heavy sauce? ▾
The key is to avoid over-spritzing with liquid during the cook, keep your temperature steady, and don’t wrap the ribs too early if you choose to wrap. The light brown sugar in the rub caramelizes as fat renders from the ribs, bonding with the paprika, salt, and pepper to form that crackly, deeply flavored outer layer as long as the rib surface isn’t soggy from excess moisture.
10.Can I make these dry rub ribs in the oven if I don’t have a smoker or grill? ▾
Absolutely! Set your oven to 225°F, place seasoned ribs on a wire rack set inside a rimmed baking sheet to let air circulate around every side, and cook for 4 to 5 hours just like you would on a smoker. For that classic smoky flavor without outdoor equipment, add 1/4 teaspoon hickory smoke powder to your dry rub for a near-perfect match.
11.Why do you recommend kosher salt instead of regular table salt for the rub? ▾
Kosher salt has larger, flakier crystals that distribute more evenly across the rib surface, so you won’t end up with random overly salty bites. Table salt is much denser with a sharper, slightly metallic taste when used in the same volume, and it dissolves too quickly, which can make the rub run instead of forming a nice, crisp bark. If you only have table salt, cut the salt amount in half.
12.Can I swap the light brown sugar for a less sweet option? ▾
You can replace the light brown sugar with an equal amount of coconut sugar for a lower-glycemic, slightly less sweet option with a similar warm caramel note, or cut the sugar amount in half and add 1 tablespoon smoked garlic powder for a savorier profile. Don’t skip sugar entirely, though—you need a small amount to help the rub caramelize into that signature bark.
13.How do I keep ribs from drying out during the long slow cook? ▾
First, don’t overtrim the fat cap—leave a 1/4-inch layer of fat on the top of the rack so it renders down and bastes the meat as it cooks. Keep your temperature steady at 225°F, avoid opening the grill or oven lid too often (every peek lets heat escape and extends cook time), and don’t cook past 203°F internal temp, when all the natural moisture will cook out.
14.Do I need to mop or spritz the ribs with liquid while they cook? ▾
You don’t need to, and I actually recommend against frequent spritzing for dry rub ribs, because too much liquid softens the forming bark and washes off your carefully applied seasoning. If you notice rub edges looking burnt before the ribs are tender, give them a very light spritz of apple cider vinegar once at the 3-hour mark, but that’s all the extra moisture they need.
15.How long should I let ribs rest after they finish cooking before slicing? ▾
Let your ribs rest for 15 to 20 minutes, tented loosely with a single sheet of foil, before you slice them. Resting lets hot, rendered juices redistribute back through the meat instead of running all over your cutting board the second you cut in, so every bite stays juicy. Don’t rest them longer than 20 minutes, or the crisp bark will start to soften and get soggy.
16.Can I add BBQ sauce to these ribs if I don’t want them totally dry? ▾
Of course! These ribs are deeply flavorful on their own, but if you love sauce, brush a thin layer of your favorite BBQ sauce on during the last 20 minutes of cooking so it sets into a sticky glaze without burning. Don’t sauce them too early, or the sugar in the sauce will burn before the ribs are done, and you’ll lose that nice dry rub bark underneath.
17.What’s the best way to store and reheat leftover dry rub ribs without making them soggy? ▾
Store leftover ribs wrapped tightly in foil or an airtight container in the fridge for up to 4 days, or freeze for up to 3 months. To reheat without ruining the bark, wrap ribs loosely in foil and bake at 275°F for 20 to 25 minutes until warmed through, then unwrap for the last 5 minutes to crisp the bark back up. Skip the microwave, which makes meat tough and bark rubbery.

Comments (20)

2 weeks ago

OMG these dry rub ribs are an absolute game changer! I made them for our family Sunday dinner last weekend and even my picky 10 year old asked for seconds. The rub has the perfect balance of sweet and smoky, no sauce needed at all. 10/10 will be making these for every summer cookout from now on.

1 week ago

Agreed! I brought a rack to my last tailgate and people were begging for the recipe before halftime. So worth the 3.5 hour cook time.

1 week ago

So glad these were a hit with your family and the tailgate crew! Pro tip: let them rest 10 minutes after pulling them off the heat to lock in all that juicy flavor.

1 week ago

I was intimidated because I thought ribs were super hard to get right, but this recipe was so straightforward! Cook time was spot on, the ribs were fall-off-the-bone tender. My kids loved it so much they asked if we can have ribs every Friday night now.

5 days ago

Thrilled to hear the recipe felt approachable! It’s totally normal to be nervous about ribs at first, but that low and slow method never fails. Friday rib nights sound like the best new tradition.

5 days ago

Really solid rib recipe! I added a little extra paprika because my household loves smoky flavor, and it turned out great. Only note is that I wish the rub measurements were a little more specific for people who don’t cook ribs often, but overall super tasty.

3 days ago

Made these for our neighborhood potluck last weekend and they were the first dish gone! People kept coming up to me asking what my secret was, I just told them it’s this foolproof rub. Didn’t even need to slather them in BBQ sauce, the rub carries all the flavor.

2 days ago

Wait did you bring these to the west side neighborhood potluck? I had a rib there and I’ve been searching for a good dry rub recipe ever since! Can’t wait to test this out this weekend.

2 days ago

I don’t have a fancy smoker, just a regular old charcoal grill, and these ribs still turned out perfect! I followed the indirect heat instructions exactly and got that perfect tender bite without them being mushy. SO good, my roommate and I ate almost a full rack between the two of us.

yesterday

Same! I only have a gas grill and was worried I couldn’t get that smoky taste, but the rub has so much depth I didn’t miss the smoker at all.

yesterday

Love that you made this work on a regular grill! You don’t need fancy equipment to make great ribs, that indirect low heat is the real secret no matter what you’re cooking on.

yesterday

I’ve been trying to perfect dry rub ribs for years and this is the recipe that finally got me there! The brown sugar in the rub caramelizes perfectly on the outside without burning, and the salt ratio is exactly right so the meat is seasoned all the way through, not just on the surface.

2 hours ago

Flavor was great, but my ribs came out a little tougher than I expected. I think I might have messed up the heat level on my grill, because I followed the cook time exactly but they weren’t fall off the bone like everyone else is describing.

30 minutes ago

Sorry to hear they came out a little tough! That almost always comes down to grill temp running a little too high, which can make the outside cook faster than the connective tissue breaks down. Try using a grill thermometer to keep the temp right around 275F next time, it makes a huge difference!

30 minutes ago

Just pulled these off the grill 10 minutes ago and had to run on here to leave a review! The smell while these were cooking had all my neighbors peeking over the fence asking what I was making. First bite was perfect, crispy seasoned outside, juicy tender inside. Absolute home run.

5 minutes ago

Fellow Coloradan here! Do you think these would hold up for a post-hike cookout next weekend? I’m trying to plan a menu for our group.

5 minutes ago

They hold up amazingly for cookouts! If you wrap them tightly in heavy duty foil after cooking, they’ll stay tender and warm for 2-3 hours in a cooler, perfect for post-hike meals.

yesterday

I tested this recipe after seeing Tony mention it on here, and wow! I made a double batch for my book club potluck and everyone was raving. I even sent the recipe link to three of my friends before the night was over. The rub is so versatile too, I used the leftover mix on chicken thighs later in the week and it was chef’s kiss.

2 hours ago

Love hearing that the rub works on other proteins too! It’s great on pork chops, chicken, even roasted veggies if you have extra left over. Thanks for sharing the recipe with your friends!

3 days ago

As someone who grew up eating Central Texas style ribs, I’m pretty picky about my dry rubs. This one hits all the right notes: not too sweet, just enough black pepper and garlic, no weird filler spices. I’ll be keeping this in my regular rotation for weekend smokes.

5 days ago

Made these on my tiny apartment balcony electric grill and they still came out really good! I had to adjust the cook time a little because my grill runs hot, but the flavor of the rub was incredible. Only reason it’s 4 stars instead of 5 is I wish there was a note for apartment grill adjustments, but otherwise amazing.

3 days ago

So impressive you pulled these off on a balcony electric grill! Great note about smaller grills running hot, I’ll add a tip to the recipe soon about adjusting cook times for smaller, hotter units. Thanks for the feedback!

1 week ago

I added a tiny pinch of cayenne to the rub for a little heat, and it was the perfect complement to the brown sugar and paprika. Served these with my grandma’s coleslaw and baked beans for our Fourth of July cookout, and my whole family said they were better than the ribs we get at our local BBQ joint.

1 week ago

Meal prepped a big batch of these ribs for the week and they reheated so well! I was worried they’d get dried out when I warmed them up in the oven, but they stayed just as juicy as the day I cooked them. Way better than eating takeout for dinner every night, and it was cheaper too.

5 days ago

How did you reheat them? I tried reheating ribs once in the microwave and they turned into rubber, would love to know your method!

3 days ago

Great call meal prepping these! For best reheating, wrap them in foil with a tablespoon of apple juice and warm them in a 250F oven for 20 minutes, they’ll taste just as fresh as the day you made them.

2 weeks ago

I’ve been making ribs for 40+ years and I have to say, this dry rub recipe is one of the best I’ve ever tried. I made a big jar of the rub mix to keep in my pantry so I don’t have to measure it out every time I fire up the grill. My golf buddies already asked when I’m making them again for our post-round cookout.

2 weeks ago

Really great recipe! My only small issue was that the rub made a little more than I needed for two racks of ribs, but that’s not even a bad thing because I saved the extra for my next cook. The ribs were tender, flavorful, and my wife said they’re the best I’ve ever made.

1 week ago

Ha, I always make a little extra rub on purpose! It keeps for up to 6 months in an airtight jar in the pantry, so you can use it on all kinds of meals down the line. Tell your wife I said hi, glad she loved them!

3 days ago

Wait a second, I’ve been paying $25 a rack for dry rub ribs from the BBQ place down the street this whole time? These are so much better and cost a fraction of the price to make at home. I will never buy takeout ribs again, no contest.

2 days ago

Right?! I did the math last time I made these and it came out to like $8 a rack, it’s wild how much markup restaurants put on ribs. And these taste better too.

yesterday

Homemade ribs are such a win for the budget! Once you get the method down, you can make restaurant-quality ribs at home for a fraction of the cost, and tweak the rub exactly how you like it.

5 days ago

Made these for my son’s birthday BBQ over the weekend and he said it was the best birthday dinner he’s ever had. We had 15 people over and everyone cleared their plates, even my sister who is super picky about BBQ. 10/10, will be making this for every family gathering from now on.

yesterday

I was so nervous to make ribs for my first time hosting a BBQ, but this recipe made me look like a total pro! All my friends kept asking how I got the rub so perfectly caramelized, I told them it was just following this recipe step by step. Even my friend who is a professional BBQ caterer said they were really good!

30 minutes ago

First time making ribs and you got a compliment from a pro caterer? That’s a huge win! So glad the recipe helped you pull off a great first BBQ, that’s what it’s all about.

30 minutes ago

Great flavor, but I accidentally over-smoked mine a little with hickory chips so they had a slightly bitter edge. That’s totally my mistake though, the rub itself is perfect, I’ll go lighter on the wood chips next time I make these.

5 minutes ago

I made that same mistake my first time! Stick to just a small handful of chips, you don’t need a ton to get that nice smoky flavor. This rub is so good it doesn’t need much extra smoke anyway.

5 minutes ago

Just finished making these for my husband’s Father’s Day dinner and he teared up a little! He said they taste exactly like the ribs his dad used to make when he was a kid. The rub is so perfectly balanced, not too salty, not too sweet, just pure nostalgic BBQ flavor. Thank you so much for this recipe!

just now

That’s so sweet! Food that tastes like childhood memories is the best kind, I’m sure your husband loved every bite.

just now

This comment made my day! There’s no better compliment than a recipe that feels like family. Happy Father’s Day to your husband, so glad these ribs got to be part of your special day.



