
easy barbecue chicken
intro
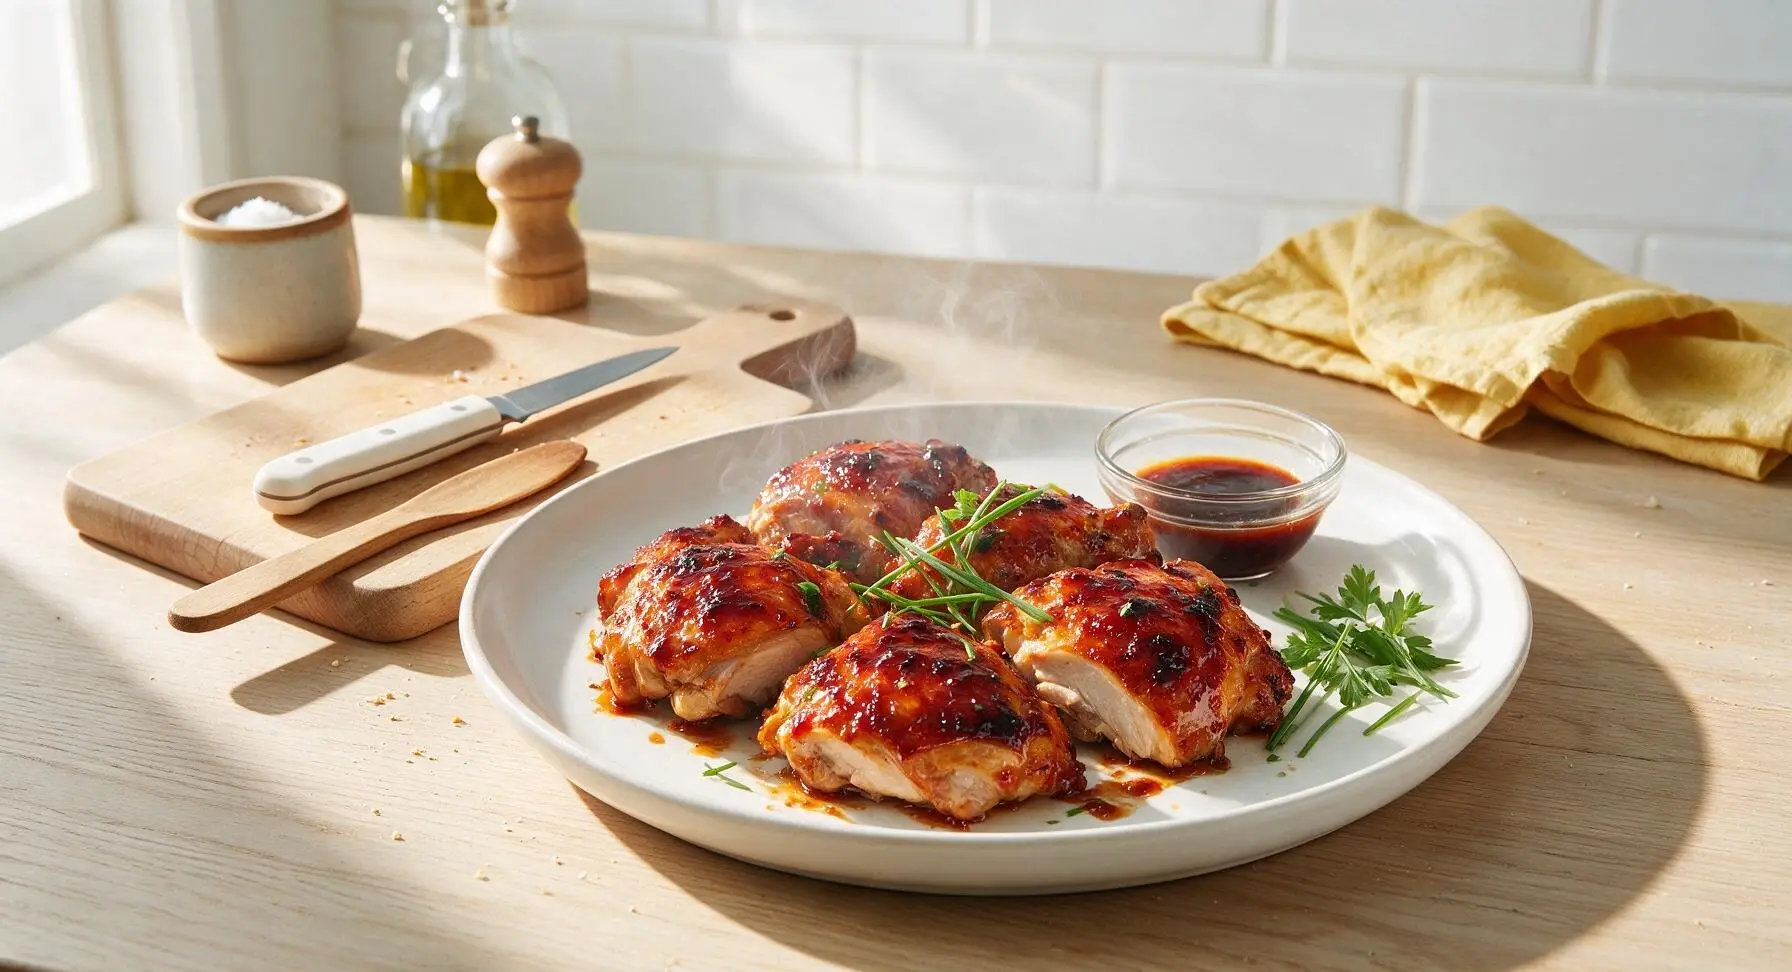
Juicy, sticky, caramelized barbecue chicken with zero fancy equipment—crispy skin, tangy-sweet glaze, and minimal prep for perfect casual cookouts any night of the week.
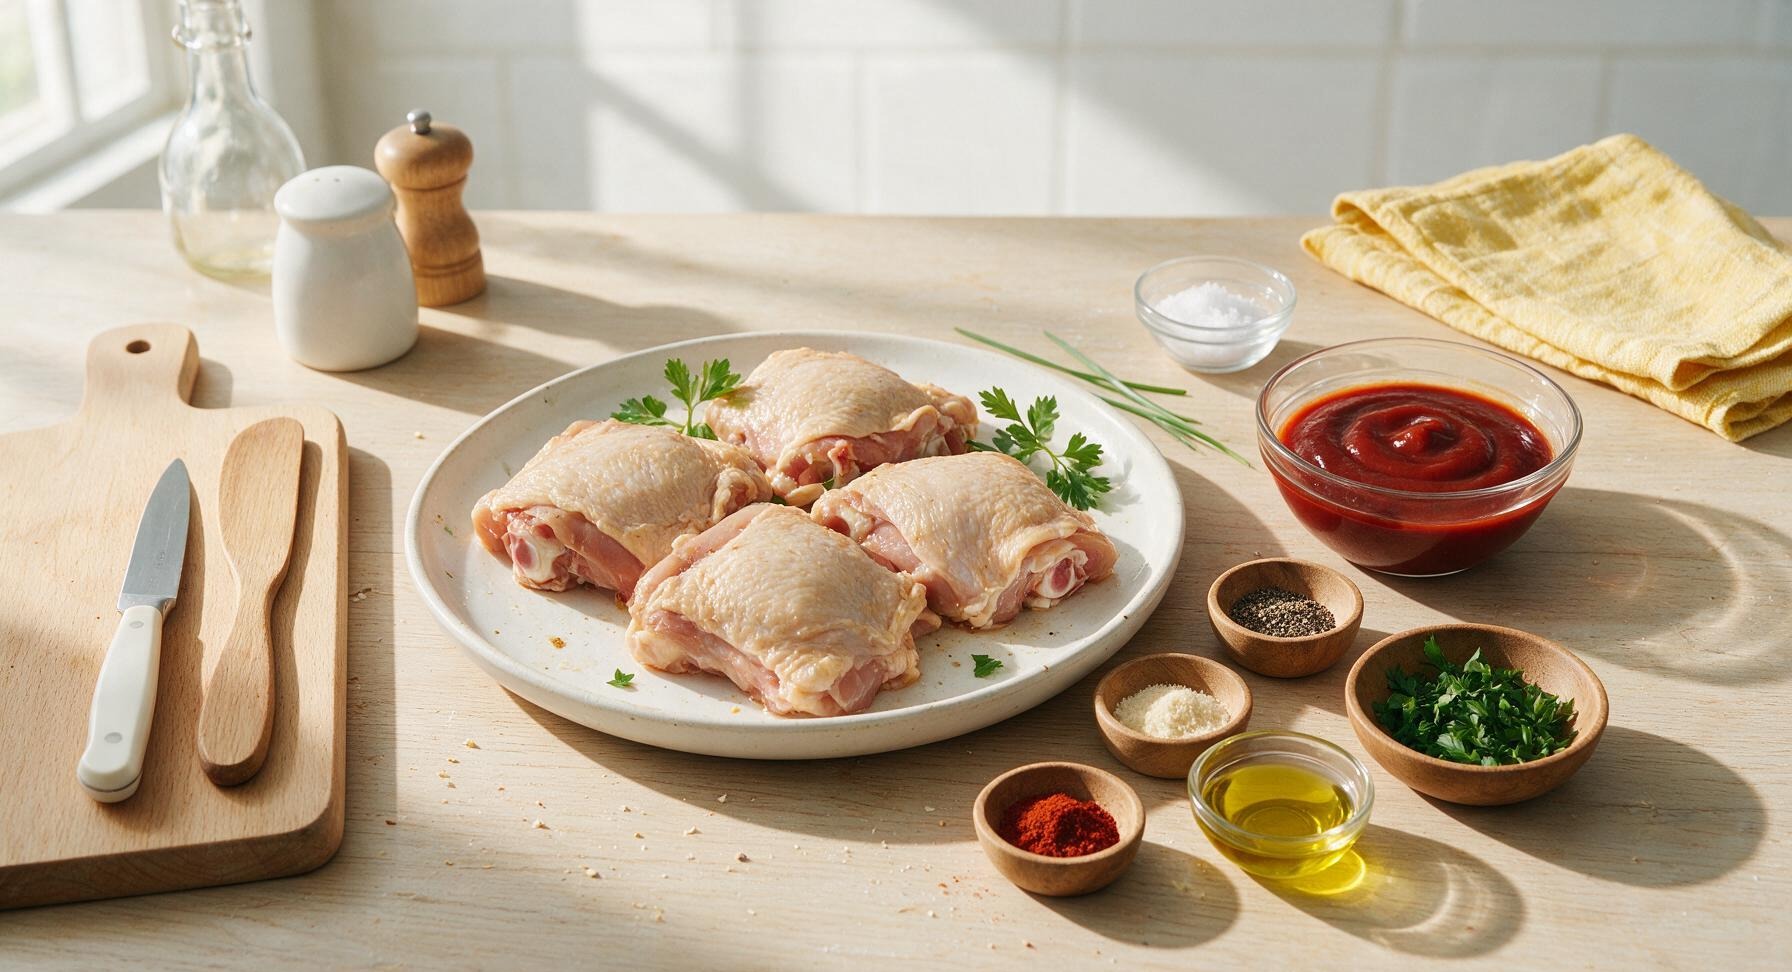
Ingredients
Steps
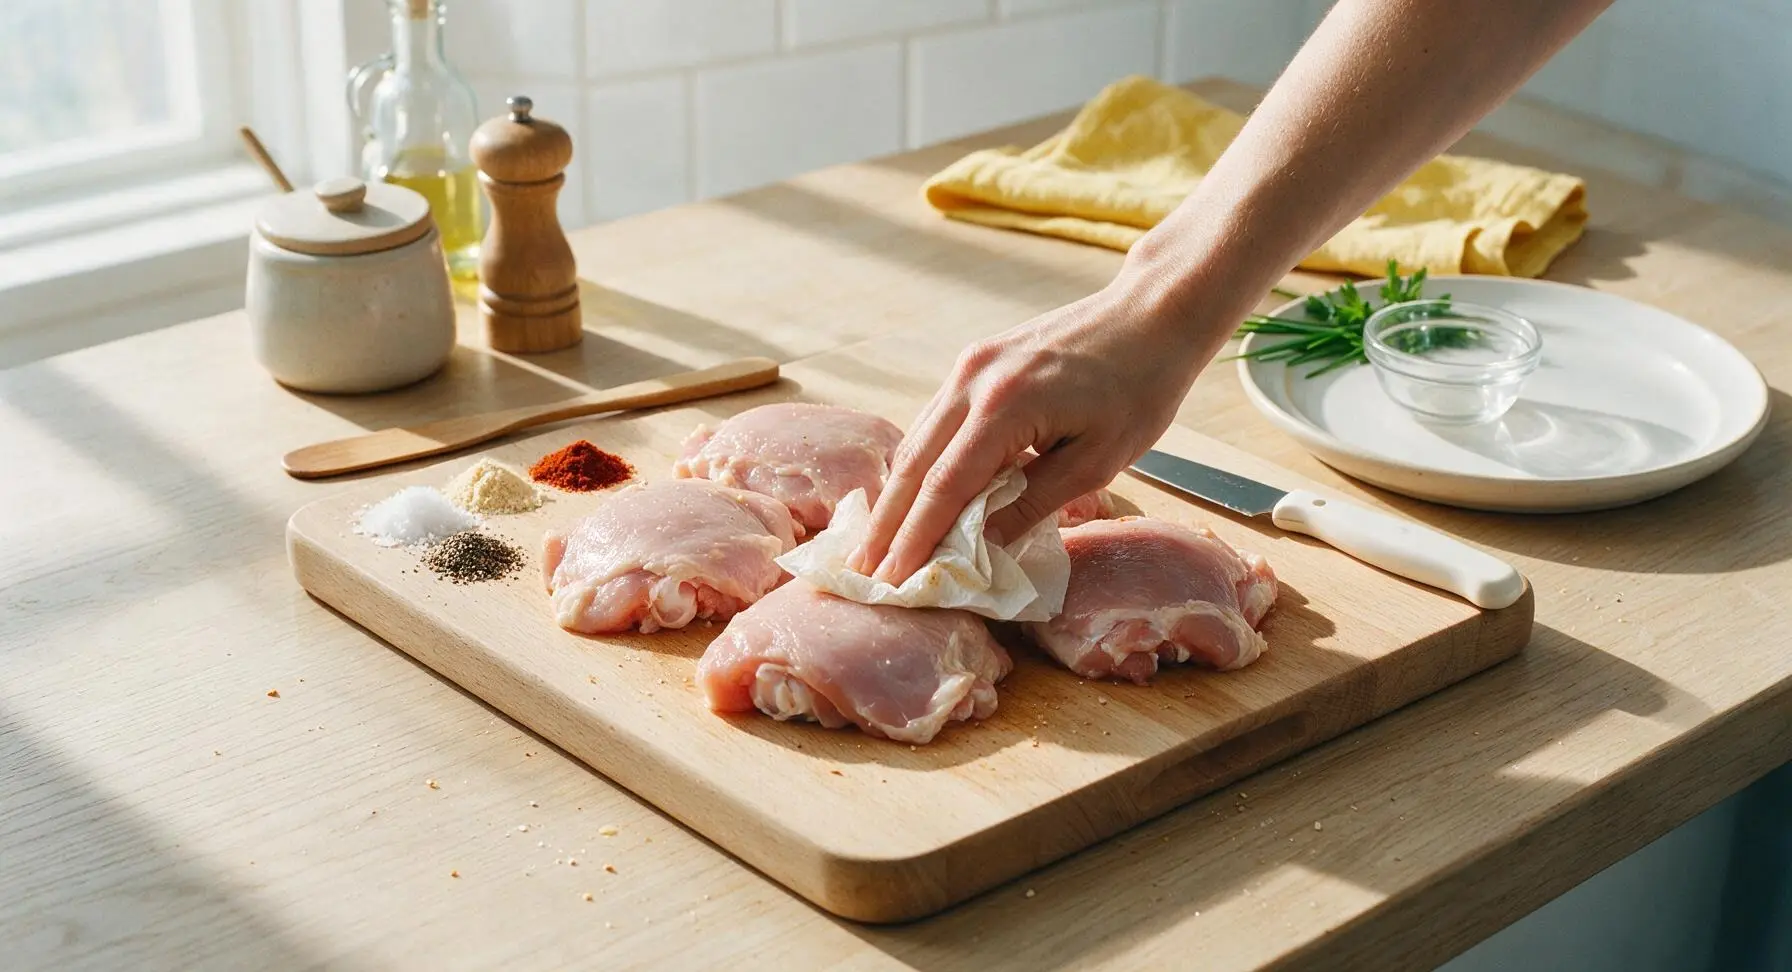
Pat Chicken Dry
Remove the chicken thighs from packaging, place them on the light maple cutting board. Use the torn half-sheet of paper towel to thoroughly pat every surface of the chicken—especially the skin—completely dry, then discard the used towel. Season all sides evenly with 1 teaspoon kosher salt, 1/2 teaspoon freshly ground black pepper, 1/2 teaspoon garlic powder, and 1/4 teaspoon smoked paprika, pressing the spices gently into the skin and meat to adhere. The skin should feel dry to the touch, with no visible moisture and evenly distributed spices with no bare patches.
Preheat Grill Pan
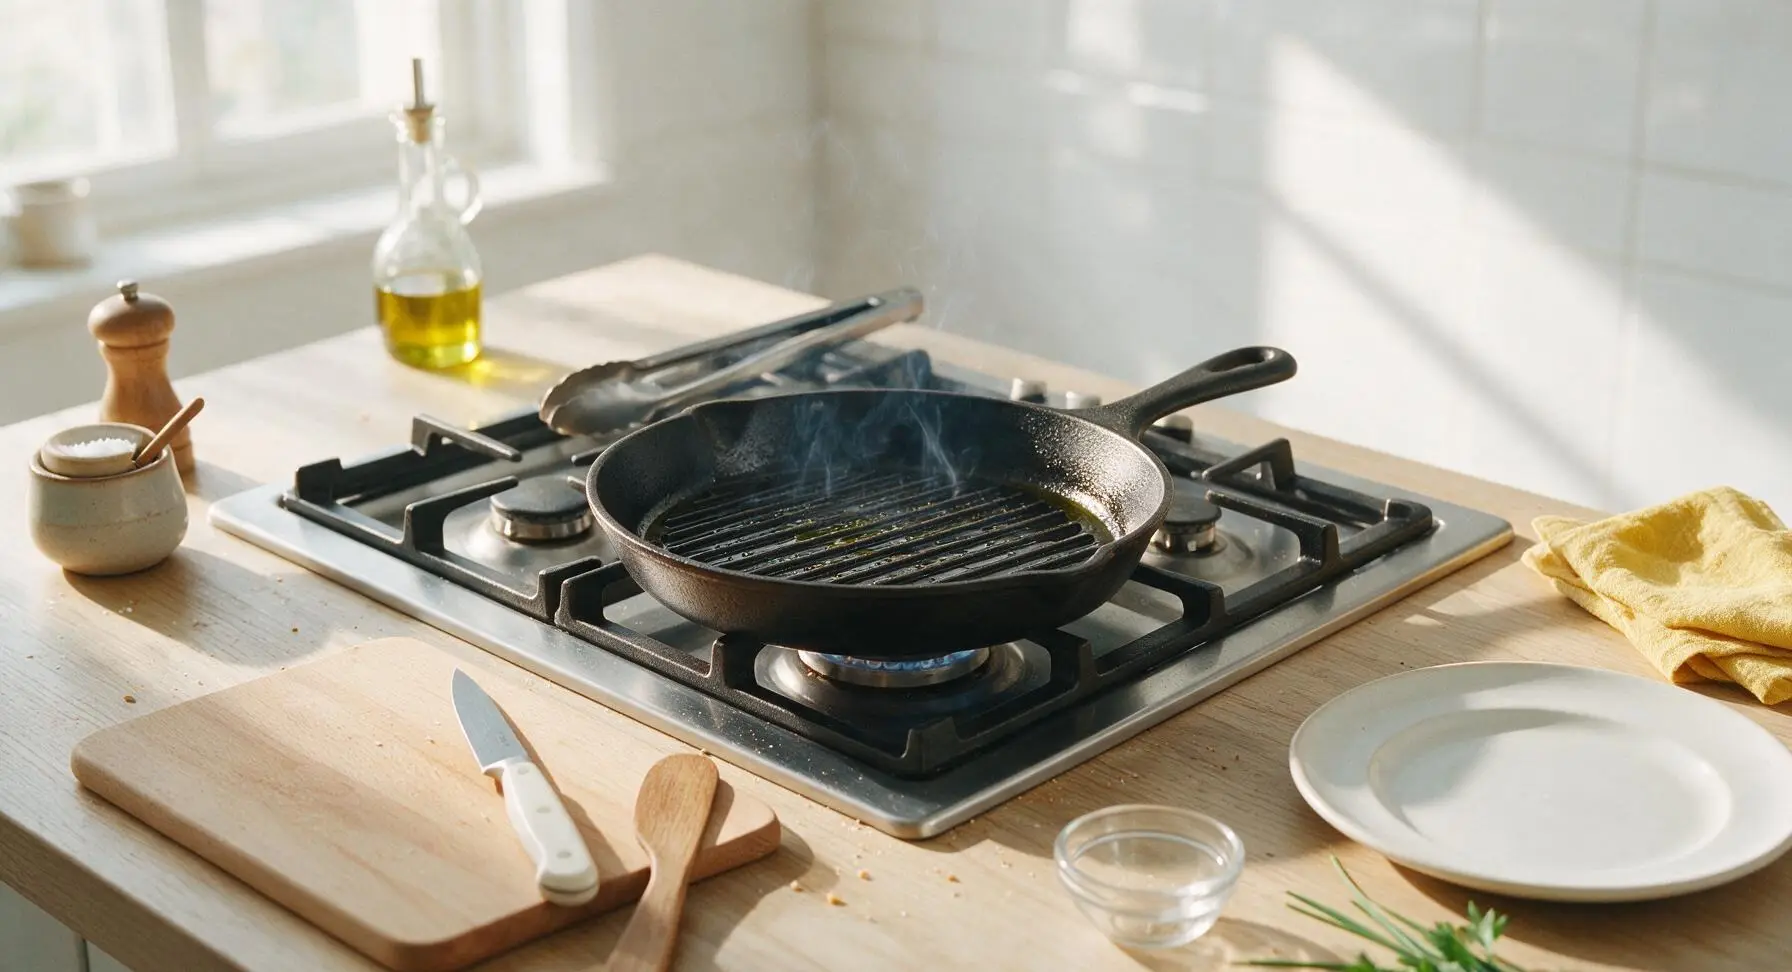
Turn heat under the cast iron grill pan to medium-high. Drizzle 1 tablespoon of olive oil from the glass cruet across the pan grates, use a small corner of clean paper towel to spread the oil evenly across the surface. Let the pan preheat for 5 minutes, until it is very hot and you can see faint wisps of smoke rising from the grates. A drop of water flicked onto the pan should sizzle and evaporate instantly to confirm proper temperature.
Sear Chicken Skin-Side Down
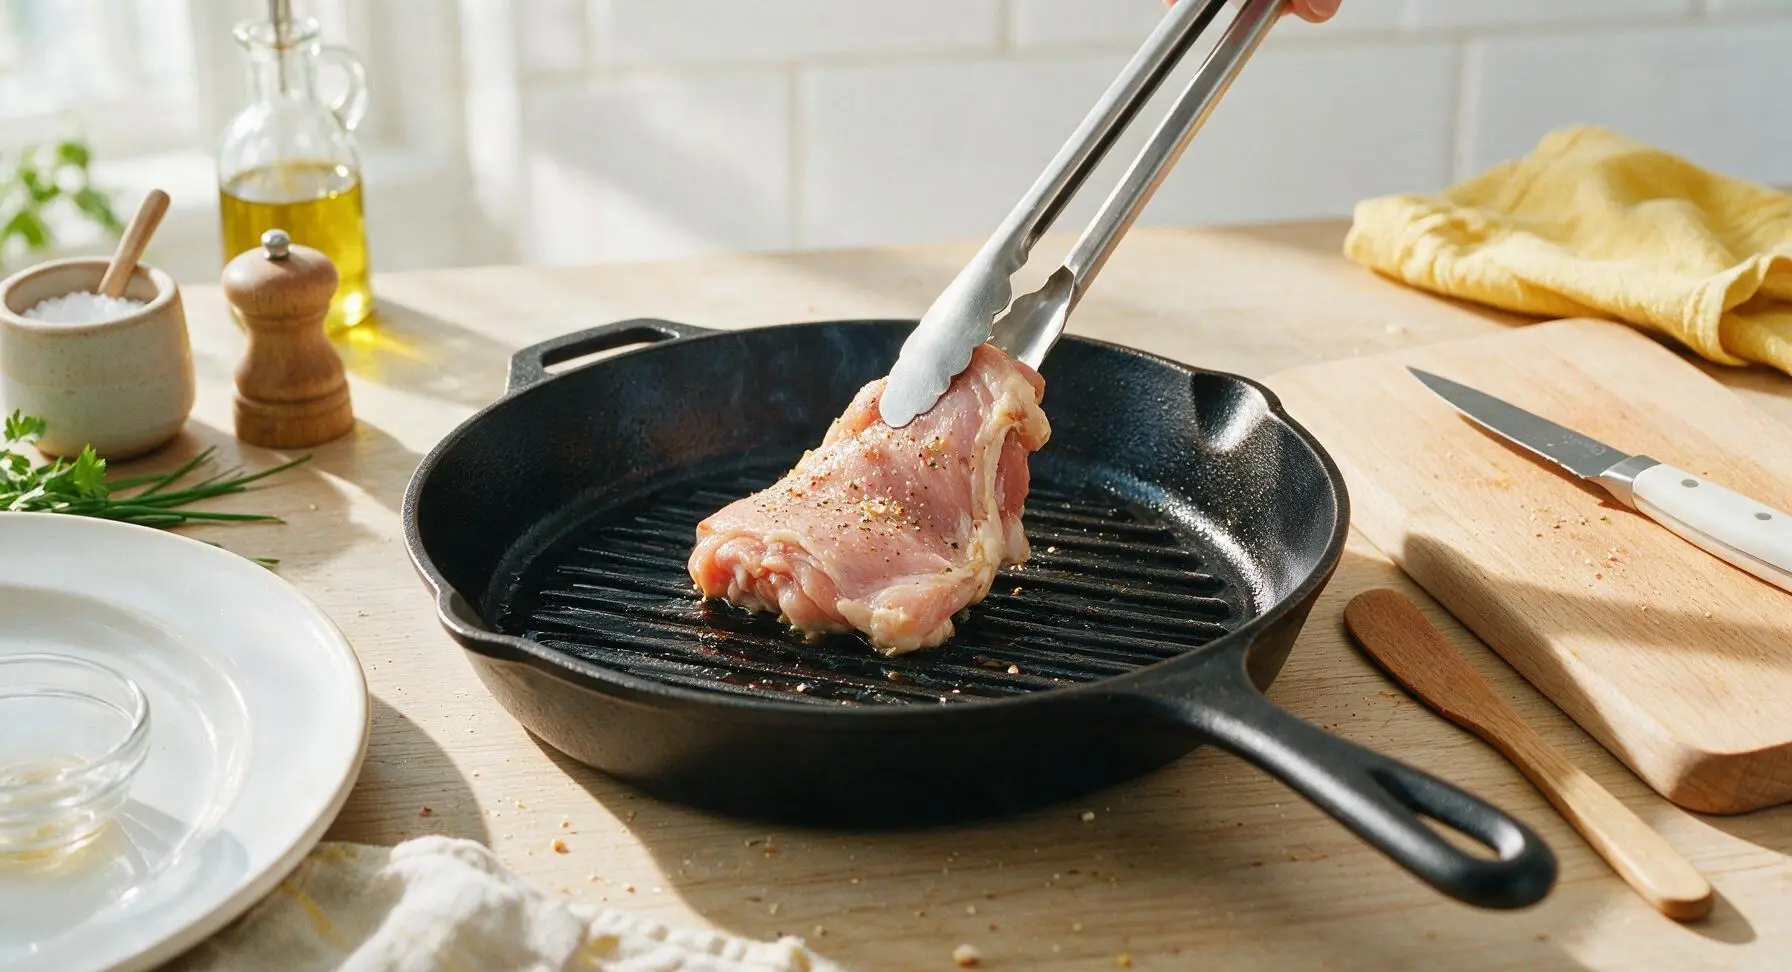
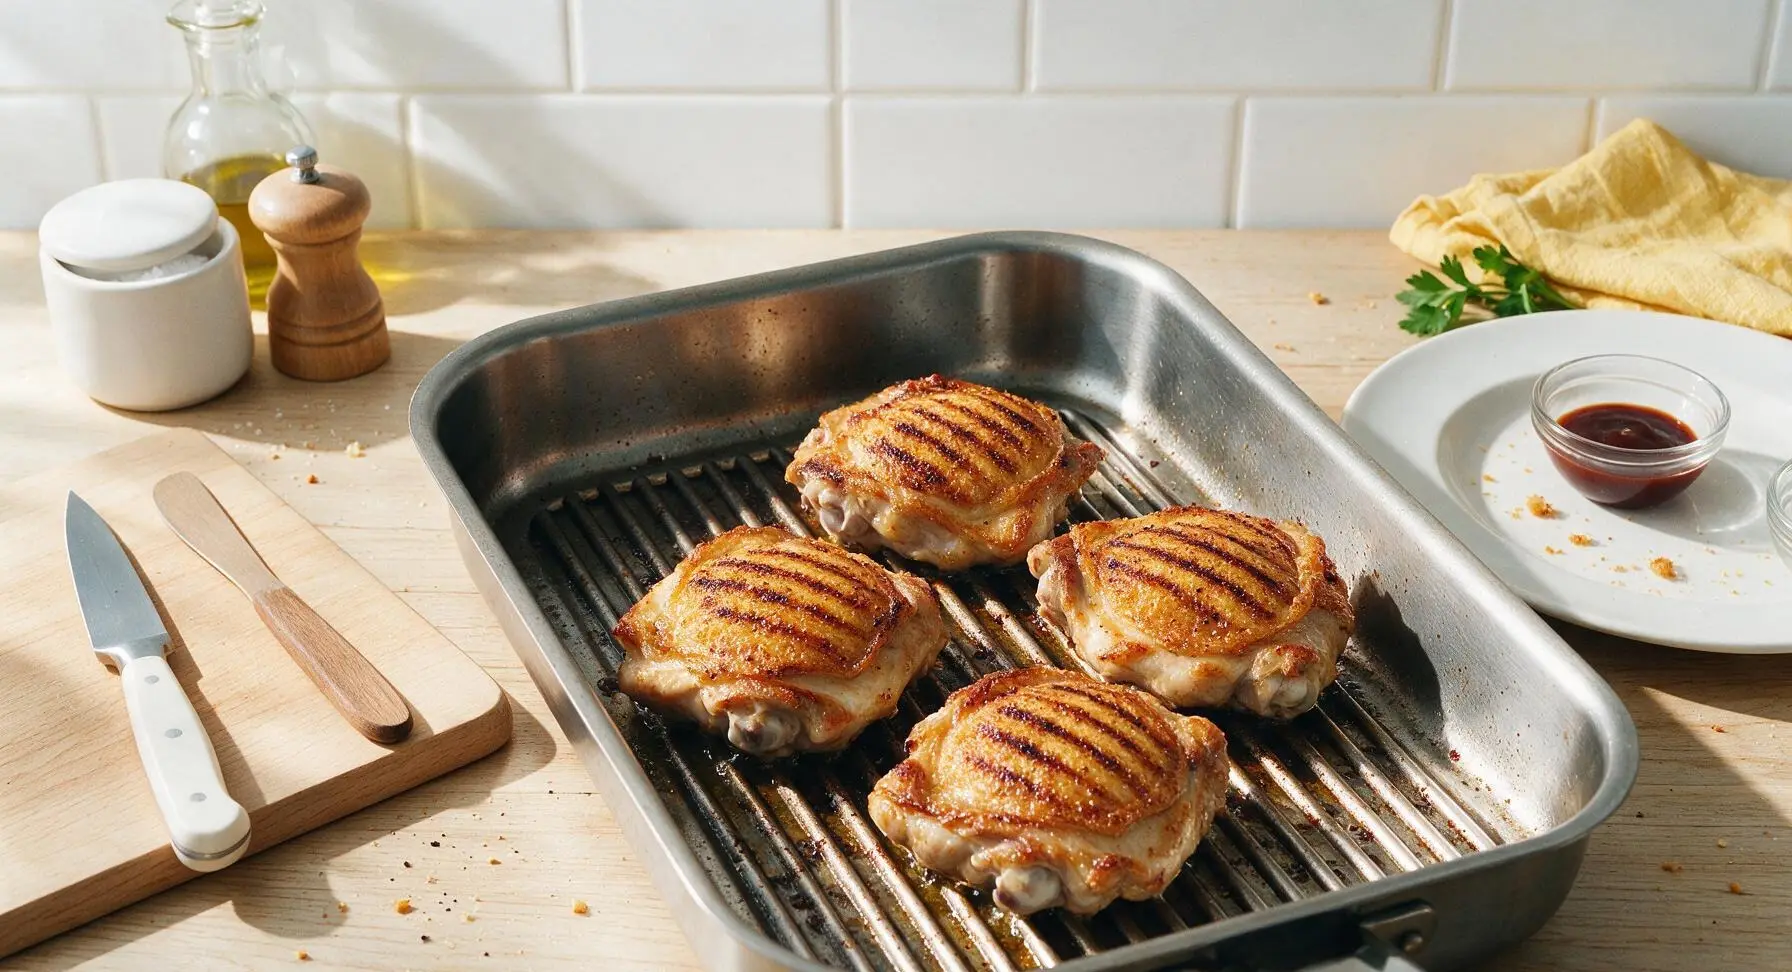
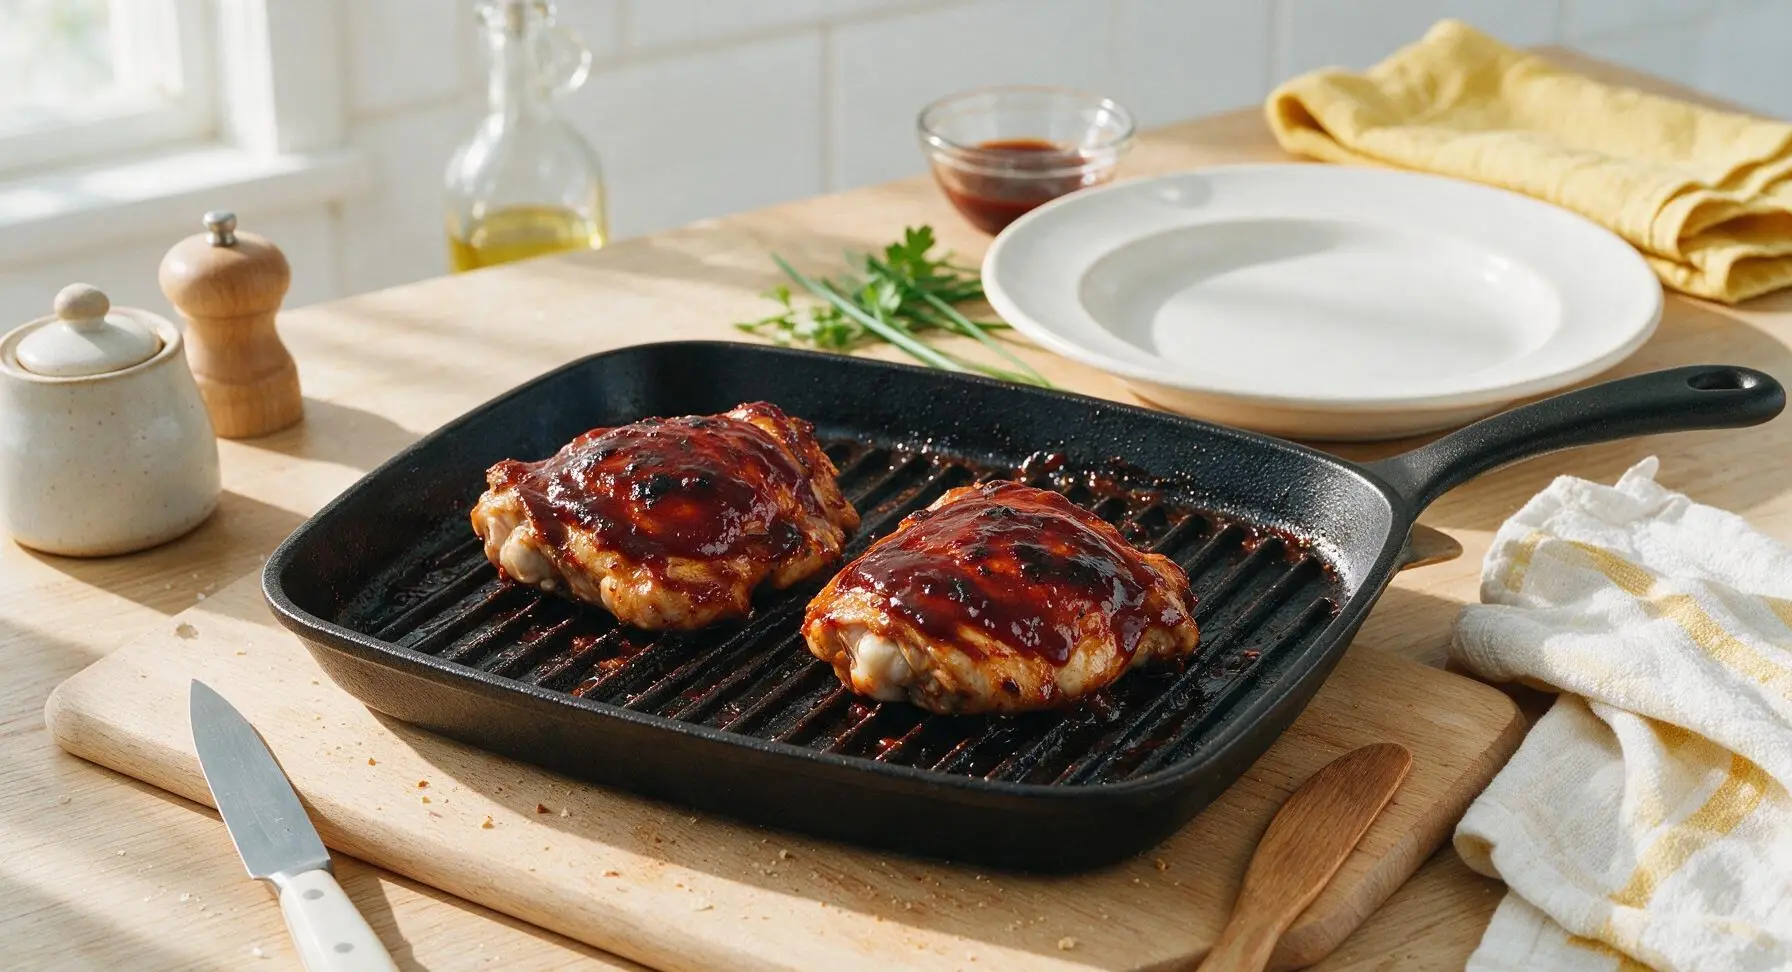
Use the stainless steel tongs to carefully place each chicken thigh on the hot grill pan skin-side down, arranging them with 1 inch of space between each piece so they do not steam. Do not move the chicken once placed. Let sear for 6-7 minutes, until the skin is deep golden brown, crispy, and releases easily from the pan grates without sticking. The edges of the skin will look crisp and dark amber, with distinct dark grill marks across the surface when ready to flip.
Flip and Cook Through
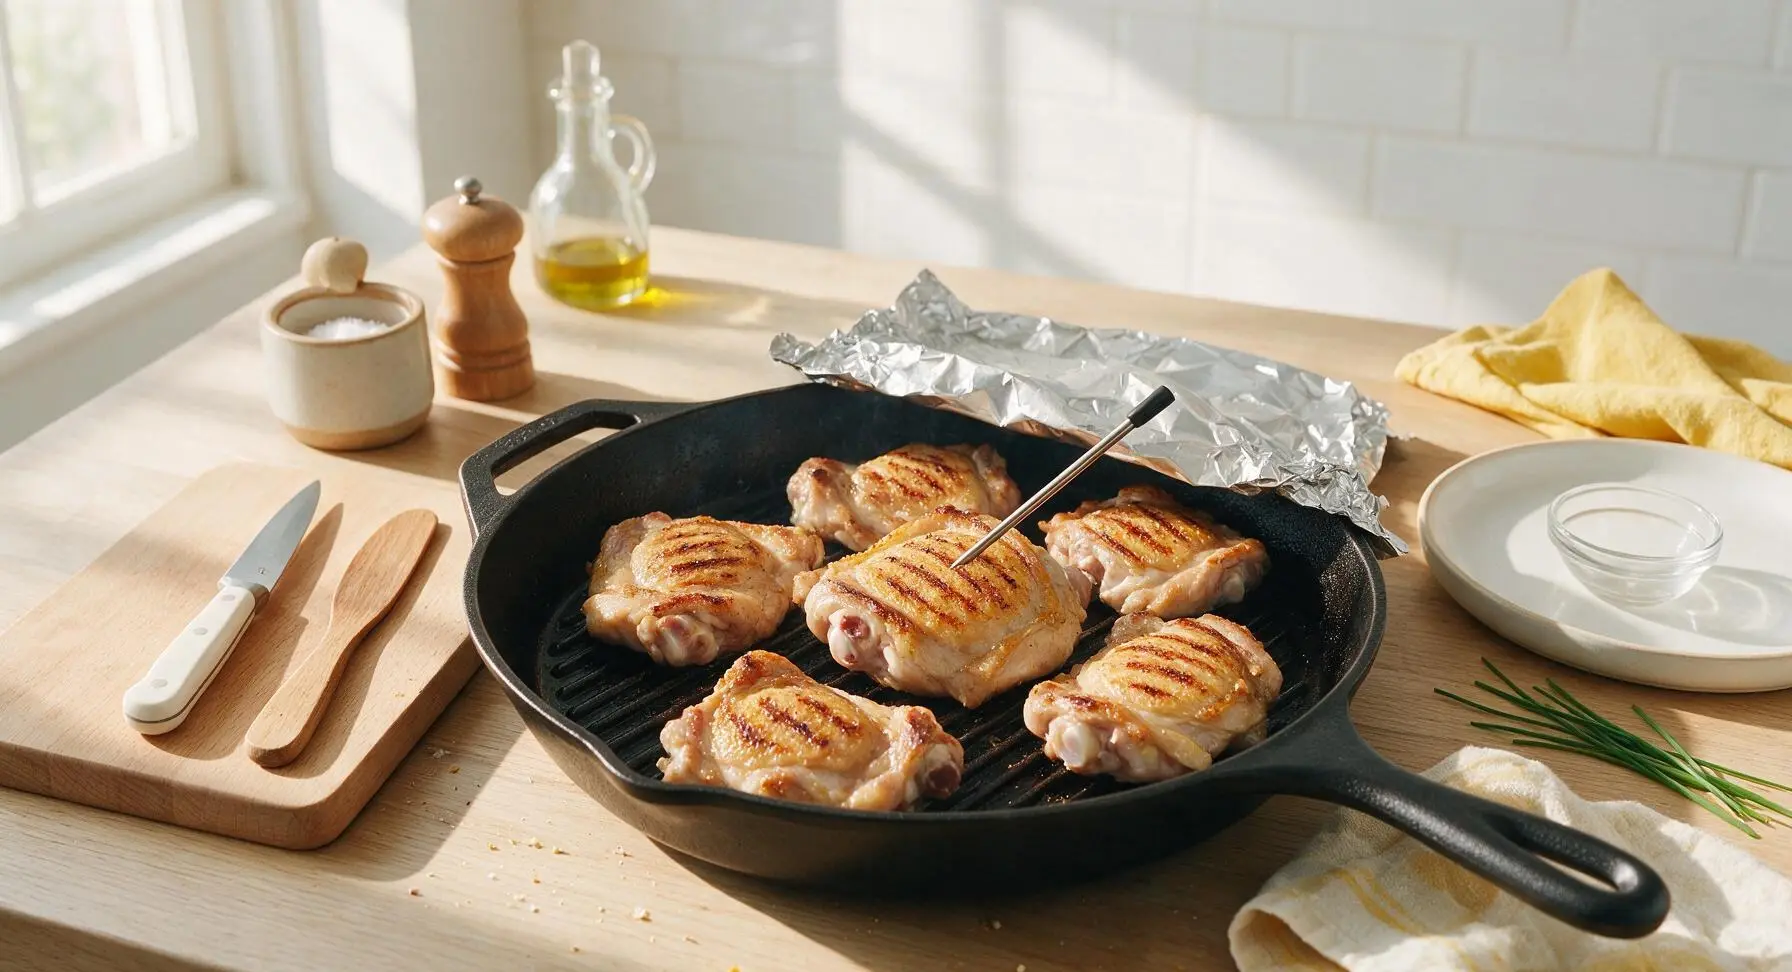
Use the tongs to flip each chicken thigh to the bone side. Reduce heat to medium, tear a sheet of aluminum foil from the roll to loosely cover the pan, and cook for another 8-10 minutes. Check doneness by inserting the digital instant-read thermometer into the thickest part of the thigh, avoiding contact with the bone: it should read 160°F (71°C) before saucing. The meat will be opaque around the bone, with clear (not pink) juices running when pierced at this stage.
Baste with BBQ Sauce
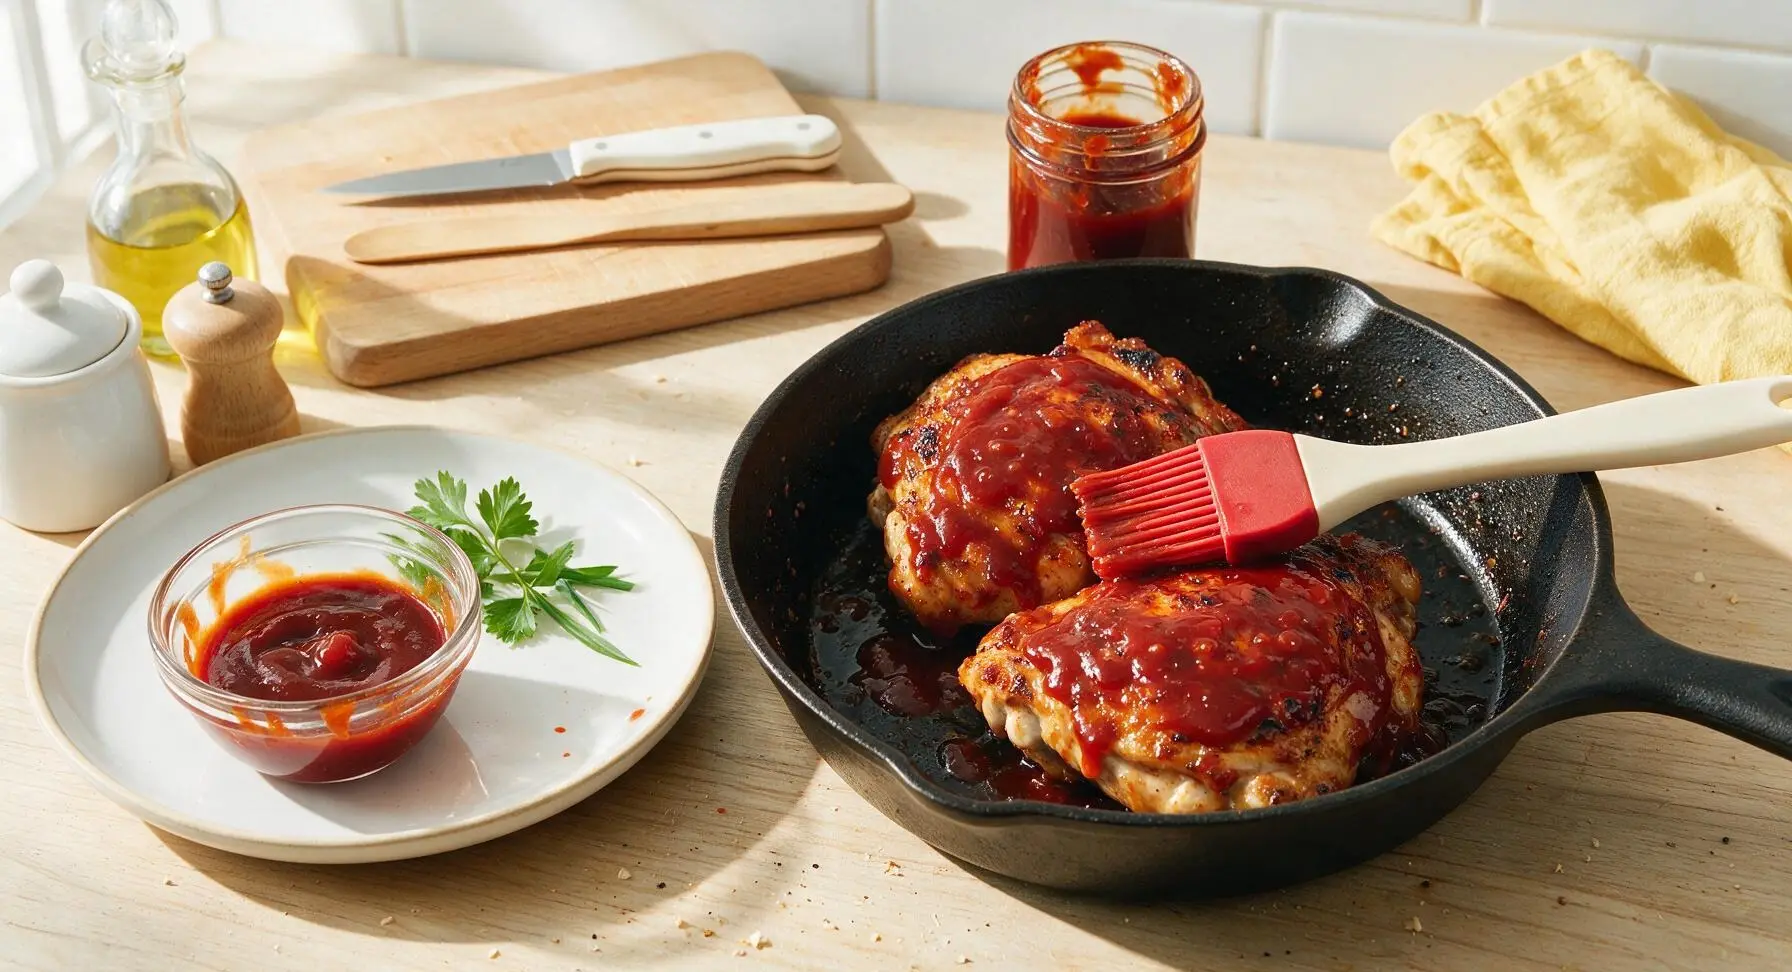
Use the silicone basting brush to slather 3/4 cup of the barbecue sauce, dividing it evenly between both sides of the chicken as you flip, coating each surface in a thick even layer. Let cook for 2 minutes per side after saucing, until the sauce caramelizes into a sticky, deep mahogany coating, watching closely to avoid burning. The sauce will bubble and darken slightly at the edges, with a glossy sticky texture that clings to the chicken when ready.
Let Chicken Rest
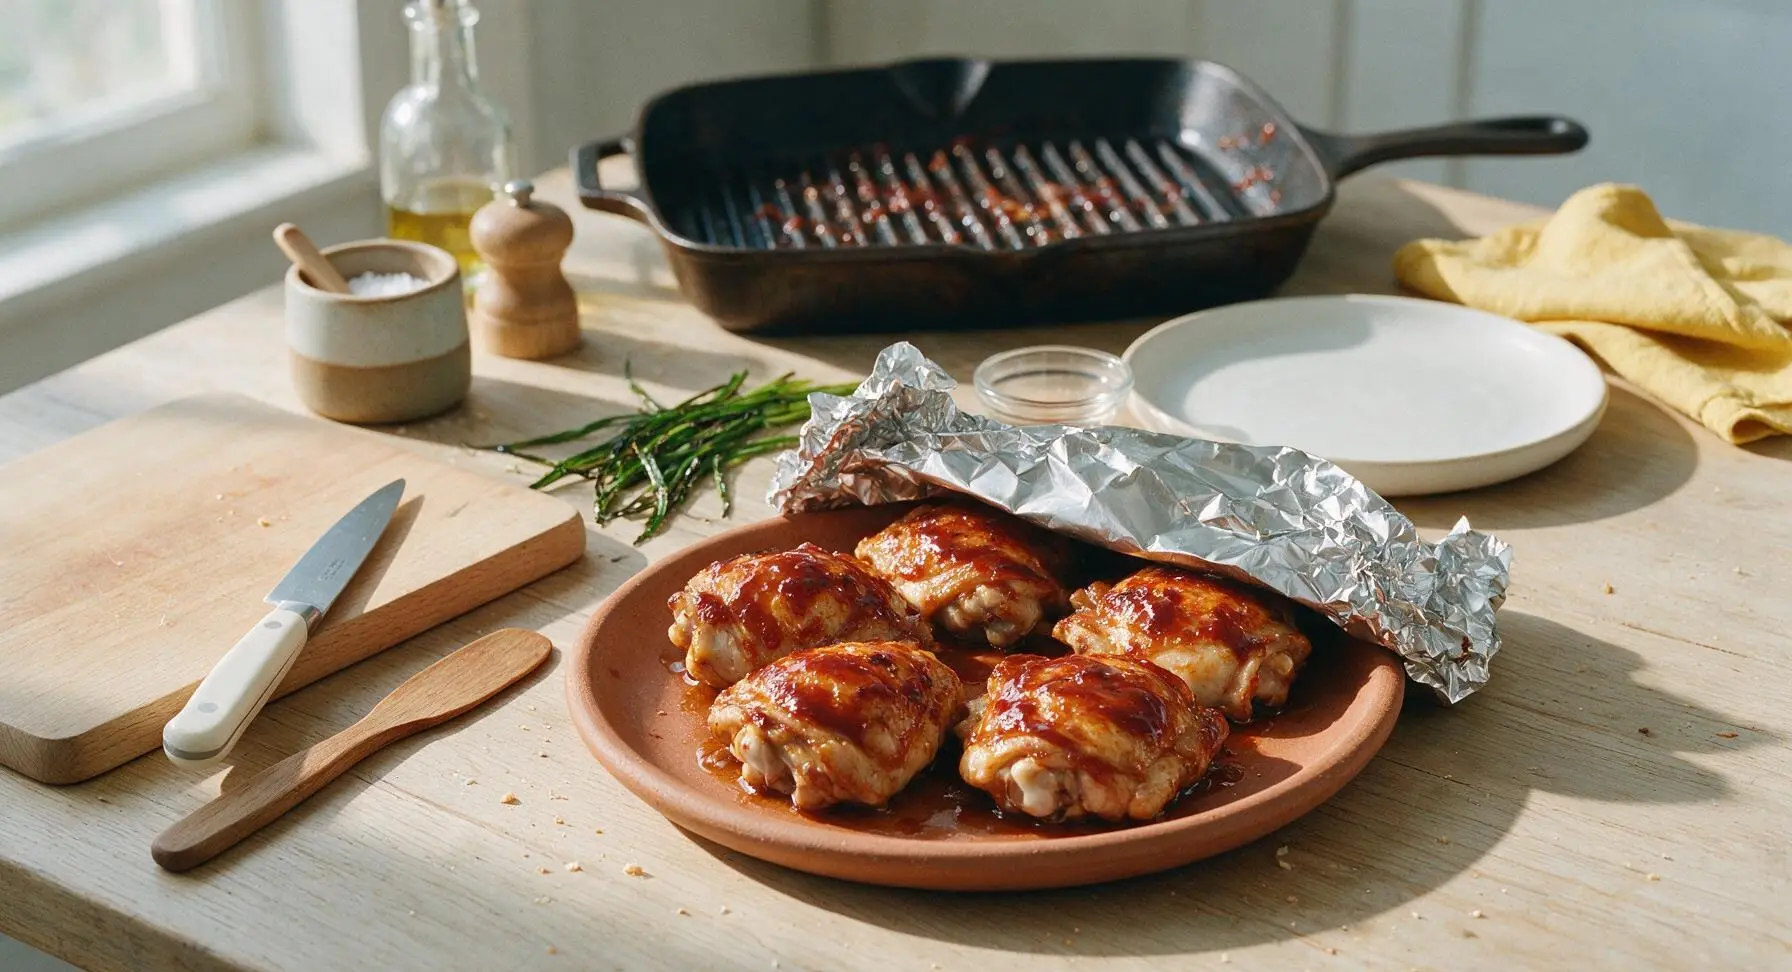
Use the tongs to transfer the sauced chicken thighs from the grill pan to the warm terracotta stoneware dinner plate. Loosely tent a small piece of foil over the top of the plate, and let the chicken rest for 5 minutes. This allows the juices to redistribute back into the meat instead of running out when you cut into it. The sauce will continue to glisten, with small beads of juice pooling slightly at the base of each thigh on the plate as it rests.
Garnish and Serve
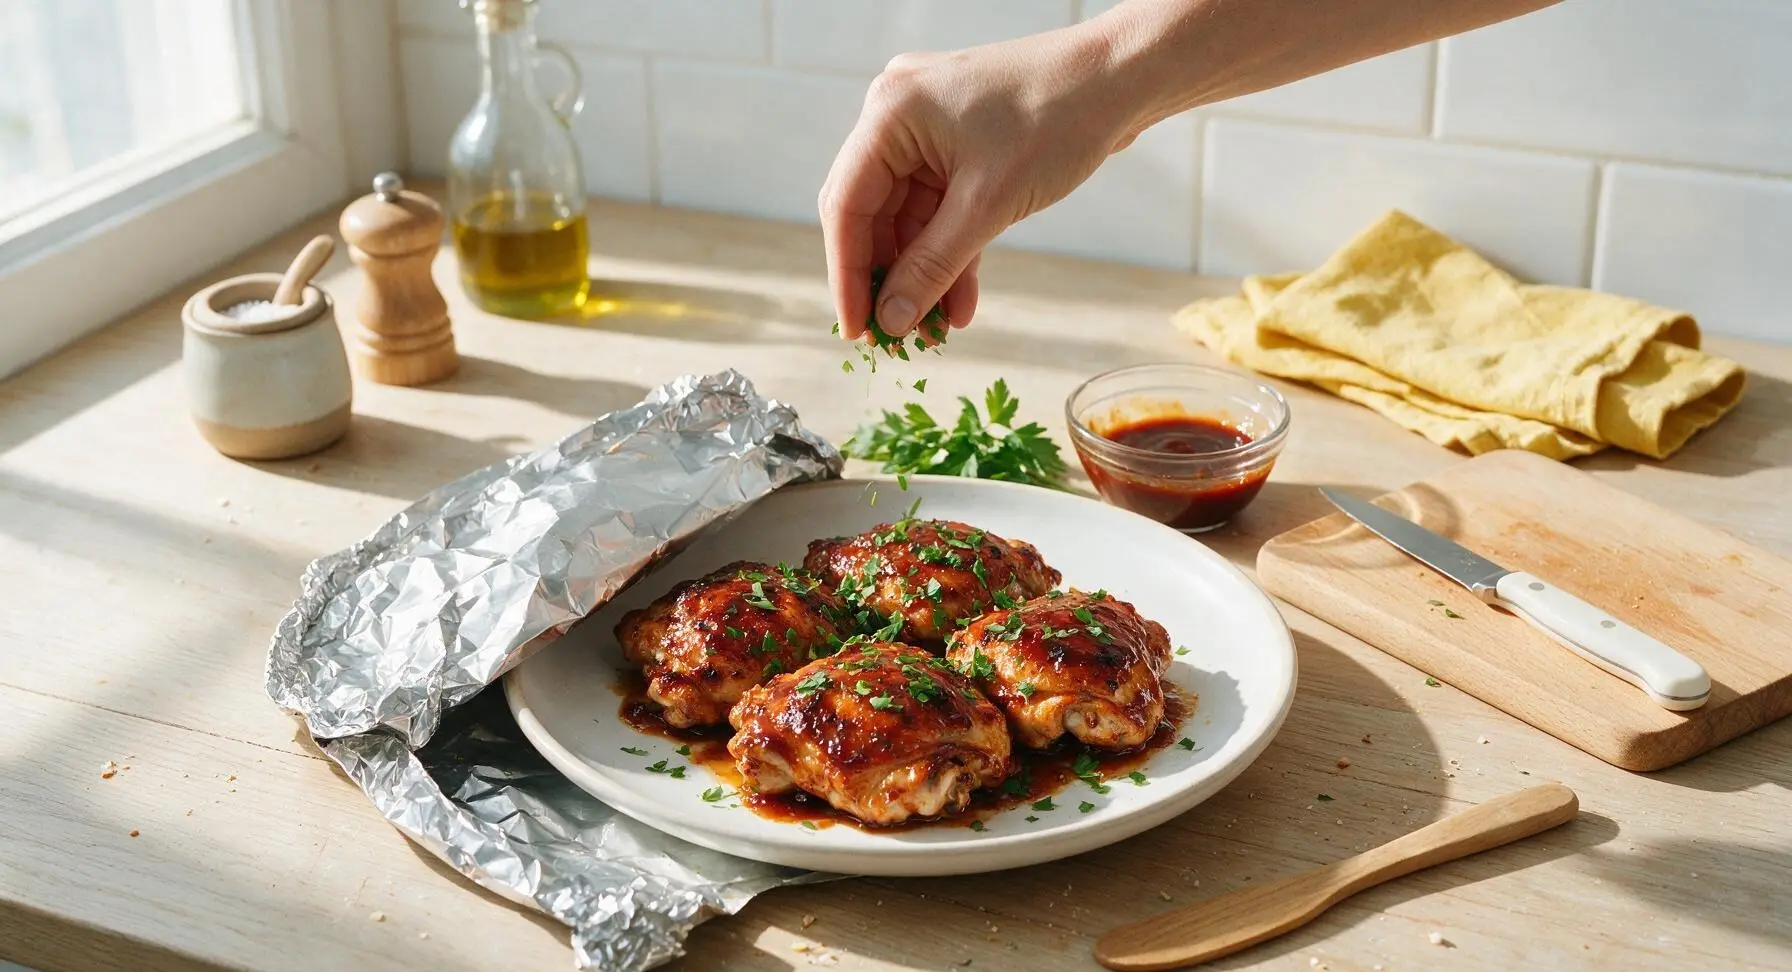
Remove the foil tent from the plate. Sprinkle the 2 tablespoons of chopped fresh flat-leaf parsley evenly across the top of the chicken. Spoon the remaining 1/4 cup barbecue sauce into the small clear glass ramekin to serve on the side for dipping. Serve immediately while warm.
Tips
2.Resist the urge to move the chicken while searing the skin side: leaving it undisturbed for the full 6-7 minutes allows subcutaneous fat to render fully, creates distinct dark grill marks, and ensures the skin releases easily from the pan without tearing.
3.Wait to add barbecue sauce until the final 4 minutes of cooking: BBQ sauce is high in added sugar, which burns quickly over medium-high heat; adding it too early will result in a bitter, blackened coating instead of a sweet, glossy, sticky glaze.






OMG this was SO good! I threw this together last minute for our weeknight family dinner and my picky 7 year old asked for seconds! The cook time was exactly 25 minutes like it said, no guesswork at all. Already added this to our regular meal rotation!
Made this for our neighborhood potluck this past weekend and everyone was asking for the recipe! I did add a little extra paprika for a tiny kick, but the base recipe is foolproof. So easy even a beginner can nail it.
Game changer for my Sunday meal prep! I made a big batch on Sunday, portioned it out with rice and broccoli, and it held up perfectly all week for lunches. The barbecue flavor doesn’t get soggy or weird when reheated, 10/10
Wait, quick question—can I use boneless skinless thighs instead of breasts for this? I made it with breasts last week and it was really good, but I always have thighs in my freezer and prefer how juicy they get.
I was so skeptical a 25 minute barbecue chicken could actually taste good, not like that sad bottled sauce slop, but wow—this is restaurant quality! I used my favorite hickory BBQ sauce and it came out caramelized perfectly, no burnt bits at all.
Literally the easiest weeknight meal ever. I didn’t even have to marinate it? Wild. Tossed some fries in the oven while the chicken cooked and had a full meal done in half an hour, zero stress after work. Will make again for sure.
Made this after a long day hiking last weekend, I was too tired to do anything fancy and this hit the spot! I did mine on the grill instead of the oven since it was nice out, turned out amazing with that little smoky char from the grates.
Made this for my twins’ birthday cookout and even my mother in law, who swears her BBQ chicken is the only good recipe, said this was top tier. That’s the highest possible compliment I can get, tbh.
This is so perfect for when it’s too hot to stand over the grill for an hour in the Arizona heat. 25 minutes in the oven, minimal cleanup, tastes just like the grilled stuff I make on cooler weekends. Total summer win for me.