
Easy Batter Rolls
intro
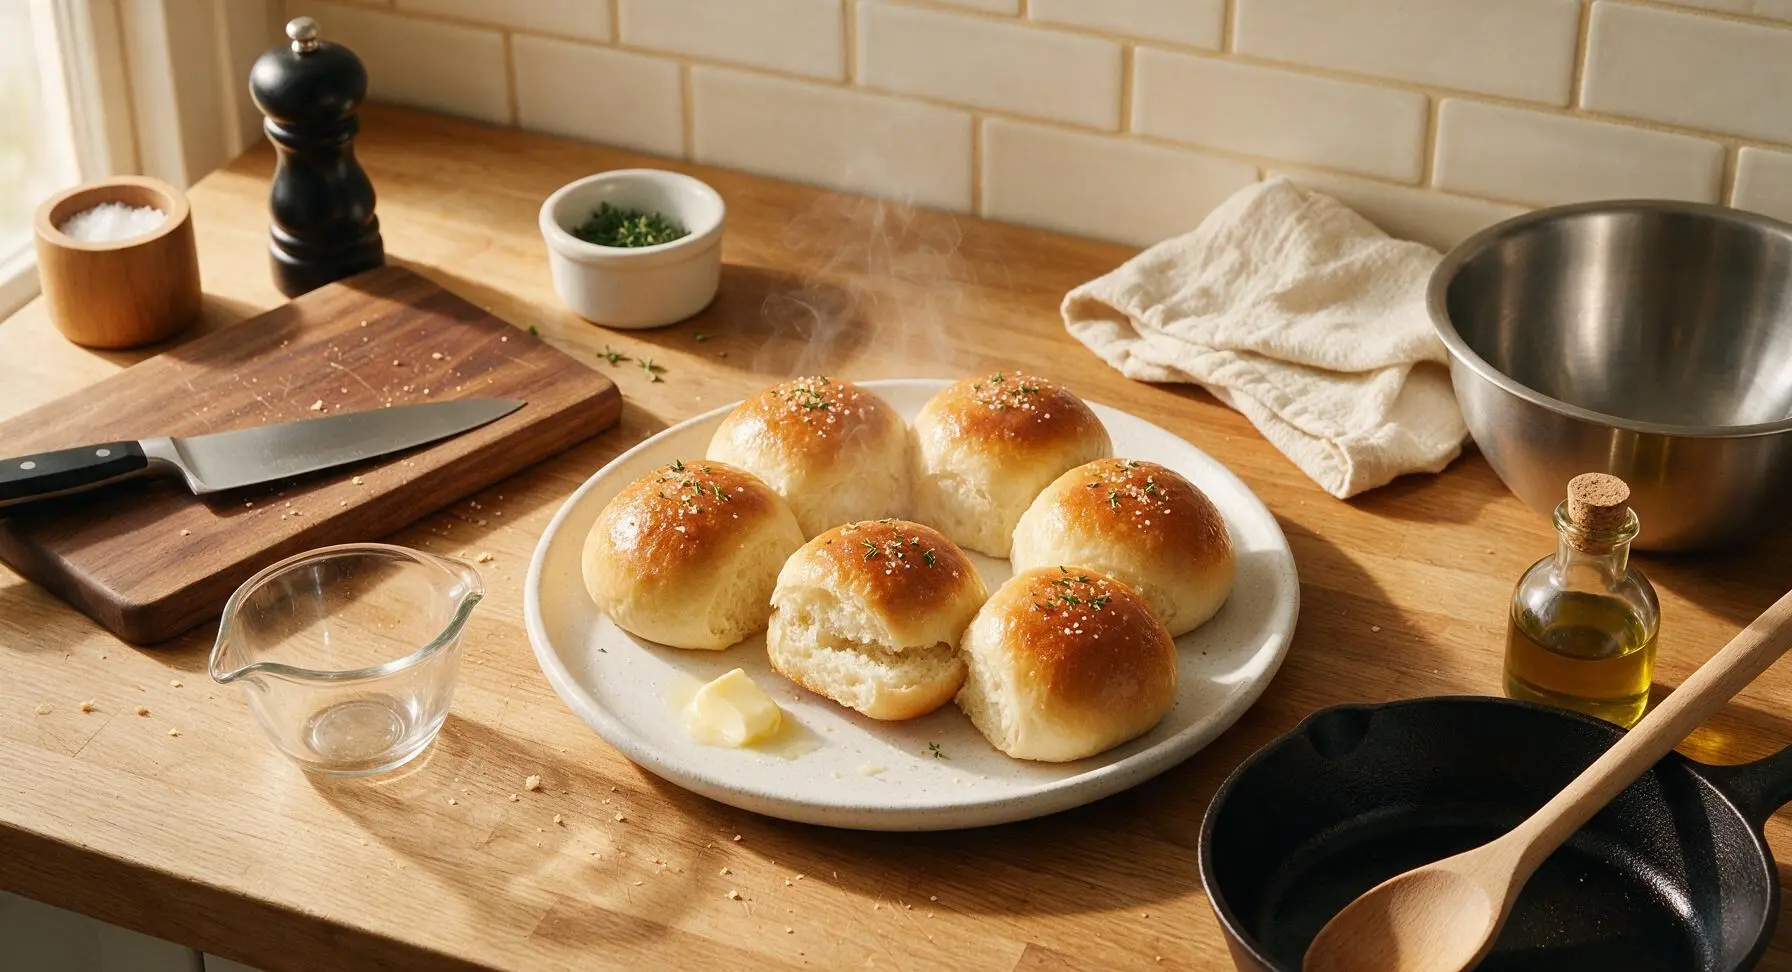
Soft, pillowy no-knead batter rolls with a golden buttery crust, requiring minimal effort—perfect for sopping up gravy or serving warm with butter at family meals.
Ingredients
Steps
Proof Yeast Mixture
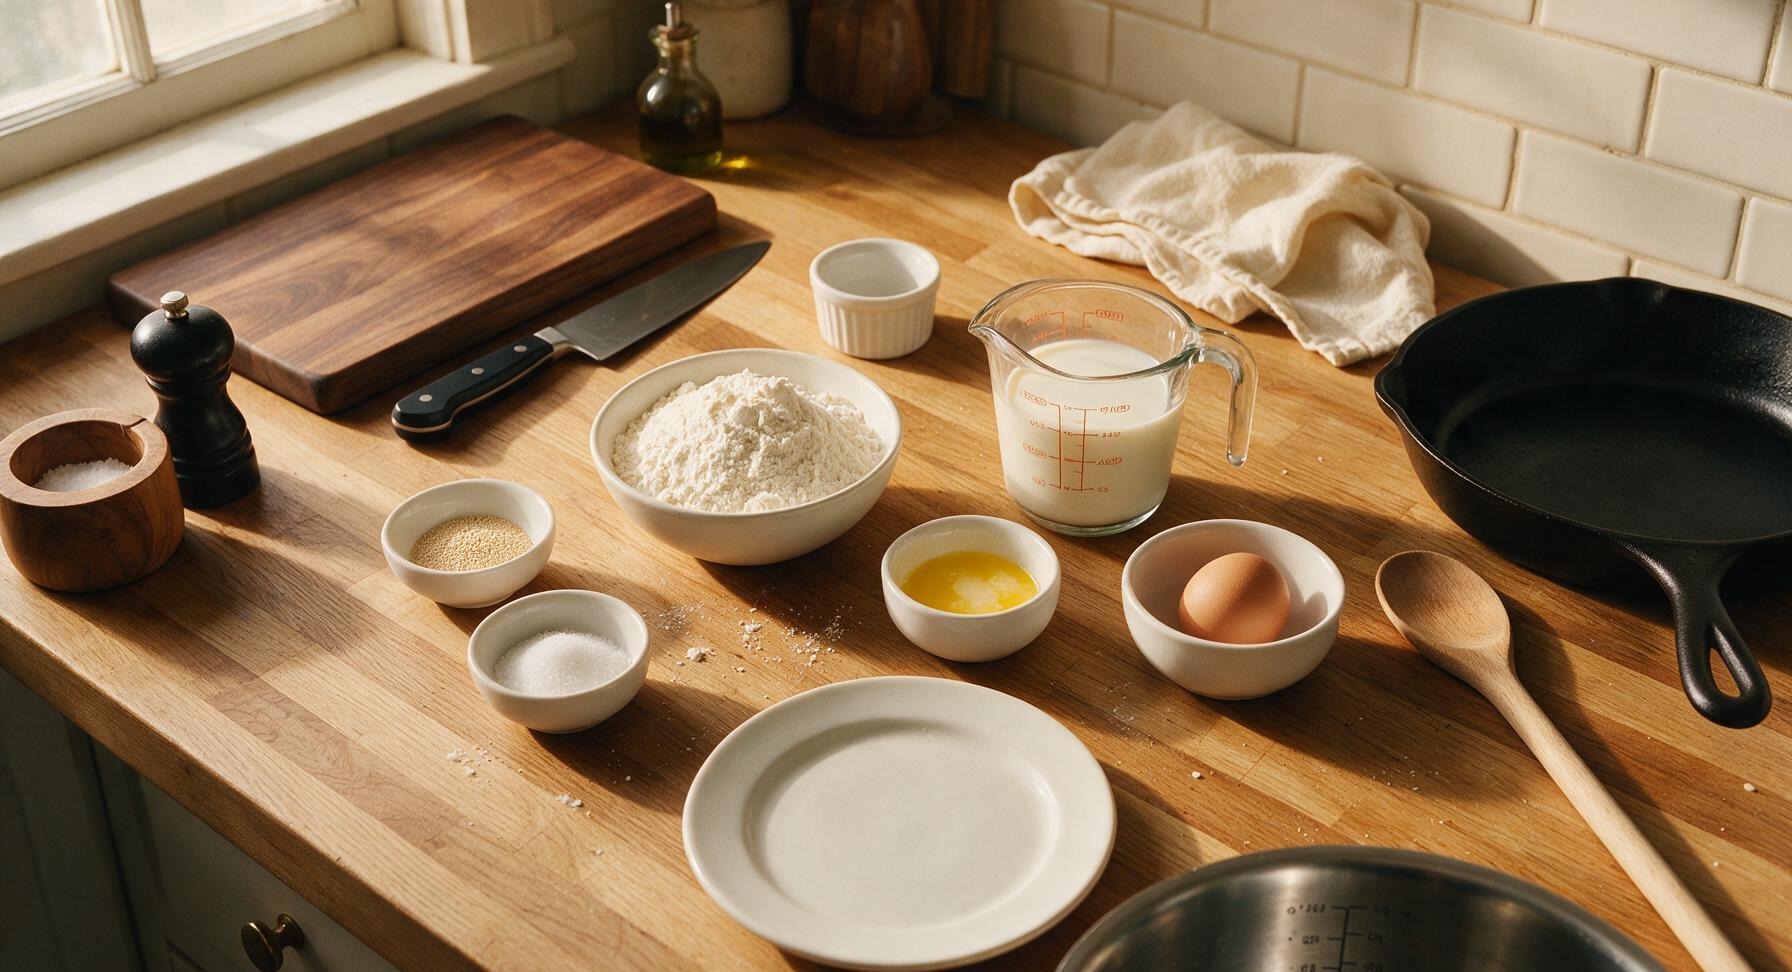
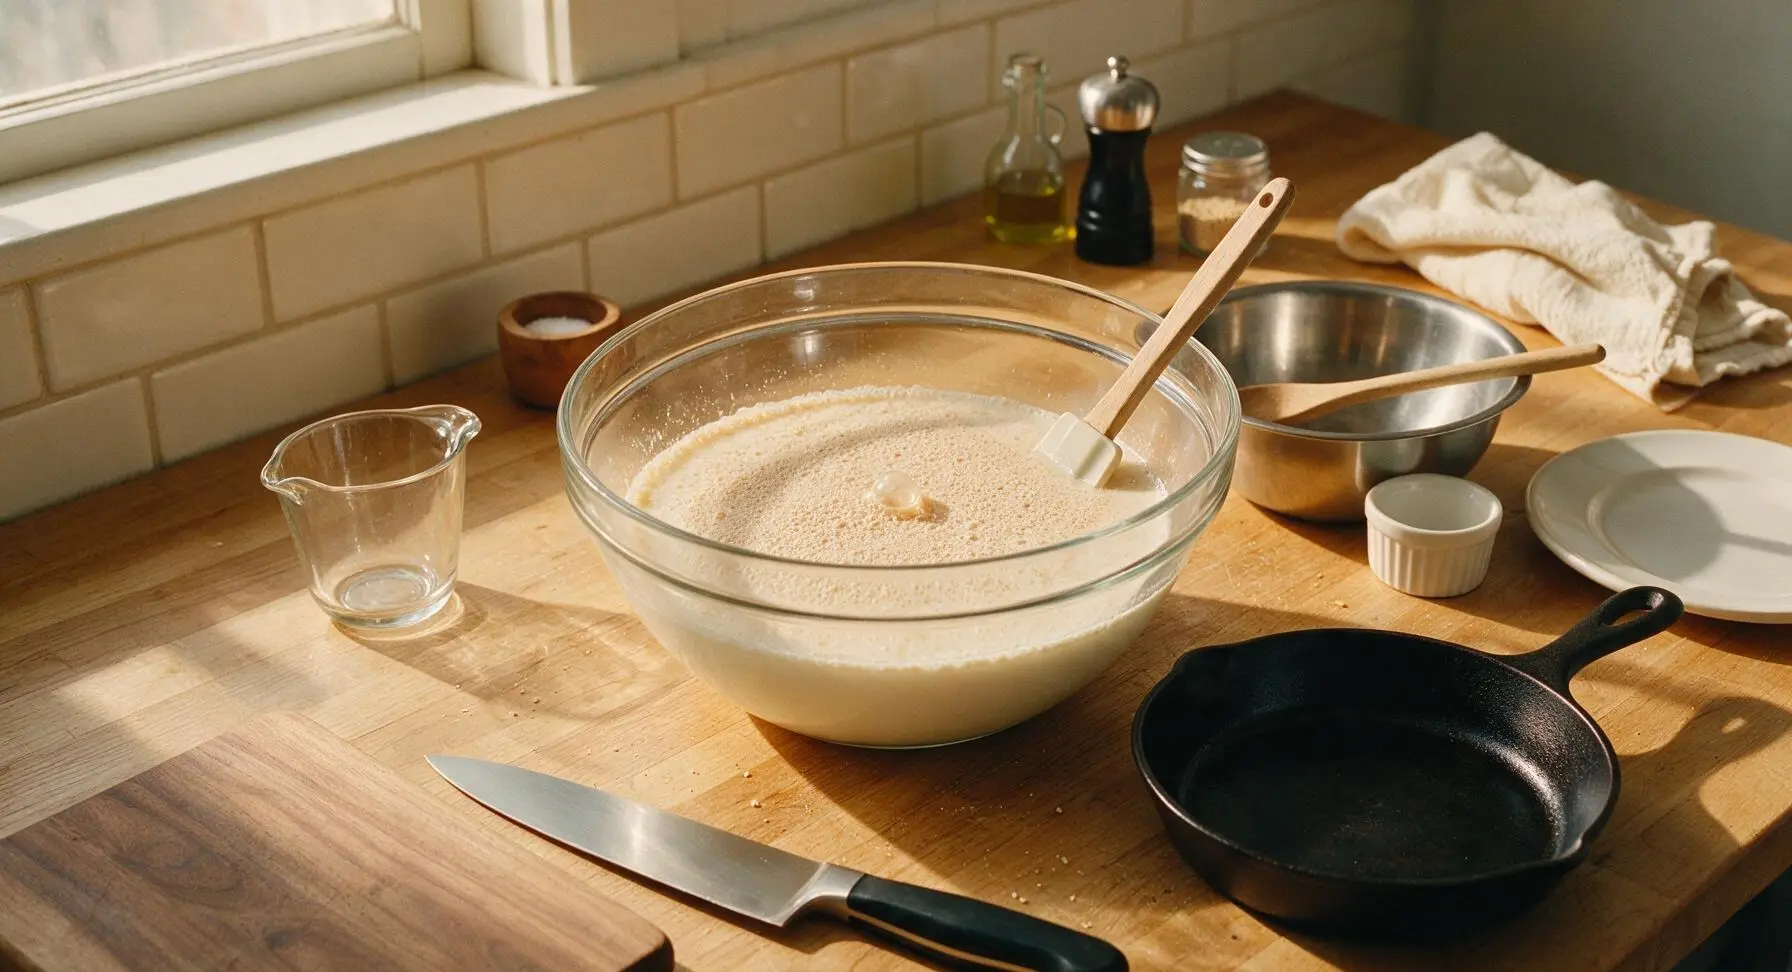
In the large clear glass mixing bowl, combine 1 1/4 cups whole milk warmed to exactly 110°F (feels like warm bath water, not hot to the touch), 2 tablespoons granulated sugar, and 2 1/4 teaspoons active dry yeast. Stir once gently with the silicone spatula to combine, then let rest for 5 minutes. The surface will become foamy and smell faintly of sweet bread, confirming the yeast is active. If no foam forms after 5 minutes, discard the mixture and use fresh yeast, as inactive yeast will not make the rolls rise.
Add Wet Ingredients
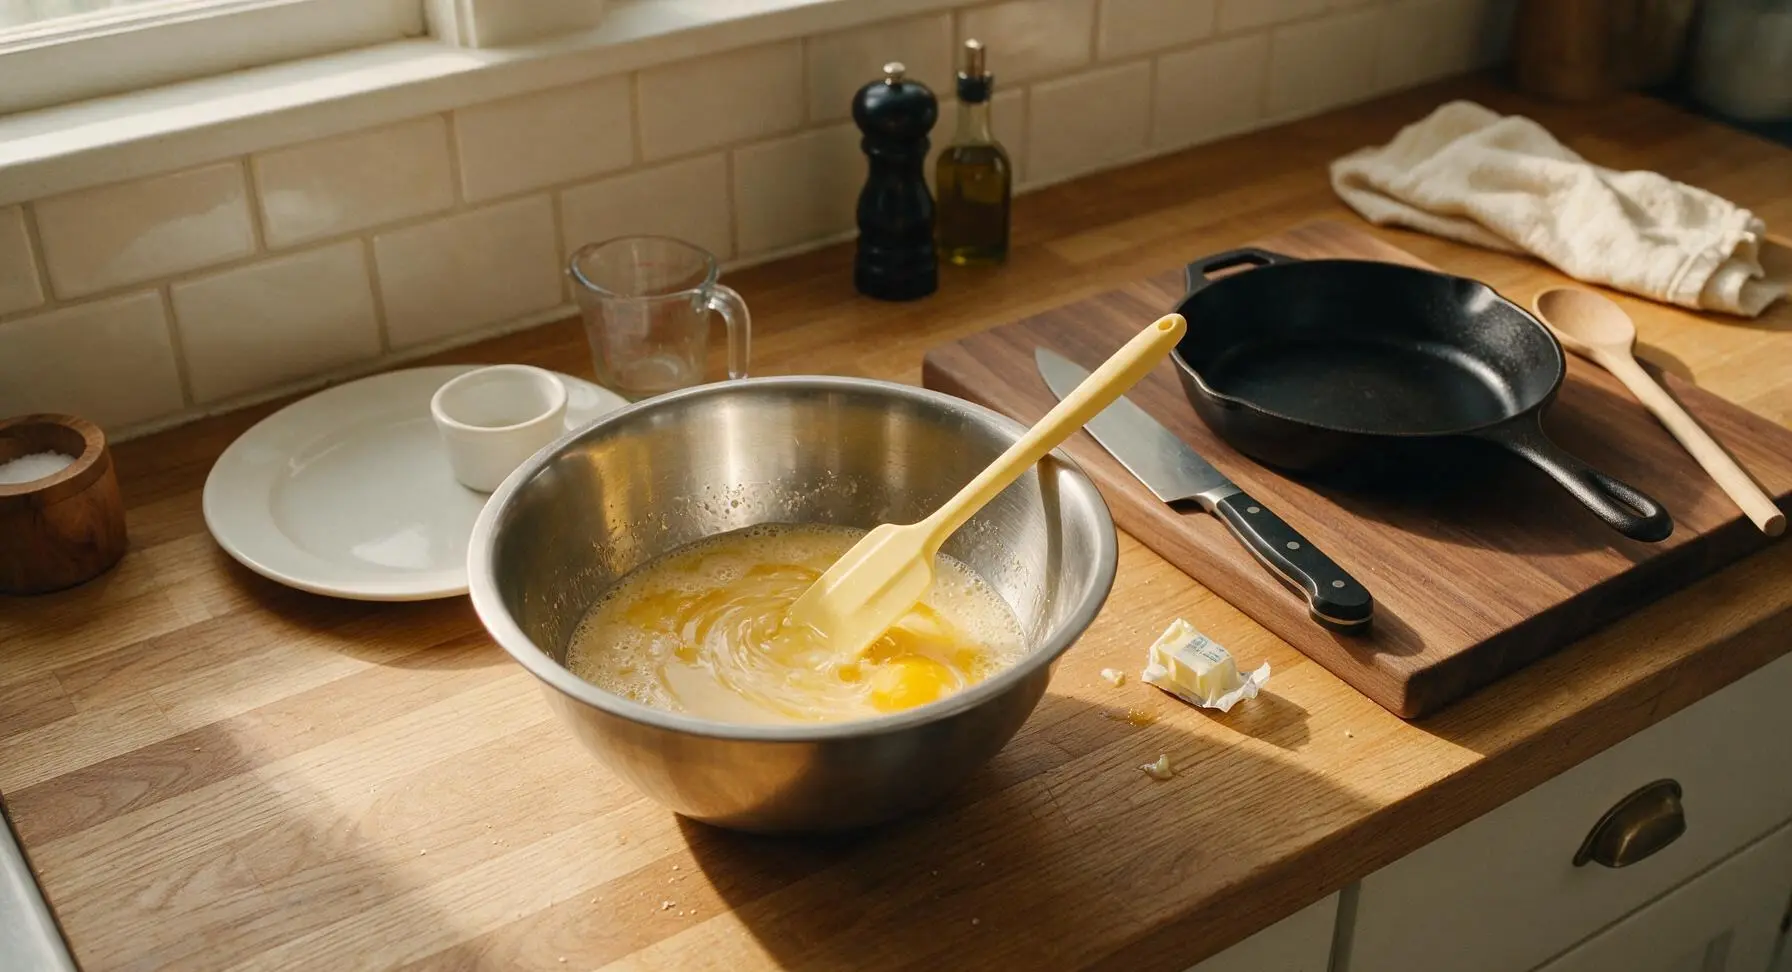
Add 3 tablespoons cooled melted butter and 1 room-temperature large egg to the foamy yeast mixture. Stir gently with the silicone spatula for 30 seconds until the egg is fully incorporated, creating a smooth, pale golden liquid with no streaks of unblended egg yolk visible on the surface.
Mix No-Knead Batter
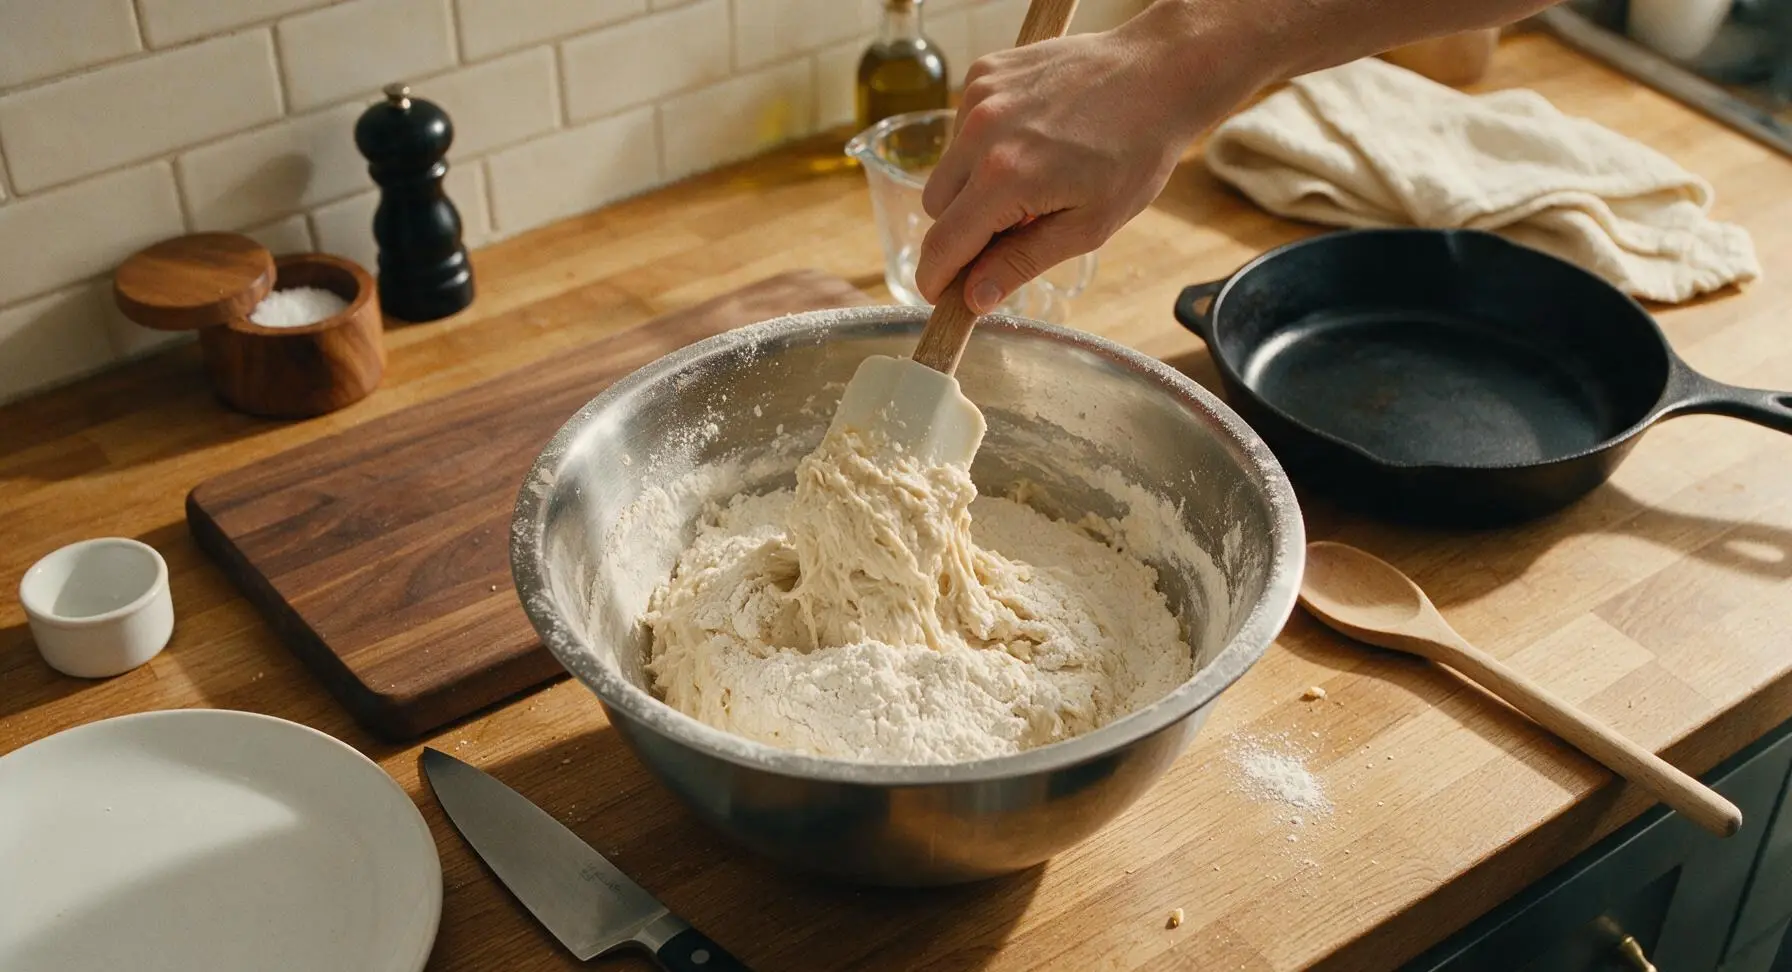
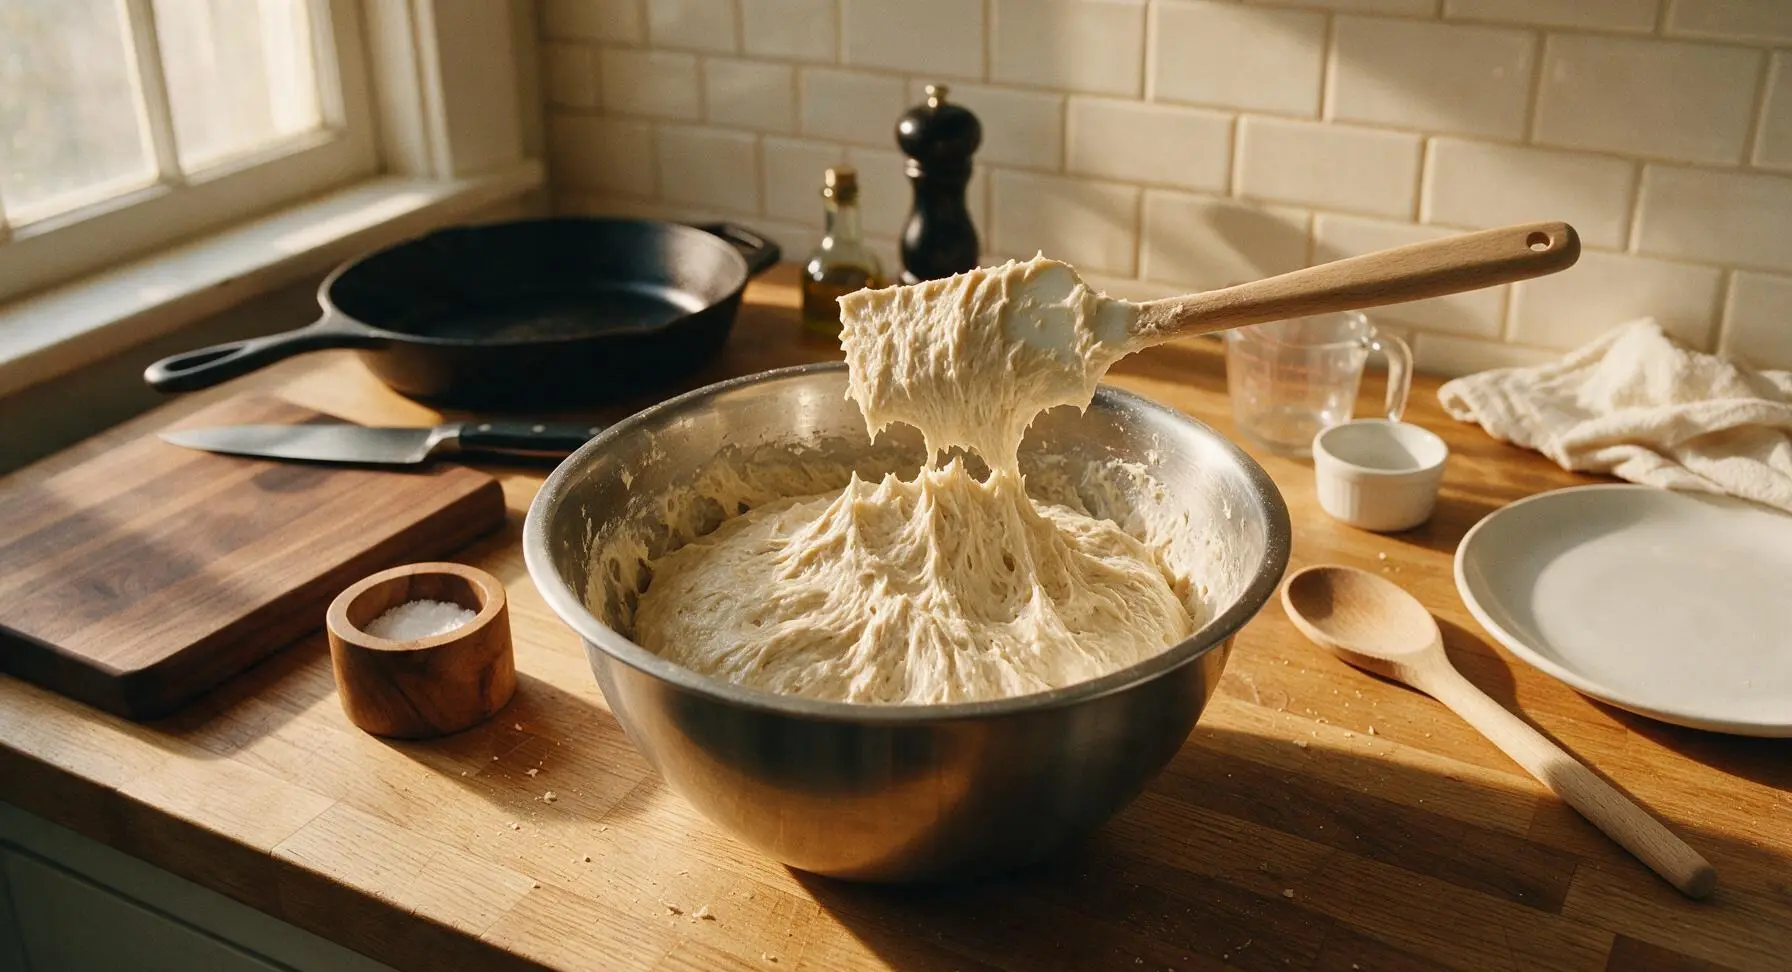
Add 3 1/2 cups all-purpose flour and 1 teaspoon fine sea salt to the wet ingredient mixture. Stir steadily with the silicone spatula for 2 full minutes, scraping down the sides of the bowl every 30 seconds, until a thick, sticky, shaggy batter forms with no hidden dry flour pockets. The batter will be too soft and sticky to knead, pulling away from the bowl sides slightly but clinging firmly to the spatula when lifted.
Let Batter Rise Once
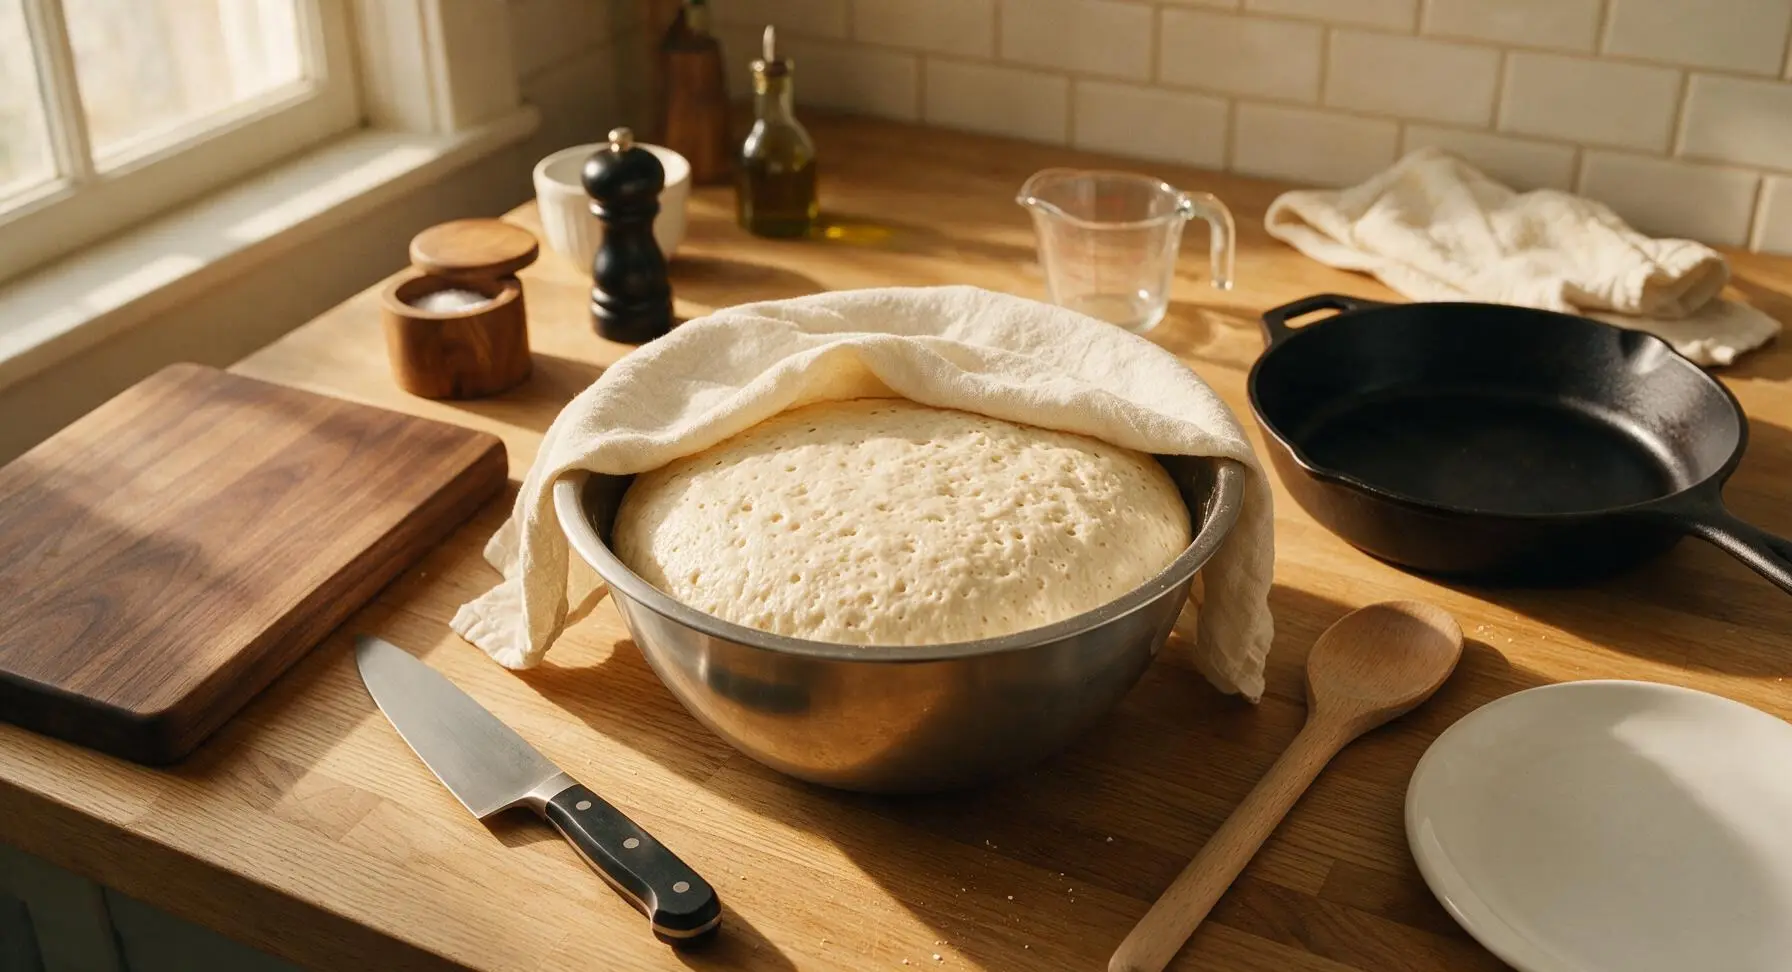
Drape the unbleached cotton proofing cloth loosely over the top of the mixing bowl. Let the batter rest in a warm, draft-free spot (75°F is ideal) for 1 full hour, until it doubles in volume, appears bubbly across the entire surface, and jiggles slightly when the bowl is tapped gently.
Portion Batter Into Tin
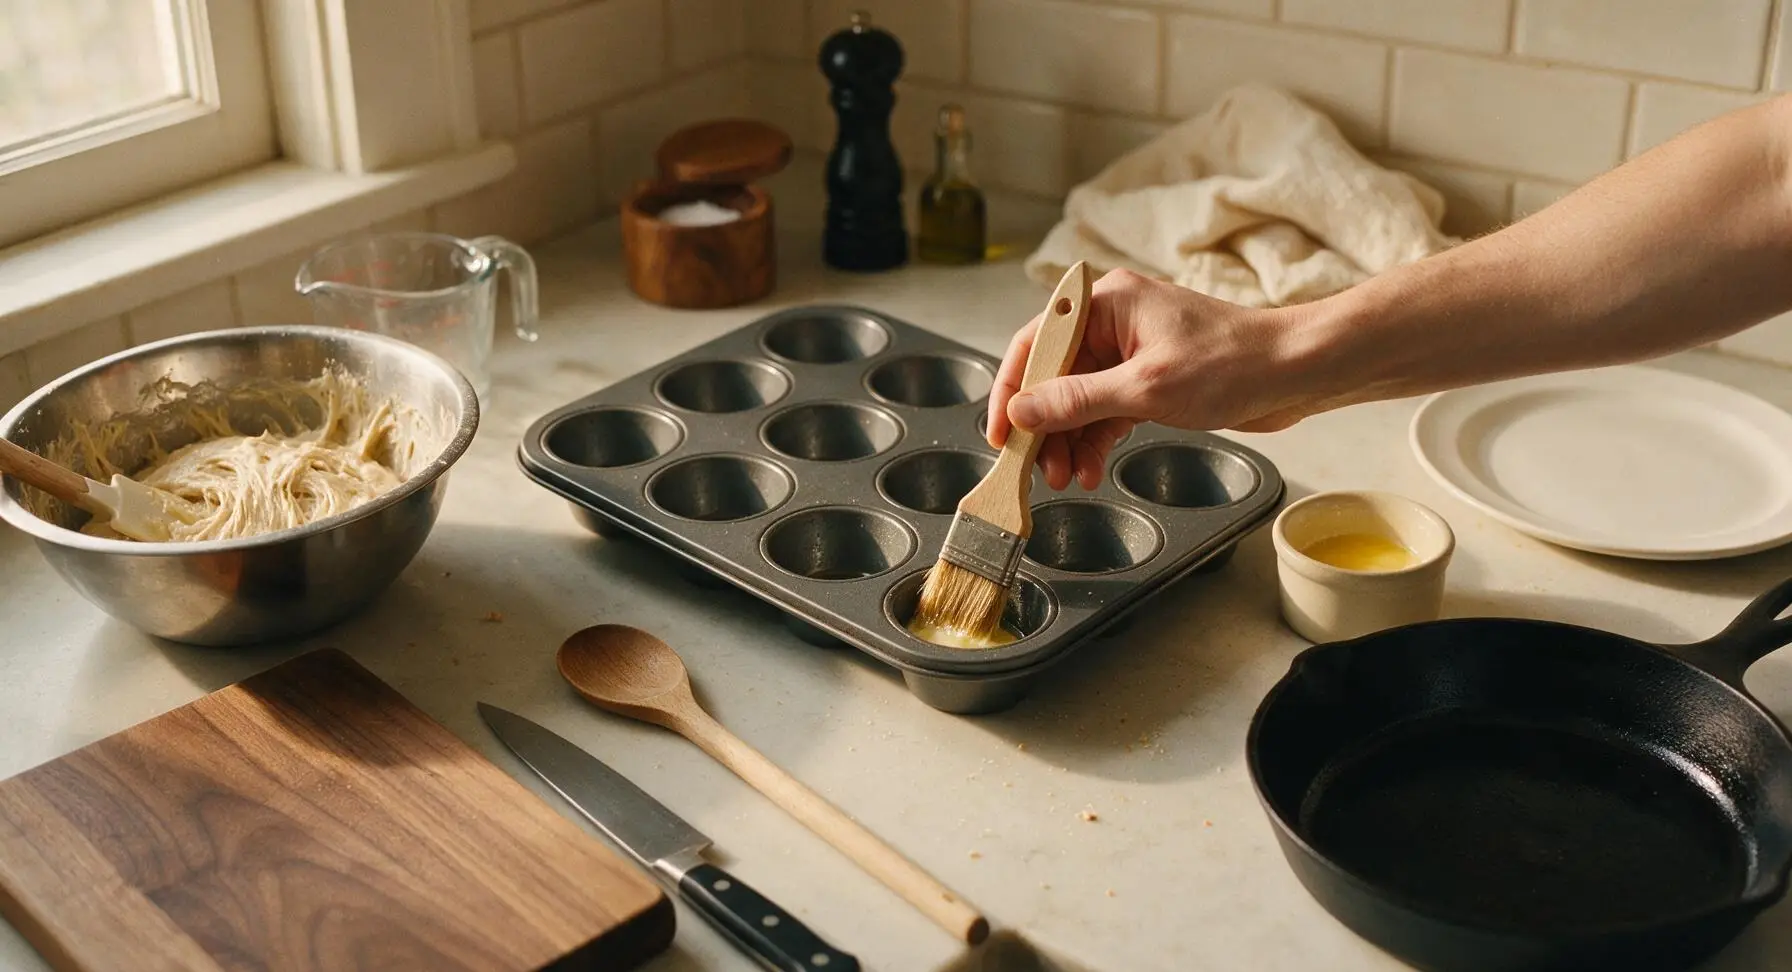
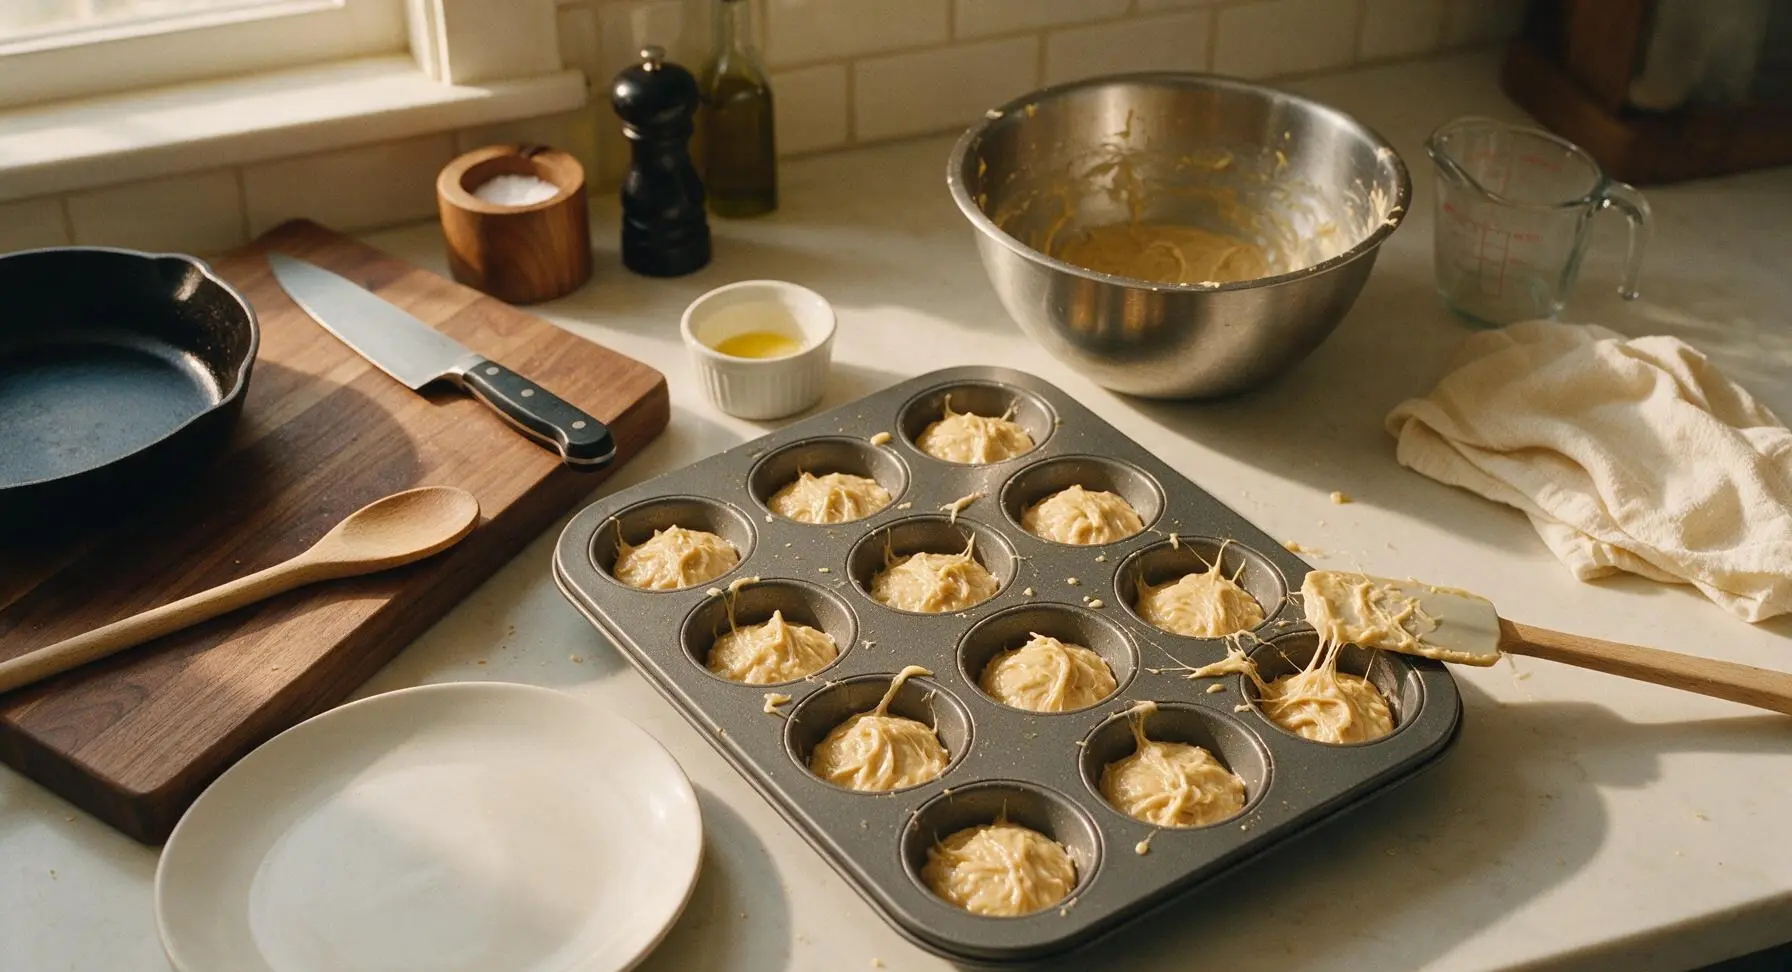
Use a small amount of melted butter (from the 3 tbsp total, held in the small cream ramekin) and the pastry brush to lightly grease the inside of every cup in the dark gray non-stick muffin tin. Remove the proofing cloth from the bowl, stir the risen batter gently with the silicone spatula to deflate it, then scoop 1/4 cup of batter into each greased muffin cup, filling each cup exactly halfway full. The batter will be stringy and sticky as you scoop, leaving small smudges on the tin surface between cups.
Let Rolls Rise Again
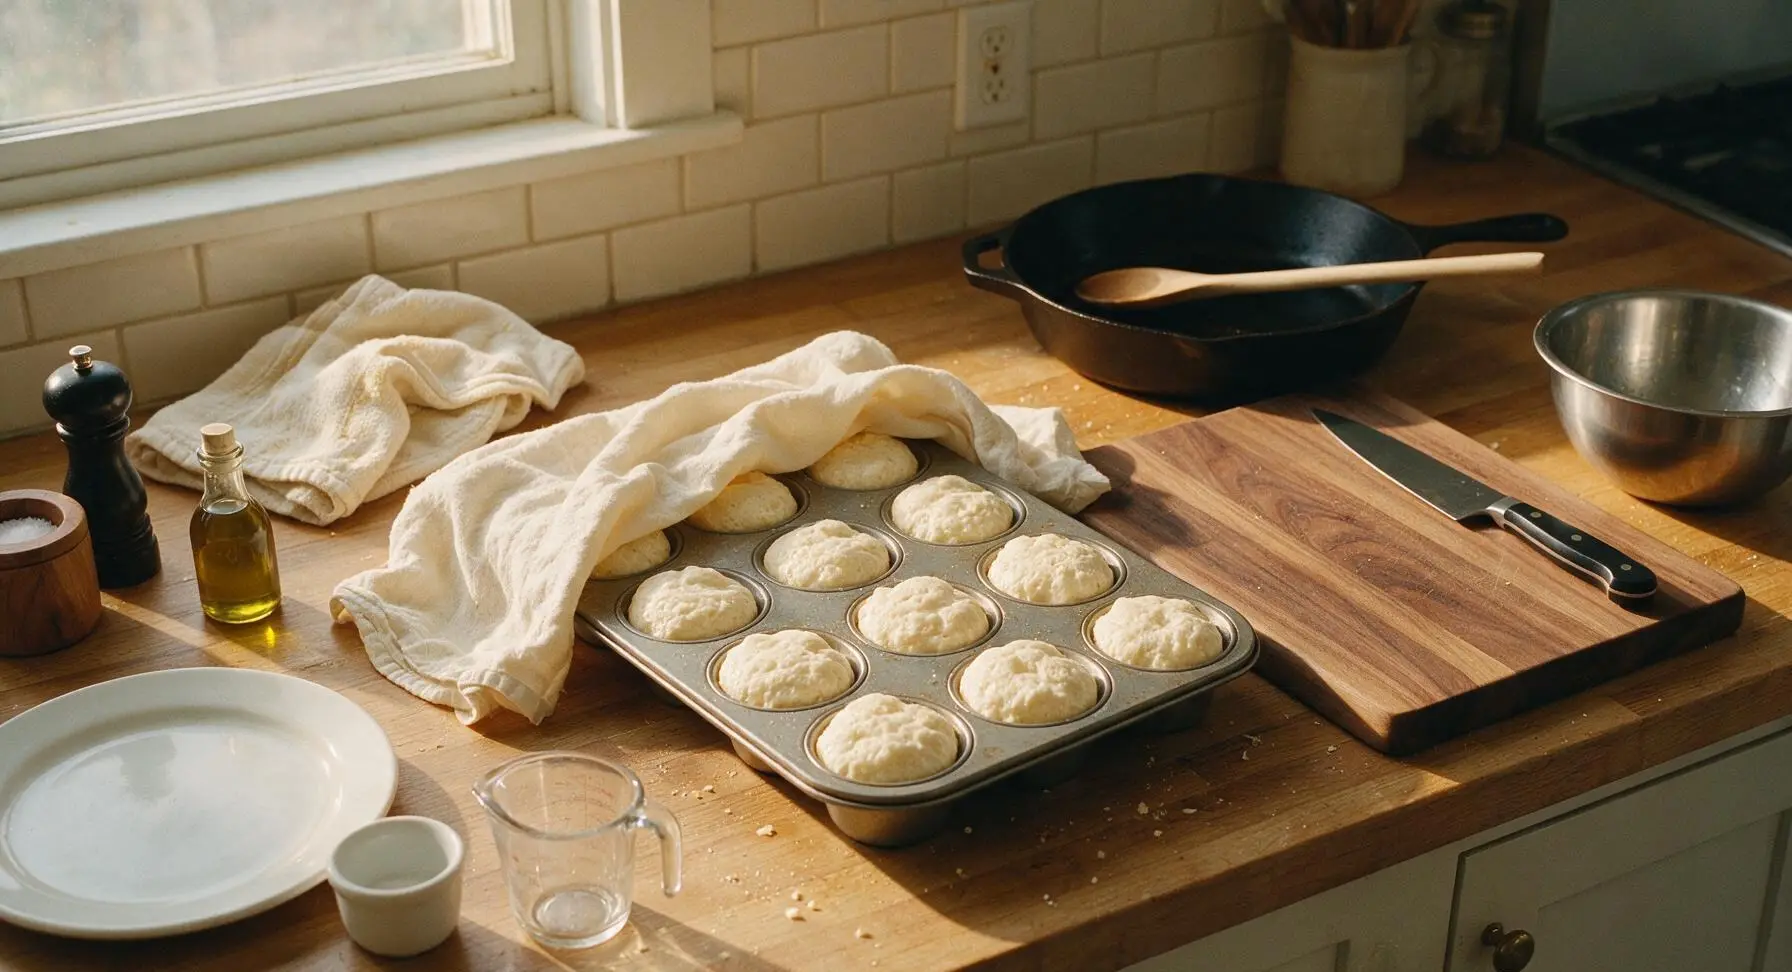
Drape the same cotton proofing cloth loosely over the filled muffin tin, and let the rolls rest for 20 minutes in the same warm, draft-free spot. The batter will rise until it fills each muffin cup nearly to the rim, appearing light, puffed, and pillowy to the eye.
Bake Until Golden
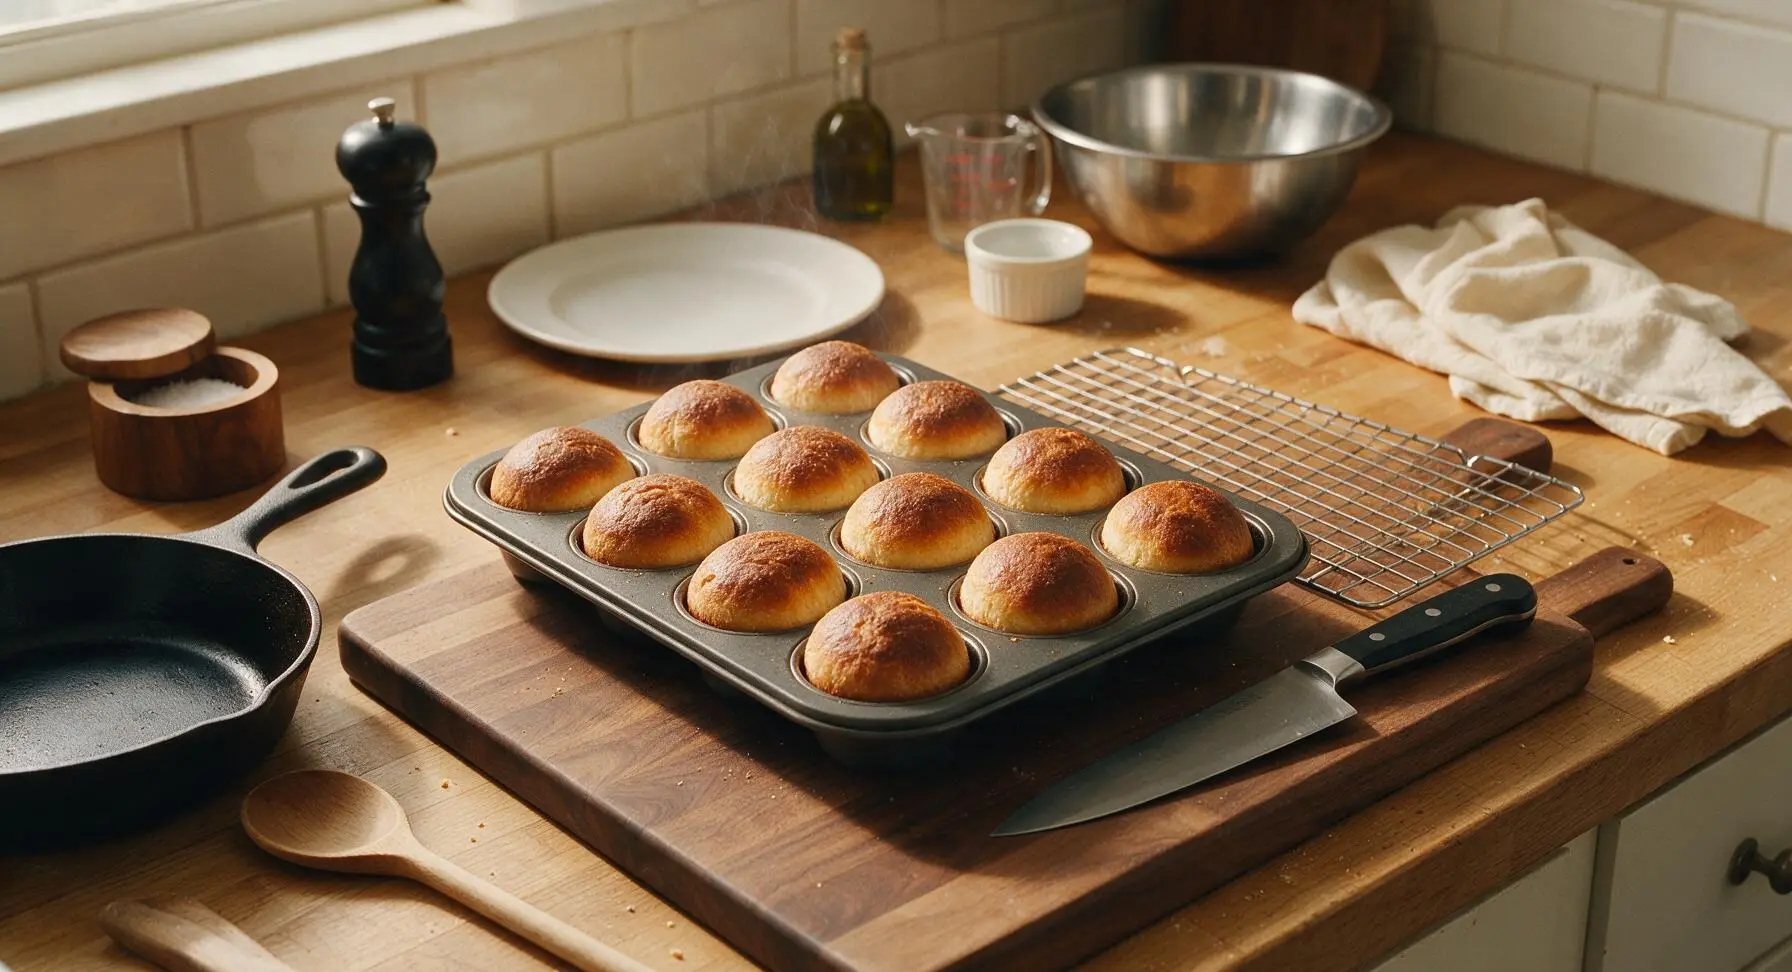
While the rolls complete their second rise, preheat the oven to 375°F (190°C). Once the rolls are puffed, remove the proofing cloth, and place the muffin tin on the middle oven rack. Bake for 18-20 minutes, until the roll tops are deep golden brown and the internal temperature of a center roll reads 190°F (88°C) on an instant-read thermometer. The rolls will sound hollow when tapped lightly on the domed top.
Butter and Cool Rolls
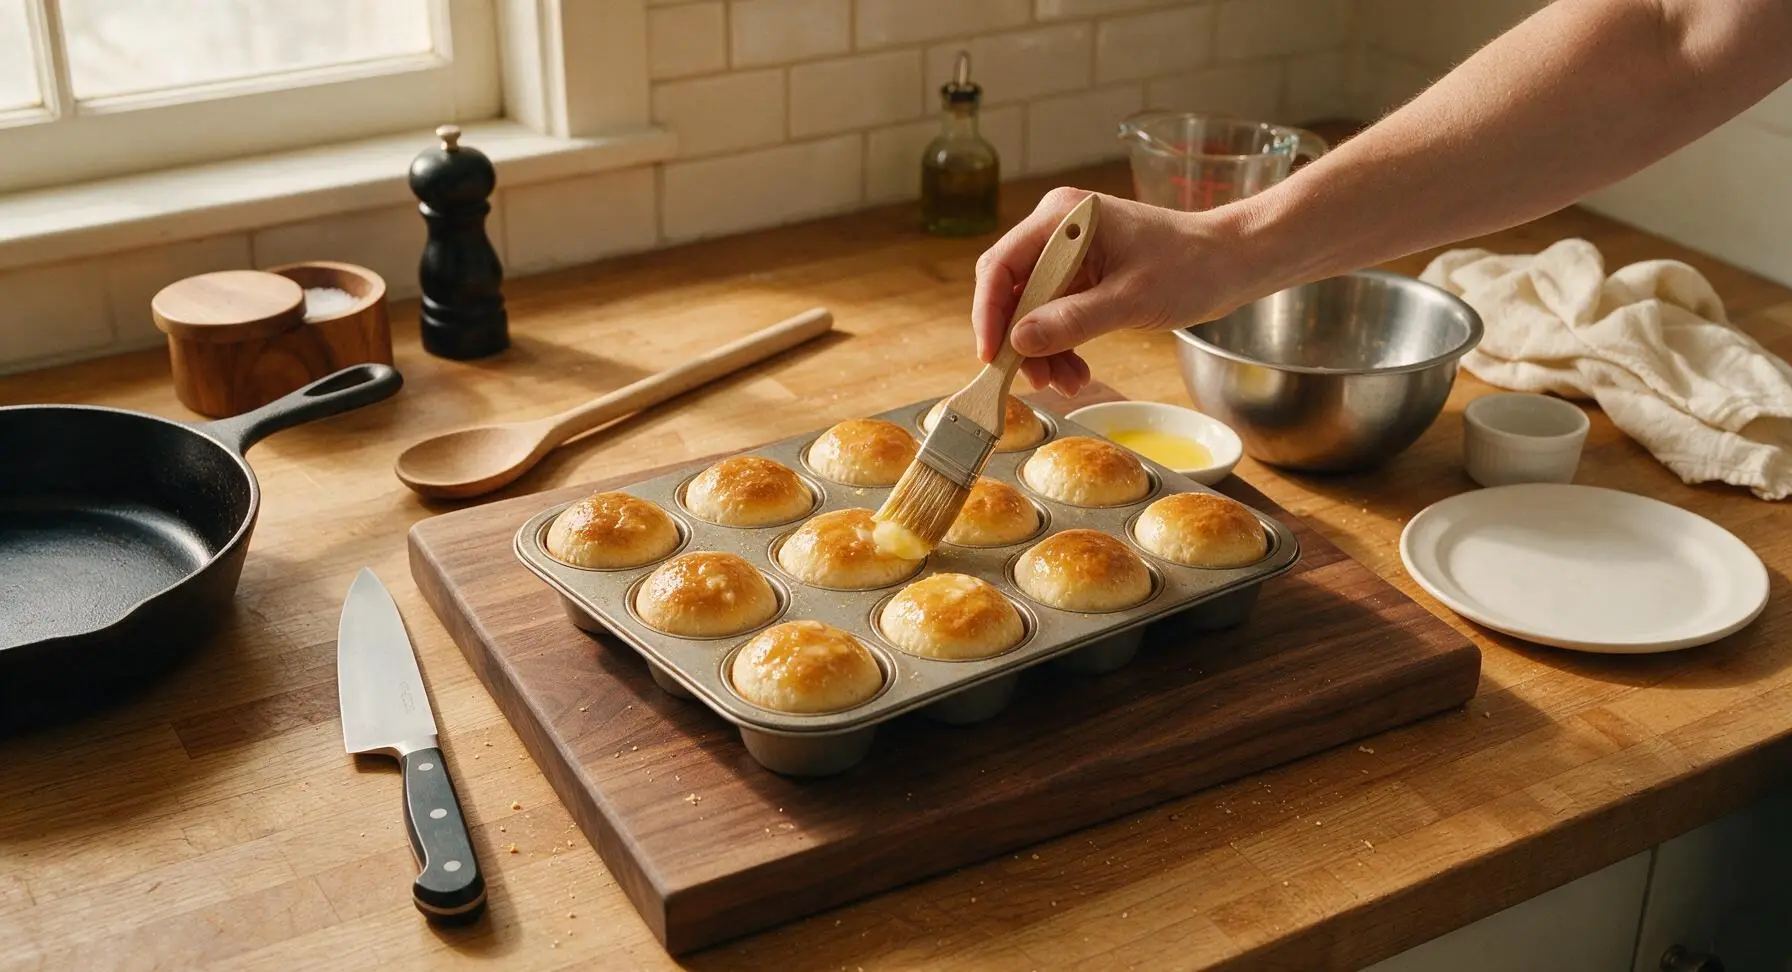
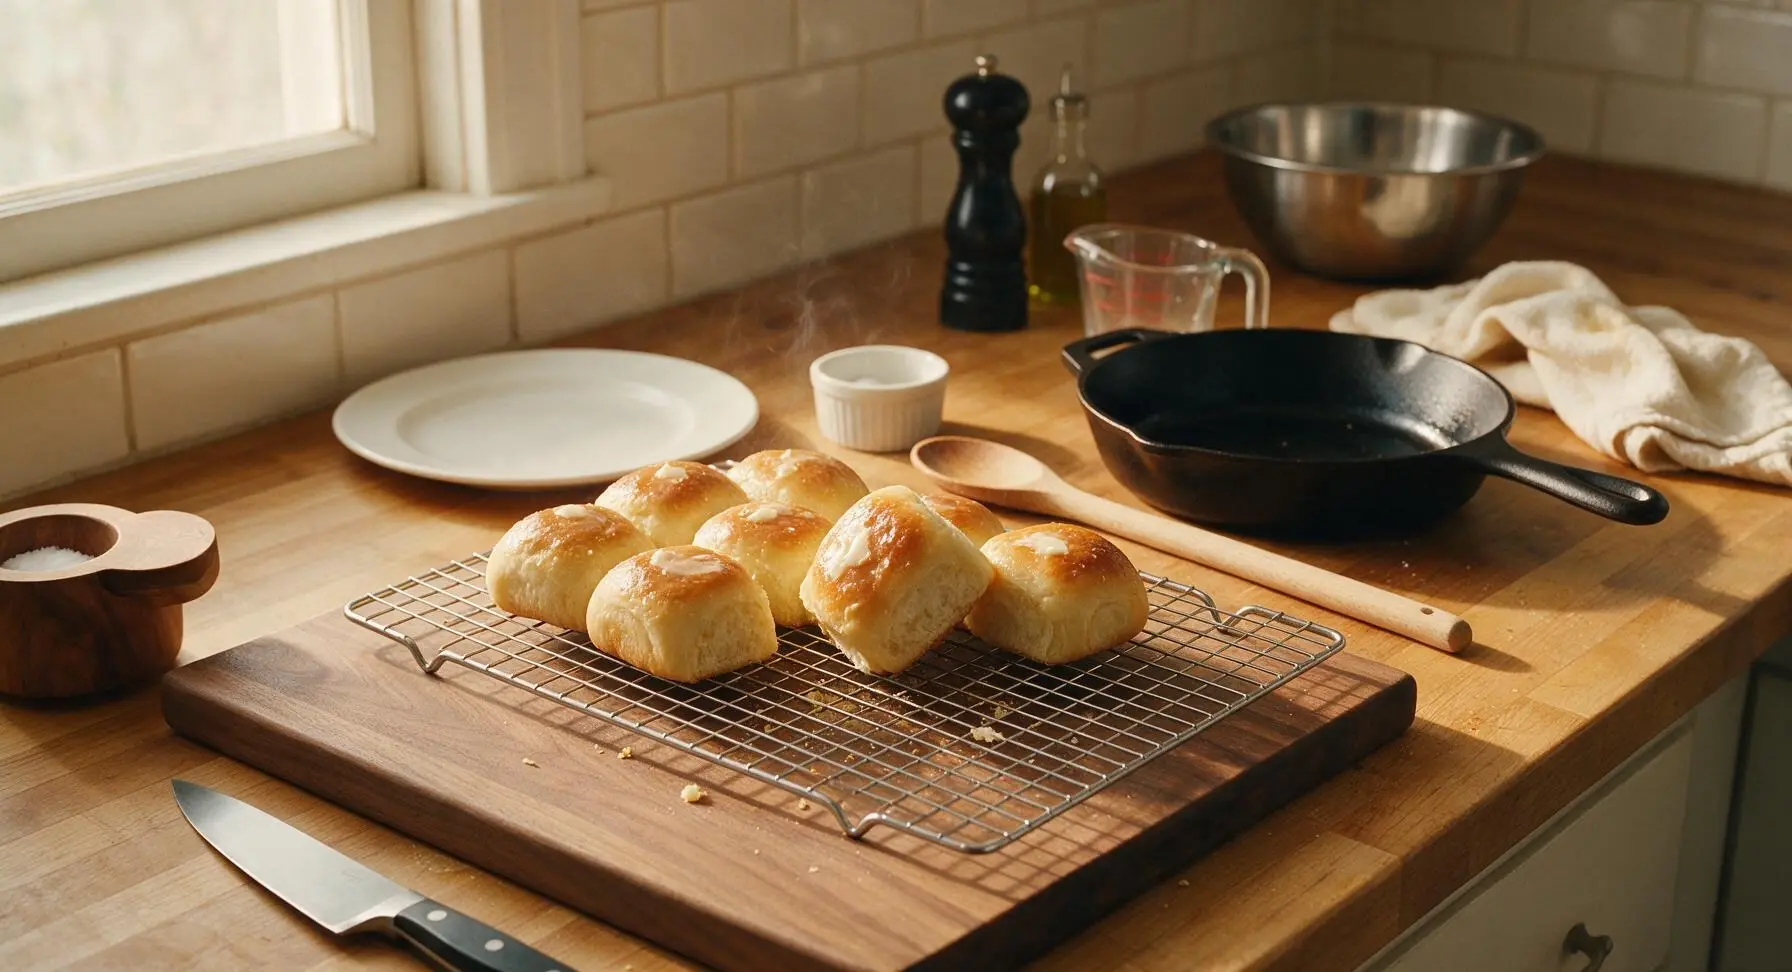
Immediately after removing the tin from the oven, use the pastry brush to brush the remaining melted butter over the top of every hot roll, creating a glistening, flavorful crust. Let the rolls rest in the tin for 5 minutes, then transfer them to the chrome wire cooling rack to cool for 5 additional minutes before serving. Rolls are best enjoyed warm.
Tips
2.Do not over-stir the batter after the first rise: the high-moisture dough develops gluten naturally during the rising process, so excessive stirring will pop too many air bubbles and lead to less tender, compact rolls.
3.For extra soft, tender roll sides, nestle the warm rolls close together on the cooling rack rather than spacing them apart: trapped steam between the hot rolls will keep side crusts soft instead of turning crisp as they cool.






OMG these rolls are a total game changer for our Sunday family dinners! I was so nervous to make homemade rolls because I thought they’d take forever, but 20 minute cook time? No fancy kneading? My kids devoured 3 each before we even got the main dish on the table. SO good, will be making these every week from now on.
Brought these to my office potluck last week and people were begging me for the recipe before lunch even ended! I brushed a little melted garlic butter on top right when they came out of the oven and *chef’s kiss*. Only complaint is I didn’t make a double batch, they were gone in 10 minutes flat.
I’ve literally never baked bread in my life and these came out perfect on the first try? No weird complicated steps, no waiting hours for dough to rise multiple times? I’m shocked how fluffy and buttery they are. 10/10 for total newbies like me.
These are so easy to throw together on a busy weeknight! I swapped half the all purpose flour for whole wheat to make them a little heartier and they still turned out light and fluffy. My picky toddler ate two with honey butter for a snack after school, total win!
Honey, these rolls taste just like the ones my grandma used to make for Thanksgiving, minus all the 4am kneading and endless rising time! I added a tiny pinch of cinnamon to the batter like she did and it gave them the coziest warm flavor. Will absolutely be adding these to my holiday menu.
Great quick side for my high protein meal prep! I make a batch on Sunday, pair them with grilled chicken and roasted veggies, and they hold up all week. Not too heavy, nice soft texture, way cheaper than buying dinner rolls from the grocery store bakery every week. Knocked a star off because I wish they were a tiny bit less buttery, but that’s just my personal preference!
These tasted amazing, but wait is it normal for the batter to be really sticky? I was worried I messed it up because it wasn’t like a regular kneadable bread dough, I almost added a bunch of extra flour which would’ve ruined them! They came out great, but I wish the recipe noted that the batter is supposed to be super sticky so new bakers like me don’t panic.
Made these in my cast iron skillet over the campfire last weekend and they were a massive hit with the whole campsite! I pre-mixed the dry ingredients at home so I just had to add wet ingredients when we got there, super easy even without a full kitchen. So versatile!
Served these at my weekend brunch with jam, whipped butter, and mini sandwich fixings for sliders, and my guests went crazy. They’re the perfect size for little sandwiches, not too big, not too small. 10/10 will be a brunch staple from now on.
I’ve been making rolls for 40+ years and I have to say, this recipe is just as good as my old go-to that takes half a day to make. How do they get so fluffy without all the kneading? Magic, I swear. I’ve already shared the link with all my former coworkers in the teacher’s lounge!
Made these dairy free by swapping the milk for oat milk and the butter for vegan butter, and they came out exactly as described! So many roll recipes don’t adapt well to dairy free swaps but these were soft, fluffy, and didn’t have that weird vegan aftertaste. Thank you for such a flexible recipe!
Made these for my mom’s birthday dinner and she thought I bought them from the fancy bakery downtown! I felt so cool telling her I made them from scratch, it was so easy even I couldn’t mess it up. Definitely making these for our next family game night.
These were so good when I made them last week! Can I freeze these after baking? I love stocking my freezer with quick sides so I don’t have to cook every single night, and these look perfect for doubling and stashing half away!
Made these for our Sunday football tailgate last weekend, served them with pulled pork for sliders, and my friends said they were better than the ones we get at the stadium concession stand! Baked them the night before, wrapped them in foil, and they were still warm by kickoff.
I was skeptical that a no-knead, 20 minute roll could actually be good, color me wrong! These have that perfect soft, pillowy inside and just a little crisp on the outside, exactly what I want in a dinner roll. I added a sprinkle of flaky sea salt on top before baking and it was chef’s kiss.
Made these in my tiny dorm toaster oven and they worked! I didn’t have a full size oven so I baked them in a muffin tin in small batches, and they came out perfectly. No fancy equipment needed, perfect for broke college students who miss homemade bread.
I made these with my 7 year old granddaughter this weekend, and she had a blast stirring the batter! The recipe is so simple she could help with almost every step, and she was so proud to serve the rolls she “made all by herself” to the whole family. We made precious memories, thank you for this easy recipe.
I made these with a cup of bread flour instead of all purpose because that’s what I had in the pantry, and they were even chewier and softer than when I used AP flour last time! Don’t be afraid to use what you have on hand, this recipe is so forgiving.
These are so much better than the frozen dinner rolls I used to buy! I used to think homemade rolls were too much work for a weeknight, but these come together so fast I can mix the batter while my lasagna bakes in the oven. Absolute weeknight game changer, I’m never going back to frozen.