
Easy Bread Machine Dinner Rolls
intro
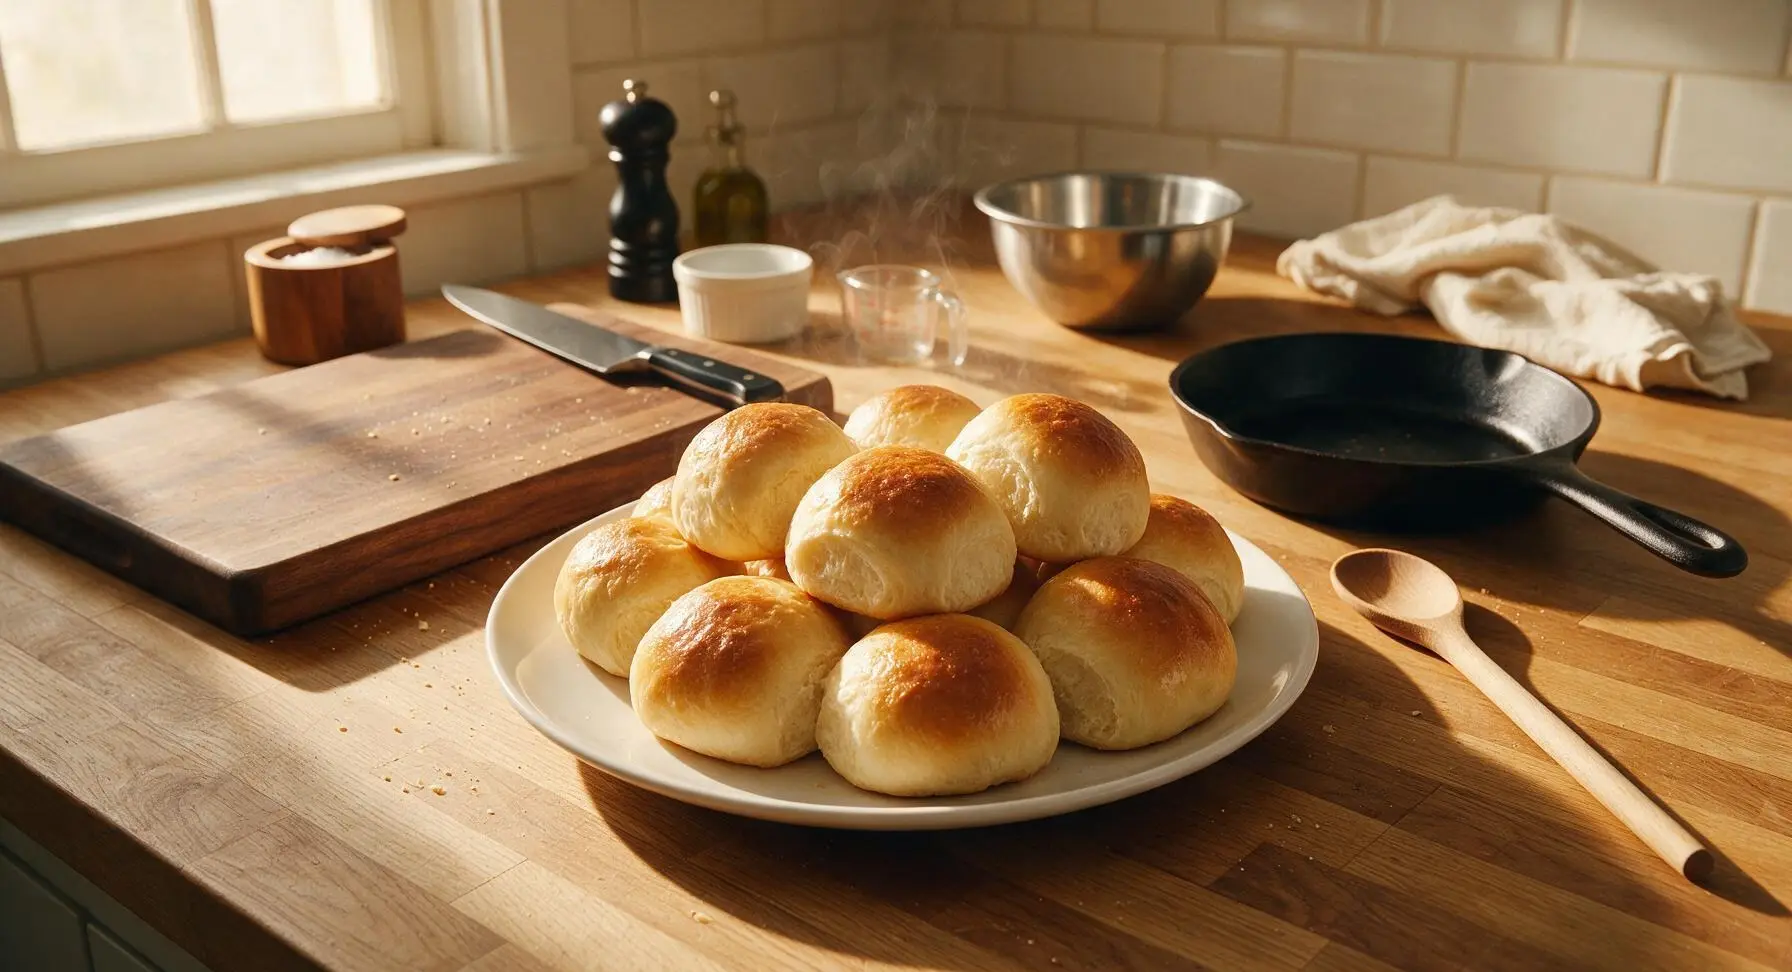
Soft, pillowy, buttery dinner rolls made with zero hand-kneading, thanks to your bread machine. Golden-crusted, tender-crumbed, and perfect for sopping up gravy or spreading with salted butter.
Ingredients
Steps
Load Bread Machine Pan
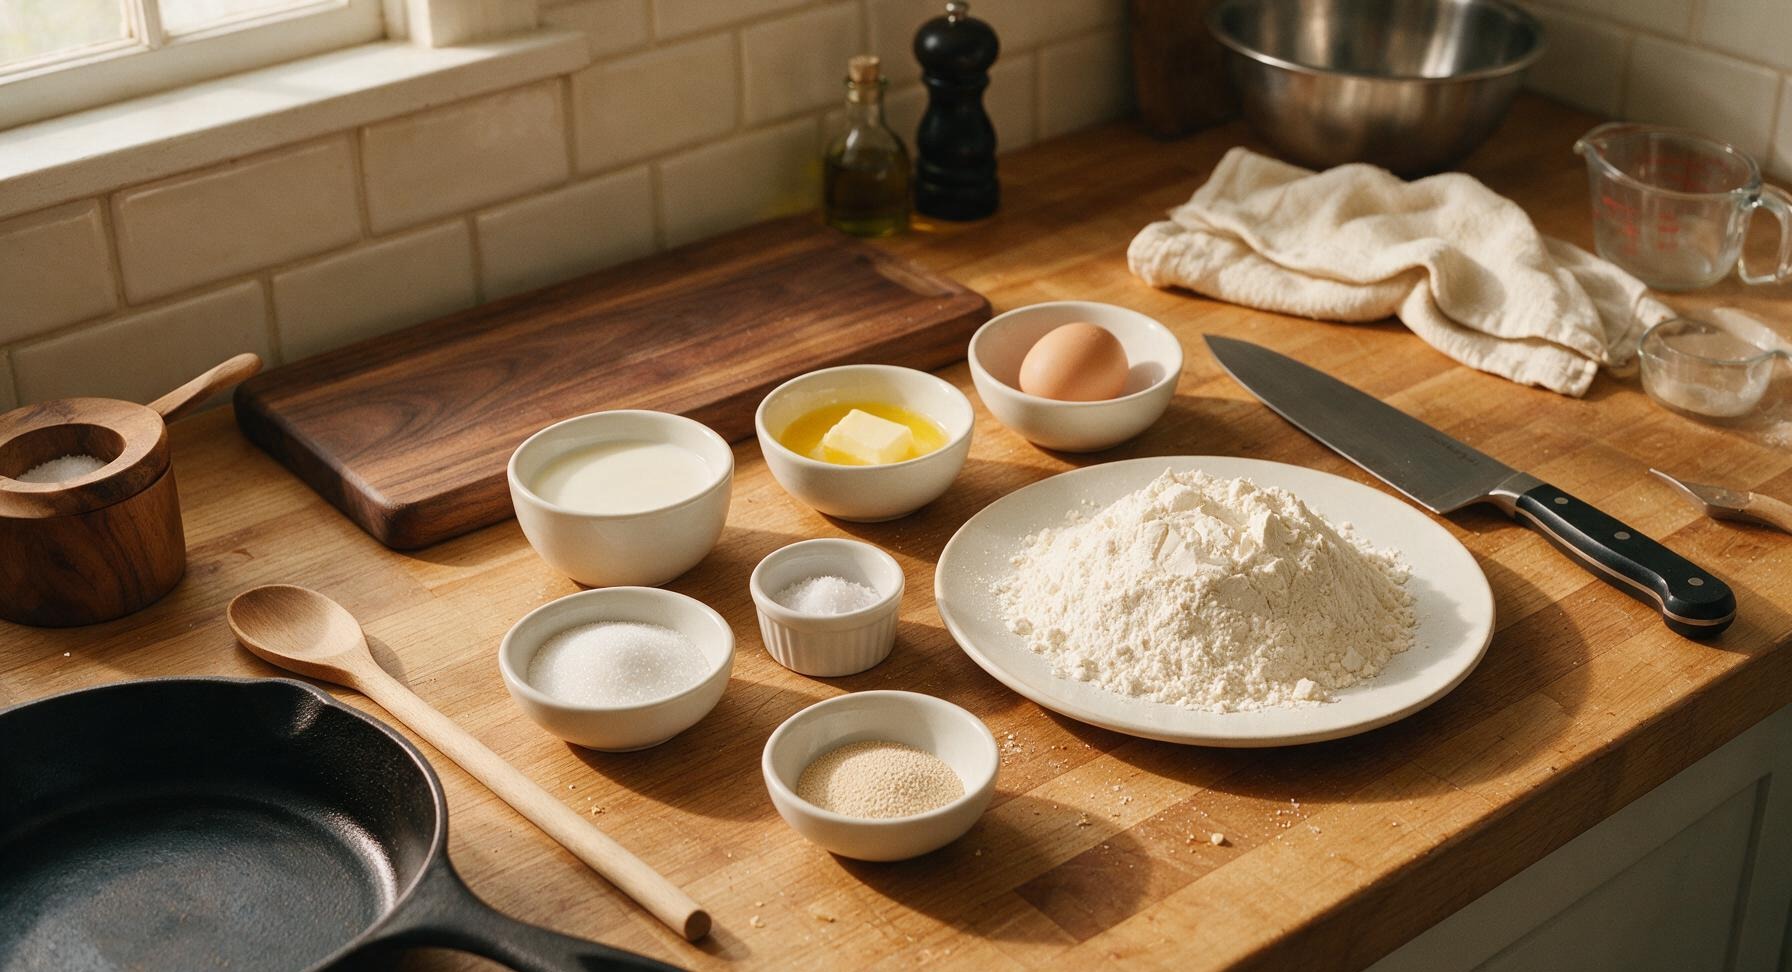
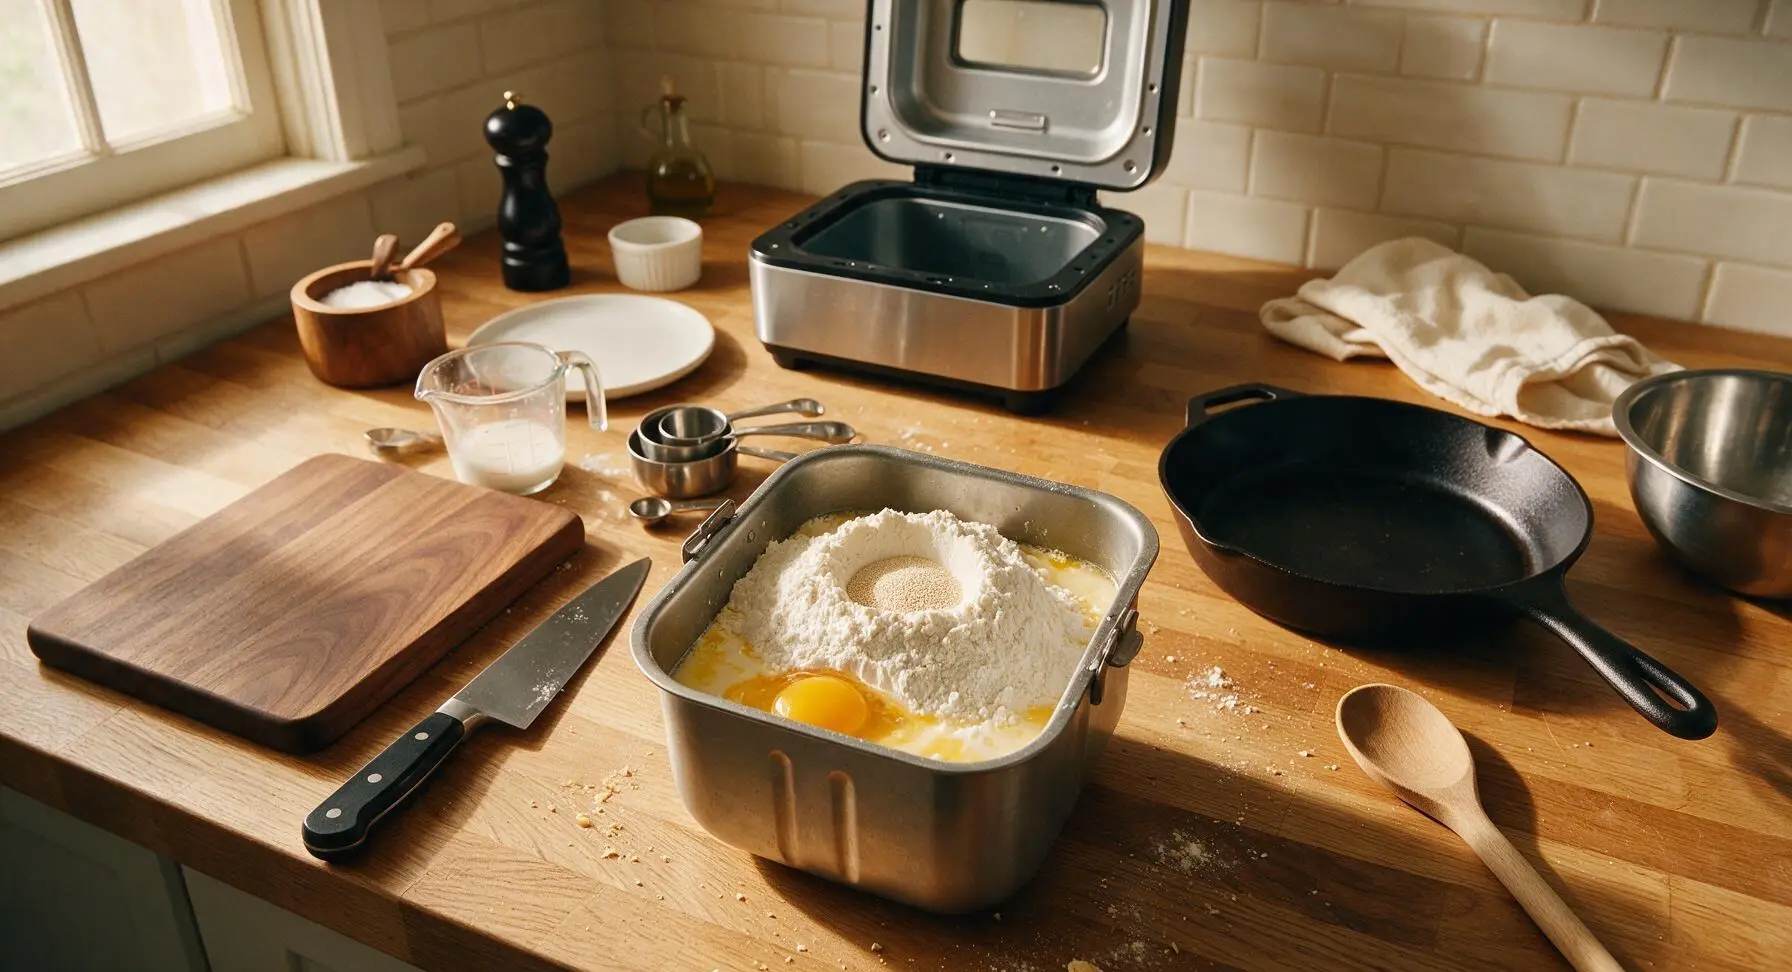
First, ensure your bread machine pan is clean and inserted correctly. Add ingredients to the pan in this exact order (critical for bread machine function): 1 cup warm (110°F/43°C) whole milk, 3 tablespoons melted cooled unsalted butter, 1 room temperature large egg, 2 tablespoons granulated sugar, 1 teaspoon fine sea salt, and finally 3 1/4 cups all-purpose flour, mounded slightly in the center. Make a small shallow well in the top of the flour with your finger, then pour 2 1/4 teaspoons instant yeast into the well, ensuring it does not touch the salt or wet ingredients below. Insert the pan back into the bread machine.
Start Dough Cycle
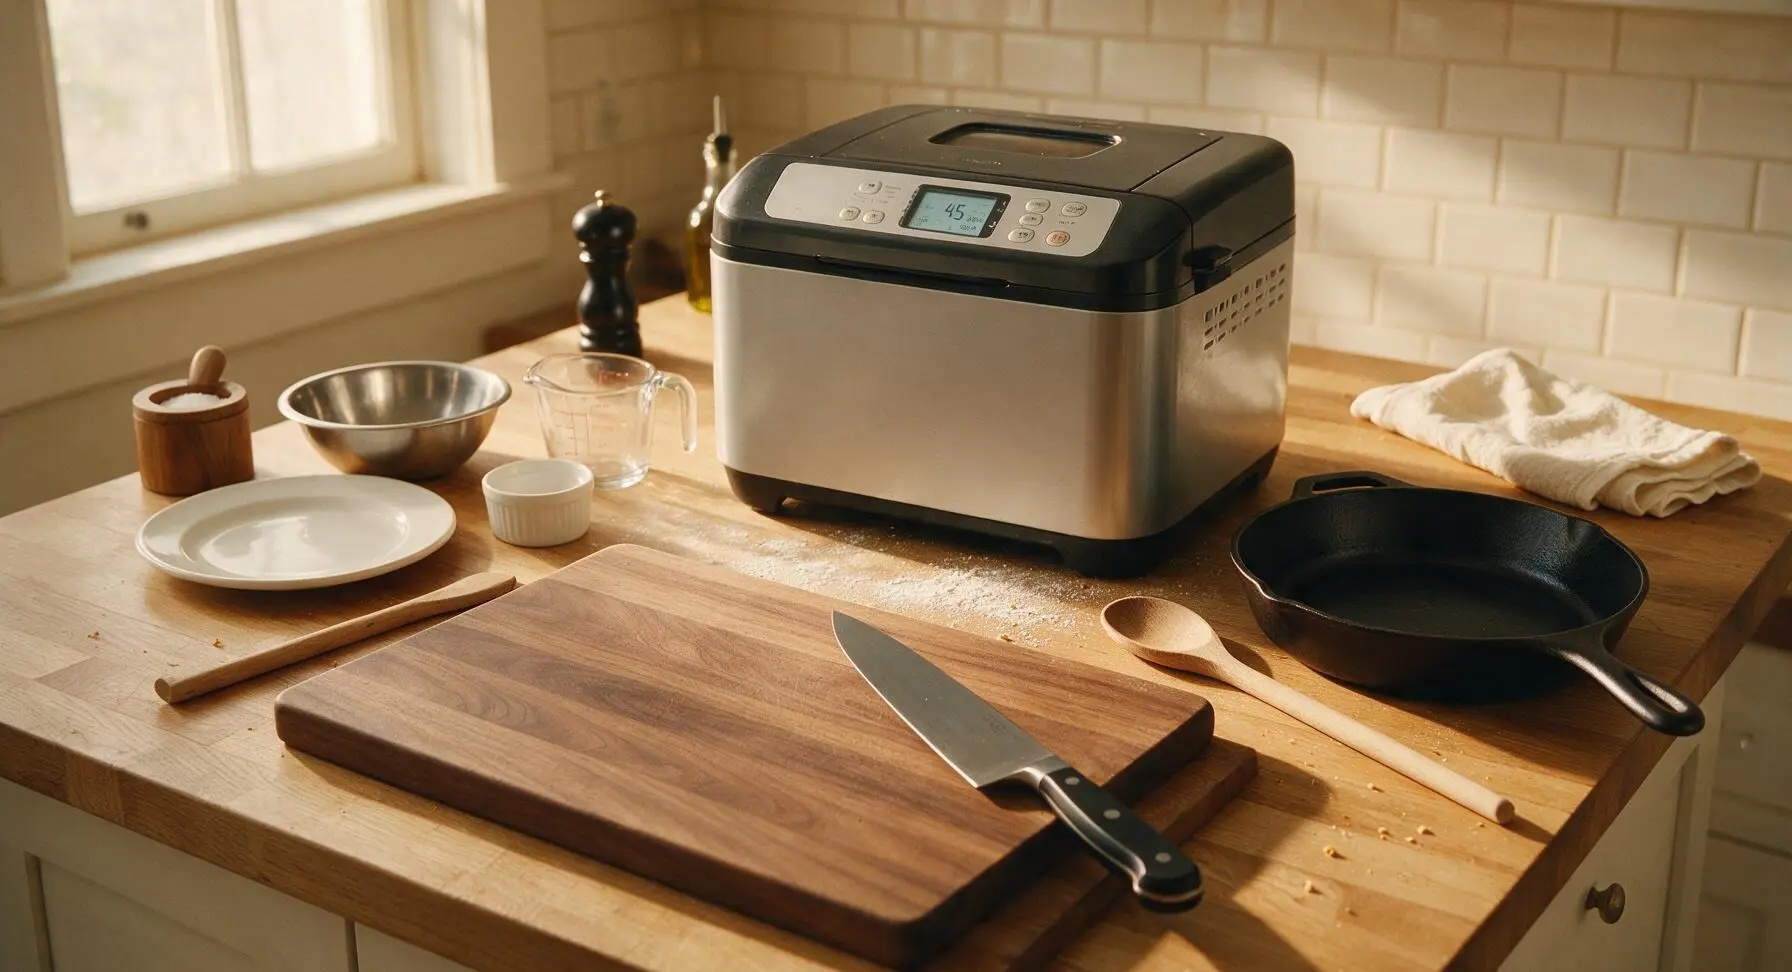
Close the bread machine lid securely, select the 'Dough' setting, and start the cycle. The full dough cycle runs for approximately 90 minutes, during which the machine will automatically mix, knead, and complete the first rise of the dough, until it doubles in size and springs back slowly when poked. No active work is required during this cycle; avoid opening the lid to prevent heat loss.
Butter Baking Pan
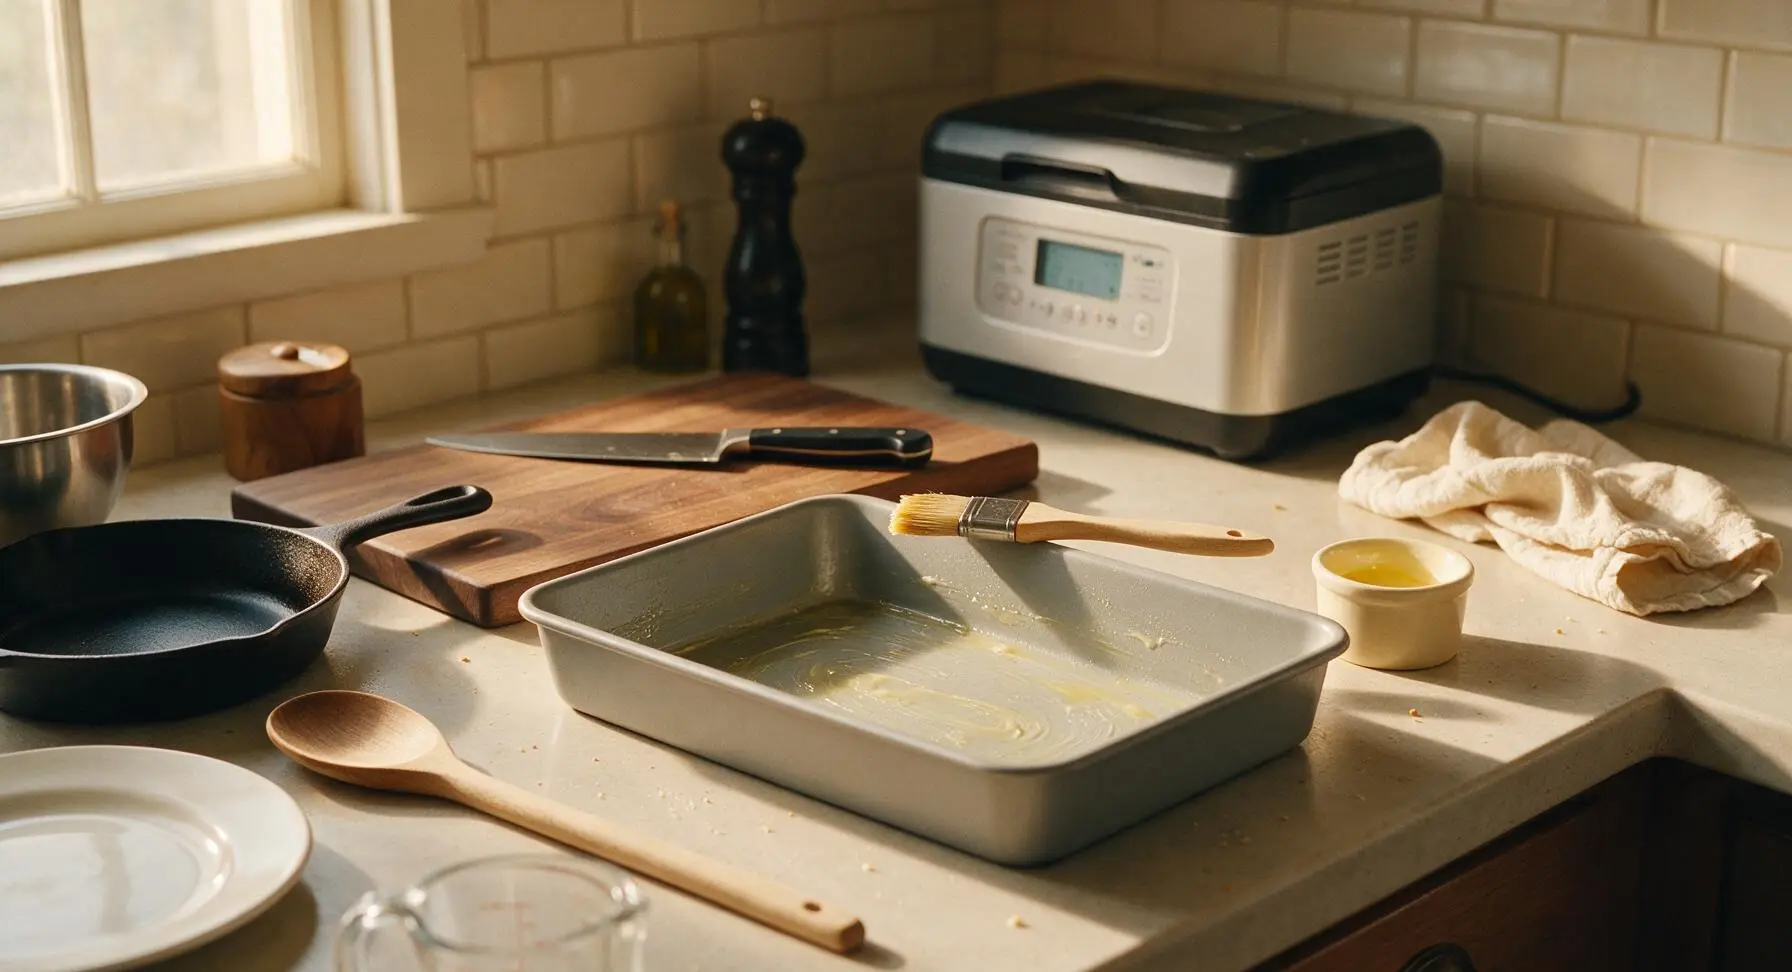
When the dough cycle has 10 minutes remaining, prepare your 9x13 inch baking pan by brushing the bottom and sides generously with 1/2 tablespoon of melted unsalted butter, ensuring no dry spots remain to prevent sticking. Set the prepared pan aside near the bread machine, ready for shaped dough.
Portion Dough Balls
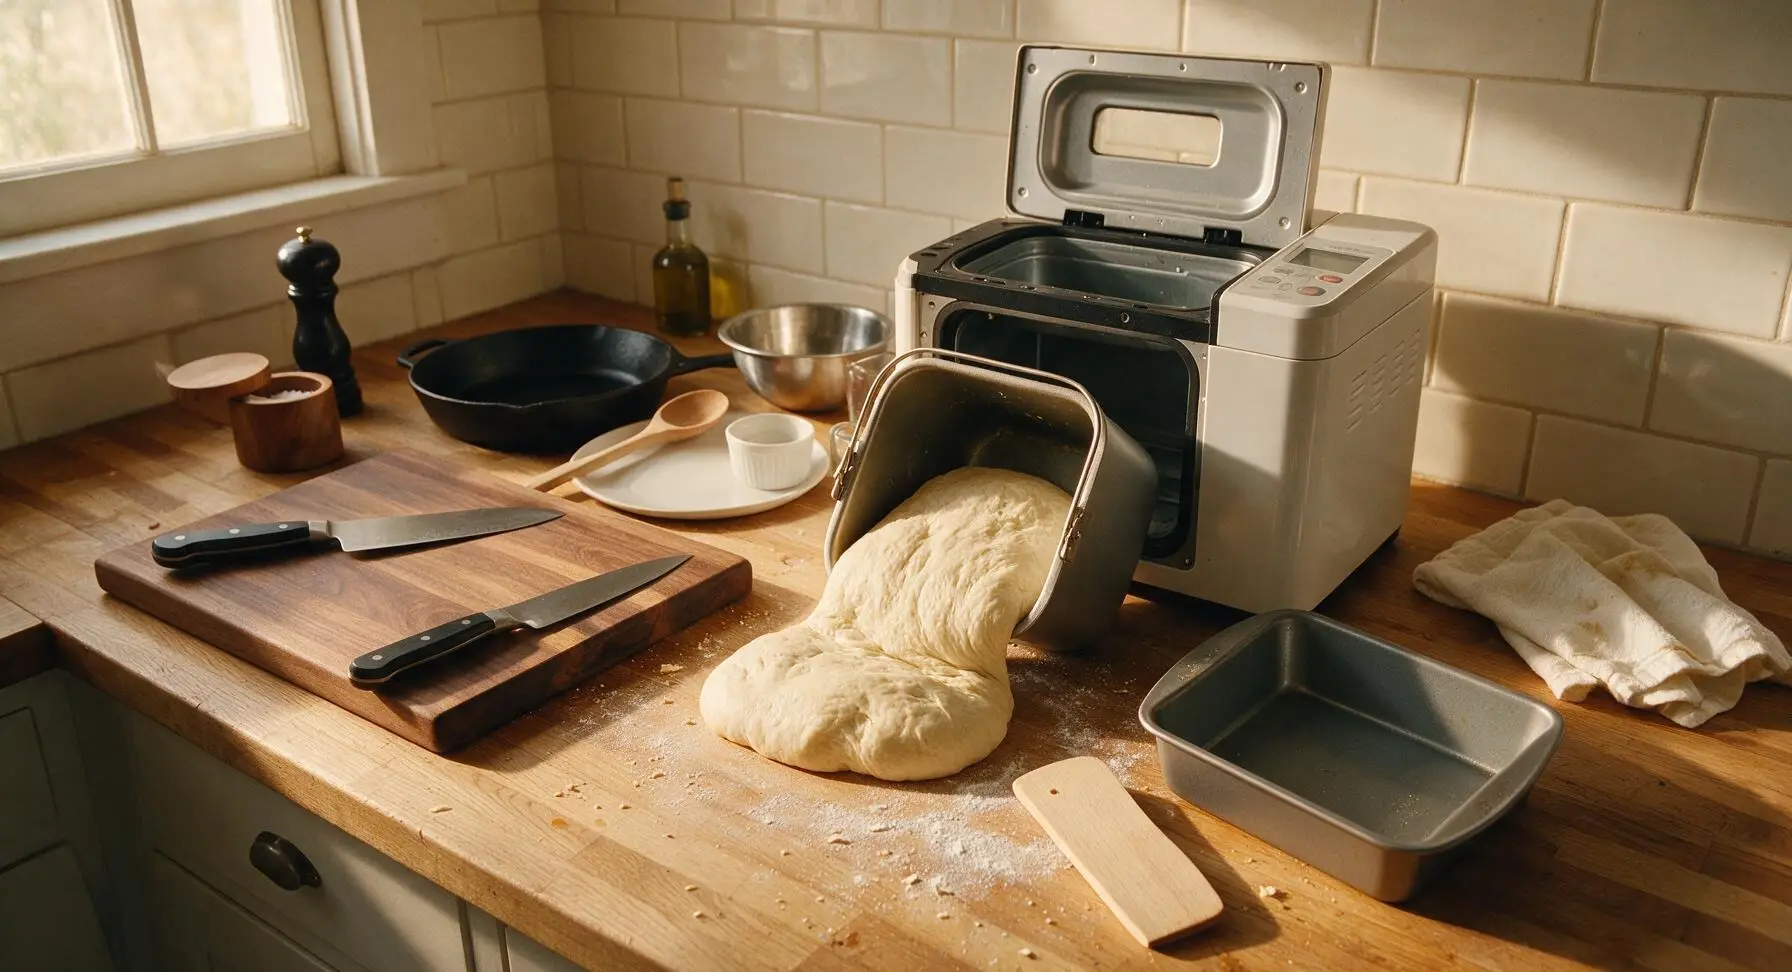
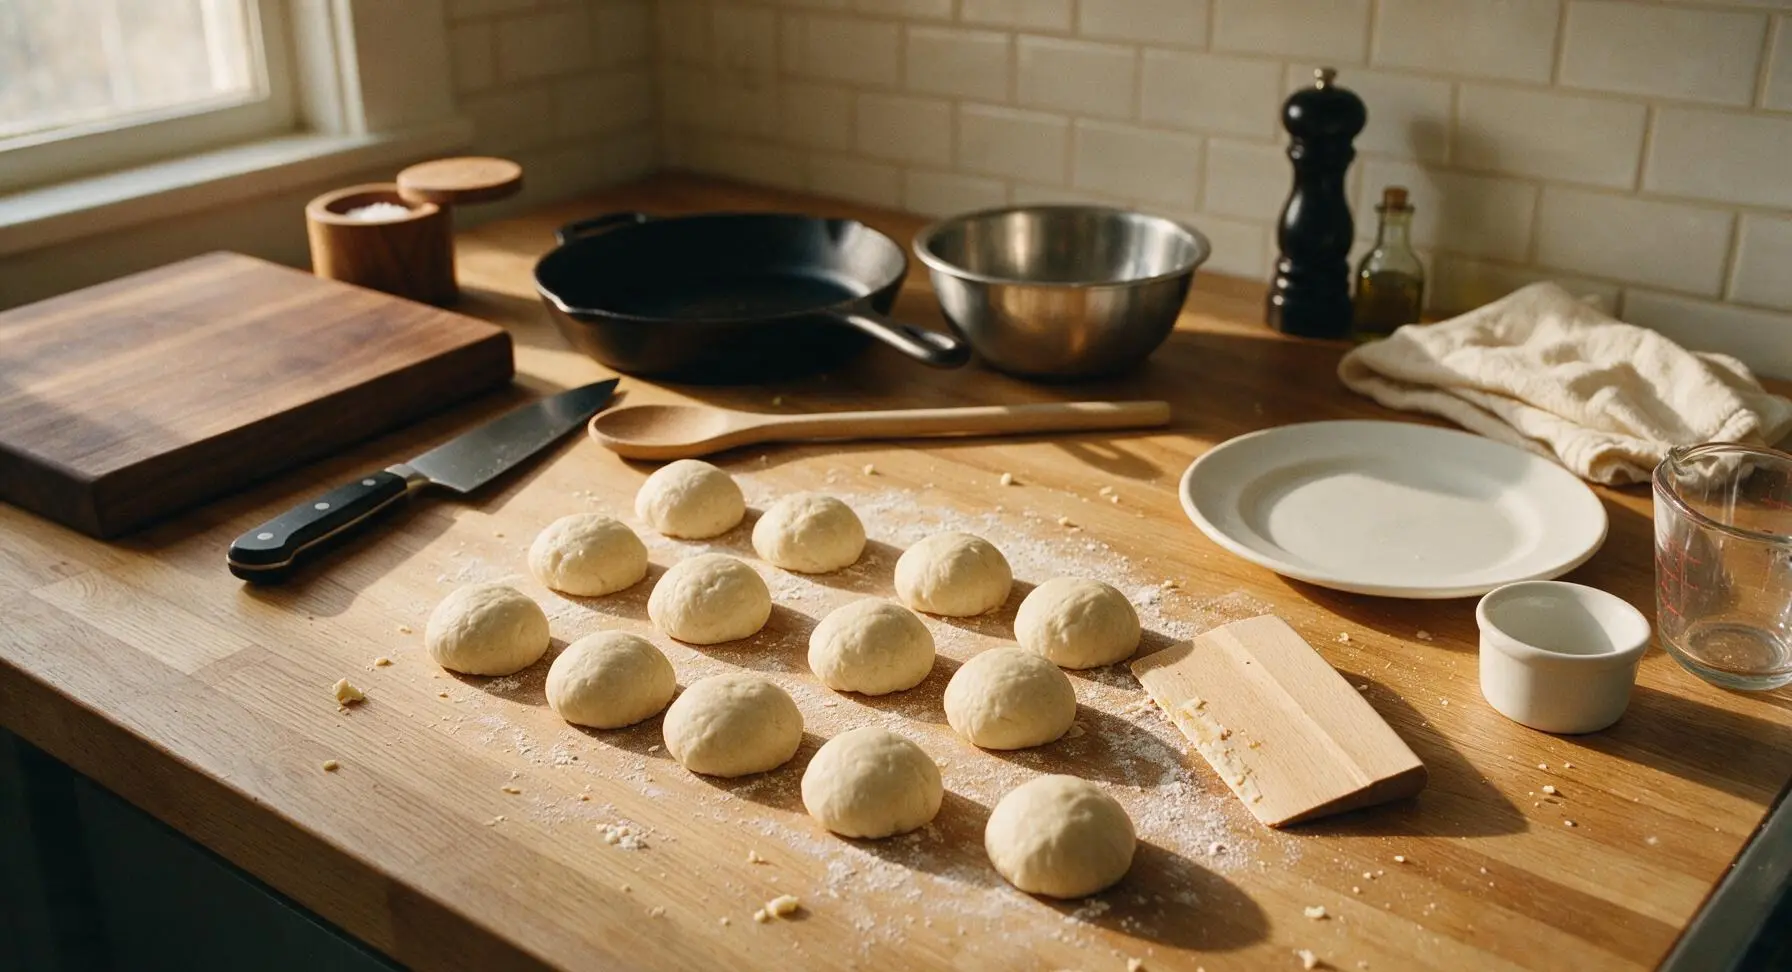
Once the dough cycle completes, open the bread machine lid and carefully lift out the bread pan. Use the beech wood bench scraper to gently turn the soft, puffy risen dough out onto a lightly floured section of the counter (no heavy kneading required). Deflate the dough gently with your fingertips to release large air bubbles, then use the bench scraper to cut the dough into 12 equal portions, each approximately 55g in weight. Roll each portion between your palm and the counter to form smooth, tight round balls.
Proof Shaped Rolls
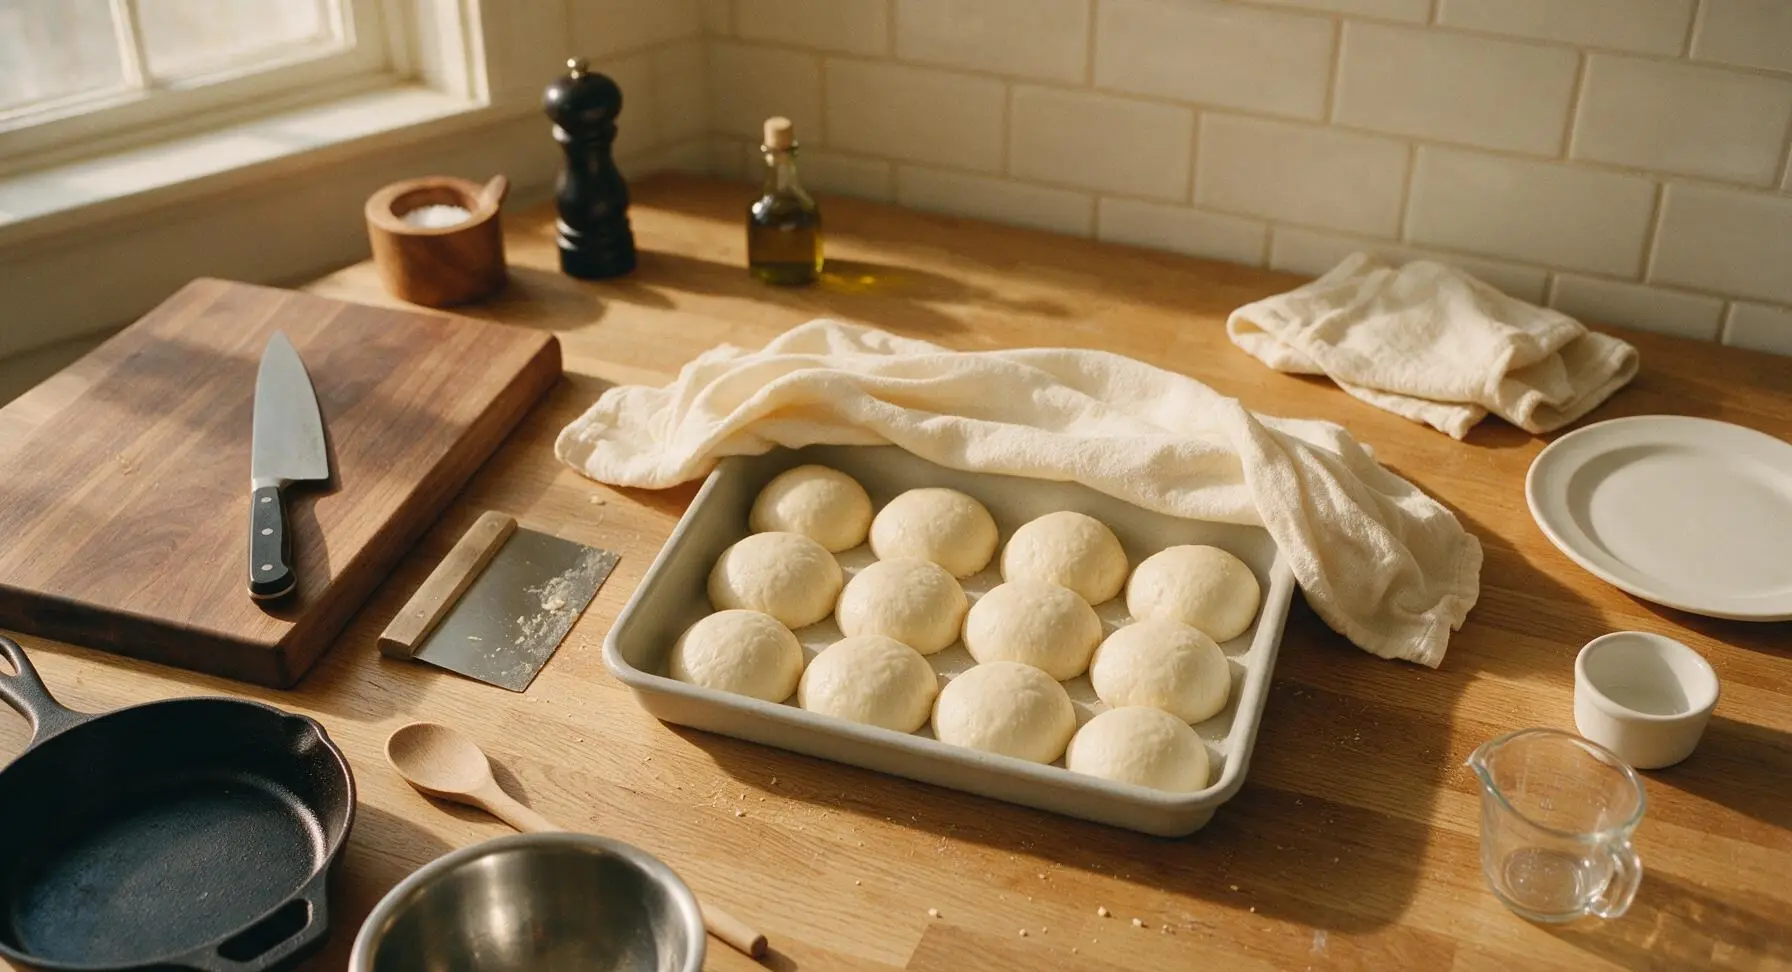
Place each smooth dough ball into the buttered 9x13 inch pan, arranged in 3 rows of 4, leaving 2cm gaps between each ball to allow for rising. Drape the clean cream cotton proofing towel loosely over the top of the pan, and let the rolls rise in a warm, draft-free spot for 25-30 minutes, until they have doubled in size, puffed up to fill the gaps between them, and hold a slight indent when pressed gently with a finger.
Bake Until Golden
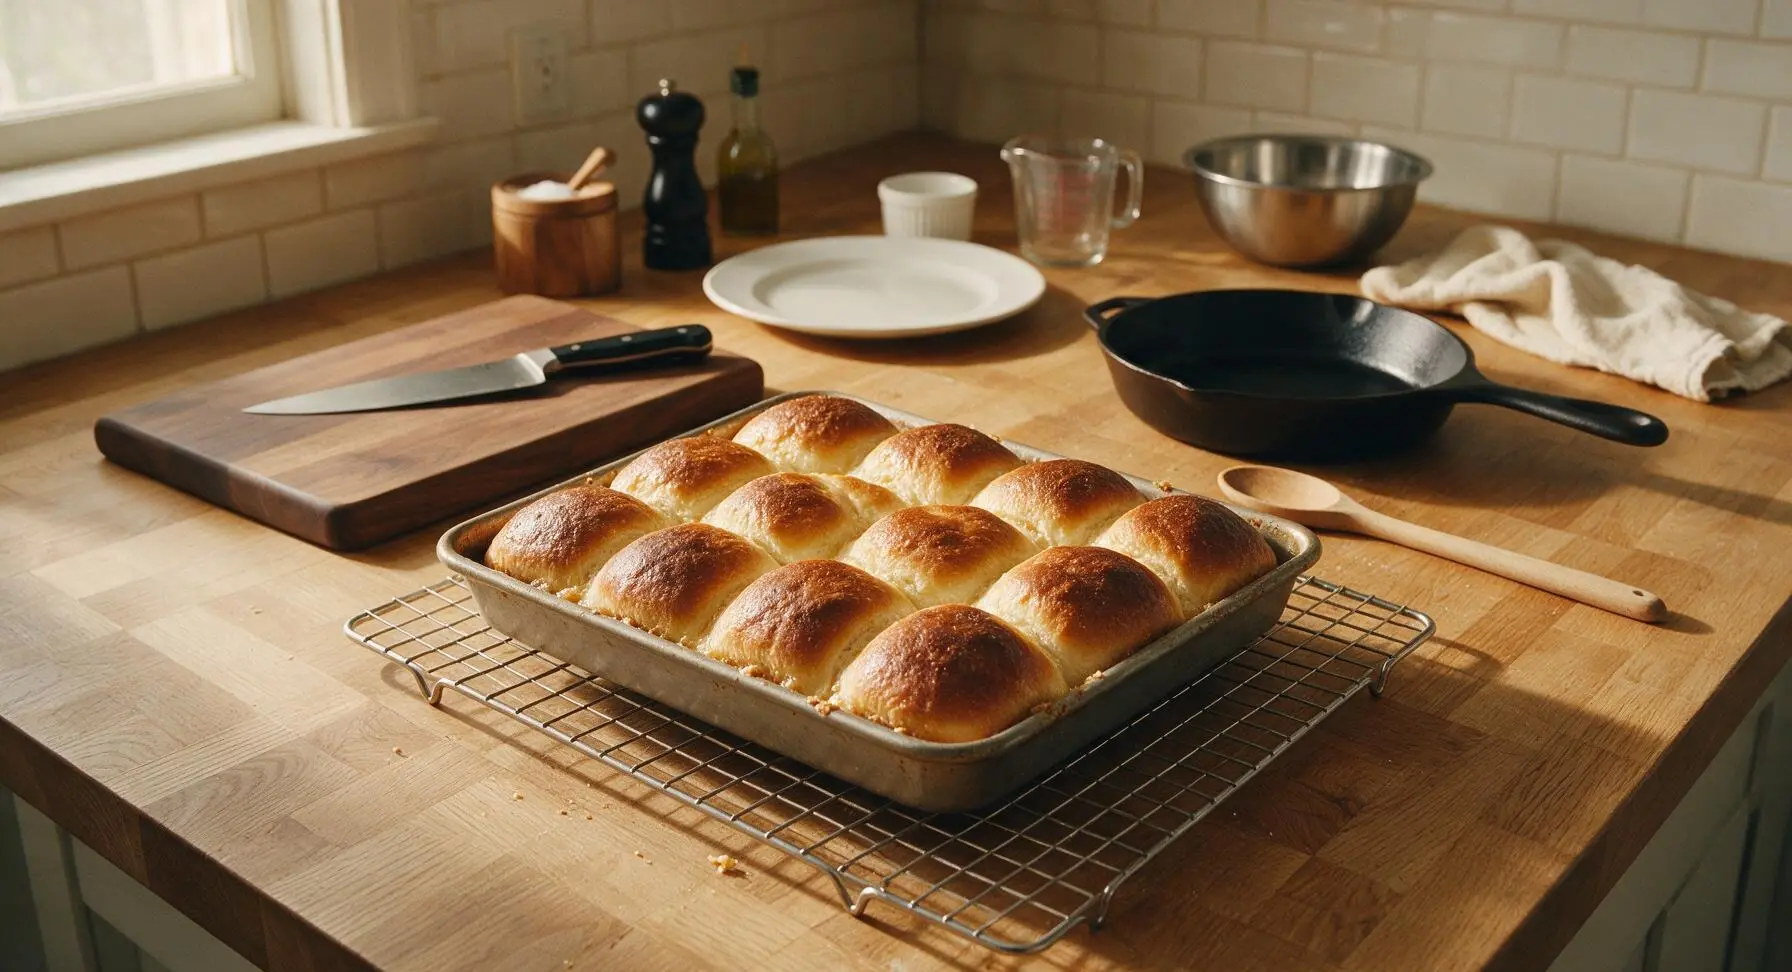
Once the rolls have finished proofing, preheat your oven to 375°F (190°C). Lift the proofing towel off the pan and set it aside, then place the pan on the middle oven rack. Bake for 15-18 minutes, until the tops of the rolls are a deep even golden brown, and the internal temperature of the center roll reads 190°F (88°C) on an instant-read thermometer. Do not overbake, as this will result in dry, tough rolls. Remove the pan from the oven and set it on the wire cooling rack positioned on the center of the counter.
Butter and Plate Rolls
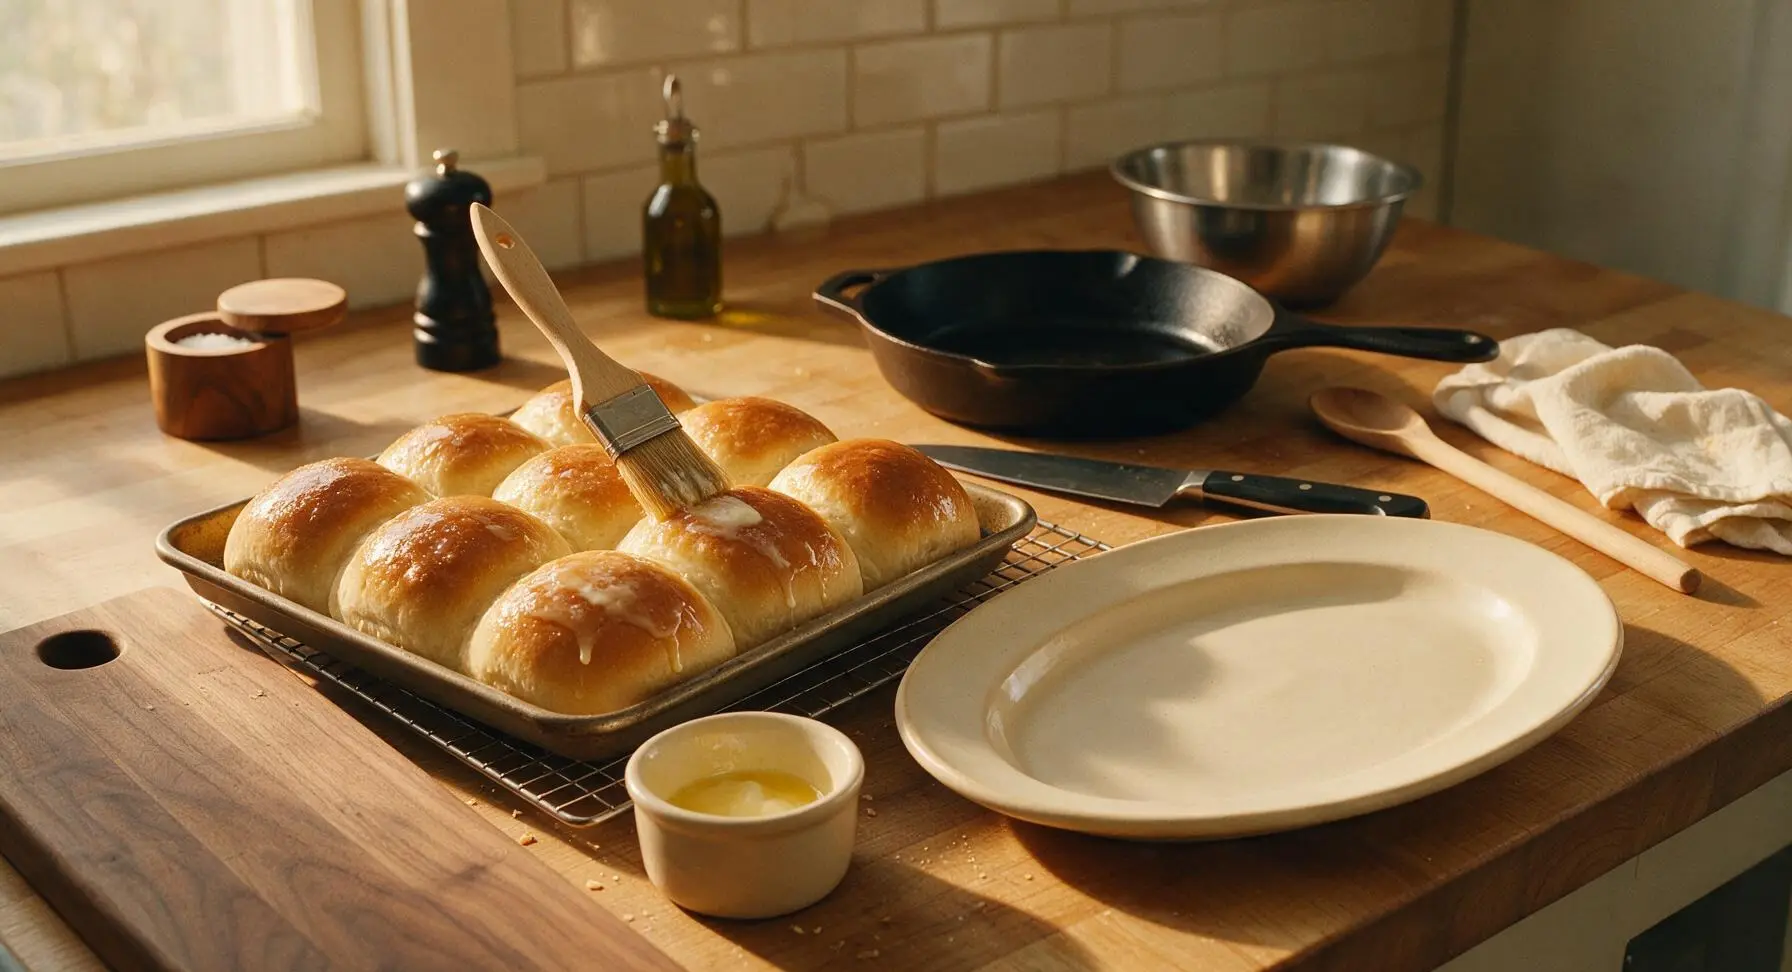
Immediately after setting the hot pan on the cooling rack, use the pastry brush to brush the tops of the hot rolls with the remaining 1/2 tablespoon of melted unsalted butter, which will soak into the warm crust and create a soft, rich top. Sprinkle with a tiny pinch of flaky sea salt if desired. Let the rolls cool in the pan for 5 minutes, then transfer them to the large cream ceramic serving platter, with the small ramekin of softened butter on the side.
Tips
2.Do not warm your milk above 115°F (46°C) when adding it to the pan, as high temperatures will kill instant yeast. If you don’t have a thermometer, the milk should feel barely warm to the touch, similar to lukewarm bath water.
3.For the softest possible crumb, avoid overbaking the rolls. Pull them from the oven as soon as the tops turn a light golden brown and the internal temperature hits 190°F, as residual heat in the pan will continue to cook the rolls slightly as they cool. Brushing with melted butter immediately after baking keeps the crust tender, not crisp.






OMG these are a total game changer for our weeknight family dinners! I threw all the ingredients in my bread machine before picking the kids up from soccer practice, came home, shaped them, popped them in the oven and they were done in exactly 18 minutes like the recipe said. My kids ate THREE each, even my middle one who swears he hates 'fancy bread'. SO buttery and soft, way better than the frozen store-bought rolls I used to stock for busy nights. 10/10 will be making these every Sunday dinner from now on!
Wow, I’ve never successfully made any kind of yeast bread before and these came out perfect on the first try! The bread machine did literally all the hard work of kneading and rising, I didn’t even have to think about it. My only tiny note is I wish I’d brushed a little extra melted butter on top right after they came out, next time I’ll remember that.
Added these to my weekly meal prep rotation last week and I’m never going back! I make a double batch on Sundays, freeze half, and pull out a couple each night to go with dinner. They thaw in like 10 minutes and taste just as good as the day I baked them. 18 minutes cook time is no joke, perfect for when I’m running behind on dinner.
I’ve been making dinner rolls from scratch for 40+ years and I was skeptical a bread machine version could measure up, but color me impressed! They’re so light and fluffy, my grandkids go crazy for them when they come over for Friday night dinner. I add a tiny sprinkle of garlic powder on top sometimes for a little extra zing, highly recommend that tweak.
Tried these last night to go with our pot roast and they were great, but my first batch came out a little denser than I expected. I think I might have used whole wheat flour by accident instead of all purpose, oops. Going to try again this weekend with the right flour, I can tell they’ll be perfect when I don’t mess up the ingredients!
Brought these to my office potluck earlier this week and people were begging me for the recipe before we even finished lunch! I was worried they’d be too plain but they’re the perfect neutral roll to go with fried chicken, mac and cheese, literally anything. So easy to make I didn’t even break a sweat getting them ready before work.
Has anyone tried making these with dairy free butter and oat milk? My youngest has a dairy allergy and I’ve been searching for a good dinner roll recipe he can eat too that doesn’t require a ton of extra work.
Dude. These rolls are insane. I’m a total novice in the kitchen, got a hand-me-down bread machine from my roommate last month and this is the first recipe I tried that didn’t come out like a brick. They’re so soft they practically melt in your mouth, I ate like 5 straight out of the oven no shame.
Made these for our Sunday football watch party to use as slider buns for pulled pork and they were a massive hit! I just shaped them a little bigger than the recipe says, let them rise a touch longer, and they were the perfect size. Way better than those cheap slider buns from the grocery store.
SO good. I was worried bread machine recipes were all dry and weird but these are restaurant quality. Brushed mine with honey butter right out of the oven and *chef’s kiss* 10/10 no notes.
Quick question — can I make the dough in the bread machine, shape the rolls, and freeze them before baking? I love having ready-to-bake rolls in the freezer for last minute dinners but I’ve never tried it with this recipe.
These tasted really good but my rolls didn’t rise as much as the photos show, so they were a little on the small side. I think my kitchen was too cold when I was letting them do the second rise after shaping, I’ll make sure to put them in a warmer spot next time. Flavor was 10/10 though, can’t fault the taste at all.
Did a test run of these for our family Thanksgiving dinner next month and they’re officially going on the menu! My mom is famous for her homemade rolls and even she said these are better than hers (don’t tell her I said that). So easy I don’t know why I ever spent hours kneading rolls by hand.
No joke, I ate half a batch of these the first time I made them. They’re so warm and soft and buttery I couldn’t stop. My roommate made fun of me but then he ate the other half so who’s the real winner here? 10/10 will be making again even if it ruins my diet.
I’m so excited to try this recipe! Quick question though — will this dough recipe work in a 1lb compact bread machine? Mine is the tiny countertop version I got for my small apartment and some dough recipes overflow if I do a full batch, so I don’t want to waste ingredients trying it if it’s too big.
Threw in a tablespoon of chopped fresh rosemary from my garden and a little parmesan on top before baking and these were out of this world! Served them with soup last night and it was the perfect cozy fall meal. The base recipe is so versatile I can’t wait to try other mix-ins.
I’ve avoided all yeast recipes for years because I always kill the yeast somehow, but the bread machine takes all the guesswork out of it! These came out golden, fluffy, and perfectly risen on my first try. My husband thought I bought them from the fancy bakery down the street, he couldn’t believe I made them at home.
Made these to go with ribs and coleslaw at our cookout last weekend and they were gone in 10 minutes flat. Everyone kept asking if I’d made them from a bakery box. 18 minute cook time is no lie, so quick even when you’re busy manning the grill.