
Easy Do-Ahead Dinner Rolls
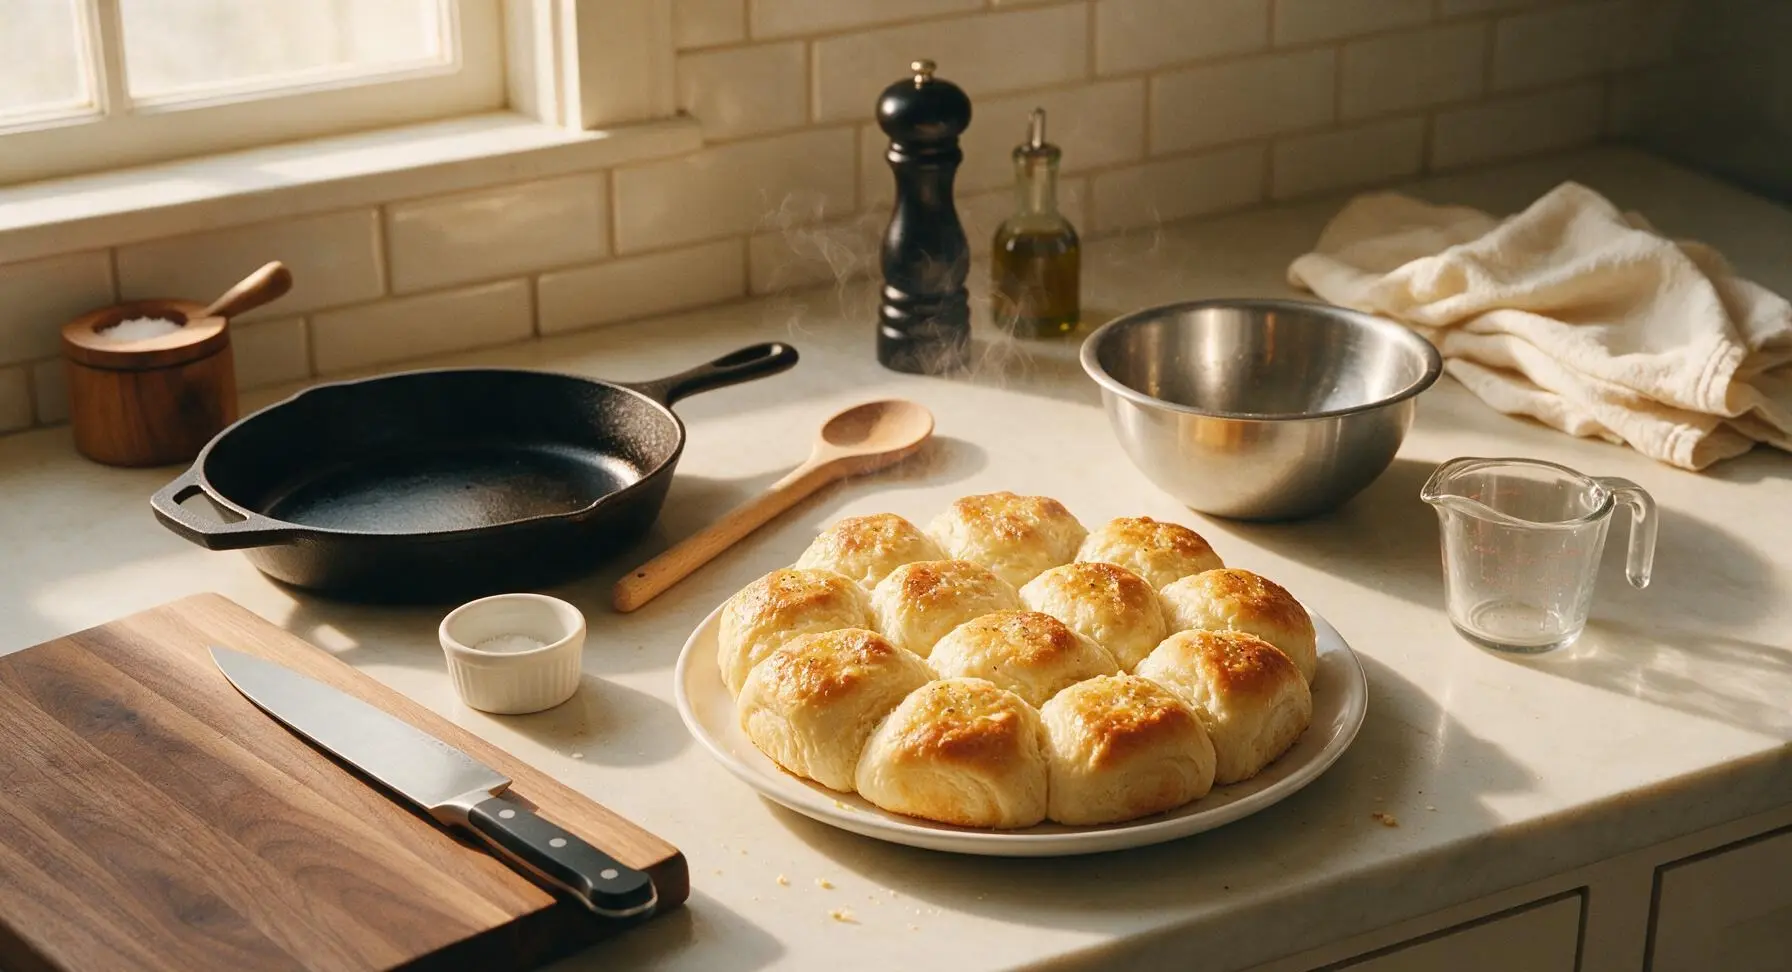
intro
Soft, pillowy, buttery make-ahead dinner rolls with zero last-minute kneading, boasting golden flaky tops and cloud-like interiors for stress-free shared meals.
Ingredients
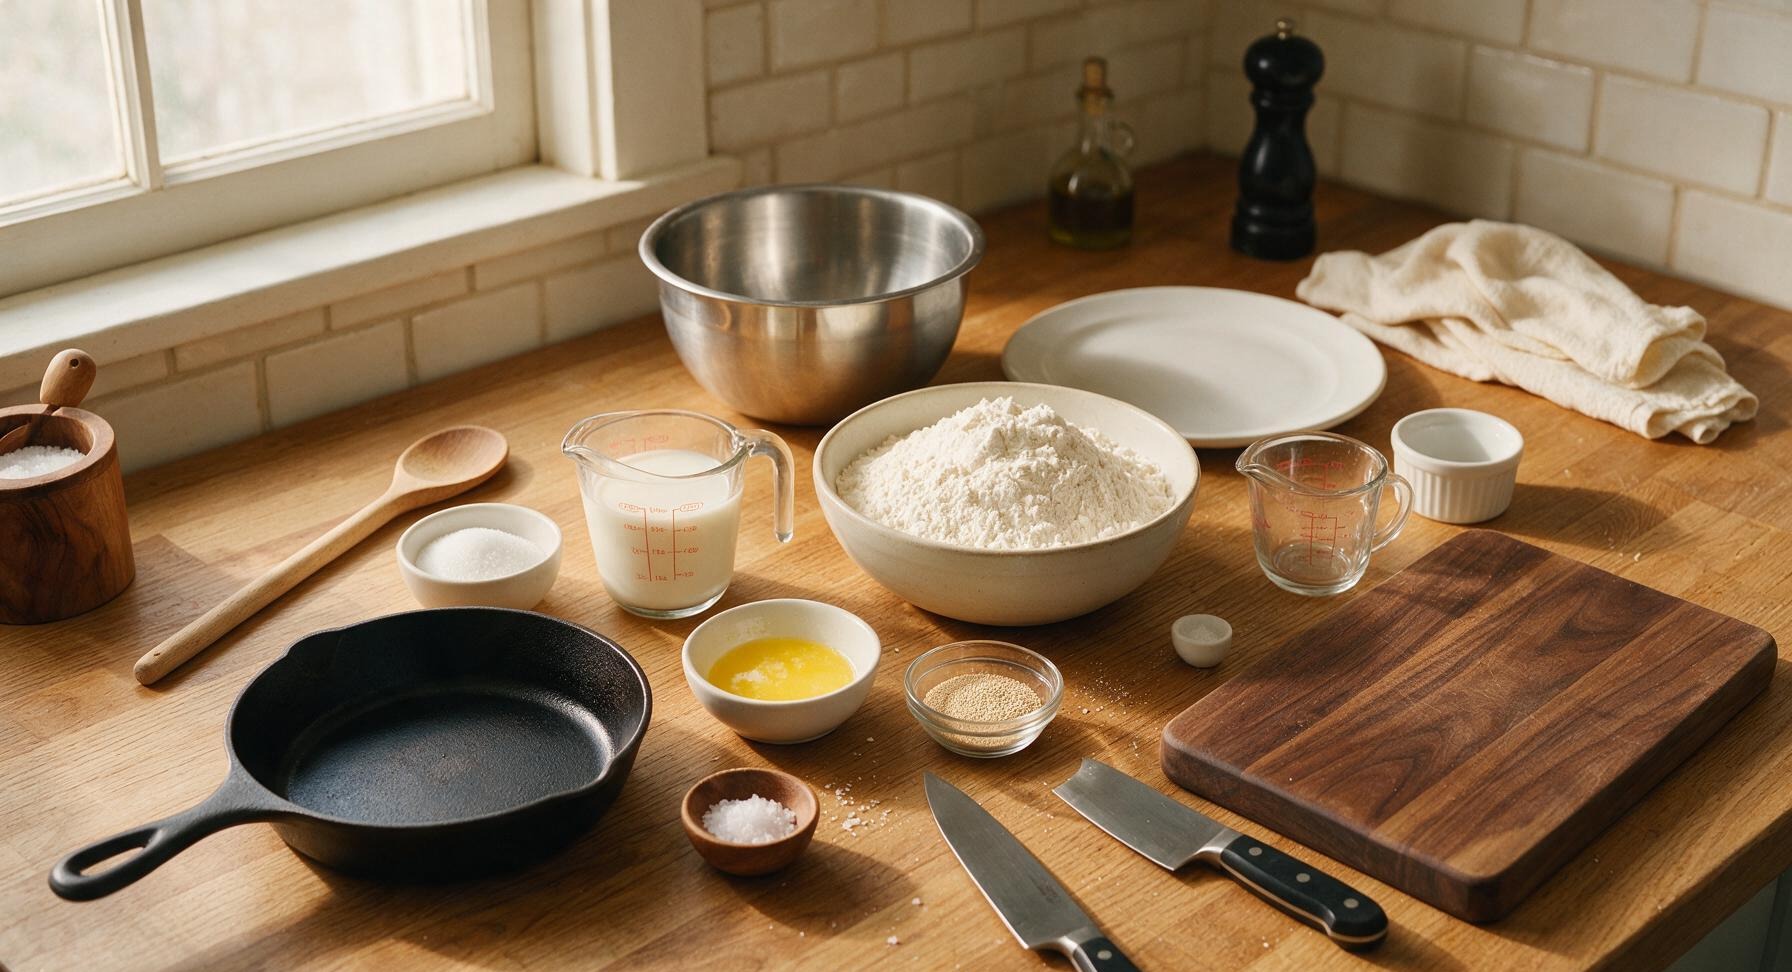
Steps
Proof the Yeast
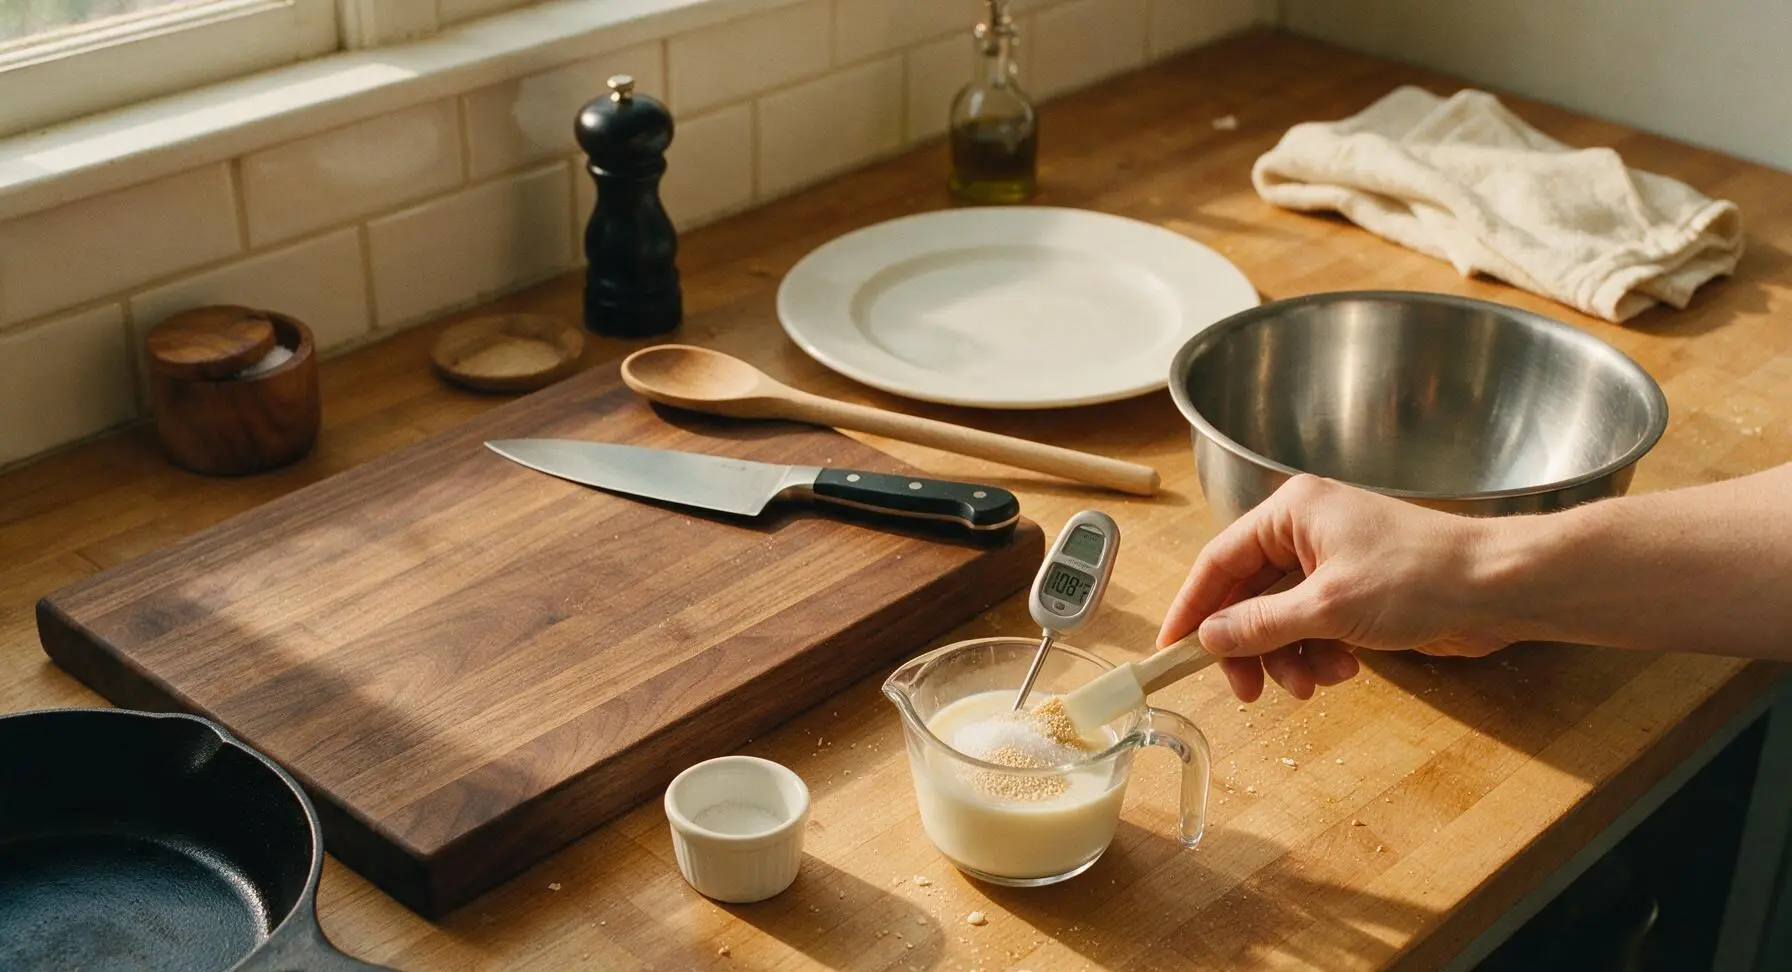
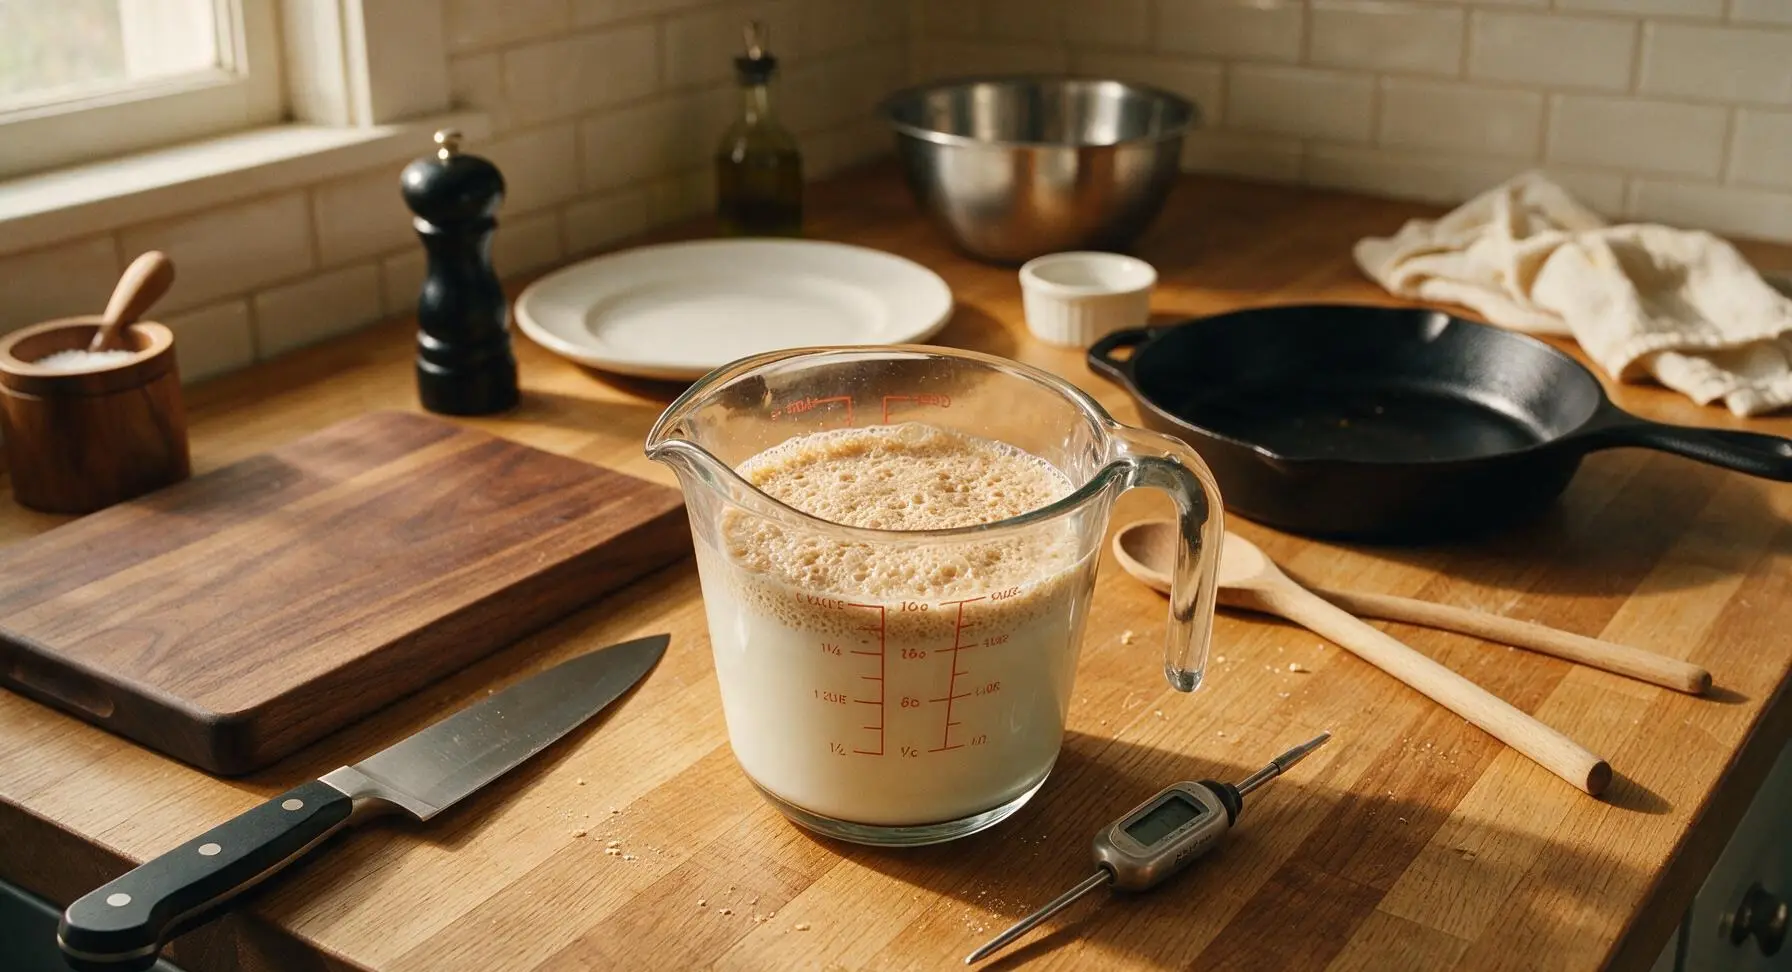
Pour 1 ½ cups warm whole milk (heated to exactly 105-110°F, use the digital thermometer to confirm) into the small glass measuring cup. Stir in 2 tablespoons granulated sugar and 2 ¼ teaspoons instant yeast until just combined. Let rest 5 minutes, until the surface is foamy and bubbly, confirming the yeast is active. If no foam forms, the yeast is expired and should be replaced.
Mix the Dough
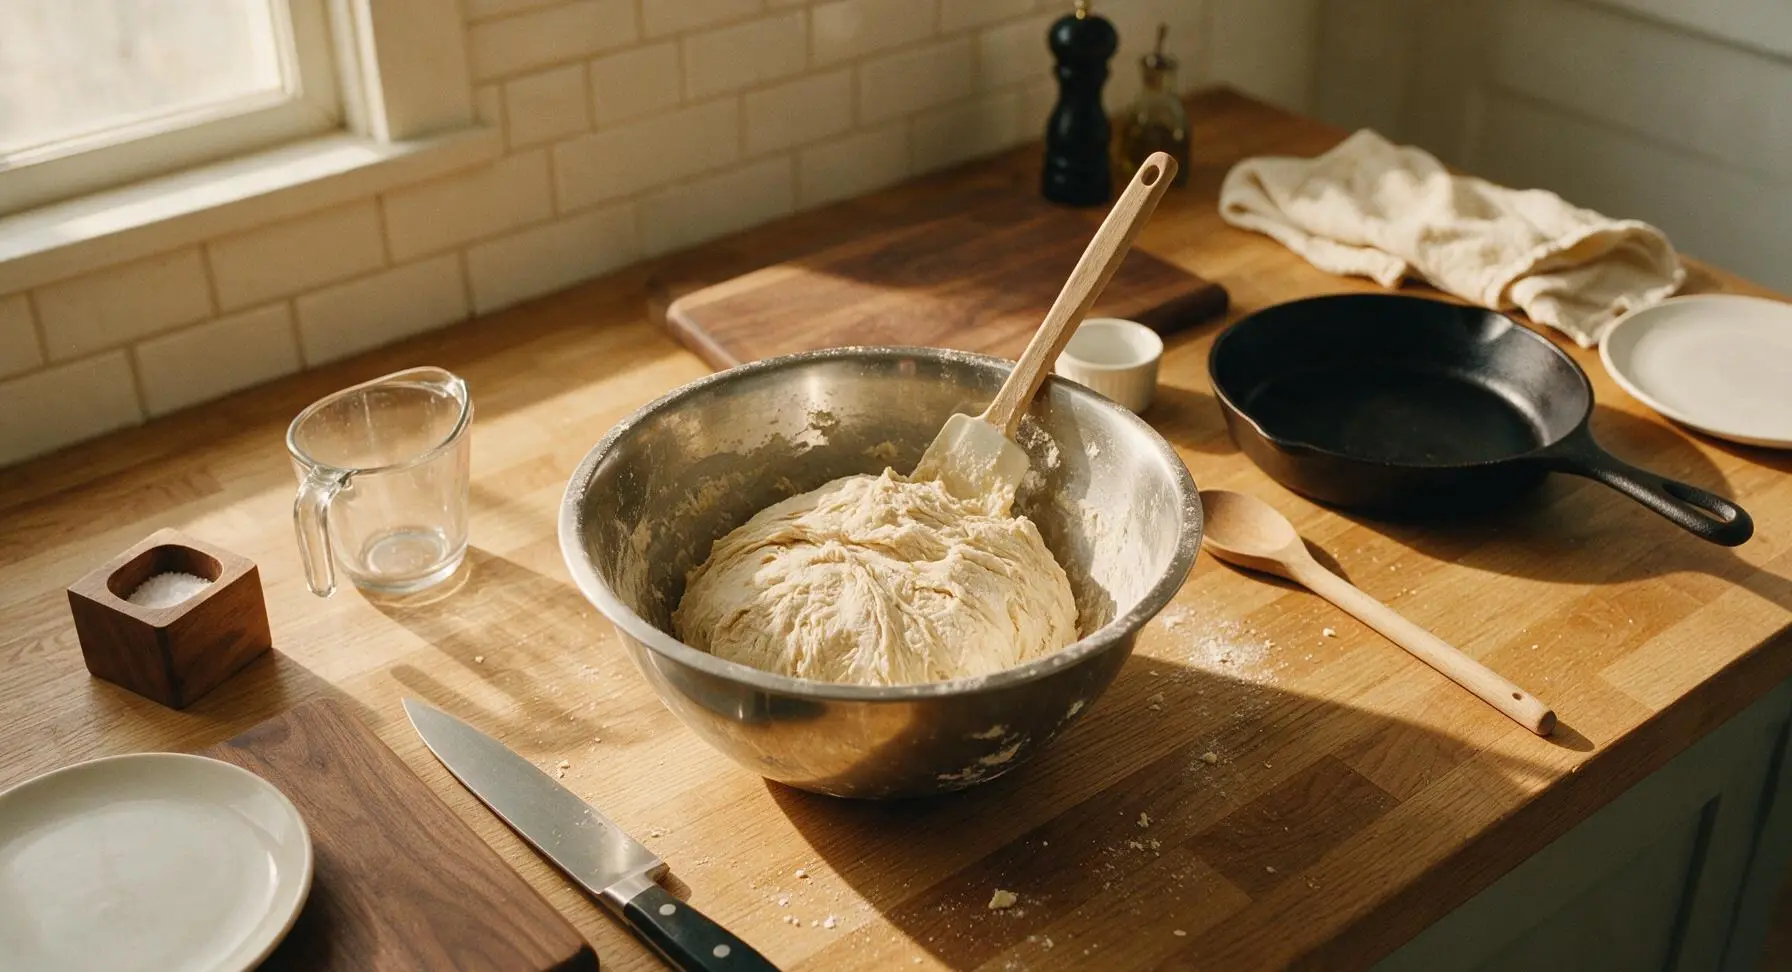
Place 4 ½ cups all-purpose flour and 1 ½ teaspoons fine sea salt in the large stainless steel mixing bowl, whisking briefly to combine. Pour in the foamy yeast mixture and ¼ cup melted, cooled unsalted butter. Stir with the silicone spatula until no dry flour patches remain, forming a shaggy, soft dough that pulls away from the sides of the bowl. Do not over-knead; the dough will be slightly sticky, not perfectly smooth.
Complete First Rise
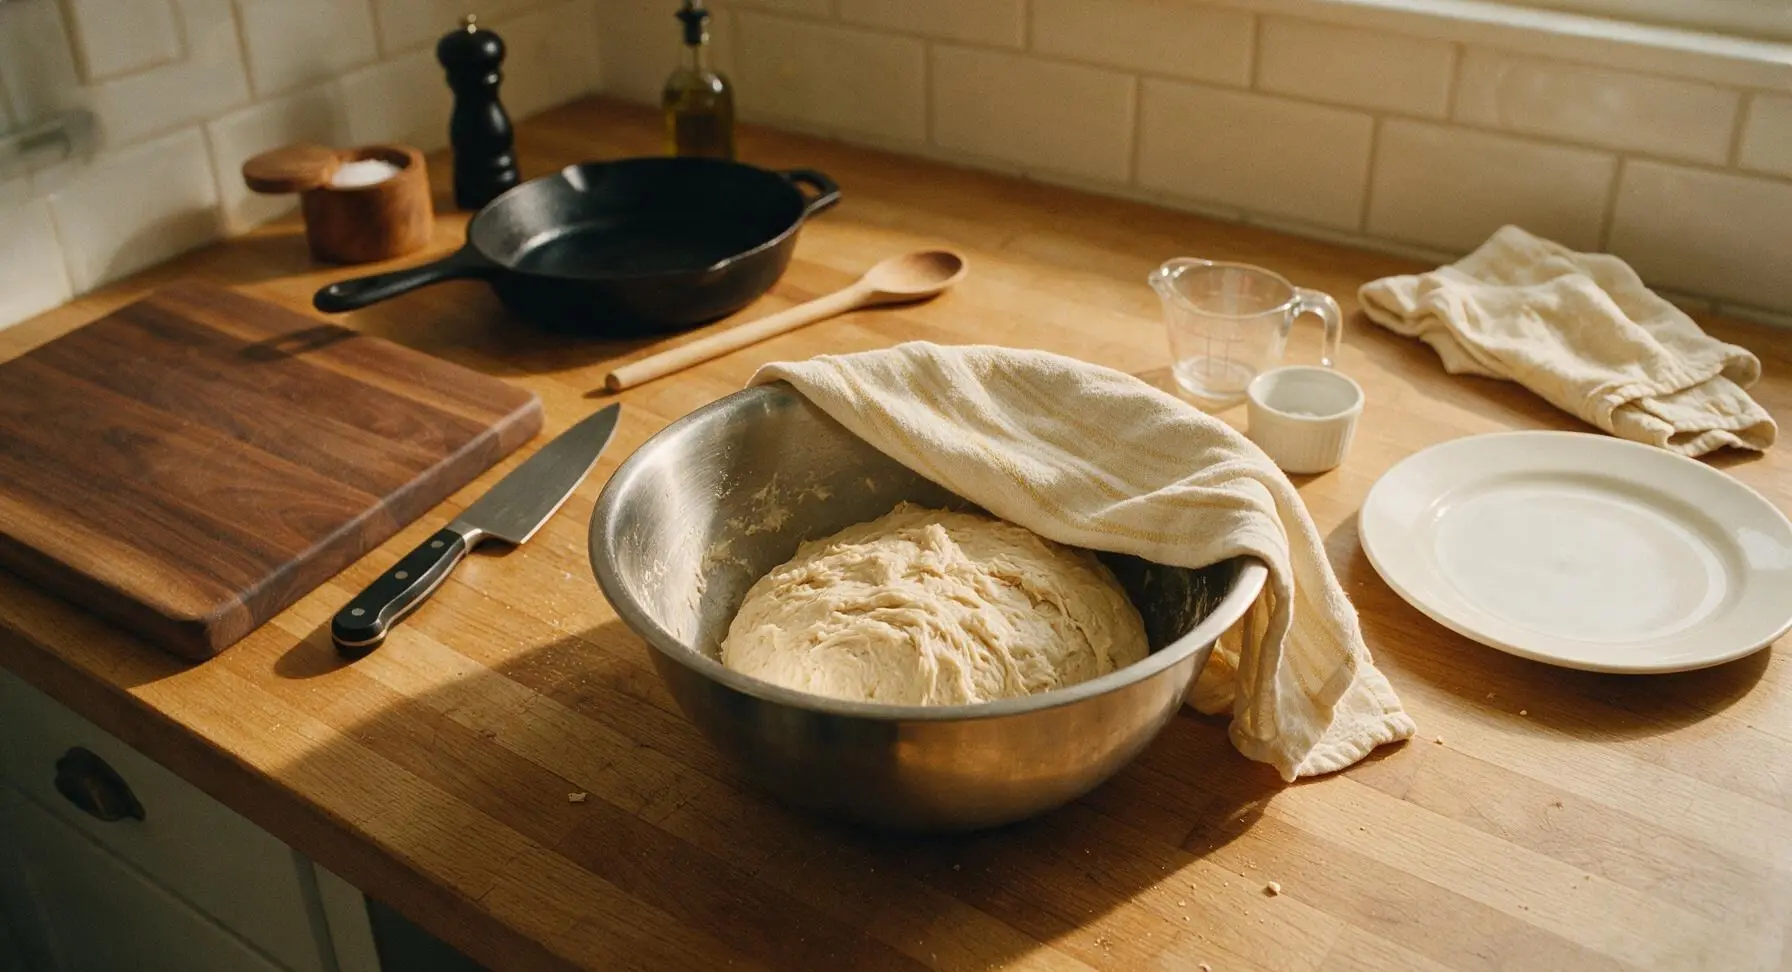
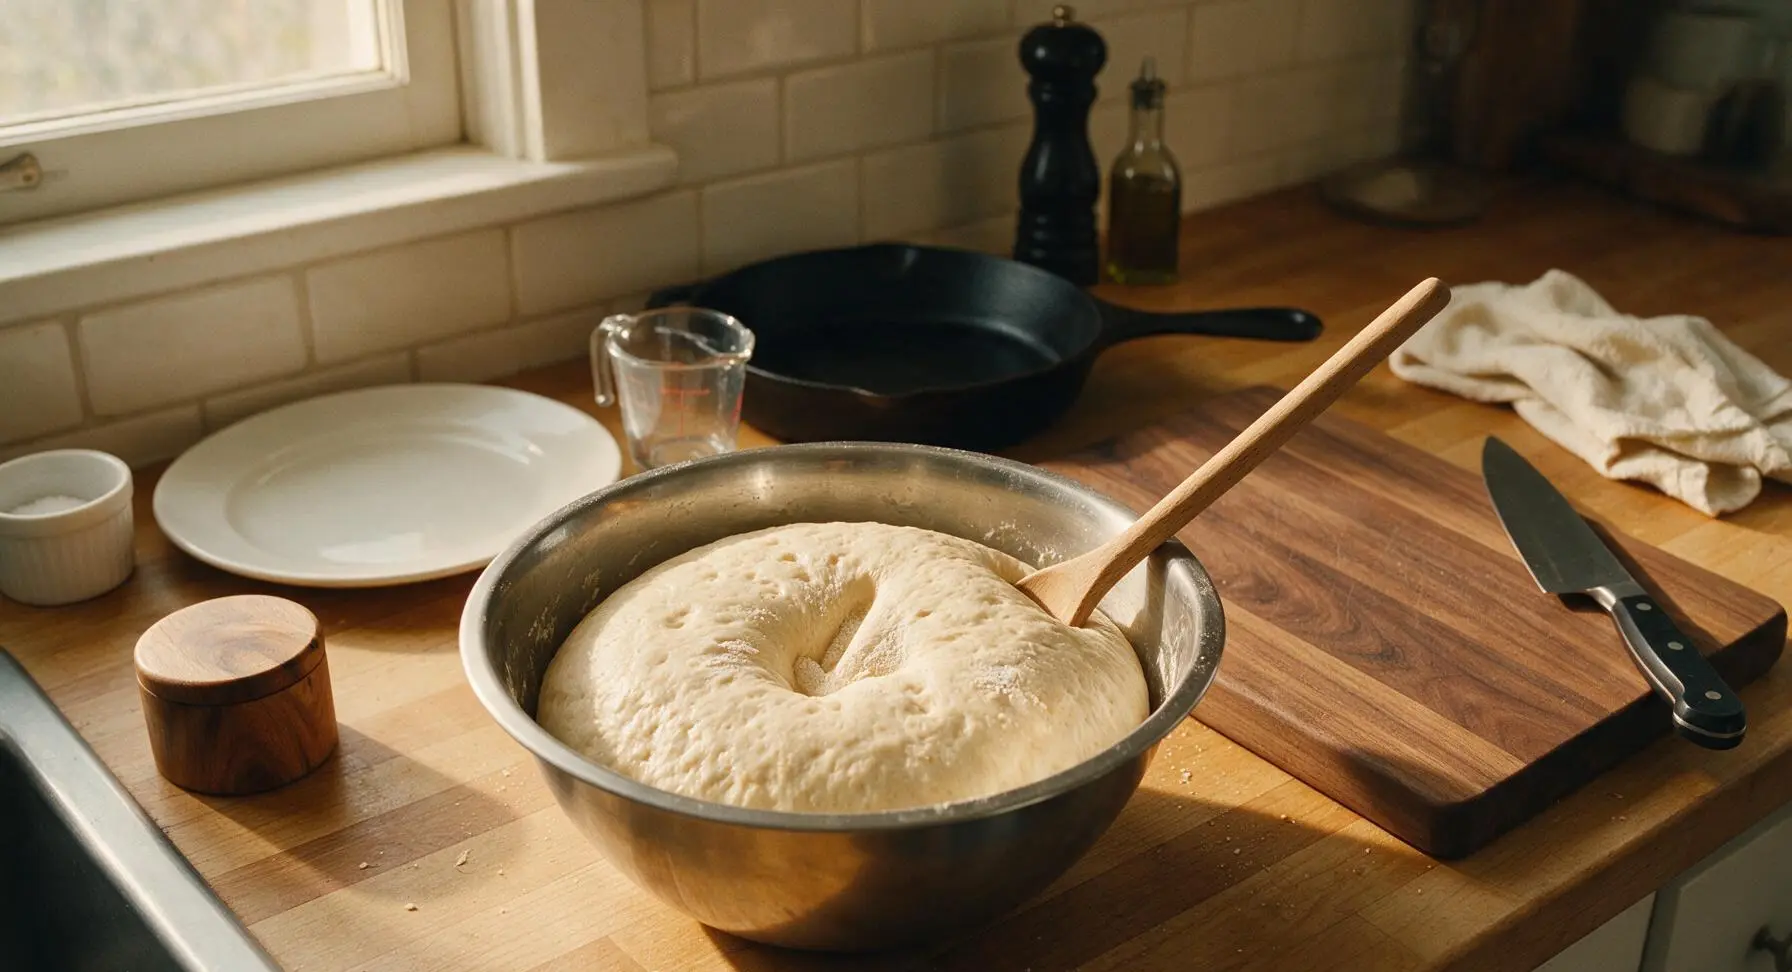
Cover the mixing bowl tightly with a clean damp towel or plastic wrap. Let the dough rest in a warm, draft-free spot (70-75°F) for 1 hour, until it doubles in size and leaves an indentation when poked with a floured finger that does not spring back immediately.
Shape the Rolls
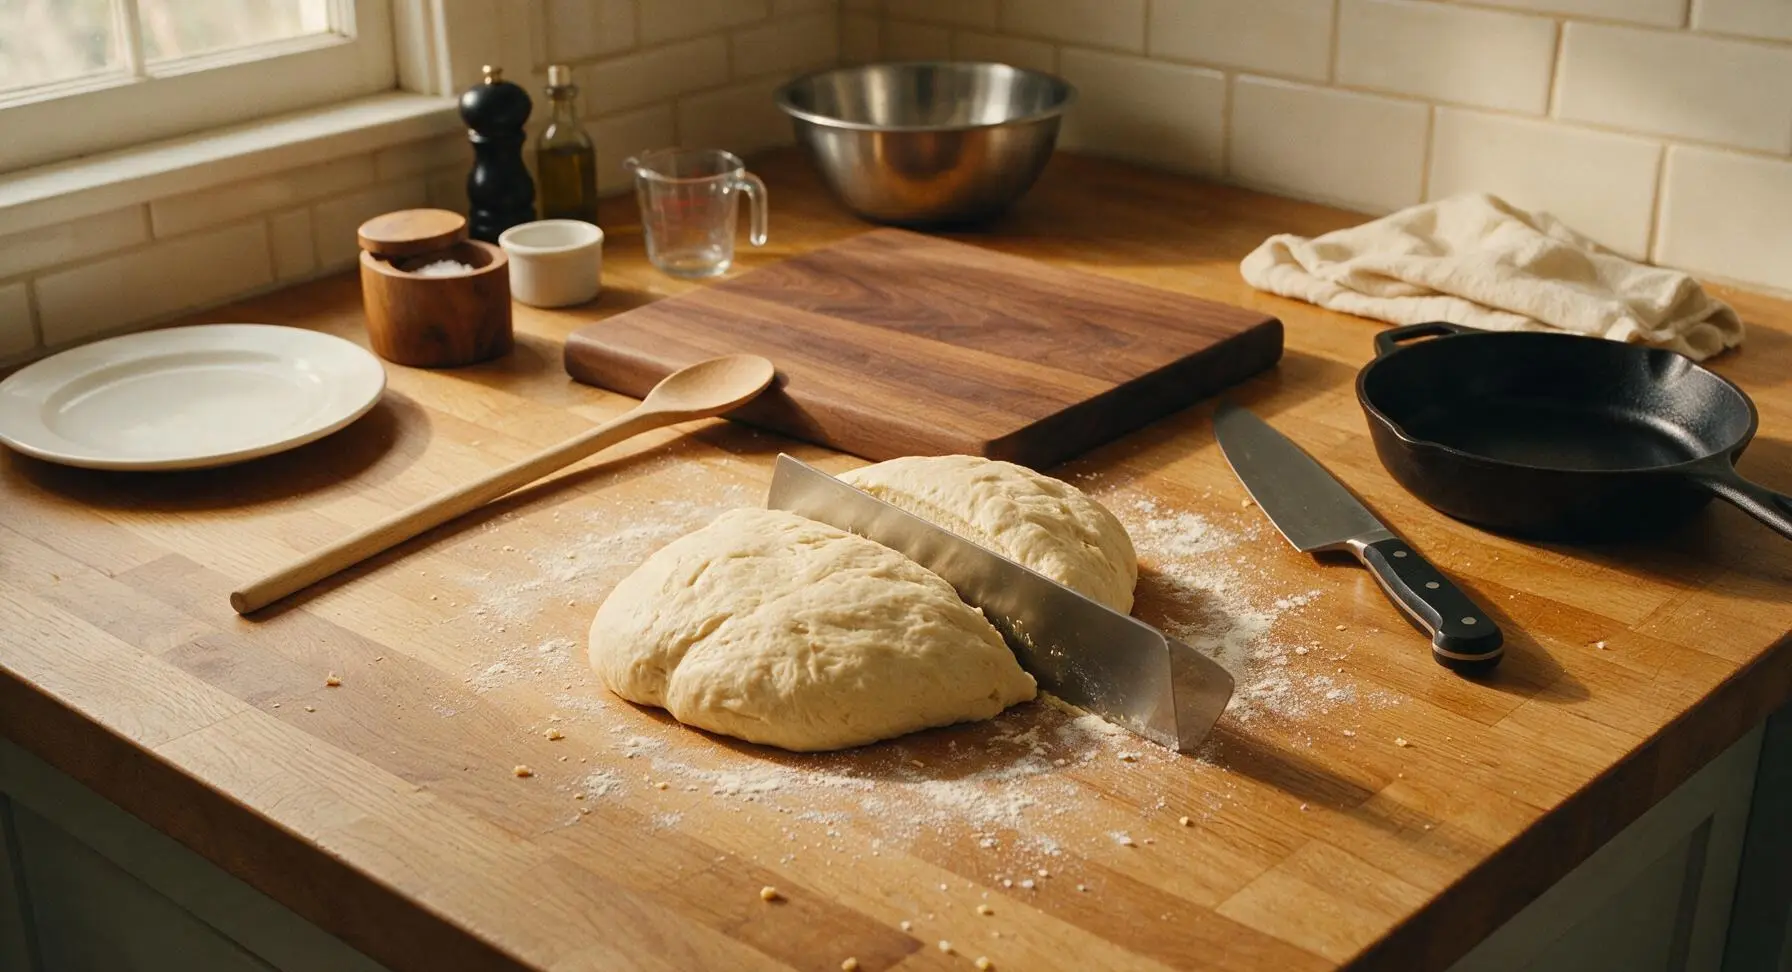
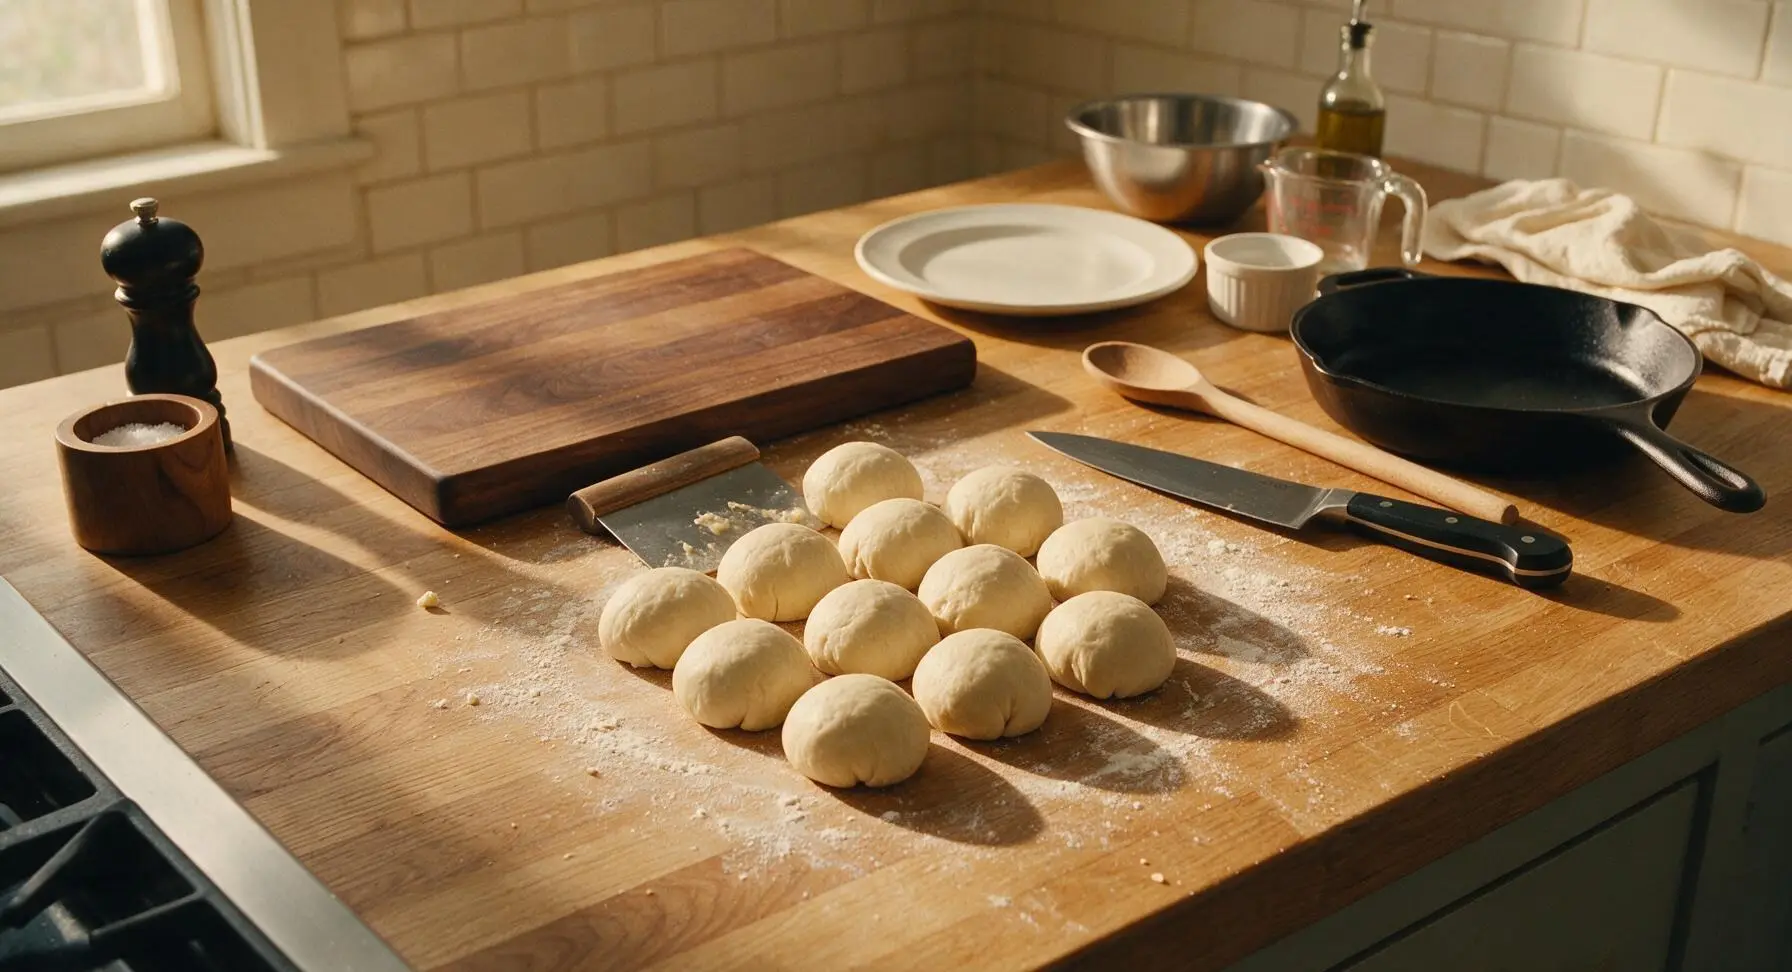
Lightly flour a small section of the central counter. Tip the risen dough out onto the floured surface, using the dough scraper to release any dough stuck to the bowl. Cut the dough into 12 equal pieces (each roughly 75g, for uniform baking). Fold the edges of each dough piece under to form a tight, smooth ball, pinching the seam closed at the bottom.
Arrange in Baking Dish
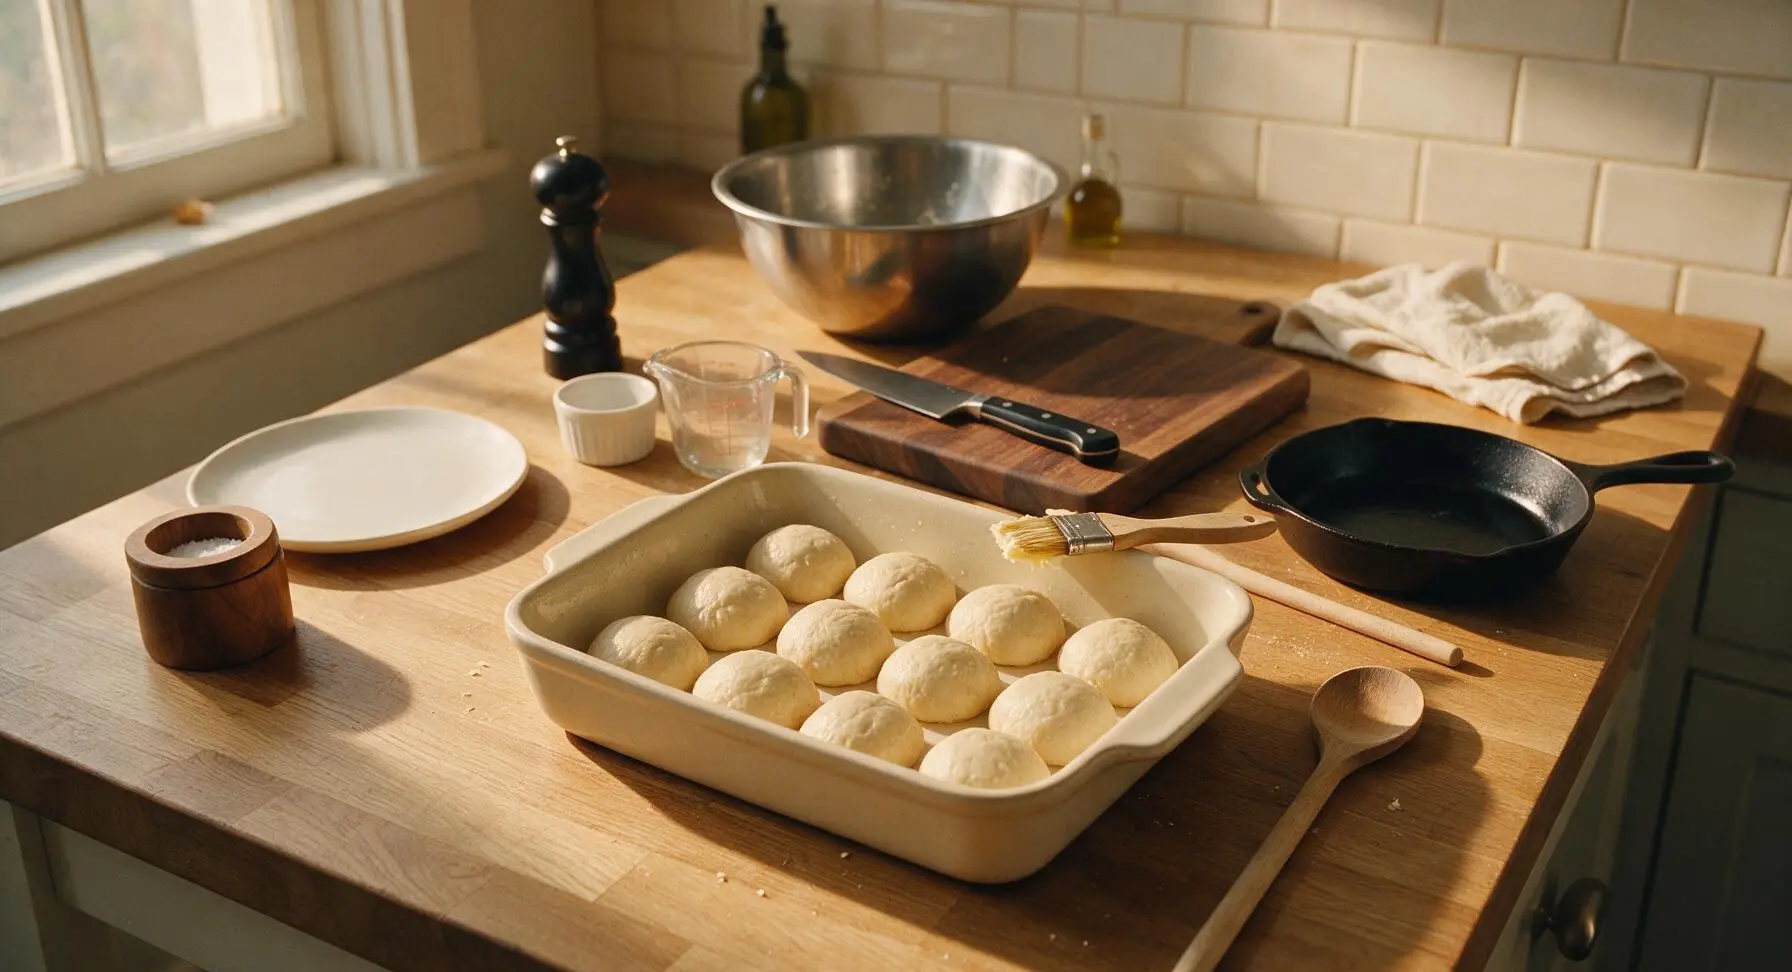
Brush the inside of the 9x13 inch matte cream ceramic baking dish with a thin layer of melted butter. Arrange the 12 shaped dough balls seam-side down in the dish, spaced evenly in 3 rows of 4, leaving small gaps between each roll to allow room for rising.
Do-Ahead Cold Rise
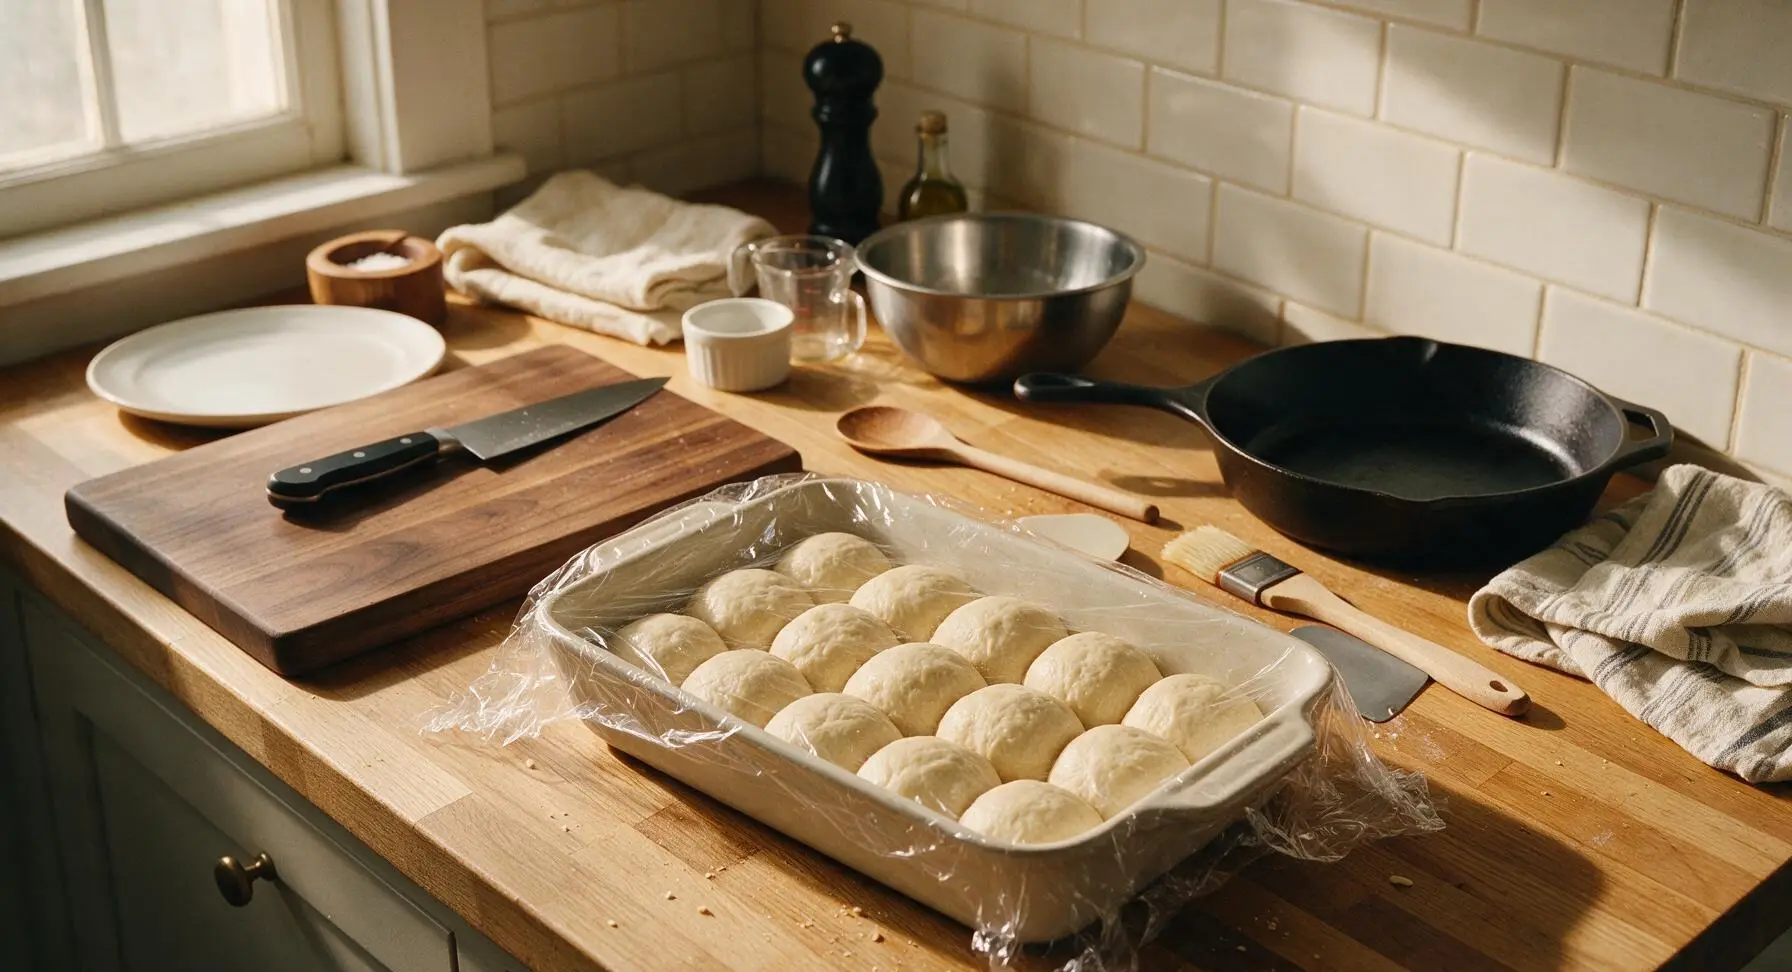
Cover the baking dish tightly with plastic wrap, leaving enough slack for the rolls to rise without sticking to the wrap. Place the dish in the refrigerator for 8-12 hours (up to 18 hours) to slow-rise, which develops deep, buttery flavor and soft texture without extra kneading. The rolls will puff slightly in the fridge, but will not fully double until warmed before baking.
Bake the Rolls
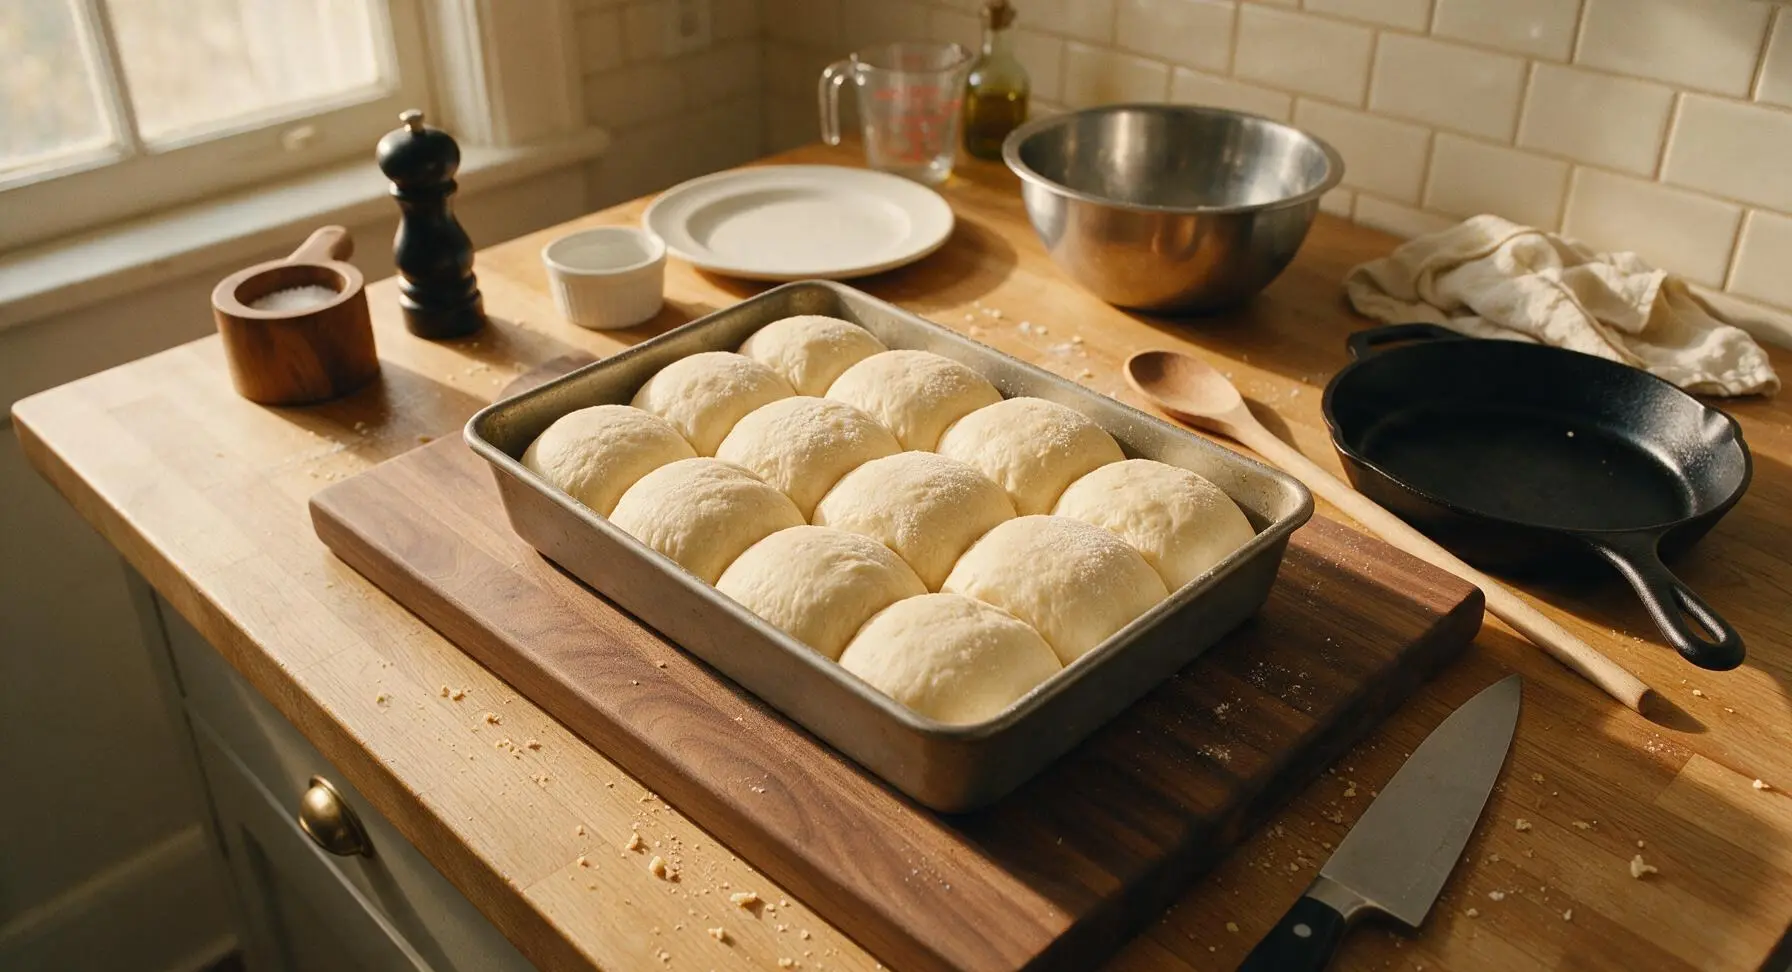
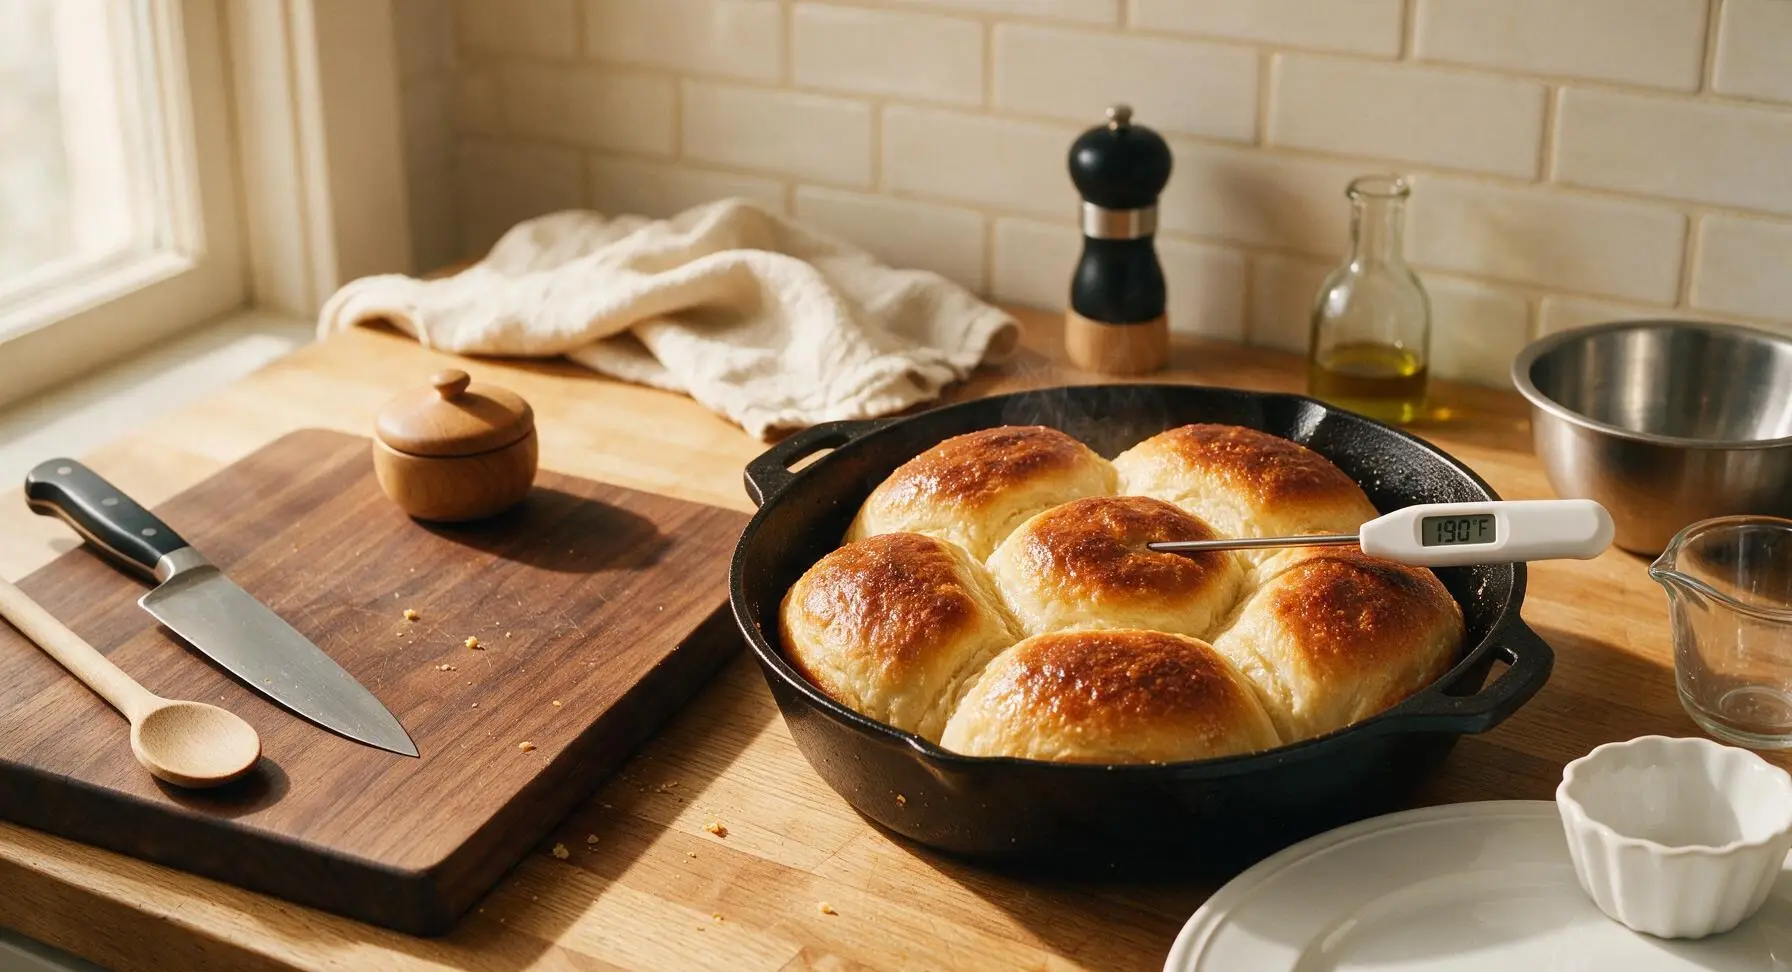
When ready to bake, remove the dish from the refrigerator and let it rest at room temperature for 30 minutes while the oven preheats to 375°F (190°C). Remove the plastic wrap, then bake for 18-22 minutes, until the tops are deep golden brown and the internal temperature of the center rolls reaches 190°F on the instant-read thermometer.
Finish and Serve
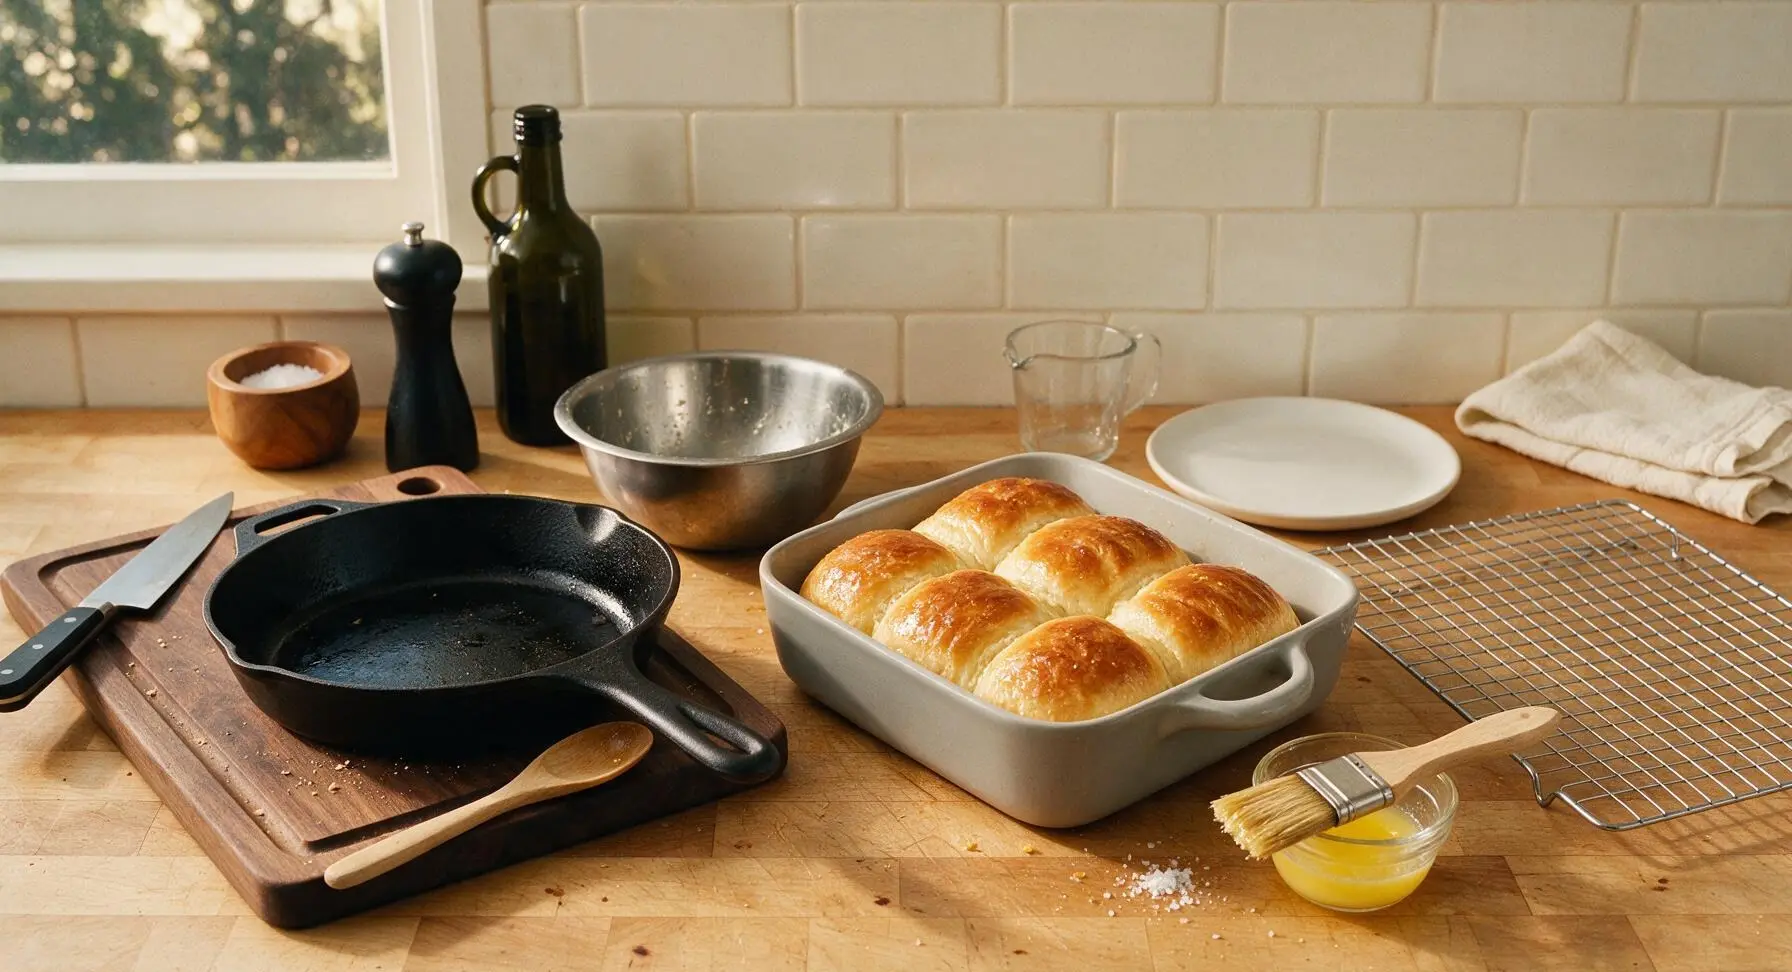
Immediately after removing the rolls from the oven, use the pastry brush to brush the tops with the remaining 2 tablespoons of melted unsalted butter, then sprinkle lightly with flaky sea salt. Let the rolls cool in the dish for 5 minutes, then transfer to the wire cooling rack for 5 more minutes before piling onto the serving platter.
Tips
2.Avoid over-baking for the softest texture: once roll tops are deep golden brown and the internal temperature of the center roll reaches 190°F, remove the dish from the oven immediately. Over-baking will dry out the fluffy interior and create a tough, crunchy crust instead of the tender, pillowy texture you want.
3.Don’t skip the cold overnight rise: this slow, low-temperature rise develops rich, buttery, slightly sweet flavor without extra kneading, and makes the recipe do-ahead friendly. The covered dough can stay refrigerated for up to 18 hours, so you can prep it a full day and a half before serving if needed.






I was so nervous to make homemade rolls because every past attempt turned out like dense hockey pucks, but these were SO easy! The do-ahead step meant I didn’t have to rush around right before our friend’s potluck, and everyone asked me for the recipe. 10/10, no notes.
How long can I keep the dough in the fridge before baking? I want to make these for a work potluck next Friday and was hoping to mix it up this Sunday to save time.
Made these for our Thanksgiving pre-game dinner last night and they were gone in 10 minutes flat. That hint of honey? Chef’s kiss. I was worried doing the ahead step would make them taste weird, but they were fresher tasting than the frozen rolls I’ve bought for years. SO good.
Wait, has anyone tried making these with a 1:1 gluten free flour blend? I’d love to bring these to my sister’s dinner party but I’m gluten intolerant and don’t want to make something I can’t eat too!
I forgot to soften the butter ahead of time so I just melted it and mixed it in, will that mess up the texture? The dough is in the fridge right now rising, fingers crossed!
Can these be frozen after baking? I’m trying to stock my freezer with easy sides for when our new baby arrives next month and these would be perfect.
I live in a tiny dorm with a super janky toaster oven and I still nailed these! Prepped the dough in a big mixing bowl, kept it in my mini fridge for two days, baked them in batches, and my whole floor kept asking when I’d make more. Way easier than I thought it would be.
How much do these rise when you leave them in the fridge? I left mine in overnight and it looks like it barely puffed up, did I kill the yeast?
OMG I added a little garlic powder and parmesan to the tops before baking and they tasted exactly like the fancy restaurant rolls you pay $10 a basket for. My kids loved them so much they asked for seconds before we even finished the main course! Total game changer.
The recipe says 20 minutes cook time, but mine were totally burnt on the bottom after 15 minutes? Did I do something wrong? My oven runs a little hot but I thought I adjusted for it.
Made these for our college football tailgate last weekend, prepped them Friday night, baked them Saturday morning, wrapped them in foil, and they were still warm and soft by kickoff. Everyone was raving, even the guys who only eat hot dogs and chips at tailgates. Will be a regular in our rotation.
I’m hosting my first ever Friendsgiving next week and I’m so stressed about timing all the food. How long do I need to let the dough sit out after taking it out of the fridge before I bake it? I don’t want to mess this up!
Has anyone tried making these with whole wheat flour? I’m trying to sneak a little extra fiber into my kids’ meals without them noticing, lol.
I don’t have a stand mixer, so I mixed and kneaded this entirely by hand and it still worked perfectly! I was worried it would be too much work, but the dough is super soft and easy to work with, even for someone with weak wrist strength like me. 10/10 for accessibility.
Wait, are these sweet enough to use for breakfast sliders? I’m thinking ham, egg, and cheese sliders for my kid’s soccer team breakfast and these would be perfect if they’re not too savory.
These are so much better than the frozen dinner rolls I’ve been buying for years! I can’t believe how little active time they take, and the house smells like a bakery when they’re baking. My husband asked if I picked them up from the fancy bakery downtown, lol.