
easy sandwiches for lunch
intro
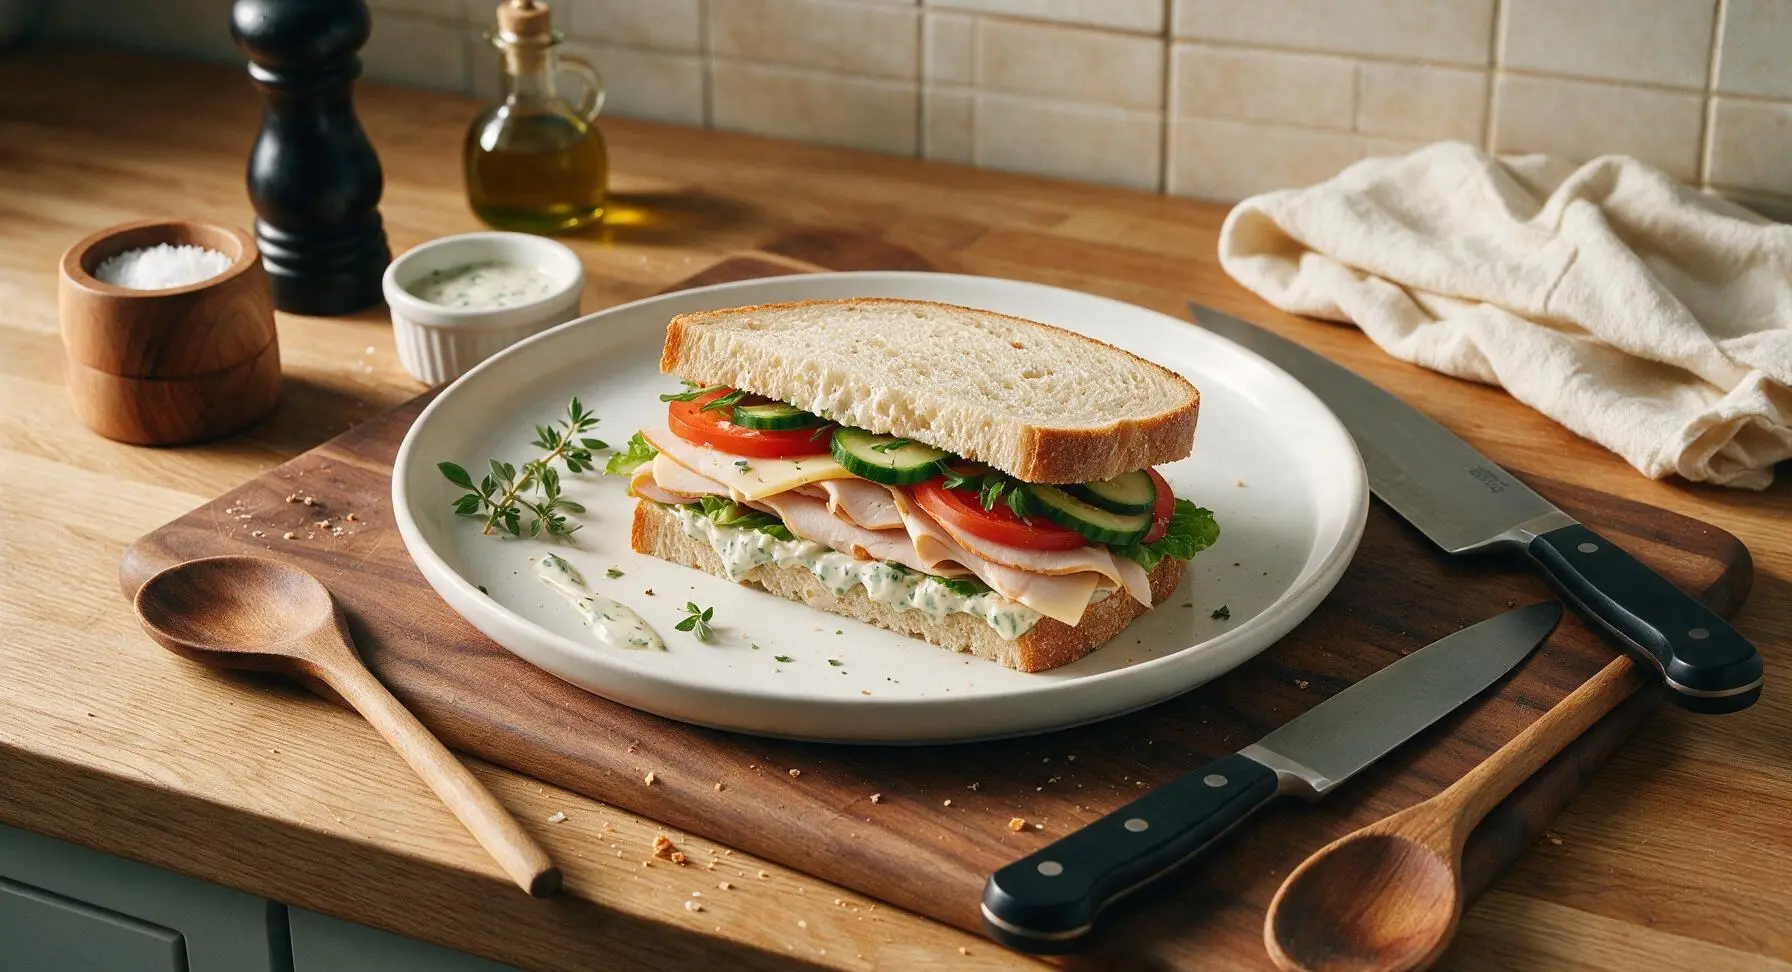
Crisp, no-cook turkey cheddar sandwiches layered with fresh veggies and herbed mayo, ready in 10 minutes for a satisfying, portable weekday lunch with zero fancy equipment.
Ingredients
Steps
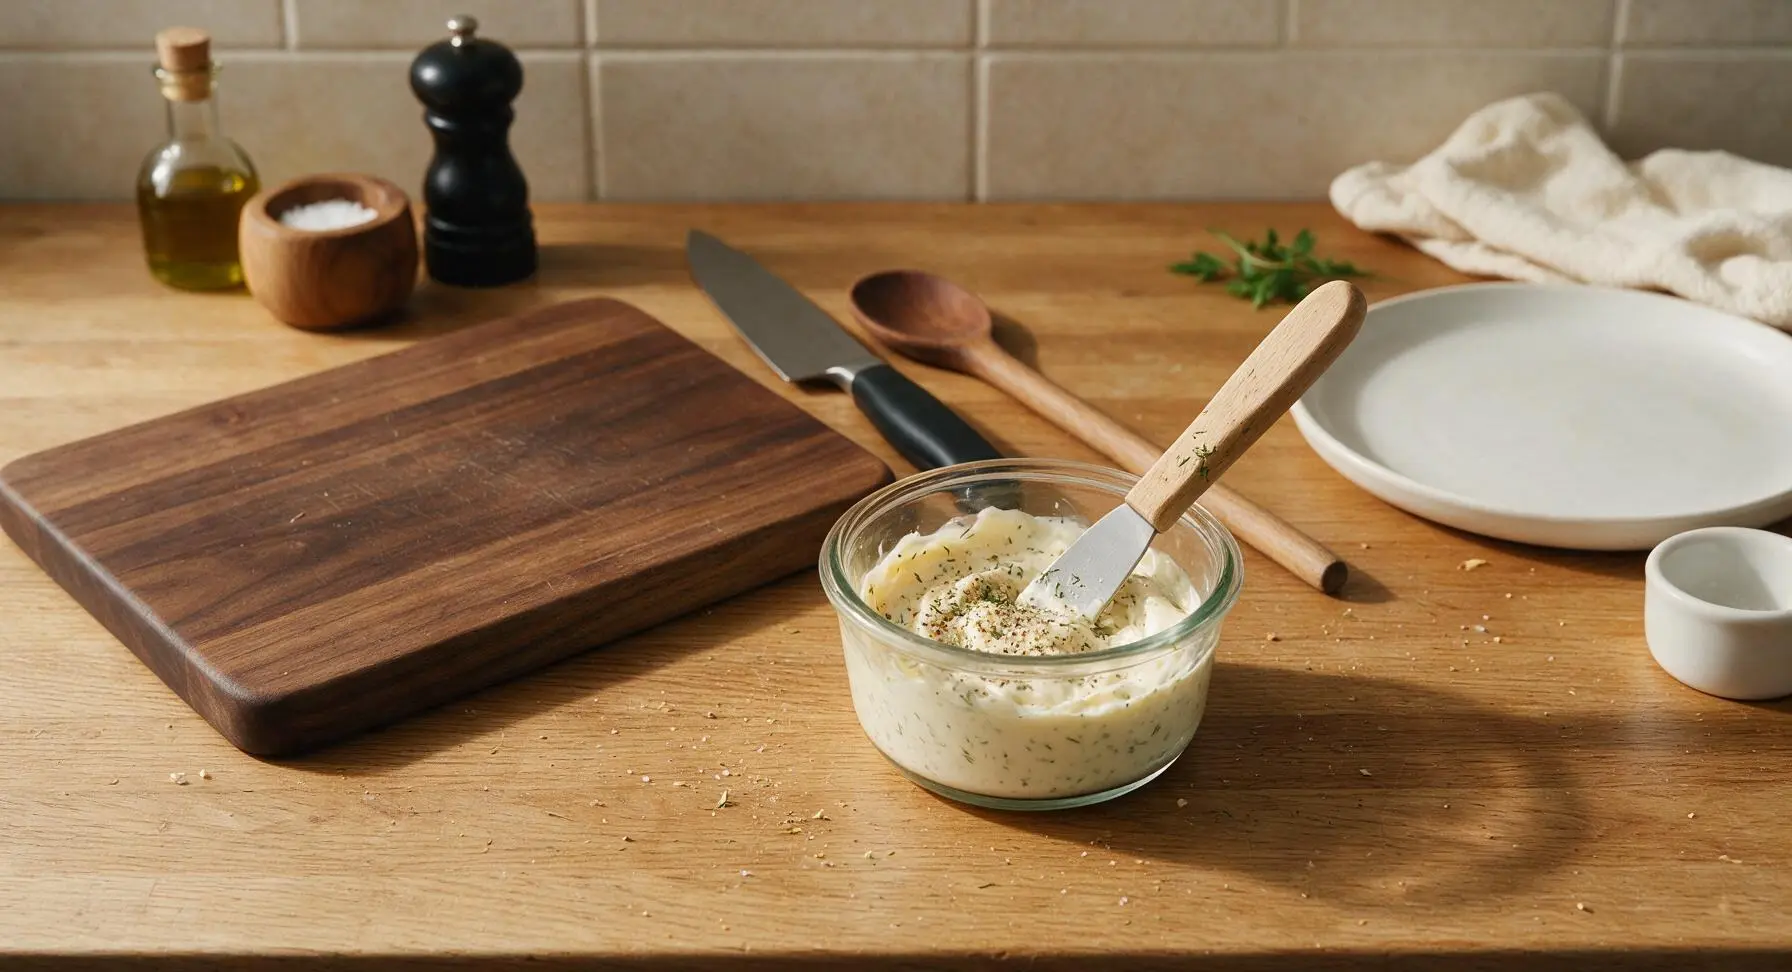
Mix Herbed Mayo Spread
Scoop 1.5 tablespoons of full-fat mayonnaise into one of the fixed clear glass ramekins. Add 1/2 teaspoon dried dill, 1/4 teaspoon garlic powder, 1/8 teaspoon kosher salt, and 1/8 teaspoon freshly ground black pepper. Stir thoroughly with the light wood-handled butter spreader until the mixture is smooth, with even flecks of dill throughout, about 30 seconds of stirring. Set the ramekin back in its fixed position to the right of the cutting board.
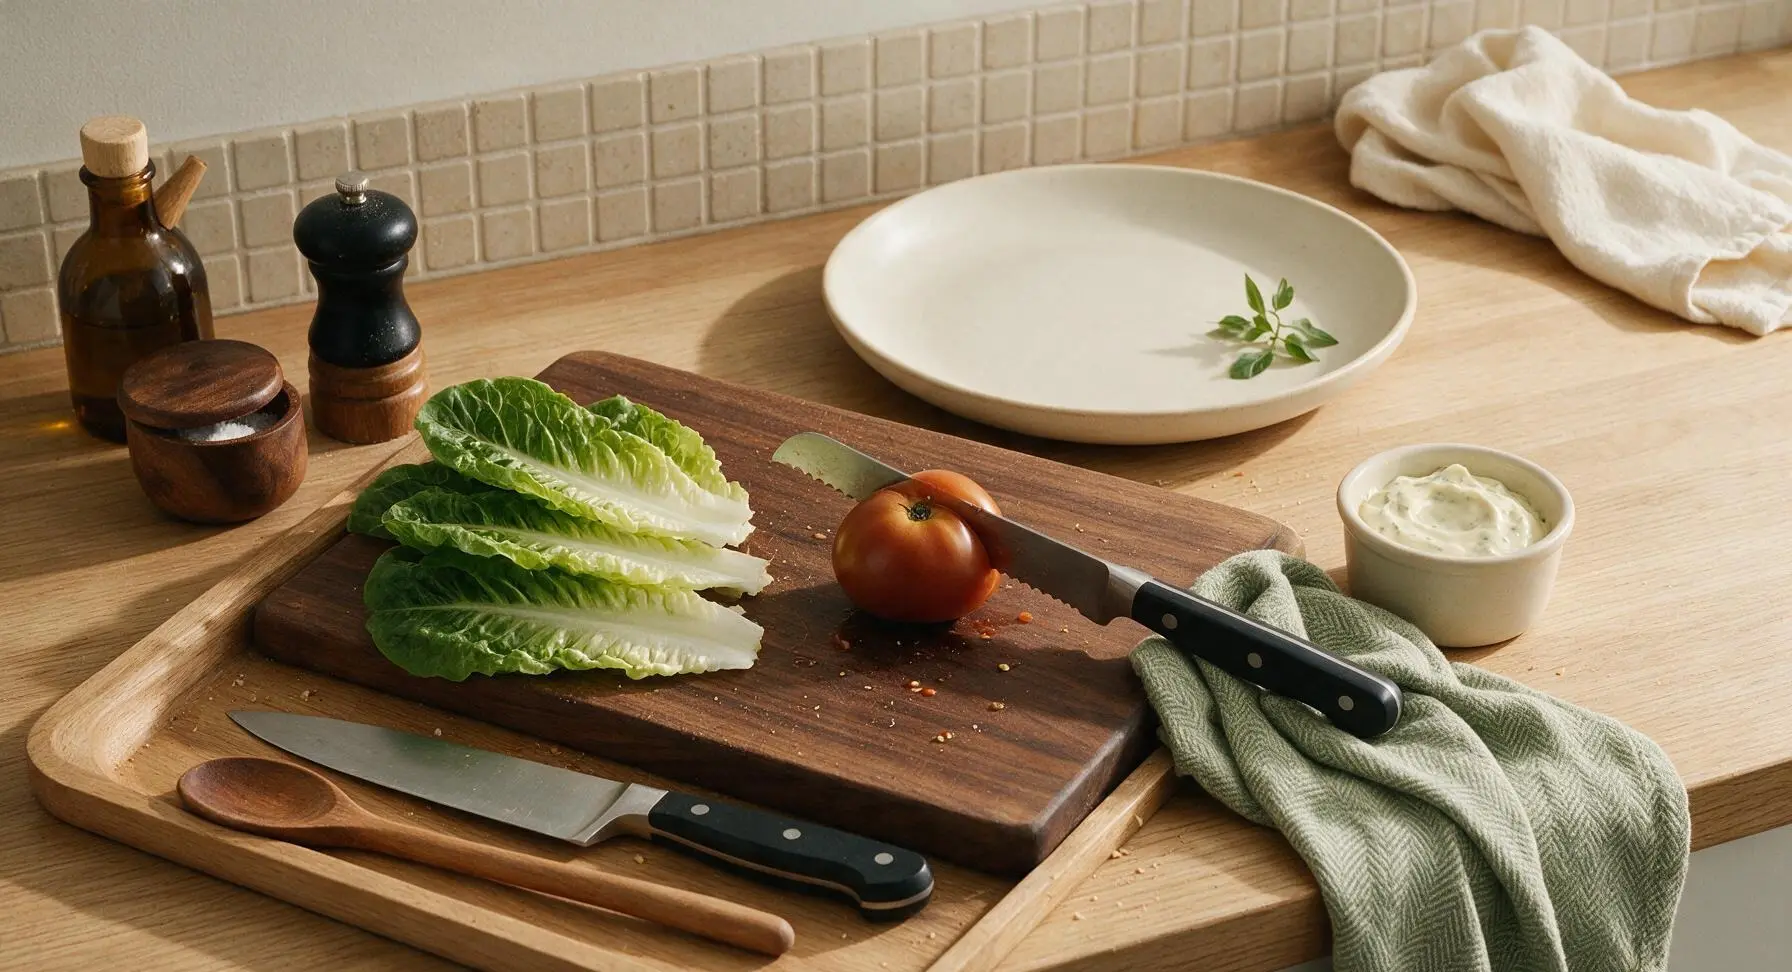
Prep Fresh Produce
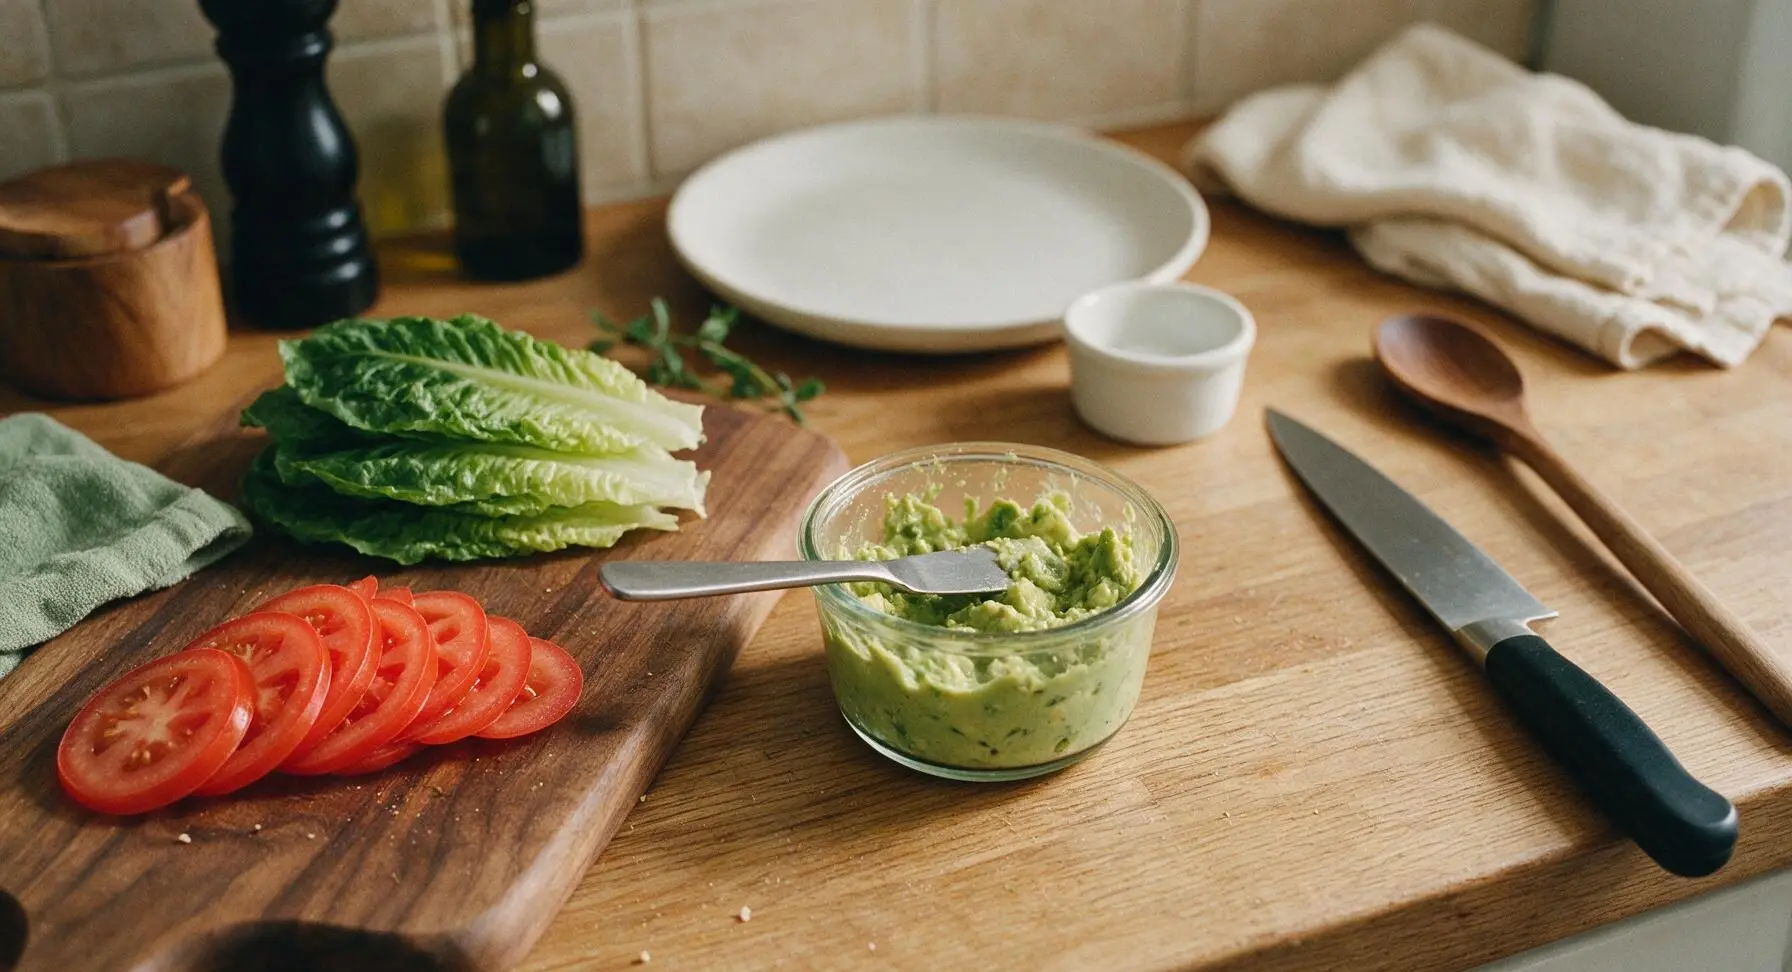
Stack the 4 romaine lettuce leaves on the light oak cutting board, and pat completely dry with a corner of the sage green cotton kitchen towel to remove excess moisture that would make bread soggy. Use the serrated bread knife to slice the roma tomato into uniform 1/4-inch thick rounds, discarding the hard stem end. Halve the Hass avocado, remove the pit with a quick tap of the knife edge, and scoop all flesh into the second clear glass ramekin; mash lightly with the butter spreader until mostly smooth, with a few small creamy avocado chunks remaining for texture.
Prep Bread Slices
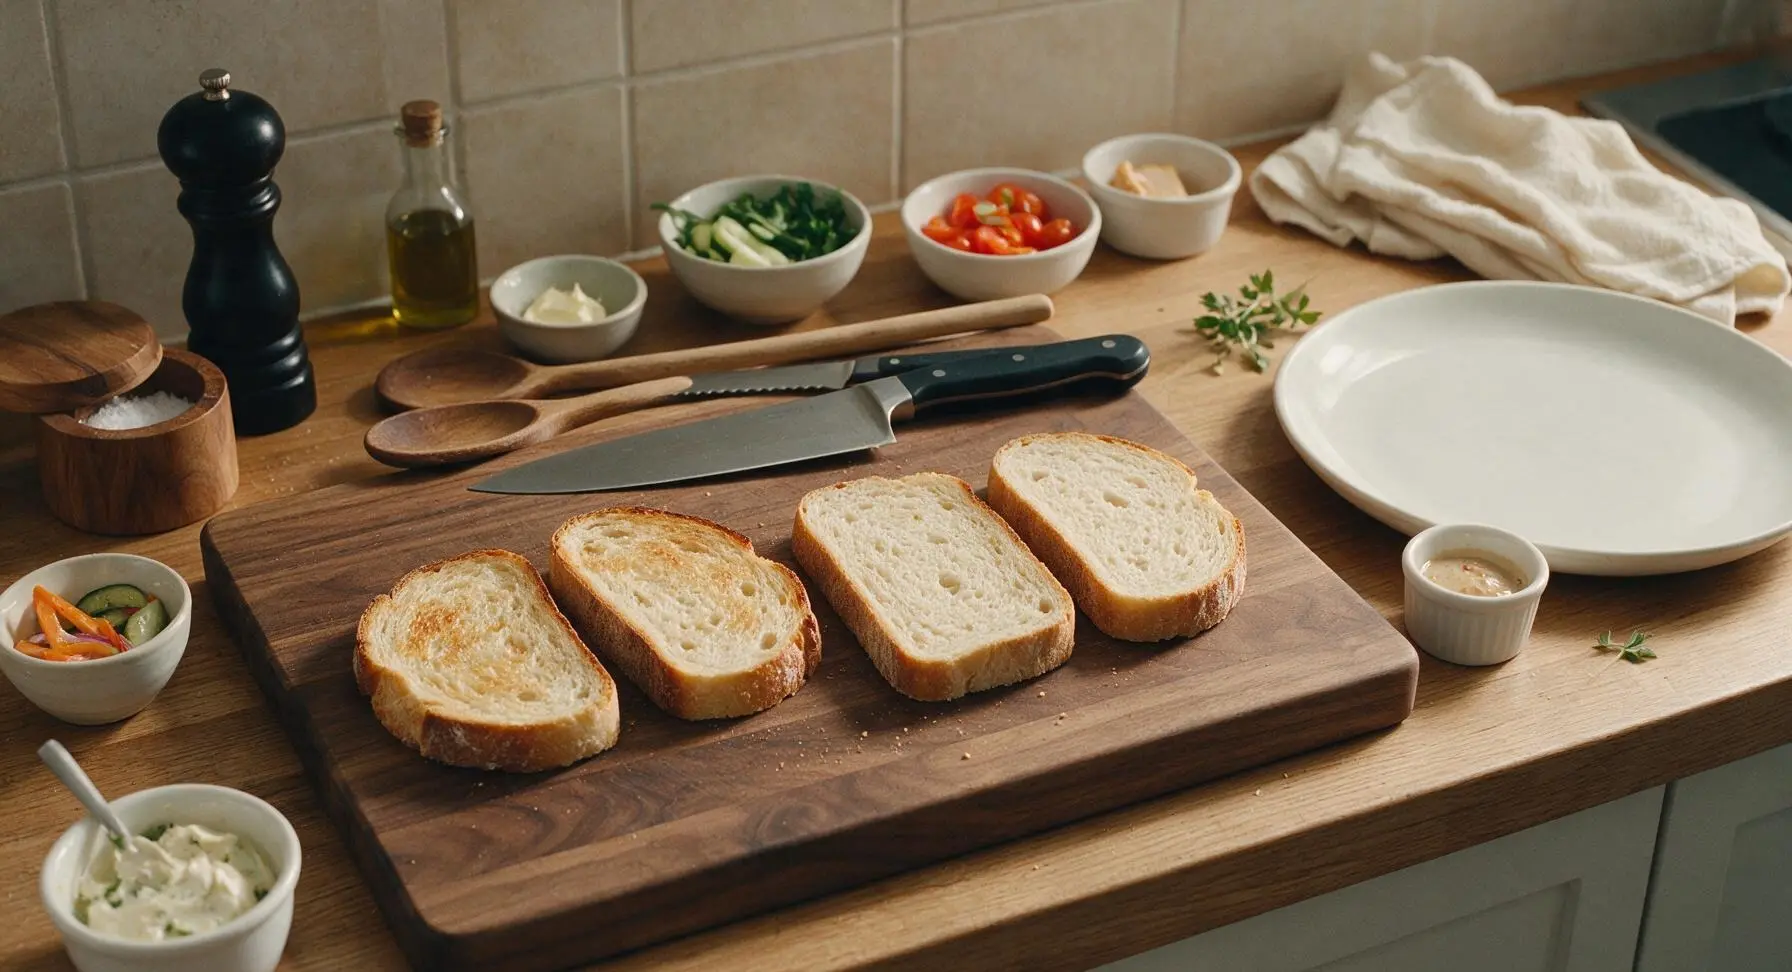
Lay all 4 thick sourdough slices flat across the center of the light oak cutting board. If desired, toast slices for 1-2 minutes until pale golden at the edges (toaster is stored below counter, not visible on the work surface), then let cool 1 minute before assembly to prevent spread from melting. For a softer, classic no-cook sandwich, skip toasting and use bread straight from the package at room temperature.
Spread Base Layers
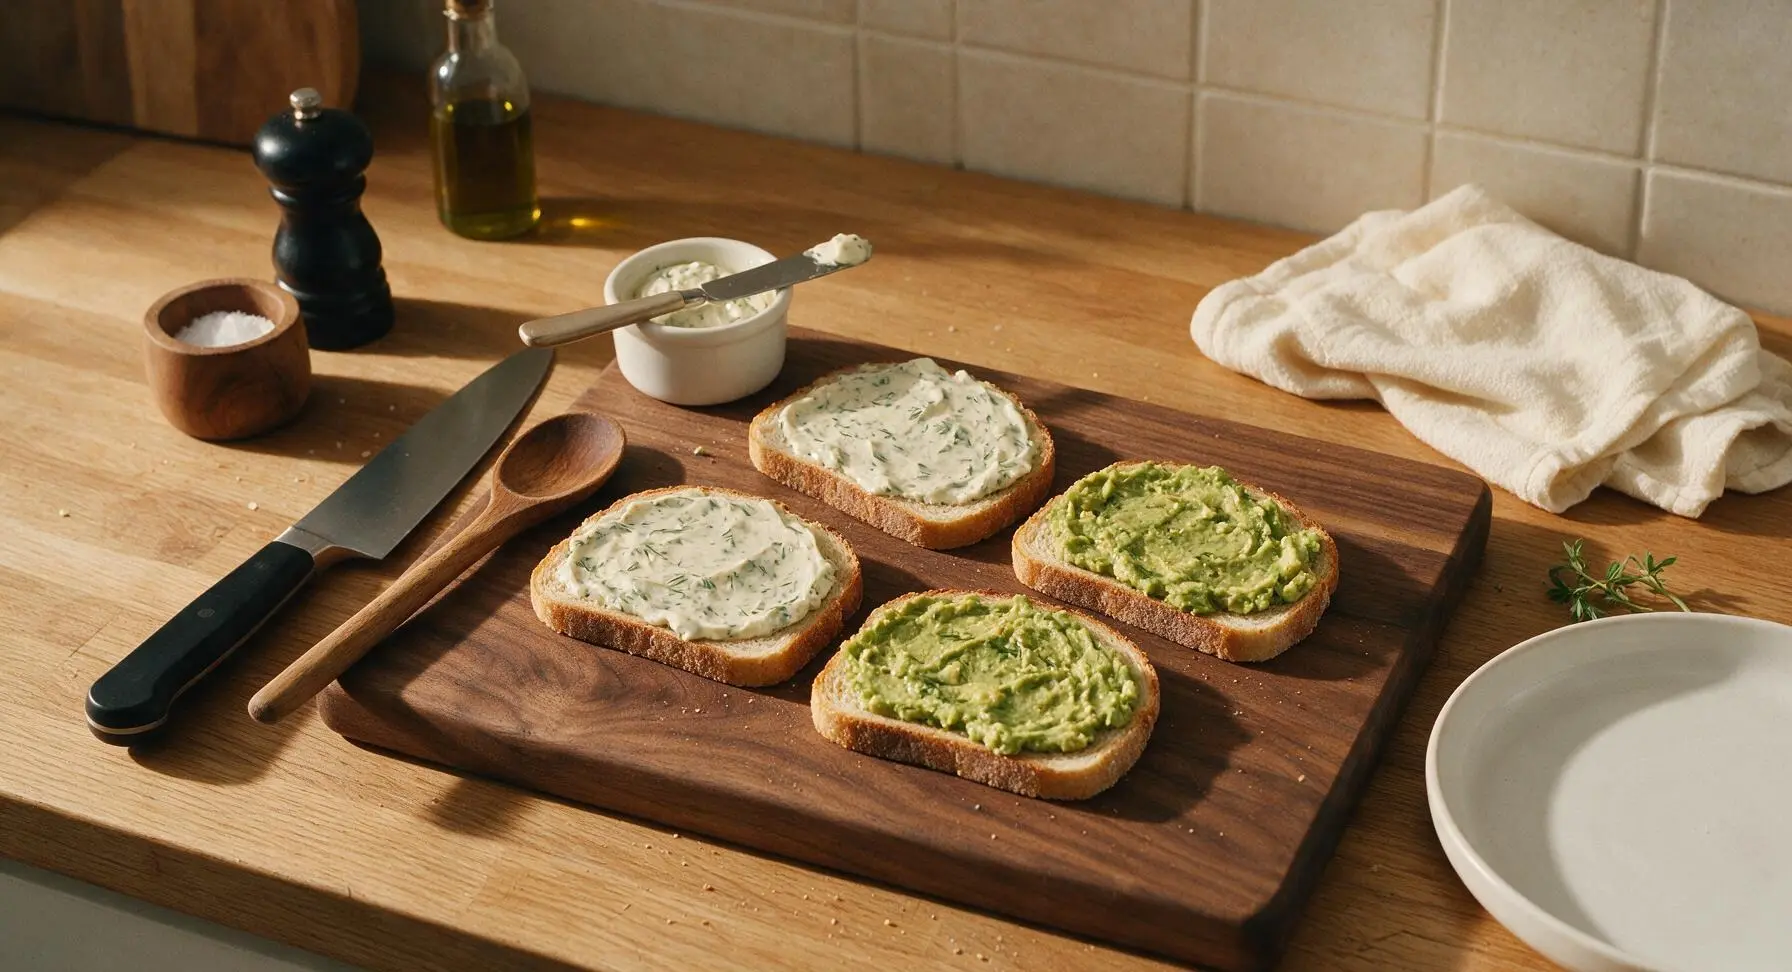
Use the butter spreader to evenly divide the herbed mayo mixture across two slices of bread, spreading all the way to the crust edges to create a moisture barrier that prevents juicy fillings from soaking the bread. Divide the mashed avocado across the remaining two slices of bread, spreading evenly to the edges in the same way. Wipe any excess spread from the spreader on the ramekin edge before setting it down.
Layer Sandwich Fillings
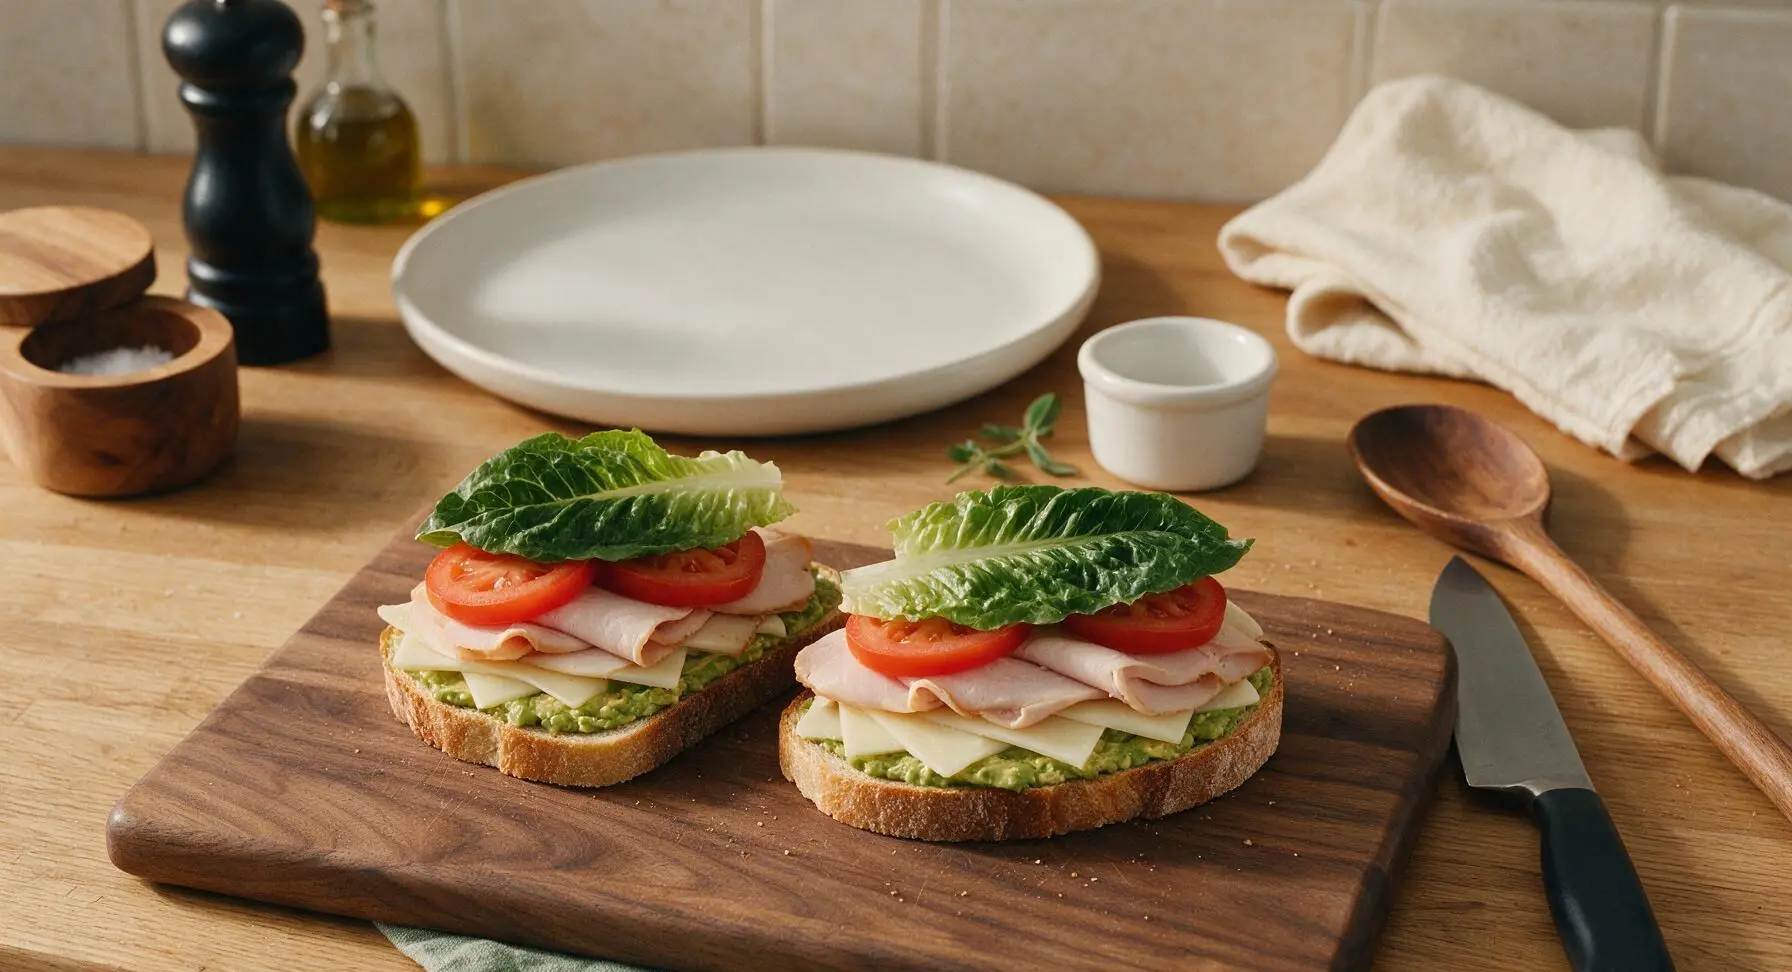
On top of the avocado-spread bread slices, evenly layer fillings in this order to prevent sogginess: first thin slices of sharp white cheddar, then folded slices of roasted turkey breast, then patted-dry tomato slices, then two dry romaine leaves per sandwich. Press each layer gently as you go to compact slightly so fillings do not slide out when the sandwich is lifted or cut.
Assemble and Press
Top each filled sandwich base with a mayo-spread bread slice, positioning the mayo side face-down against the romaine lettuce to create a top moisture barrier. Press down firmly on the top of each sandwich with the flat of your palm to compress layers slightly, which helps bind fillings together and reduces sliding when eating. Wipe any small smudges of avocado or mayo from the bread crusts with the edge of the kitchen towel.
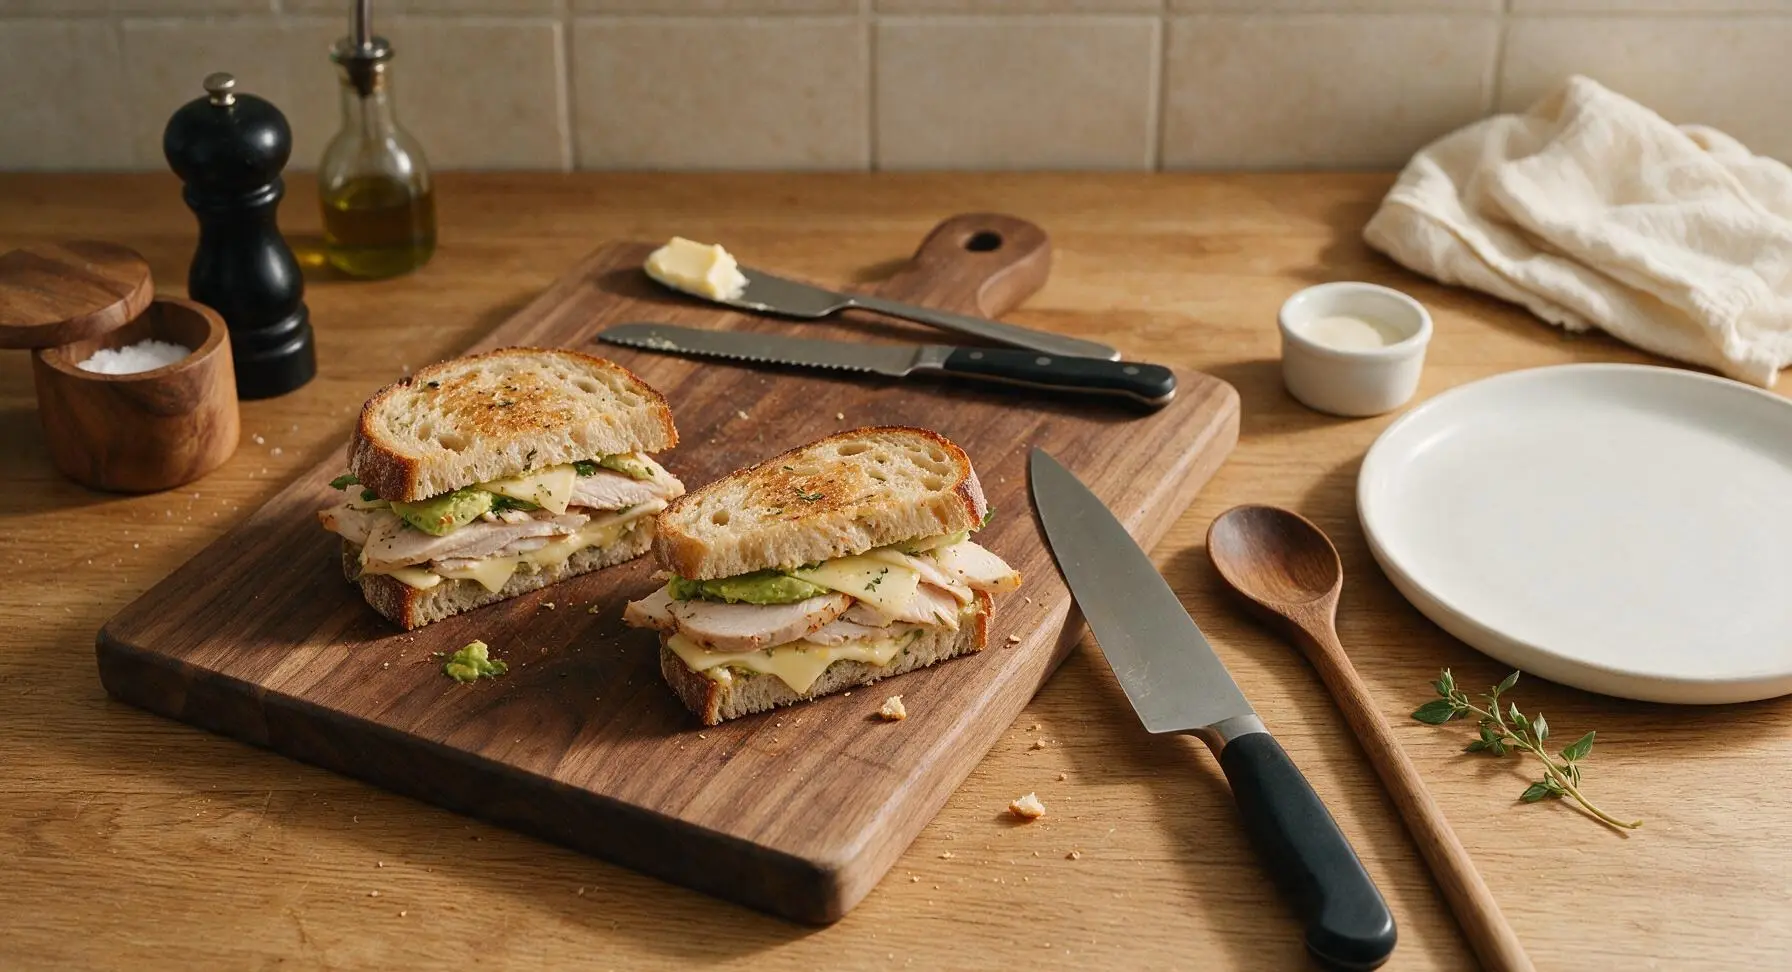
Cut Sandwiches Evenly
Hold the serrated bread knife at a 45-degree angle, and cut each sandwich diagonally across the middle in one smooth, gentle sawing motion — do not press straight down, as this will squish fillings out the sides. Cut each sandwich into two equal triangular halves, wiping any filling smudges from the knife blade on the kitchen towel between cuts.
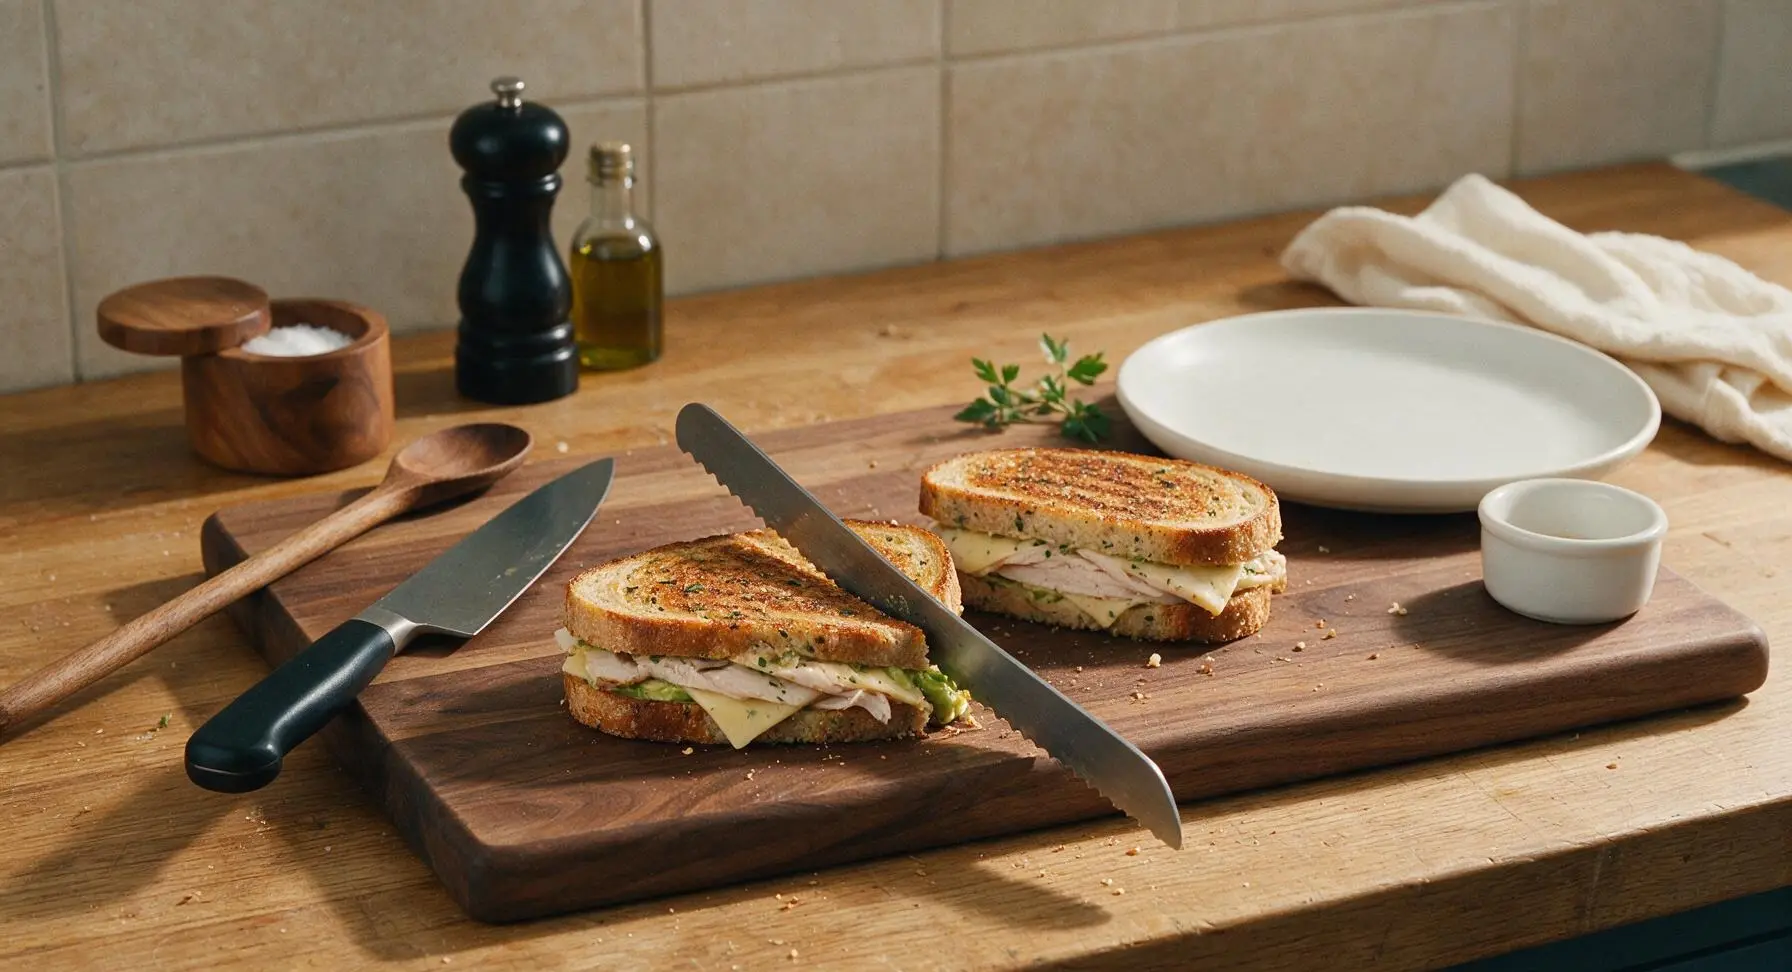
Plate and Garnish
Carefully transfer two triangular sandwich halves to the fixed matte cream white ceramic lunch plate, arranging them slightly offset so the cut layered edges face forward. Tuck a single small sprig of curly parsley from the counter bunch at the edge of the plate for a bright green garnish. Add a light crack of extra black pepper over the cut edges if desired, and serve immediately, or wrap tightly in parchment paper for portable transport.
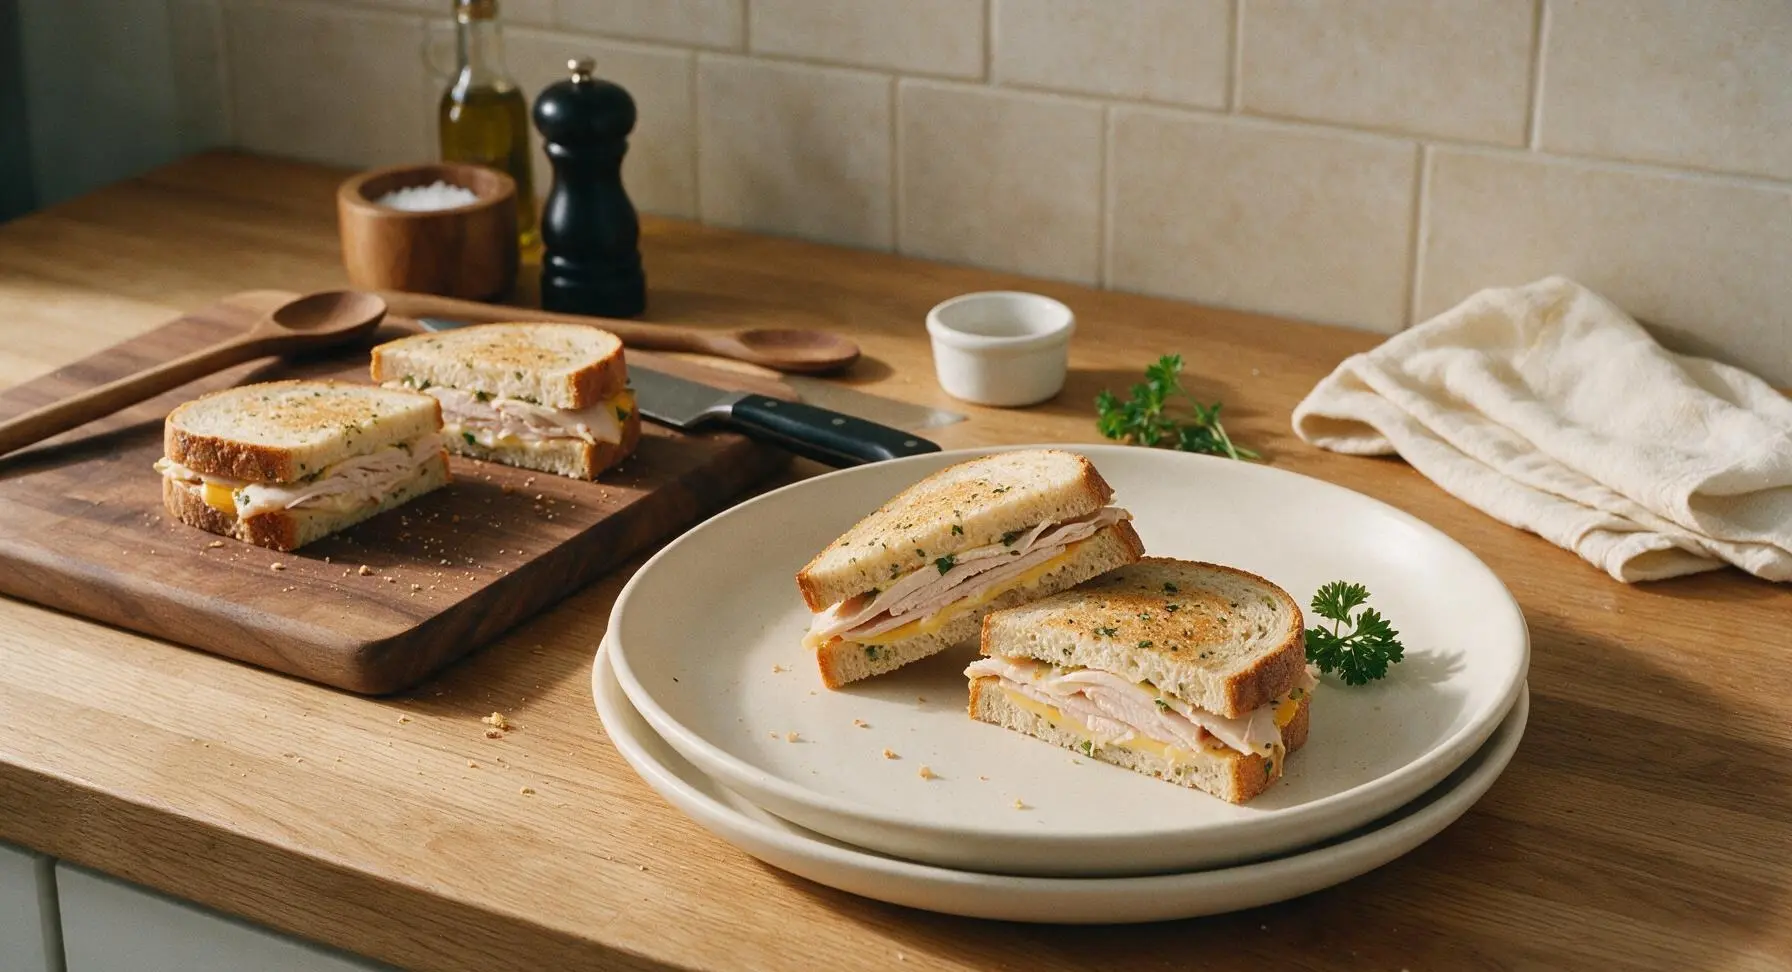
Tips
2.Layer cheese directly against the avocado-spread bread instead of next to juicy tomato: the dense, fat-rich cheese acts as an extra moisture barrier, and ensures you get creamy, sharp cheese flavor in every bite.
3.Cut sandwiches with a gentle sawing motion using a serrated knife, rather than pressing straight down: this prevents fillings from squishing out the sides, and gives a clean cut that shows off the layered fillings.






OMG these are such a game changer for my weekly work meal prep! I used to drop $10-12 a day on sad deli sandwiches near my office, and these take literally 5 minutes to throw together on Sunday night with zero cooking required. The herbed spread is SO good—cozy, herby, and pairs so perfectly with the smoky turkey and sharp cheddar. I added a thin slice of apple to a couple for a little sweet crunch and it was chef’s kiss. These are staying on my regular rotation for sure!
Made these for our weekend Bears tailgate and they were gone in 10 minutes flat! I swapped the mild cheddar for extra sharp white cheddar because that’s what I had in the fridge, and added a light sprinkle of red pepper flakes for a tiny kick. Everyone was hounding me for the recipe, I couldn’t believe how low-effort these were with no cook time. Perfect for feeding a rowdy group of fans fast.
My kids loved it! I have two super picky eaters who usually pick all the fillings out of sandwiches and leave half the bread on the plate, but they both ate every single bite of these after soccer practice last night. I used whole wheat bread like we usually do, and they didn’t even complain about the “green herb stuff” in the spread. Total weeknight win when we’re too tired to cook a whole big meal.
Brought these to our team potluck earlier this week and everyone was raving nonstop! I cut each sandwich into four little triangle bites, stuck a dill pickle slice on each with a toothpick, and they looked so fancy for how little work they took. Even our intern who swears he “hates all lunch meat” went back for three helpings. Will absolutely be pulling this recipe out for every work event from now on.
Zero cook time? Sign me UP! I live in a dorm with basically no kitchen access besides a mini fridge and microwave, so no-cook recipes are an absolute lifesaver. I grabbed all the ingredients from the campus market on my way back from class, threw these together in 3 minutes, and they taste way better than the sad pre-made sandwiches they sell in the dining hall. The herbed spread makes it feel way fancier than it is, 10/10 for broke college students.