
easy squash casserole

title 1
easy squash casserole
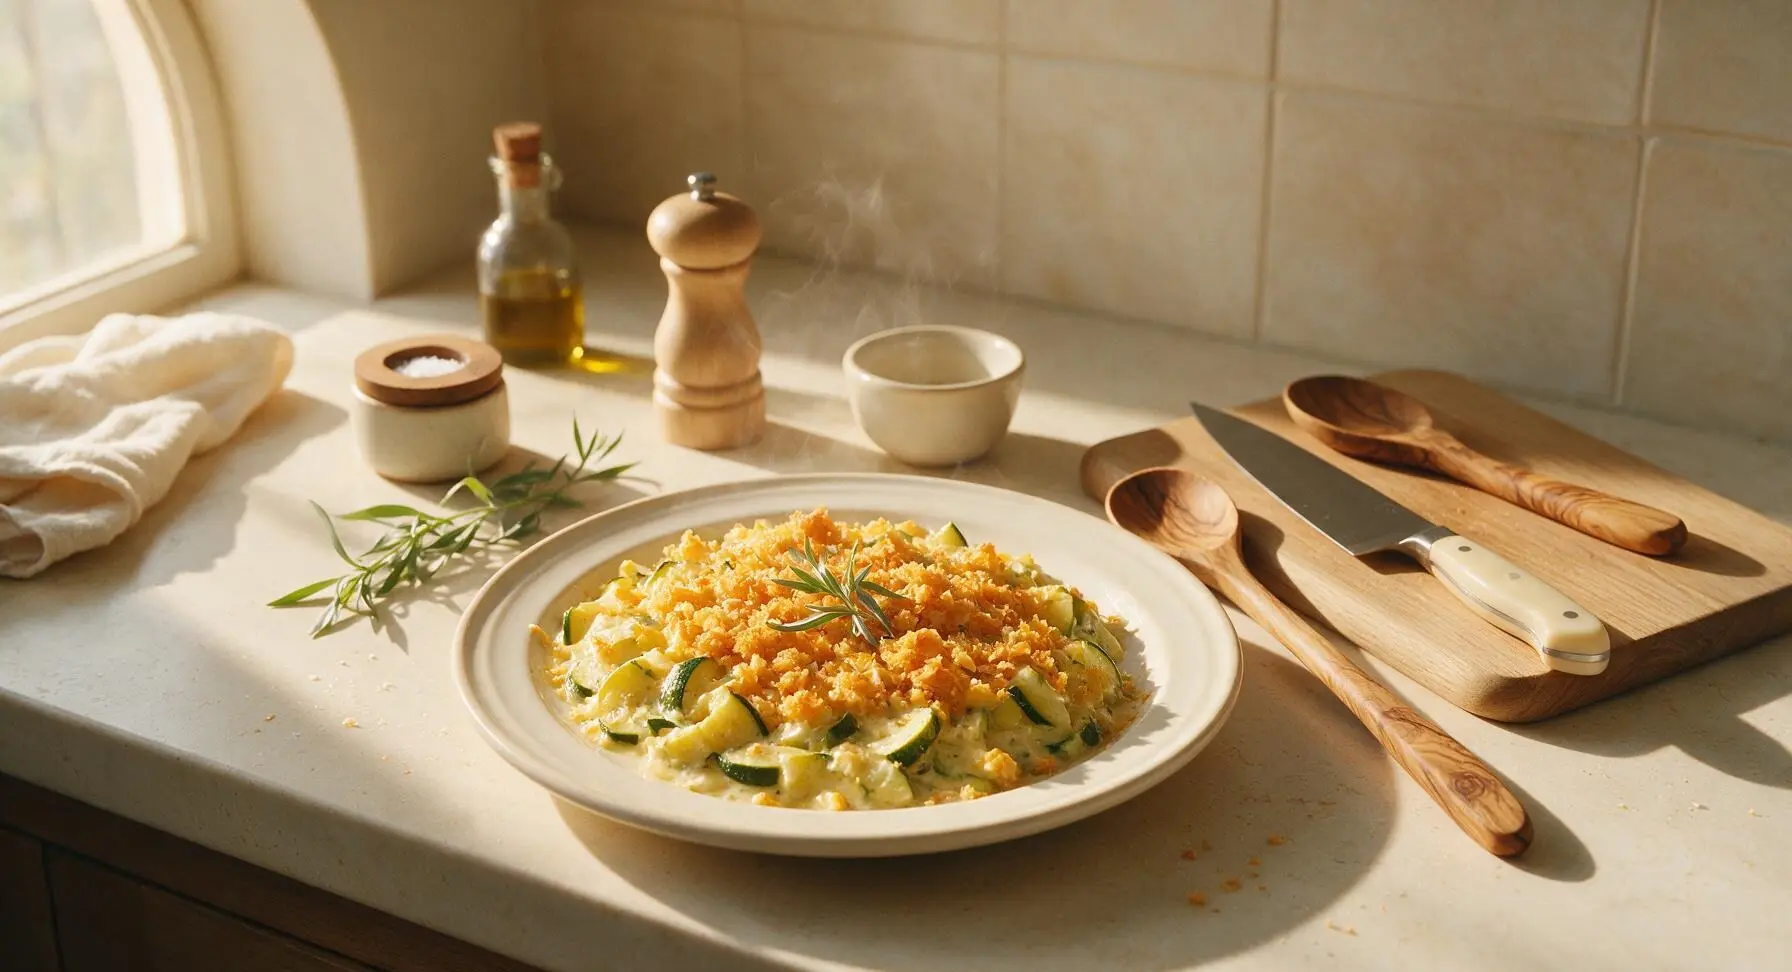
⏱️ cook time 35 minutes
🍽️ servings 6
⚡ Difficulty easy

intro

Creamy, tender summer squash baked with a buttery crispy cheddar cracker topping—this nostalgic, no-fuss Southern side comes together fast for potlucks and casual meals.

Ingredients
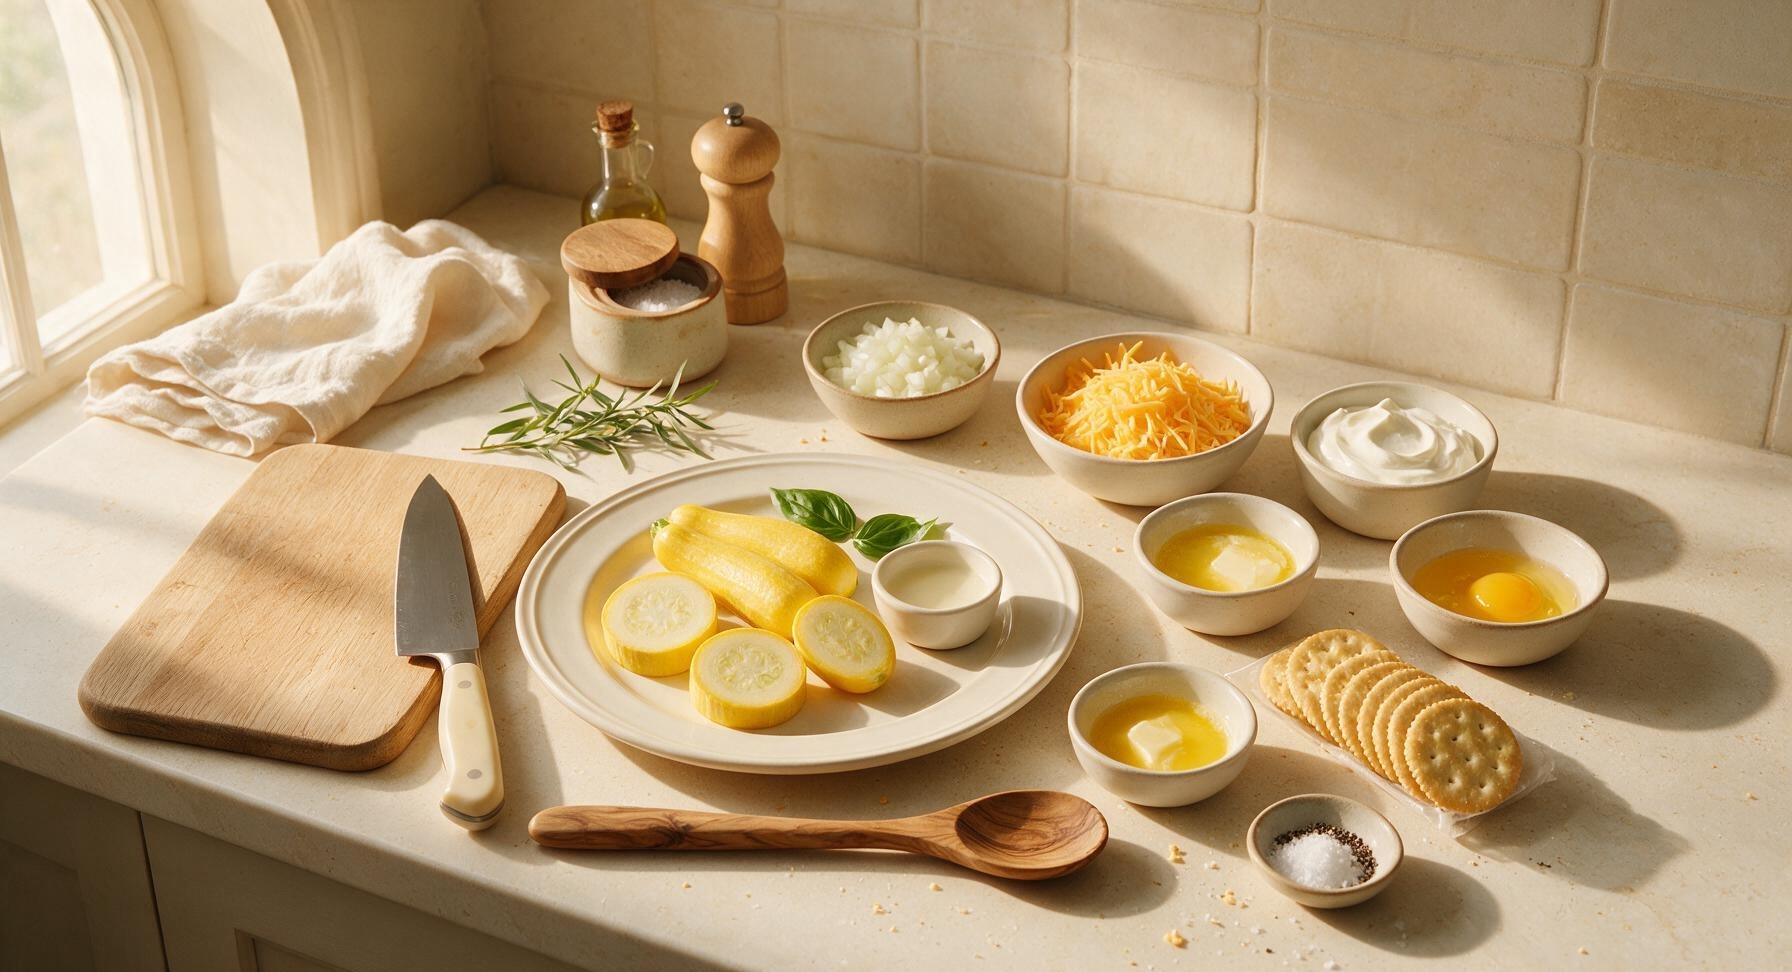
Yellow summer squash 4 medium (700g, sliced 1/4-inch thick)
Yellow onion 1 small (110g, finely diced)
Sharp cheddar cheese 1.5 cups (170g, freshly shredded)
Full-fat sour cream 1/2 cup (113g)
Large eggs 2, lightly beaten
Unsalted butter 4 tbsp (56g, melted, divided)
Buttery round crackers 1 sleeve (120g)
Kosher salt 1 tsp
Freshly ground black pepper 1/2 tsp
Fresh basil 2 leaves, for garnish

Steps

1

Prep squash and onion

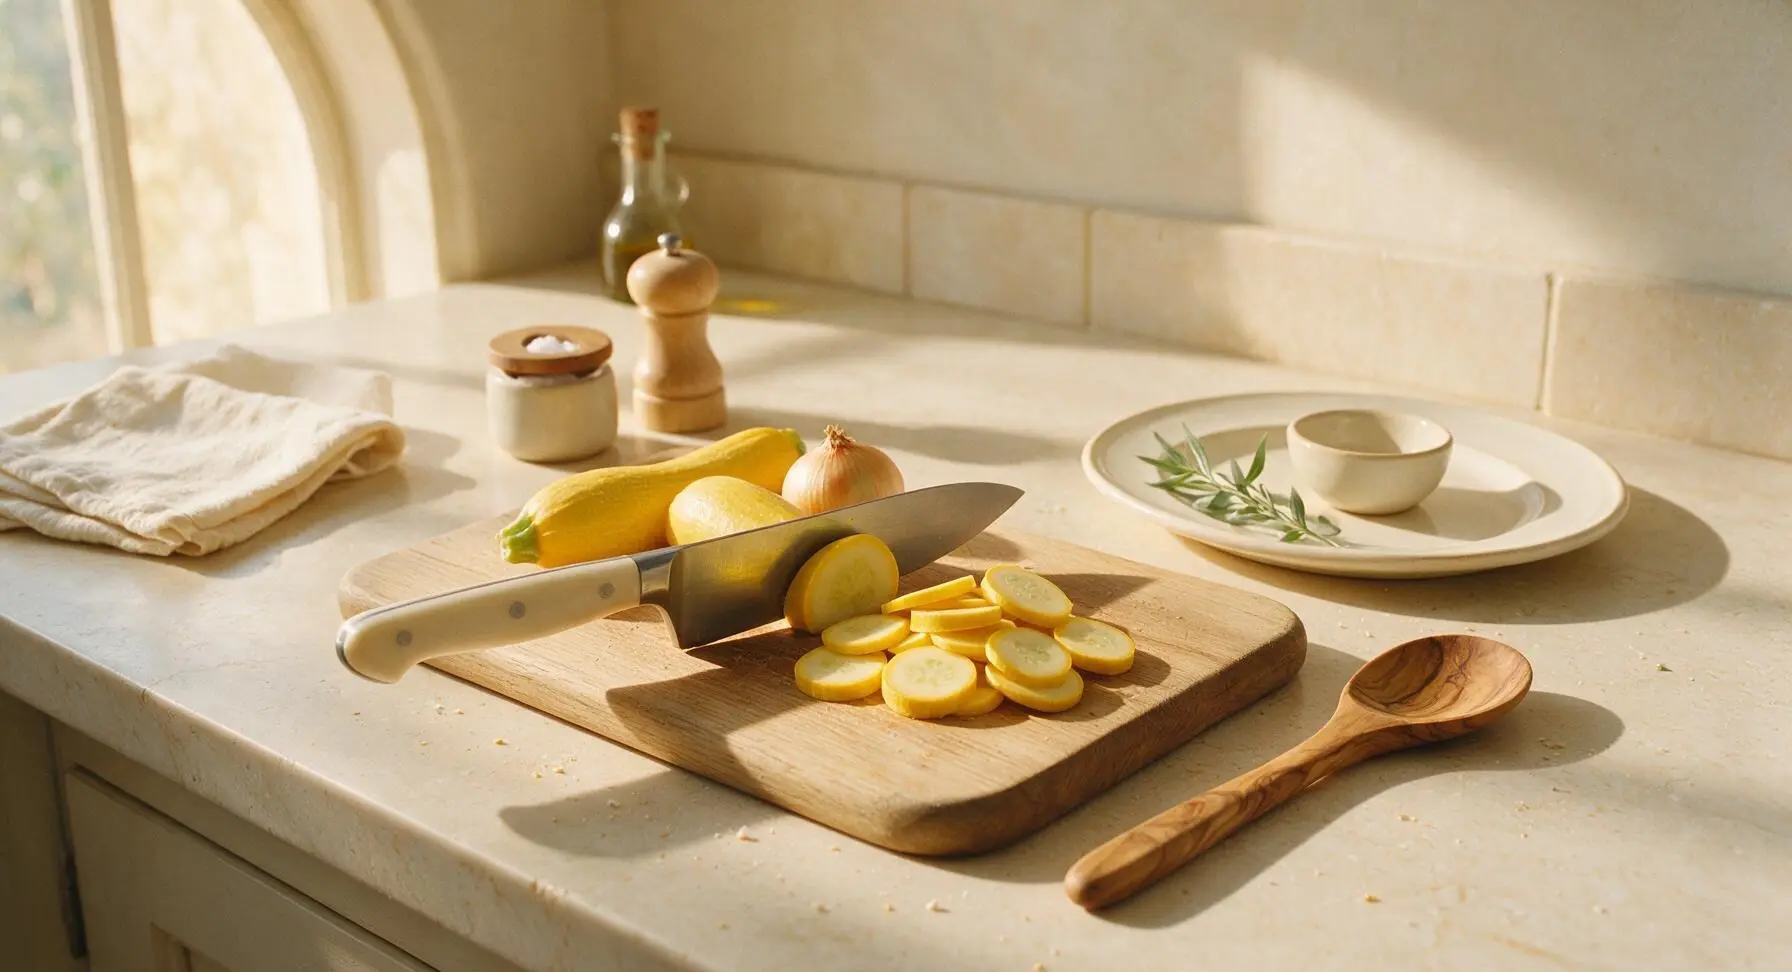
Place the summer squash and onion on the central maple cutting board. Using the 8-inch stainless steel chef’s knife, trim the tough stem and blossom ends off each squash, then slice into uniform 1/4-inch thick rounds. Dice the onion into 1/4-inch pieces. Even cuts ensure all vegetables cook at the same rate; set trimmed stem ends aside to discard. Do not salt the squash ahead of time, as this will draw out excess moisture prematurely.
Step 1
step1:Prep squash and onion
2

Sauté squash and onion

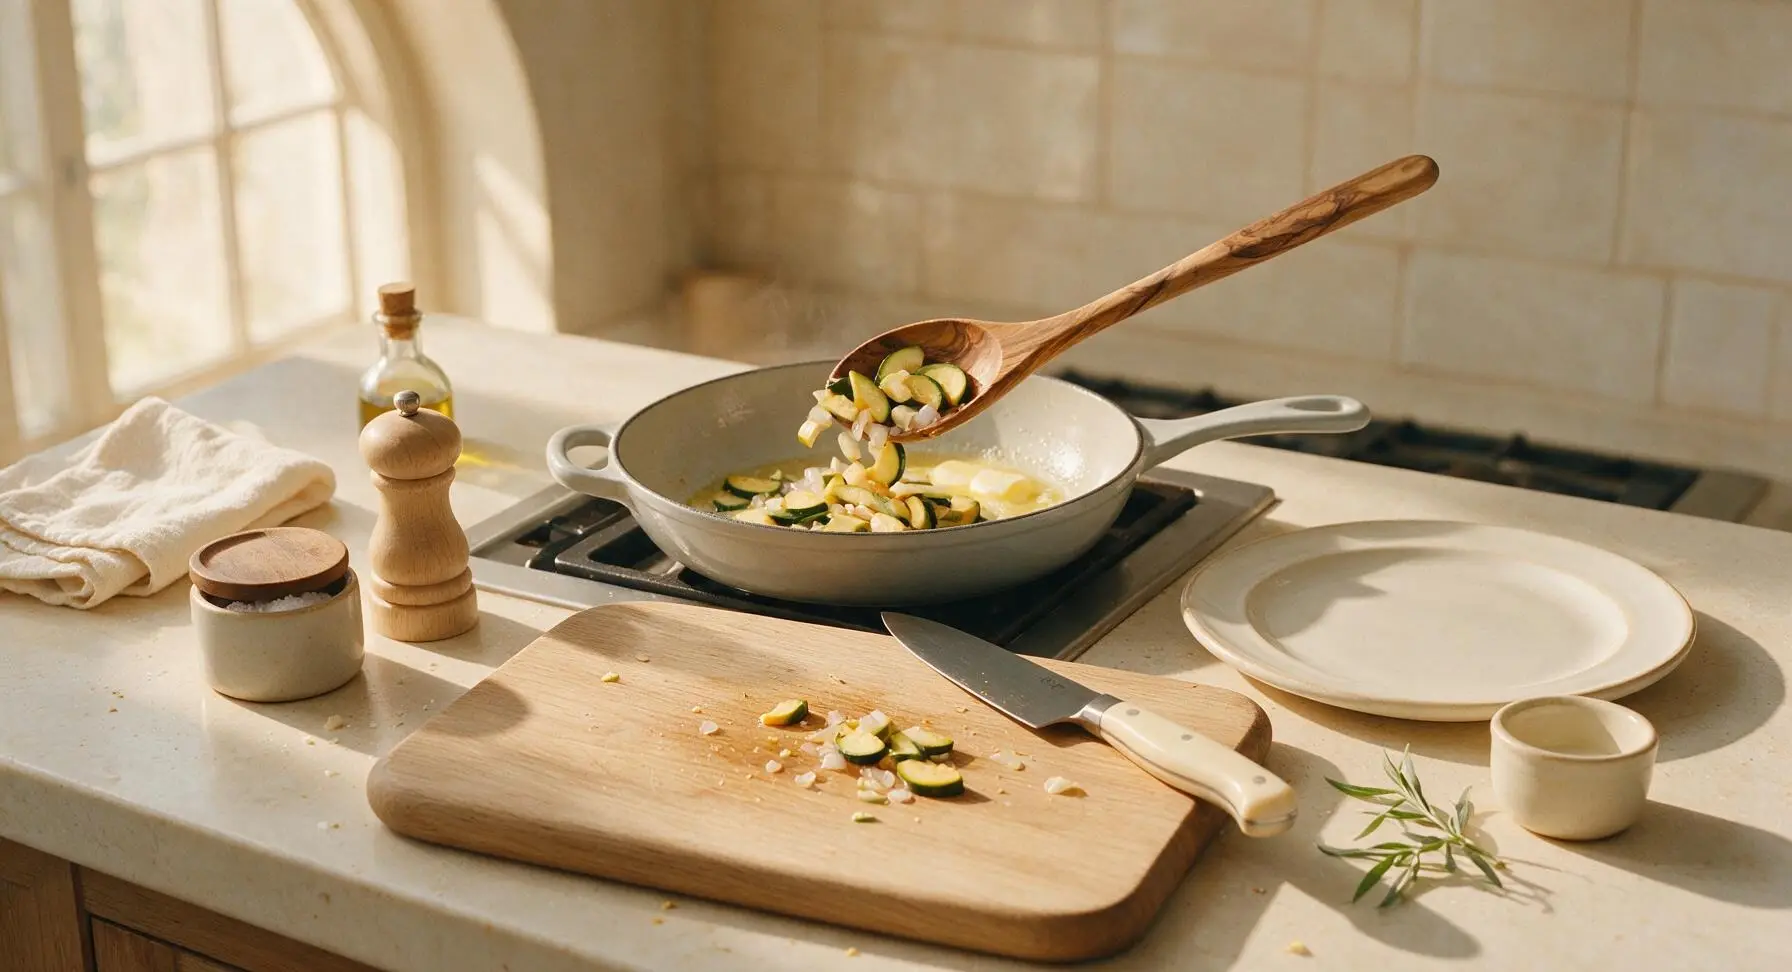
Heat 1 tablespoon of melted butter in the pale grey enameled cast iron skillet over medium heat. Add the sliced squash and diced onion, season with 1 tsp kosher salt and 1/2 tsp freshly ground black pepper. Cook for 8 minutes, stirring occasionally with the maple wood mixing spoon, until squash is fork-tender and all released vegetable liquid has fully evaporated (no pooled water should remain in the pan bottom, as this causes a watery casserole). Remove from heat and let cool 5 minutes before mixing the filling.
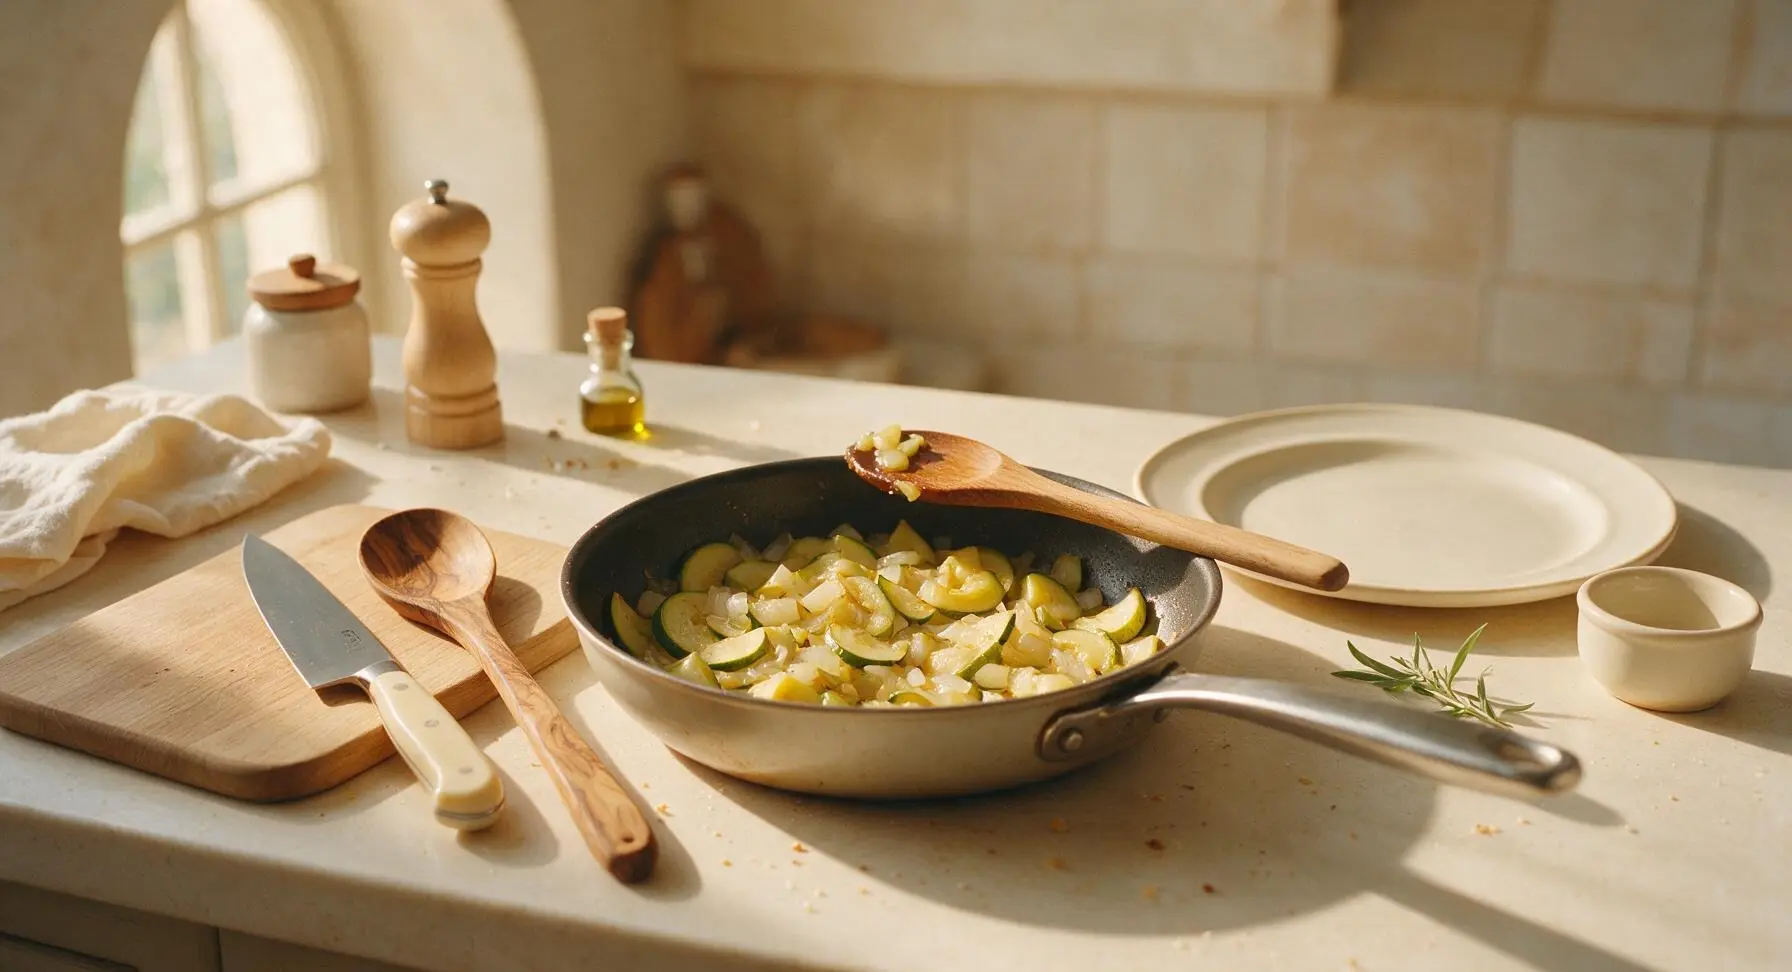
Step 2
step2:Sauté squash and onion
Step 2
step2:Sauté squash and onion
3

Shred cheddar cheese

While the squash cools, place the stainless steel box grater on the right side of the maple cutting board. Shred the block of sharp cheddar using the grater’s large holes, yielding 1.5 cups of loosely packed shredded cheese. Set aside 1/2 cup of shredded cheese for the topping, and reserve the remaining 1 cup for the casserole filling. Freshly shredded cheese melts more smoothly than pre-shredded cheese, which is coated in anti-caking starch that creates a grainy texture.
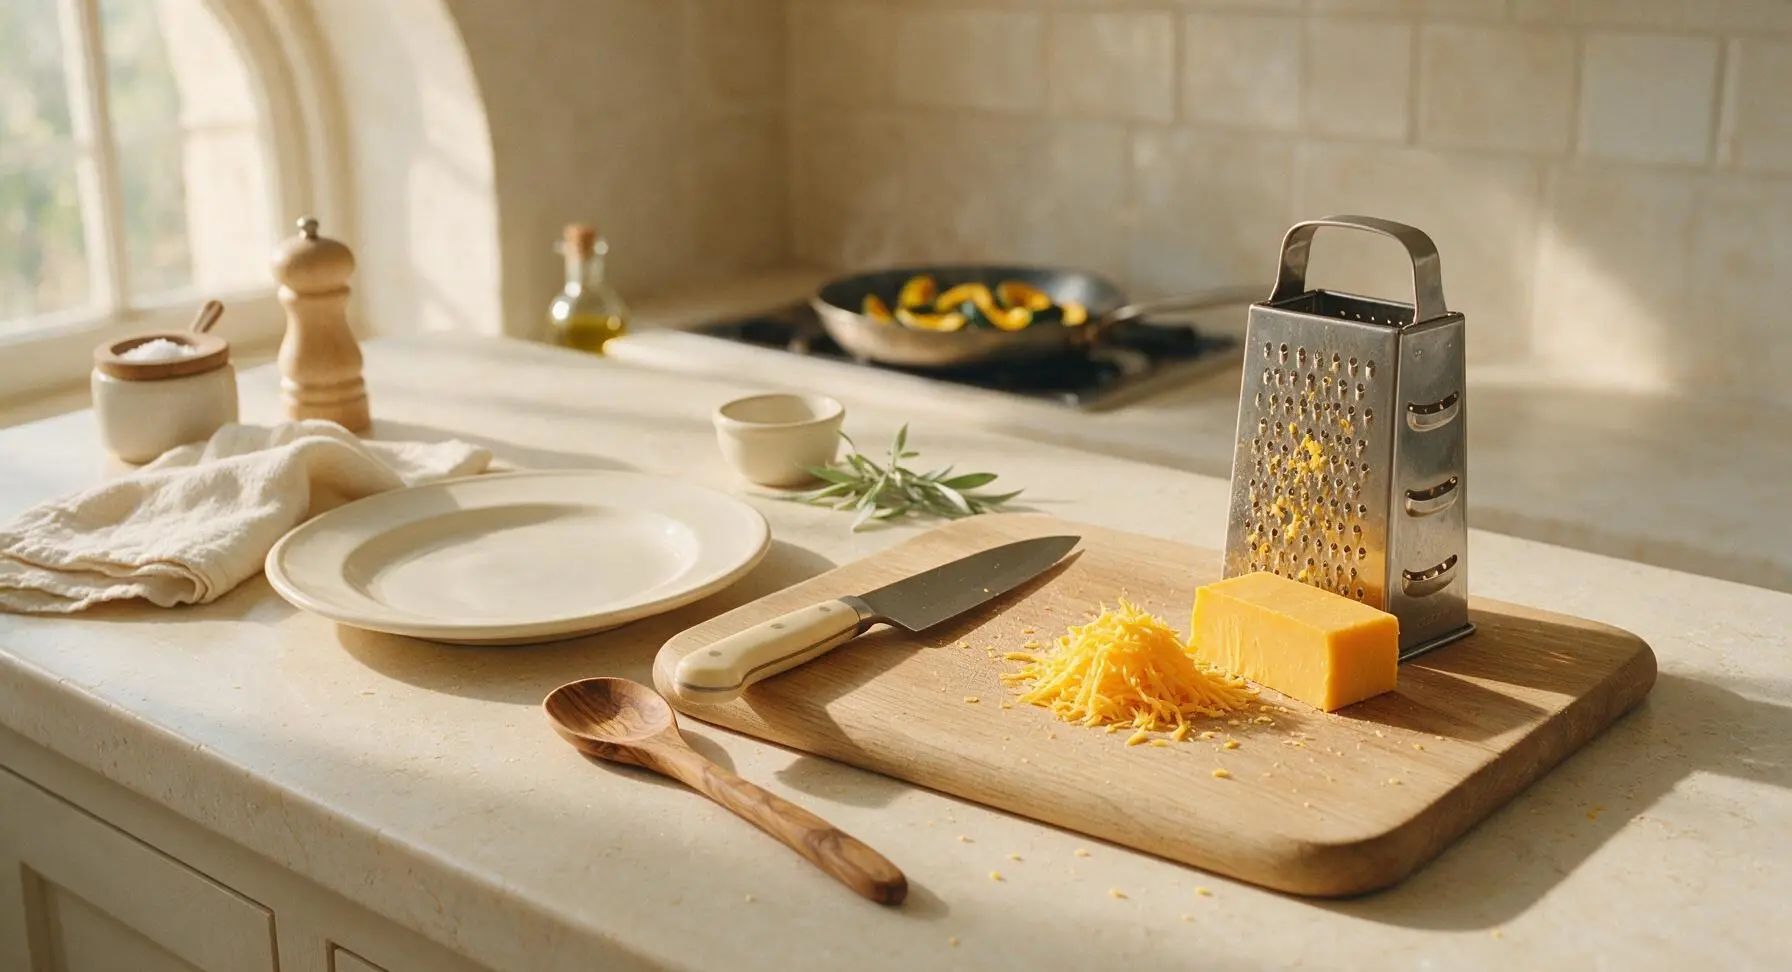
Step 3
step3:Shred cheddar cheese
4

Mix filling ingredients

Place the medium stainless steel mixing bowl to the right of the cutting board. Add the cooled sautéed squash and onion, 1 cup of shredded cheddar, 1/2 cup full-fat sour cream, and 2 lightly beaten eggs to the bowl. Stir gently with the grey silicone spatula until all ingredients are evenly combined; do not overmix, as leaving some squash slices intact creates a better, more textured final dish.
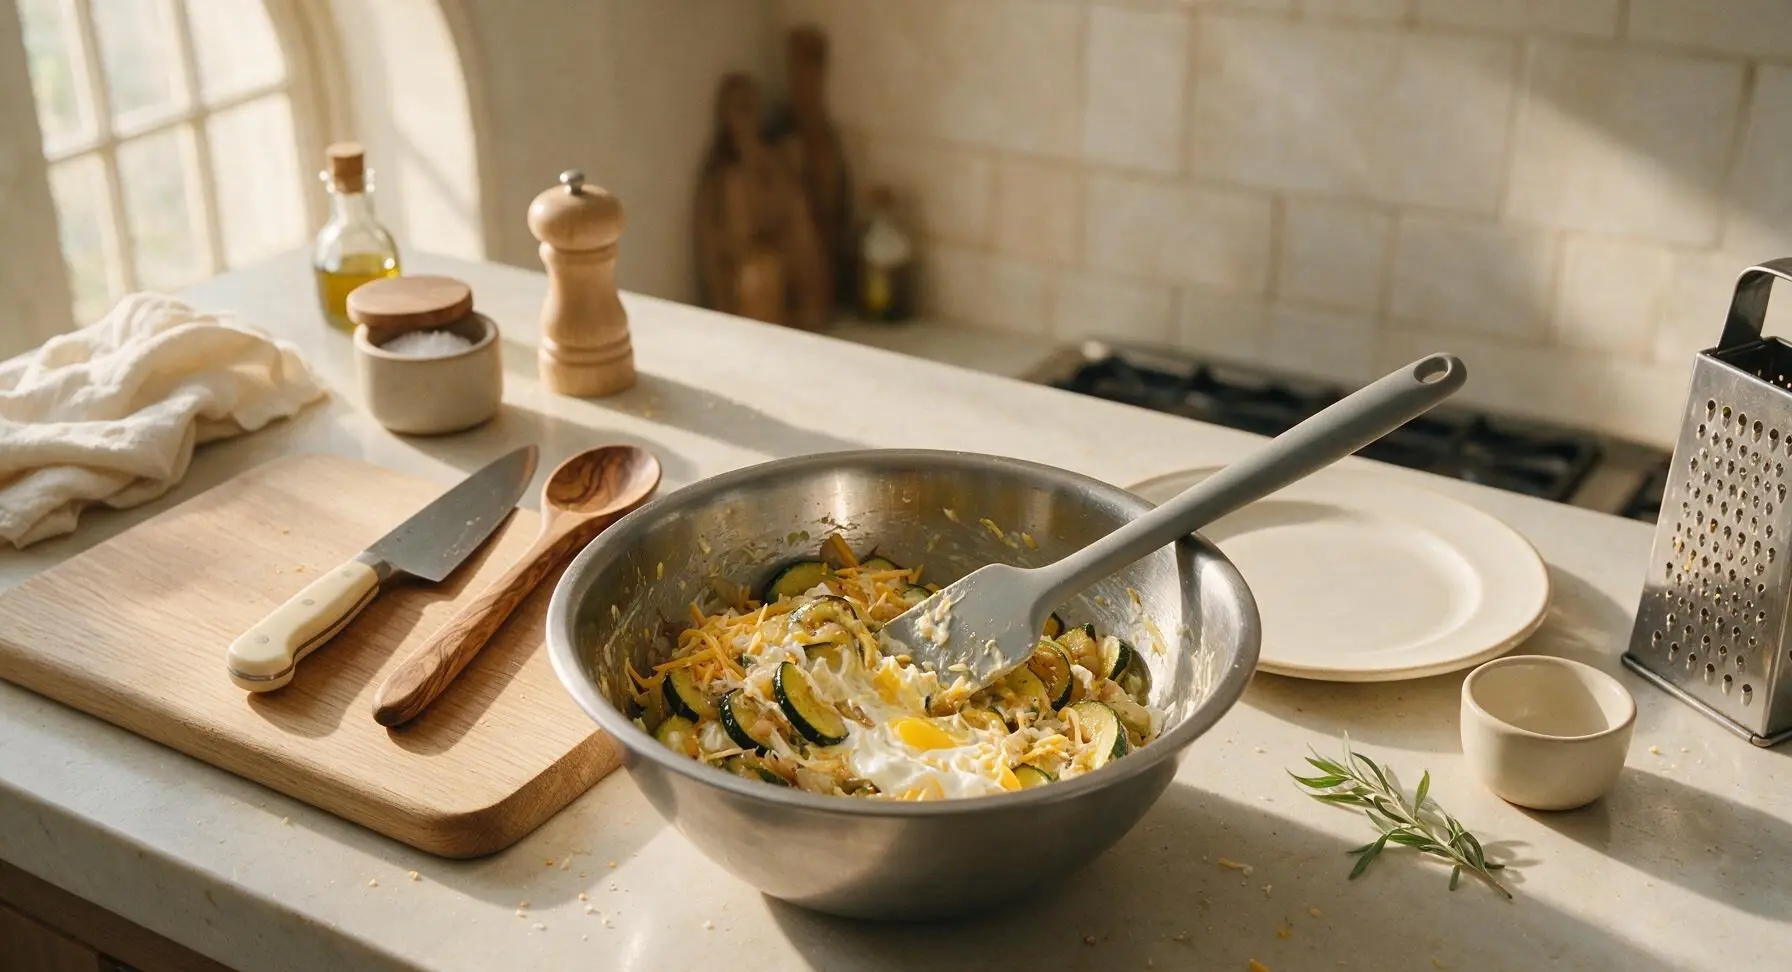
Step 4
step4:Mix filling ingredients
5

Make cracker topping

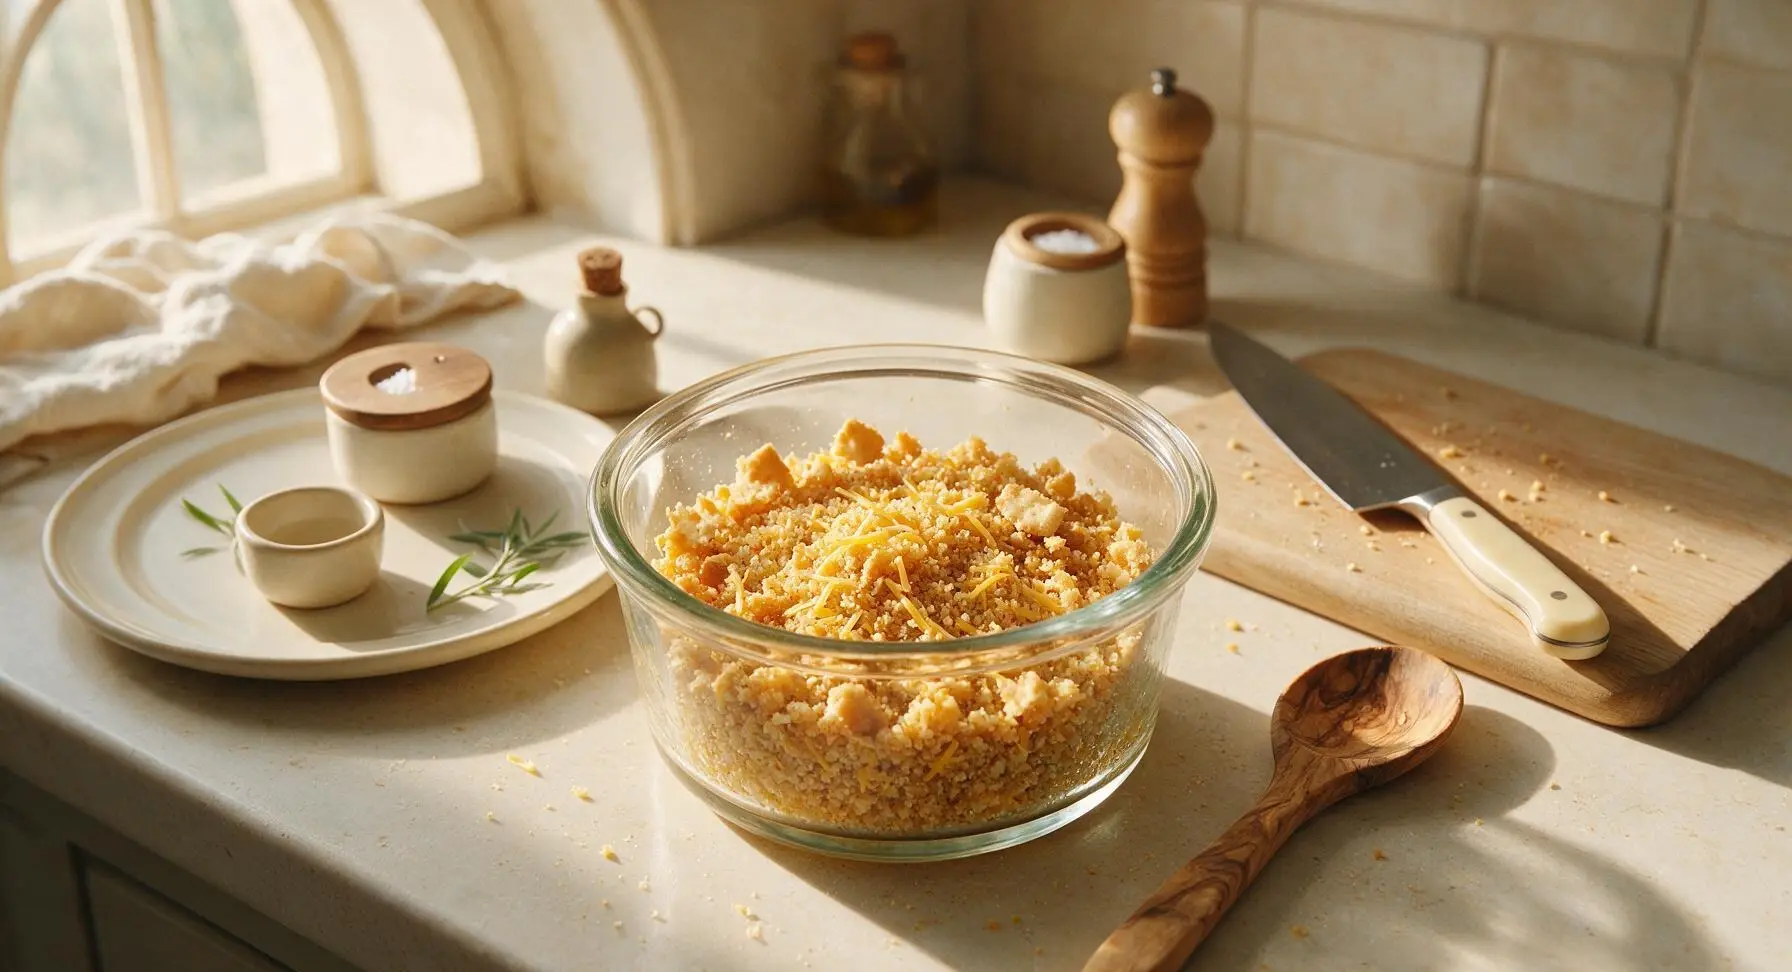
Place the buttery round crackers into a clear glass ramekin, and crush by hand into coarse crumbs (aim for a mix of pea-sized chunks and fine crumbs, not powdery dust, for the best crispy texture). Pour the remaining 3 tablespoons of melted butter over the crumbs, add the reserved 1/2 cup of shredded cheddar, and toss to coat every crumb evenly.
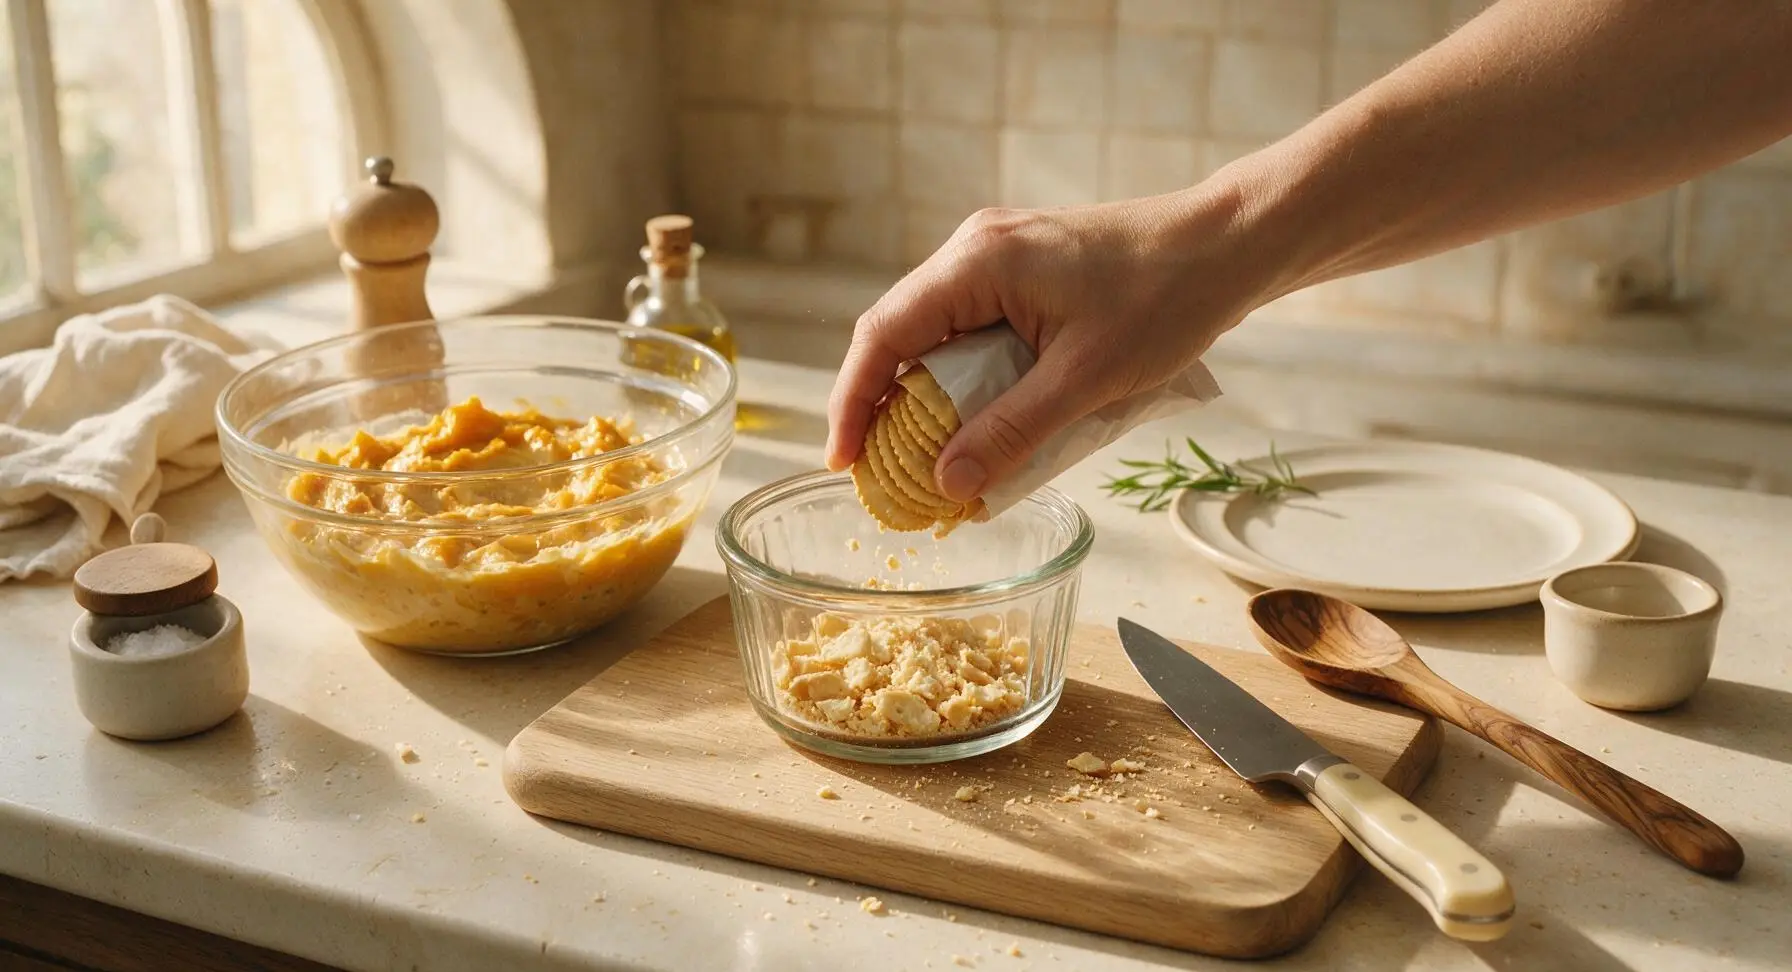
Step 5
step5:Make cracker topping
Step 5
step5:Make cracker topping
6

Assemble the casserole

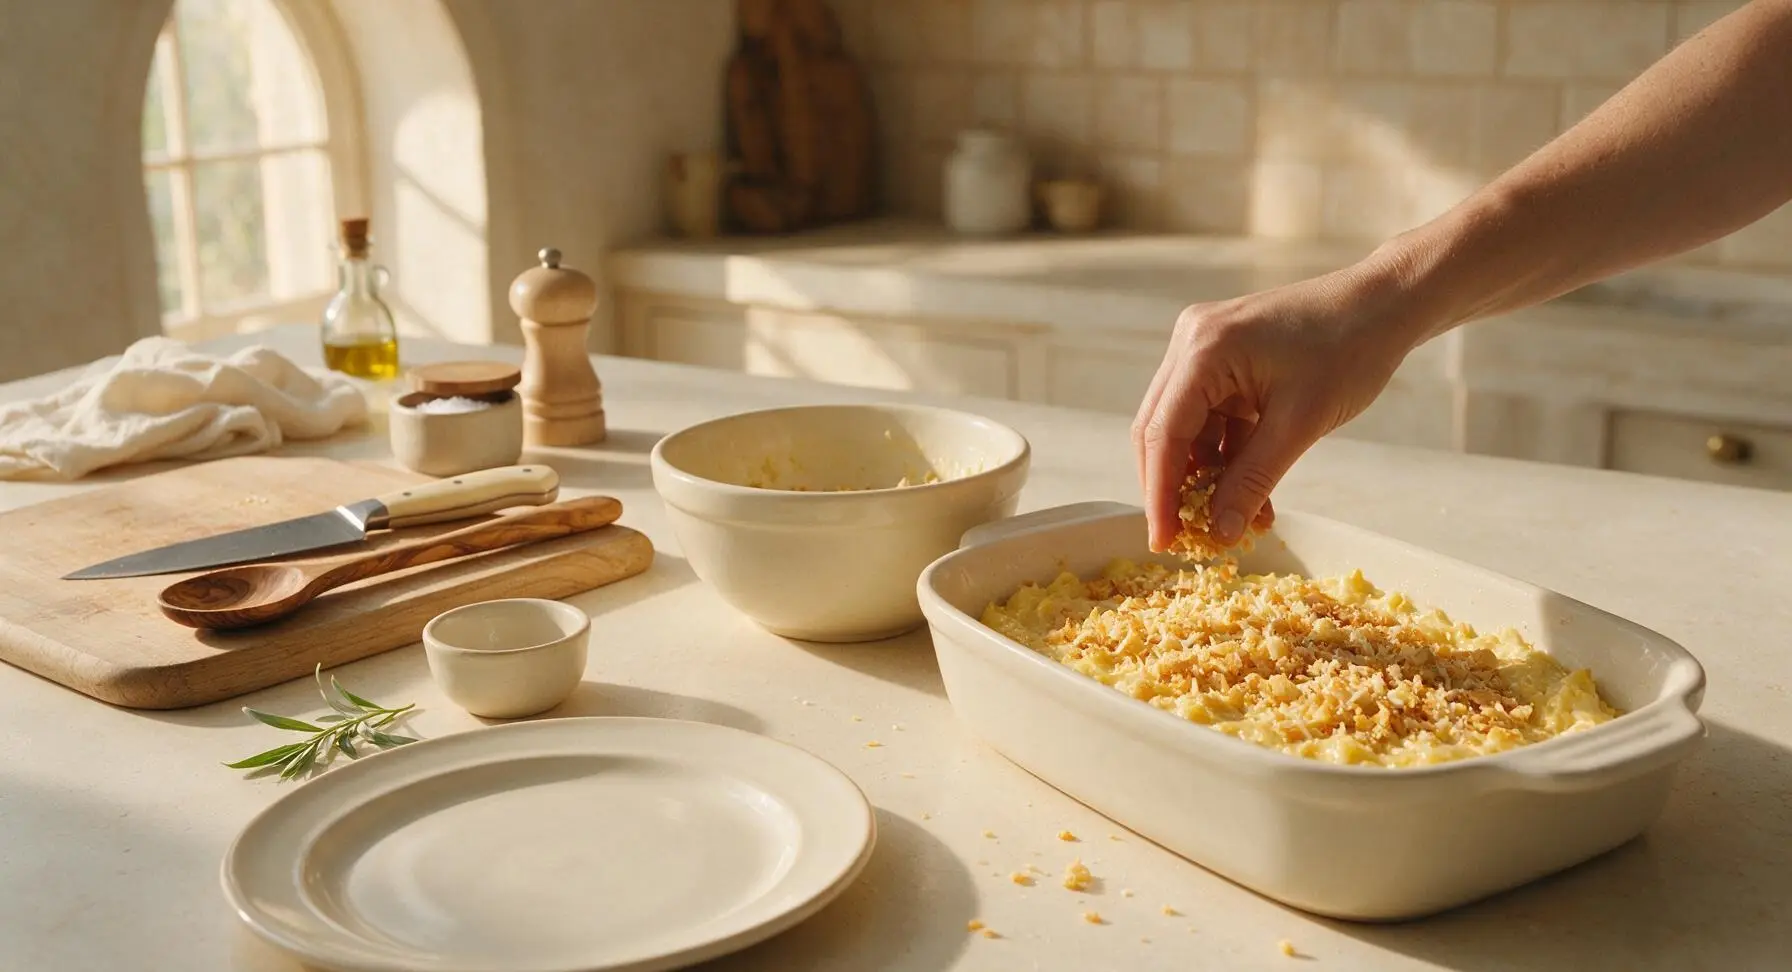
Smear a thin layer of butter on the interior of the cream white ceramic baking dish to prevent sticking. Pour the squash filling mixture into the dish, spreading it into a smooth, even layer with the silicone spatula. Sprinkle the buttered cracker and cheese topping evenly over the entire surface, covering all exposed filling to prevent it from drying out in the oven.
Step 6
step6:Assemble the casserole
7

Bake until golden

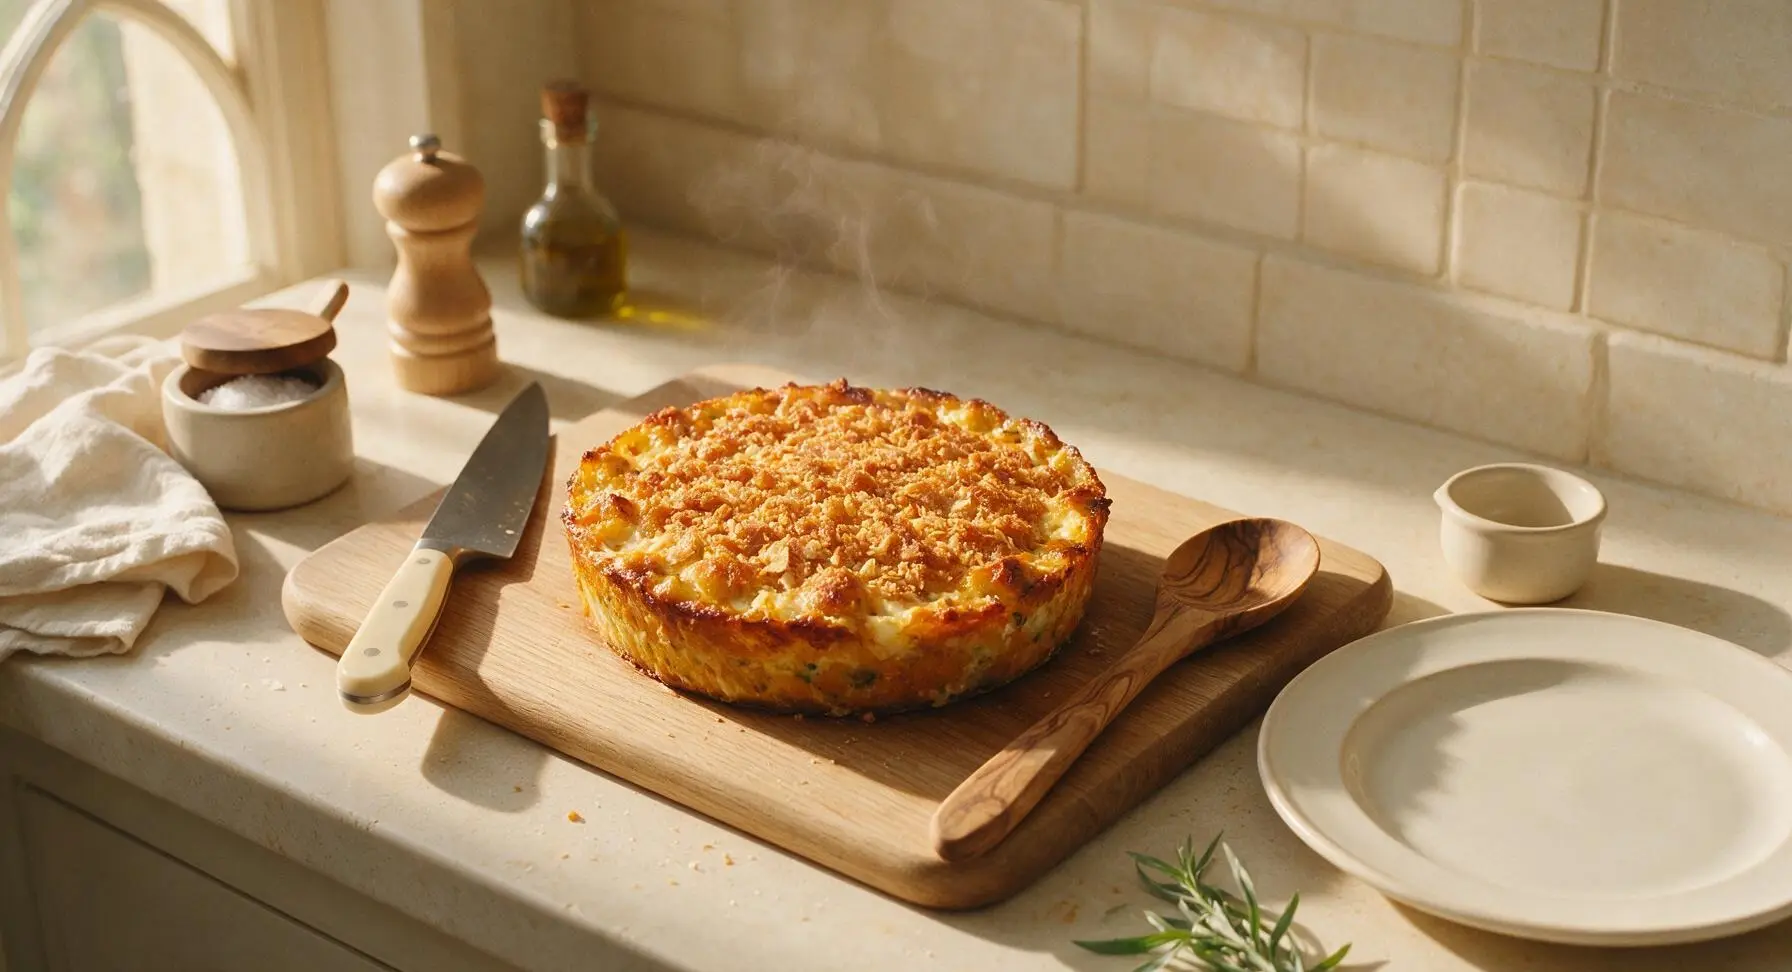
Place the assembled casserole in a preheated 350°F (175°C) oven. Bake for 27 minutes, until the filling is actively bubbling around the dish edges and the cracker topping is a deep, even golden brown. If the topping browns faster than the filling sets, tent the dish loosely with aluminum foil for the last 10 minutes of baking to prevent burning.
Step 7
step7:Bake until golden
8

Garnish and serve

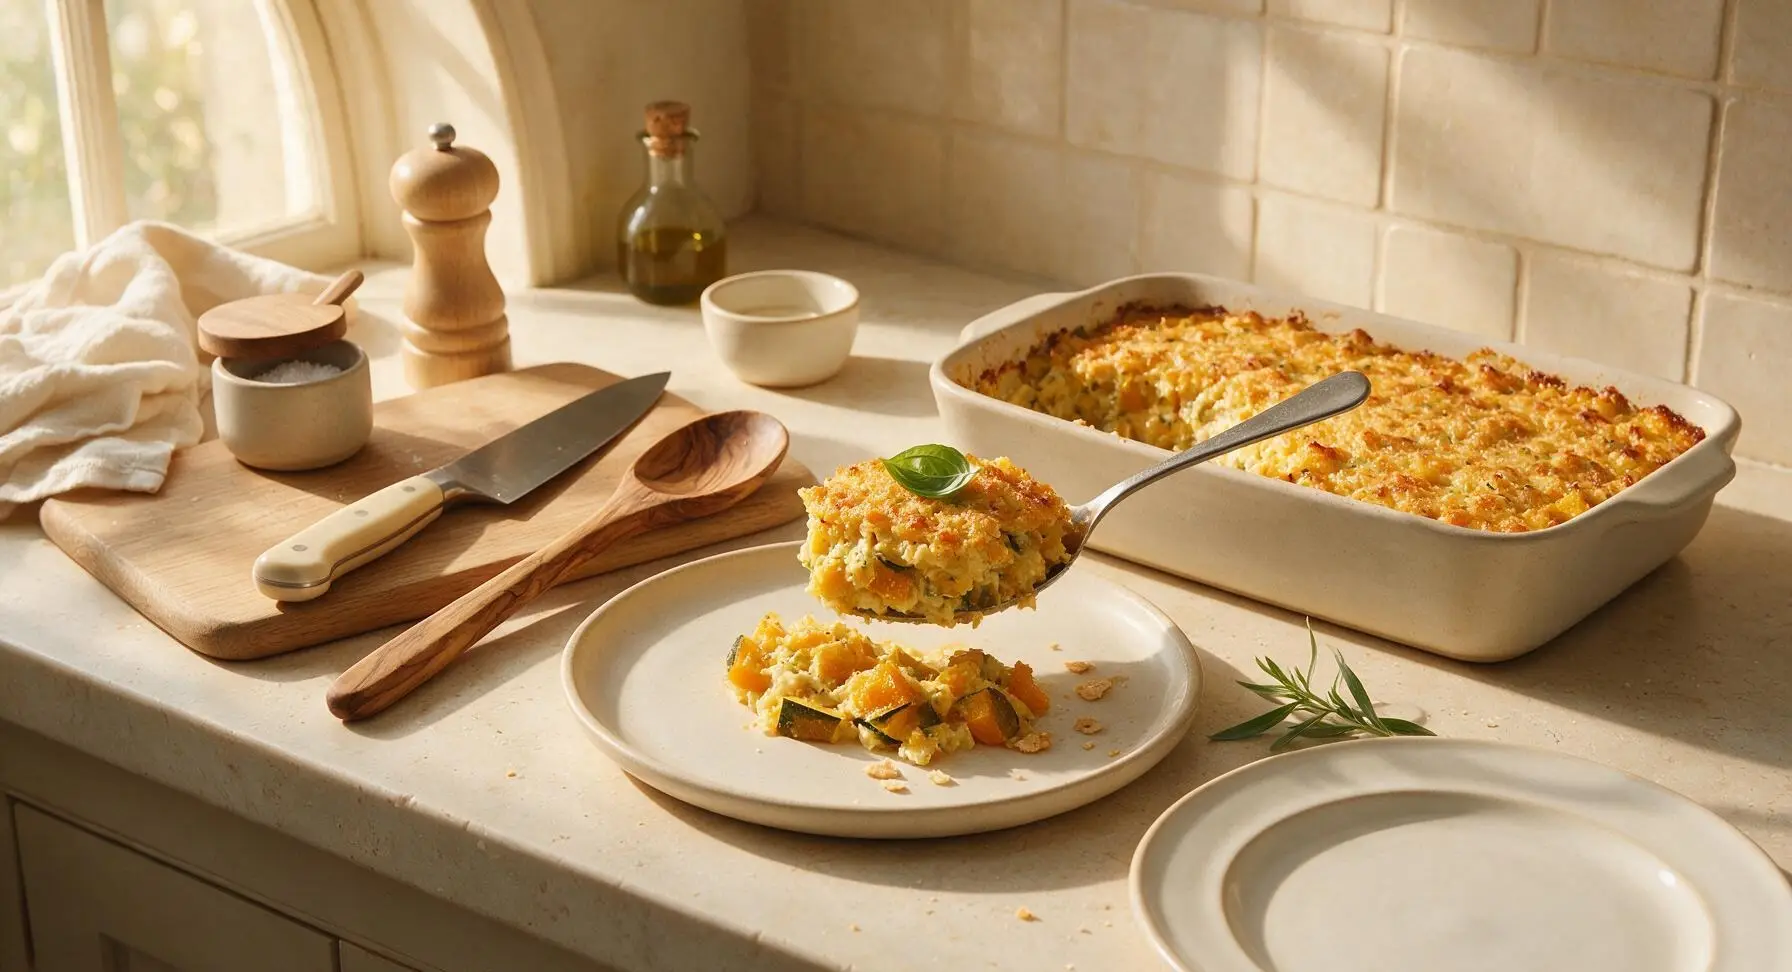
Let the casserole rest for 5 minutes at room temperature to allow the filling to set (this makes clean, easy scoops instead of runny portions). Garnish with fresh basil leaves, then scoop generous portions onto the matte off-white ceramic serving platter to serve.
Step 8
step8:Garnish and serve

Tips

1.Don’t skip draining excess liquid from sautéed squash: summer squash is 95% water, and leaving pooled liquid in the pan will result in a soggy, watery casserole instead of a rich, creamy, set filling. Pour off any extra liquid after cooking before mixing the filling.
2.Crush crackers by hand instead of using a food processor: uneven, coarse crumbs create a light, crispy, textured topping, while finely machine-ground crumbs will turn dense and soggy as they absorb moisture from the filling during baking.
3.Let the casserole rest 5 minutes after baking: this short wait gives the eggs and melted cheese time to set, so portions hold their neat shape when scooped instead of sliding apart on the plate. It also cools the dish to a comfortable eating temperature, avoiding burnt mouths.


✨ You May Also Like

Side Dishes
🍜 India

Velvety, aromatic all-purpose curry sauce perfect for tossing with roasted veggies, grilled protein, or rice for fast, cozy, flavorful meals.

⏱️ 25 minuteSide Dishes ★ 4.8
Side Dishes
🍜 Spain

Tender, starchy boiled yuca tossed in bright, garlicky citrus mojo sauce—an iconic, zesty side that pairs beautifully with roasted pork, grilled meats, and rice and beans.

⏱️ 40 minuteSide Dishes ★ 5
Side Dishes
🍜 United States

Tender, paper-thin potato flatbread, a beloved Norwegian-American Minnesota Christmas staple, griddled until softly spotted and served warm with butter.

⏱️ 1 hour 30Side Dishes ★ 4.6
Side Dishes
🍜 United States

Rich, deeply savory cured salt pork, a long-lasting kitchen staple perfect for frying crispy as a side or adding umami to stews, beans, and chowders.

⏱️ 7 days (2Side Dishes ★ 4.9
Side Dishes
🍜 United States

Crispy, tangy classic Southern fried green tomatoes with a crunchy cornmeal crust, served hot for a nostalgic, comforting summery bite.

⏱️ 25 minuteSide Dishes ★ 4.9
Side Dishes
🍜 United States

Moist, golden-crusted savory muffins with sweet corn, zesty jalapeño, and melted cheddar, perfect for pairing with smoky summer grilled fare.

⏱️ 30 minuteSide Dishes ★ 4.9

easy squash casserole:Frequently Asked Questions

1.What type of squash is best for this easy squash casserole? ▾
Tender, fresh yellow summer squash is the classic pick for that nostalgic Southern flavor and soft, melt-in-your-mouth baked texture. Skip dense winter squash like butternut or acorn here—they require much longer cook times and have an overly sweet, firm profile that doesn’t fit this light, creamy dish. Slice squash ¼-inch thick for even, fast cooking.
2.Do I need to peel the summer squash before adding it to the casserole? ▾
No, you don’t need to peel yellow summer squash for this recipe! The thin, tender skin softens completely during baking, adds subtle bright color, and holds extra fiber and nutrients. Just give the squash a good scrub under cool running water, trim off the tough stem and blossom ends, then slice it evenly before pre-cooking to remove excess moisture.
3.Why does my squash casserole turn out watery every time I make it? ▾
Watery casserole almost always comes from skipping the step of removing excess moisture from the raw squash. After slicing, toss squash with a pinch of salt and let it rest in a colander for 15 minutes, then squeeze firmly with paper towels or a clean kitchen towel to press out extra liquid before mixing with the creamy base to guarantee a set, not soggy, dish.
4.Can I use low-fat sour cream instead of full-fat for this recipe? ▾
I don’t recommend low-fat or fat-free sour cream here for the best texture and flavor. Full-fat sour cream melts into a rich, velvety base that doesn’t curdle or turn watery during baking, while low-fat versions often have added stabilizers that leave a gummy aftertaste and thin filling. For a lighter swap, use half full-fat sour cream and half whole-milk Greek yogurt.
5.What is the crispy topping on this squash casserole made of? ▾
The classic buttery crispy topping uses coarsely crushed cheddar crackers (like Cheez-Its, for that nostalgic cheesy kick) tossed with melted unsalted butter and a small handful of extra shredded sharp cheddar. Skip fine breadcrumbs if you want that authentic Southern potluck texture—cracker crumbs give the perfect salty, crunchy contrast to the soft filling.
6.Can I make this casserole ahead of time for a potluck? ▾
Absolutely! This dish is perfect for potlucks because it holds up beautifully to prep ahead. Assemble the filling fully, spread it in your baking dish, add the topping, then cover tightly and refrigerate for up to 24 hours before baking. Add 5 to 7 minutes to the bake time if baking straight from the fridge, and let it rest 10 minutes before serving.
7.Do I need to cook the squash before baking it in the casserole? ▾
A quick 5-minute pre-cook is worth the effort to avoid a watery, underdone dish. Sauté sliced squash and diced yellow onion in a small pat of butter over medium heat until the squash just starts to soften, then drain off any released liquid before mixing with eggs, sour cream, and cheese. This cuts bake time and removes excess moisture.
8.Can I substitute a different cheese for sharp cheddar in this recipe? ▾
Sharp cheddar is the classic pick for its bold, tangy flavor that cuts through the rich, creamy filling, but you can swap in other melting cheeses if you prefer. Smoked gouda adds cozy depth, Monterey Jack gives a milder, super melty finish, or pepper jack adds a tiny spicy kick—just avoid crumbly cheeses like feta that won’t melt smoothly.
9.What role do the eggs play in this squash casserole? ▾
The large eggs act as a gentle binder that holds the creamy filling together so it doesn’t turn into a loose, soupy mess when you scoop it. Be sure to whisk the eggs fully into the sour cream and cheese base before adding the cooked squash, and don’t skip them—without eggs, the filling will be runny and won’t set into that perfect, scoopable texture.
10.Can I freeze leftover squash casserole? ▾
Yes, this casserole freezes really well for up to 3 months. Let fully baked leftover casserole cool completely, then wrap tightly in a double layer of plastic wrap and aluminum foil to prevent freezer burn. Thaw it in the fridge overnight, then reheat, covered, in a 350°F oven for 20 to 25 minutes until warmed through.
11.How do I keep the cheddar cracker topping from getting too soggy? ▾
To keep that topping perfectly crispy, don’t add it until right before you pop the casserole in the oven if you’re prepping it ahead. If you’re reheating leftovers, sprinkle a small handful of fresh crushed cracker crumbs over the top for the last 5 minutes of baking, and leave the dish uncovered for the final 10 minutes of cook time.
12.Can I add other veggies to this casserole for extra flavor? ▾
Absolutely! This simple base is super flexible for mix-ins. Try adding a handful of drained, canned diced green chiles for a mild kick, a half cup of sautéed bell pepper for extra color, or fresh sweet corn kernels cut straight off the cob in summer. Just cook added veggies first and press out excess moisture to avoid sogginess.
13.What temperature should I bake this casserole at, and how long does it take? ▾
Bake this easy casserole at 350°F, the standard temperature for even, gentle cooking that sets the egg base without curdling it. It will take 30 to 35 minutes total, until the filling is set around the edges, the center jiggles just slightly (it will set as it rests), and the cracker topping is deep golden brown and crispy.
14.Is there a way to make this casserole vegetarian? ▾
Great news—this classic squash casserole is already vegetarian as written! Just double check that your cheddar crackers don’t contain any animal-derived rennet if you follow a strict vegetarian diet, and use your favorite vegetarian-friendly sharp cheddar. You won’t need any other swaps to get that rich, creamy, nostalgic Southern flavor.
15.Can I use zucchini instead of yellow summer squash for this recipe? ▾
You can absolutely swap in zucchini, or use a 50/50 mix of zucchini and yellow summer squash for a pretty, colorful dish. Zucchini has a nearly identical mild flavor and tender texture to yellow summer squash, so you’ll follow all the same prep steps: slice evenly, sauté briefly, press out excess moisture, then mix into the creamy base.
16.Why did my egg base curdle while baking? ▾
Curdling happens when the egg mixture gets too hot too fast, which causes egg proteins to separate and turn grainy. To avoid this, don’t bake the casserole at a temperature higher than 350°F, and let sautéed squash cool for 2 to 3 minutes before mixing it into the egg and sour cream base, so hot veggies don’t partially cook the eggs early.
17.What main dishes pair well with this squash casserole? ▾
This creamy, nostalgic side pairs perfectly with all your favorite casual Southern and cookout mains. Serve it alongside grilled BBQ chicken, smoked pulled pork, baked ham, crispy fried chicken, or even grilled burgers and hot dogs at your next backyard cookout. It also works beautifully for holiday meals paired with roasted turkey and green beans.
18.How small should I dice the yellow onion for this casserole? ▾
Dice your yellow onion into ¼-inch small, uniform pieces so it softens fully during the quick pre-sauté and distributes evenly throughout the filling. You don’t want large, chunky onion pieces that stay crunchy or overpower the mild squash flavor. If you’re not a big onion fan, cut the amount in half, or swap in ½ teaspoon of onion powder for subtler flavor.
19.Can I make this casserole gluten-free? ▾
Yes, you can easily make this gluten-free with a couple simple swaps. Swap regular cheddar crackers for your favorite gluten-free cheddar cracker brand (most grocery stores carry great, crispy options now) to keep that classic buttery topping, and double check that your sour cream and shredded cheddar don’t have hidden gluten-containing additives. All other base ingredients are naturally gluten-free.

Comments (12)

2 days ago

OMG this was SO good! I threw this together last night for a quick weeknight dinner when I realized I had a ton of yellow squash from my garden going bad. My two picky kids went back for seconds, even the one who swears he hates all veggies! Total game changer for our weekly meal rotation. I added a little extra cheddar on top because we’re cheese obsessed over here.

yesterday

So glad your picky eaters loved it! Extra cheddar is always a great call – we’re big cheese fans too, no judgment at all. Thanks for giving the recipe a try!

1 week ago

Brought this to our neighborhood block party potluck last weekend and people were begging me for the recipe before I even set the dish down! It was so easy to prep ahead of time, popped it in the oven right before we headed over, and it came out perfectly creamy every bite. 10/10 will be making this for every family gathering from now on.

5 days ago

Did you add any extra toppings? I’m making this for my work potluck next week and debating if I should add Ritz cracker crumbs on top like my grandma used to do!

30 minutes ago

Super straightforward recipe, came together in like 10 minutes of prep which is exactly what I need on nights I get home late from work. Cook time was spot on too, the squash was tender but not mushy. Only thing I changed was swapping the sour cream for Greek yogurt to cut a few calories and you couldn’t even tell the difference. Will make again.

3 days ago

Wait, quick question – my casserole came out a little watery? I followed the recipe exactly as written, squeezed the squash like it said, but it was still runny on the bottom. Flavor was great though! Just wondering if anyone has tips to fix that for next time?

2 days ago

I had that happen the first time too! I started salting the sliced squash and letting it sit in a colander for 20 minutes before cooking, then patting it really dry with paper towels. Game changer, no more watery casserole!

2 days ago

Great tip from Gail! We also recommend making sure you don’t overcook the squash before baking it, that can release extra water too. So glad the flavor was still a hit even with the texture issue!

2 weeks ago

Made a big batch of this on Sunday for my weekly meal prep and it held up perfectly all week in the fridge! It reheats so well in the microwave, no weird soggy texture like some veggie casseroles get. I paired it with grilled chicken for lunches and it kept me full all afternoon. Such an easy, satisfying recipe.

1 week ago

So happy to hear it works great for meal prep! That’s such a smart idea pairing it with grilled chicken for balanced lunches – we’ll have to try that ourselves. Thanks for sharing!

5 days ago

This tastes exactly like the squash casserole my grandma used to make for Sunday dinners, but way less work! I was worried the easy version wouldn’t live up to the nostalgia, but it hit every single note. Buttery, creamy, just the right amount of onion, *chef’s kiss*. My whole family was raving.

3 days ago

Ugh I’ve been chasing that grandma-style squash casserole flavor for YEARS and every recipe I try is too bland. Does this have that little hint of nutmeg some of the old recipes have? I need that cozy flavor!

2 days ago

There’s no nutmeg in the base recipe, but you can absolutely add a pinch if that’s the nostalgic flavor you’re looking for! It pairs so nicely with the squash and cheese, we’ve tested it that way too and it’s delicious.

just now

As someone who barely knows how to boil water, this was so easy to make in my tiny dorm oven! I used pre-cut squash from the grocery store to save even more time, tossed everything together, and it came out tasting like I spent hours cooking. My roommates all thought I was a genius, lol. 10/10 for beginner cooks.

yesterday

So happy this recipe is naturally gluten free if you skip the regular cracker topping! I used gluten free butter crackers on top and it turned out absolutely perfect, no weird texture or off flavor. This is going to be a staple at our holiday dinners now that I don’t have to make a separate side for my GF family members.

2 hours ago

Did you try making it dairy free at all? I’m wondering if oat milk and vegan cheddar would work here, I’ve been dying for a good dairy free squash casserole!

2 hours ago

Made this after a long day hiking in the mountains and it was the perfect cozy comfort food. I added a little crumbled bacon on top because, well, bacon makes everything better, and it paired so nicely with the sweet squash and creamy cheese. Even my hiking buddy who hates veggies asked for seconds.

30 minutes ago

OH the bacon addition sounds insane! I’ve made this three times already and never thought to add bacon, that’s going on the top for my next batch. Thank you for the idea!

5 minutes ago

Bacon is such a fantastic add-in! The salty crunch cuts through the creaminess perfectly, we love that swap. So glad it hit the spot after a long hike – nothing beats a warm casserole after being outside all day!

1 week ago

Made this for our Easter dinner this year and it was the first side dish to get completely cleaned out! Everyone kept saying how much lighter it tasted than the super heavy squash casseroles they’re used to, which I loved. The cook time was so quick too, which was a lifesaver when I was juggling 4 other dishes in the oven.

5 minutes ago

I’m not usually a squash fan at all, but my partner has been begging me to make this for weeks so I caved. Color me shocked – I ate two full servings! The cheese and onion totally balance out the squash flavor so it doesn’t taste like mushy veggies at all. I’ll be making this again, even if I’ll never admit it to my partner that they were right, lol.

just now

This made us laugh so hard! We promise we won’t tell your partner you admitted they were right 😉 So glad you gave squash a chance and ended up loving the casserole – that’s the best kind of kitchen win!

3 days ago

Such an affordable recipe! I got all the ingredients for under $6 at my local grocery store, and it fed my whole family of 4 for dinner with leftovers for lunch the next day. Tastes way fancier than the price tag would suggest, and it’s so easy to customize with whatever veggies or cheese you have in the fridge. Absolute staple for anyone cooking on a tight budget.



