
easy sweet and sour sauce
intro
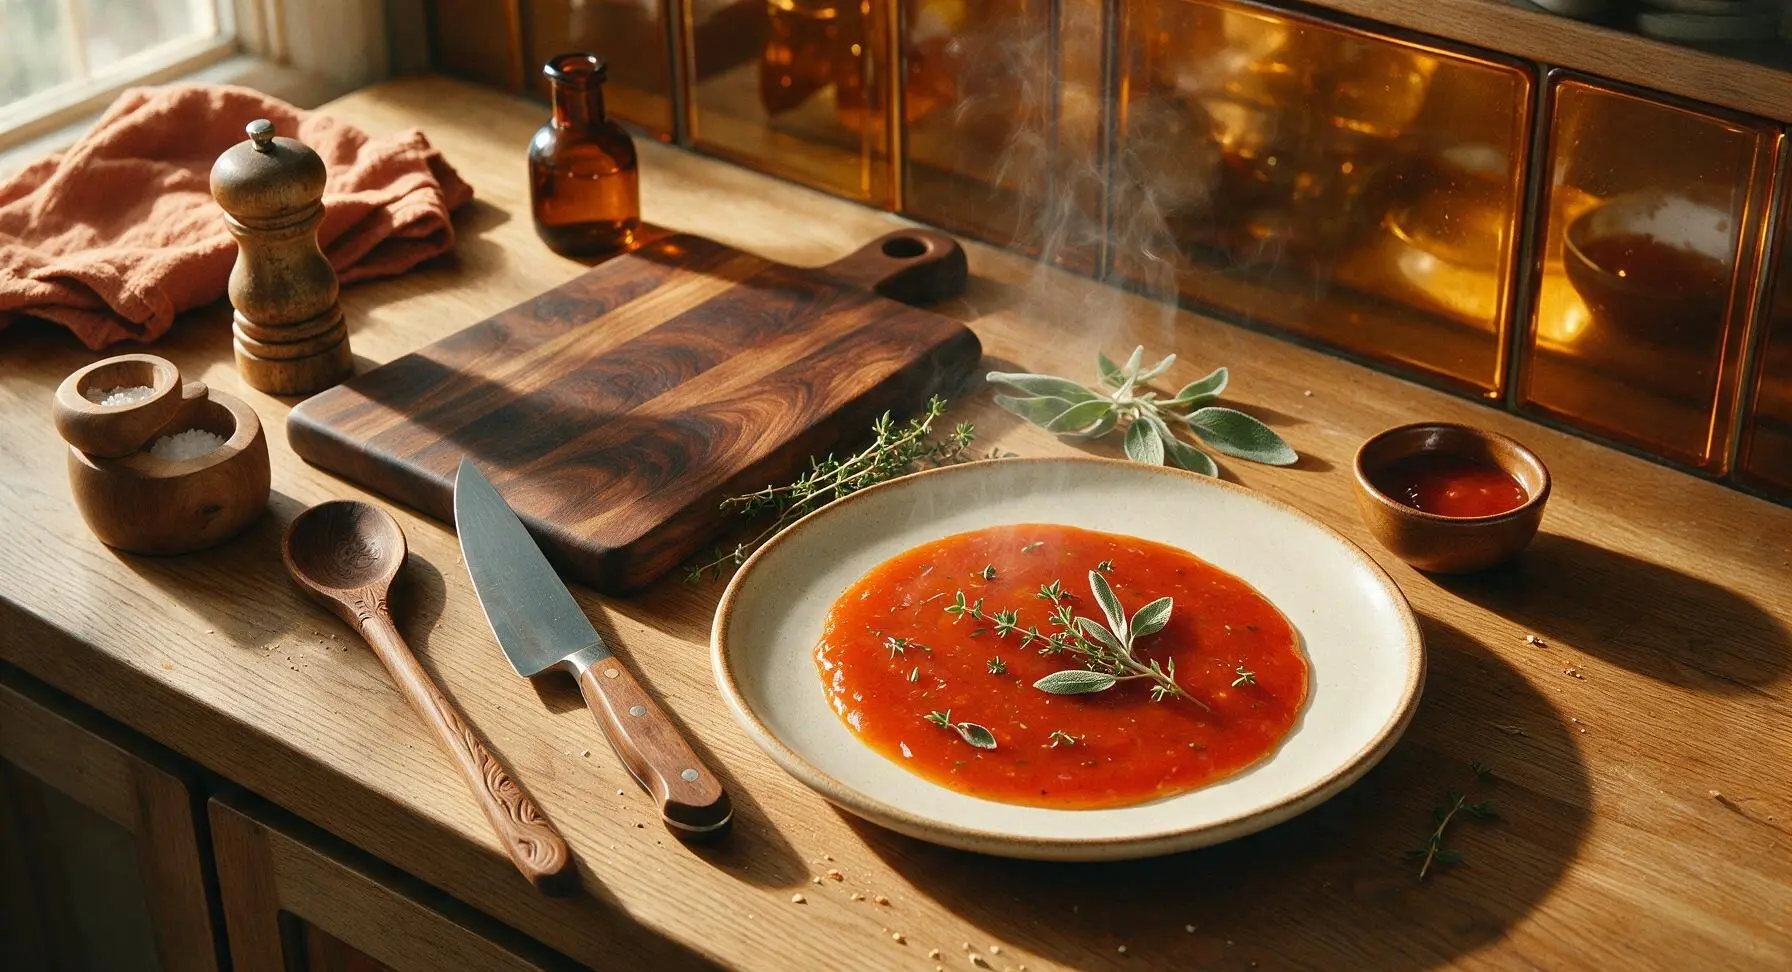
Bright, tangy, glossy sweet and sour sauce ready in 10 minutes, with perfectly balanced flavor for stir fries, dipping, or recreating takeout favorites at home.
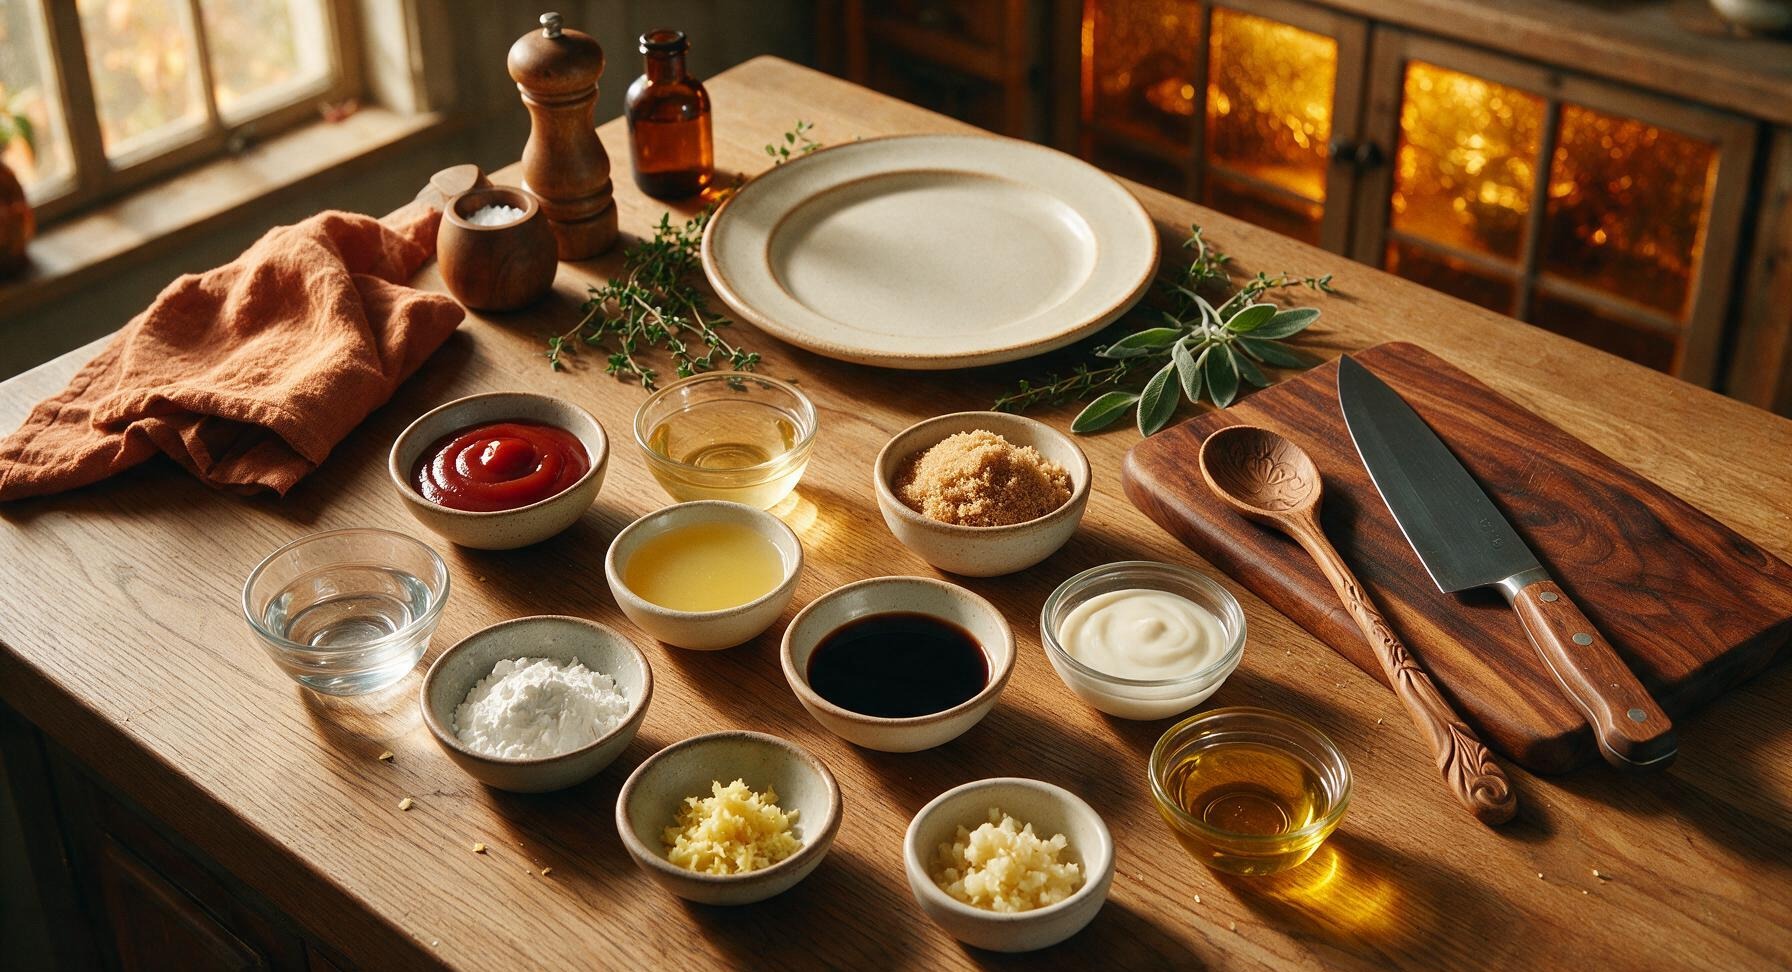
Ingredients
Steps
Prep Aromatic Base
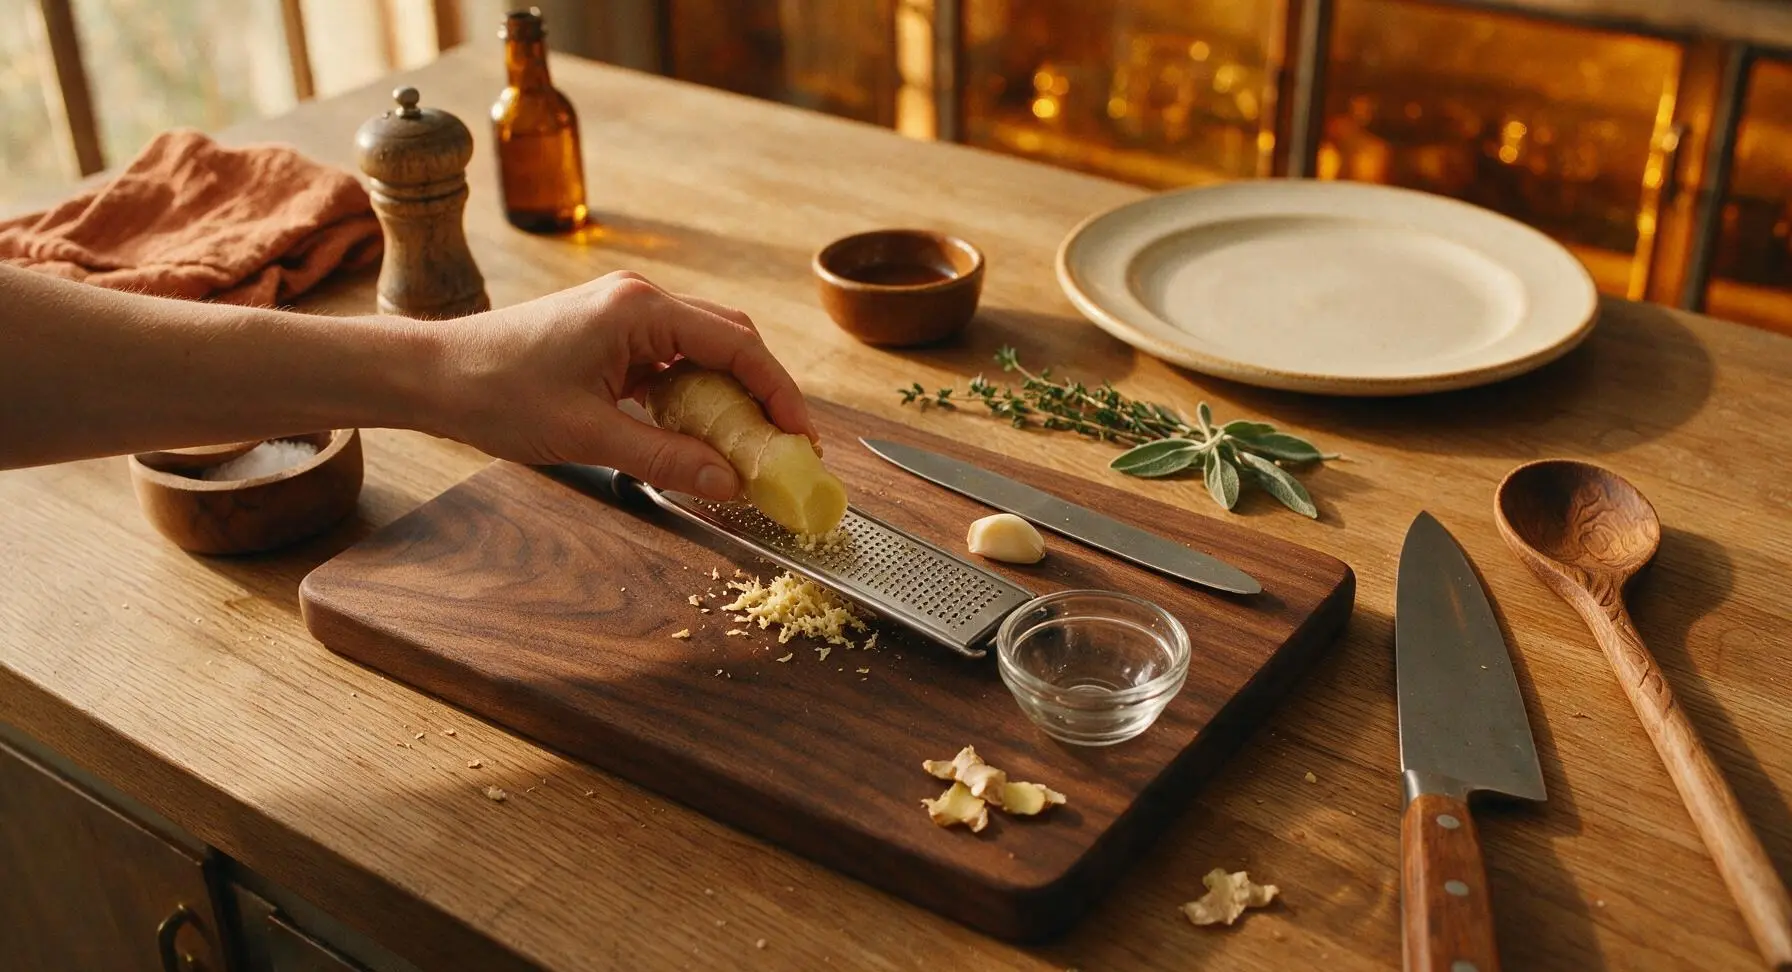
Set the light bamboo cutting board in its fixed position. Use the 6-inch stainless steel utility knife to scrape the thin, papery skin from 1 teaspoon of fresh ginger and trim the hard root end from 1 garlic clove. Run the peeled ginger across the fine-mesh stainless steel microplane grater to create a smooth, fine pulp, then rock the utility knife over the garlic to mince it into uniform 1mm-sized pieces. Scoop both prepped aromatics into one small clear glass ramekin and set aside; total prep time for this step is 2 minutes.
Measure Sauce Ingredients
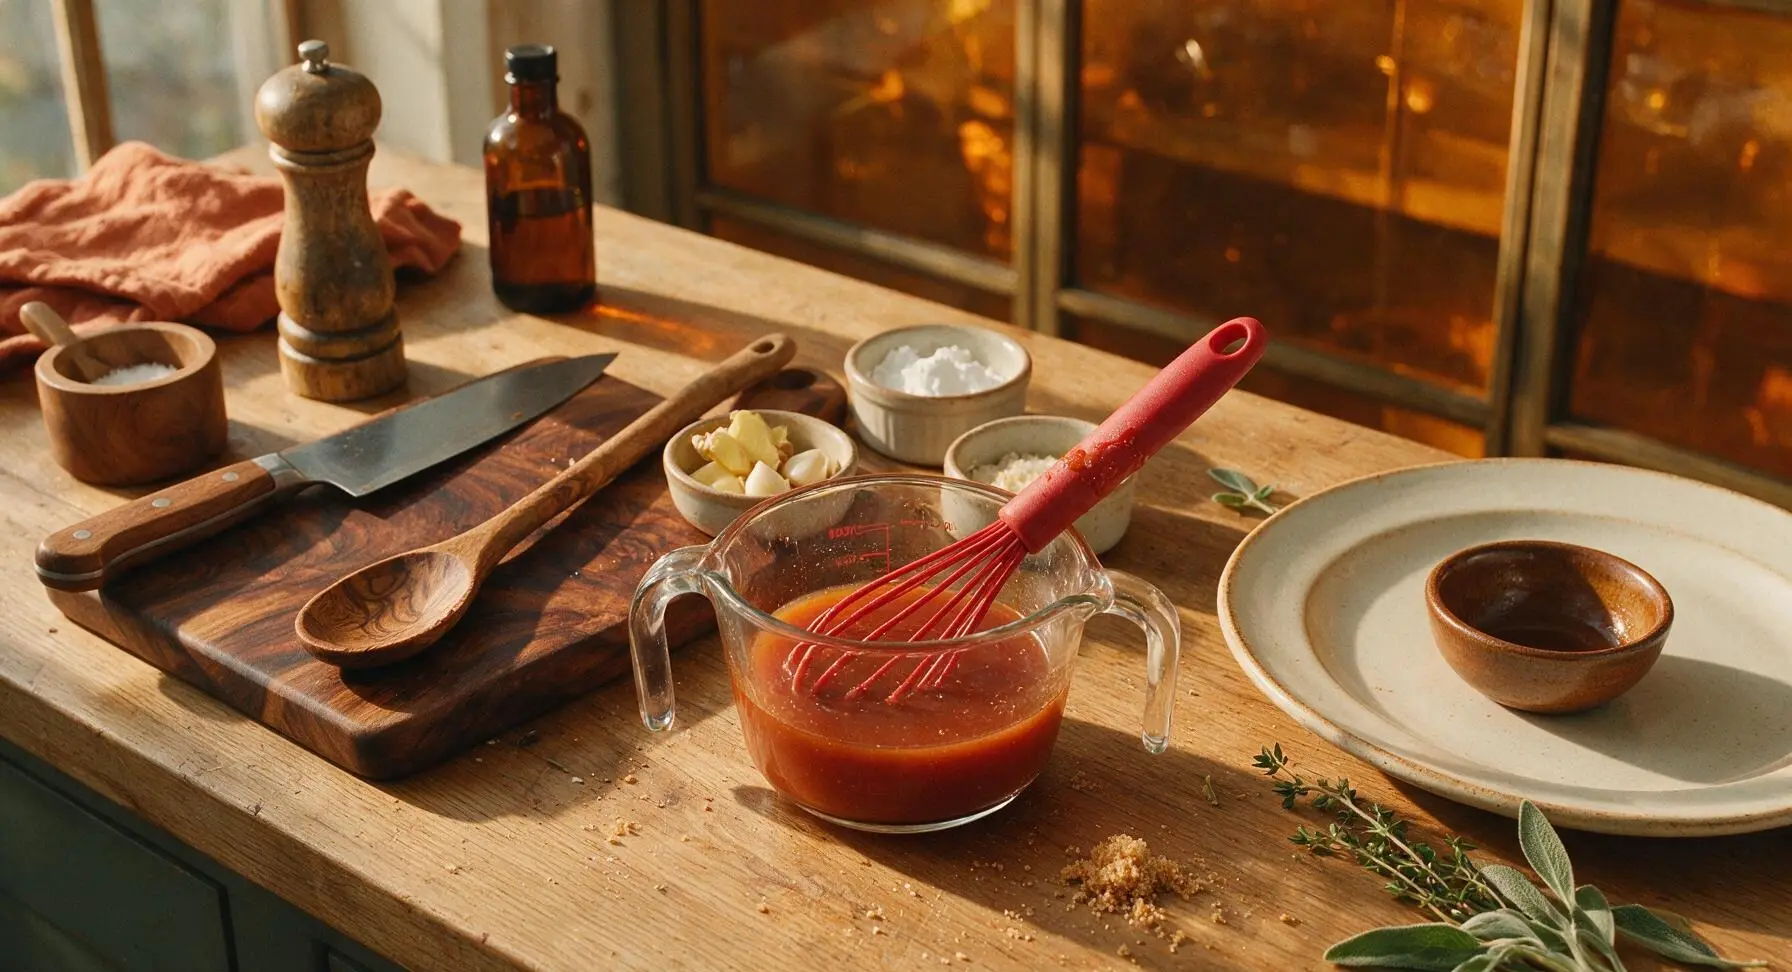
Use the 250ml clear glass measuring cup to measure and combine the tomato ketchup, unseasoned rice vinegar, packed light brown sugar, unsweetened pineapple juice, and low-sodium soy sauce. Stir briefly with the tip of the red silicone whisk to break up any lumps of brown sugar, until the mixture is a uniform light reddish-brown with no visible dry sugar clumps. This step takes about 1 minute.
Make Cornstarch Slurry
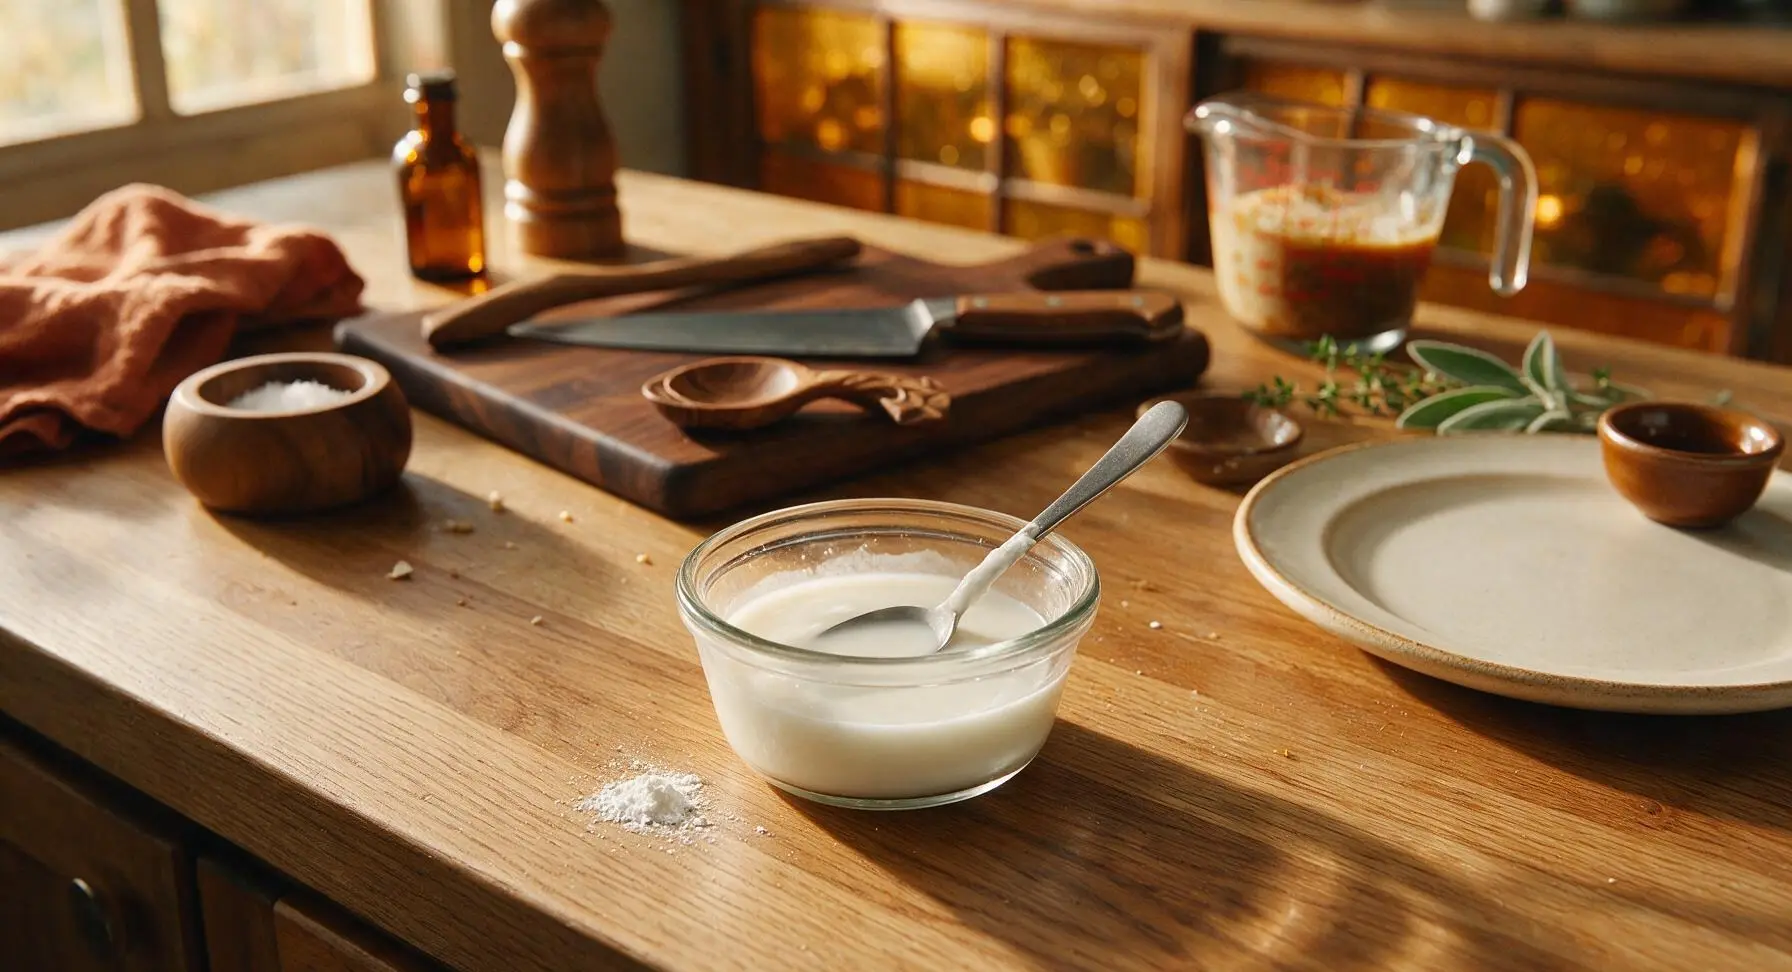
In a separate small clear glass ramekin, combine 1 tablespoon of cornstarch with 2 tablespoons of cold tap water. Stir with the small stainless steel teaspoon until the cornstarch is fully dissolved, creating a smooth, opaque milky-white slurry with no dry lumps at the bottom of the ramekin. Set aside; this step takes 30 seconds. Note: cornstarch will settle to the bottom quickly, so you will re-stir it right before adding to the hot sauce.
Heat Sauce Base
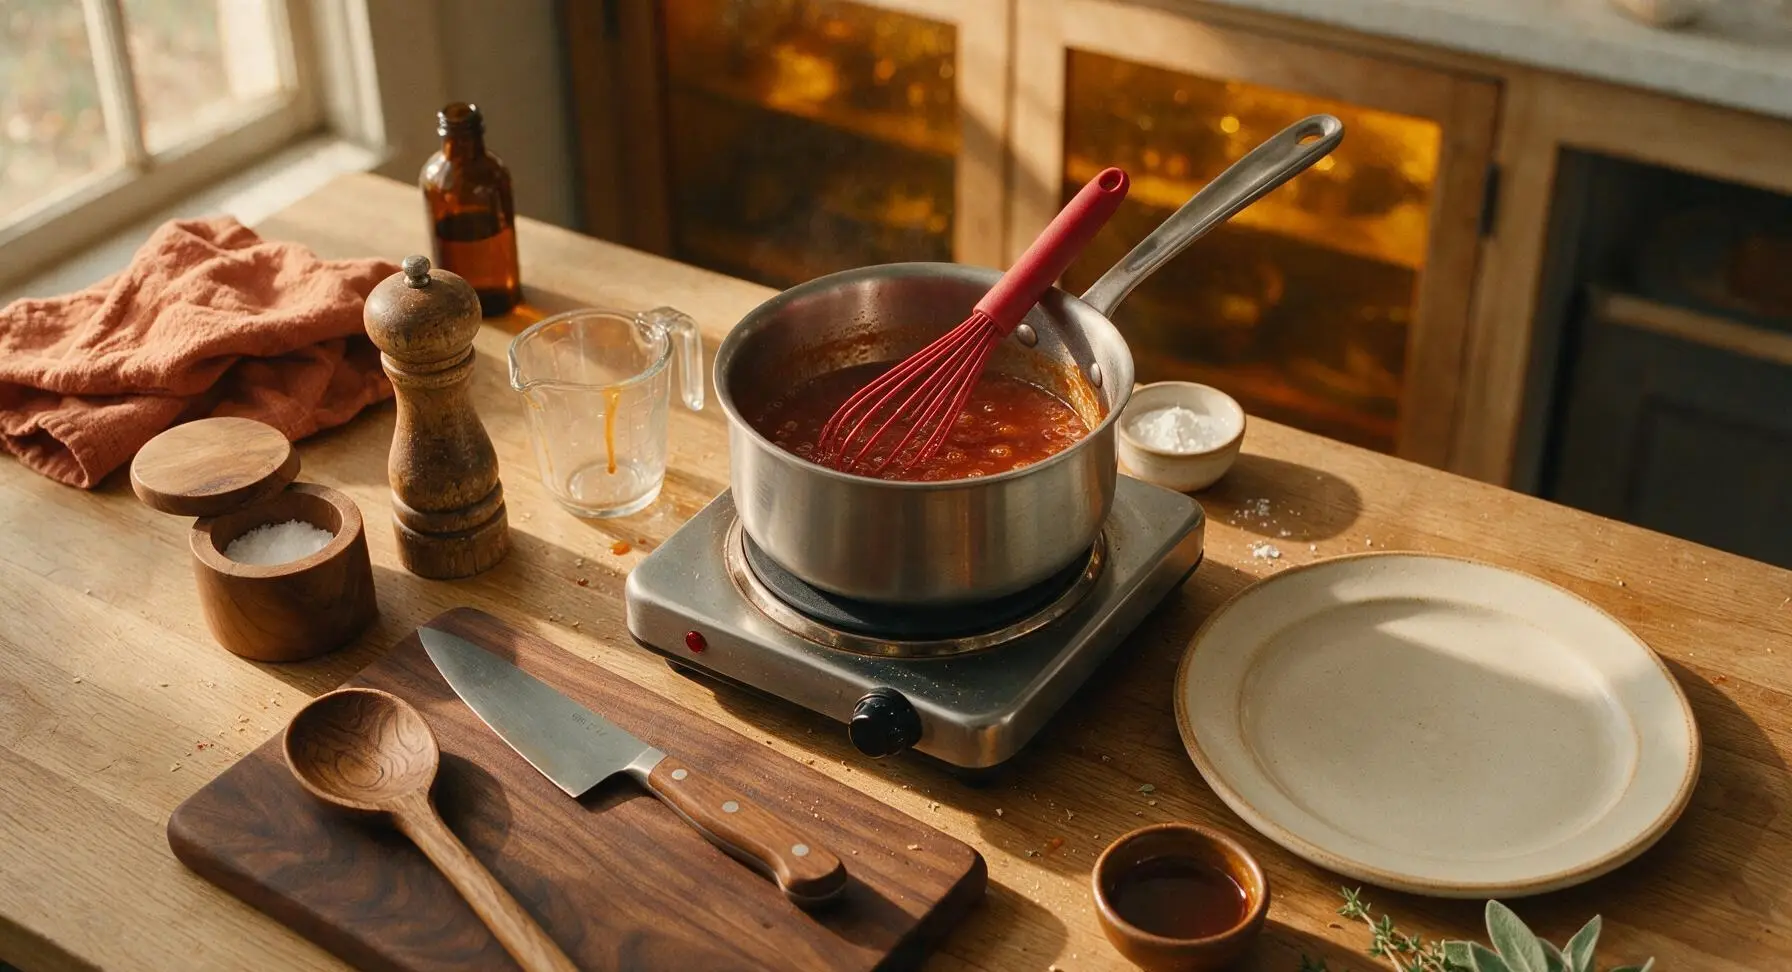
Place the 1-quart brushed stainless steel saucepan on the center portable electric burner, set to medium heat (350°F / 175°C). Pour the measured mixed sauce base from the glass measuring cup into the saucepan, then add the prepped minced ginger and garlic from the ramekin. Stir gently with the red silicone whisk as the mixture heats, for about 2 minutes, until it just starts to form tiny bubbles around the pan edges, but is not at a rolling boil.
Thicken with Slurry
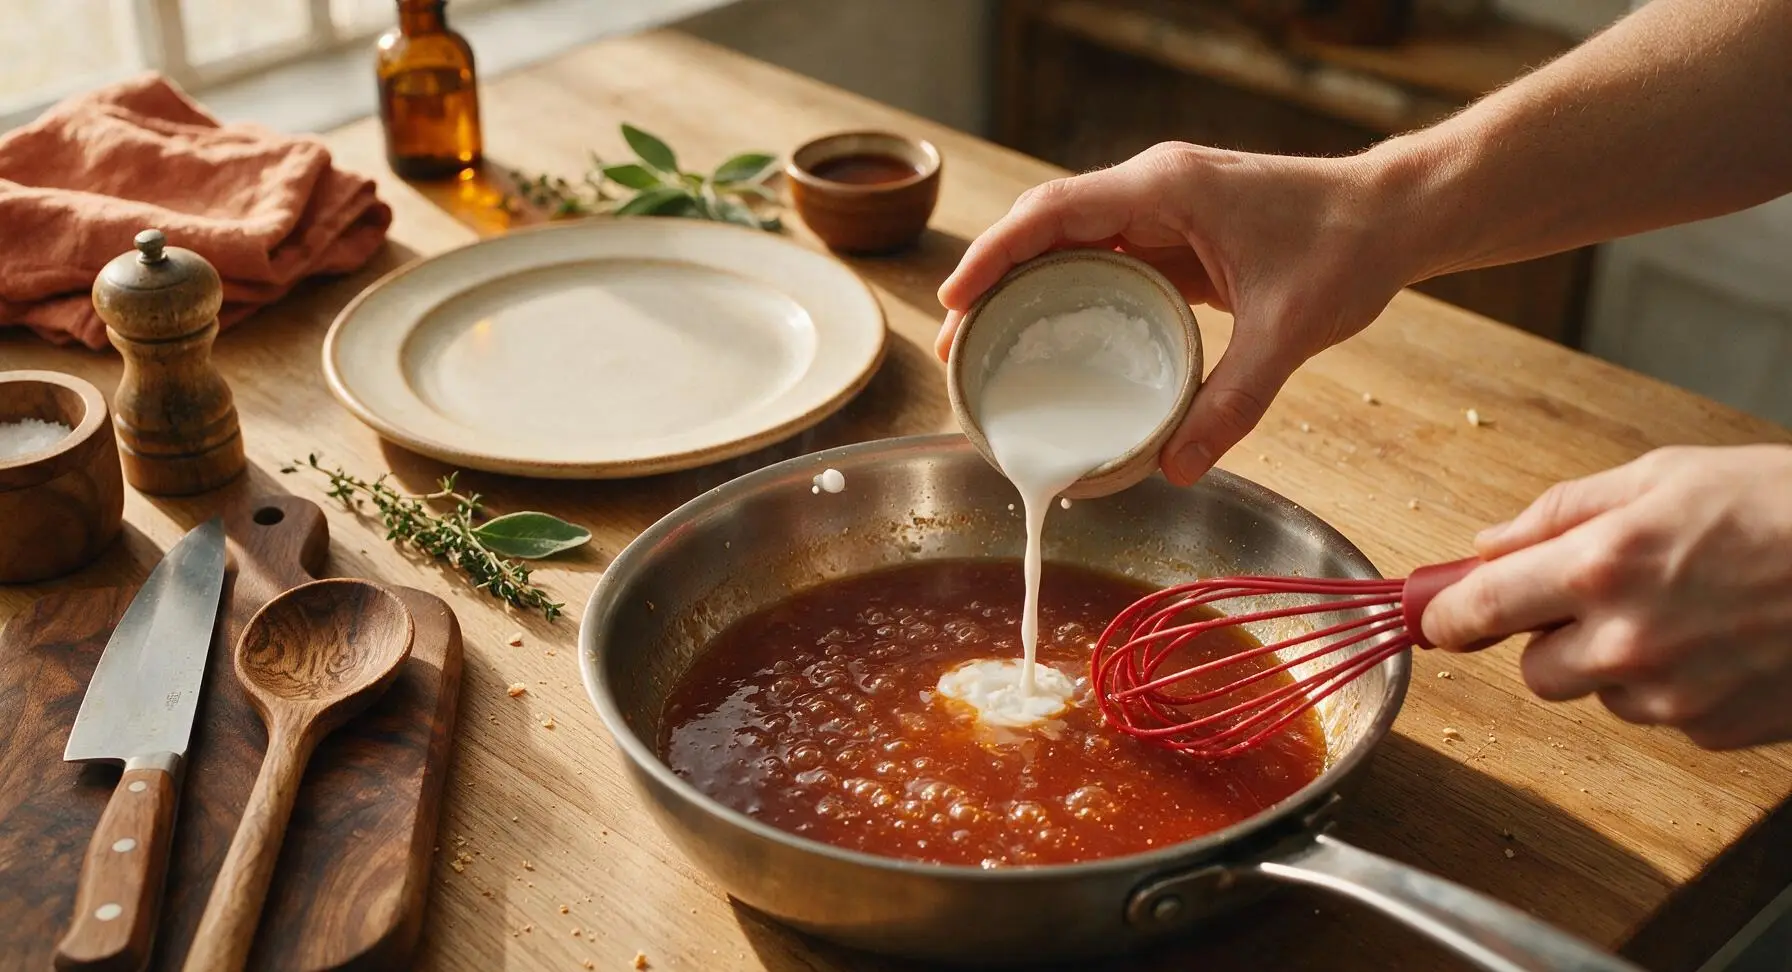
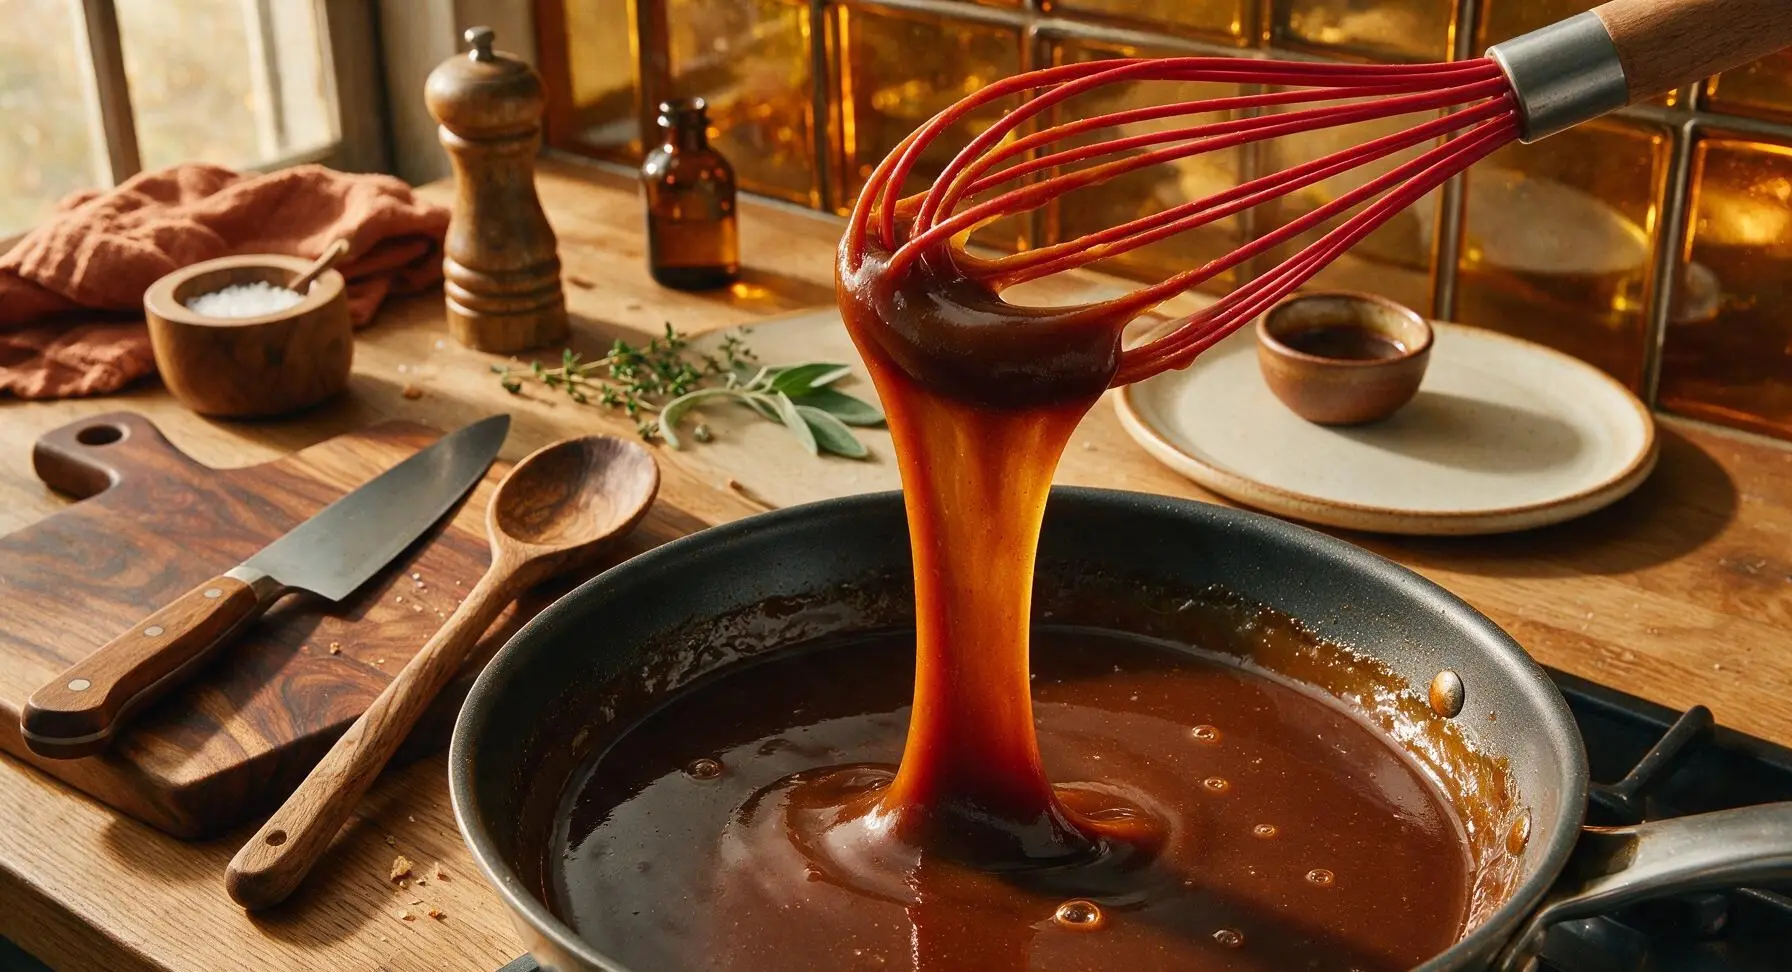
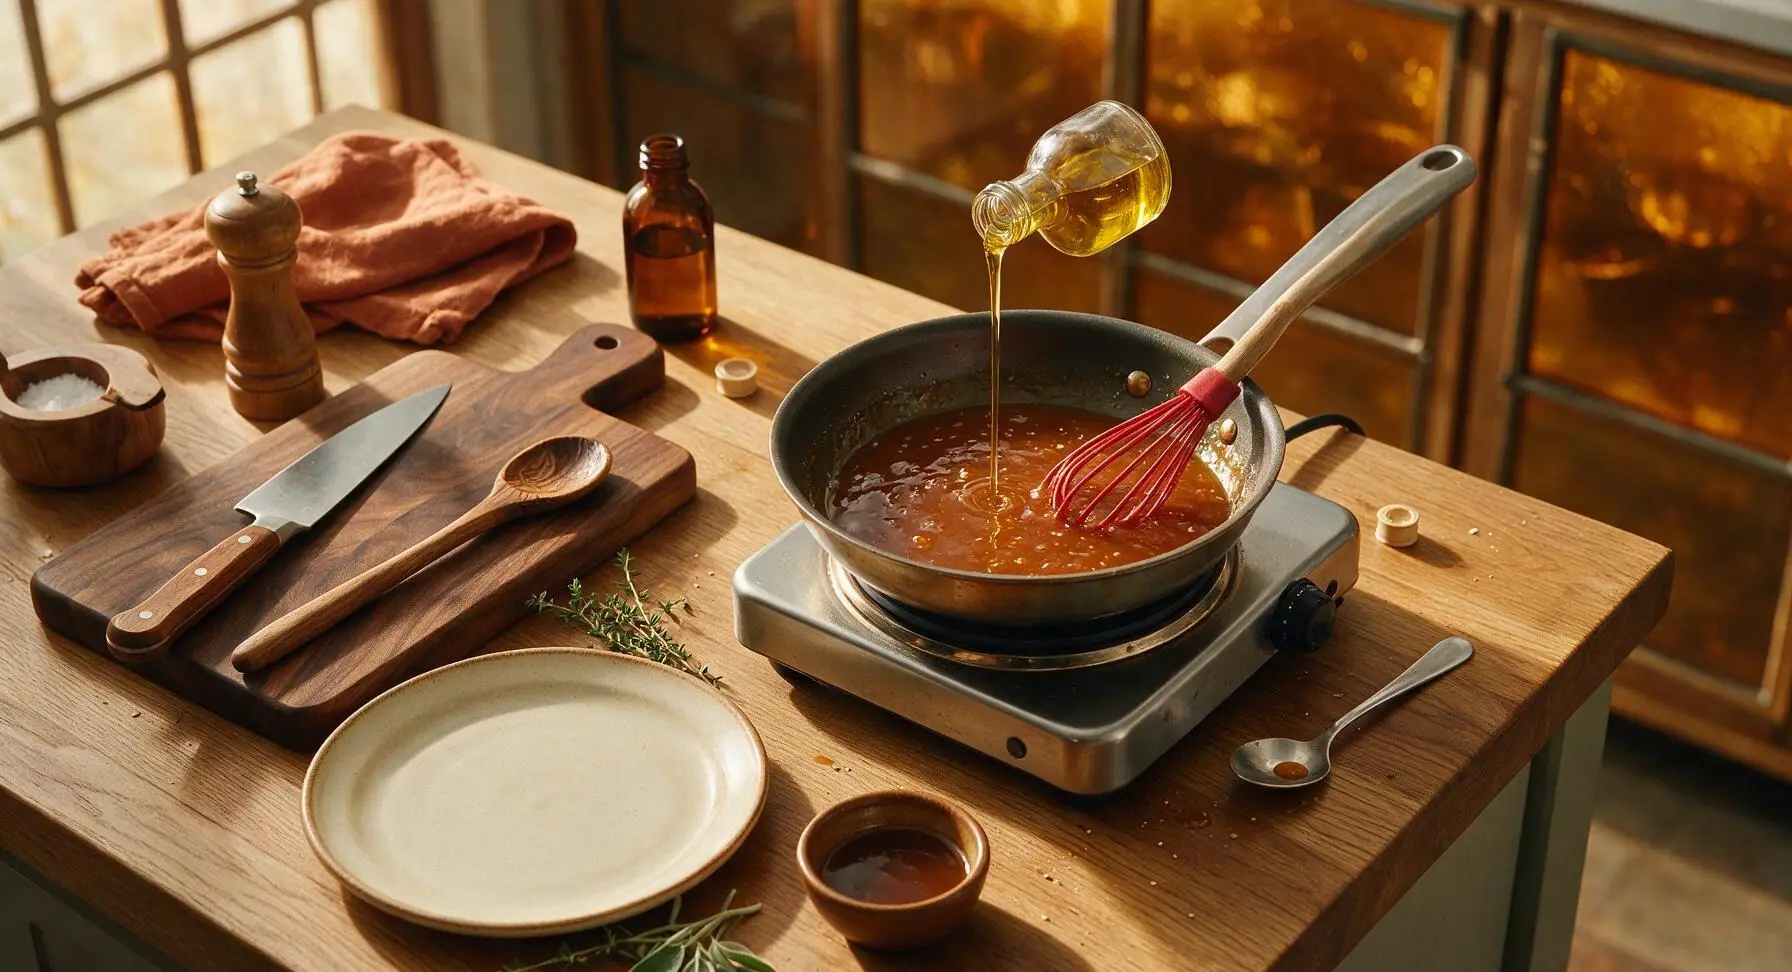
Once the sauce base reaches a gentle simmer, give the cornstarch slurry a quick stir with the stainless steel teaspoon to re-incorporate settled cornstarch, then pour it slowly into the simmering sauce while whisking constantly with the red silicone whisk. Continue cooking and whisking for exactly 1 full minute; the sauce will thicken rapidly from a watery consistency to a smooth, glossy, nappe consistency that thickly coats the back of the whisk, so that a line drawn with a finger through the coating leaves a clear, unbroken track.
Finish with Sesame Oil
Turn off the portable electric burner, then stir 1 teaspoon of toasted sesame oil into the thickened sauce with the red silicone whisk. The residual heat in the pan will warm the sesame oil to release its nutty aroma without burning it (high heat makes sesame oil bitter). Taste the sauce with the stainless steel teaspoon, and adjust if desired: add 1 extra teaspoon of rice vinegar for more tang, or 1 teaspoon of brown sugar for extra sweetness to match your preference.
Serve or Store Sauce
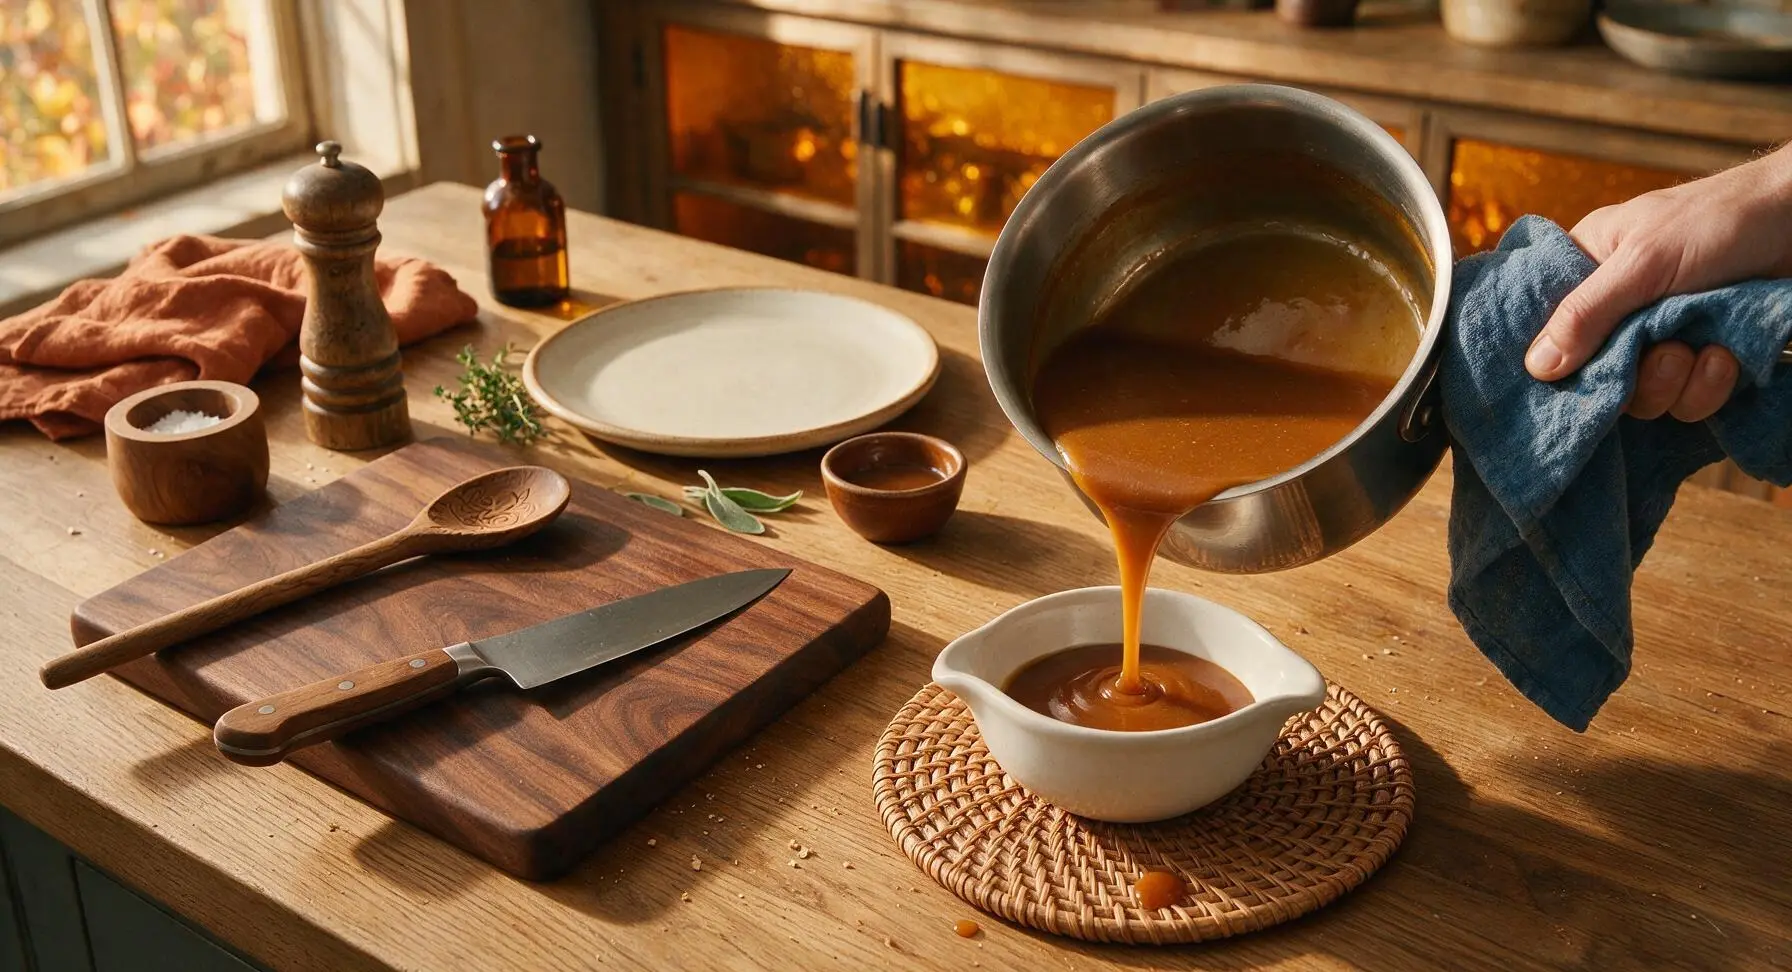
Use the faded indigo cotton towel to hold the warm saucepan handle (to avoid burns), then carefully pour the finished glossy sauce into the glossy white ceramic sauce bowl set on the rattan trivet. Let the sauce cool for 2 minutes before serving as a dip for egg rolls or chicken nuggets, tossing with stir-fried vegetables and protein, or coating crispy fried chicken. Leftover sauce can be stored in a sealed airtight glass container in the refrigerator for up to 2 weeks; reheat gently in the microwave or on the stovetop before use, adding a teaspoon of water if it thickens too much when chilled.
Tips
2.Do not boil the sauce for longer than 1 minute after adding the cornstarch slurry: extended high heat breaks down the starch molecules that thicken the sauce, leading to a thin, runny consistency that will not properly coat stir-fry ingredients or dippers.
3.Customize the base recipe to match your taste: add 1/4 cup diced canned pineapple chunks for fruity texture, a pinch of red pepper flakes for mild heat, or 1 teaspoon of fresh orange zest for bright citrus depth, without changing the core cooking method.






OMG this is the easiest sweet and sour sauce I’ve ever made! Tossed it with some crispy chicken and bell peppers for dinner last night and my kids devoured every single bite. No more takeout for us! Took literally 5 minutes just like the recipe said, zero hassle. Game changer for weeknight meals.
Brought this sauce to our neighborhood potluck last weekend, tossed with meatballs, and people were begging me for the recipe! I was worried it would be too vinegary for some folks but the balance was perfect — sweet but not cloying, just the right tang. 10/10 will be making this for every gathering from now on.
SO good, I made a double batch on Sunday and it’s lasted me all week for meal prep! Drizzled it over roasted veggies, tofu, even used it as a dip for egg rolls. Way better than the store-bought stuff that’s loaded with weird preservatives. Only took 5 minutes to whip up, can’t beat that.
Wait, does anyone know if I can swap the regular soy sauce for tamari to make this gluten free? I’ve been searching for a solid gluten free sweet and sour sauce forever and this looks so easy.
I’ve wasted so much money on takeout sweet and sour sauce that’s either way too sweet or tastes like straight vinegar. This recipe? Perfect balance, no weird artificial aftertaste, and I can make it in less time than it takes for delivery to show up. Obsessed.
Added a tiny pinch of red pepper flakes to mine for a little heat and it was chef’s kiss. I love that this base is so customizable — next time I’m gonna throw in a little grated ginger for extra depth. Such a solid basic recipe, no fancy ingredients needed.
Uh, total newbie cook here — I messed up and added way too much vinegar at first, is there a way to fix that? It’s super tangy right now and I don’t wanna waste the whole batch since I already mixed most of the ingredients.
My grandkids used to turn their noses up at my homemade sweet and sour, saying it didn’t taste like the restaurant version. I made this recipe last Sunday when they came over and they asked for seconds! Even asked me to pack a little jar of the sauce to take home with them. Win in my book.
Made this to go with baked crispy chicken and cauliflower rice for my post-work meal yesterday, and it was so satisfying I didn’t even miss the deep fried takeout version. I cut the sugar just a tiny bit to fit my macros and it still tasted amazing.
I keep all the ingredients for this in my pantry at all times now. It’s saved me on so many busy weeknights when I have zero plan for dinner — just toss some frozen chicken nuggets in the oven, whip up this sauce, add some steamed rice, and boom, dinner is done in 20 minutes. Total lifesaver.
Made this as a dipping sauce for fried shrimp at our tailgate last weekend and it was gone in 10 minutes flat. People were dipping everything in it — fries, chicken tenders, even their burgers. Who knew a 5 minute sauce could be such a crowd pleaser?