
easy vegan sandwiches
intro
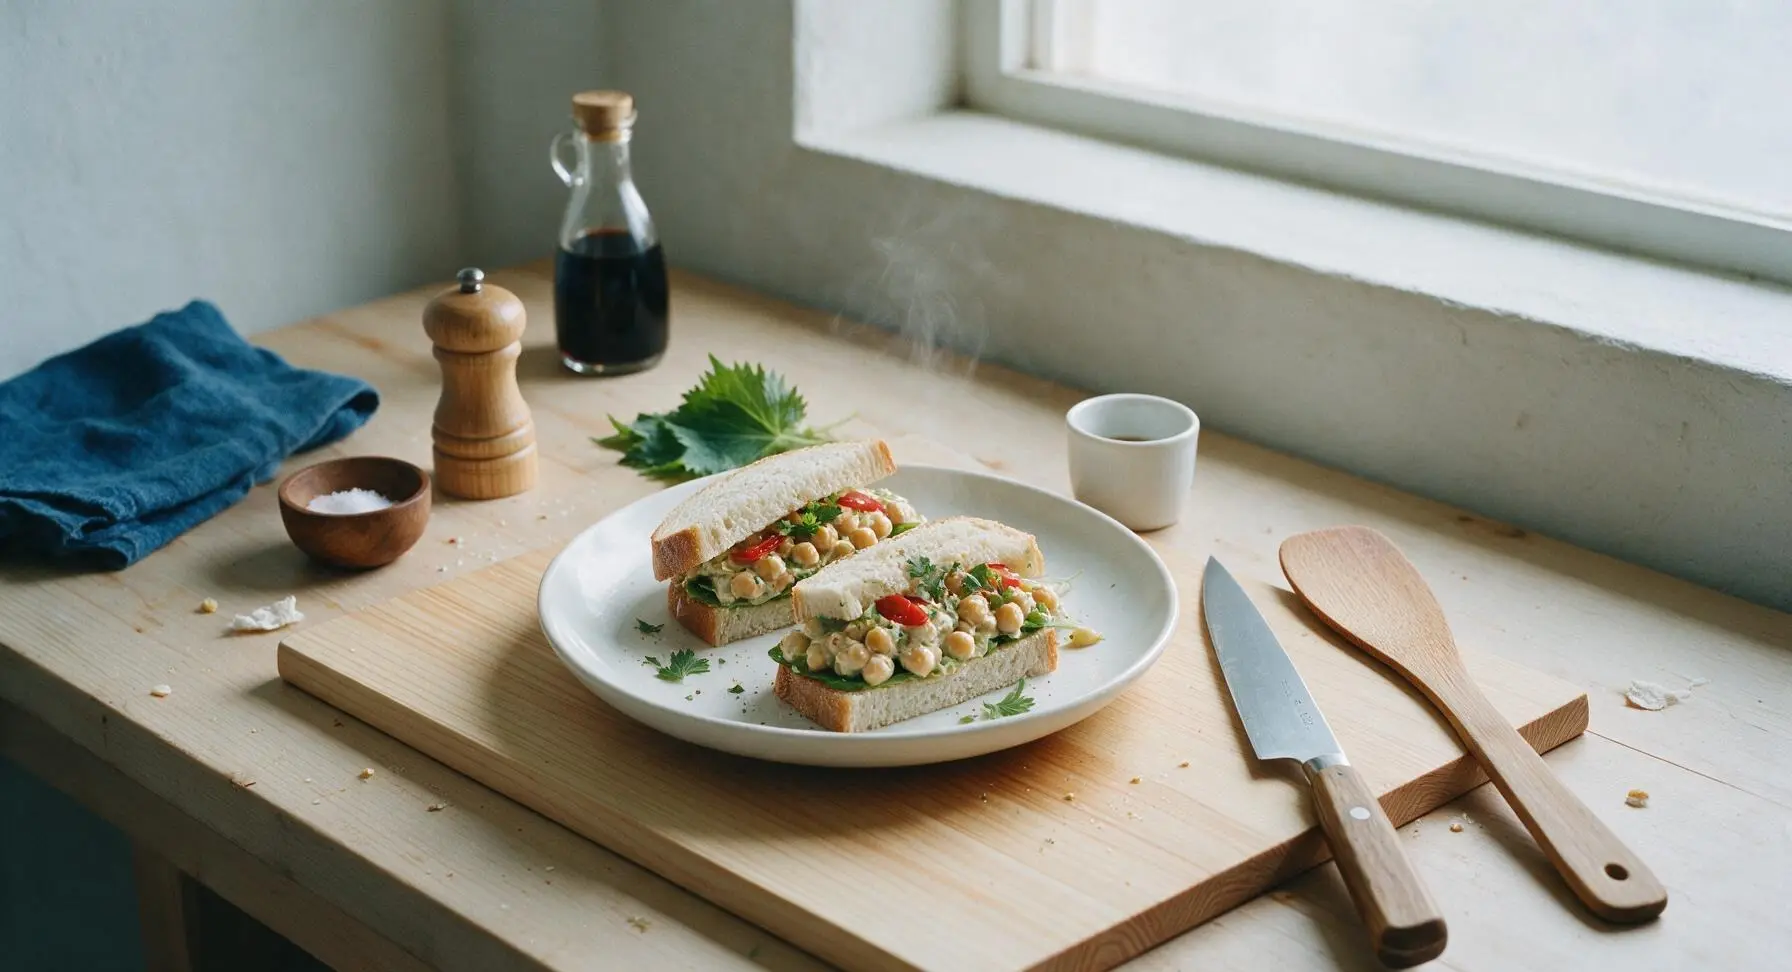
Crisp, creamy, and packed with bright, fresh flavor, these no-fuss vegan sandwiches come together in 20 minutes, require zero fancy equipment, and hold up perfectly for fast meals or packed lunches.
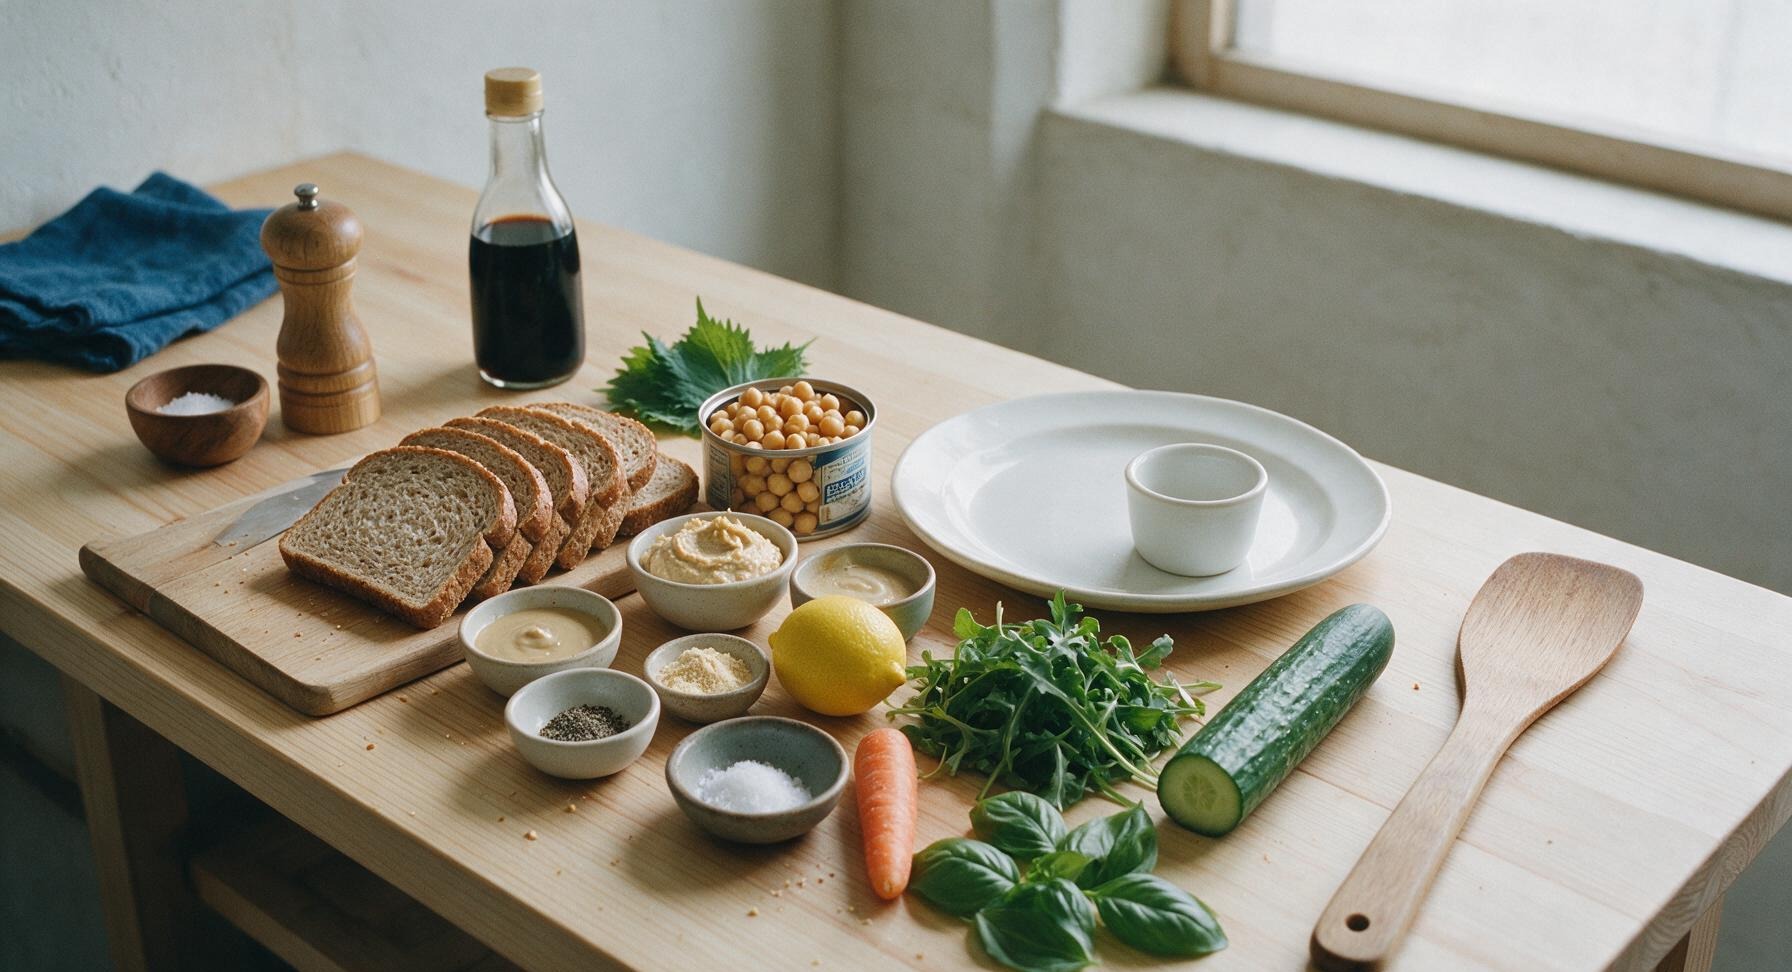
Ingredients
Steps
Toast Bread Slices
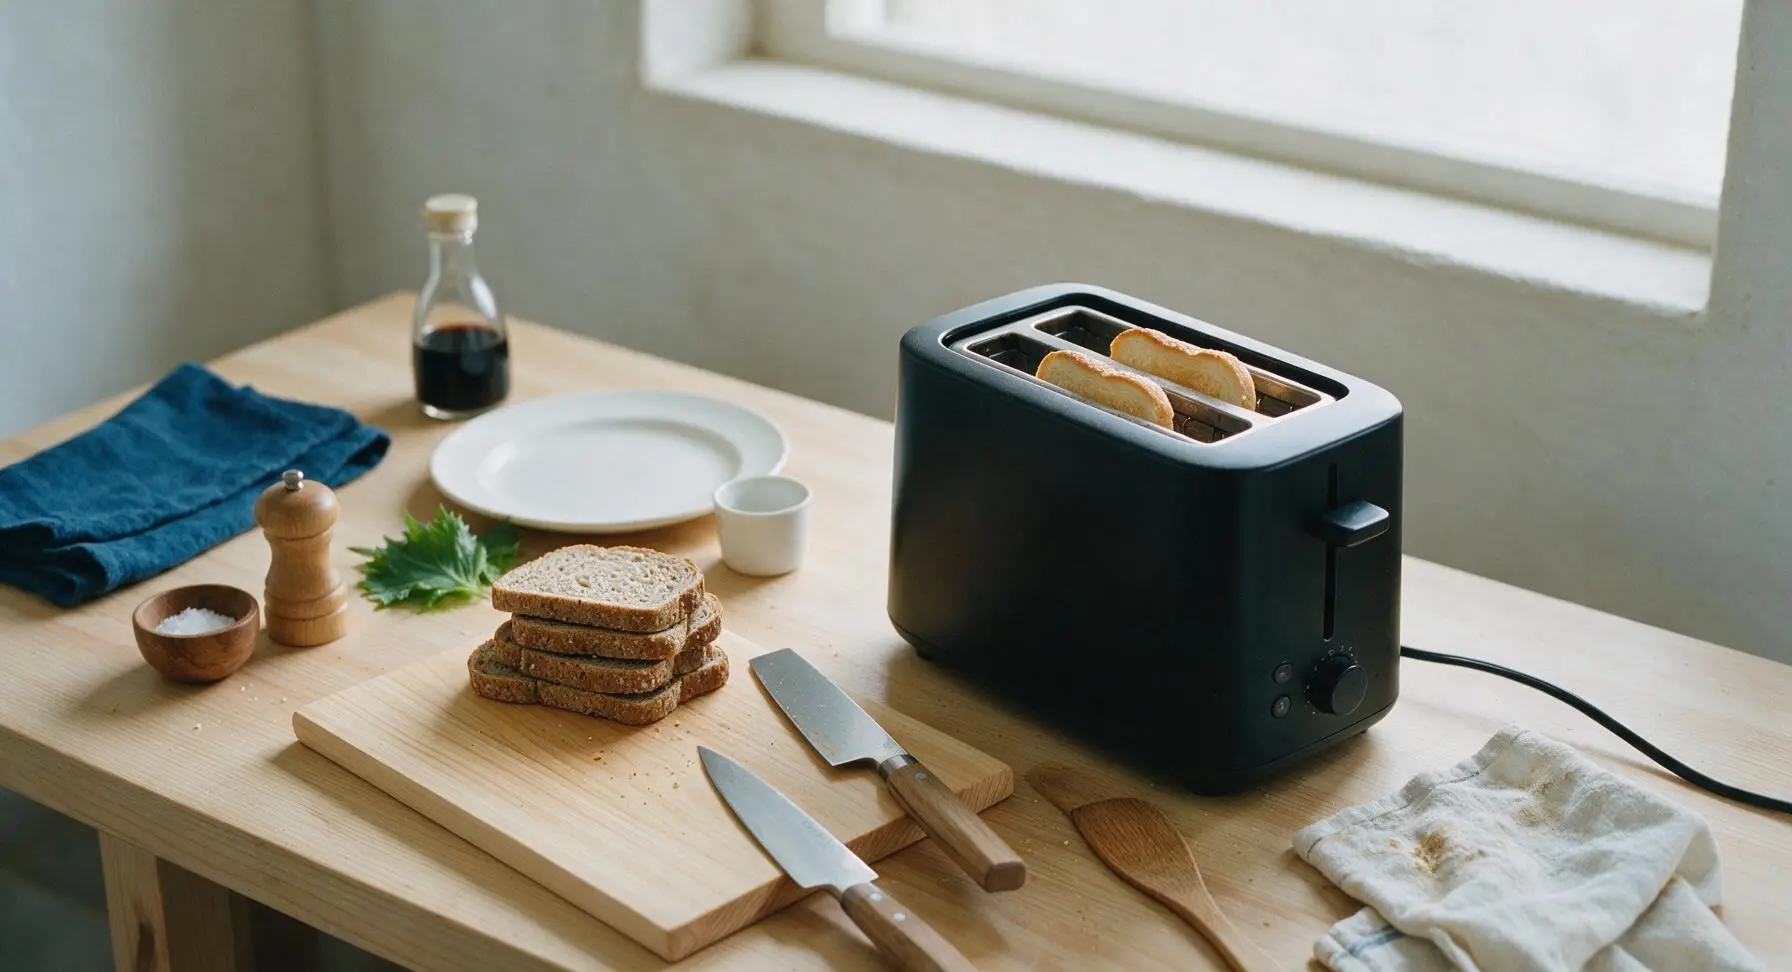
Place the 8 whole grain bread slices into the matte black toaster, set to medium-light setting (level 3 out of 7), and toast until surfaces are pale golden and crisp to the touch, about 2 minutes total. Remove toasted slices and set them on the edge of the bamboo cutting board to cool for 1 minute, so spreads do not soak into warm bread.
Mash Chickpeas for Filling
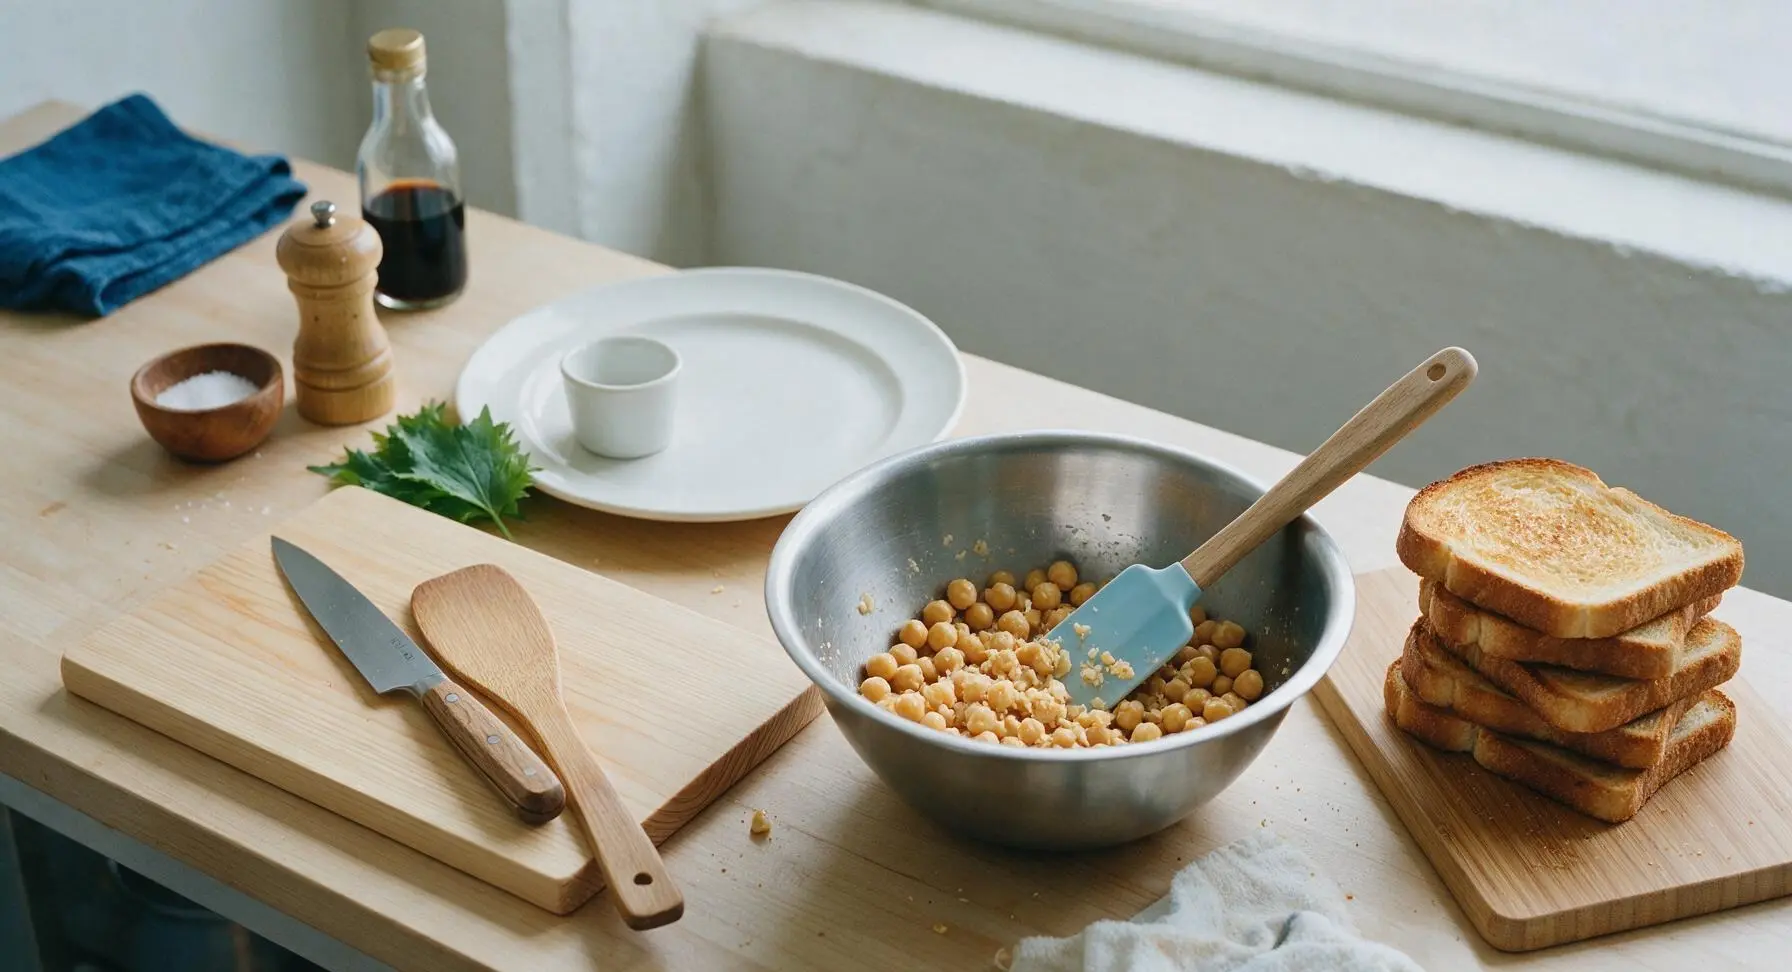
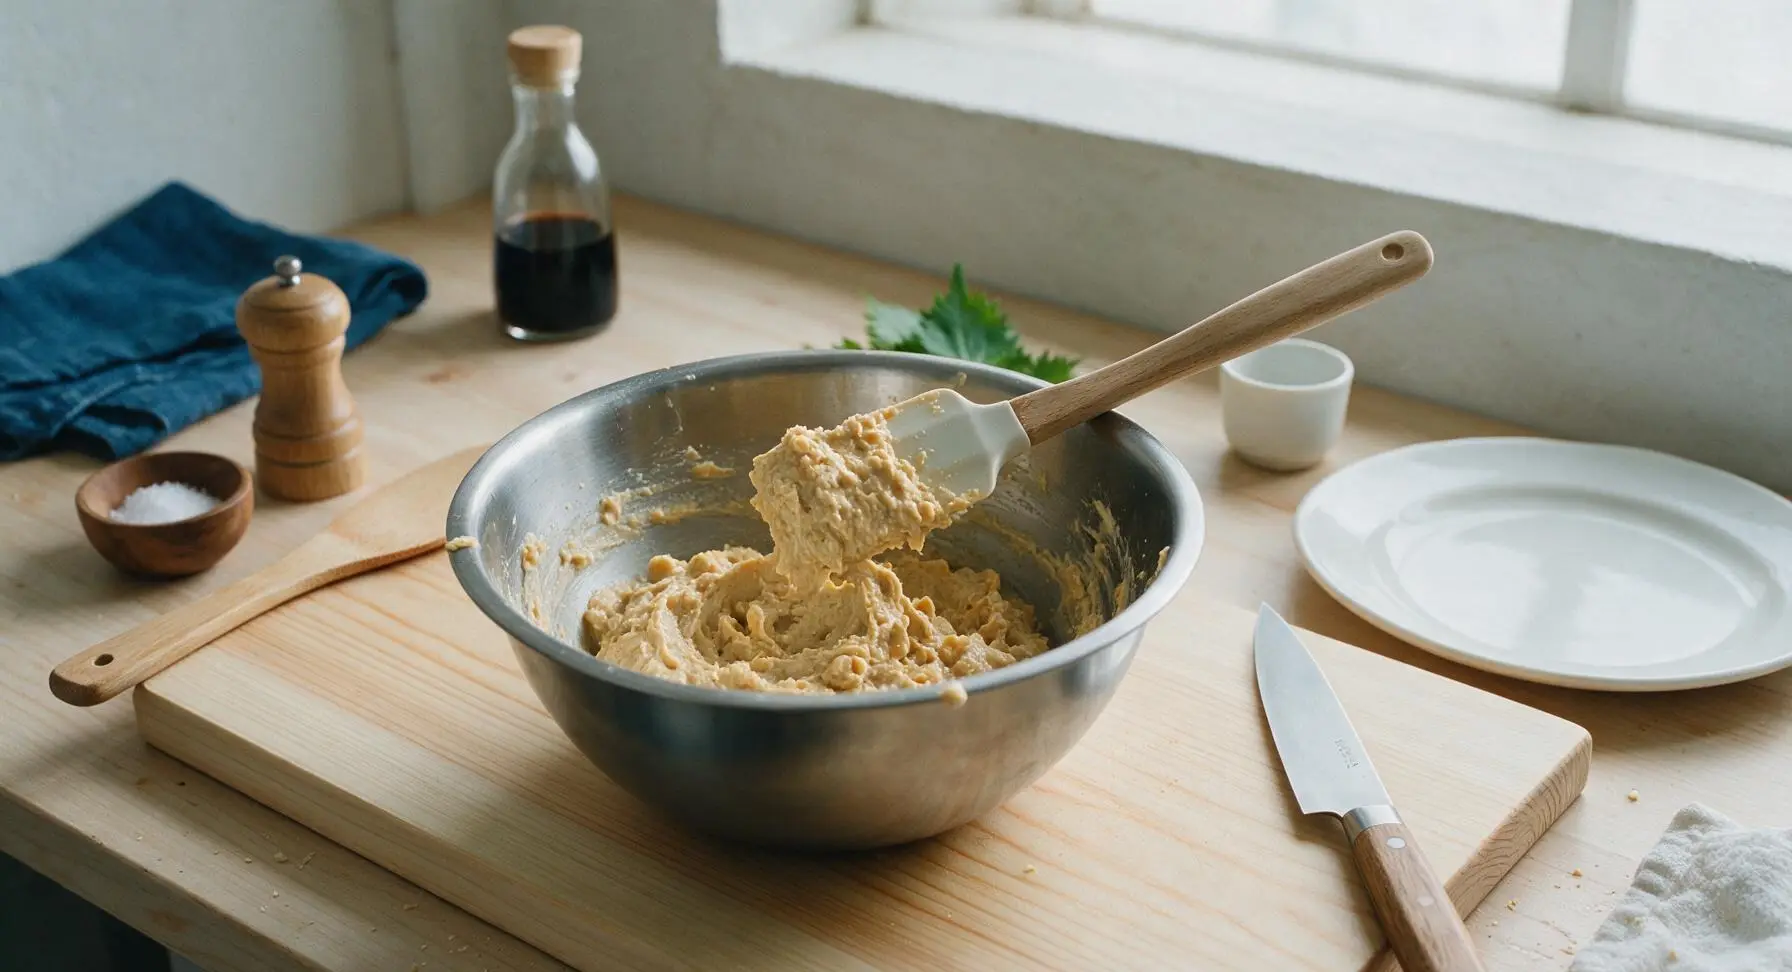
Pour the drained, rinsed chickpeas into the brushed stainless steel mixing bowl. Use the light blue silicone spatula to mash 3/4 of the chickpeas into a coarse, crumbly paste, leaving 1/4 of the chickpeas partially whole for texture, about 2 minutes of mashing. Avoid over-mashing to a smooth hummus consistency, as small chickpea chunks add satisfying bite.
Mix Creamy Filling
Squeeze 1 tablespoon of fresh juice from the small lemon, then add it to the mashed chickpeas along with 1/4 cup of the hummus, 2 tablespoons tahini, 1/2 teaspoon garlic powder, 1/4 teaspoon sea salt, and 1/8 teaspoon freshly ground black pepper. Stir thoroughly with the silicone spatula until all ingredients are evenly combined, creating a thick, creamy salad that holds together when pressed, about 1 minute of stirring. Taste and adjust salt if needed.
Prep Fresh Veggies
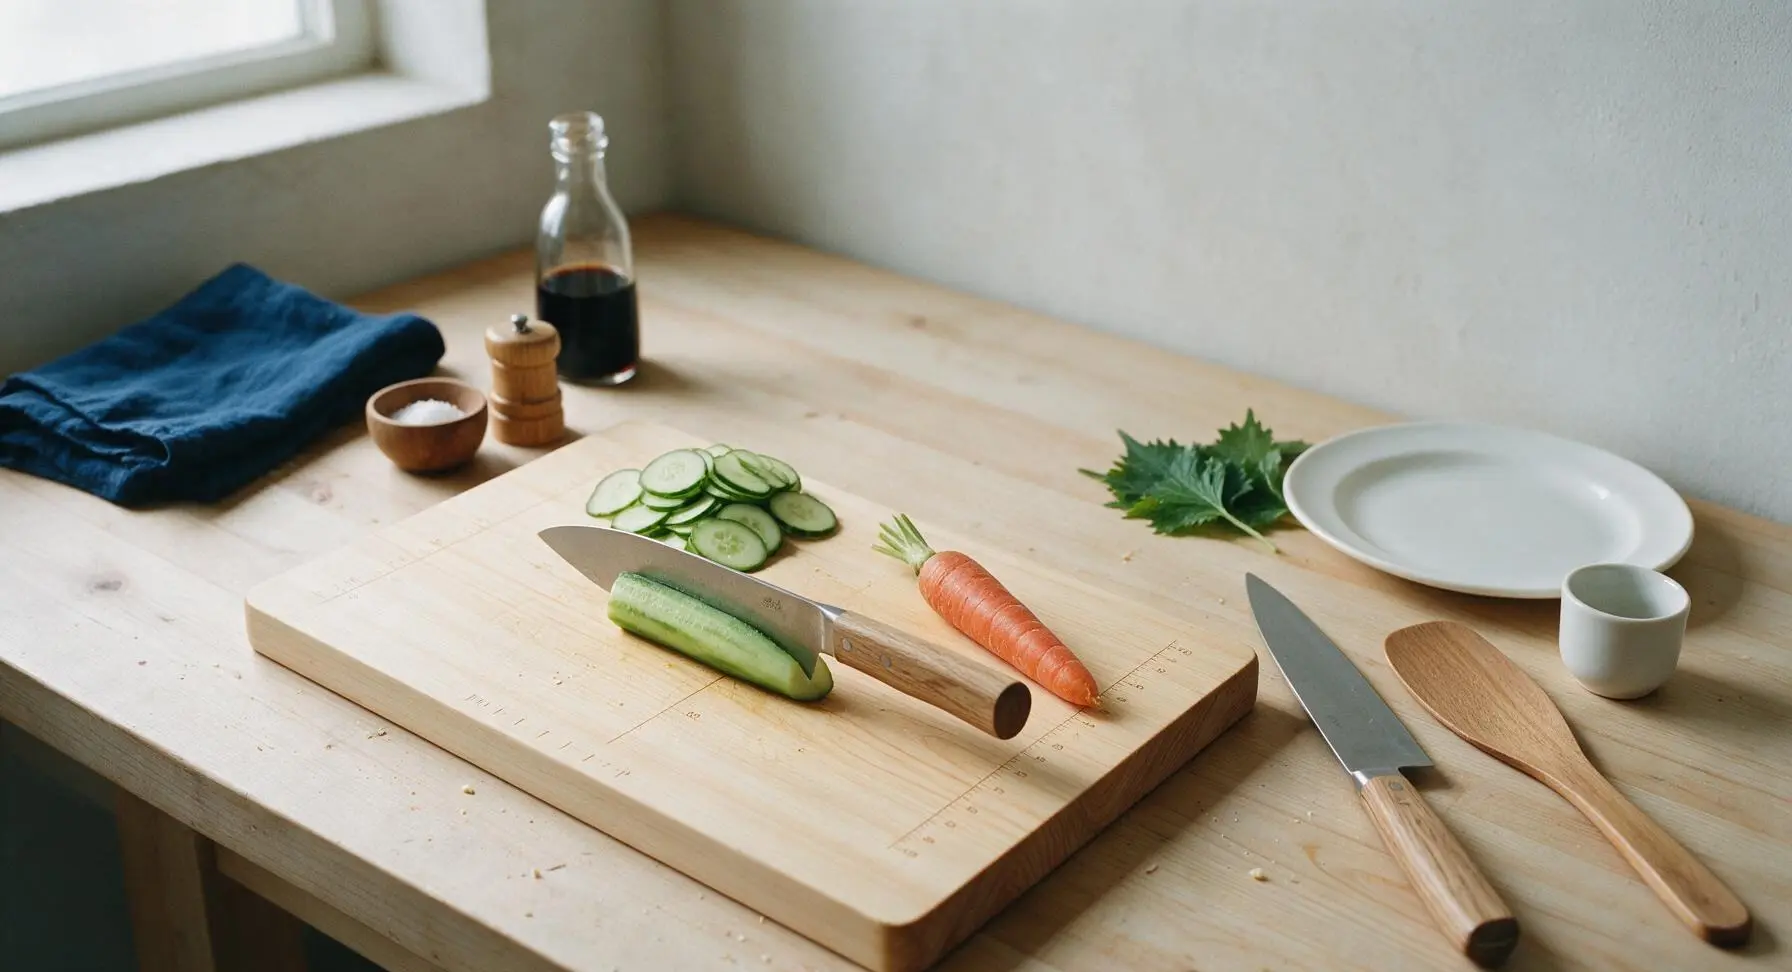
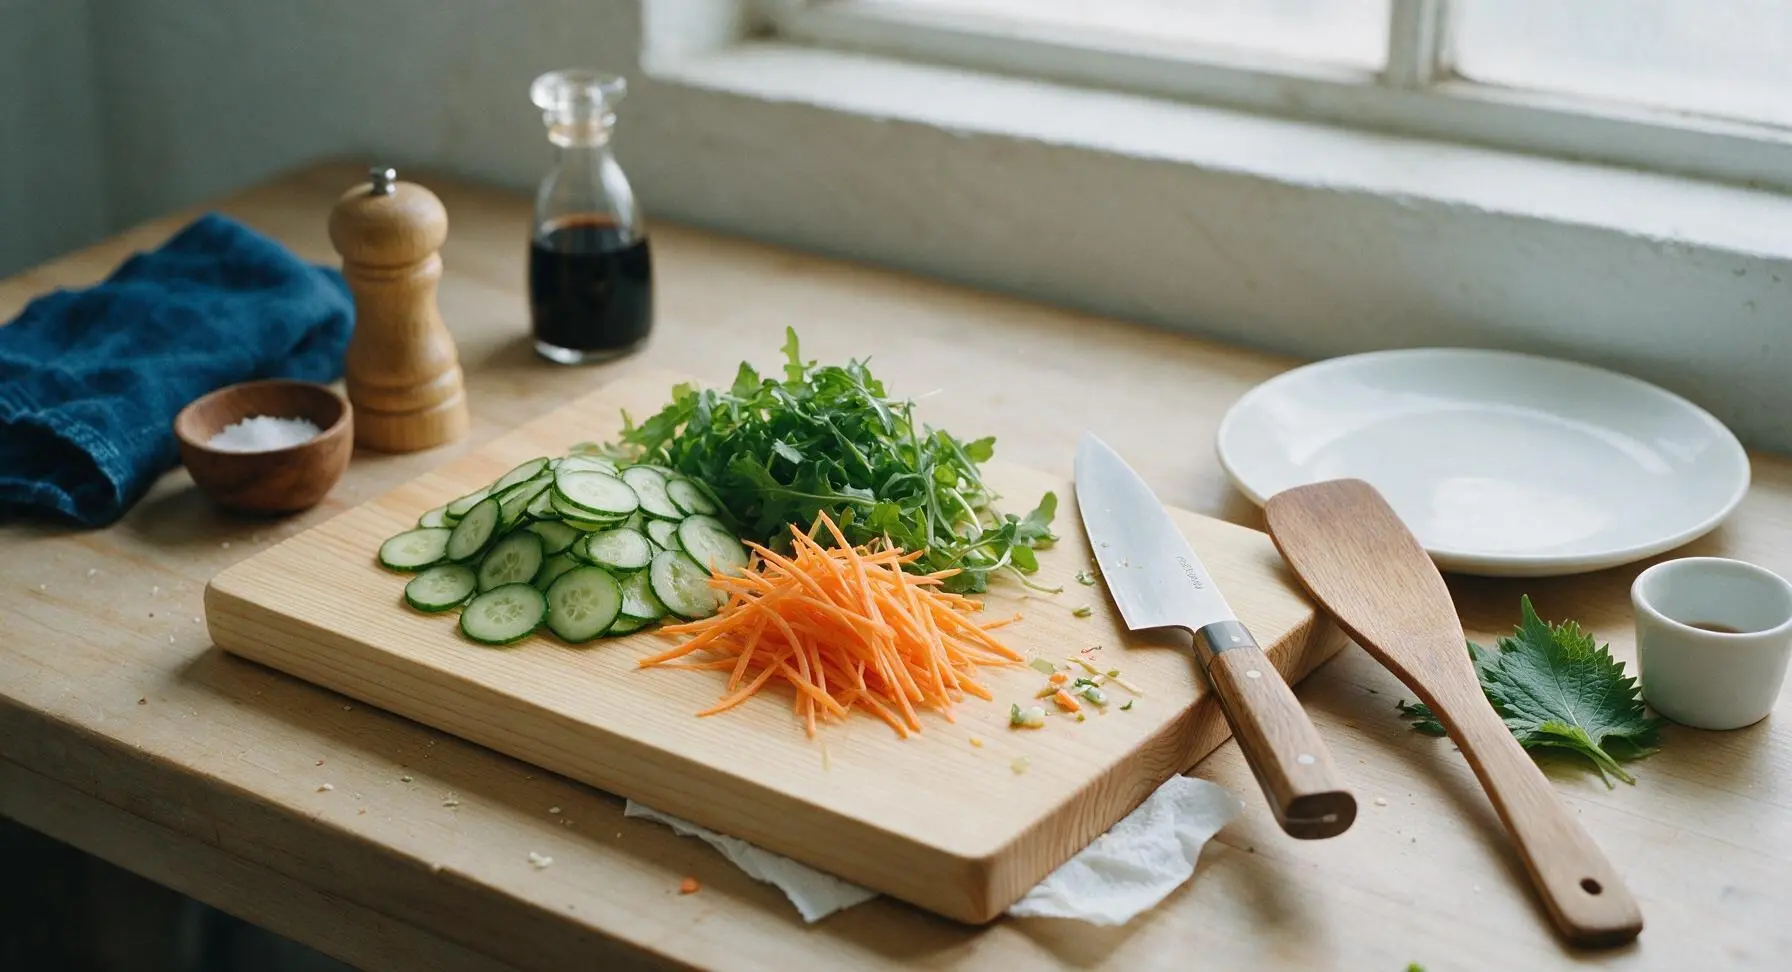
Place the cucumber and carrot on the bamboo cutting board. Use the 5-inch santoku knife to slice the cucumber into 1/8-inch thick rounds, then cut the carrot into thin 2-inch matchsticks. Pick through the arugula to remove any thick, tough stems, and pat leaves dry with the corner of the paper towel under the cutting board to prevent sandwich sogginess.
Spread Hummus on Bread
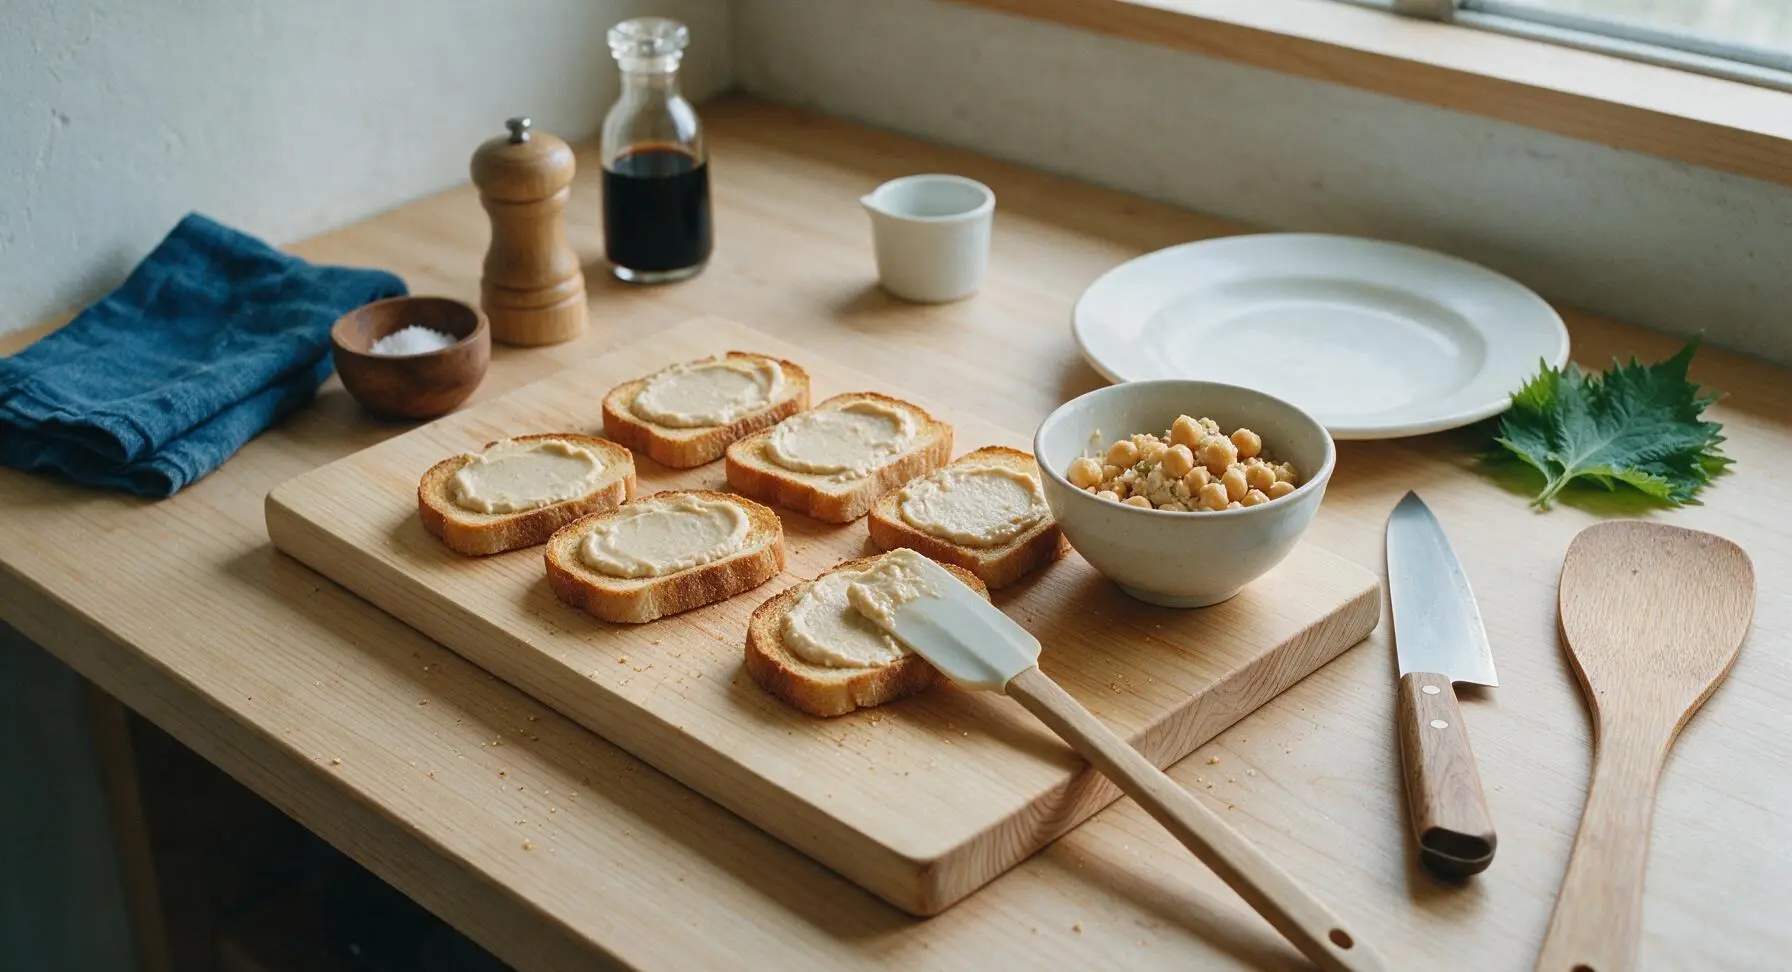
Lay all 8 toasted bread slices flat on the bamboo cutting board. Use the silicone spatula to spread the remaining 1/4 cup hummus evenly across one side of each bread slice, using about 1.5 teaspoons per slice. This thin hummus layer acts as a moisture barrier to prevent vegetable juices from soaking into the bread.
Layer Sandwich Fillings
Divide the chickpea filling evenly across 4 of the hummus-coated bread slices, spreading it into a 1/2-inch thick even layer. Top the chickpea filling with 2-3 cucumber slices per sandwich, a small pinch of carrot matchsticks, a few arugula leaves, and 2 fresh basil leaves per sandwich. Do not overstuff, as overfilled sandwiches will shed fillings when picked up to eat.
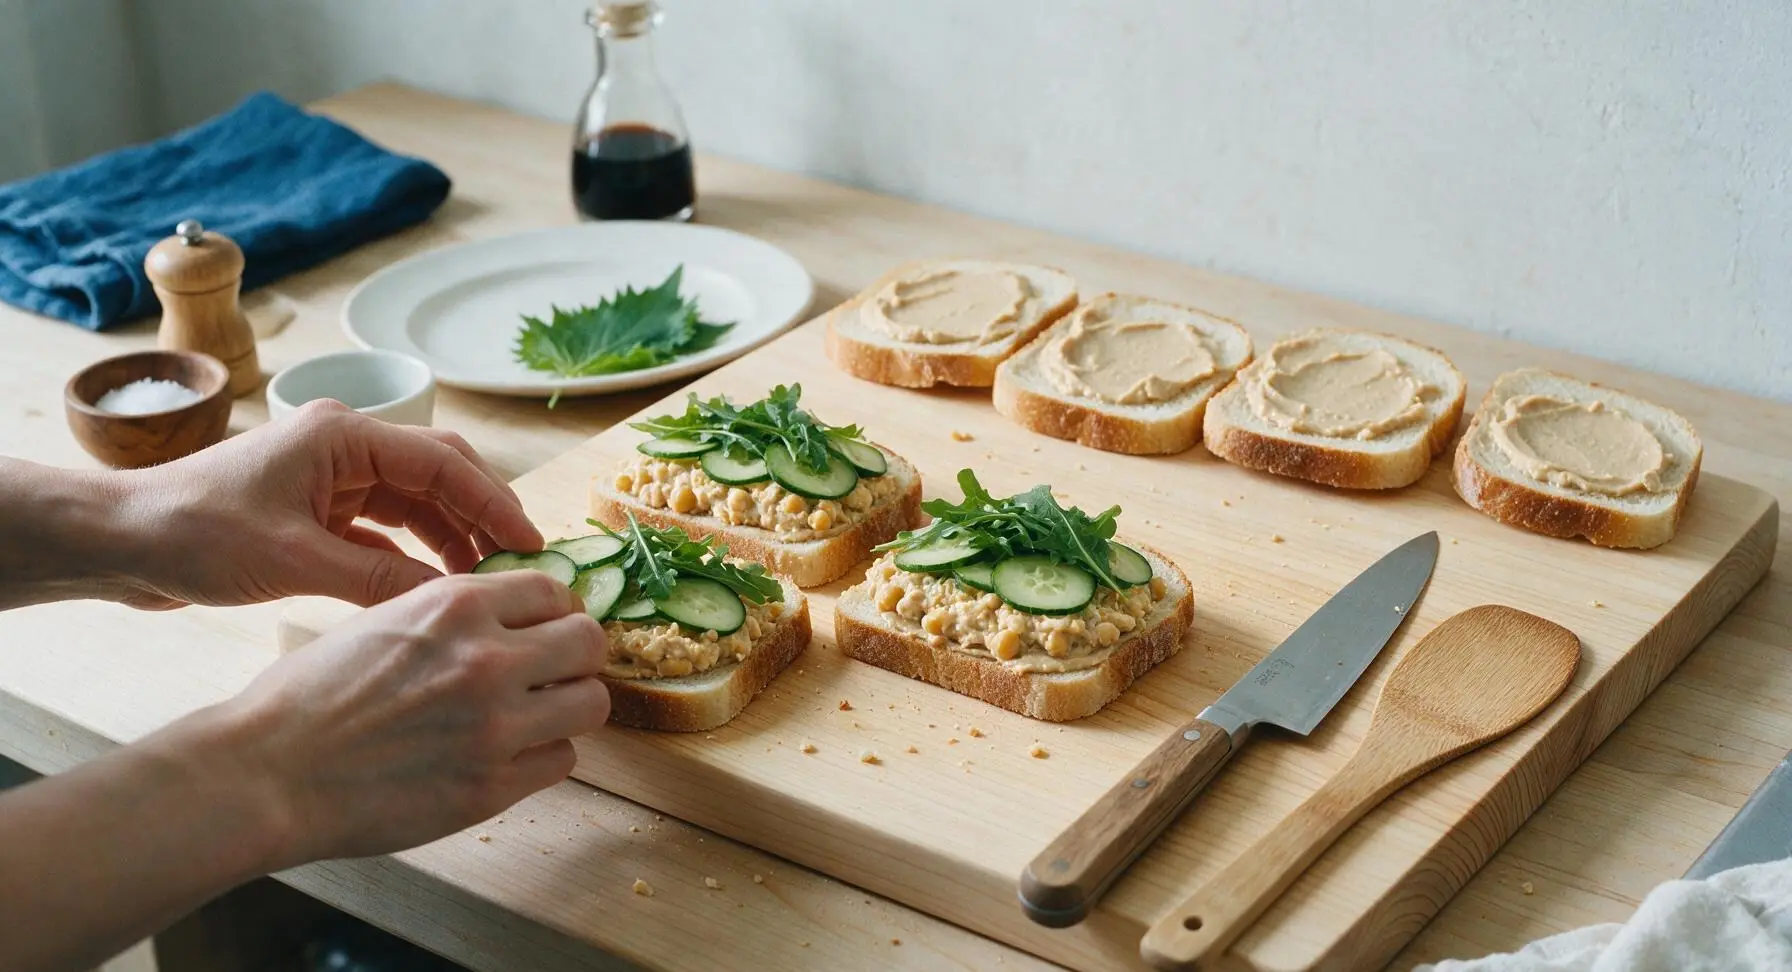
Press and Cut Sandwiches
Place the remaining 4 hummus-coated bread slices on top of the filled bases, hummus-side down facing the fillings. Press down gently but firmly on each sandwich to compress layers slightly, so fillings hold together when cut. Use the santoku knife to cut each sandwich diagonally into two triangular halves, wiping the blade on the paper towel between cuts for clean edges.
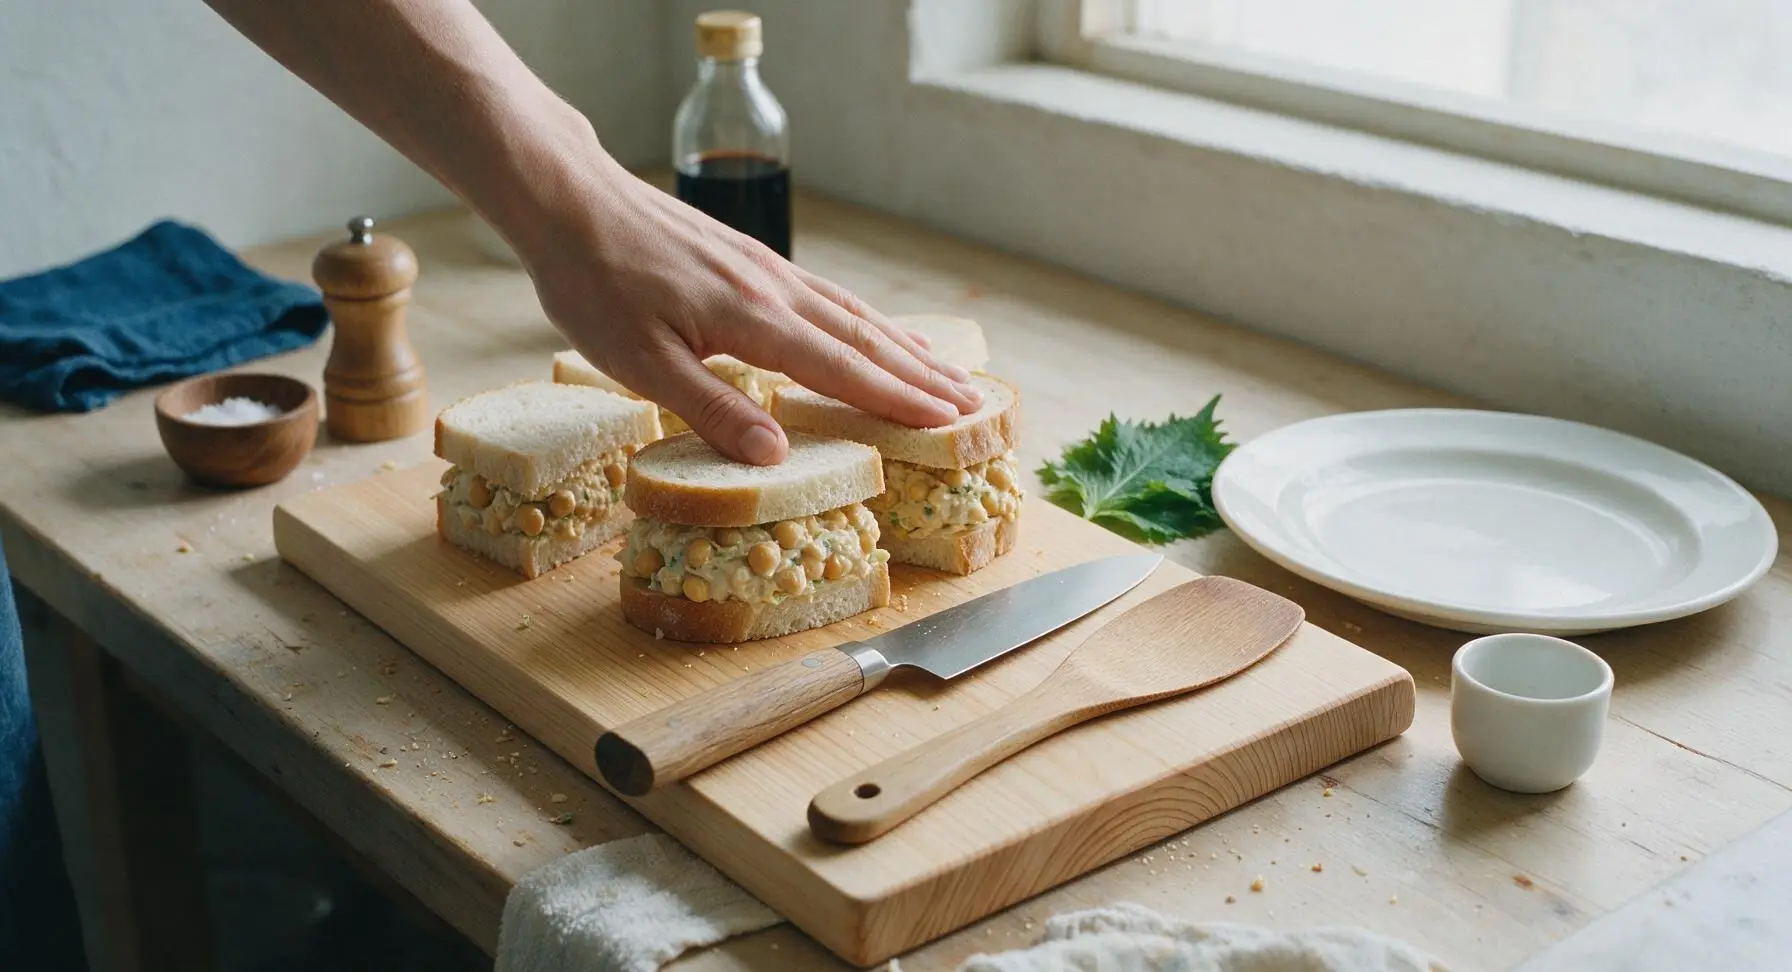
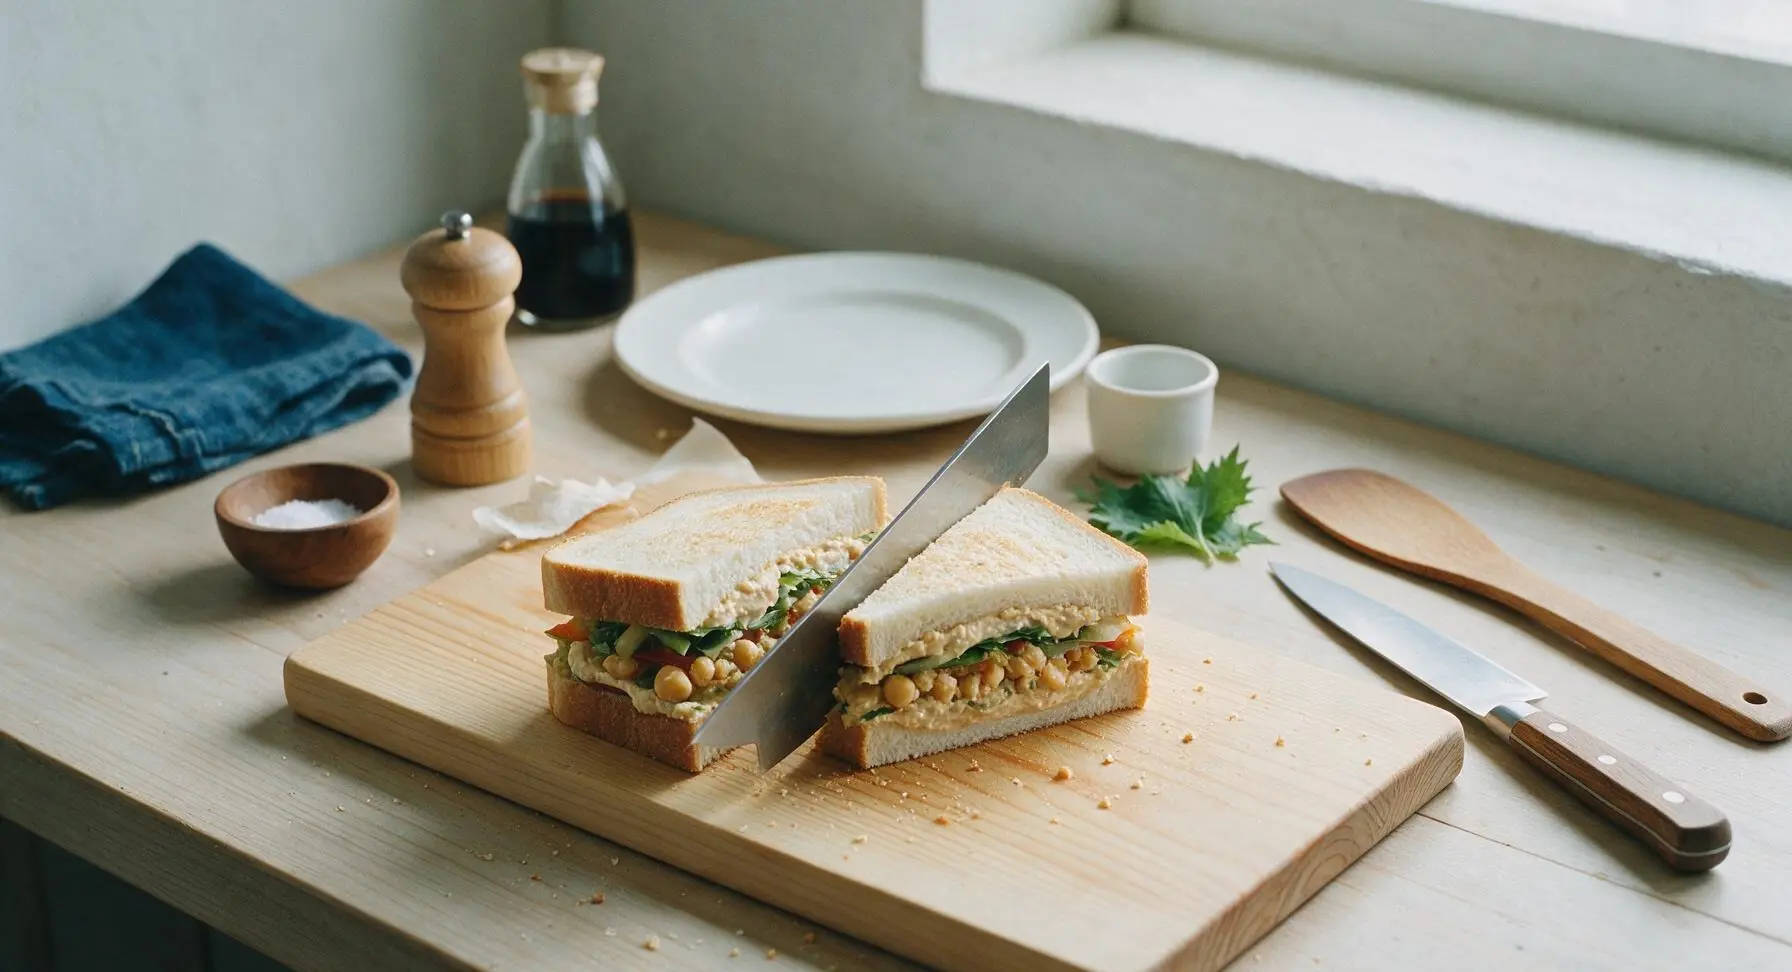
Plate Finished Sandwiches
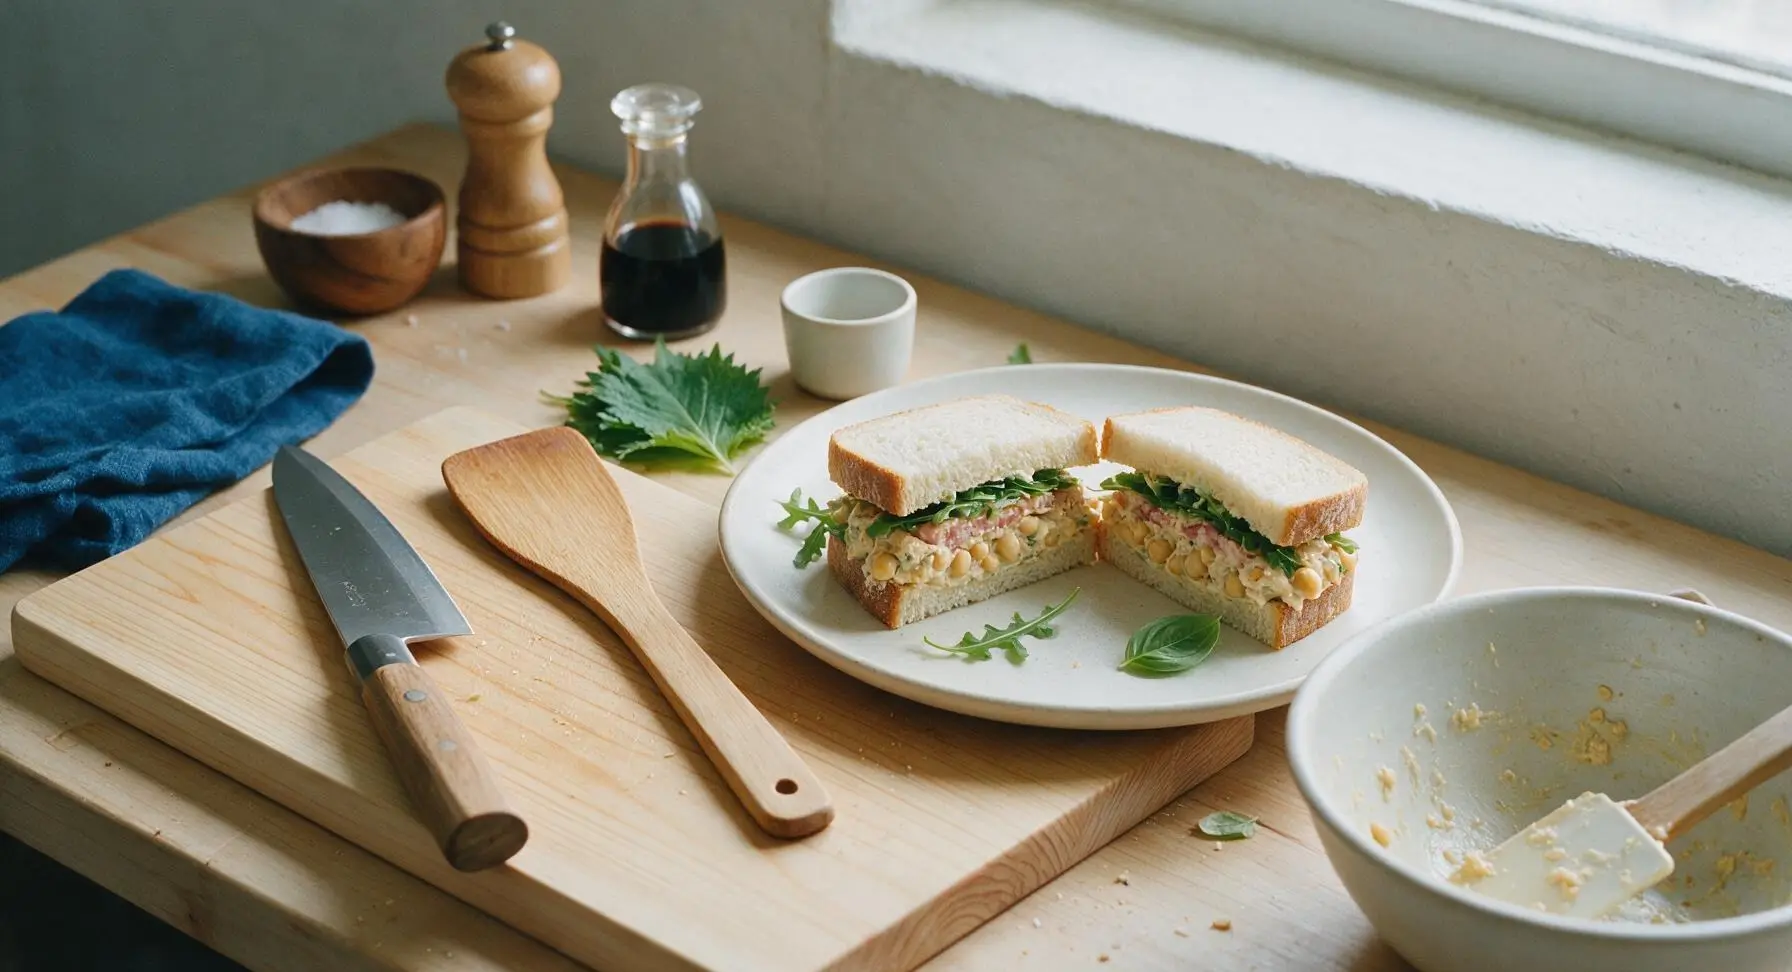
Transfer the cut sandwich halves to the matte off-white ceramic dinner plate, arranging them slightly offset to show the layered cross-sections. Tuck a few extra basil leaves next to the sandwiches for garnish, and serve immediately.
Tips
2.Leave 1/4 of the chickpeas only partially crushed when mashing: a fully smooth chickpea filling will feel indistinguishable from hummus, while soft, whole chickpea chunks add hearty texture that makes the sandwich feel satisfying and filling.
3.Toast bread only to a pale golden crisp, not dark brown: overly dark toast becomes hard and brittle, while a light toast adds just enough crunch to hold up to fillings without creating sharp edges that scratch the roof of your mouth.






OMG this is such a game changer! I’ve been looking for a quick vegan lunch I can meal prep for work and this took literally 5 minutes to throw together this morning. The creamy chickpea filling tastes way better than the tuna salad I used to make pre-vegan, no cap.
My kids loved it!!! I was so worried they’d turn their noses up at a chickpea sandwich but they both asked for seconds after school. I used whole grain bread and added a little spinach and sliced tomato, super easy to customize.
SO good. I stuffed this filling into a pita instead of sliced bread for my day hike last weekend and it held up perfectly, no soggy mess even after 4 hours in my pack. Will absolutely be adding this to my regular trail meal rotation.
Wait, 5 minute cook time? No way, I thought vegan sandwiches required a million fancy ingredients. I have all this stuff in my pantry right now, do y’all think it would taste good with a little sriracha mixed in?
Brought this to our neighborhood block party last Saturday and even the non-vegan guests were asking for the recipe! I was low-key nervous because it was my first time making a vegan dish for a crowd, but it was a total hit.
Perfect for my dorm room! I don’t have a full kitchen, just a can opener and a bowl to mash the chickpeas, and this still turned out amazing. Way cheaper and tastier than the sad vegan options at the campus dining hall.
Quick question — is this filling good to make ahead for meal prep? I follow a gluten free diet so I’d serve it on GF bread, but I don’t want the filling to get watery if I make it on Sunday for the week.
I was a diehard tuna salad sandwich guy for 30 years before going vegan last year, and I’ve tried so many chickpea salad recipes that just missed the mark. THIS ONE? It’s spot on. The creaminess, the texture, the seasoning — I don’t even miss tuna at all now.
Made this for a quick dinner last night when I got home late from work and had zero groceries except a can of chickpeas, some vegan mayo, and bread. Threw in a little celery salt I had in the spice cabinet and my wife said it’s one of the best quick weeknight meals I’ve ever made. Win.
Love how light but filling this is! I used avocado instead of a little bit of the mayo to boost the healthy fats and it was so decadent, I’ll definitely be making this for my post-yoga class lunch from now on.
I added a little diced red onion and some chopped celery for extra crunch and it was chef’s kiss. So easy, so affordable, even my picky teen ate it without complaining, which is basically a miracle in my house.
Wait, do I need to cook the chickpeas first? The recipe says 5 minute cook time but I’m confused — the can says chickpeas are already cooked, right? I don’t want to mess this up!
This is so budget friendly! I calculated the cost per serving and it’s like $1.20 a sandwich, which is way cheaper than grabbing takeout for lunch during the work week. Already added all the ingredients to my regular grocery list.