
Fancy Jellied Cranberry Sauce
intro
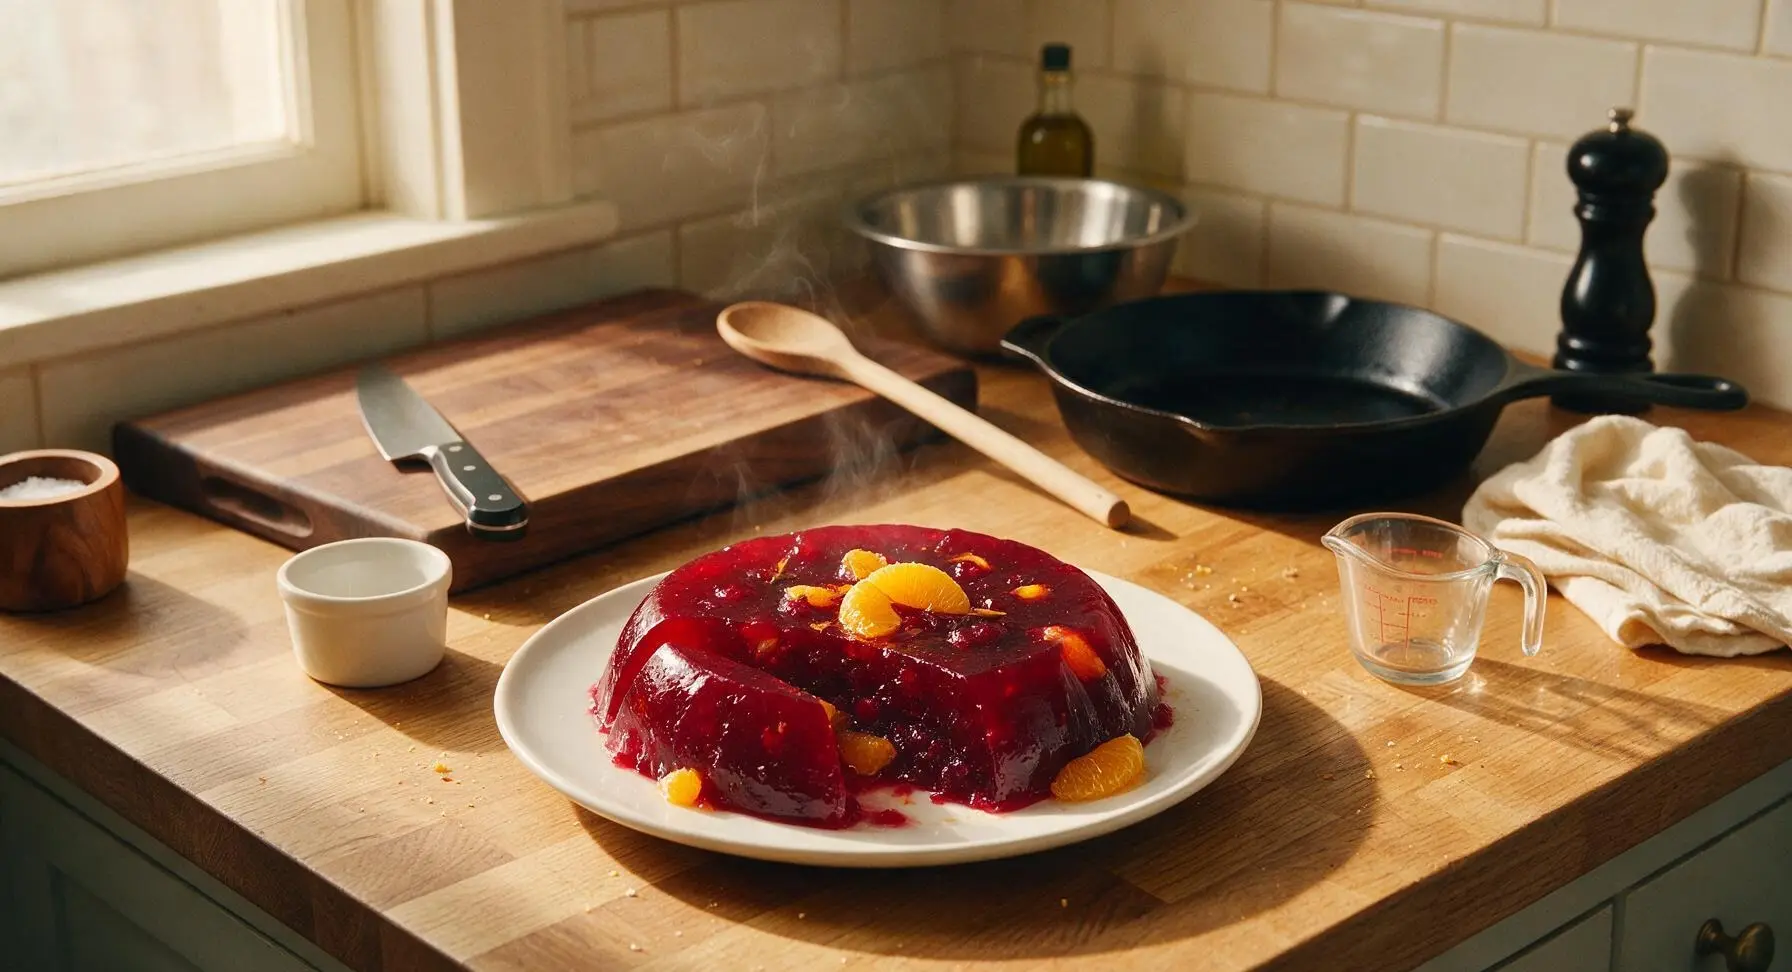
Silky, jewel-toned jellied cranberry sauce brightened with orange and warm spices, firm enough to slice cleanly for a polished, nostalgic holiday table upgrade.
Ingredients
Steps
Prep Orange and Spices
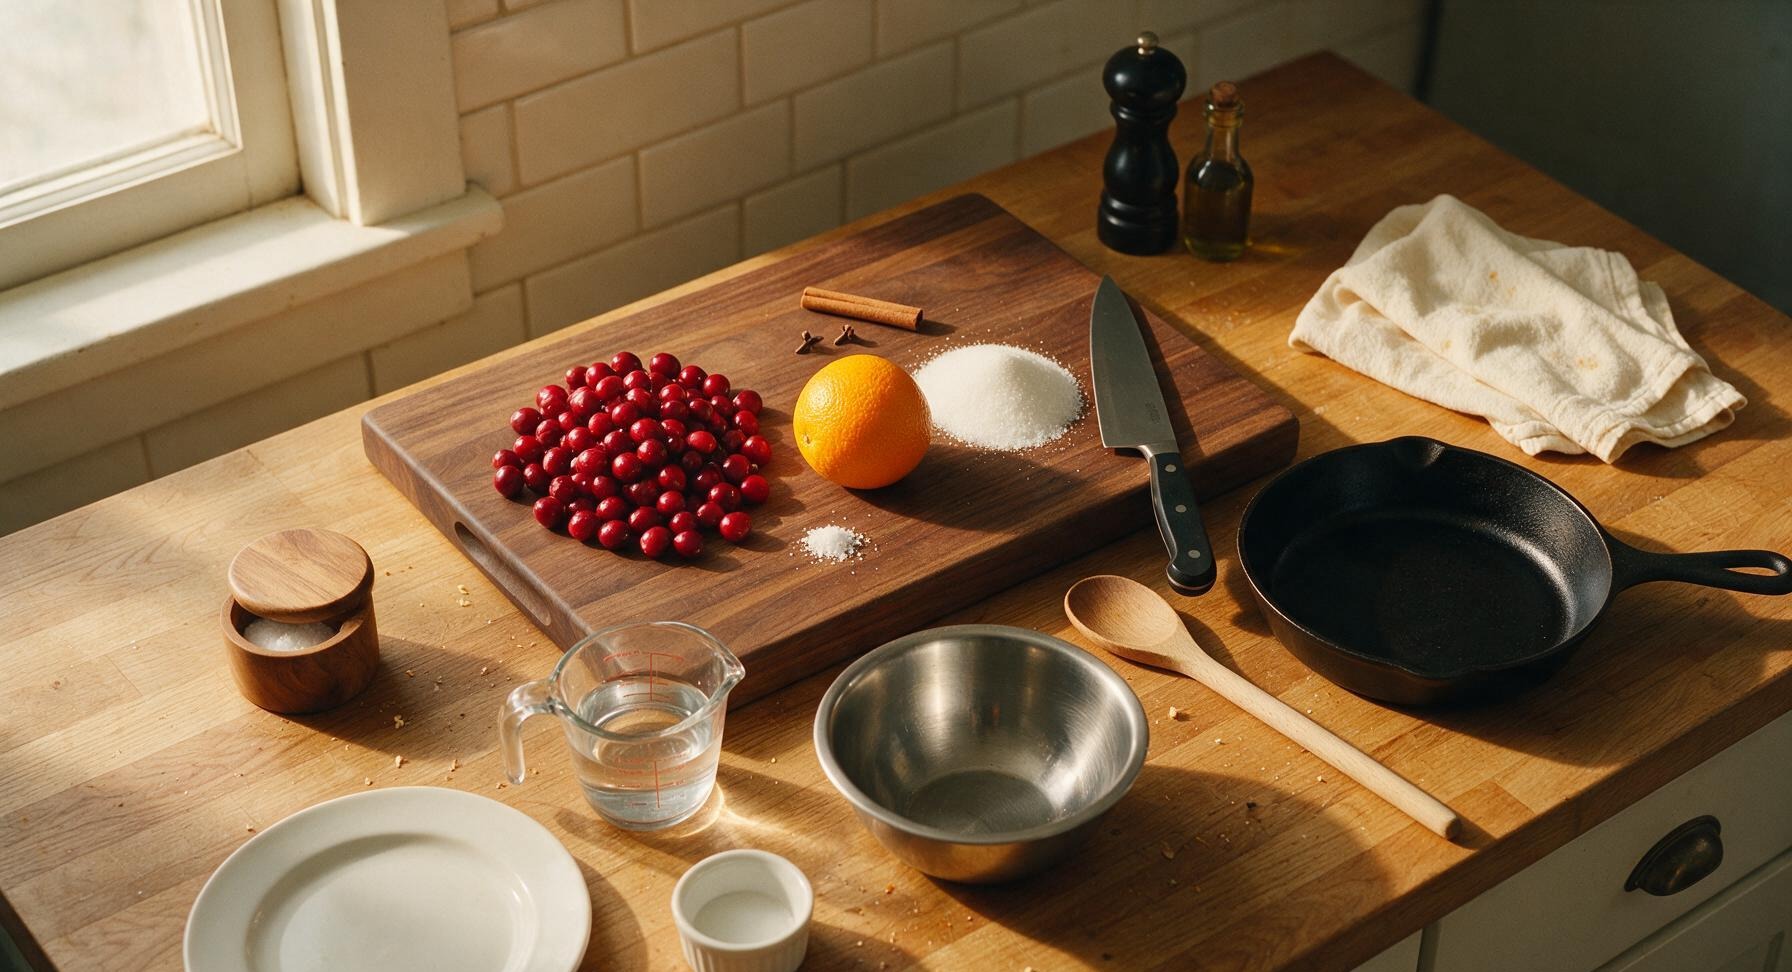
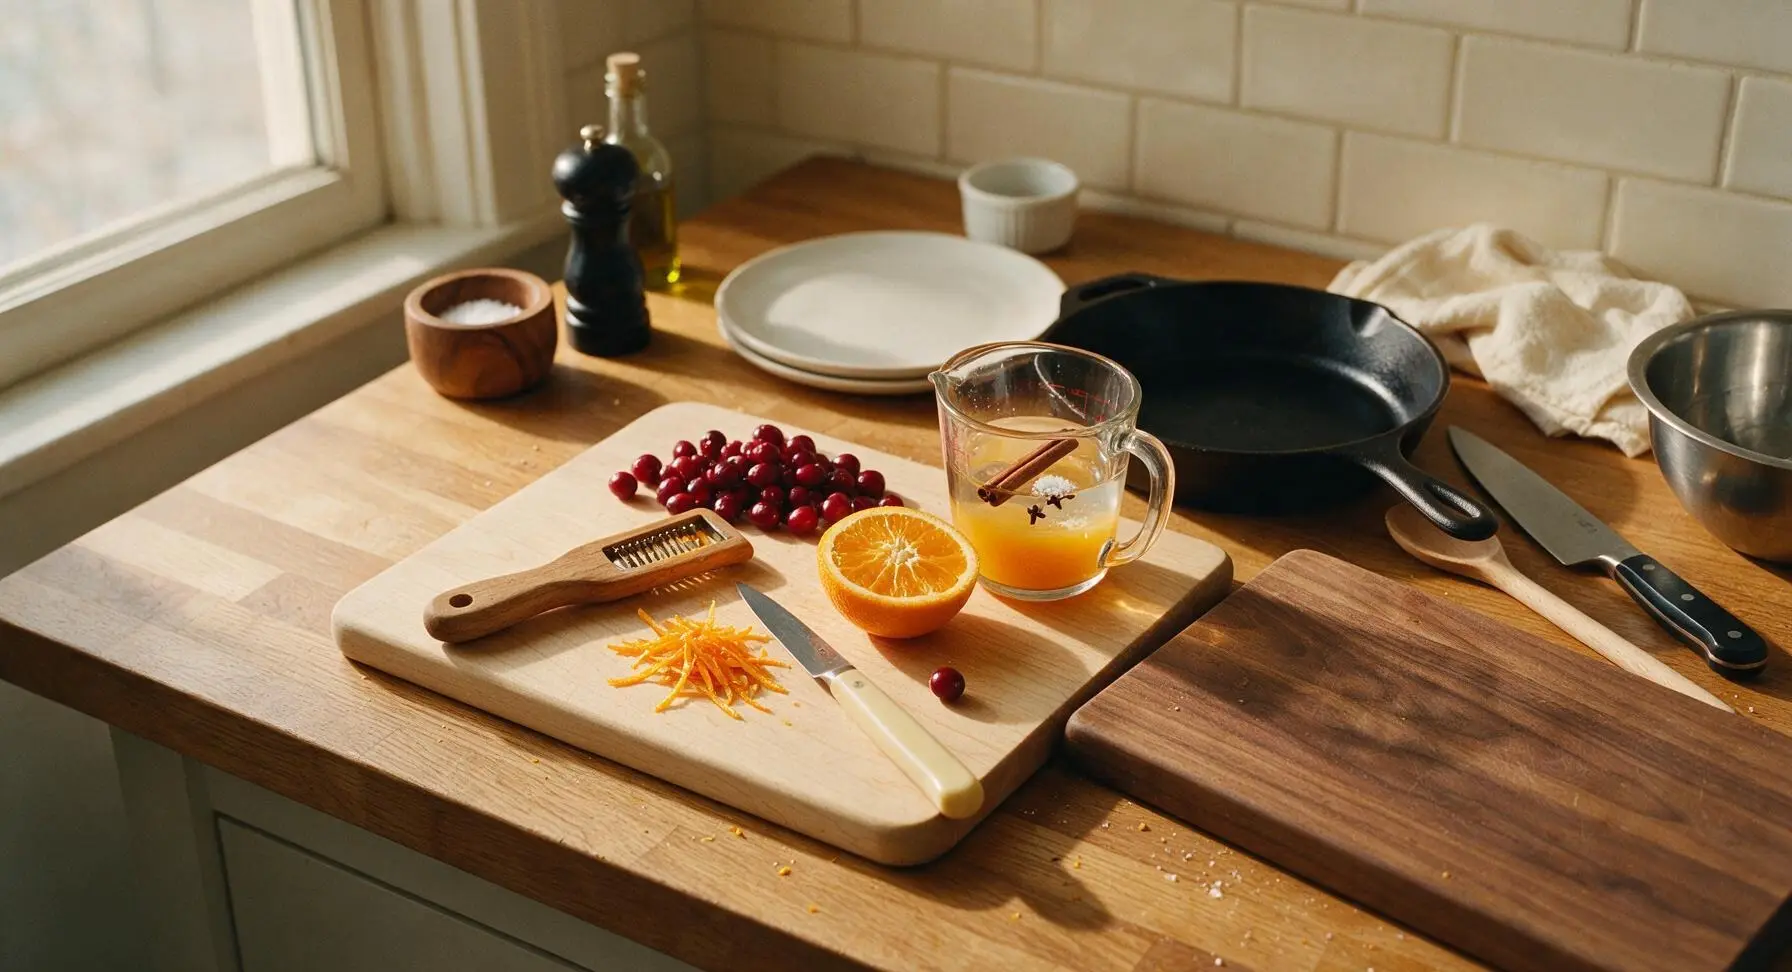
Rinse the fresh cranberries under cool water and pick out any soft or bruised berries, set aside. Place the navel orange on the light maple cutting board. Use the citrus zester to remove 1 teaspoon of thin orange zest, avoiding the bitter white pith. Cut the orange in half with the paring knife and squeeze to collect 60ml (1/4 cup) of fresh orange juice into the clear glass measuring cup, topping with 120ml of cool water to make 180ml total liquid. Add the cinnamon stick, whole cloves, and pinch of sea salt to the measuring cup with the liquid.
Combine All Ingredients
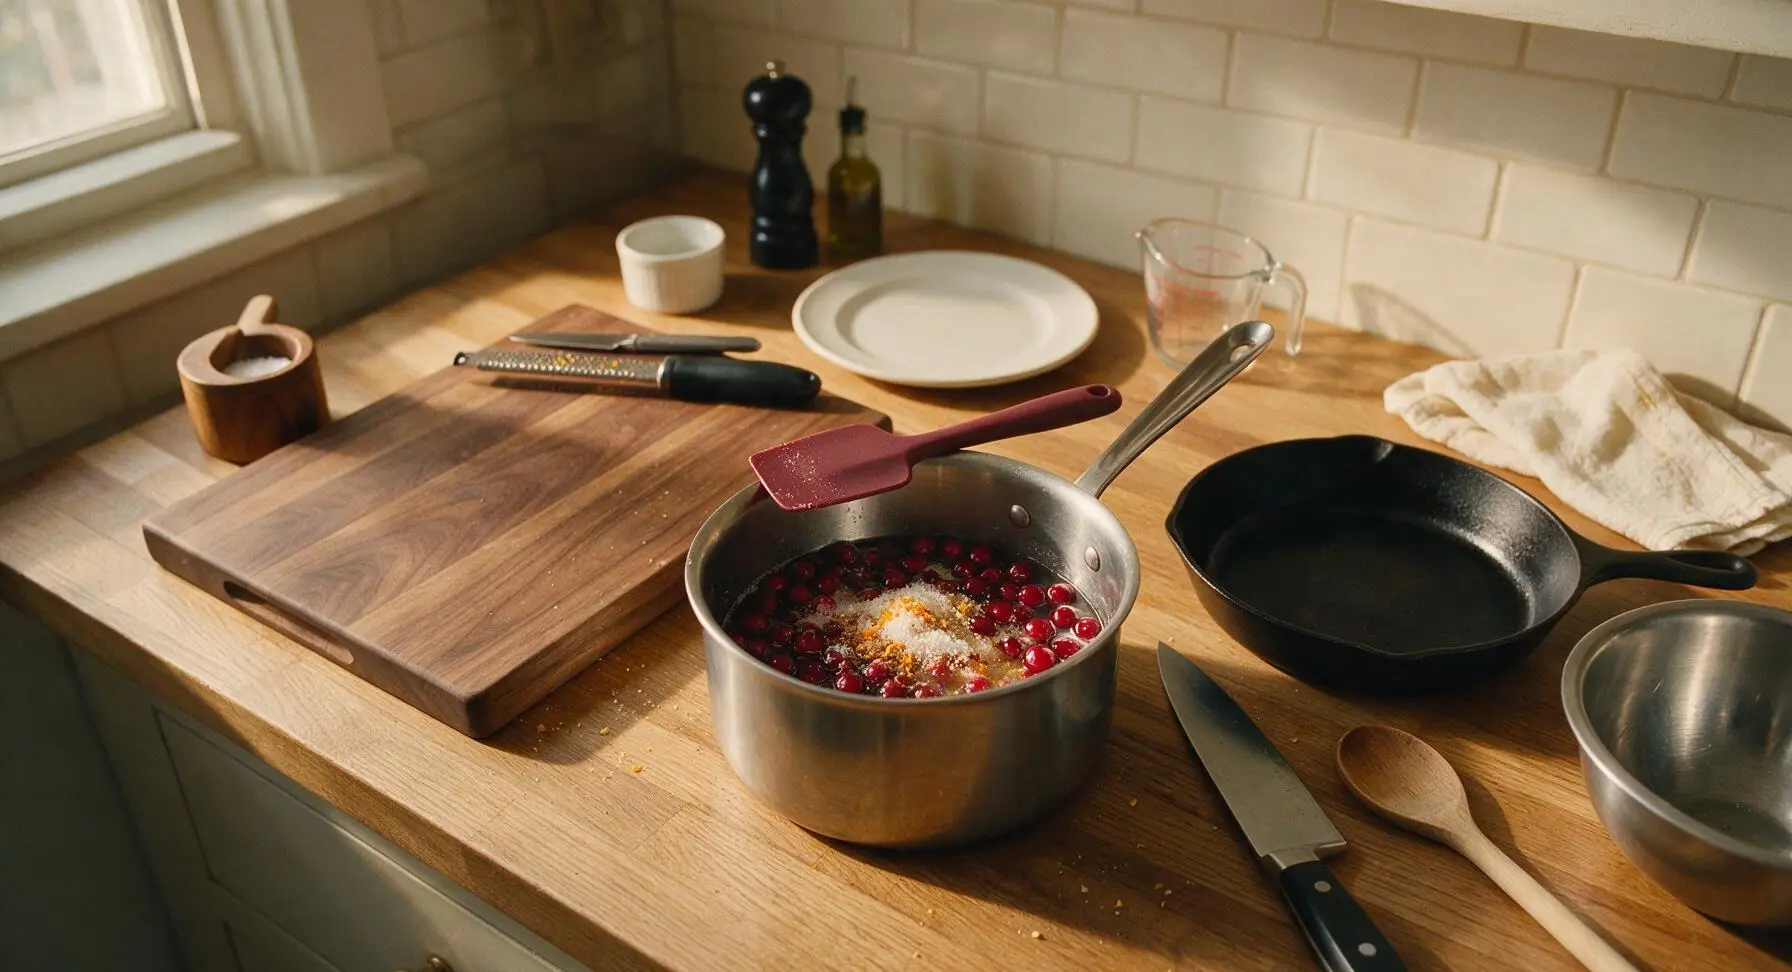
Pour the measured liquid (water, orange juice, cinnamon, cloves, salt), granulated sugar, orange zest, and rinsed cranberries into the 2L stainless steel saucepan. Stir briefly with the burgundy silicone spatula to combine, making sure all cranberries are coated in the sugar-liquid mixture. Do not add extra water at this stage; cranberries will release significant liquid as they cook.
Cook Until Cranberries Pop
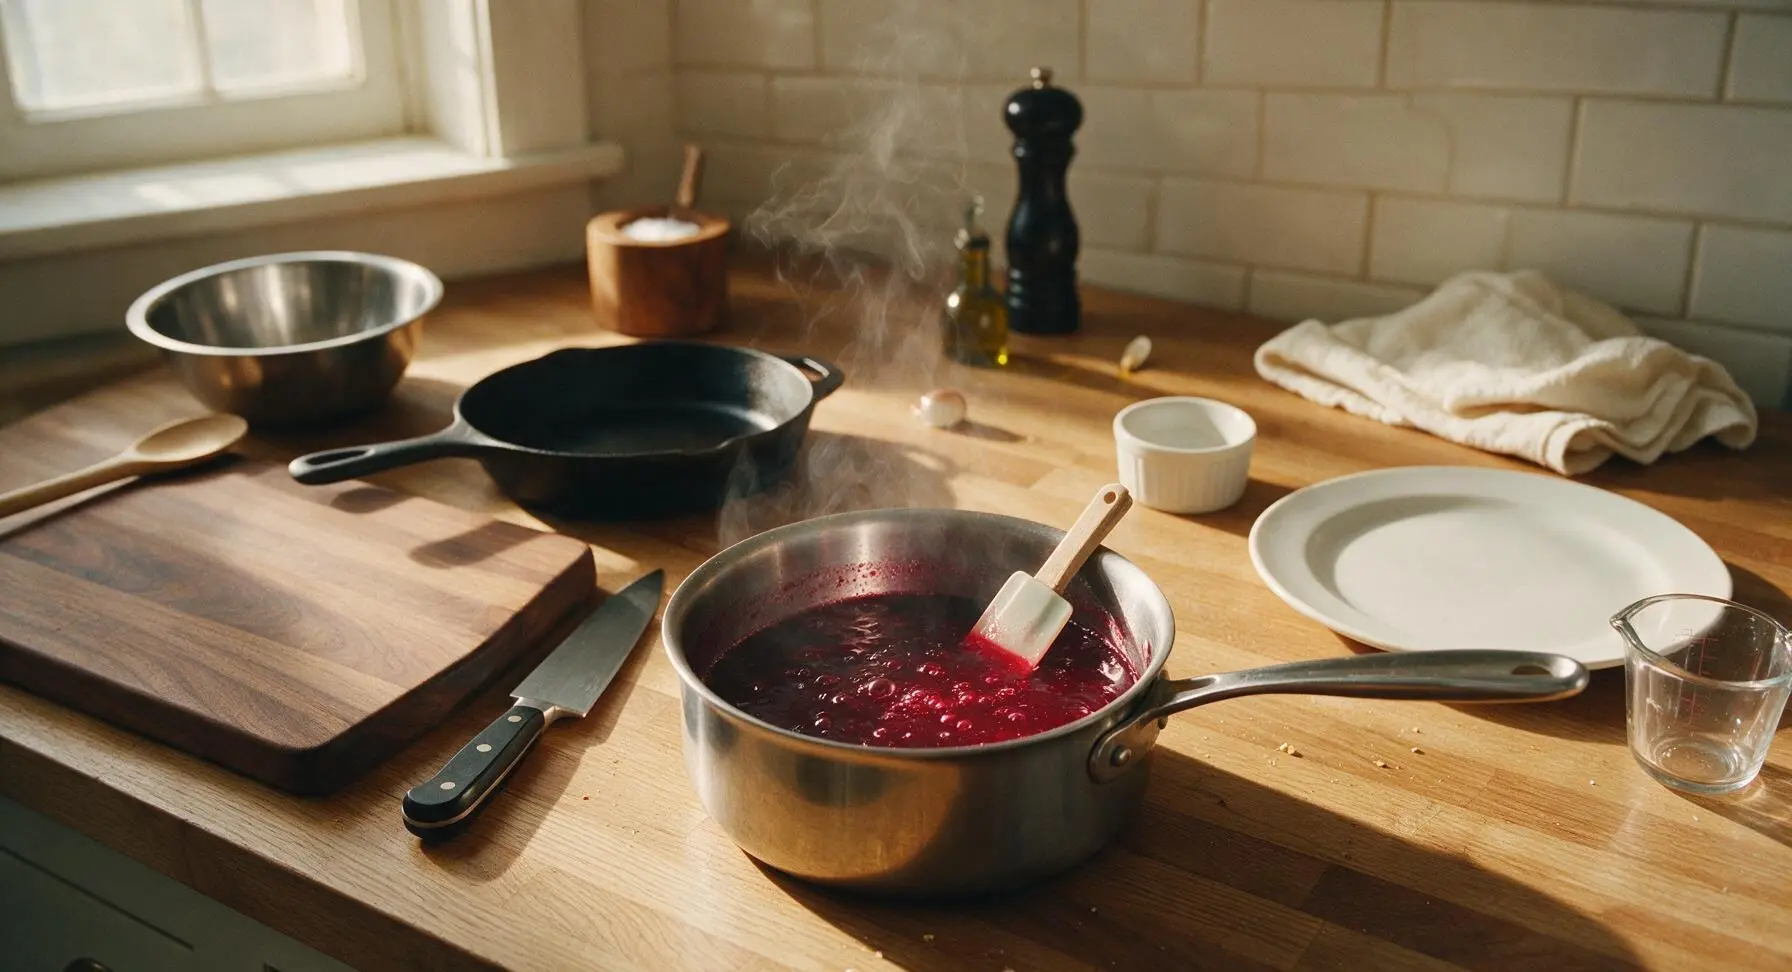
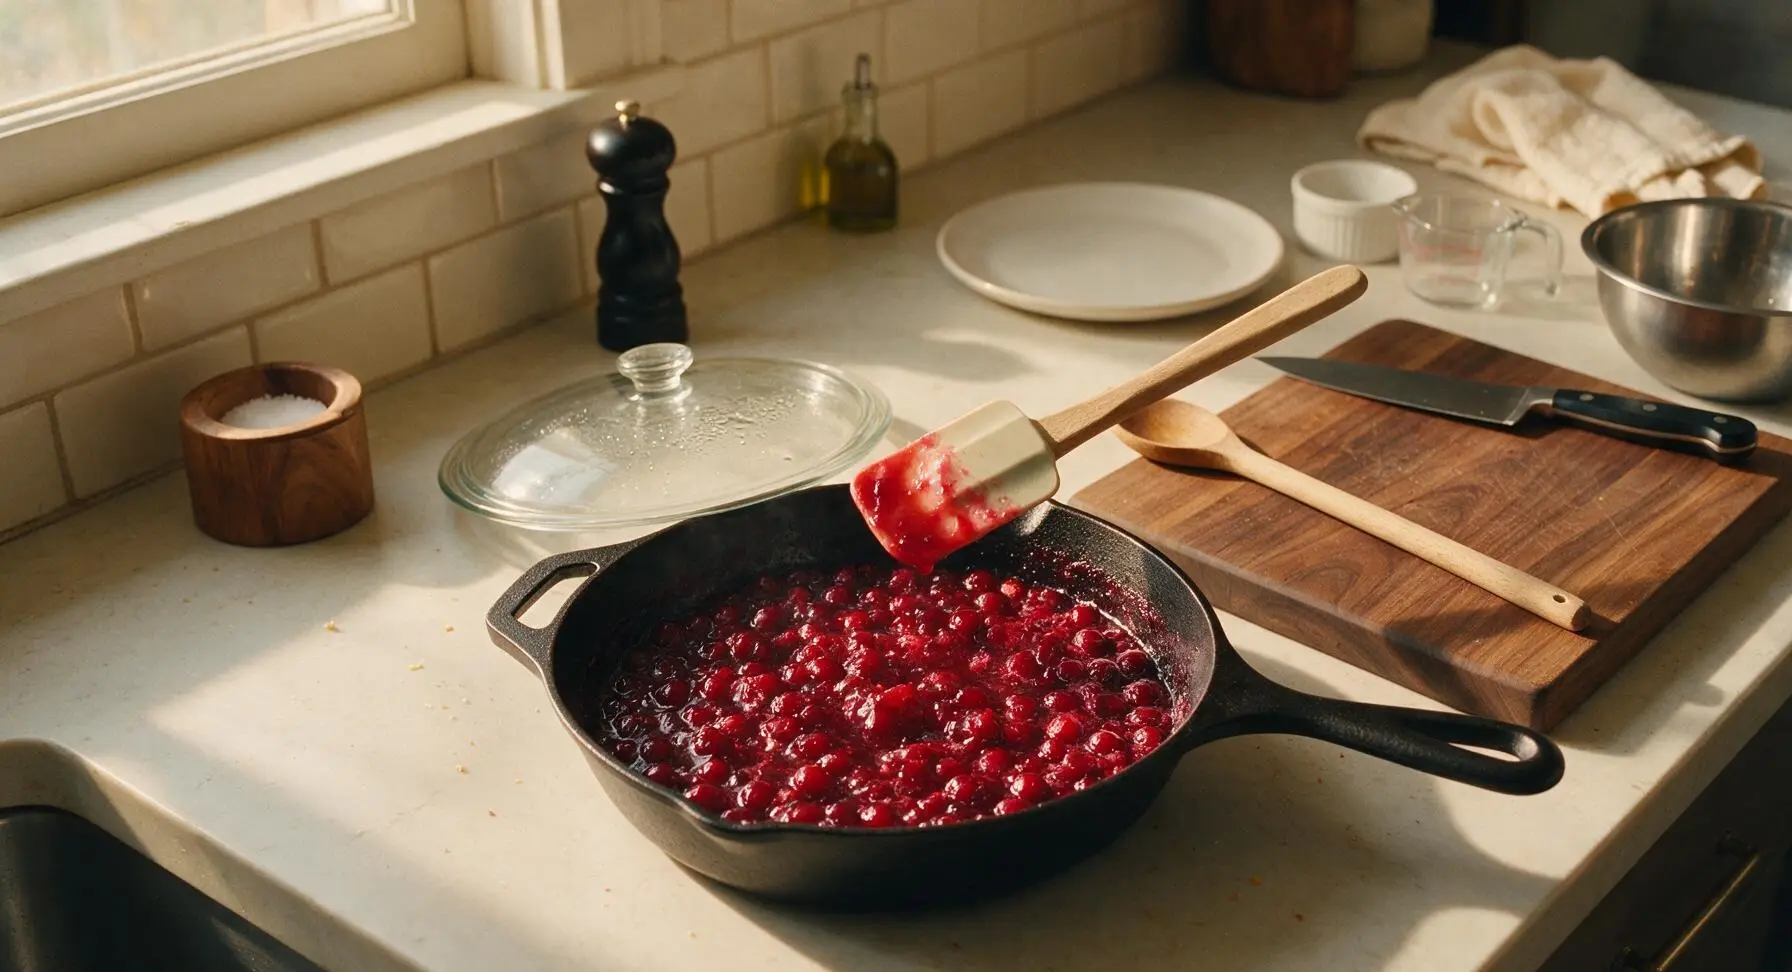
Place the saucepan over medium heat, stirring occasionally with the silicone spatula to prevent sugar from burning on the pan bottom. Bring the mixture to a gentle rolling boil, then reduce heat to medium-low to maintain a soft simmer. Cook for 10-12 minutes, stirring every 2 minutes, until nearly all cranberries have burst open, the mixture is deep ruby red, and the liquid coats the back of the spatula in a thin, syrupy layer. Do not overcook, as excess boiling will break down the natural pectin and prevent the sauce from setting firmly.
Strain for Smooth Texture
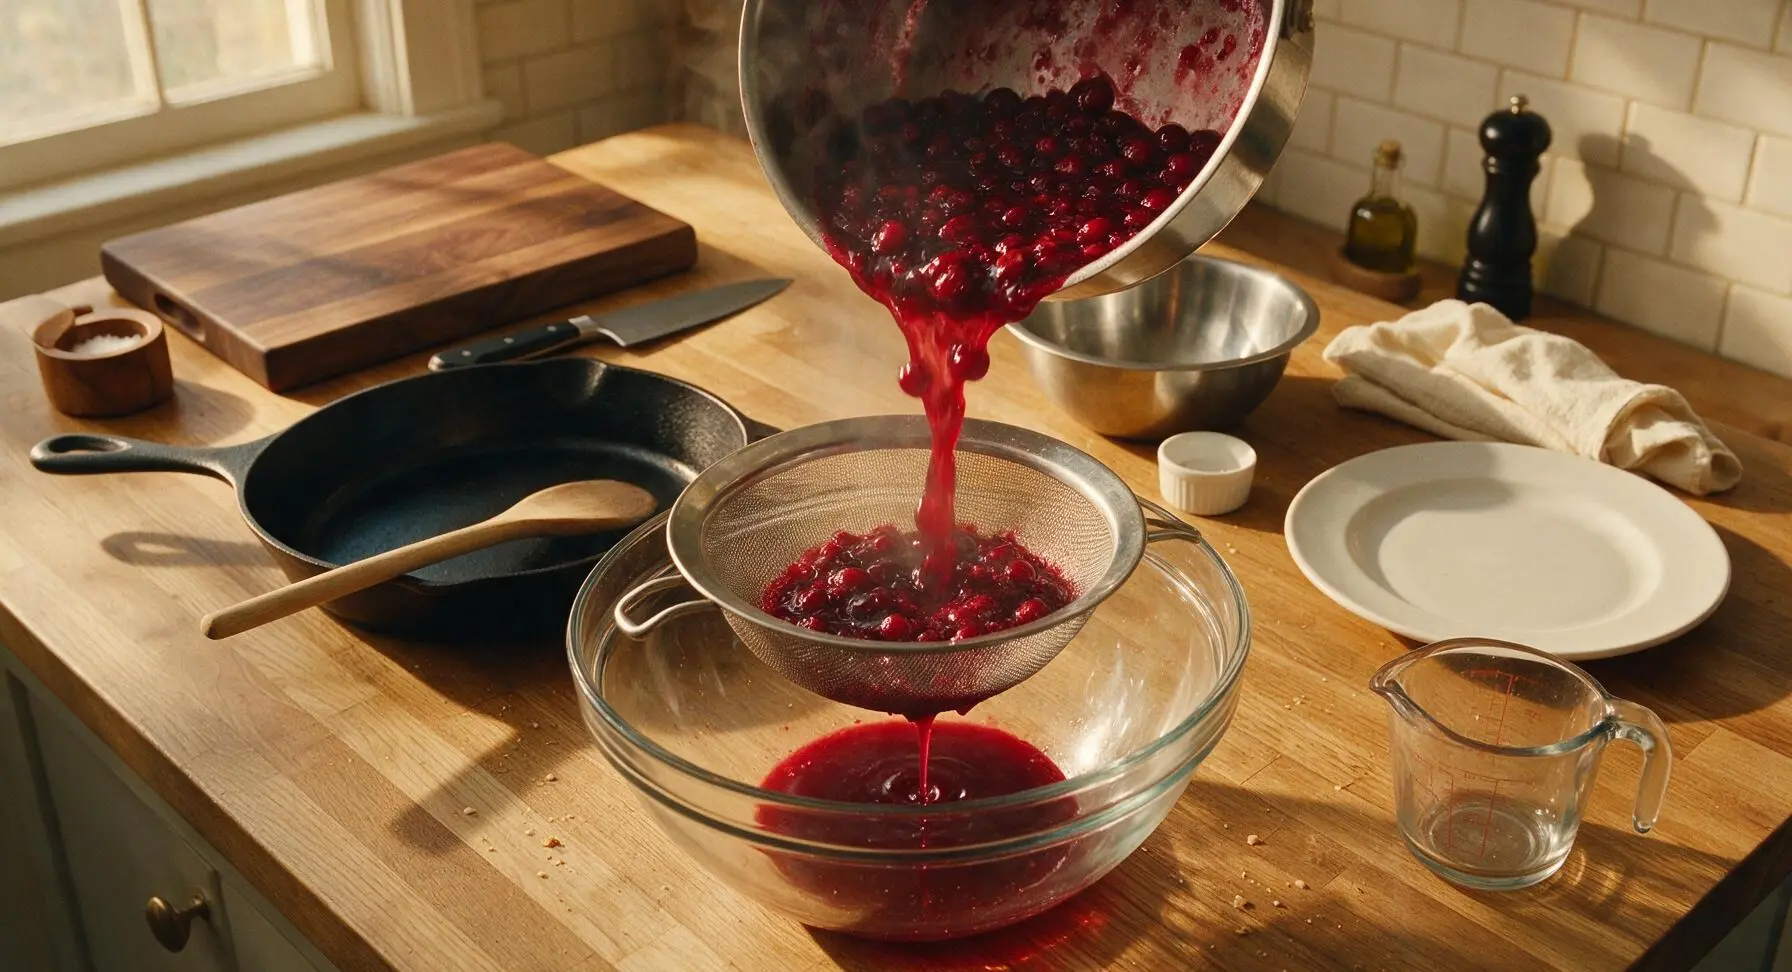
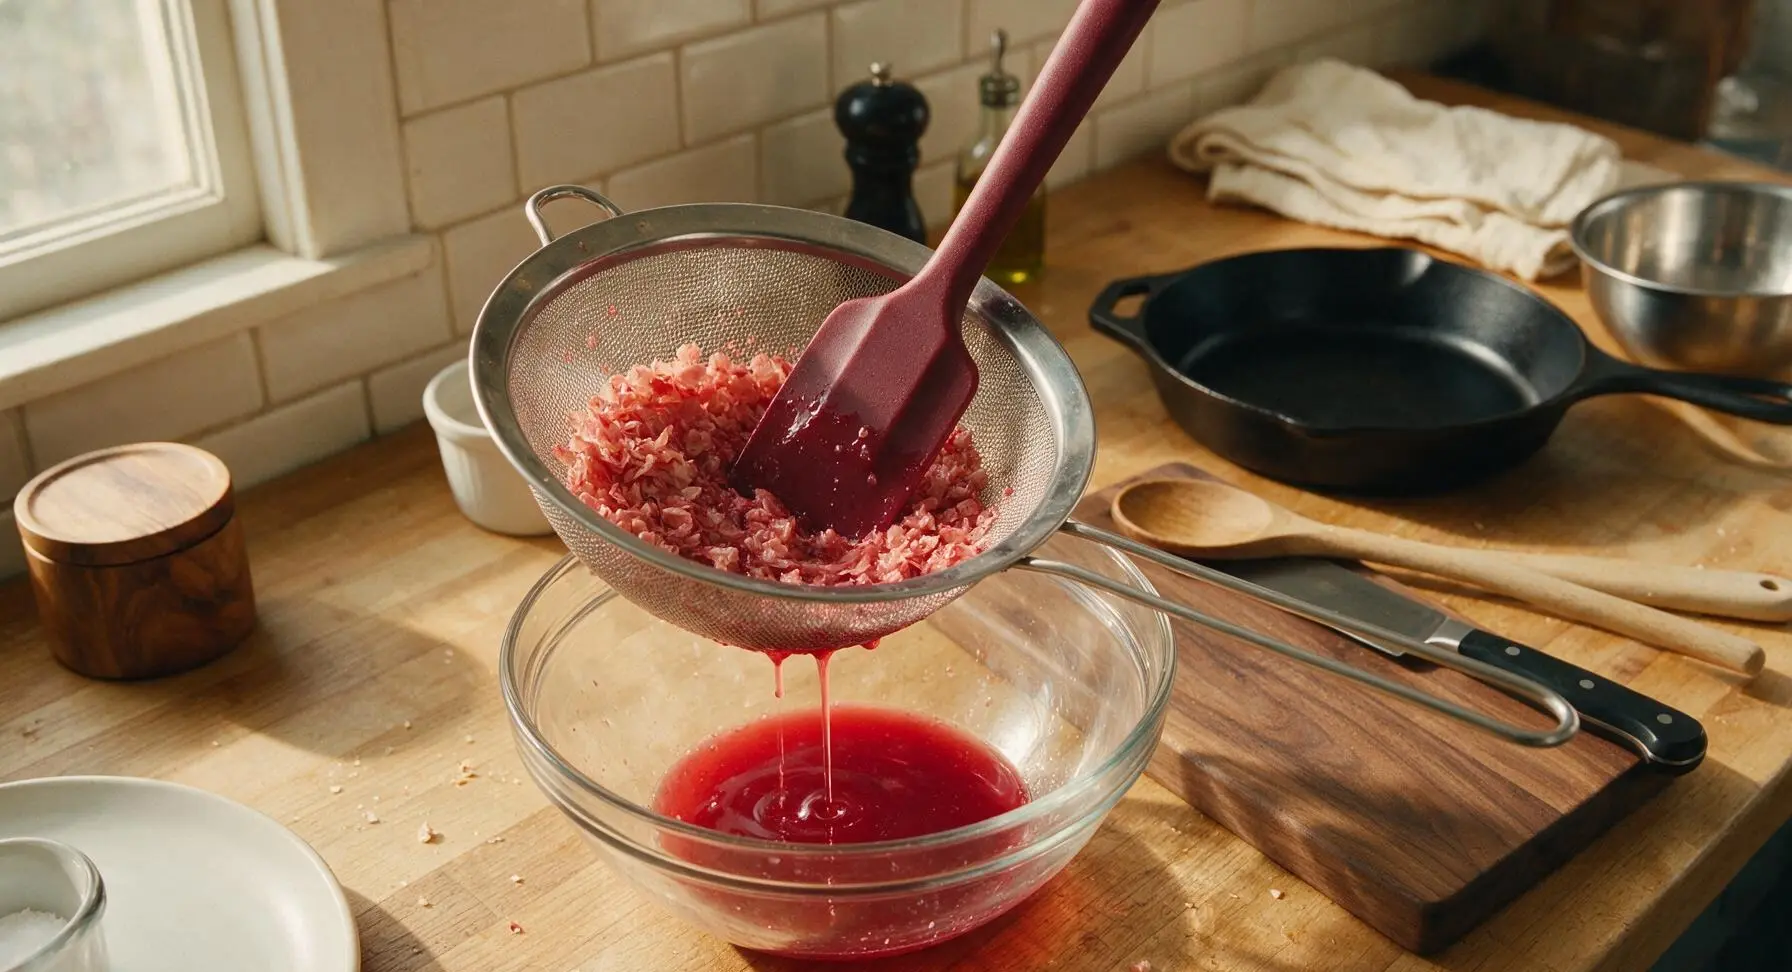
Remove the saucepan from heat and fish out the cinnamon stick and whole cloves with the tip of the paring knife. Set the fine-mesh stainless steel sieve over the medium clear glass mixing bowl. Pour the hot cranberry mixture into the sieve, then use the silicone spatula to press and stir the pulp firmly against the sieve mesh, extracting as much smooth liquid and pectin as possible, leaving only dry, pale cranberry skins and pulp residue in the sieve. Discard the leftover solids. Do not skip straining for a perfectly clear, smooth jellied texture; unstrained sauce will have a chunky, whole-berry consistency.
Pour Mixture Into Mold
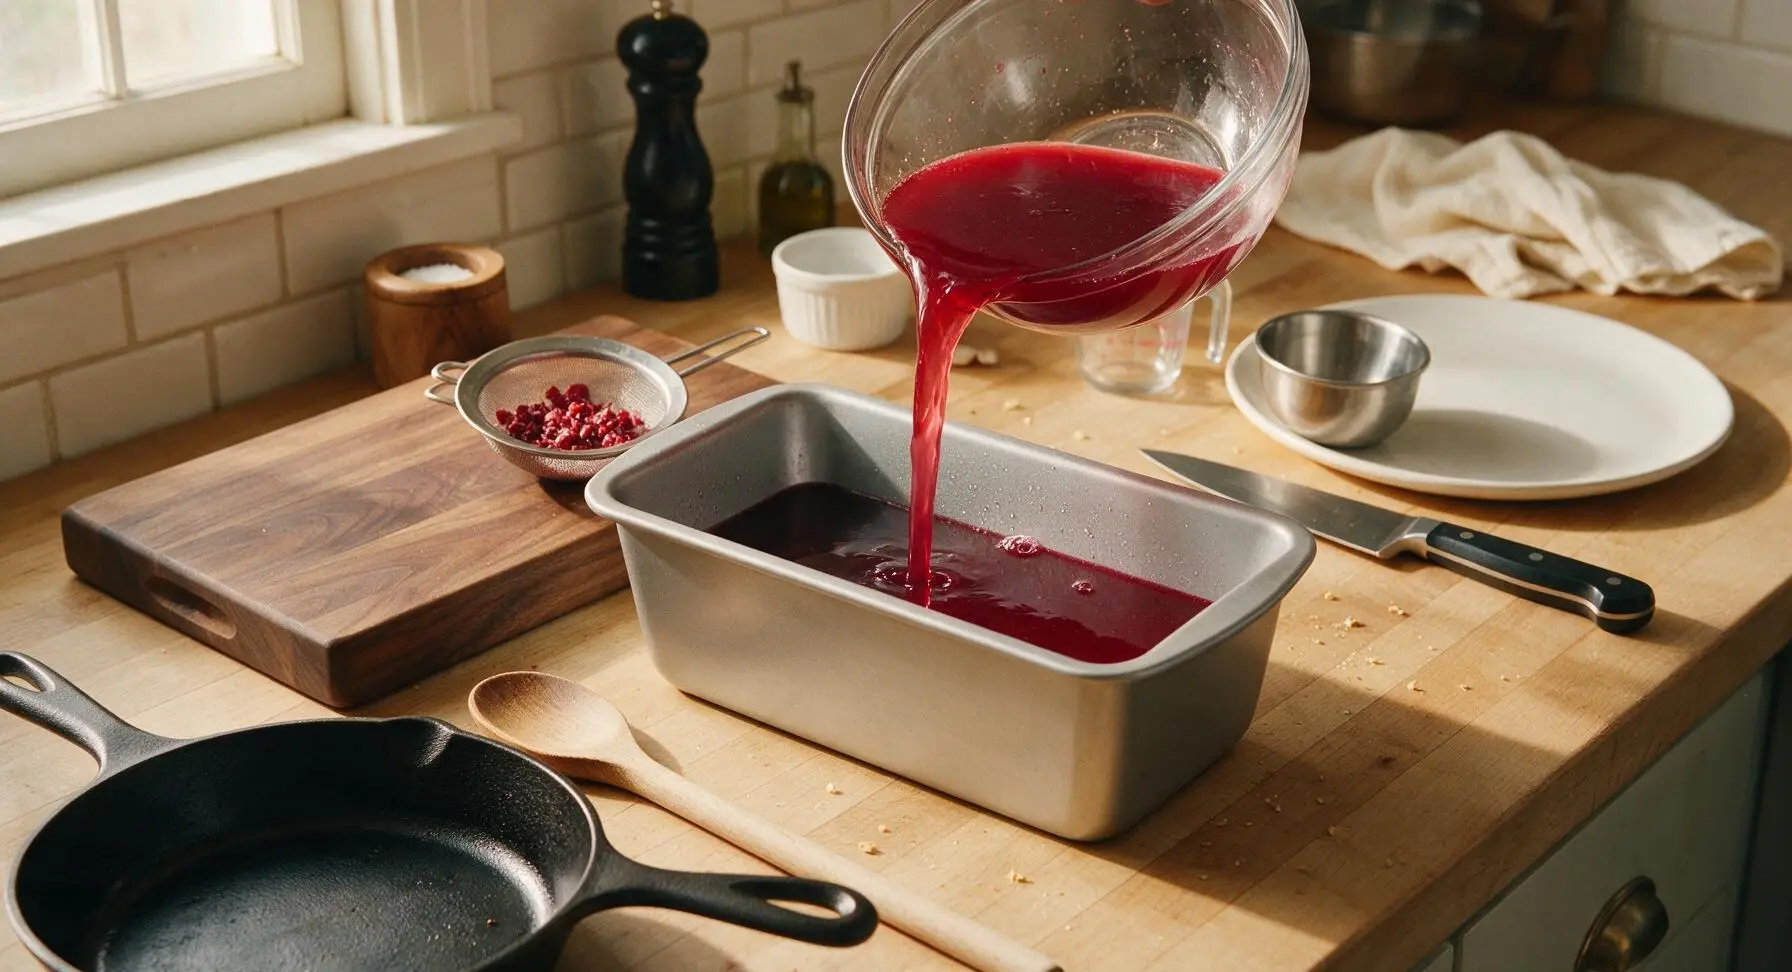
Rinse the 6-cup matte silver loaf pan with cool water (do not dry it; a thin layer of water will prevent the jelly from sticking). Carefully pour the smooth, strained hot cranberry liquid into the damp loaf pan, taking care not to create bubbles on the surface. If small bubbles appear, gently pop them with the tip of the paring knife for a perfectly smooth finished surface.
Chill to Firm Jelly
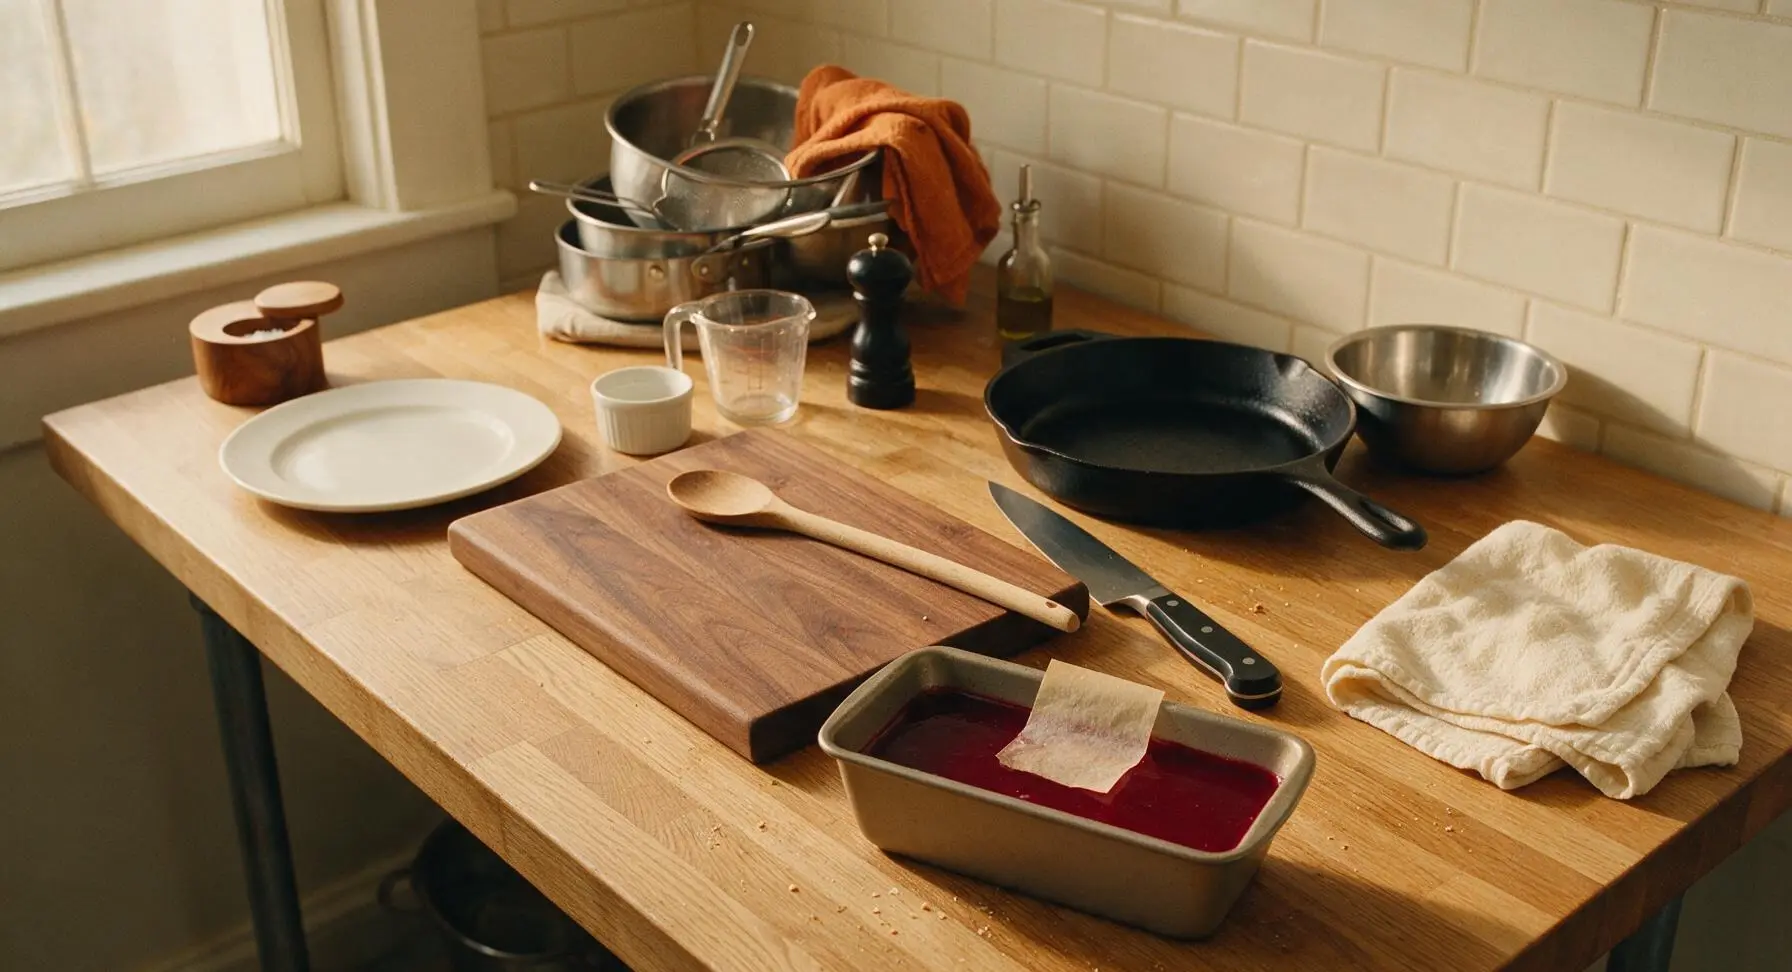
Let the cranberry mixture cool to room temperature for 30 minutes, then cover the pan loosely with a small piece of parchment paper and transfer to the refrigerator. Chill for a minimum of 4 hours, or ideally overnight, until the jelly is completely firm to the touch, with no liquid sloshing when the pan is gently jiggled. Properly set jelly will hold its sharp shape when unmolded.
Unmold and Garnish
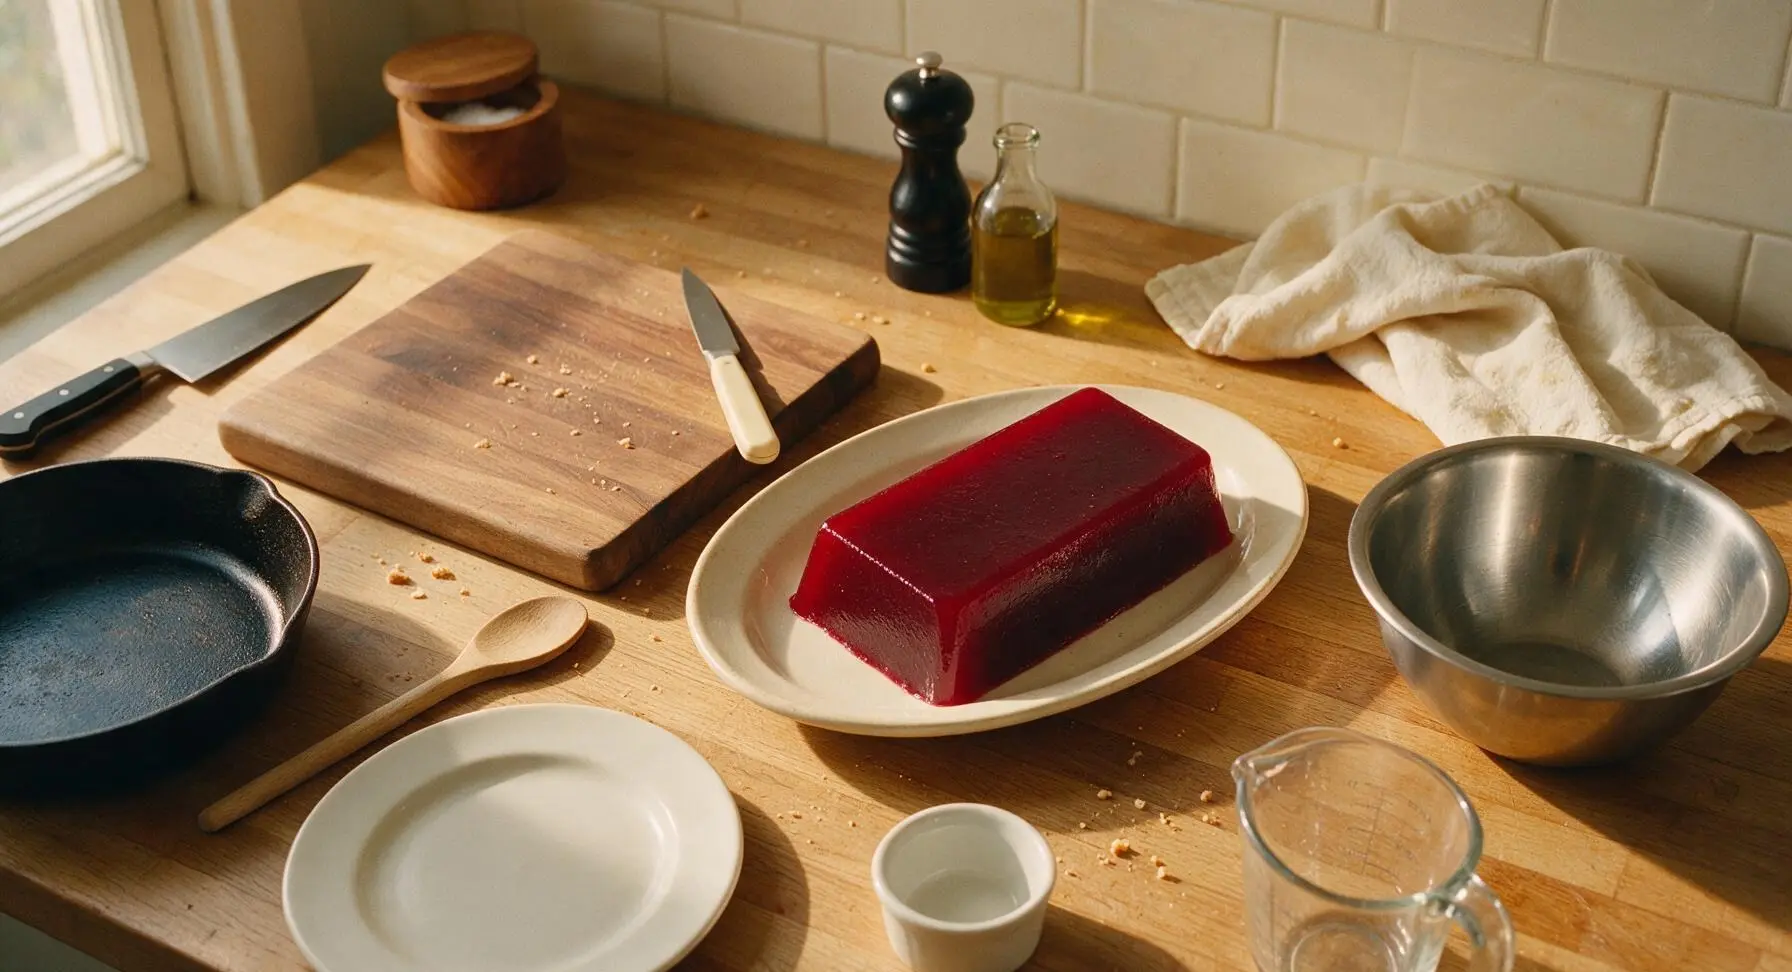
When ready to serve, remove the loaf pan from the refrigerator. Run the tip of the paring knife around the entire inner edge of the pan to loosen the jelly. Place the oval off-white ceramic serving platter upside down over the top of the loaf pan, then hold the pan and platter firmly together and flip in one smooth motion. Gently lift the pan away; the jellied cranberry sauce should slide out cleanly, holding the sharp shape of the loaf pan. Slice into 1.5cm thick slices, fan slightly, and garnish with a twist of orange zest, a few fresh cranberries, and a small bay leaf if desired.
Tips
2.Rinse your metal loaf pan with cool water (do not dry it) before pouring in the hot cranberry liquid: The thin residual water layer creates a non-stick barrier between the jelly and pan, so the sauce slides out cleanly without cooking spray or oil.
3.Make this sauce up to 3 days in advance: The fully set jellied sauce holds its shape and bright flavor perfectly when stored covered in the refrigerator, cutting down on last-minute holiday cooking work. Avoid freezing, as ice crystals break down the pectin structure and leave the sauce watery and mushy when thawed.






OMG this is SO much better than the canned jellied cranberry sauce I’ve been plopping on the holiday table for a decade! Took the full 15 minutes like the recipe said, set perfectly in the fridge after a few hours, and has that perfect bright tart-sweet kick that pairs so well with turkey and stuffing. My picky 7 year old asked for seconds, and my mother-in-law (who swears only her mom’s 1950s recipe counts) asked me to text her the link. Total game changer for our Thanksgiving spread!
Super easy recipe, came out great! I added a tiny splash of orange zest like my grandma used to, and it elevated it so much. Brought it to my office potluck yesterday and the whole dish was gone in 10 minutes. Will absolutely be making this for every family holiday from now on.
Made this last night and it tastes amazing! Quick question though — has anyone tried unmolding this to serve on a fancy platter like the old canned log? I want that nostalgic vibe but without the weird can ridges and artificial aftertaste. Knocked a star off because I tried to plop it out this morning and it stuck a little, so I’m curious if anyone has tips!
15 minute cook time? Sign me up. I’m terrible at fancy side dishes but this came out perfect first try. My kids loved it so much they were eating slices straight out of the container as a snack after dinner. Who knew homemade cranberry sauce was this easy? SO good. I’m already planning to add it to my fall meal prep rotation, it’s that versatile.
I was nervous this would be too runny because I overcooked cranberry sauce once before and it never set, but this recipe’s instructions were so clear I didn’t mess it up! I used a little less sugar because I prefer extra tart, and it still set up perfectly. Served it at our early Christmas dinner last night and everyone raved.
This is going to be my go-to from now on! I made it for a test run before our big family Thanksgiving and my partner said it’s better than any store bought version we’ve ever had. Quick, easy, minimal ingredients, no fancy equipment needed. 10/10.