1.What is fatback, and can I substitute bacon if I can’t find it?
▾
Fatback is thick, uncured, unsalted pure pork fat cut from a pig’s back, with little to no lean meat streaks. If you can’t source it, use unsmoked, unsalted pork belly trim as a close swap; bacon works but adds smoky, cured flavor, so skip extra added salt if using bacon to avoid over-seasoning.
2.Why does the recipe call for cold water when cooking fatback?
▾
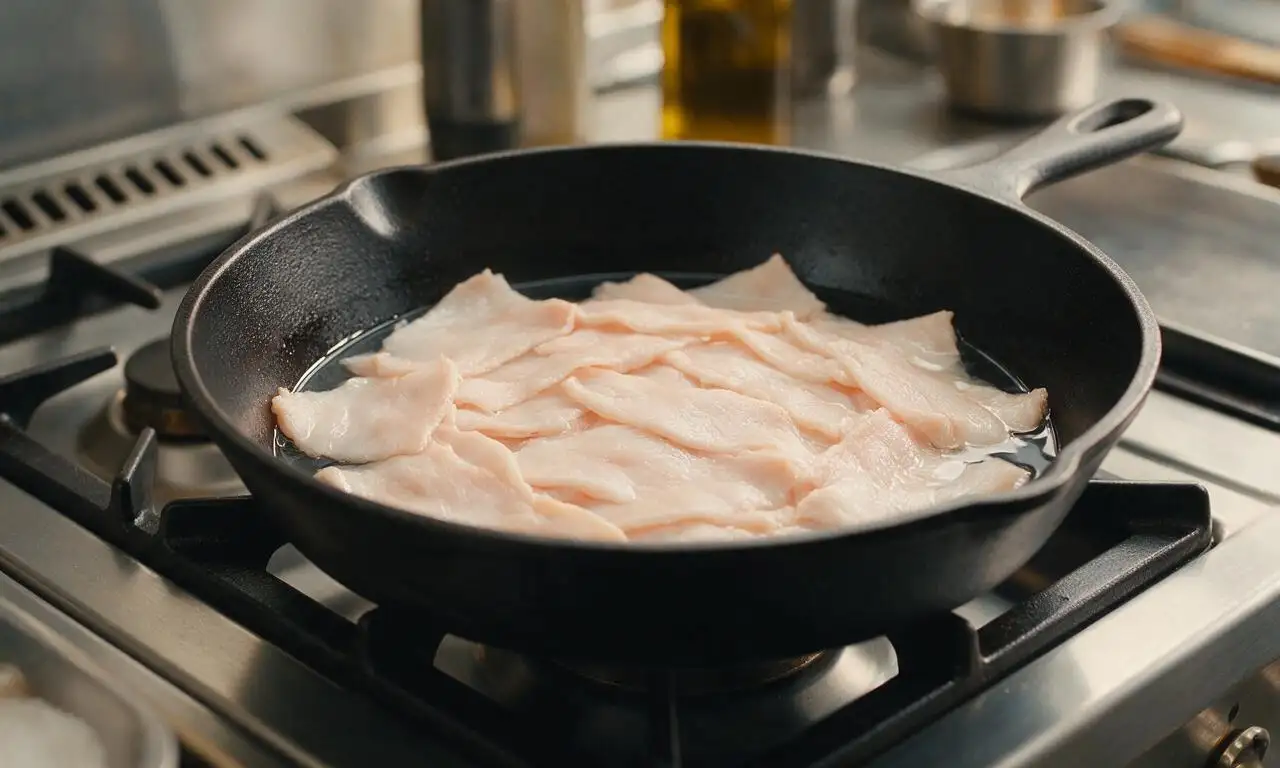
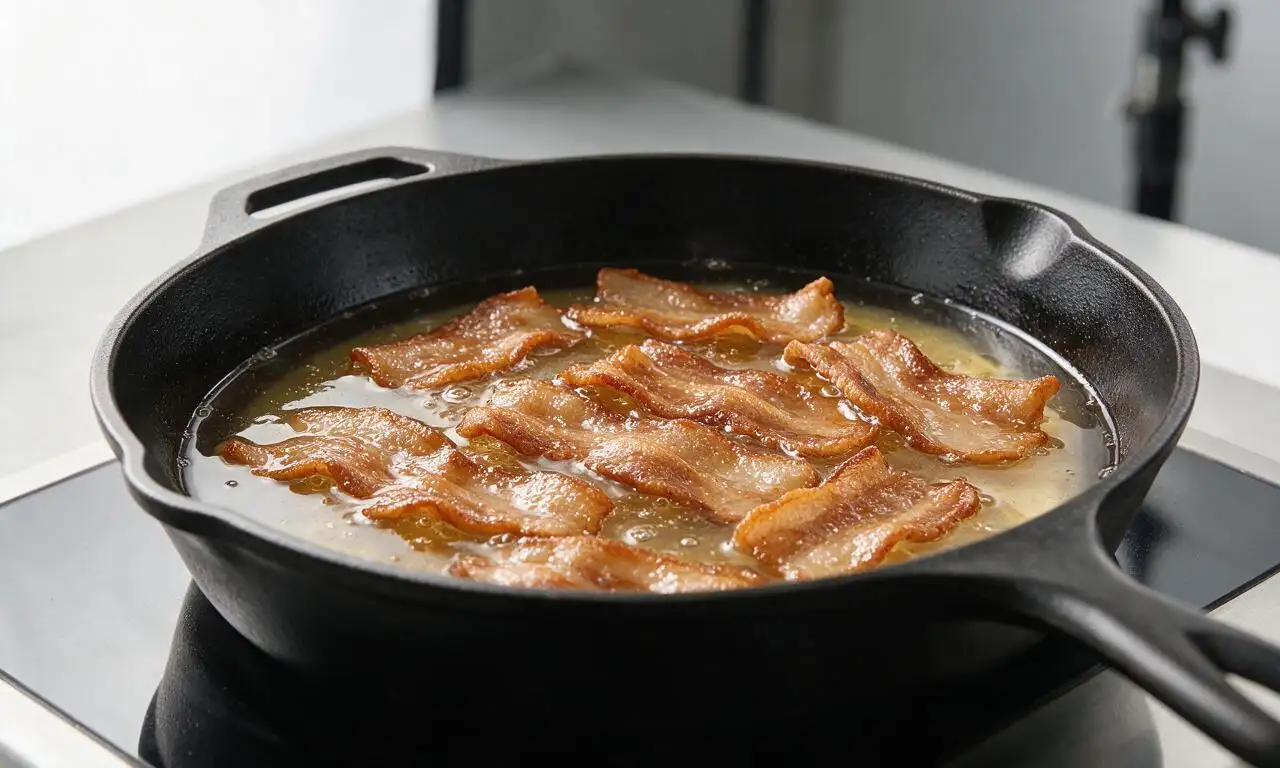
Adding a thin layer of cold water to the pan with fatback at the start helps render fat slowly and evenly before the edges crisp. It prevents fat from burning too quickly, eliminates raw, chewy pockets in the slices, and produces light, shatteringly crisp pieces instead of tough, charred bits.
3.How thick should I slice fatback to get the perfect crisp texture?
▾
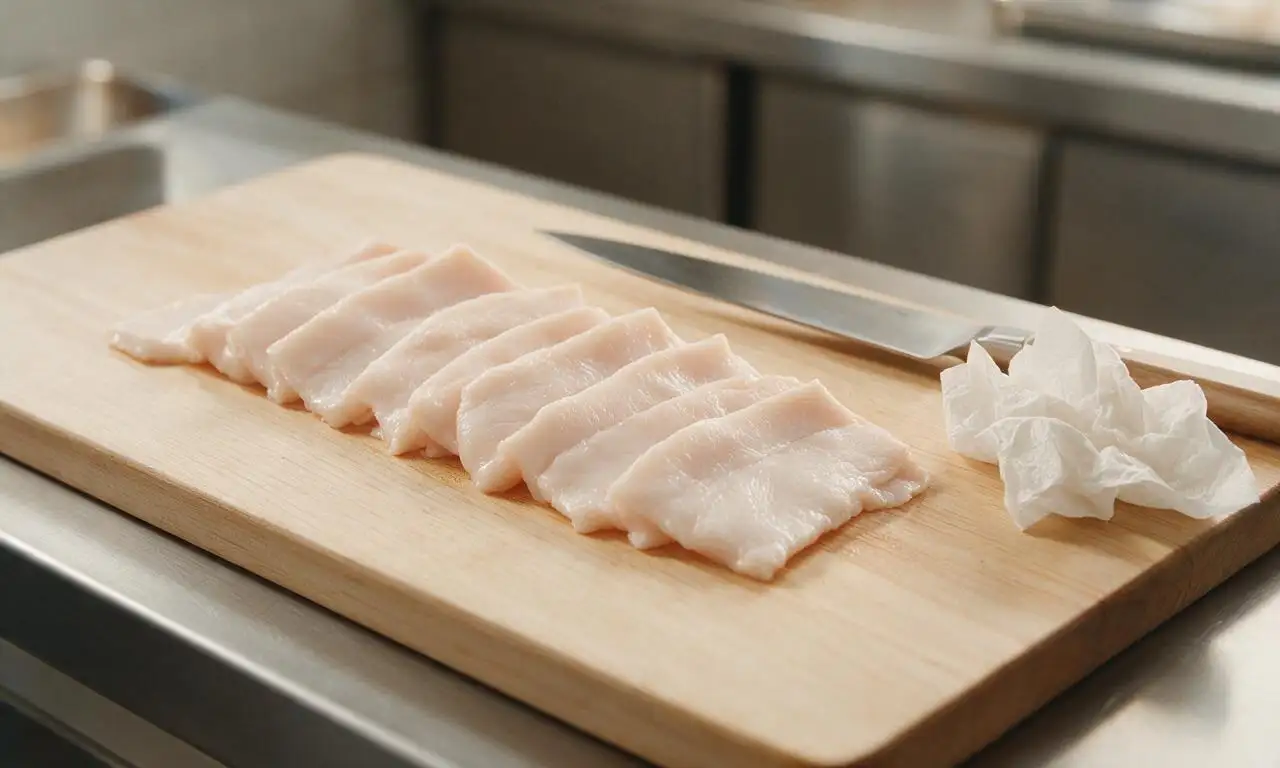
Aim for uniform 1/4-inch thick slices for ideal results. If you slice it too thin, it will burn quickly and turn into hard, greasy cracklins; if it’s too thick, the fat won’t fully render before the outside browns, leaving chewy, rubbery centers instead of that signature light crunch.
4.Do I need to add extra oil to the pan to fry fatback?
▾
No, you don’t need any extra cooking oil for this recipe. Fatback releases an abundance of its own rich pork fat as it heats, which is more than enough to fry slices to crisp perfection. Starting with cold water instead of oil also cuts down on aggressive splattering in the early cooking stages.
5.How do I keep fatback from splattering all over my stovetop while cooking?
▾
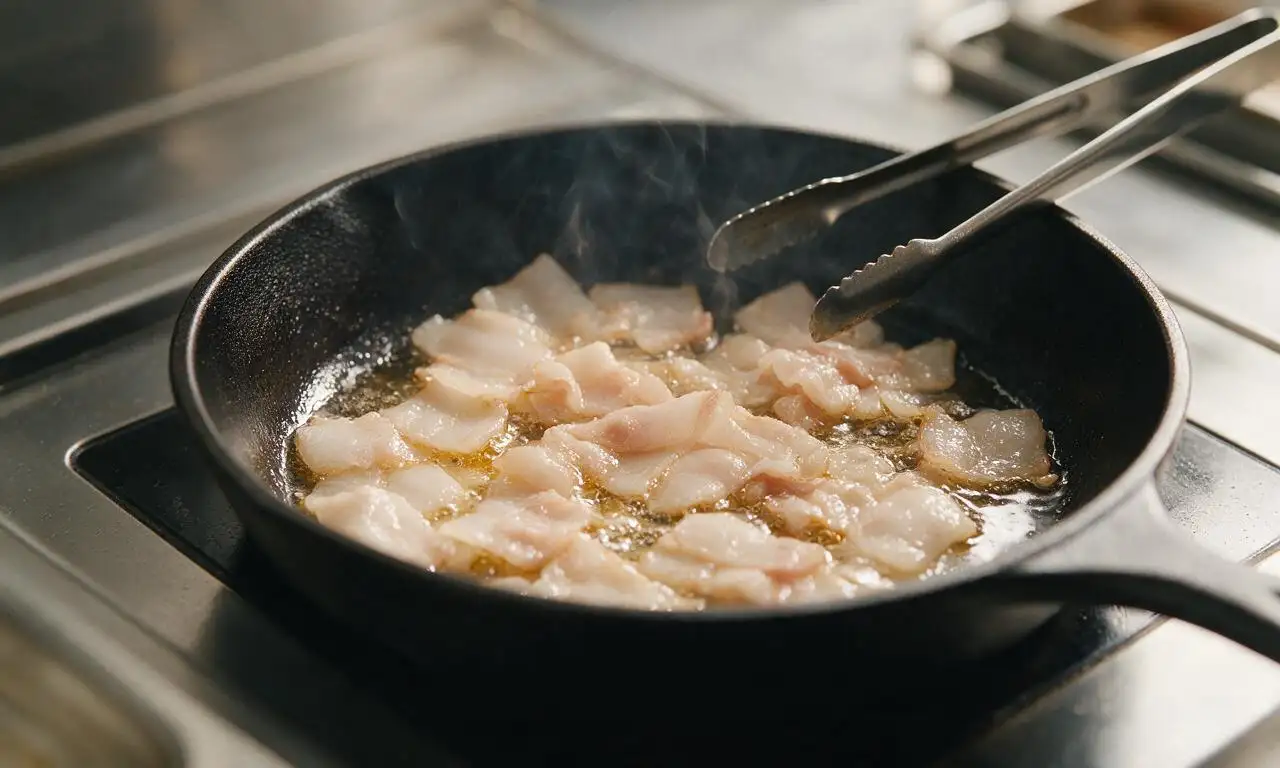
Start with the recipe’s cold water layer, keep heat steady at medium-low rather than cranking to high, and set a fine-mesh splatter screen over the pan once the water fully evaporates. Don’t overcrowd the pan, too—crowding traps steam and causes extra popping and splatter as fat renders.
6.How will I know when the pan-fried fatback is fully done?
▾
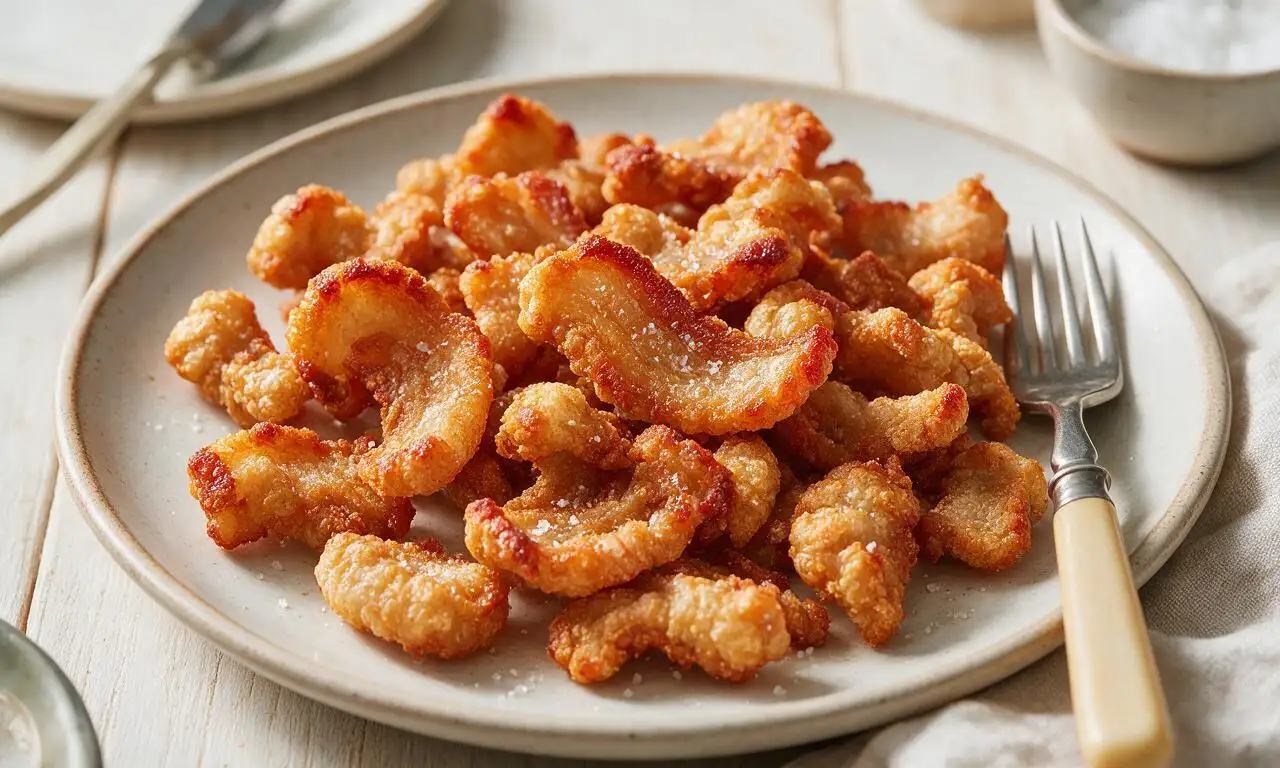
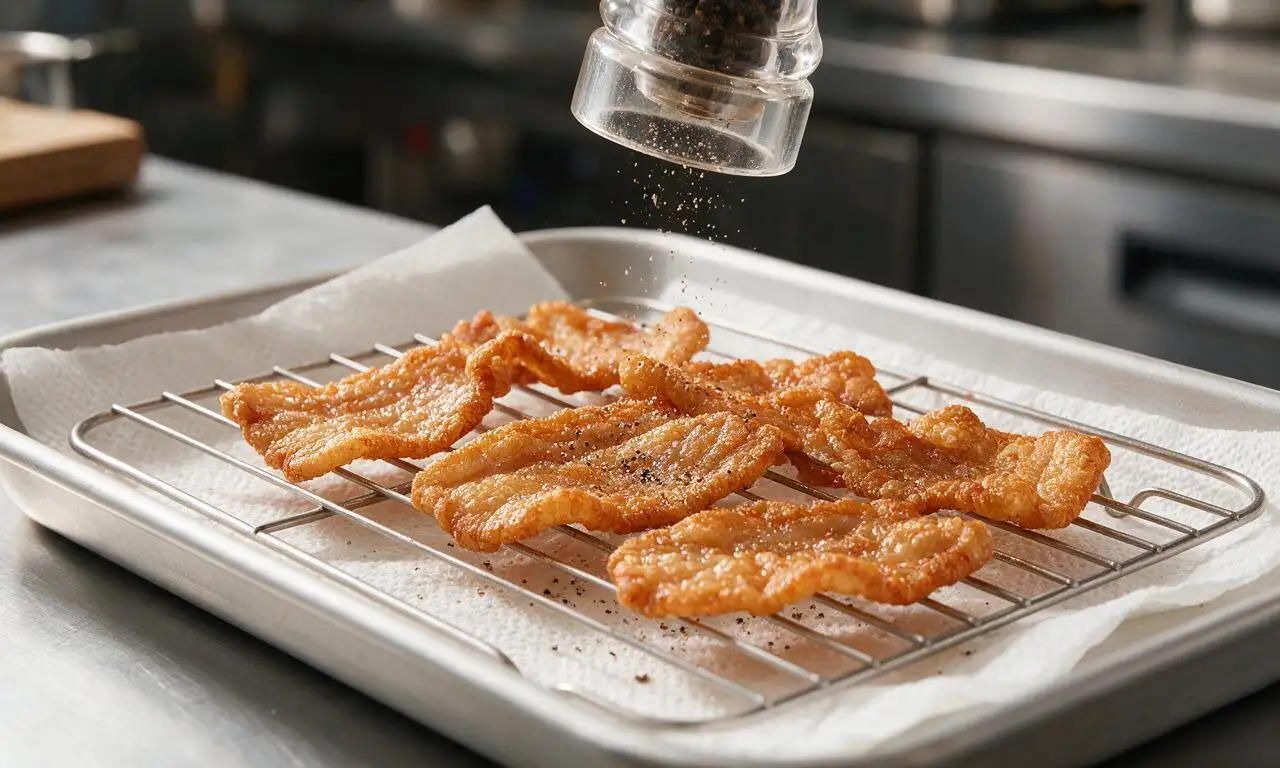
Your fatback is done when slices turn a deep golden brown, curl slightly at the edges, and feel rigid when you nudge them with tongs, usually 8 to 12 minutes total. Transfer immediately to a paper towel-lined plate to drain; they’ll crisp up even more as they cool for 1 to 2 minutes before serving.
7.Can I season fatback with anything other than salt and black pepper?
▾
Absolutely! While classic Southern preparation sticks to simple kosher salt and black pepper, you can add a pinch of cayenne, smoked paprika, garlic powder, or a light dusting of brown sugar for a salty-sweet twist. Just season immediately after removing slices from the pan so spices stick to the hot surface.
8.What should I do with the rendered pork fat left in the pan after cooking?
▾
Don’t pour that delicious rendered lard down the drain! Let it cool slightly, strain out any crispy brown bits, and store it in a sealed glass jar in the fridge for up to 3 months. Use it for frying eggs, roasting veggies, making flaky pie crusts, or sautéing greens for rich, savory flavor.
9.Why did my fatback turn out chewy instead of crispy?
▾
Chewy fatback almost always comes from too-high heat or too-short cooking time. If the pan is too hot, the outside will brown fast before inner fat has a chance to fully render, leaving rubbery, chewy centers. Cook low and slow, don’t rush the process, and keep slices uniformly thick for even cooking.
10.Is pan-fried fatback the same thing as pork rinds or cracklins?
▾
No, they’re related but distinct. Pan-fried fatback is thin slices of pure back fat fried until crisp, while pork rinds are made from fried pig skin with no attached fat, and cracklins include attached skin, fat, and small bits of lean meat. Fatback has a lighter, melt-in-your-mouth crunch.
11.How should I store leftover crispy fatback, and how long will it keep?
▾
Let leftover cooked fatback cool completely, then store it in an airtight container lined with paper towels to absorb excess grease. It will keep in the fridge for up to 5 days. To recrisp, lay slices on a baking sheet and warm in a 350°F oven for 3 to 5 minutes—skip the microwave, which turns it rubbery and soggy.
12.What are the best ways to serve crispy pan-fried fatback?
▾
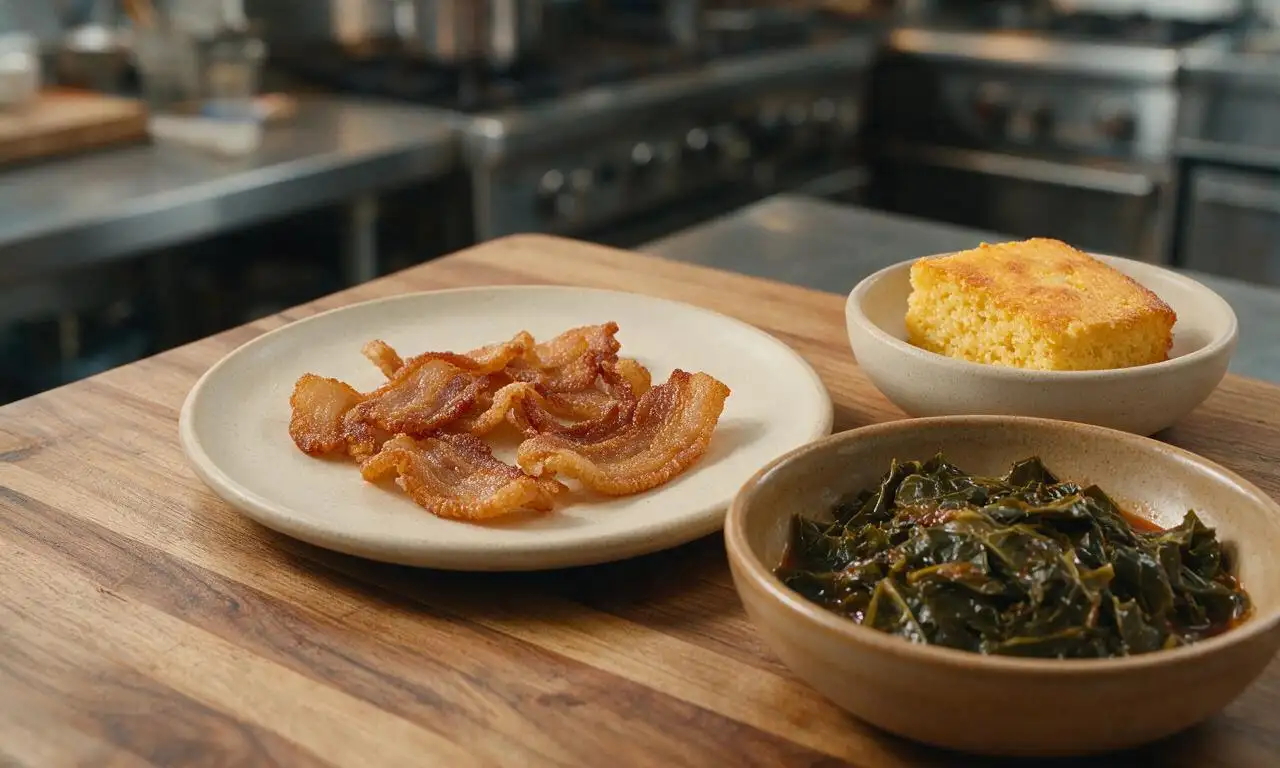
It’s a classic Southern side served alongside eggs and grits for breakfast, crumbled over collard greens or black-eyed peas for extra savoriness, tucked into biscuits with hot honey, or used as a salty, crispy garnish for Bloody Marys. You can also crumble it to add crunch to salads or loaded baked potatoes.
13.Do I need to cure or brine fresh fatback before pan-frying it?
▾
No, you don’t need to cure or brine fresh fatback for this recipe—that’s what makes this quick prep different from cured bacon or preserved salt pork. Season simply with coarse kosher salt and pepper right after cooking, so you get bright, clean pork flavor without the multi-day wait of curing.







Perfect easy recipe for camping prep! I pre-sliced a big batch of this at home, packed it in the cooler, and pan-fried it up over our camp stove for breakfast with eggs and hash browns. Held up way better than bacon, didn’t curl up as much, and got that perfect crunch every single time. Will be a staple on all my backcountry trips from now on!
Brought this to our office potluck last week and people were hovering over the platter asking for the recipe before I even set it down! I served it with a little side of hot honey for dipping and it was chef’s kiss. So easy to throw together even on a busy weeknight, no fancy ingredients required.
Really solid easy recipe! Cook time was spot on for me, came out crispy just like the photos. Only reason I’m not giving 5 stars is I added a little too much salt at the end, totally my bad. Would be great crumbled on top of a salad or loaded baked potato too, I’ll definitely be making this again.
OMG y’all, this crispy pan-fried fatback is a total game changer! I made it for our Sunday family dinner alongside collard greens and cornbread, and even my super picky 7-year-old asked for seconds. SO good, I already added it to my weekly meal prep rotation for quick breakfast sides too. So easy to get that perfect crunch without it turning into a greasy mess, 10/10!