
Fig Jam Grilled Cheese
intro
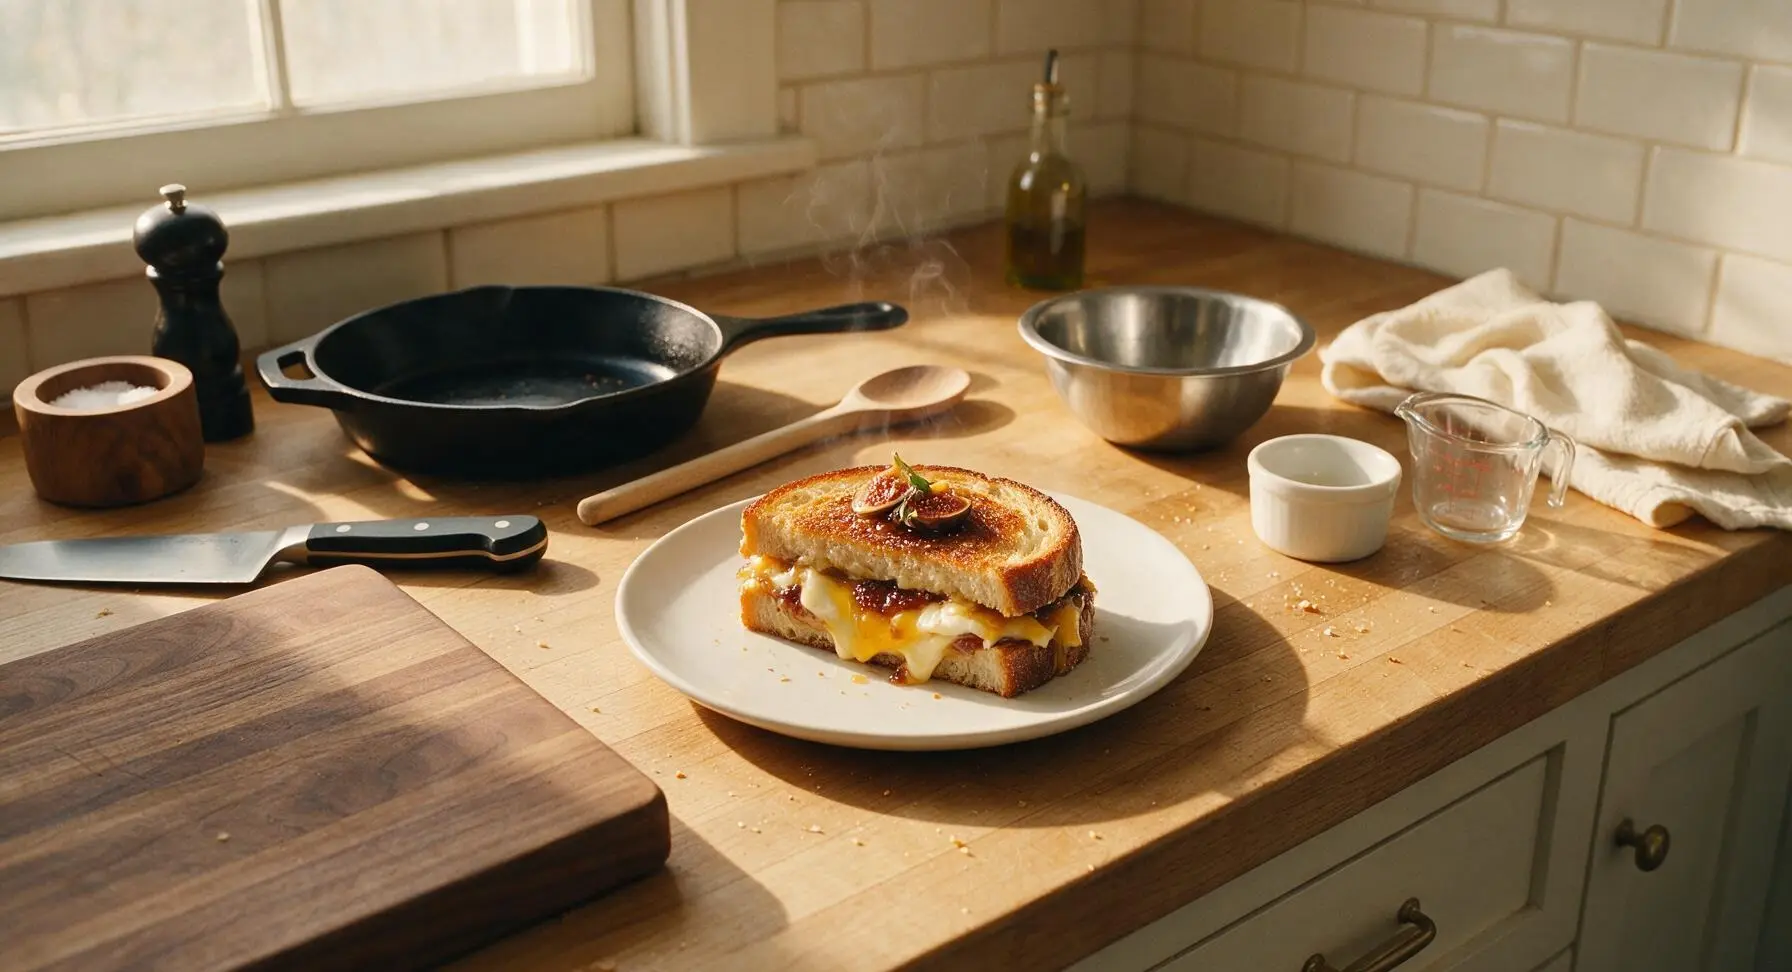
Crispy buttery sourdough, melted creamy brie and sharp cheddar, and sweet jammy fig spread balance salty, sweet, and savory notes in this elevated, quick grilled cheese.
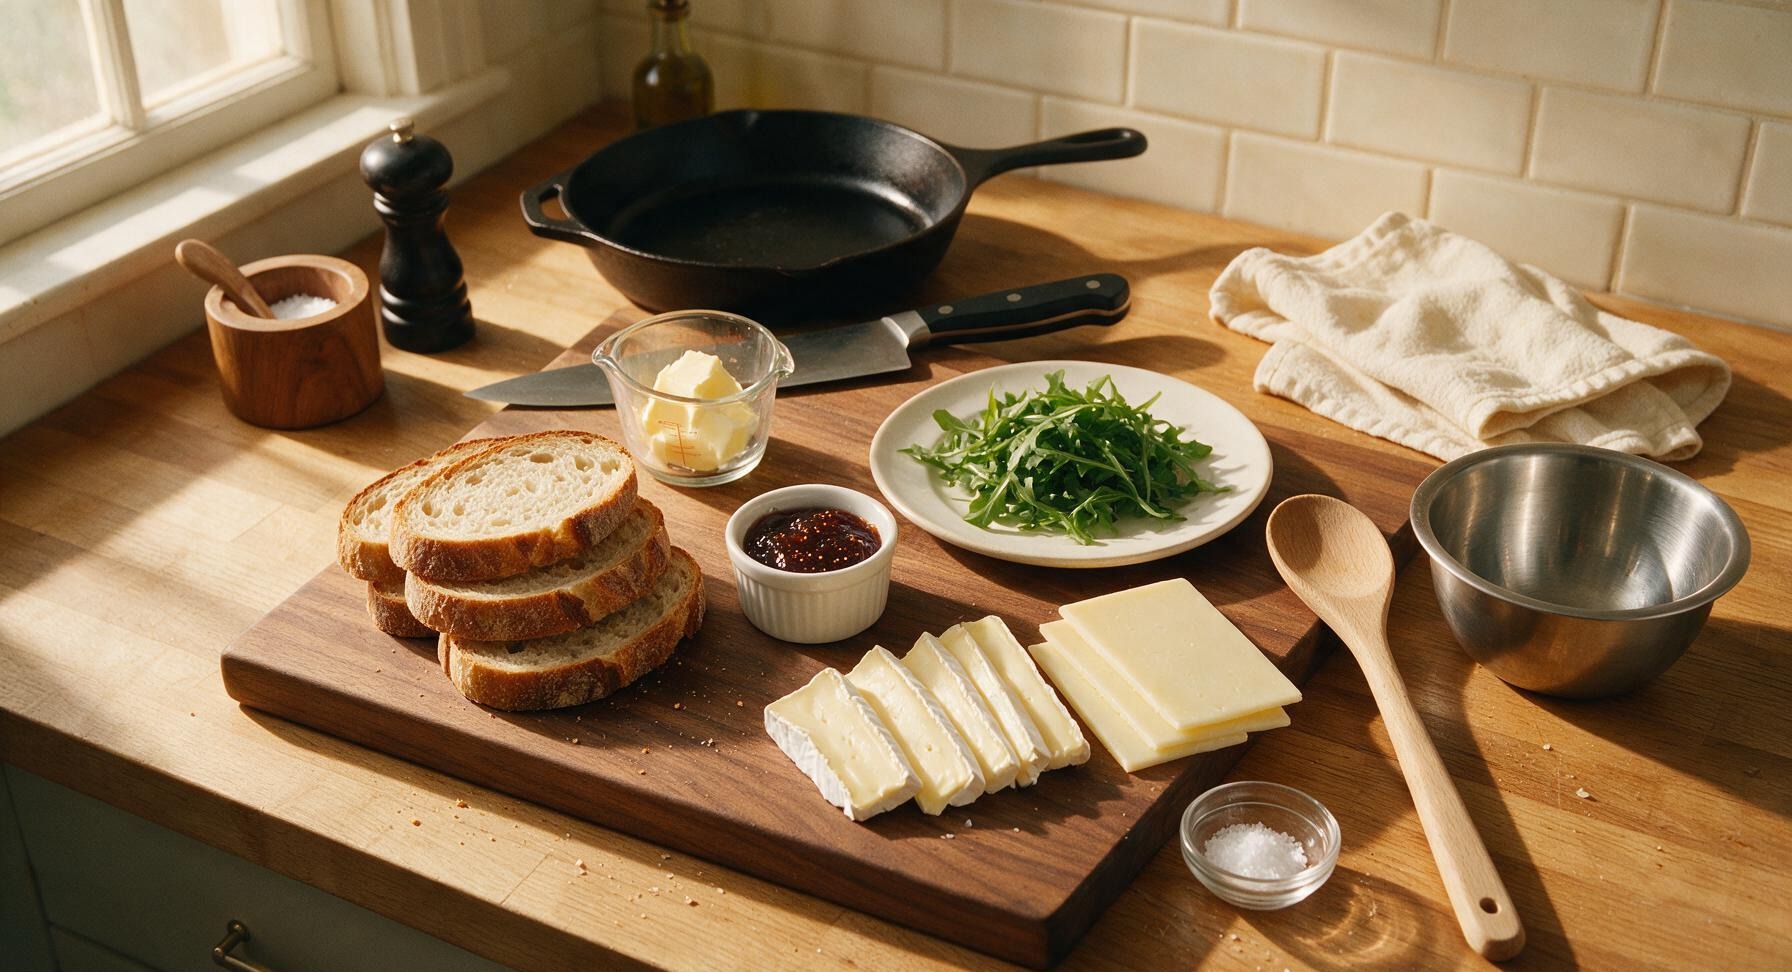
Ingredients
Steps
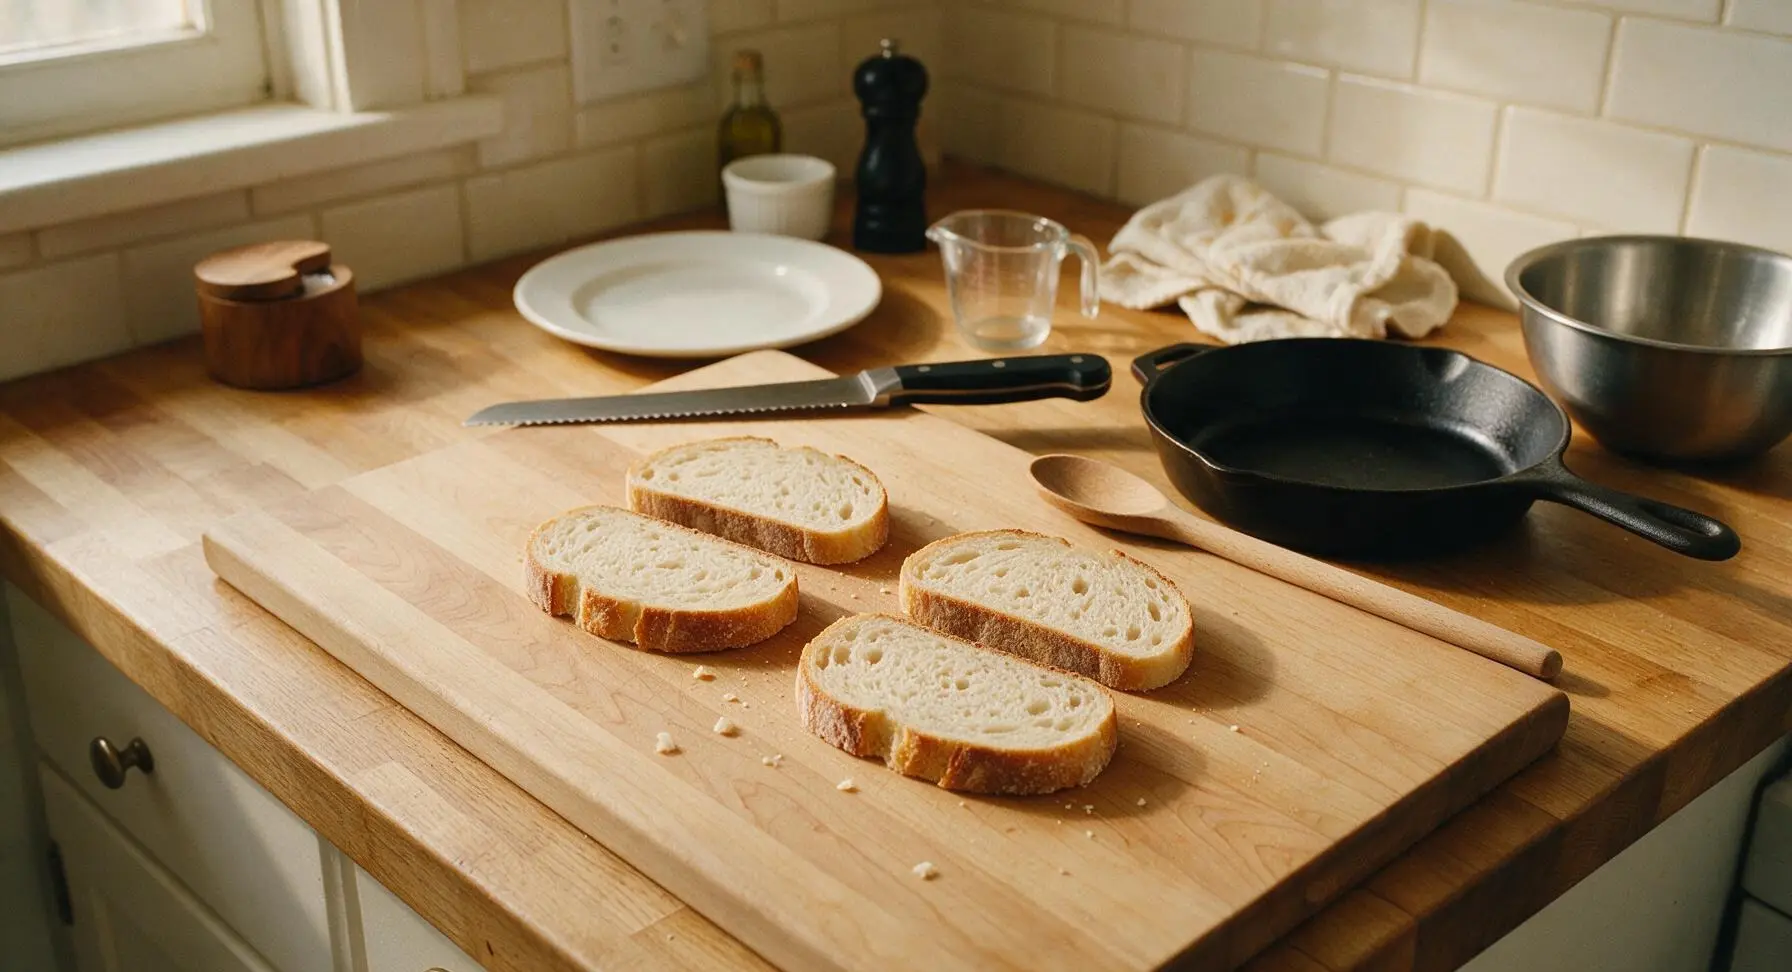
Slice and arrange bread
Place the unsliced sourdough loaf on the large maple cutting board. Use the 8-inch serrated bread knife to cut 4 even slices 1.5cm thick, discarding the dry end heels if desired. Lay the slices flat in two matching pairs on the board, ready for spreading. Slices cut to this exact thickness hold fillings securely without tearing, and crisp evenly during cooking.
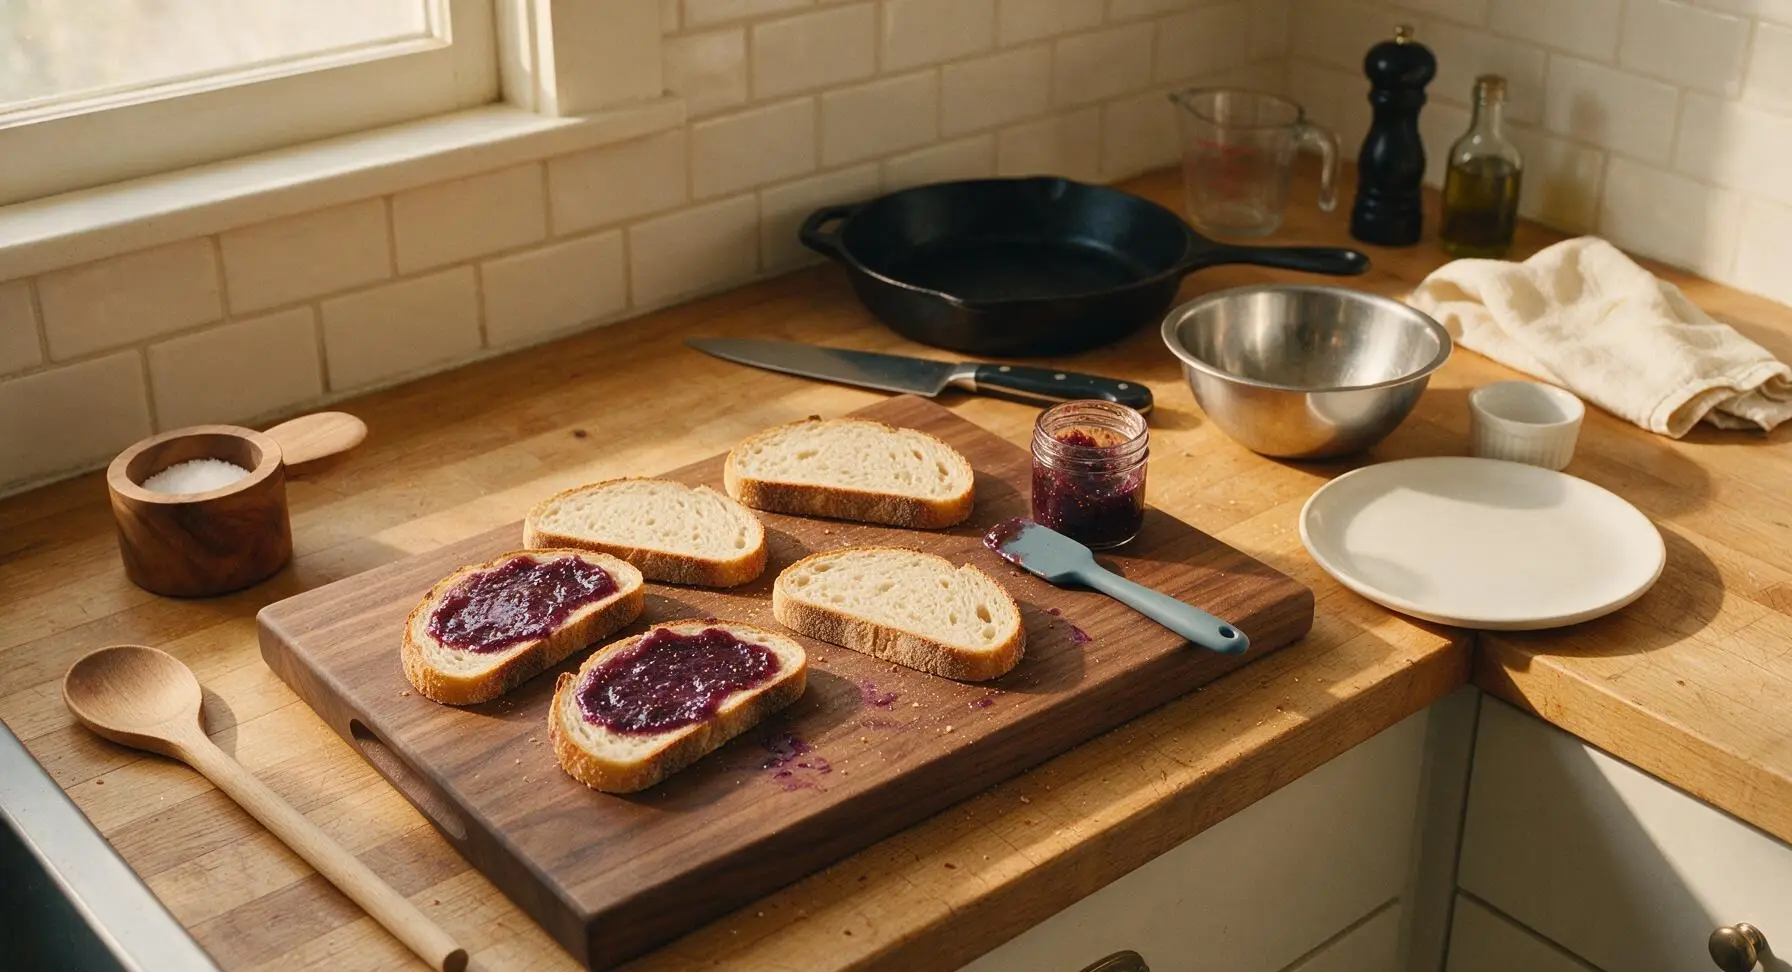
Spread fig jam base
Use the small dusty blue silicone spatula to spread 1 tablespoon of fig jam evenly across one side of each of two bread slices, leaving a 5mm plain border around the edge to prevent oozing during cooking. Spread the jam in a thin, uniform layer with no thick clumps, so the sweet flavor balances rather than overwhelms the cheese.
Layer cheese and arugula
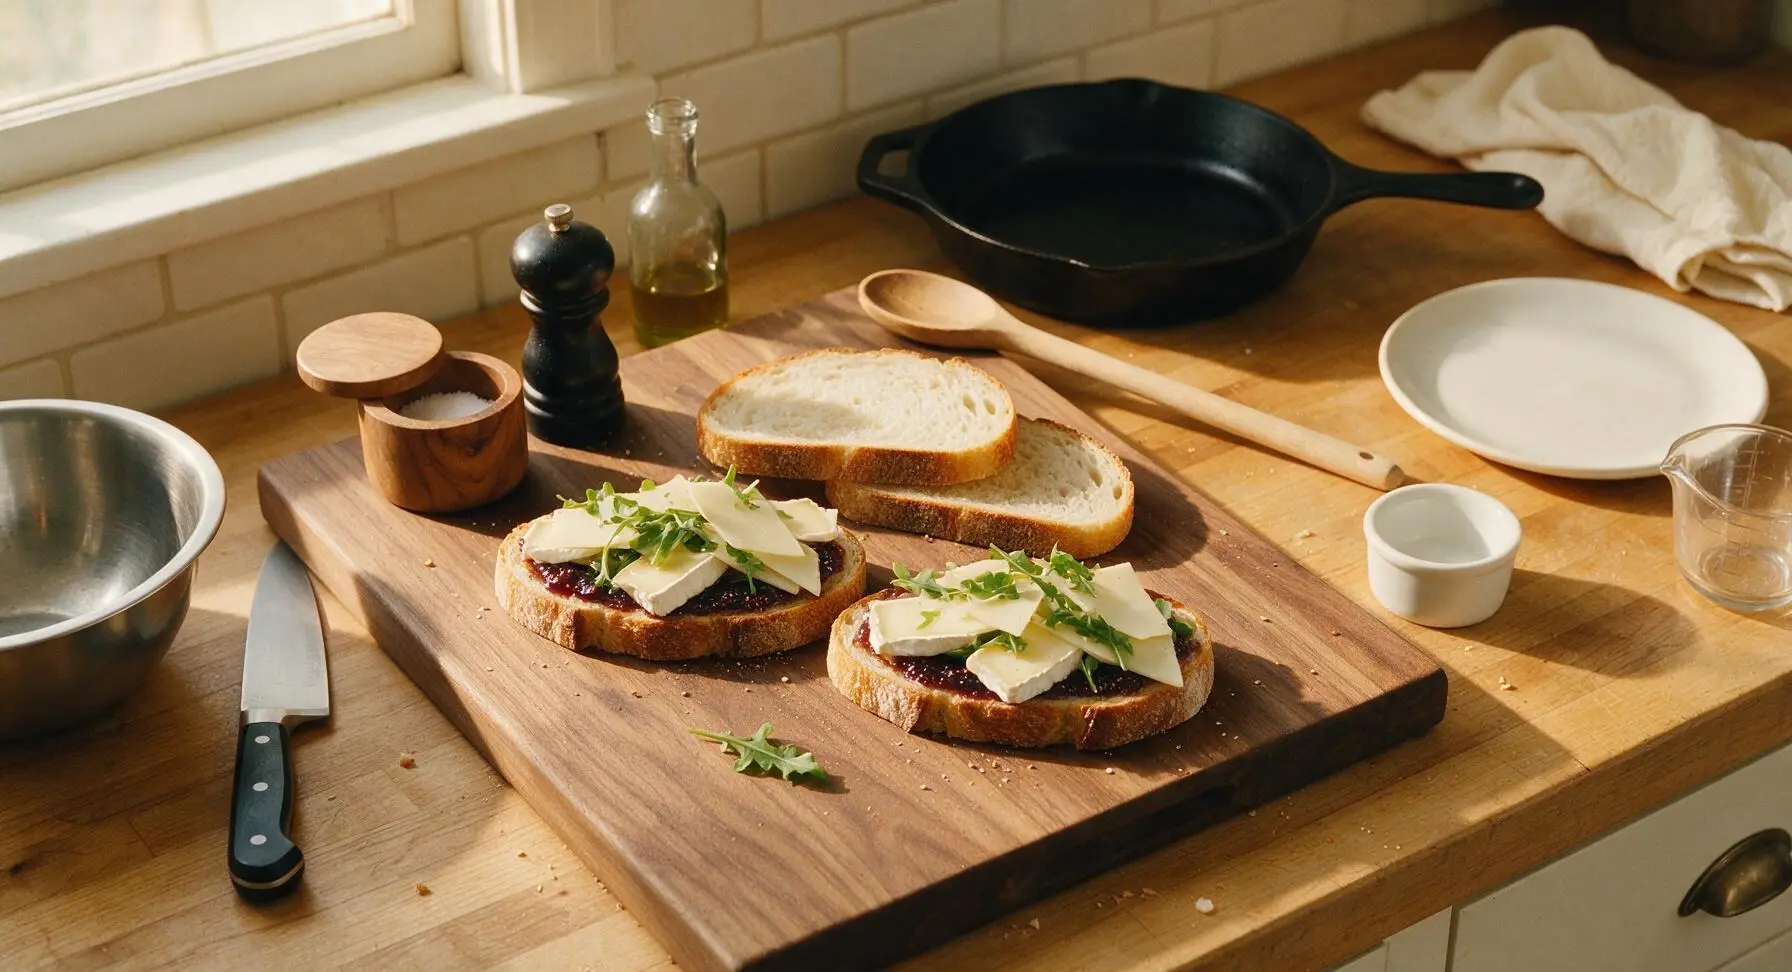
Divide the sliced brie evenly across the two jam-covered bread slices, laying slices flat to cover most of the jam surface without overhanging the bread edges. Top the brie with the thinly sliced sharp white cheddar, then scatter the lightly packed arugula evenly over the cheese. The peppery arugula cuts through the richness of the melted cheese and sweetness of the jam for balanced flavor.
Seal sandwich tops
Spread the remaining 2 tablespoons of fig jam across the inner side of the two plain bread slices, then place them jam-side down on top of the cheese and arugula layers to form two complete sandwiches. Press down gently on the top of each sandwich with the palm of your hand to help the layers adhere, so fillings do not slide out during grilling.
Butter sandwich exteriors
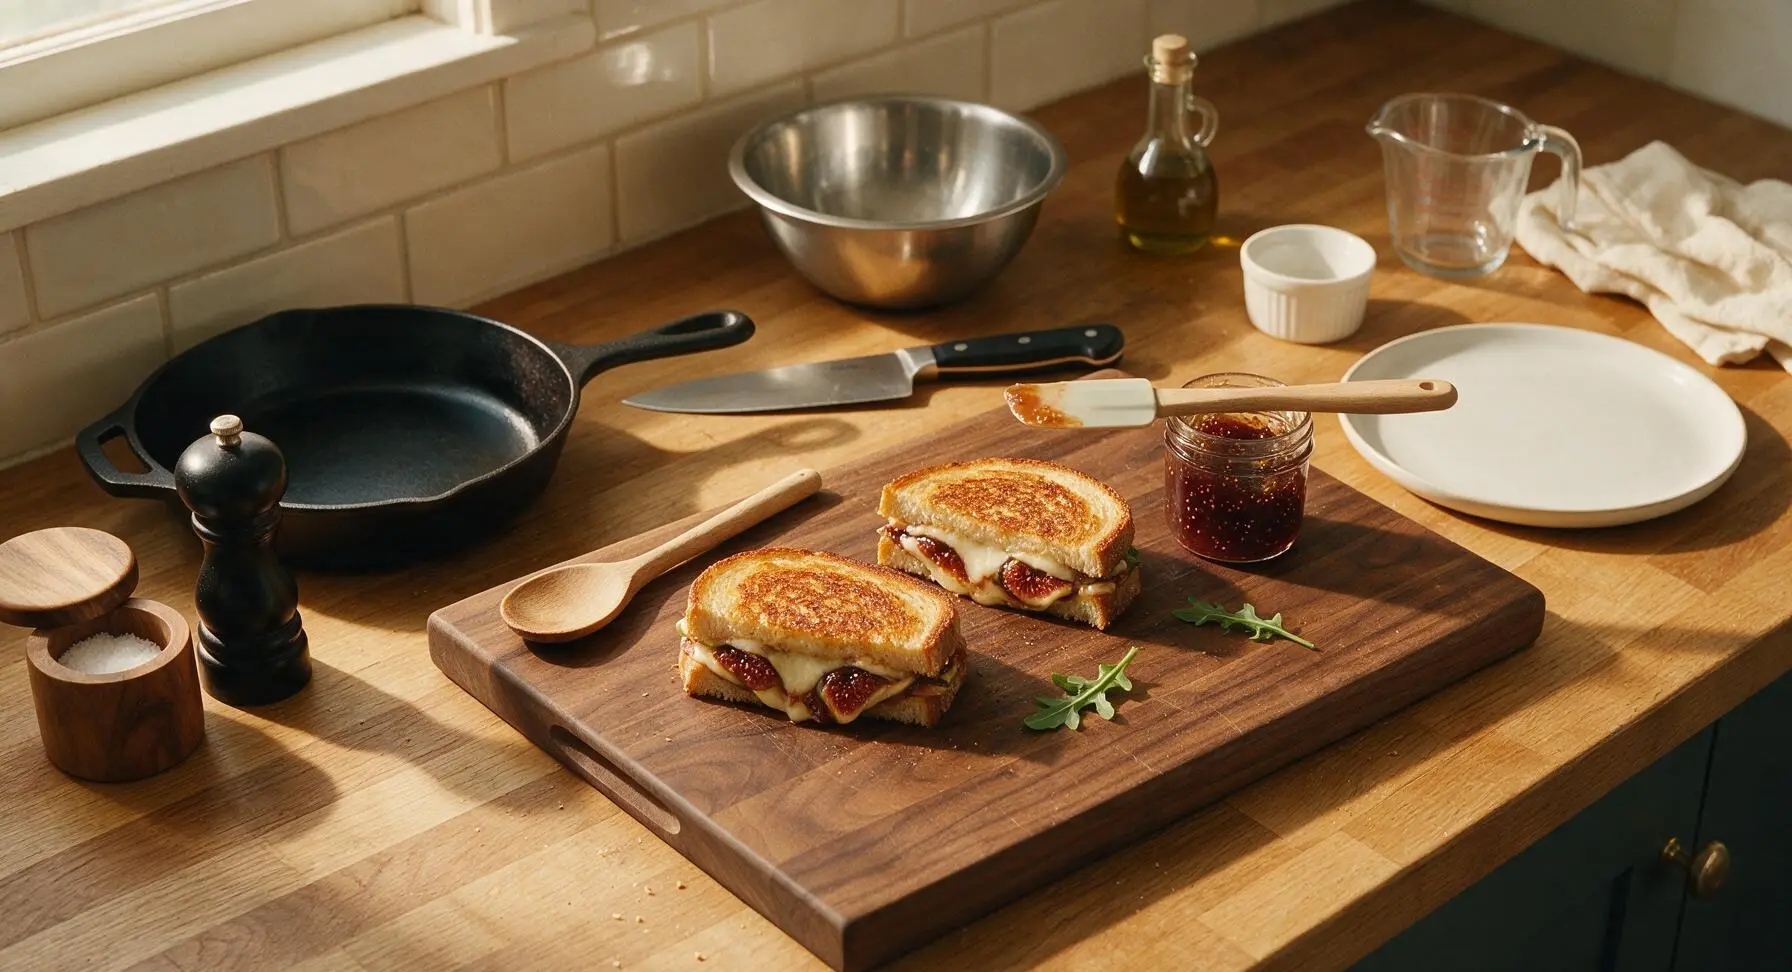
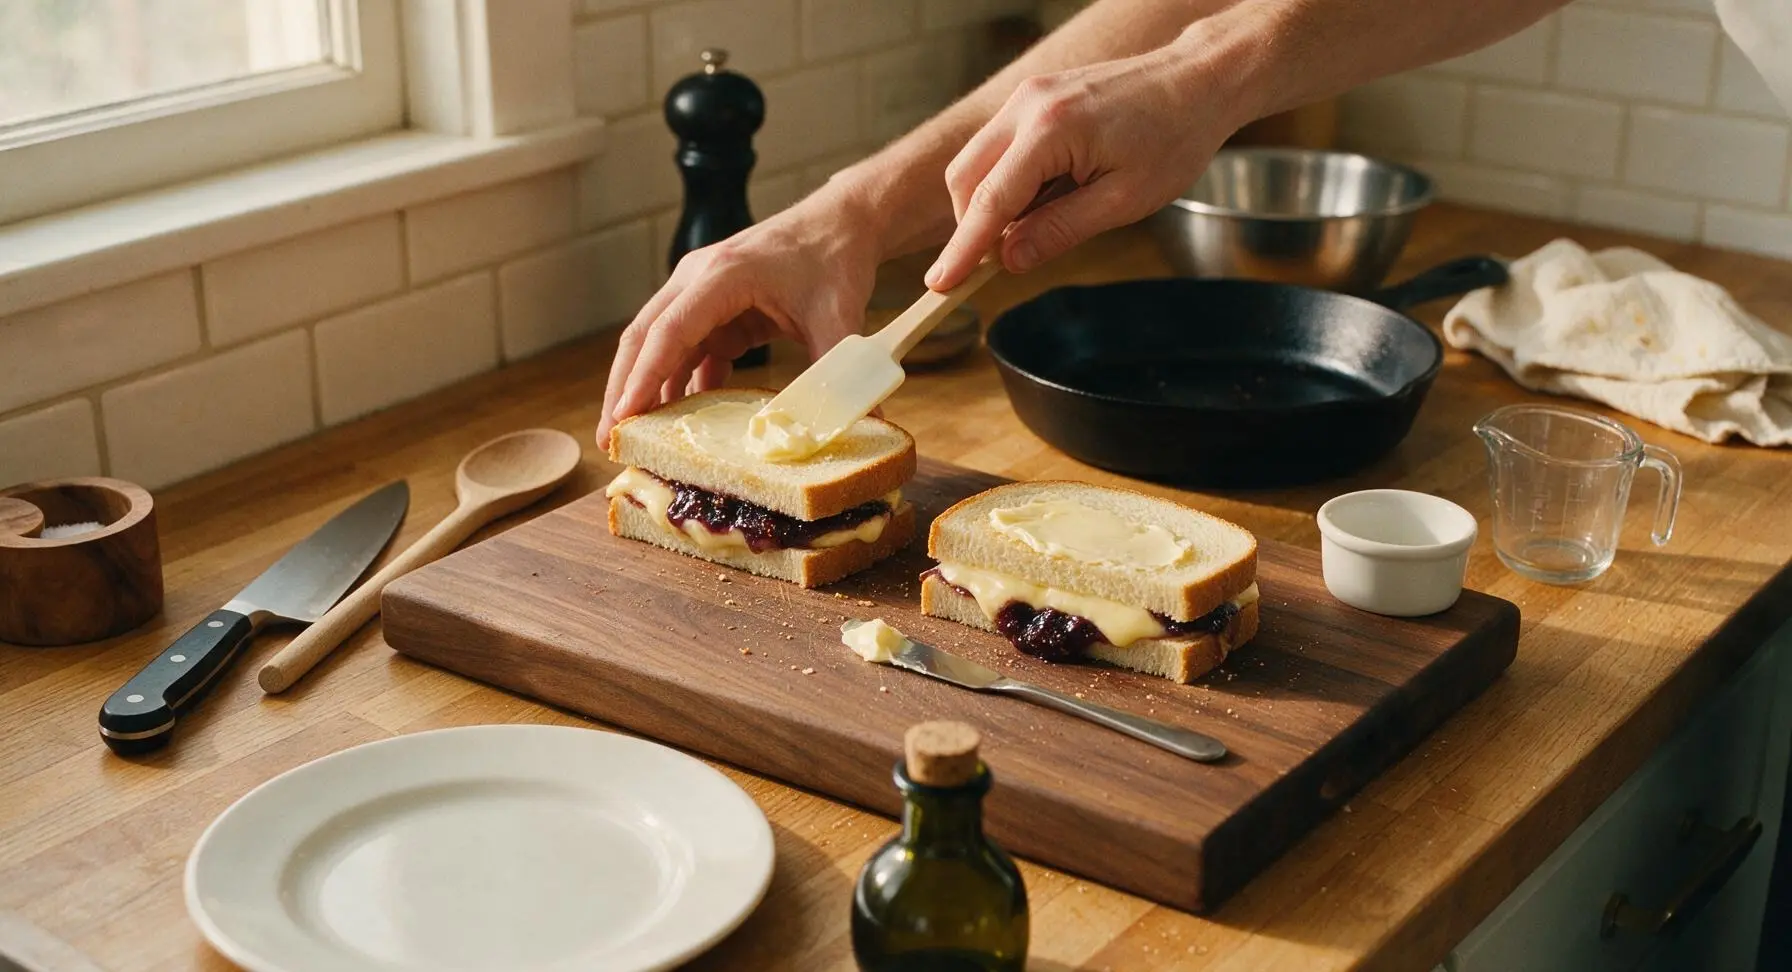
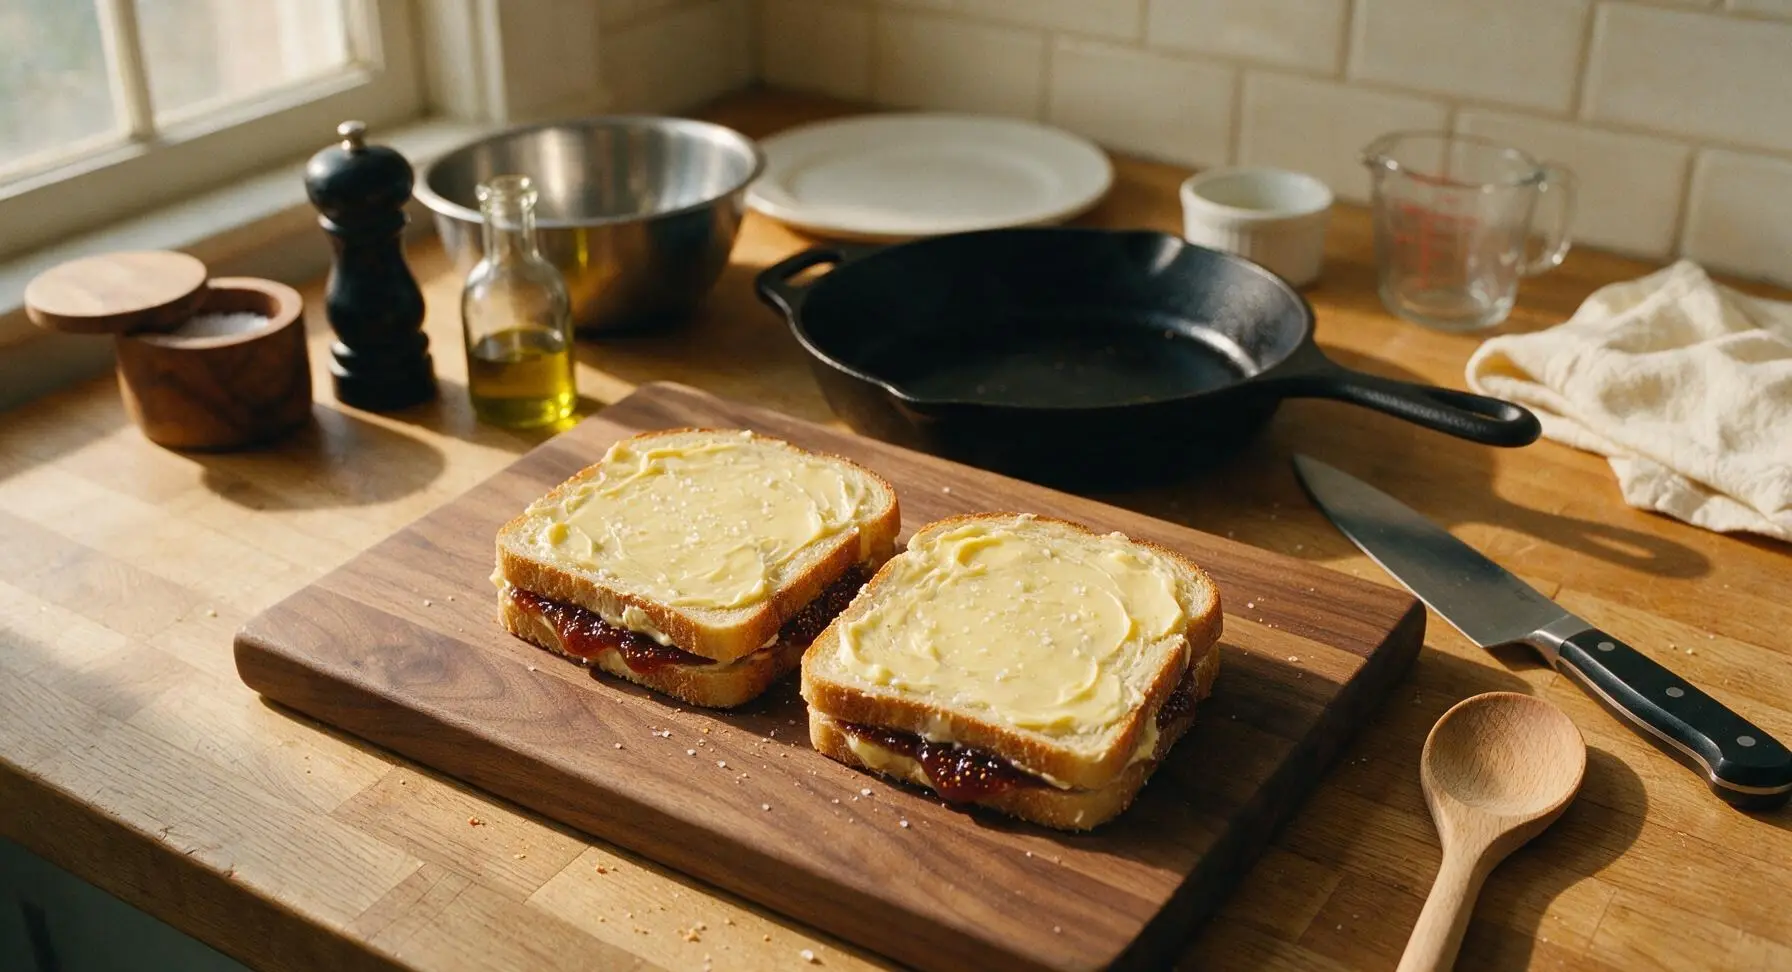
Once sandwiches are assembled, use the silicone spatula to spread 1/2 tablespoon of softened room-temperature butter evenly across the entire top surface of each sandwich, spreading all the way to the crust edges. Carefully flip each sandwich over, and spread the remaining 1/2 tablespoon of butter per sandwich across the second side, so both exterior surfaces are fully coated. Sprinkle a tiny pinch of flaky sea salt over both buttered surfaces for extra savoriness. Even butter coverage ensures every part of the bread crisps to a golden, crunchy finish, with no dry pale spots.
Preheat cooking skillet
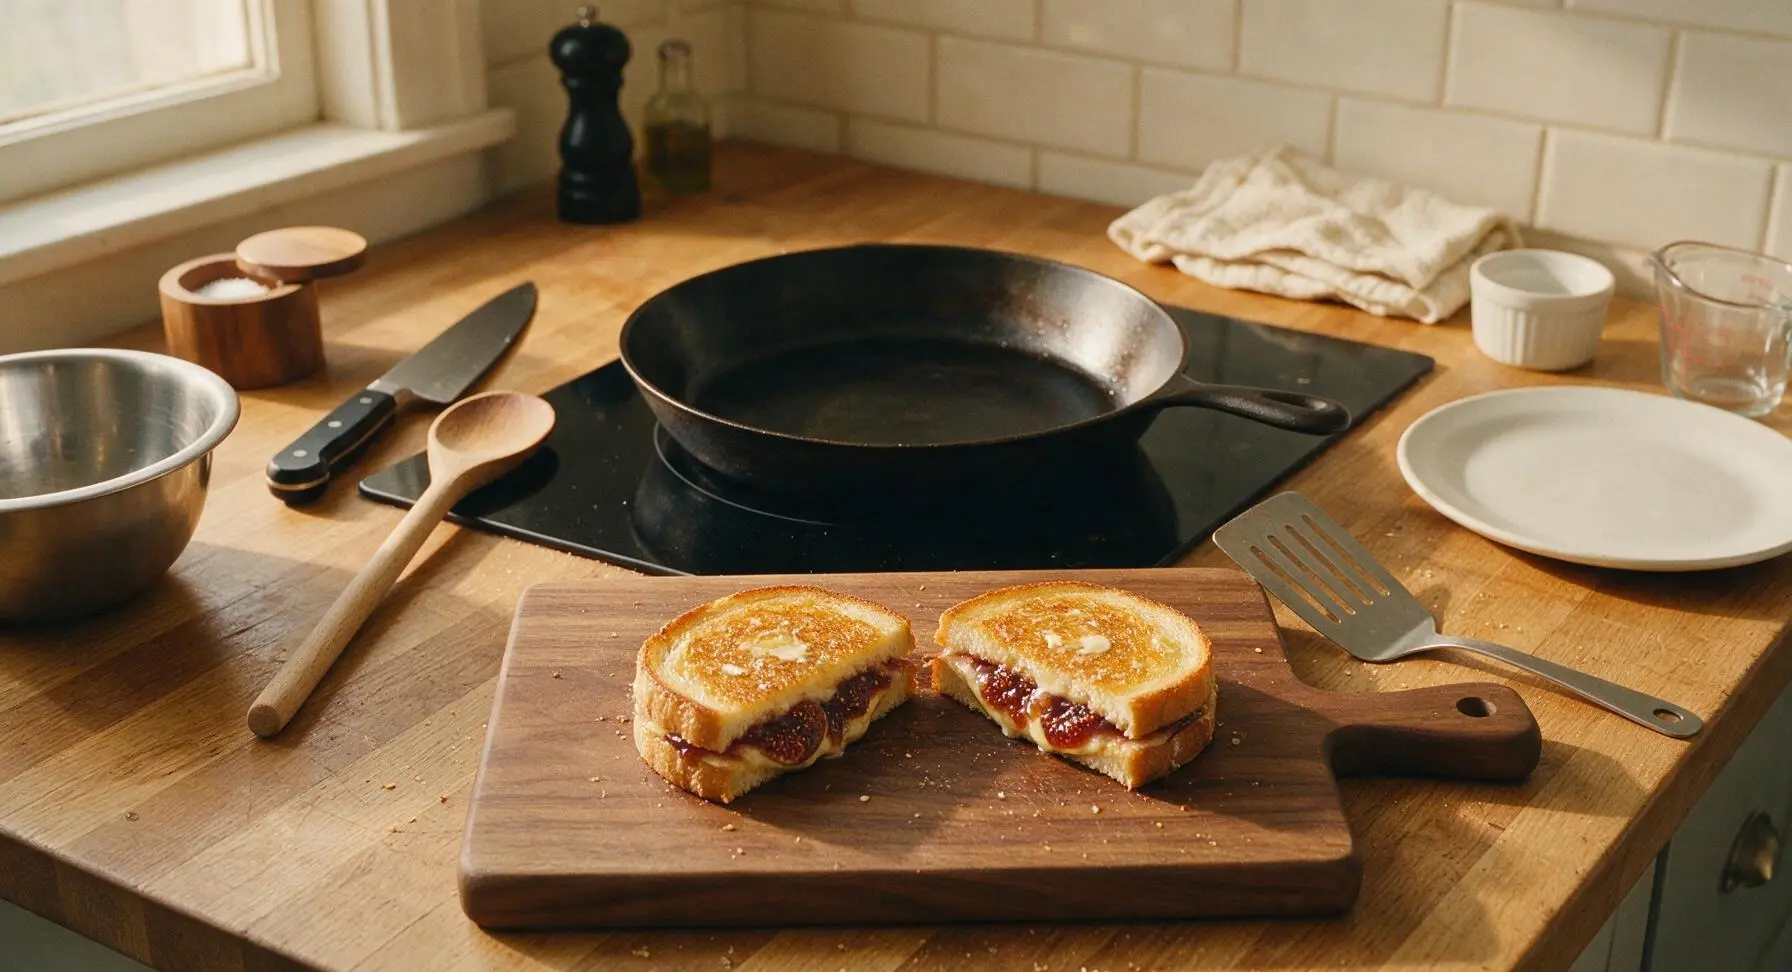
Retrieve the 10-inch seasoned carbon steel skillet and place it on the matte black induction cooktop at back center of the counter. Set the heat to medium-low (150°C / 300°F) and preheat the skillet for 2 minutes. Do not add extra oil or butter to the pan— the butter spread on the sandwich exteriors will provide enough fat for crisping.
Grill first sandwich side
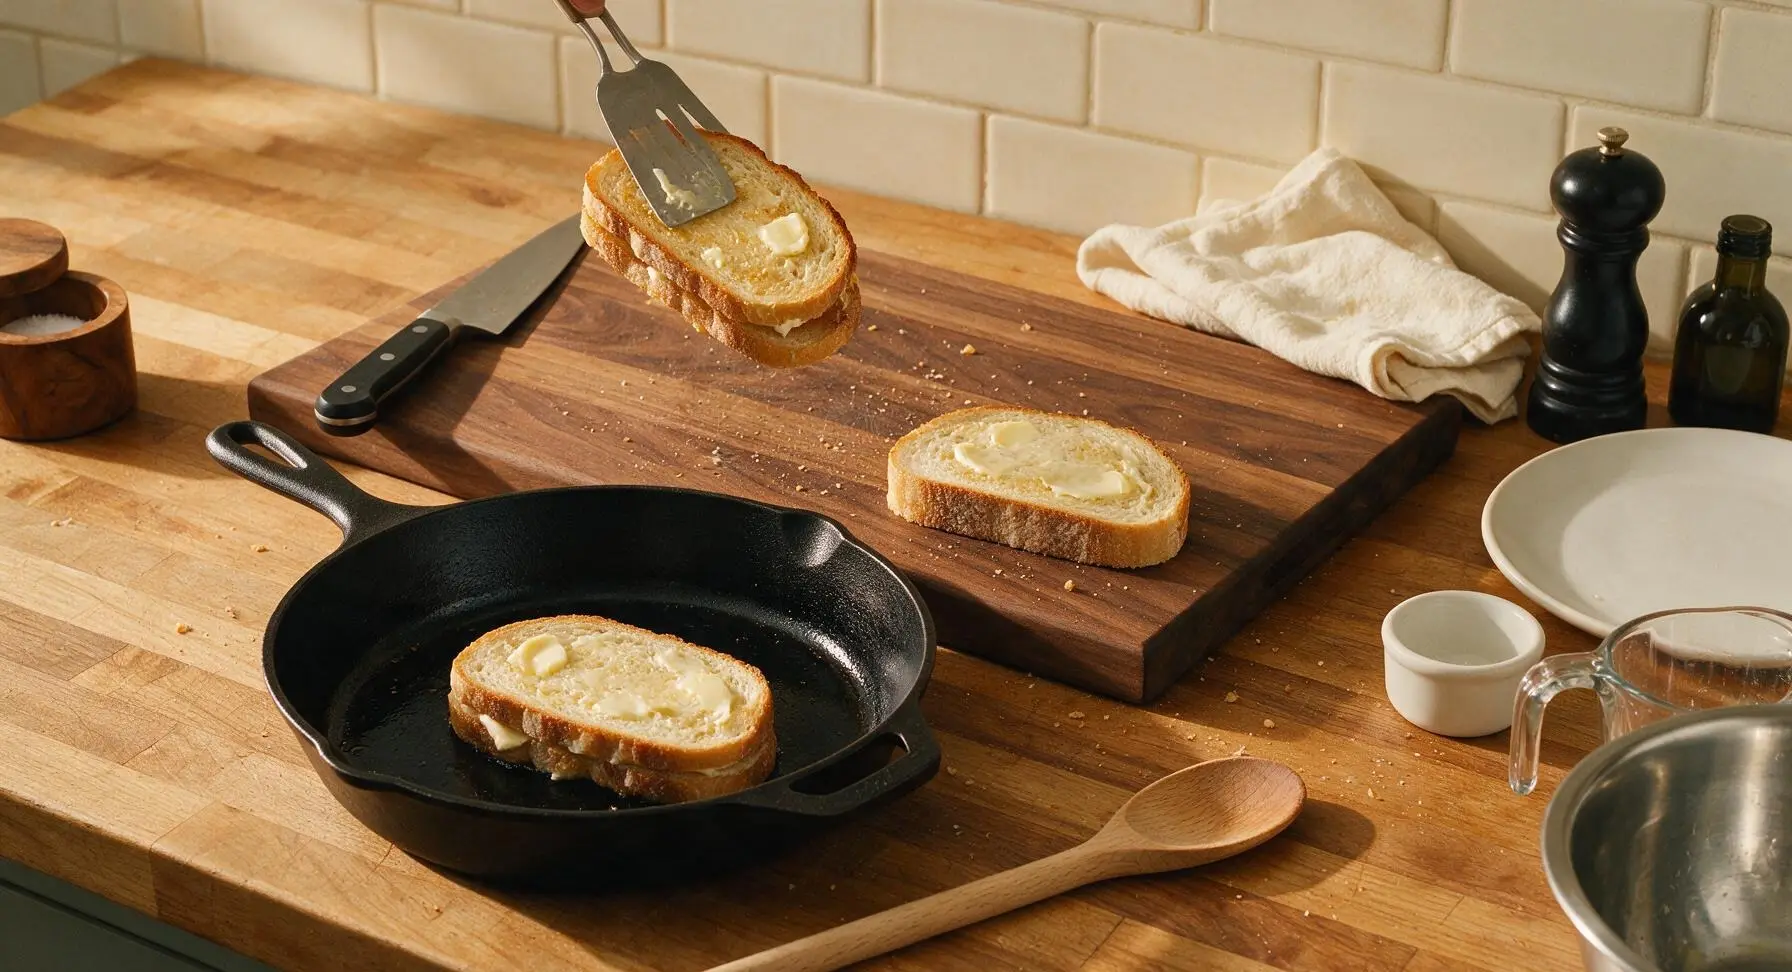
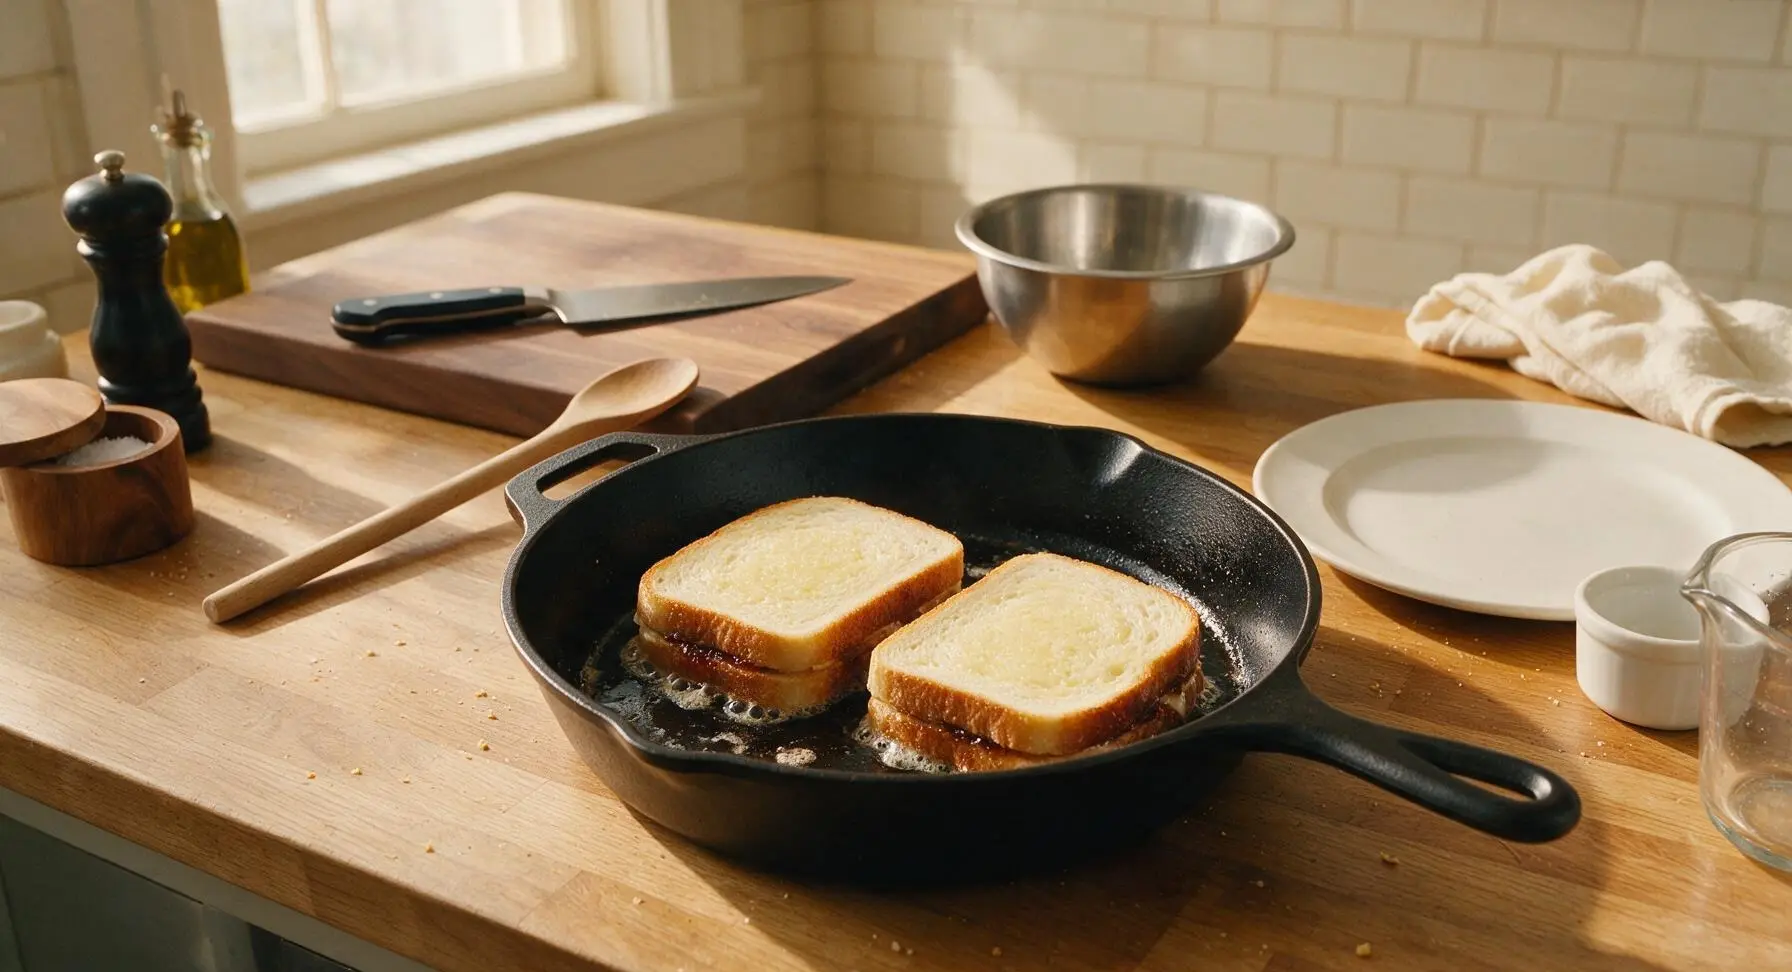
Carefully lift both sandwiches with the metal turner and place them buttered-side down in the preheated skillet, leaving 1cm of space between them. Cook for 3 to 4 minutes, until the bottom bread is deep golden brown and crispy, and the cheese closest to the pan has started to melt. Do not press down hard on the sandwiches while cooking, as this will squeeze out melted cheese and jam.
Flip and finish cooking
Slide the metal turner under each sandwich one at a time, lift gently, and flip in smooth motions to cook the second buttered side. Cook for another 3 to 4 minutes, until the second side is equally golden and crispy, and all the cheese in the center is fully melted and oozing slightly at the edges. If the bread browns too quickly, turn the heat down slightly to prevent burning before the cheese melts.
Rest, cut, and plate
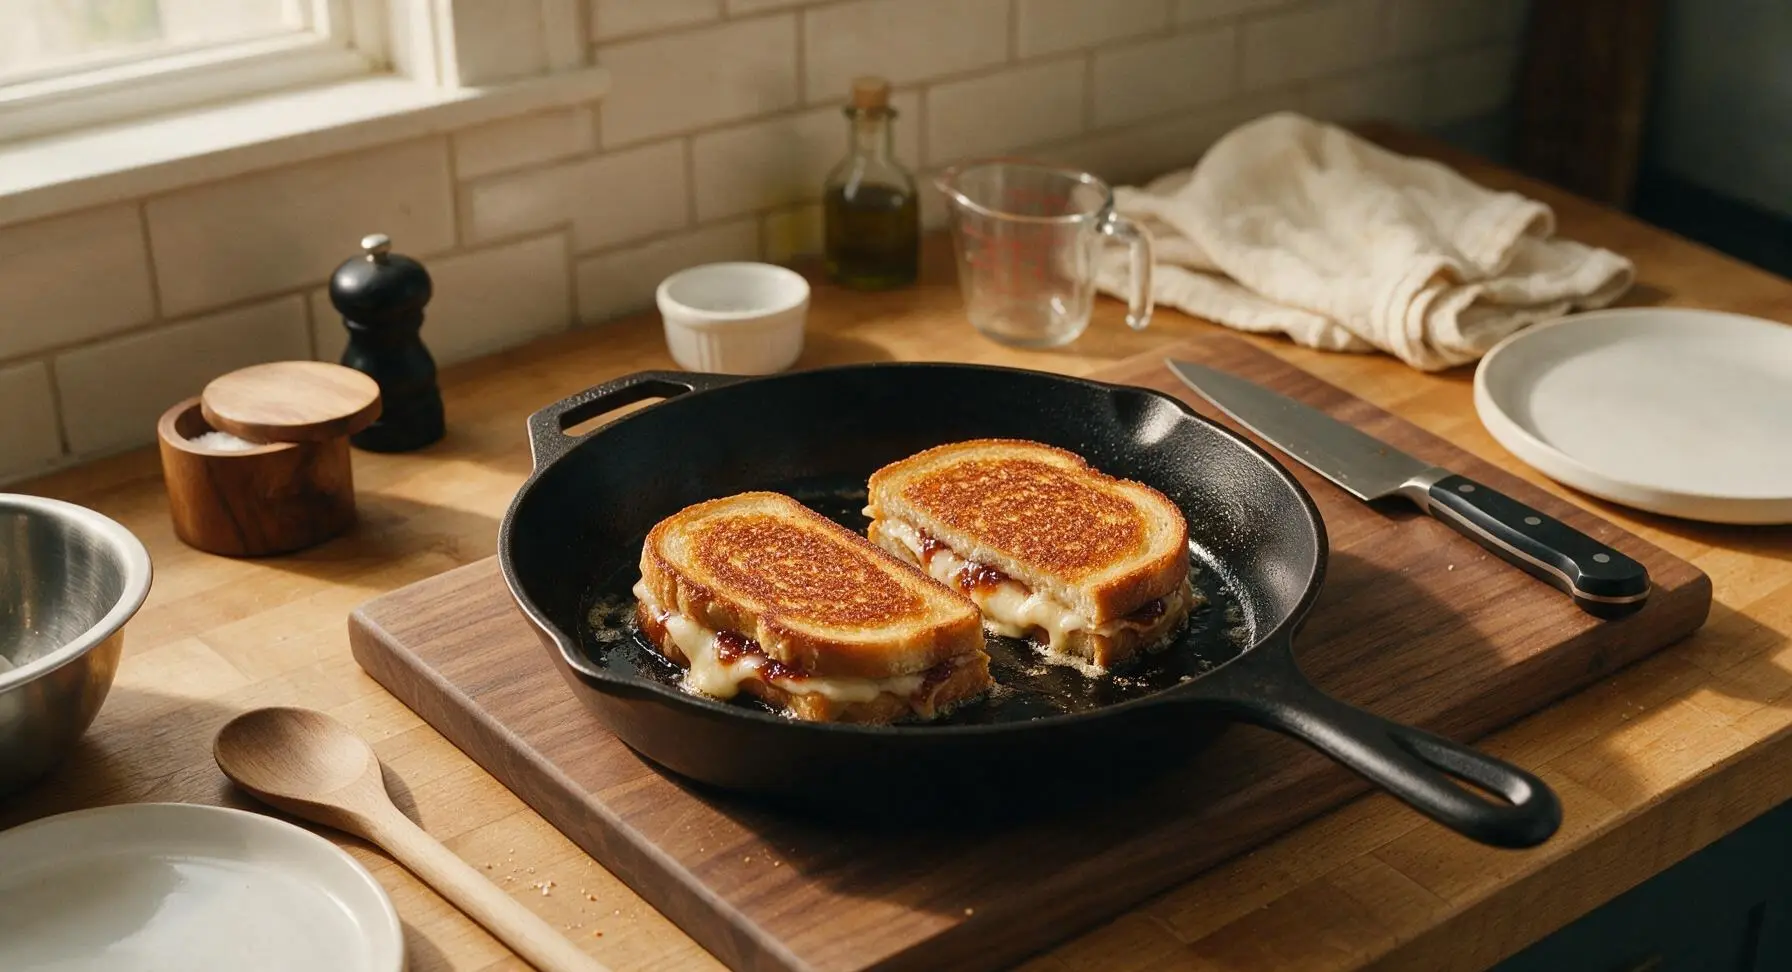
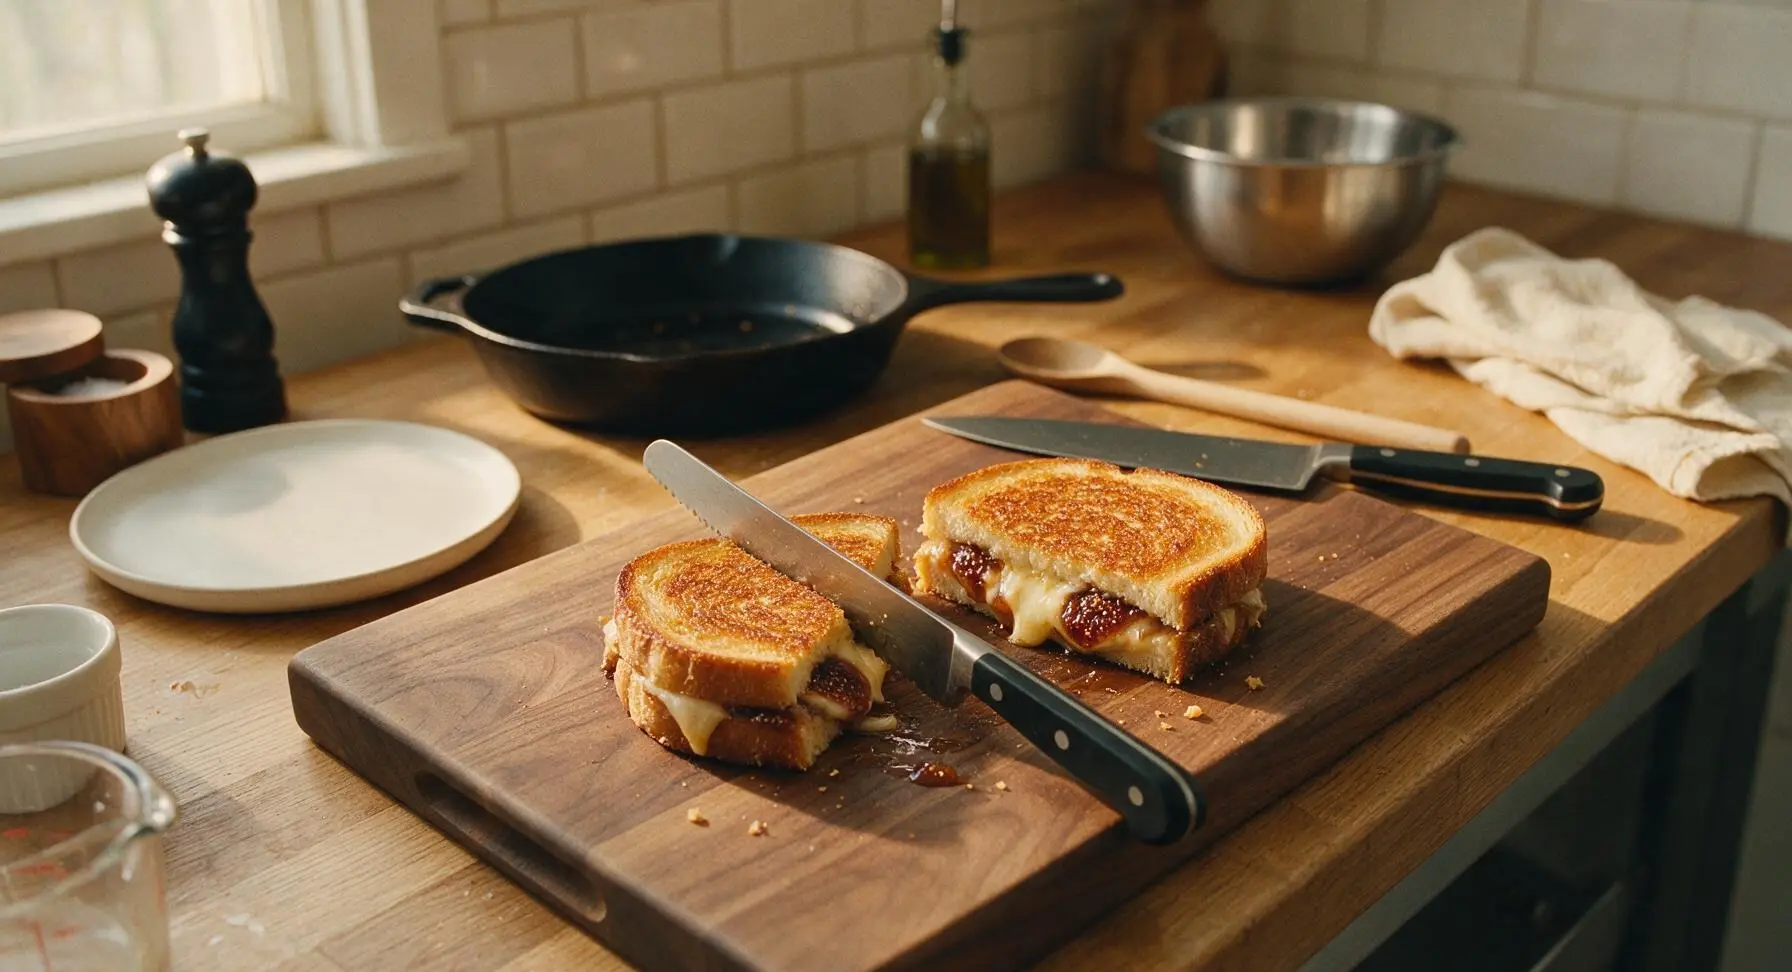
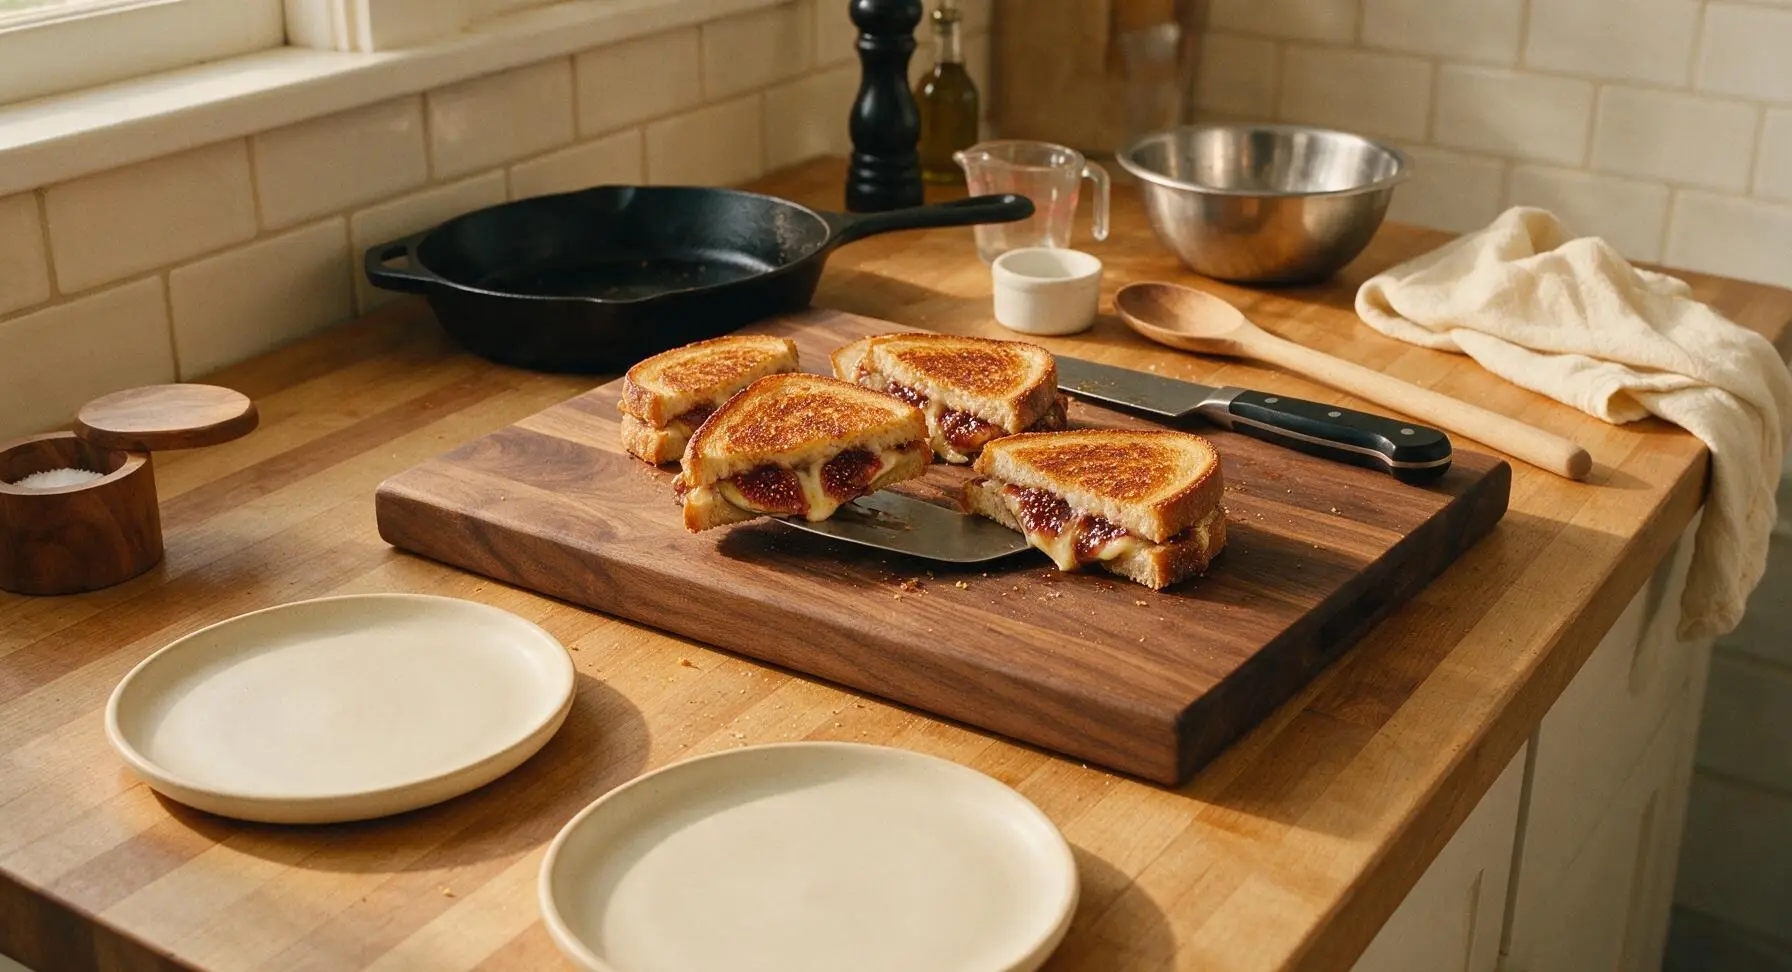
Use the metal turner to lift both cooked sandwiches out of the skillet and place them back on the maple cutting board. Let them rest for 1 minute to allow the cheese to set slightly, so fillings do not run out when cut. Use the serrated bread knife to cut each sandwich diagonally into two triangular halves. Transfer the cut halves to the two matte cream ceramic lunch plates, arranging them slightly offset to show the melted filling.
Tips
2.Cook on medium-low heat, not high: High heat will burn the bread exterior before the cheese in the center has time to fully melt, leading to a charred crust and cold, solid cheese filling. The 3-4 minute per side cook time at medium-low gives cheese time to melt gently while the bread crisps.
3.Leave a 5mm plain border when spreading jam: Spreading jam all the way to the bread edges will cause it to bubble and ooze out of the sandwich during cooking, burning on the hot skillet and creating sticky, bitter residue instead of staying contained inside the sandwich.






OMG this fig jam grilled cheese is a total game changer!!! I made it for my kid’s after school snack yesterday and they begged me to make it again for dinner. I used sourdough and brie instead of regular cheddar, chef’s kiss.
Threw this together for a quick lunch between work meetings today, 8 minutes flat just like the recipe says. The sweet-savory combo hits so much harder than regular grilled cheese, I’m never going back to plain.
Made these for our family movie night last weekend and every single sandwich got eaten, no leftovers! The fig jam cuts the richness of the cheese so perfectly, even my super picky 7 year old asked for seconds. SO good.
I adapted this for my vegan diet using dairy-free sharp cheddar and homemade fig jam, and it still turned out insane! Even my non-vegan roommate stole half my sandwich.
Brought a platter of these cut into little triangles to my neighborhood potluck on Saturday and they were the first thing gone! So many people asked for the recipe, I just sent them all the link.
Super easy to make in my tiny dorm kitchen with just a pan and a mini fridge! No fancy equipment needed, tastes way fancier than the effort it takes. 10/10.
Wait I was skeptical about putting sweet jam on a grilled cheese, but my sister made me try it and wow. I used a fig spread with a little orange zest in it, and paired it with tomato soup for dinner last night, unreal.
Added these to my weekly meal prep rotation! I make a batch on Sunday, wrap them individually, and they reheat great in the toaster oven for a 2 minute lunch during the work week.
Made this for my date night in with my partner last Friday, paired with a glass of red wine, and they said it was better than the grilled cheese we got at that fancy bistro downtown last month. Total win.
I added a couple slices of crispy bacon to mine, y’all. The salty bacon with the sweet fig jam and melty cheese? I could eat this every single day for the rest of my life. No notes.
First time I’ve ever made grilled cheese that didn’t burn the bread before the cheese melted! The tip about medium-low heat is a game changer for someone as clumsy in the kitchen as me.
Used gluten-free sourdough for this and it held up perfectly! A lot of gluten-free bread gets too crispy or falls apart when you grill it, but this worked so well with the jam and cheese.
Packed these for my day hike last weekend, wrapped in foil, and they were still warm and melty when I stopped for lunch at the summit. Way better than the sad energy bars I usually bring.
Made these for a lazy Sunday brunch with my roommates, served with a side of arugula tossed in lemon vinaigrette, and we all ate way too much. The peppery arugula with the sweet jam is chef’s kiss.
I added a thin layer of hot honey to mine along with the fig jam, and the sweet-spicy-savory combo is insane. If you like a little kick, don’t sleep on that addition.
I never leave reviews on recipes but this one deserved it. I’m the pickiest eater ever, I basically only eat plain cheese pizza and plain grilled cheese, but my girlfriend convinced me to try this and I’m obsessed.
Served these at our weekly Sunday family dinner last week, alongside bowls of tomato basil soup and roasted veggies. Everyone from my 4 year old niece to my 82 year old grandma loved it. Total crowd pleaser.
All the ingredients for this cost me less than $10 total at the grocery store, and it made 4 sandwiches! Way cheaper and tastier than getting takeout for lunch during the week.
Made this at 1am after a night out with friends, and it was the best late night snack I’ve ever made. Zero effort, maximum flavor, 10/10 drunk food upgrade.