
Fluffy Easy No Knead Yeast Rolls

title 1
Fluffy Easy No Knead Yeast Rolls
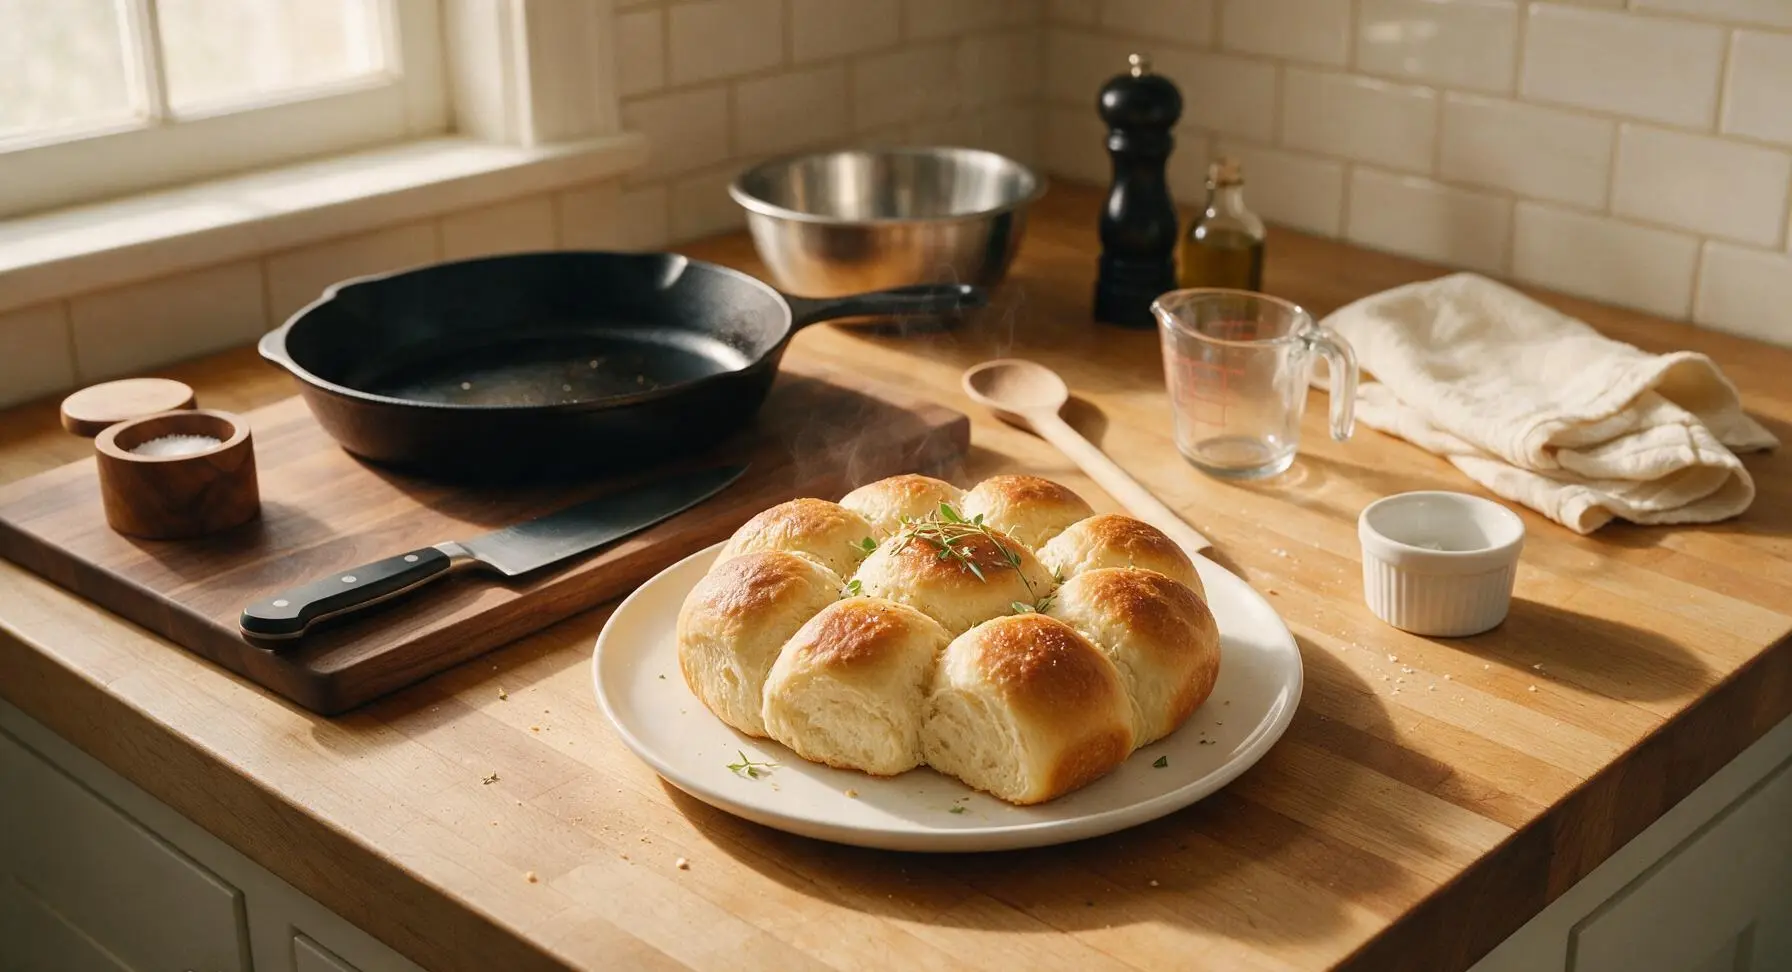
⏱️ cook time 20 minutes
🍽️ servings 12
⚡ Difficulty easy

intro

Soft, pillowy no-knead yeast rolls with a golden buttery crust and light pull-apart crumb—zero fancy equipment or kneading required, perfect for holiday tables.

Ingredients
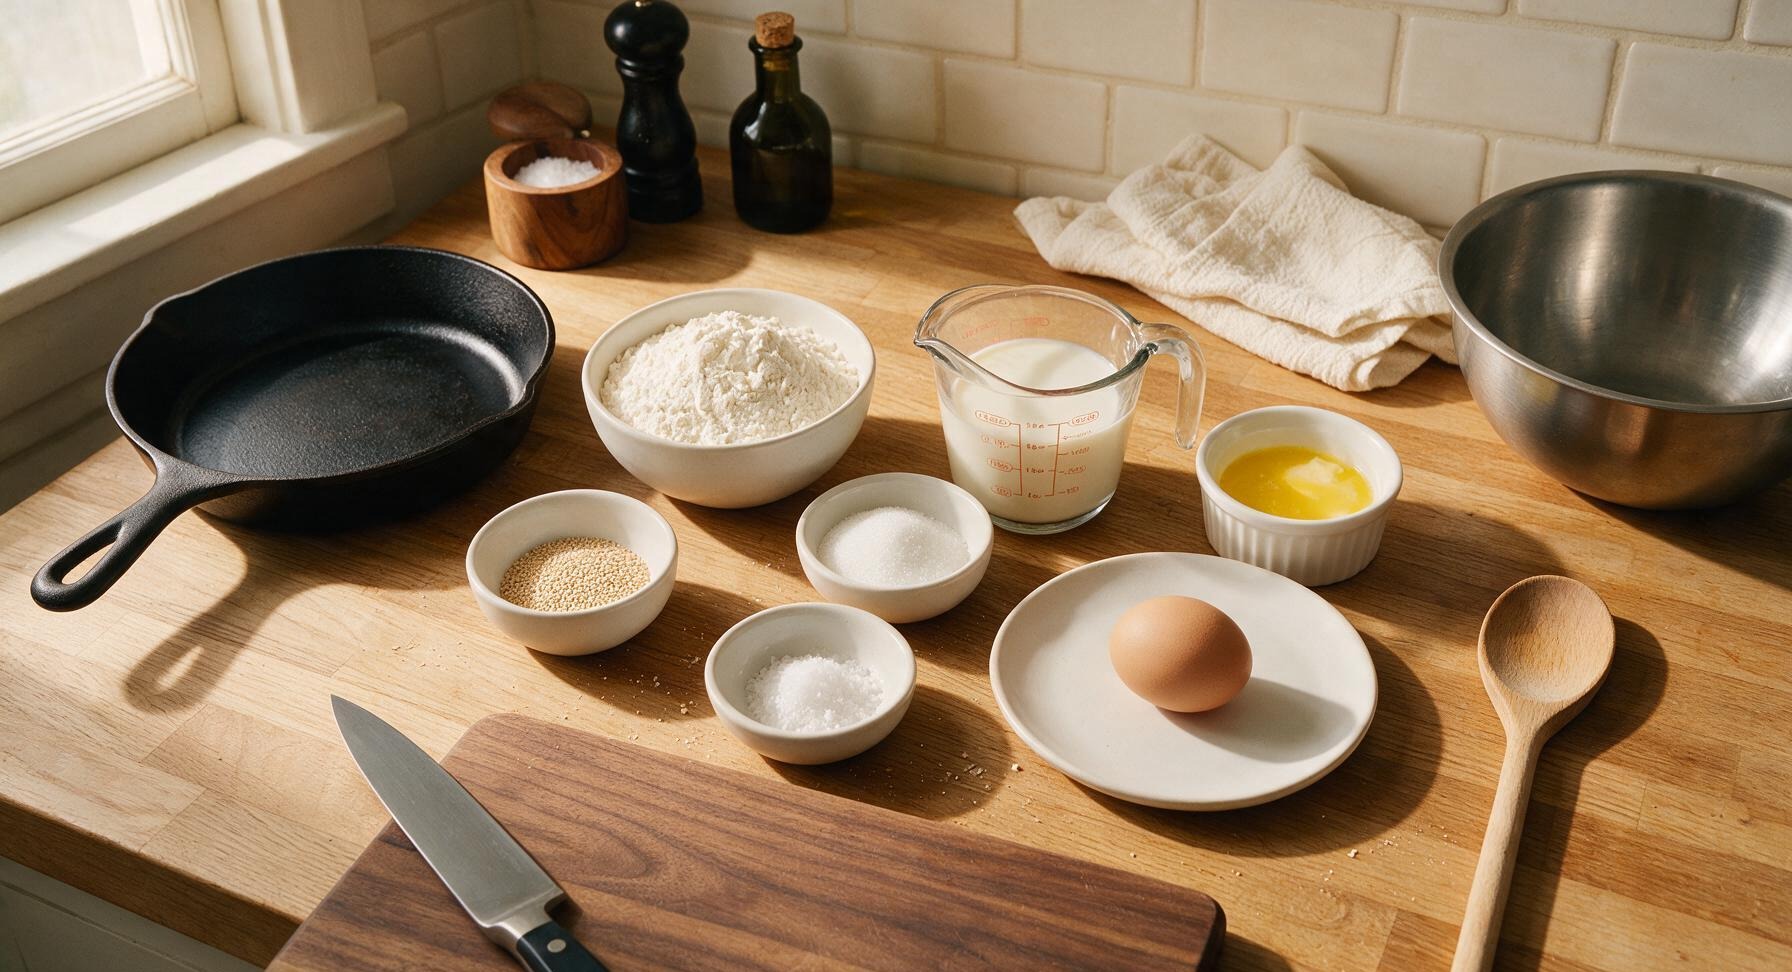
All-purpose flour 4 cups (480g)
Instant dry yeast 2 1/4 tsp (7g, 1 standard packet)
Granulated sugar 2 tbsp (25g)
Fine sea salt 1 1/2 tsp
Whole milk 1 1/2 cups (360ml), warmed to 110°F/43°C
Unsalted butter 4 tbsp (56g), melted, divided
Large egg 1, room temperature

Steps

1

Mix Yeast Base

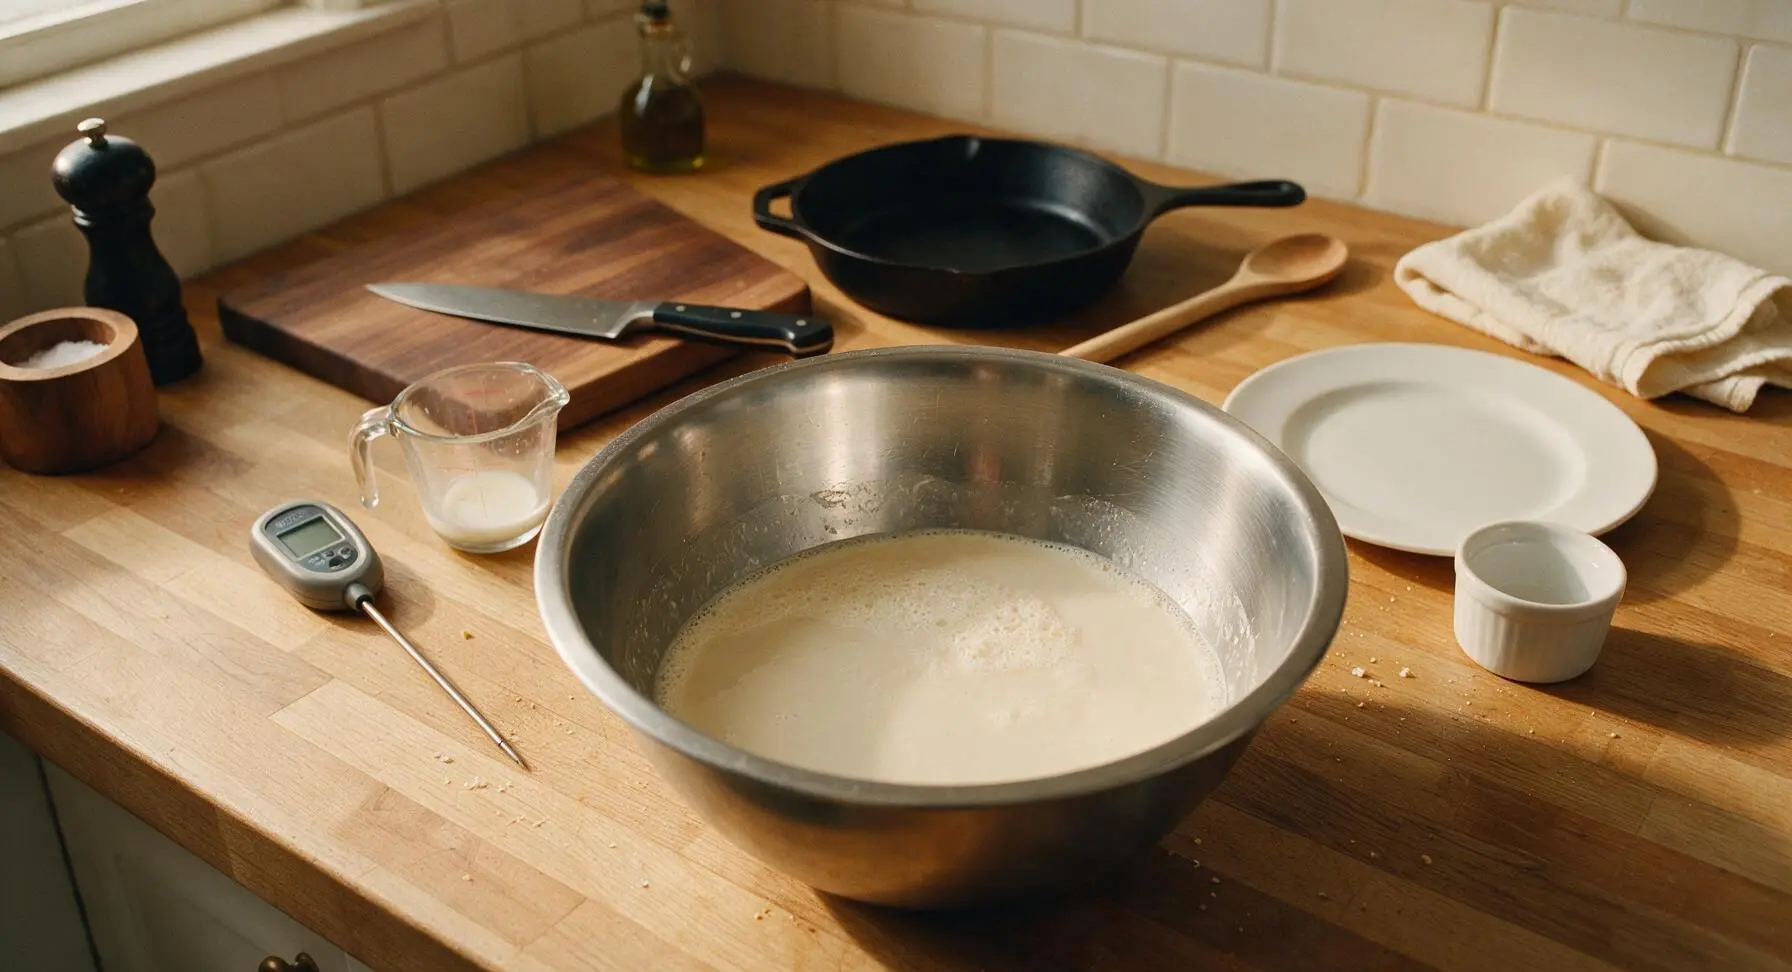
Pour warm whole milk (heated to exactly 110°F/43°C, verified with the digital instant-read thermometer) into the large brushed stainless steel mixing bowl. Stir in granulated sugar and instant yeast with the butter-yellow silicone spatula until dissolved. Let the mixture rest for 5 minutes, until a thin foamy layer forms on the surface, confirming the yeast is active. Stir in 3 tablespoons of melted unsalted butter and the beaten room-temperature egg until fully combined into a smooth pale liquid.
Step 1
step1:Mix Yeast Base
2

Combine to Form Dough

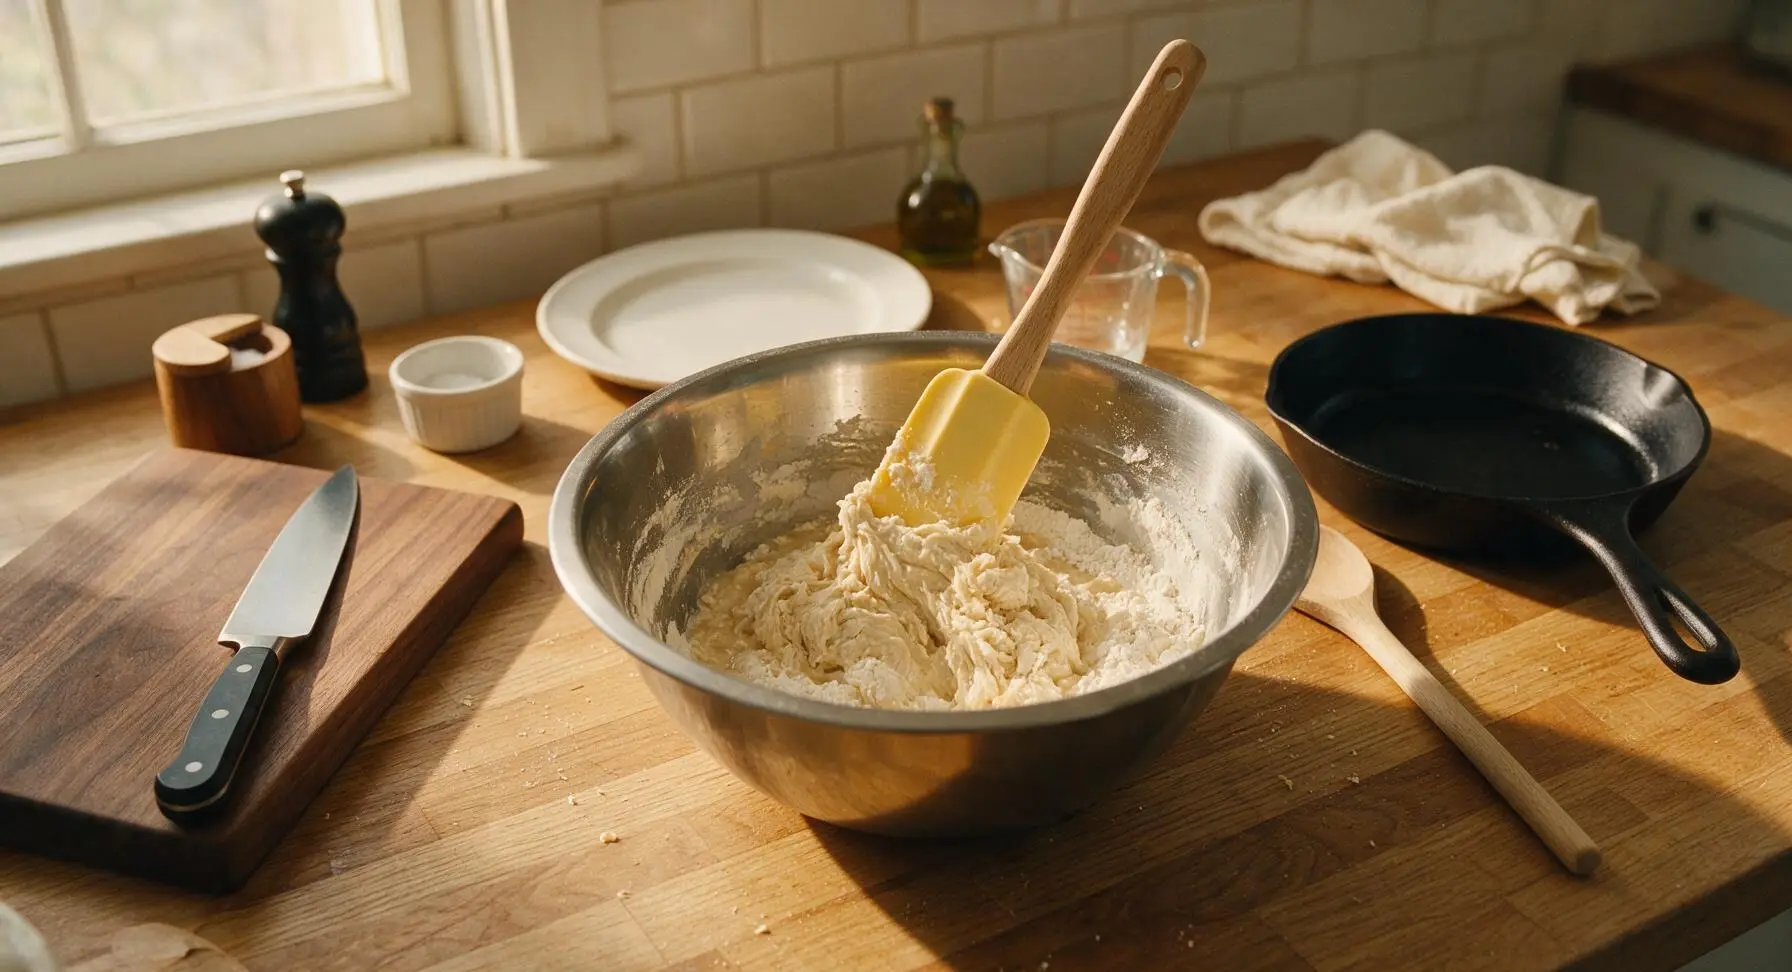
Add all-purpose flour and fine sea salt to the wet yeast mixture in the mixing bowl. Use the silicone spatula to stir thoroughly until no dry white flour pockets remain, forming a shaggy, soft, sticky dough. Do not knead the dough—slow gluten development during the rising process will create the fluffy texture without manual kneading. The dough will pull slightly away from the bowl sides but stick gently to the spatula.
Step 2
step2:Combine to Form Dough
3

First Dough Rise

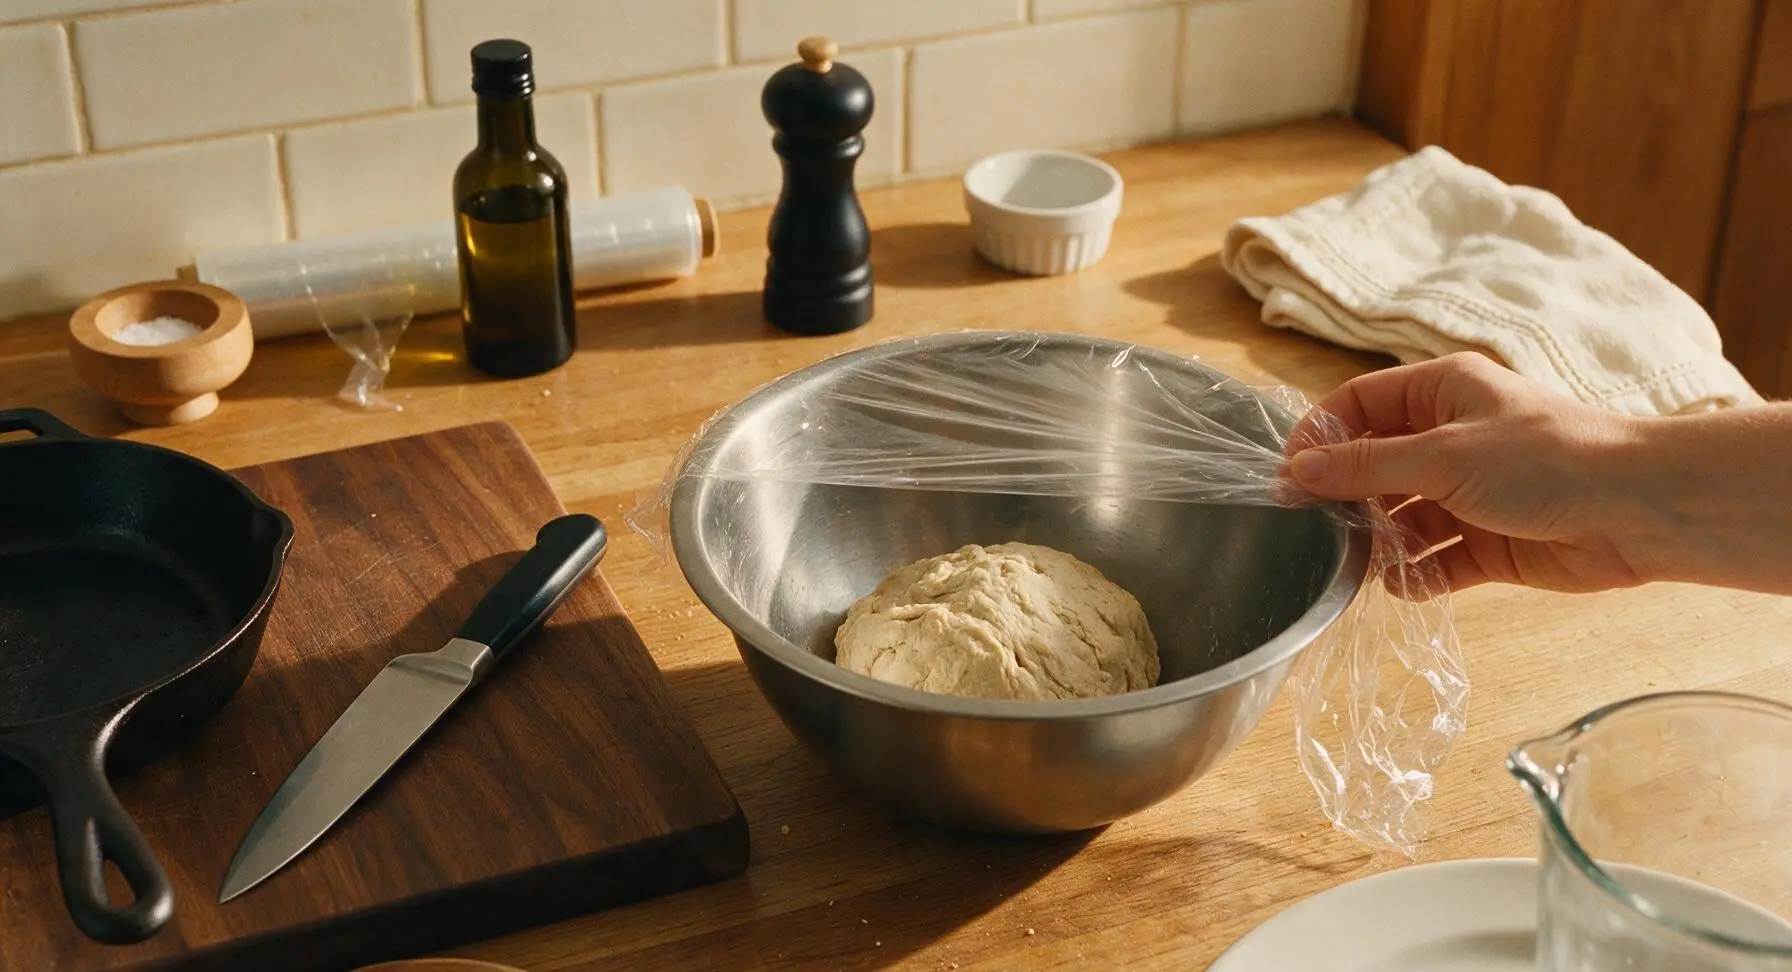
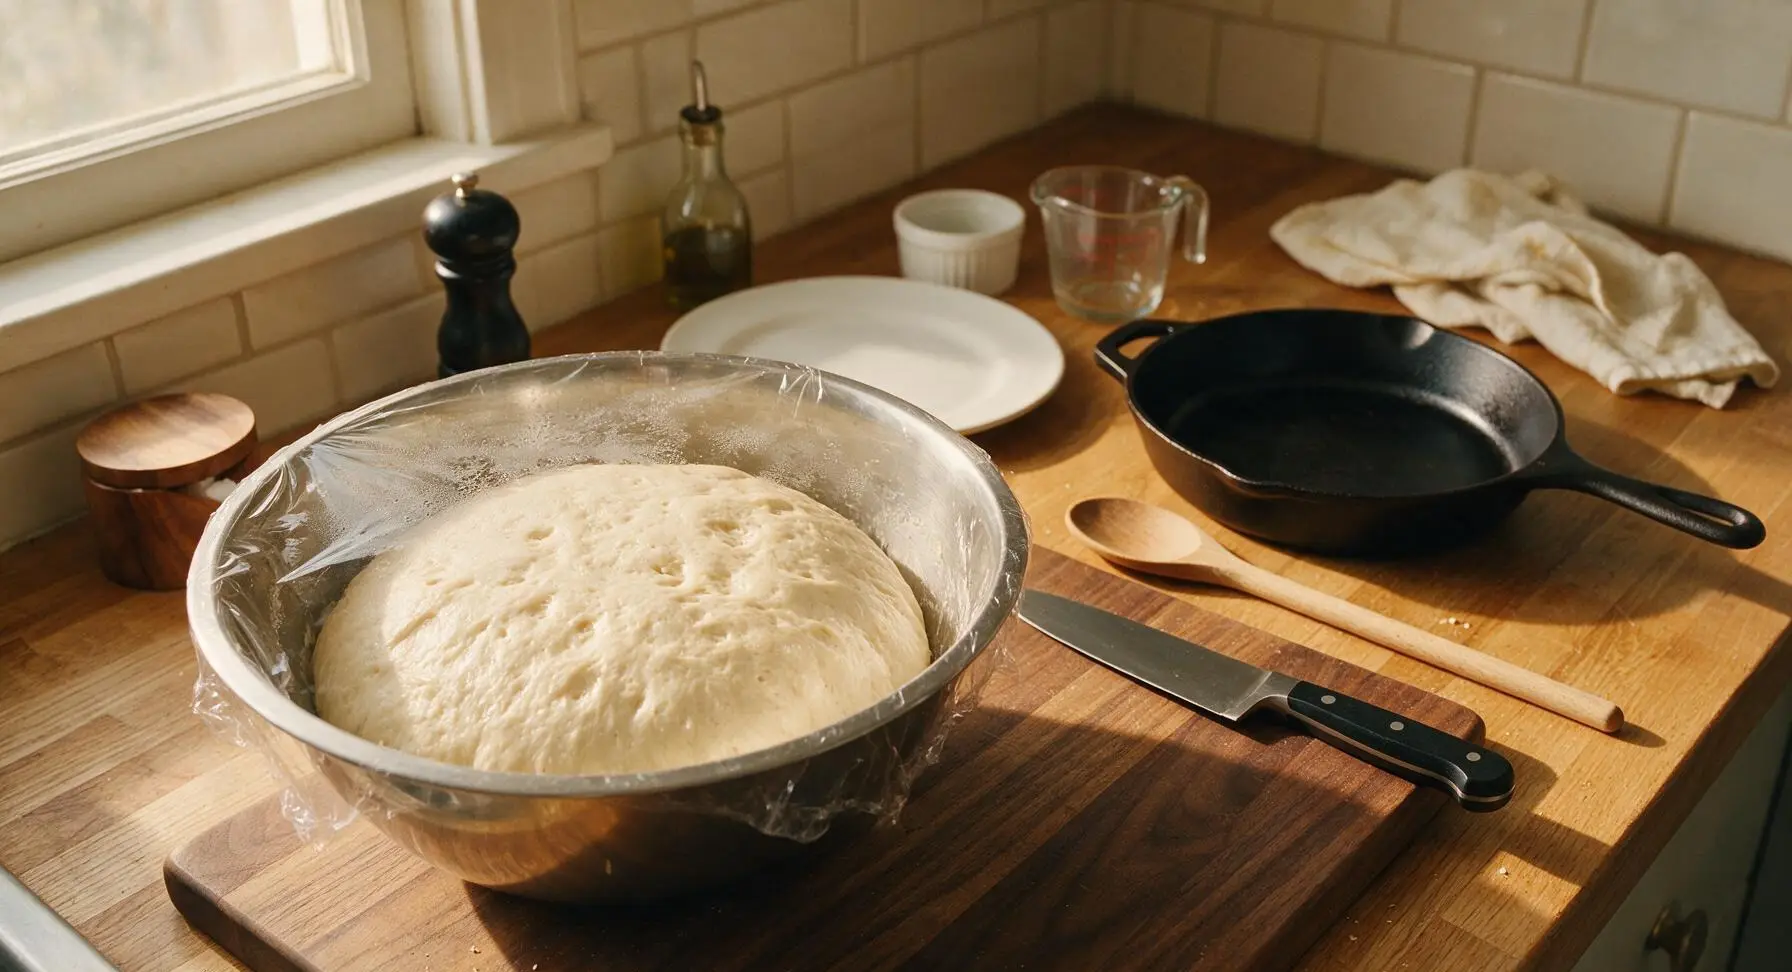
Scrape down the bowl sides with the silicone spatula to gather the shaggy dough into a loose, rough ball in the center of the bowl. Tear a sheet of clear plastic wrap from the roll stored on the back left counter, and stretch it tightly over the bowl rim to create an airtight seal. Let the dough rise in a warm, draft-free spot on the counter for 1 full hour, until it doubles in volume, looks light and bubbly, and jiggles slightly when the bowl is tapped.
Step 3
step3:First Dough Rise
Step 3
step3:First Dough Rise
4

Portion Dough Balls

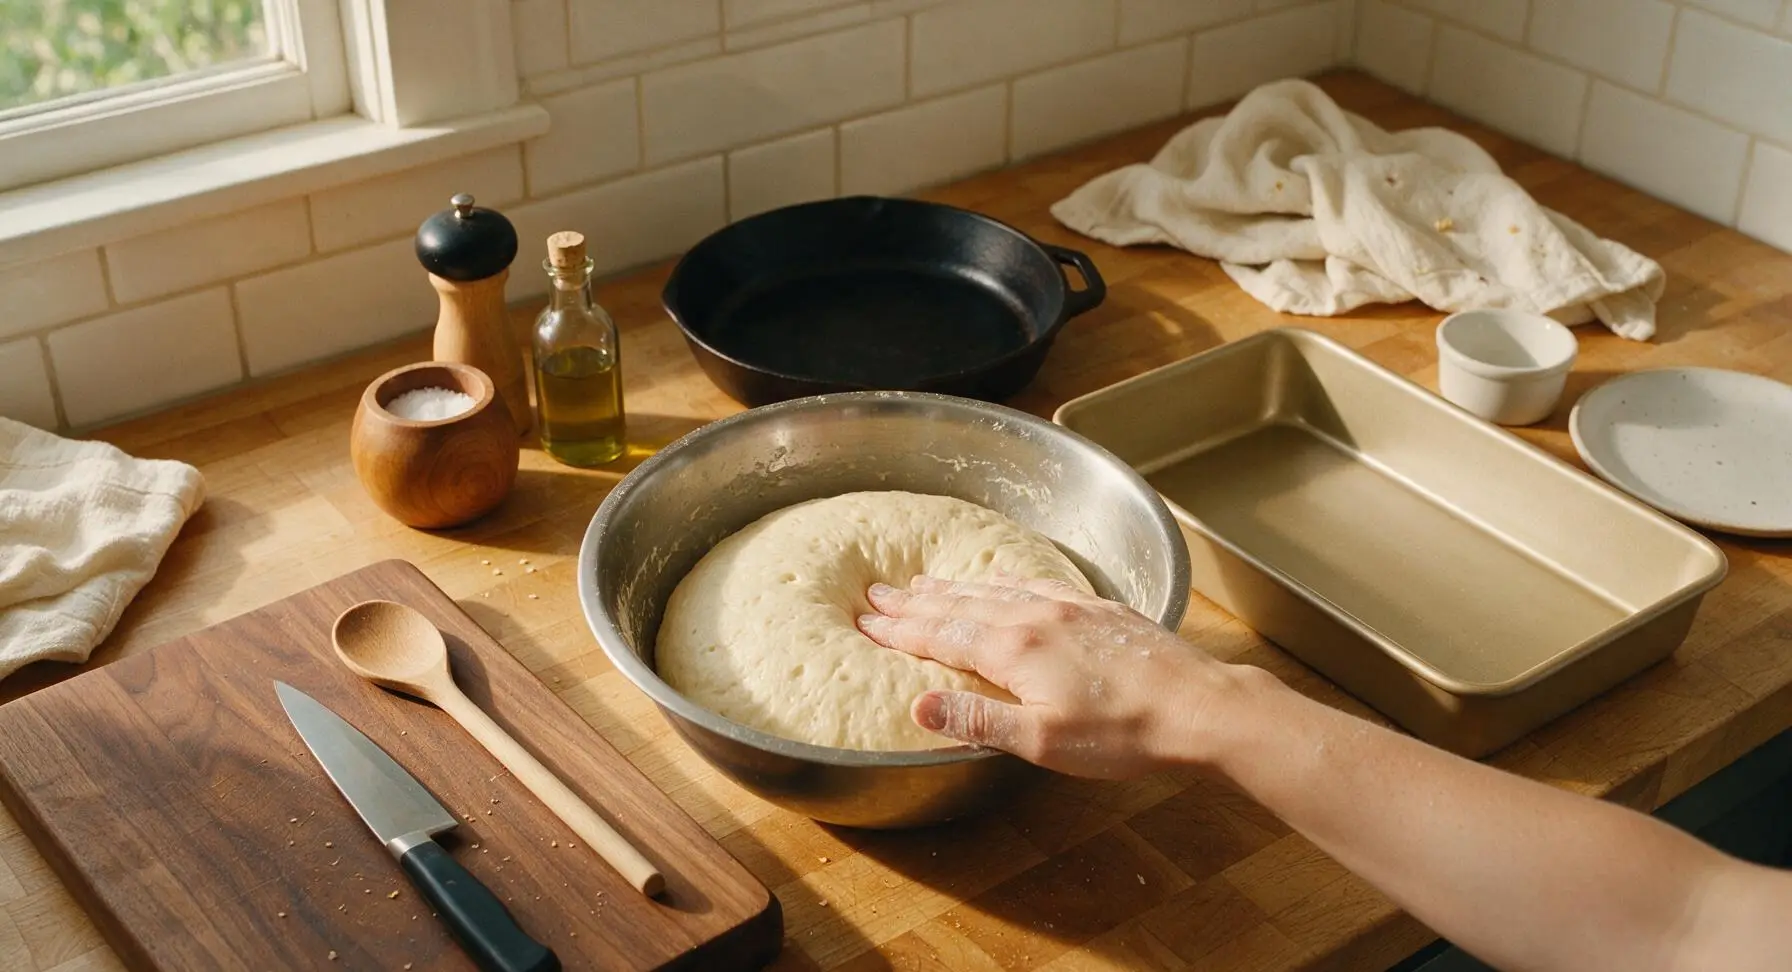
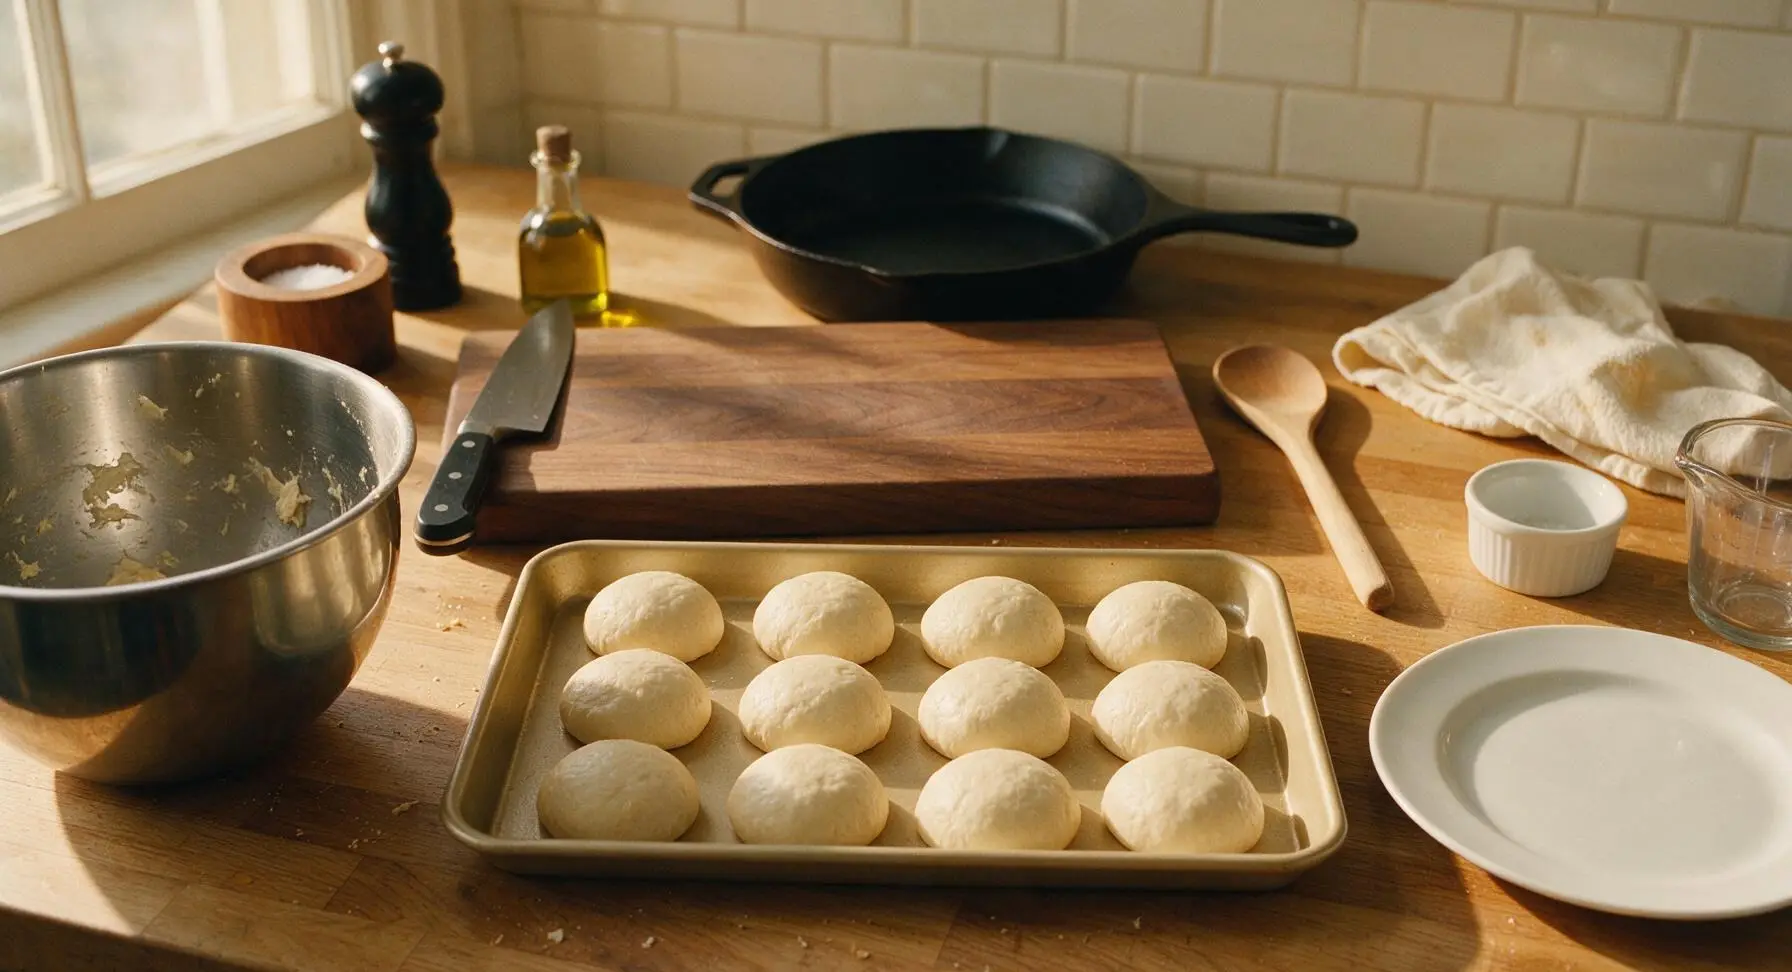
Peel the plastic wrap off the risen dough and set it aside. Lightly flour your fingertips to prevent sticking (do not flour the counter, as this will add too much extra flour to the dough). Gently press down on the puffed dough to deflate trapped air bubbles. Pinch off 12 equal portions (approximately 65g each), tucking the ragged edges of each portion under to form smooth, tight round balls. Arrange the dough balls evenly in the 9x13 inch light gold baking pan, leaving 1cm gaps between each ball to allow space for the second rise.
Step 4
step4:Portion Dough Balls
Step 4
step4:Portion Dough Balls
5

Proof Shaped Rolls

Loosely cover the baking pan of dough balls with a fresh sheet of clear plastic wrap. Let the rolls proof for 30 minutes in the same warm, draft-free spot, until the dough balls puff up to fill all gaps between them, pressing against each other and rising just above the rim of the pan. While the rolls proof, preheat your oven to 375°F (190°C).
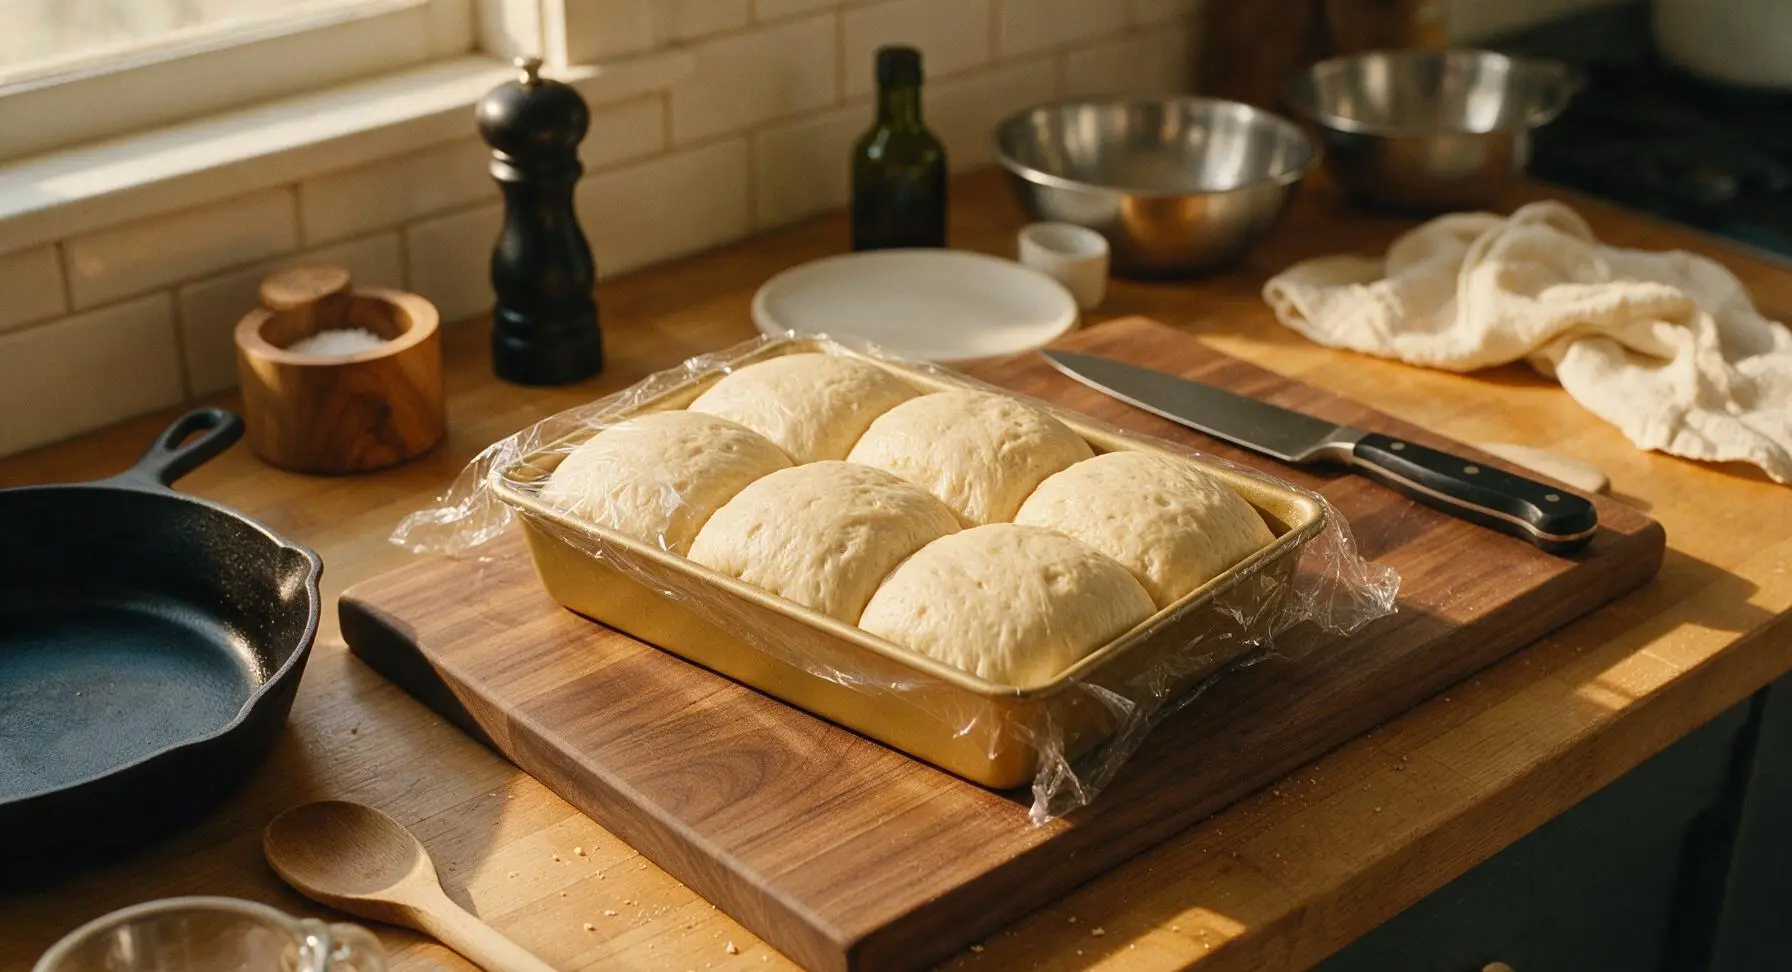
Step 5
step5:Proof Shaped Rolls
6

Butter Roll Tops

Remove the plastic wrap from the proofed rolls. Melt the remaining 1 tablespoon of unsalted butter in the small matte cream ceramic ramekin. Use the natural boar bristle pastry brush to gently brush half of the melted butter across the entire top surface of the puffed rolls, using light, soft strokes to avoid deflating the delicate risen dough.
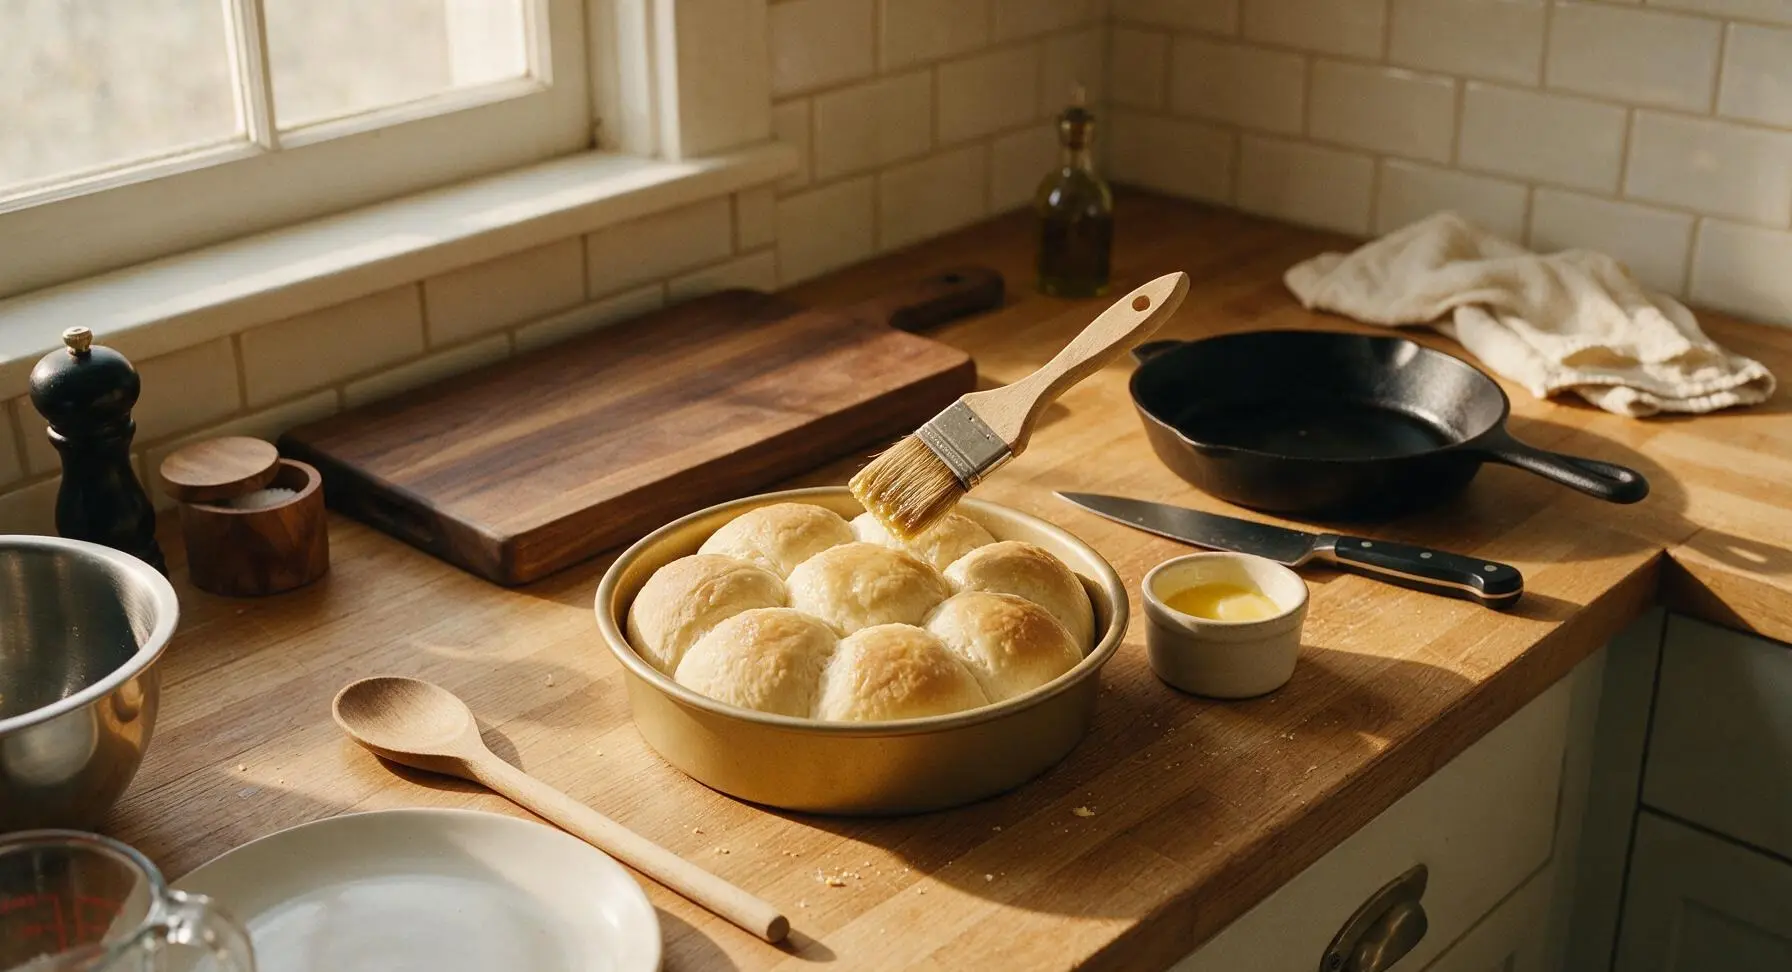
Step 6
step6:Butter Roll Tops
7

Bake to Golden Brown

Place the baking pan on the middle rack of the preheated 375°F (190°C) oven. Bake for 18-20 minutes, until the roll tops are a deep, even golden brown. To confirm doneness, insert the digital instant-read thermometer into the center of the middle roll—it should read 190°F (88°C), and the roll will sound hollow when tapped lightly.
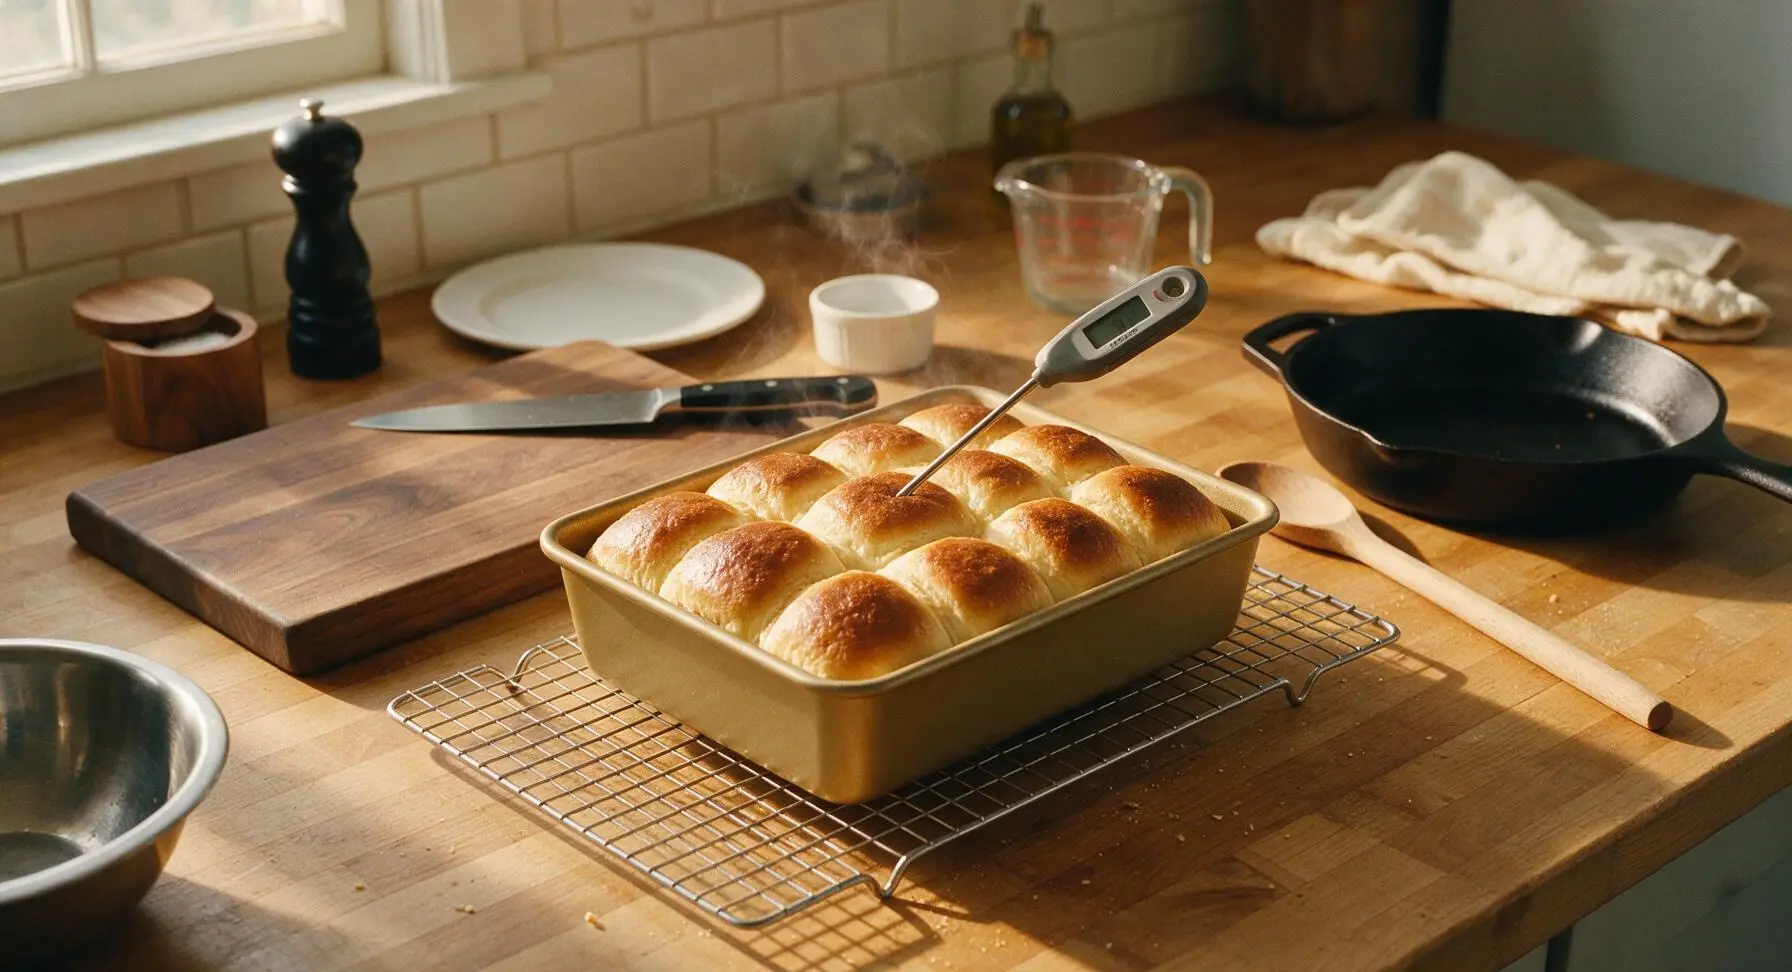
Step 7
step7:Bake to Golden Brown
8

Finish and Serve Warm

Immediately brush the hot baked rolls with the remaining melted butter using the pastry brush. Let the rolls cool in the pan for 5 minutes, then transfer them to the cream white ceramic oval serving platter. Serve warm, pulling the soft rolls apart to reveal their light, airy, stringy crumb.
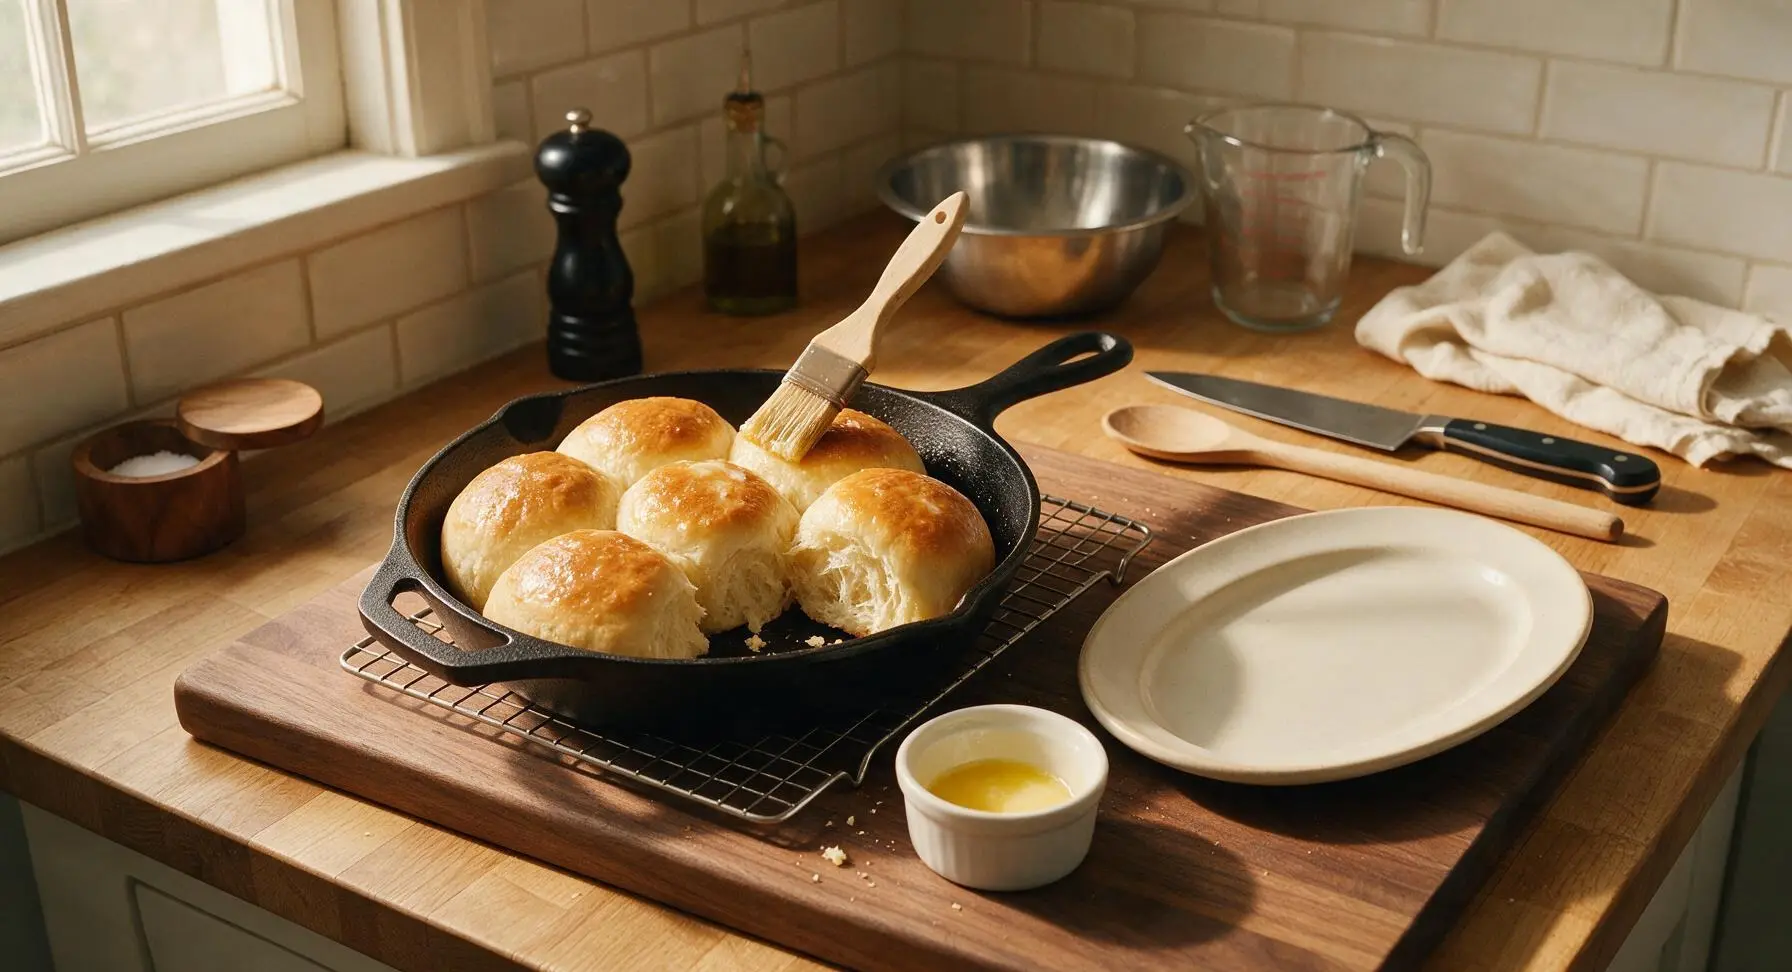
Step 8
step8:Finish and Serve Warm

Tips

1.Avoid using milk hotter than 115°F/46°C to mix with yeast, as high temperatures will kill live yeast cells and prevent your rolls from rising. If you don’t have a thermometer, test the milk on your inner wrist—it should feel like warm bath water, not hot to the touch.
2.Resist the urge to add extra flour when mixing the shaggy dough, even if it feels sticky. Too much flour will create dense, heavy rolls instead of light, fluffy ones; lightly flouring only your fingertips is enough to prevent sticking while portioning.
3.Brush the hot baked rolls with melted butter immediately after removing them from the oven. The butter soaks into the top crust to keep it soft and tender, rather than turning crisp and hard as the rolls cool, and adds rich, buttery flavor to every bite.


✨ You May Also Like

Side Dishes
🍜 India

Velvety, aromatic all-purpose curry sauce perfect for tossing with roasted veggies, grilled protein, or rice for fast, cozy, flavorful meals.

⏱️ 25 minuteSide Dishes ★ 4.8
Side Dishes
🍜 Spain

Tender, starchy boiled yuca tossed in bright, garlicky citrus mojo sauce—an iconic, zesty side that pairs beautifully with roasted pork, grilled meats, and rice and beans.

⏱️ 40 minuteSide Dishes ★ 5
Side Dishes
🍜 United States

Tender, paper-thin potato flatbread, a beloved Norwegian-American Minnesota Christmas staple, griddled until softly spotted and served warm with butter.

⏱️ 1 hour 30Side Dishes ★ 4.6
Side Dishes
🍜 United States

Rich, deeply savory cured salt pork, a long-lasting kitchen staple perfect for frying crispy as a side or adding umami to stews, beans, and chowders.

⏱️ 7 days (2Side Dishes ★ 4.9
Side Dishes
🍜 United States

Crispy, tangy classic Southern fried green tomatoes with a crunchy cornmeal crust, served hot for a nostalgic, comforting summery bite.

⏱️ 25 minuteSide Dishes ★ 4.9
Side Dishes
🍜 United States

Moist, golden-crusted savory muffins with sweet corn, zesty jalapeño, and melted cheddar, perfect for pairing with smoky summer grilled fare.

⏱️ 30 minuteSide Dishes ★ 4.9

Fluffy Easy No Knead Yeast Rolls:Frequently Asked Questions

1.Do I actually need to knead these rolls at all to get that soft, fluffy texture? ▾
You truly don’t! This high-moisture dough builds strong gluten strands naturally during its slow rise, no manual kneading or stand mixer required. Just stir all ingredients—flour, yeast, sugar, fine sea salt, and warm milk—together until no dry lumps remain, cover tightly, and rest for that perfect pillowy, pull-apart crumb with zero extra arm work.
2.Can I use active dry yeast instead of the instant dry yeast called for? ▾
Absolutely! If using active dry yeast, warm your whole milk to 110°F, stir in a pinch of the recipe’s granulated sugar, then sprinkle the yeast over top and let it foam for 5–7 minutes before mixing with the remaining ingredients. Use the exact same quantity called for, no other adjustments needed.
3.Why did my rolls turn out dense instead of light and pillowy? ▾
Dense rolls almost always trace back to insufficient rise time, expired yeast, or milk that was too hot and killed the yeast. Always test older yeast first, let dough rise in a warm, draft-free spot until visibly doubled, and never heat milk over 115°F to keep yeast active and healthy.
4.Can I make this dough ahead of time for holiday meals? ▾
Definitely! After the first slow rise, cover the dough tightly and refrigerate it for up to 3 days before shaping, proofing, and baking. This slow cold rise actually deepens the dough’s subtle yeasty flavor and makes it easy to bake fresh, warm rolls right before your holiday gathering.
5.Do I have to use whole milk, or can I swap in a lower-fat option? ▾
Whole milk gives these rolls their rich, tender crumb and soft golden crust, but you can swap in 2% milk if that’s what you have on hand. I don’t recommend skim milk, as it lacks enough fat to keep the crumb moist; if using skim, stir in 1 tablespoon of melted butter per cup to match the richness.
6.How do I get that perfect glossy, golden buttery crust on the rolls? ▾
Right before baking, brush the tops of fully proofed rolls with 2 tablespoons of melted salted butter, then bake at 375°F for 18–22 minutes until the tops are deep golden. For extra richness and shine, brush the hot rolls with another thin layer of melted butter immediately after pulling them from the oven.
7.My no-knead dough is really sticky—should I add more flour to fix it? ▾
No-knead dough is supposed to be soft and slightly sticky! Resist the urge to add extra all-purpose flour, as that will make your finished rolls dense and dry instead of light and pillowy. When shaping, lightly oil your hands and work surface instead of dusting with flour to prevent sticking without throwing off the ratio.
8.How should I store leftover rolls to keep them soft for days? ▾
Let leftover rolls cool completely to room temperature first, then store them in an airtight container or sealed zip-top bag at room temperature for up to 3 days. To refresh them, wrap individual rolls in a damp paper towel and microwave for 10–15 seconds, or warm in a 300°F oven for 5 minutes.
9.Can I freeze these rolls to enjoy later? ▾
Yes, these rolls freeze beautifully! Let baked rolls cool fully, then wrap them tightly in two layers of plastic wrap and a layer of aluminum foil, and freeze for up to 3 months. Thaw at room temperature, then warm in a 300°F oven for 8–10 minutes before serving to bring back that fresh-baked softness.
10.What pan should I use to get that classic pull-apart roll shape? ▾
For perfect connected pull-apart rolls, arrange shaped dough balls in a greased 9x13-inch baking pan, leaving a small gap between each one to let them puff and fuse as they proof and bake. If you want taller, more individual rolls, use a 9-inch round cake pan for half a batch instead.

Comments (16)

3 days ago

OMG these rolls are a total game changer! I’ve always been terrified of working with yeast because I thought it was super fussy, but no knead? Sign me up. Made these for our Sunday family dinner and my kids literally fought over the last one. SO fluffy and buttery, I didn’t even have to spend forever kneading dough. Will be making these every week from now on!

2 days ago

Right?! I was so nervous about yeast too, I’ve killed so many packets in the past, but these came out perfect first try! I brushed a little garlic butter on top right when they came out and *chef’s kiss*

2 days ago

So happy these worked out for you both! The garlic butter brush on top is such a great upgrade, I do that half the time when I’m serving them with pasta too.

1 week ago

Made these to bring on our weekend camping trip with friends, prepped the dough the night before then baked them in our camp Dutch oven and they turned out insane. Everyone kept asking where I bought them, couldn’t believe I made them from scratch with basically zero effort. Perfect for meal prep too, I froze half the batch and they reheated like fresh.

3 days ago

Super easy recipe, only reason I’m not giving 5 stars is I think I let my dough rise a little too long on the counter because my kitchen is super warm right now, so they spread a little more than I expected. Still tasted amazing though, kids gobbled them up with our chili night dinner.

2 days ago

Thanks for the honest feedback! If your kitchen is warmer than 75°F, you can cut the first rise time by 20-30 minutes to keep them from spreading too much next time, glad they still tasted great for your chili night!

2 weeks ago

Brought these to our neighborhood block party potluck last weekend and they were gone in 10 minutes flat! I got so many recipe requests I just sent this link to half our street group chat. So easy to throw together even when you’re crunched for time making 3 other dishes for a potluck. 10/10.

5 days ago

As a college kid with literally zero fancy baking equipment, I cannot believe how good these came out. I don’t even have a stand mixer, just mixed it with a wooden spoon in a big bowl, let it rise, and baked. Fluffiest rolls I’ve ever had, way better than the store bought frozen ones I used to buy. Saved so much money too!

3 days ago

Same! I made these in my tiny dorm toaster oven last week in a little baking pan, had to split the batch into two bakes but they still came out perfect. No fancy gear needed at all.

2 days ago

Wait, cook time is really only 20 minutes? I was skeptical because every other yeast roll recipe I’ve tried takes forever to bake and rise, but these were done so fast. I added a little honey to the dough for a tiny bit of sweetness and they tasted exactly like the fancy dinner rolls my grandma used to make. Obsessed.

yesterday

The honey addition is genius! I did the same thing, plus a sprinkle of flaky sea salt on top before baking, and my whole family said they were better than any bakery rolls.

yesterday

Love the honey and sea salt tweaks! The 20 minute cook time is totally accurate as long as your oven is preheated properly – no need to bake them forever, they stay soft and fluffy that way.

1 week ago

These are my new go-to for weekly meal prep! I make a double batch on Sunday, portion them out, and they pair perfectly with soup, roasted chicken, even breakfast with a little jam. They stay soft in the fridge for 4 days and reheat in the microwave in 10 seconds. Absolute win for busy work weeks.

30 minutes ago

Just pulled these out of the oven and I’m literally crying, first time I’ve ever made bread that didn’t turn out like a hockey puck. They’re so fluffy! I followed the recipe exactly, didn’t change a thing, and they look just like the photos. Thank you for making this so easy for beginners!

5 minutes ago

This makes my day! So proud of you for nailing it on your first try, nothing beats the feeling of pulling fresh, warm rolls out of the oven. Hope you enjoy every bite!

2 hours ago

Made these to go with my brisket dinner tonight, they were solid! Only note is I wish I’d added a little more salt to the dough for my taste, but texture was perfect – light, fluffy, didn’t get dense even when they cooled down. Will definitely make again, just tweak the salt a bit.

30 minutes ago

I added an extra 1/4 tsp of salt and a little smoked paprika to the tops when I made them for brisket night last week, it was chef’s kiss. Pairs so well with the smoky meat.

5 minutes ago

Great call on the extra salt for savory meals! Everyone’s salt preference is a little different, so adjusting to taste is always encouraged, and the smoked paprika sprinkle sounds amazing with brisket.

2 weeks ago

I tested these ahead of our Thanksgiving dinner because I was sick of paying crazy prices for fancy bakery rolls, and they are going to be the star of the bread basket! I can make the dough a day ahead, keep it in the fridge, then pop them in the oven 20 minutes before we eat. Zero stress for a busy holiday meal.

1 week ago

I did the same make-ahead trick for Friendsgiving last year! The dough actually gets a little better flavor when it sits cold in the fridge overnight, I highly recommend it.

just now

Just mixed up the dough, it’s rising on my counter right now and it already smells so yeasty and good. Can’t wait to bake them in a little bit, the instructions were so straightforward I didn’t even have to re-read steps 5 times like I usually do with baking recipes.

5 days ago

My teenager asked if we could have ‘fancy restaurant rolls’ for dinner this week, so I found this recipe and wow. He said they were better than the ones we get at our favorite steakhouse. Win for dad points! I melted a little garlic herb butter to brush on top when they came out, unreal.

3 days ago

Love that you earned major dad points with these! Garlic herb butter is such a classic pairing with steak dinners, I can see why your teen thought they were restaurant quality.

3 days ago

Taste was great, but my rolls didn’t get as fluffy as the photos? I think I might have used old yeast because they didn’t rise as much as the recipe said they would, even after waiting extra time. Bummed they were a little dense, but the flavor was there so I’ll try again with fresh yeast.

2 days ago

Oh I did that my first time too! Always test your yeast by mixing it with a little warm water and sugar first, if it doesn’t get foamy after 5 minutes it’s dead, saves you from wasting ingredients.

yesterday

So sorry they didn’t fluff up for you! Kate’s tip about testing yeast is spot on – old inactive yeast is almost always the culprit for dense rolls. Give it another go with fresh yeast, I know they’ll turn out perfect next time!

1 week ago

These are so versatile! I made a batch for my post-yoga brunch last weekend, split them open, and made little breakfast sliders with egg, cheese, and turkey sausage. Everyone was raving, they said the rolls were the best part of the sliders. Will be making these for brunch every month.

2 days ago

My husband is deployed right now so I’ve been making easy comfort foods to send him care packages, and these rolls held up perfectly when I vacuum sealed them! He said they tasted just like fresh baked when he reheated them, and all the guys in his unit asked for the recipe. So grateful for easy, sturdy recipes that travel well.

yesterday

This is such a sweet note, thank you so much for sharing! Sending a huge thank you to your husband for his service, I’m so glad these rolls brought a little taste of home to him and his unit.

5 days ago

It’s finally soup season so I’ve been on the hunt for easy bread to go with all my soup batches, and these are perfect! Soft, fluffy, so good for dipping in tomato soup or potato leek soup. I didn’t even have to knead, which is perfect for when I’m lazy on cold rainy days.

3 days ago

Dipping these in tomato soup is chef’s kiss! I made a batch last week when it was pouring outside, paired with homemade tomato soup, and it was the coziest meal I’ve had all fall.

2 days ago

There’s nothing better than warm rolls and soup on a cold rainy day! They’re the perfect dipping texture because they’re fluffy but don’t fall apart when you dip them in broth or soup.



