
flying saucer sandwich

title 1
flying saucer sandwich
⏱️ cook time 12 minutes
🍽️ servings 4
⚡ Difficulty easy

intro

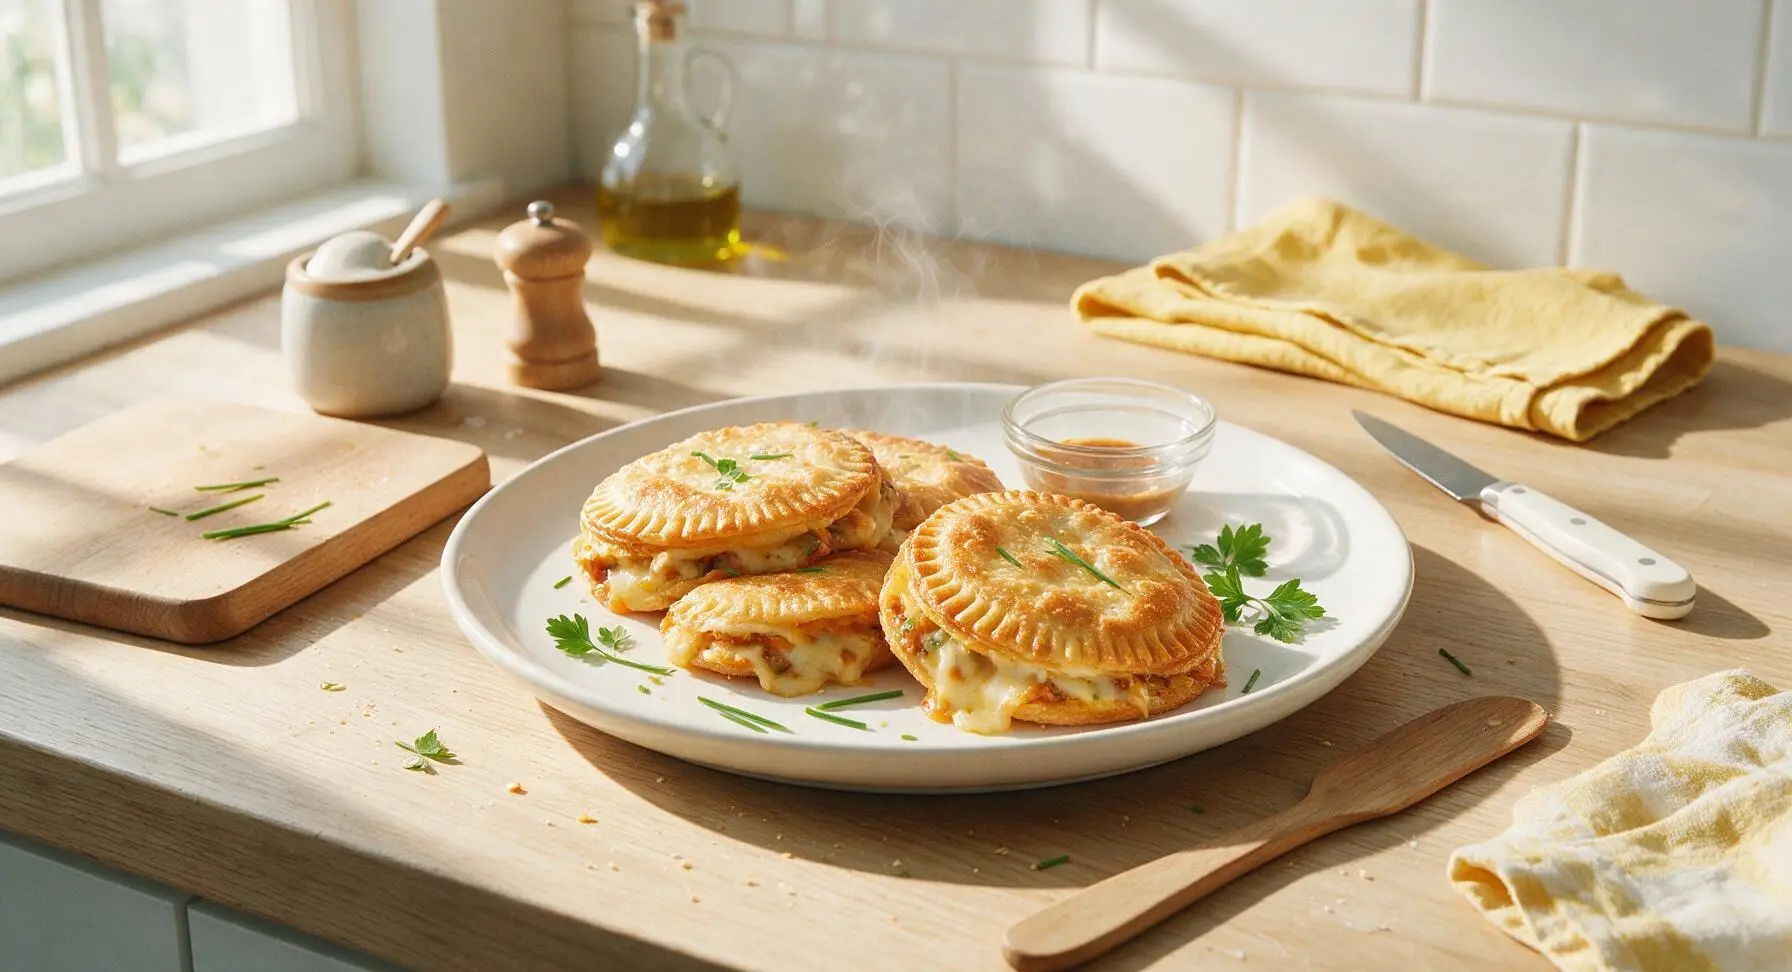
Crispy, golden crimped round sandwiches oozing with melted cheese and savory fillings, this 1950s American diner favorite is quick, satisfying, and endlessly customizable.

Ingredients
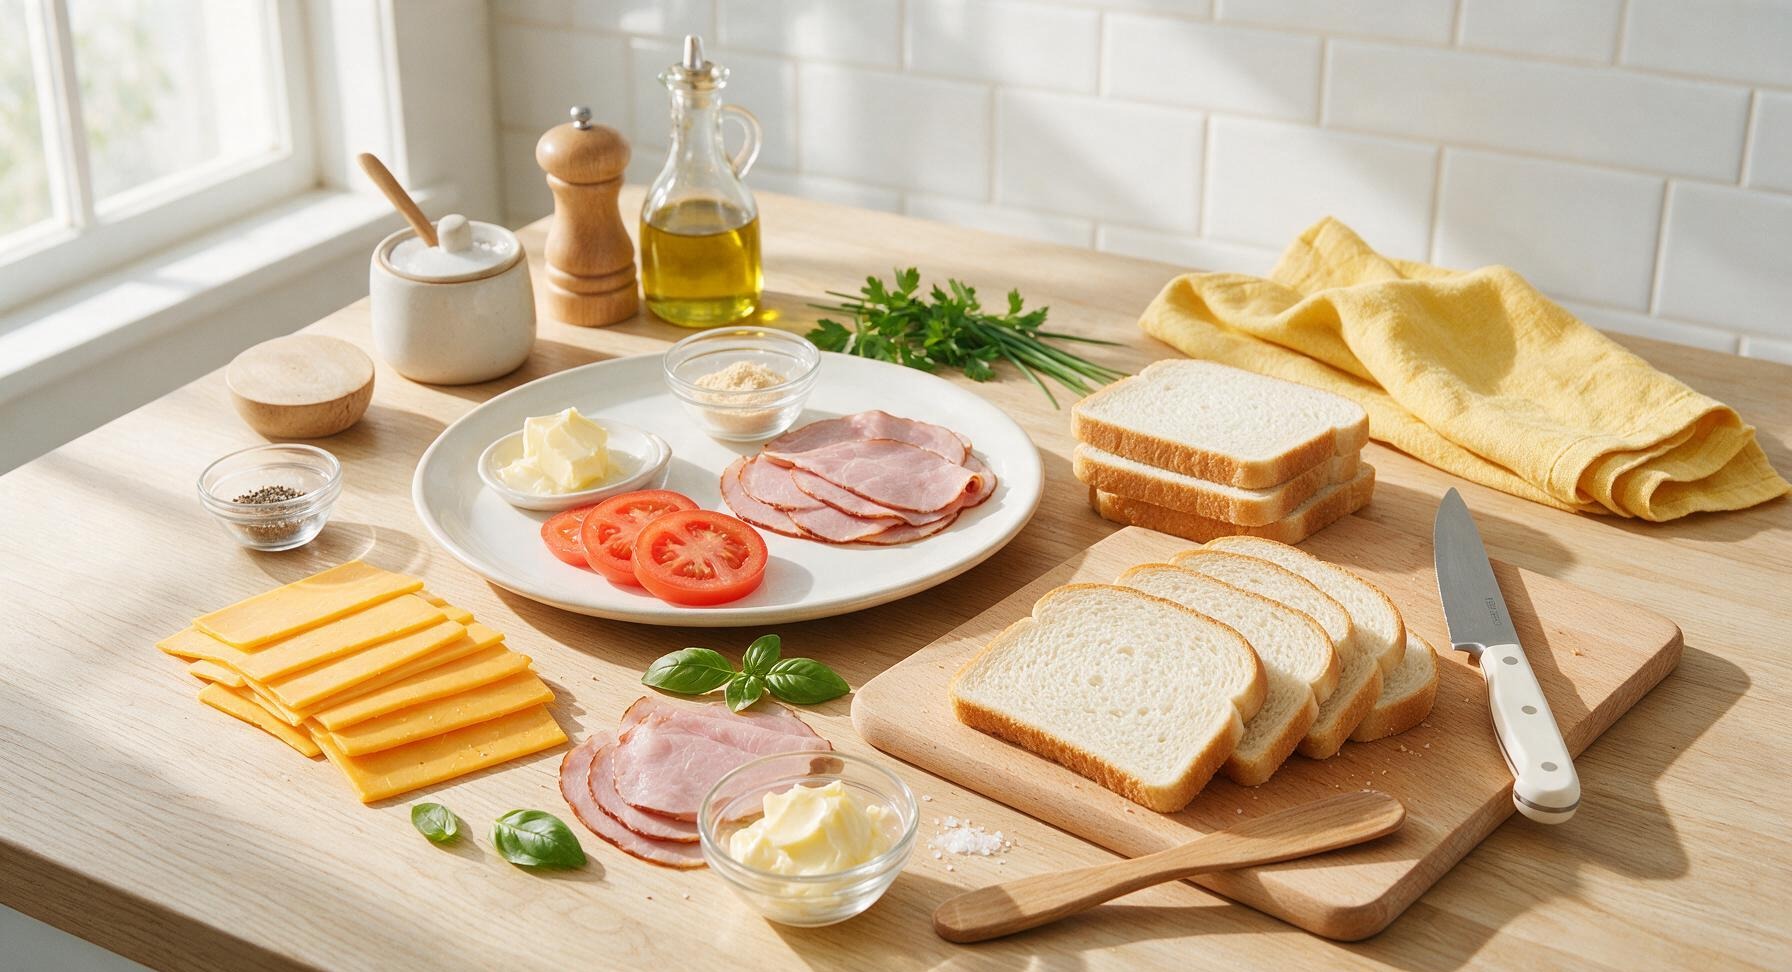
Soft white sandwich bread 8 slices
Sharp cheddar cheese, thinly sliced 170g (8 slices)
Deli Black Forest ham, thinly sliced 120g (8 slices)
Roma tomato 1 small (100g, sliced into 4 rounds)
Salted butter, softened 55g (4 tbsp)
Garlic powder 1g (¼ tsp)
Fresh basil leaves 8 small leaves
Kosher salt 1g (¼ tsp)
Freshly ground black pepper 0.5g (⅛ tsp)

Steps

1

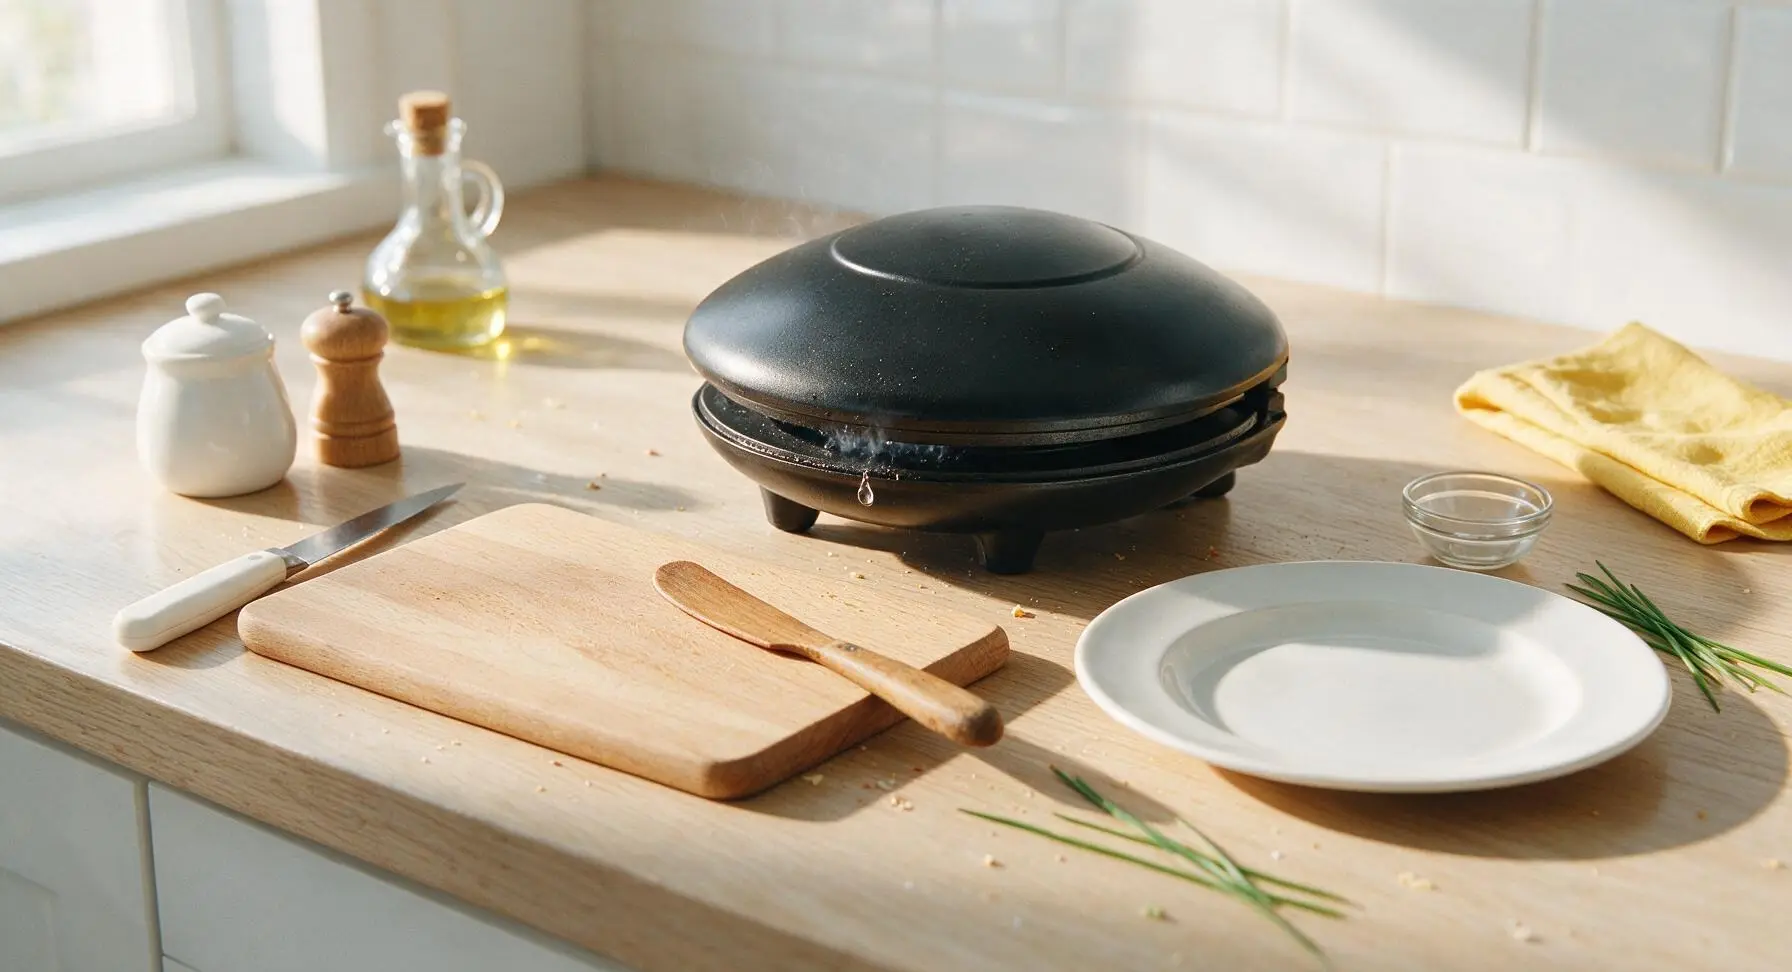
Preheat Sandwich Press

Plug in the matte black flying saucer sandwich press and set it to medium heat (375°F/190°C). Let it preheat for 4 minutes while you prep fillings; the plates are ready when a single drop of water sizzles and evaporates in exactly 2 seconds on contact, with no lingering water beads.
Step 1
step1:Preheat Sandwich Press
2

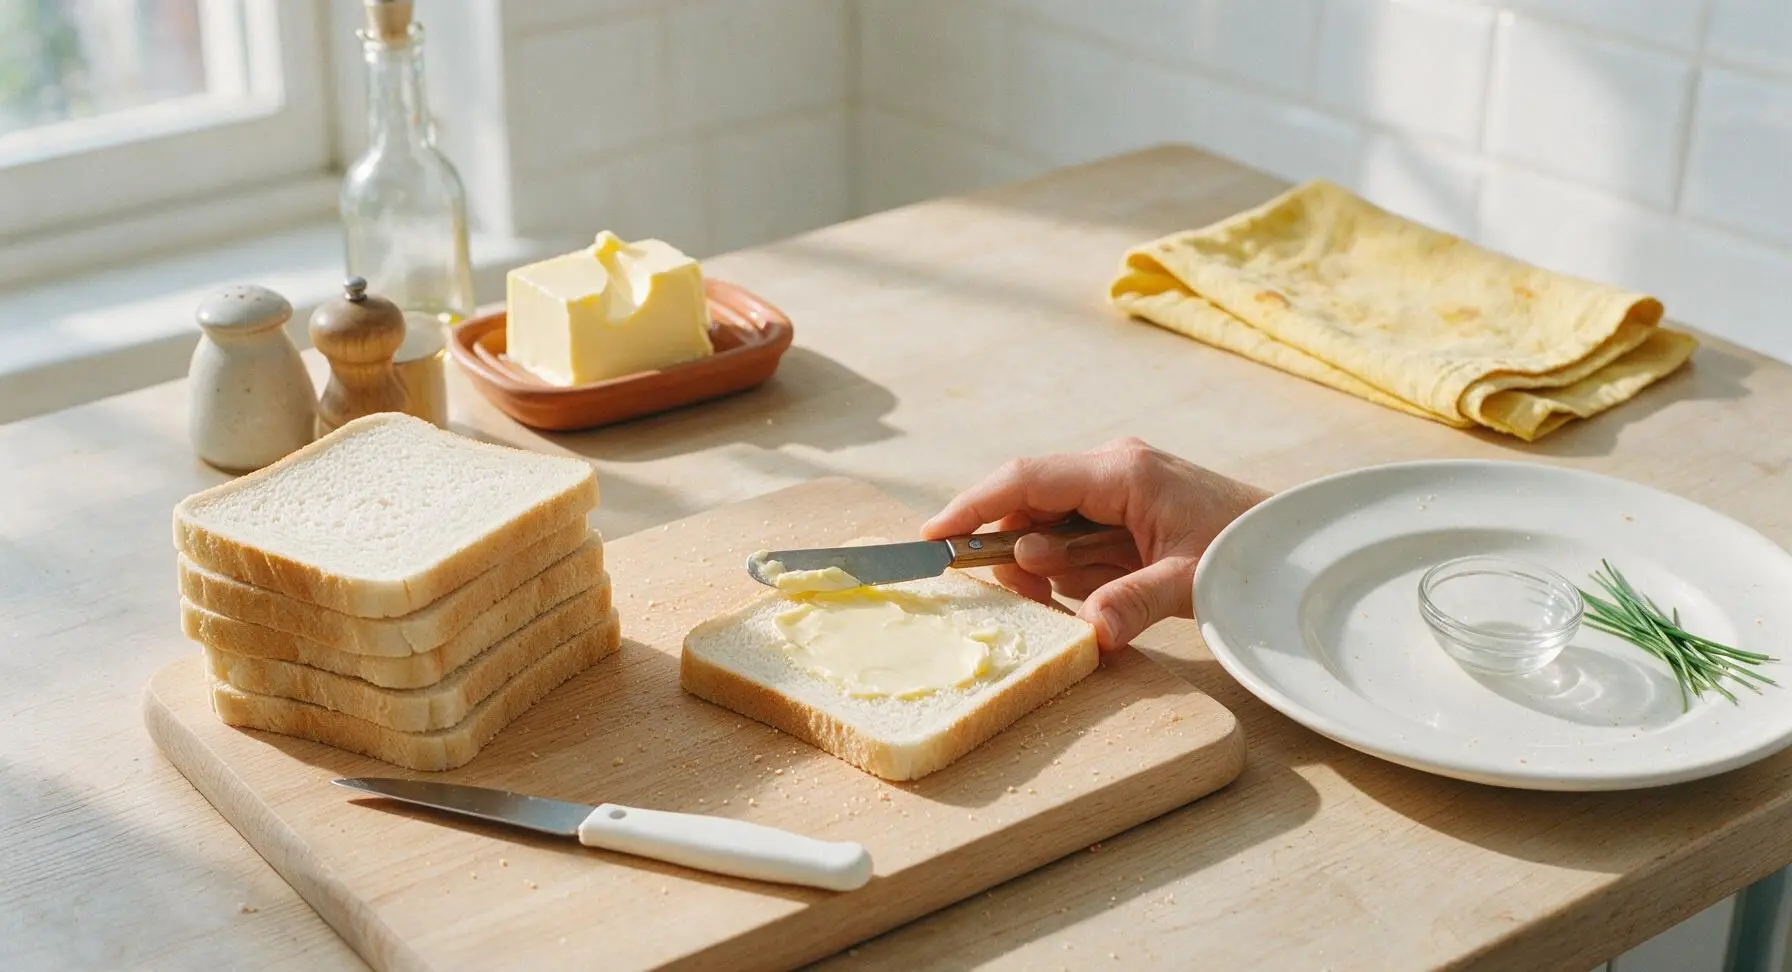
Butter Bread Slices

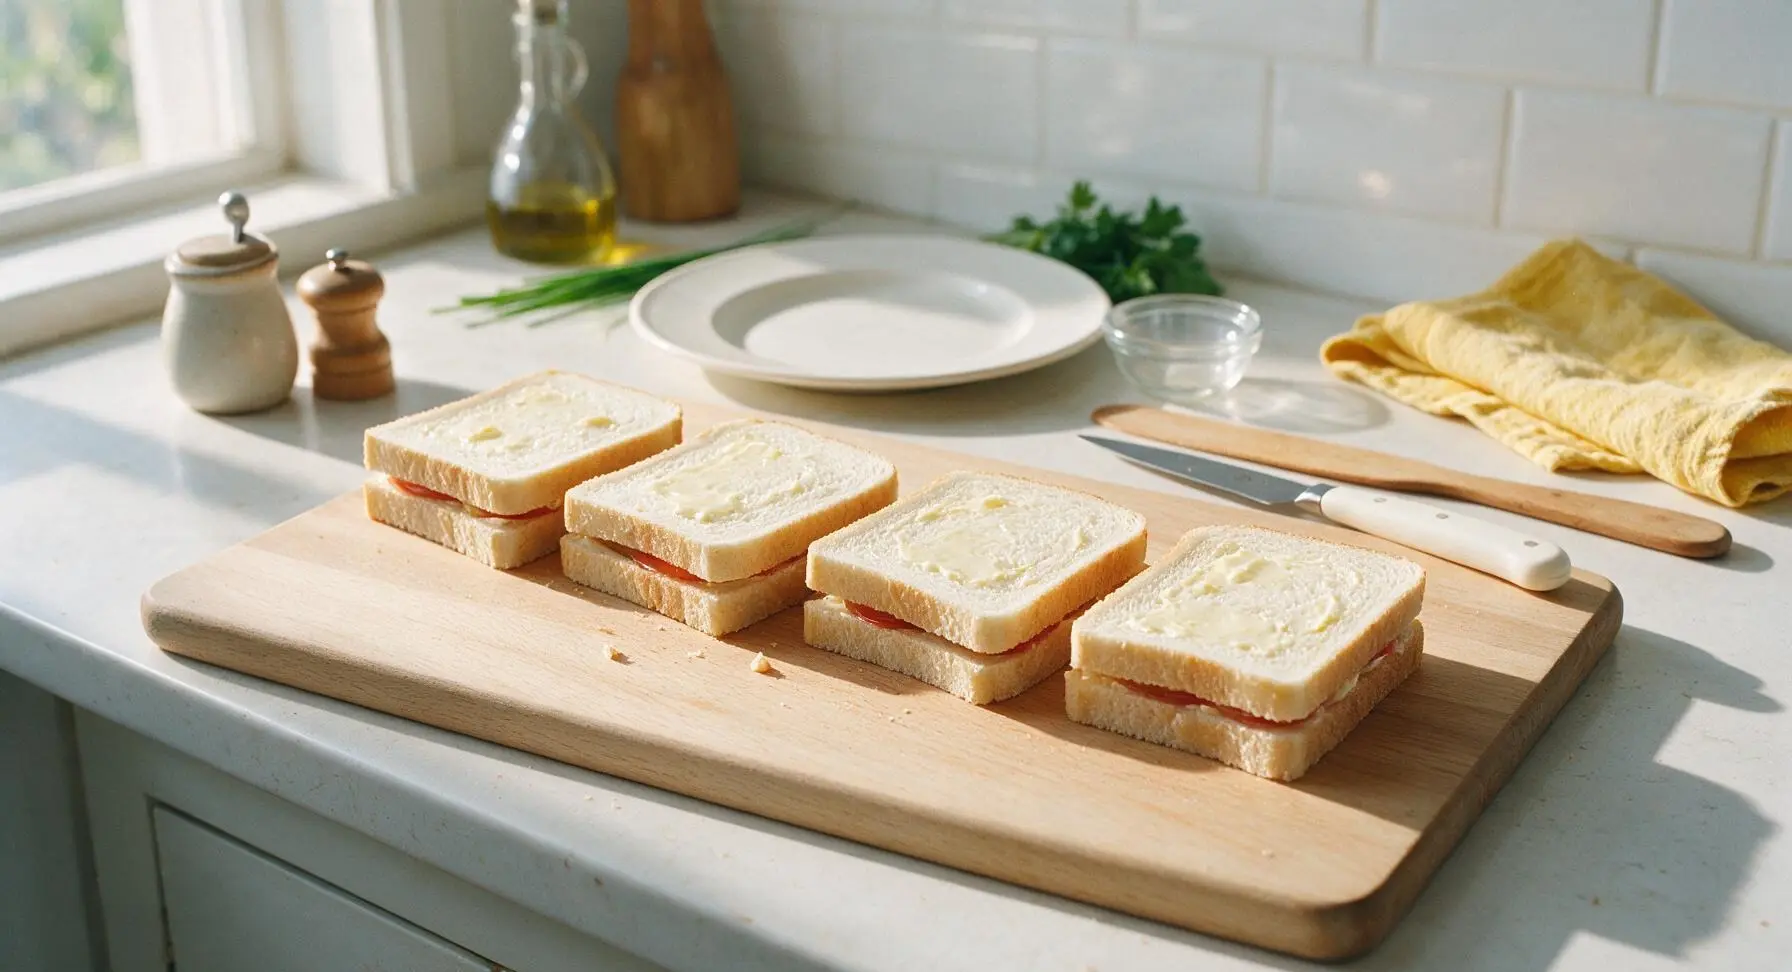
Lay all 8 slices of soft white sandwich bread flat on the light maple cutting board. Use the stainless steel butter knife to spread ½ tablespoon of softened salted butter evenly across one entire side of each bread slice, covering all the way to the crust edges to ensure even crisping. Sprinkle a pinch of garlic powder (1/16 tsp per slice) evenly over the buttered surface of each slice.
Step 2
step2:Butter Bread Slices
3

Layer Sandwich Fillings

Flip 4 of the bread slices so the buttered side faces down on the cutting board. Top each unbuttered side with 1 thin slice of sharp cheddar, 2 folded slices of deli ham, 1 thin Roma tomato slice (patted dry with a corner of the mustard-yellow kitchen towel to prevent sogginess), 2 small fresh basil leaves, a pinch of kosher salt and black pepper, then a second thin slice of cheddar. Top each stack with the remaining 4 bread slices, buttered side facing up, pressing gently with your palm to adhere the layers.

Step 3
step3:Layer Sandwich Fillings
Step 3
step3:Layer Sandwich Fillings
4

Load Press with Sandwich

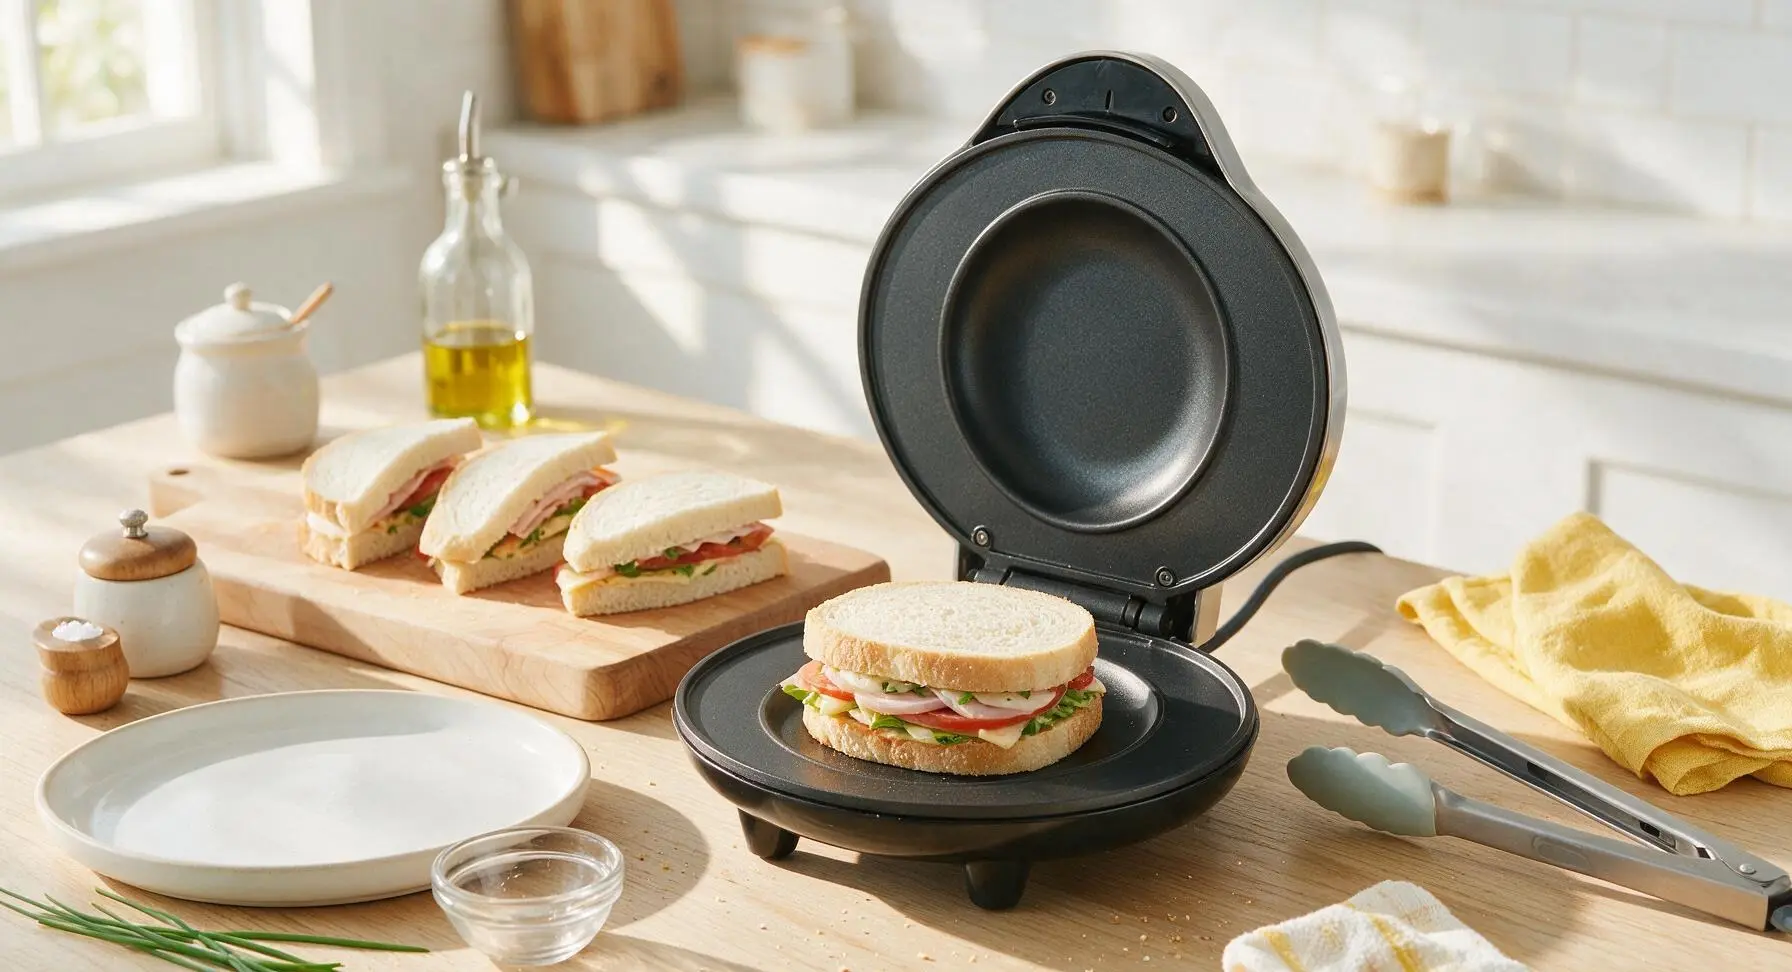
Use the silicone-tipped metal tongs to lift one assembled sandwich and center it perfectly on the bottom preheated plate of the flying saucer press, making sure no filling hangs over the bread edges that would block the crimp seal.
Step 4
step4:Load Press with Sandwich
5

Cook Until Golden Crisp

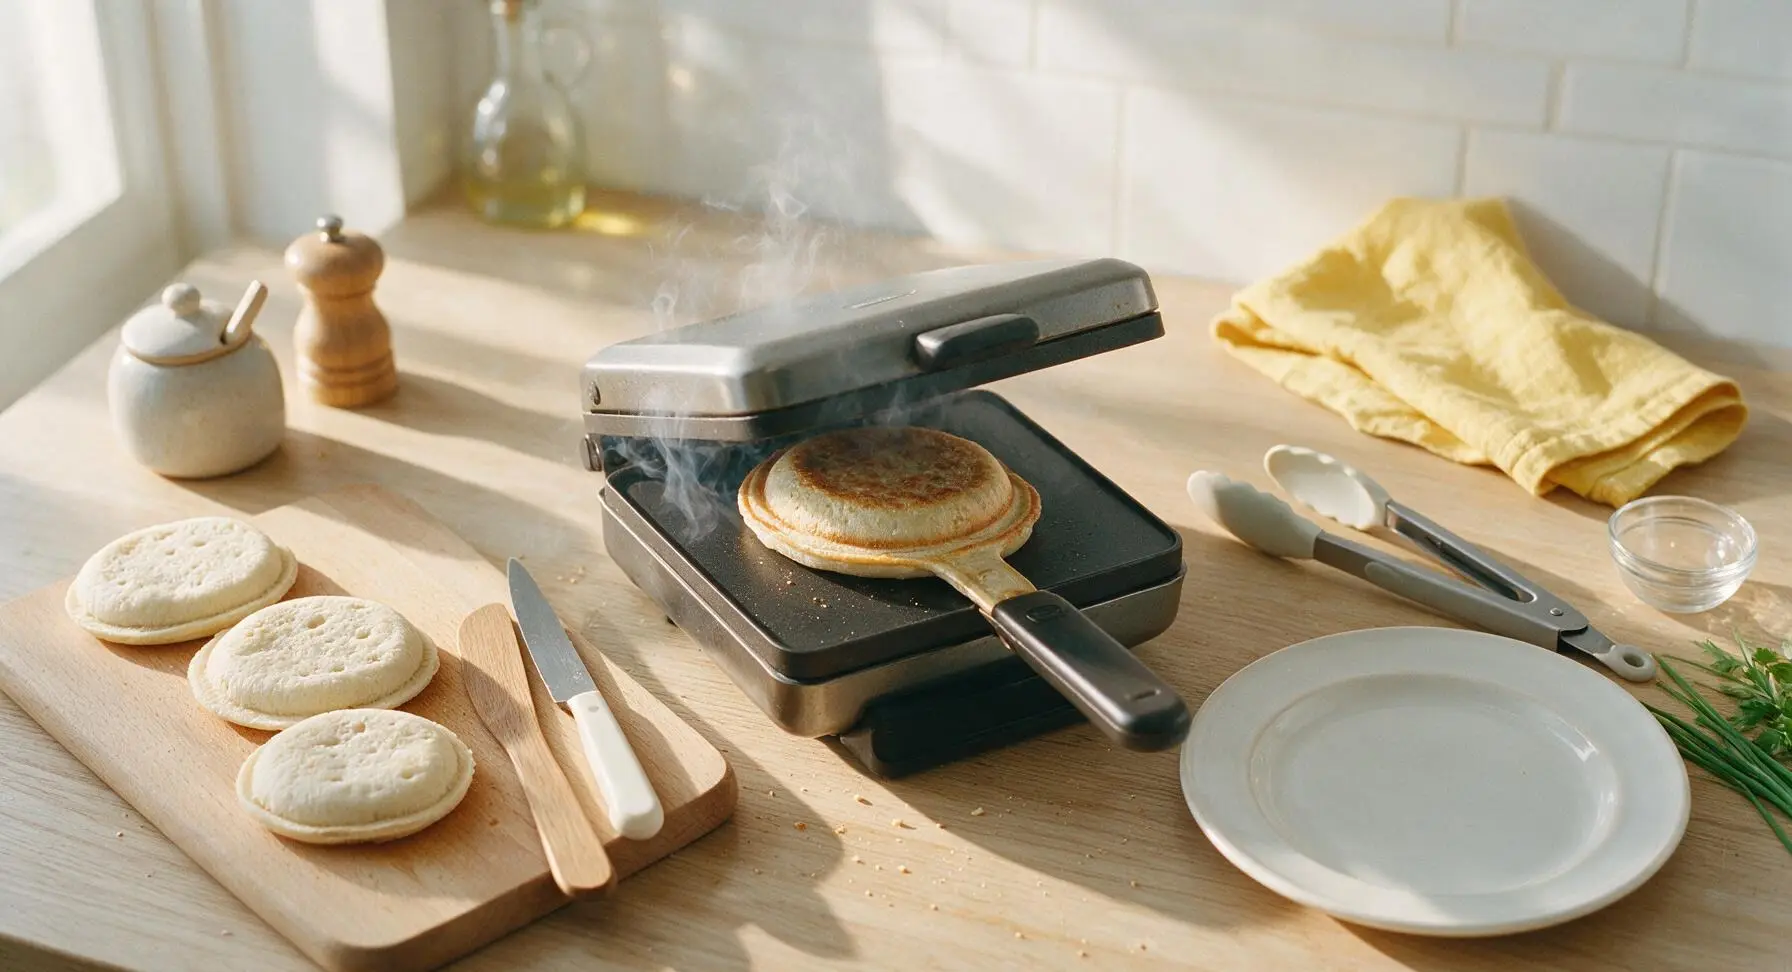
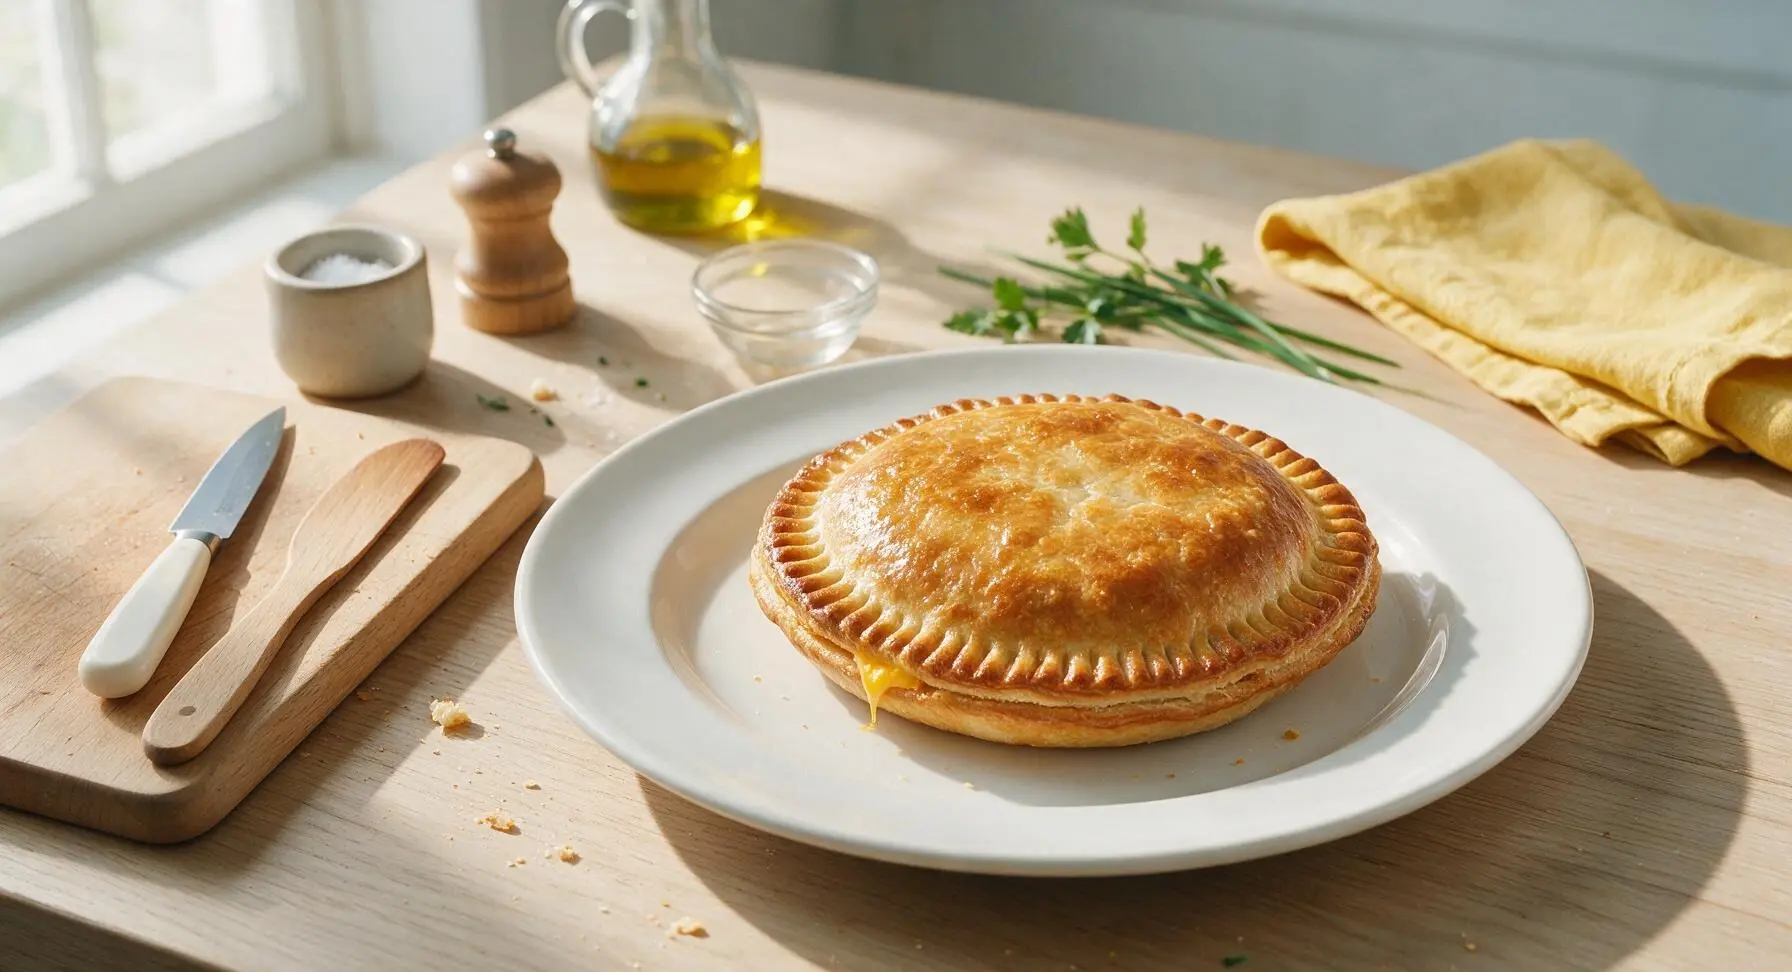
Close the press lid firmly, applying gentle even pressure to crimp the bread edges shut. Cook for 3 full minutes, then lift the lid to check doneness: the bread should be deep golden brown, the crimped wavy edge slightly darker than the center, and a tiny amount of melted cheese should just barely peek out of the sealed seam. If the bread is pale, cook for an additional 30 seconds before removing.
Step 5
step5:Cook Until Golden Crisp
Step 5
step5:Cook Until Golden Crisp
6

Transfer to Plate

Use the silicone-tipped tongs to lift the cooked sandwich from the press, holding it above the plates for 2 seconds to let excess melted butter drip off, then transfer it to the matte cream ceramic dinner plate. Repeat the loading, pressing, cooking, and transferring process with the remaining 3 sandwiches, stacking them loosely on the plate as you finish each one to avoid sogginess from trapped steam.
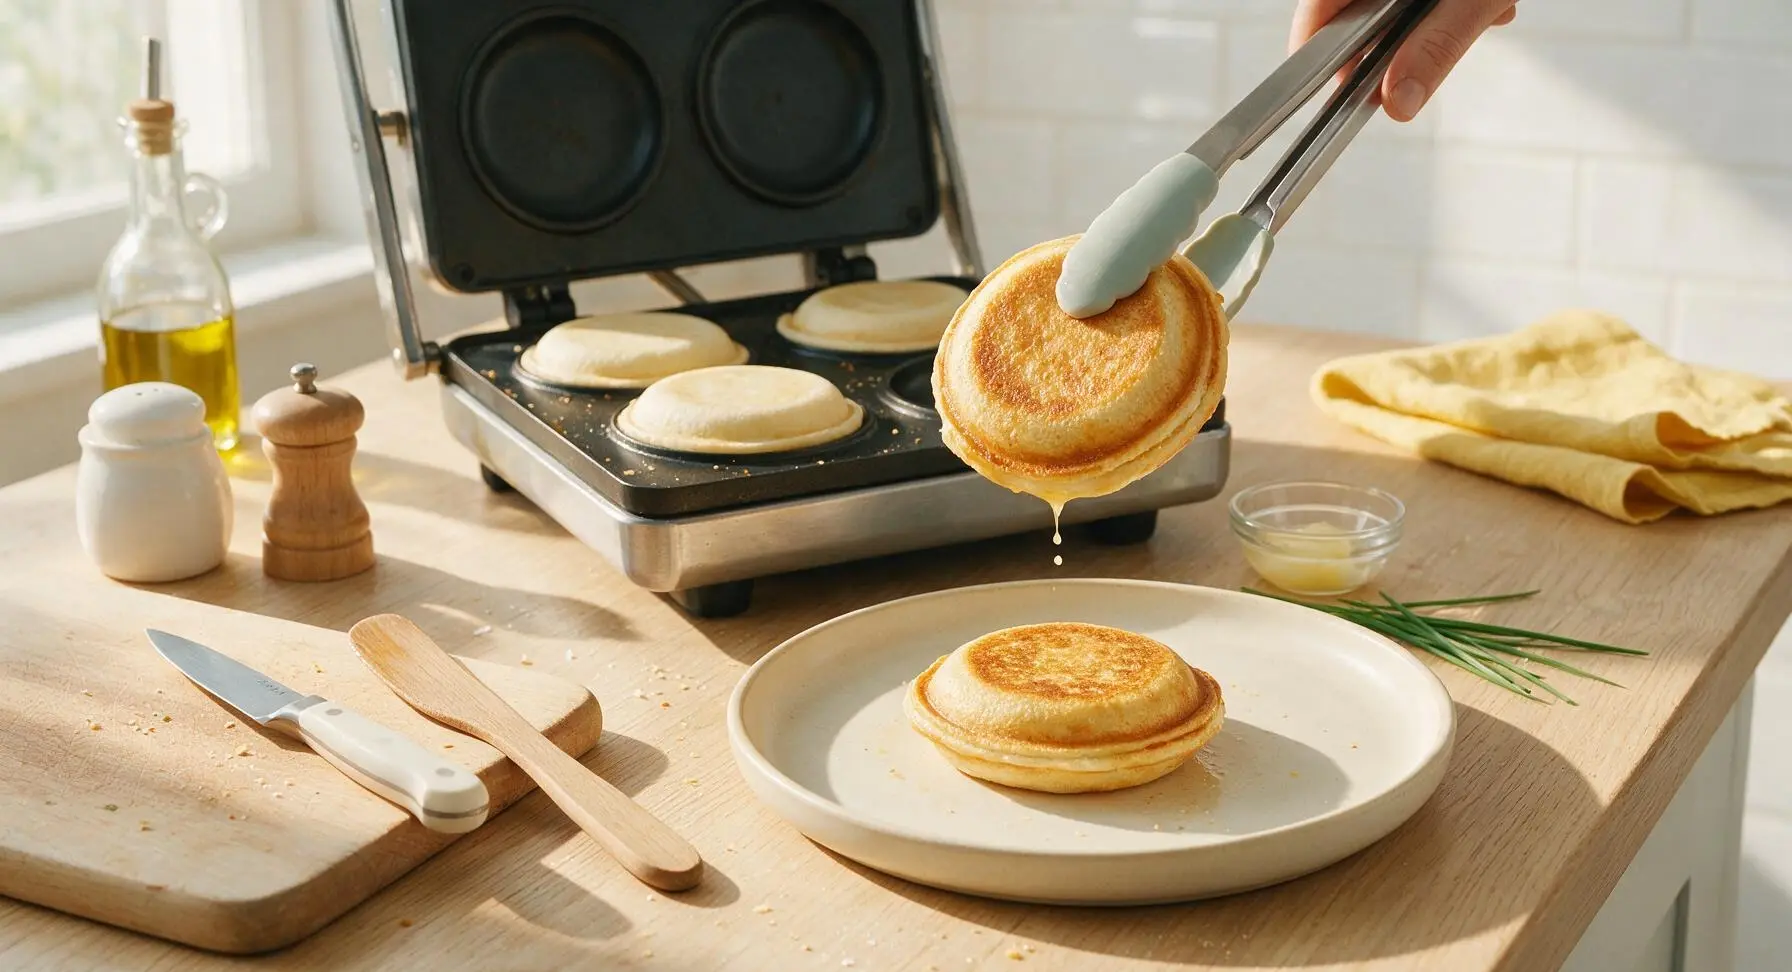
Step 6
step6:Transfer to Plate
7

Slice One Sandwich Open

Let the stacked sandwiches rest for 2 minutes to let the melted cheese set slightly (this prevents it from running out when cut). Use the serrated bread knife to cut one sandwich cleanly in half through its center, taking care not to squeeze the layers and push filling out. Lean the two cut halves against the stack of whole sandwiches to showcase the interior filling.
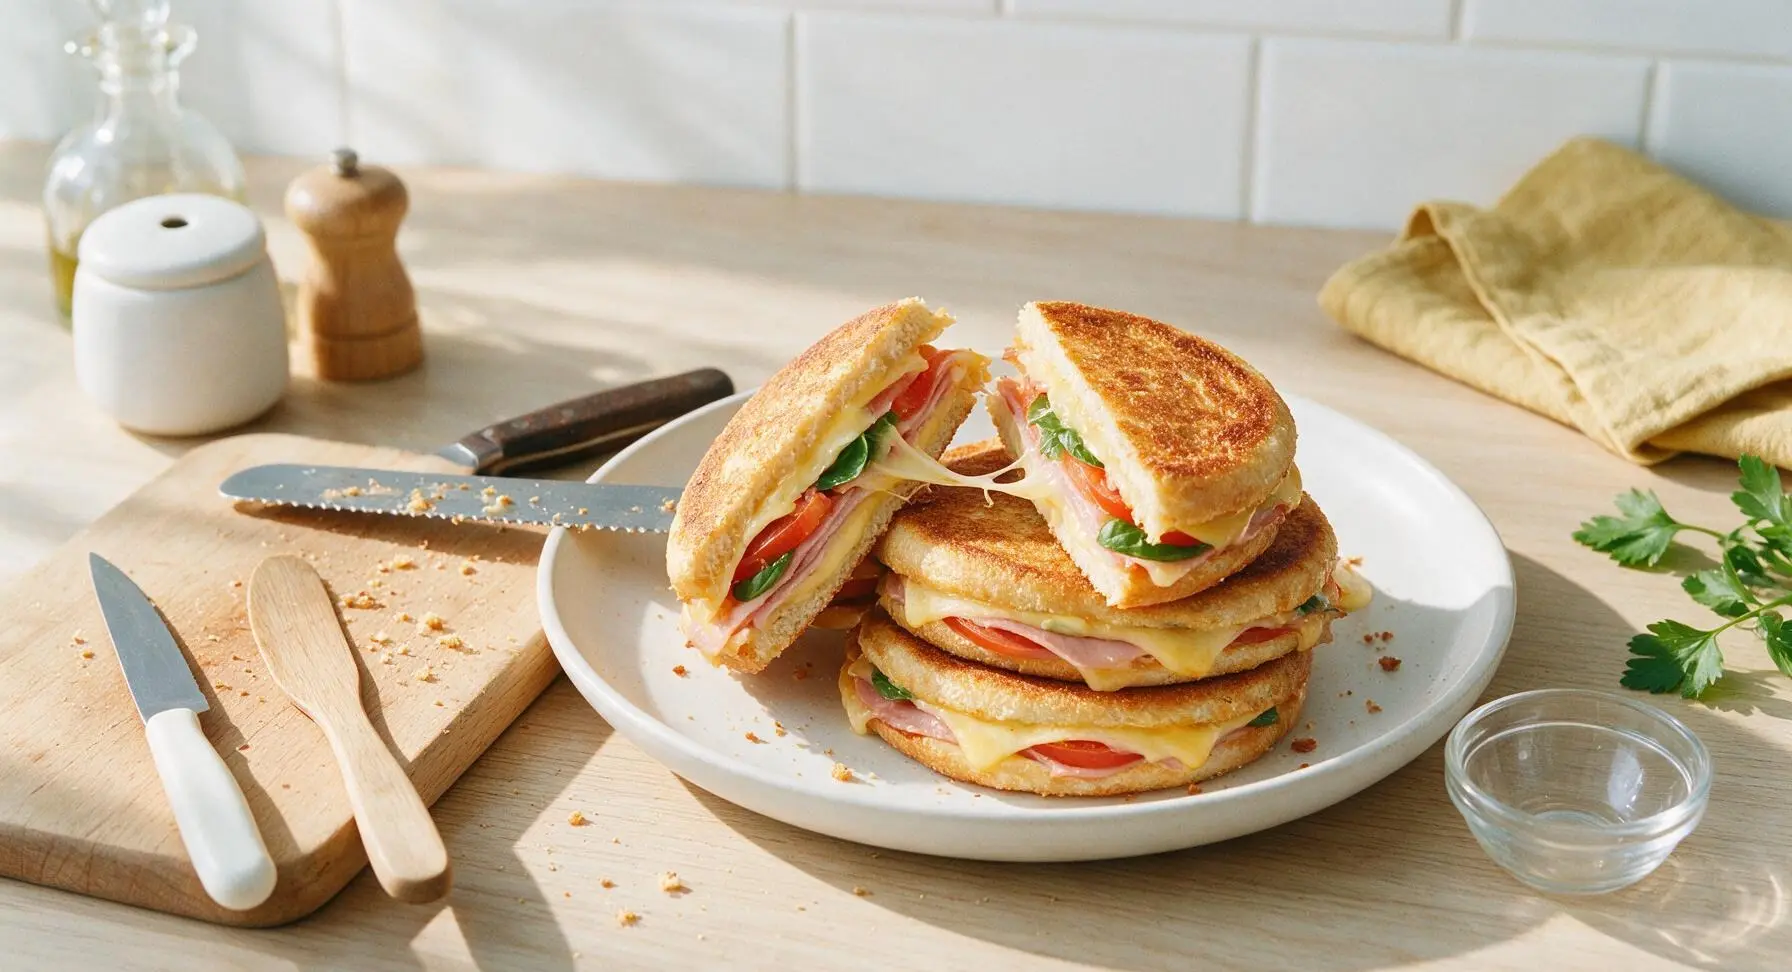
Step 7
step7:Slice One Sandwich Open
8

Garnish and Serve

Place one small fresh basil leaf on top of the sandwich stack as a bright green garnish. Serve immediately while the bread is hot and crispy, with extra salt and pepper available on the side for guest seasoning if desired.
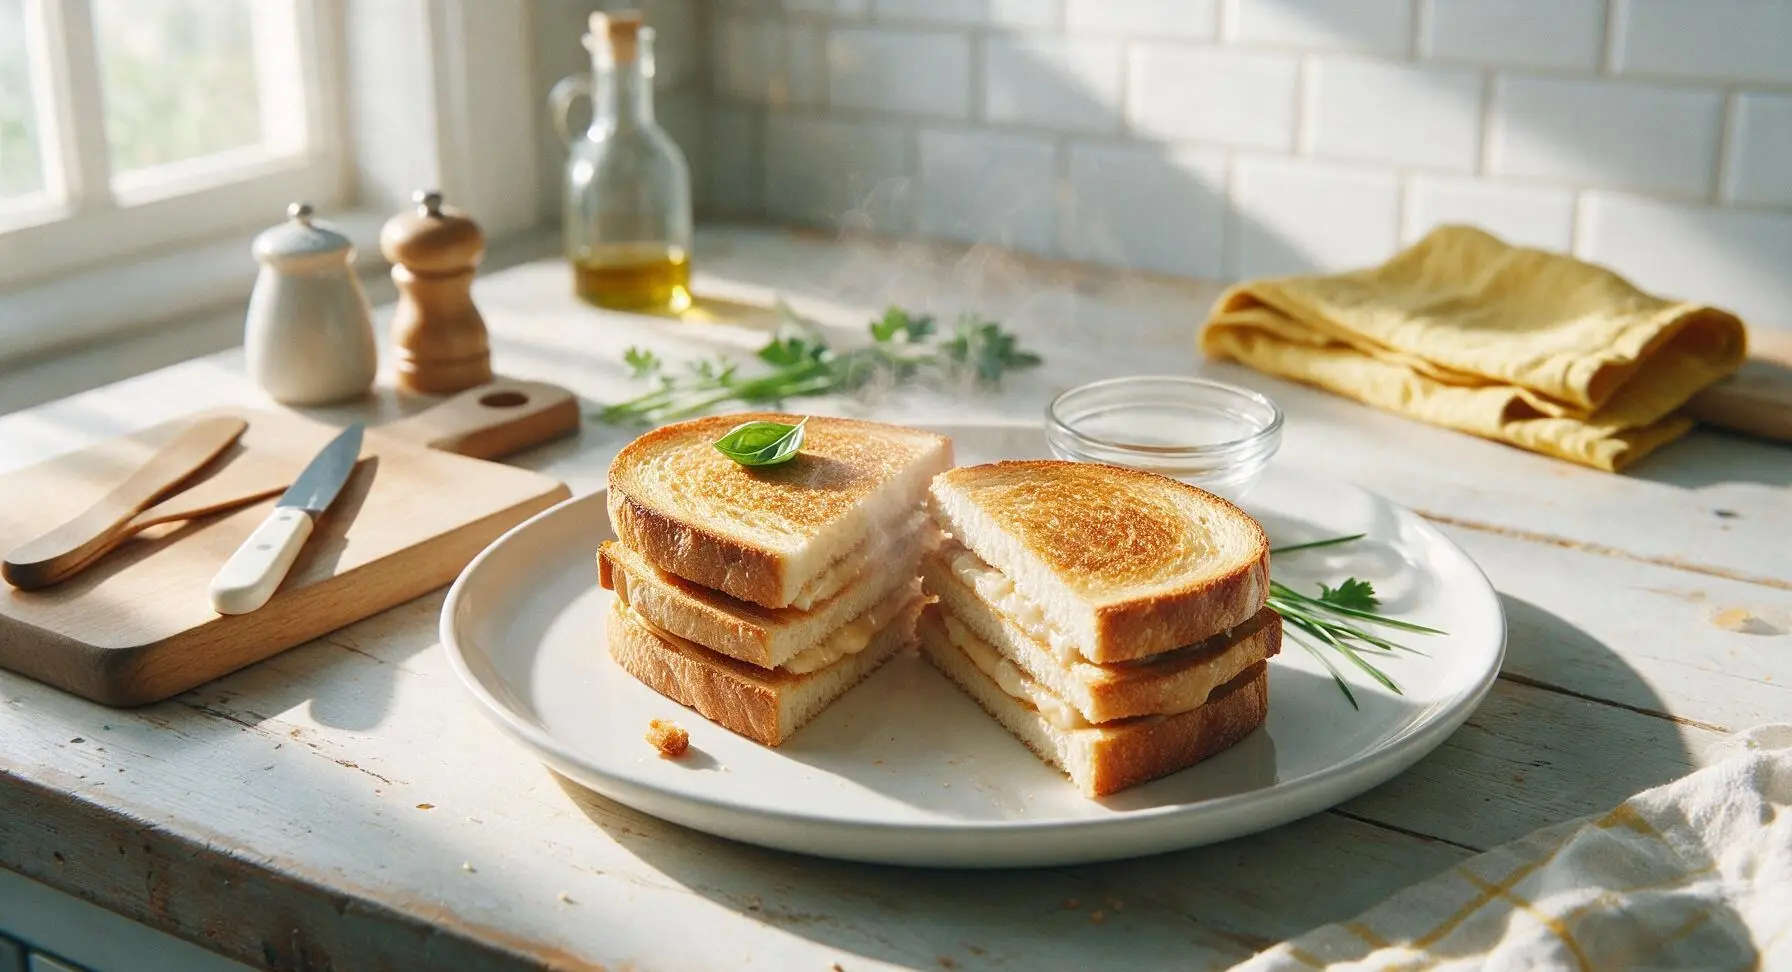
Step 8
step8:Garnish and Serve

Tips

1.Pat tomato slices completely dry with a kitchen towel before adding to fillings: excess tomato moisture will soak through the bread, creating a soggy bottom, and prevent the press from forming a tight crimped seal.
2.Use room-temperature softened butter for spreading: cold butter will tear soft white sandwich bread, while softened butter spreads evenly all the way to the crust edges for a uniformly crisp, golden crust.
3.Avoid overstuffing sandwiches: too much filling will block the press from crimping the edges shut, leading to melted cheese leaking out onto the hot plates and lost filling as you cook.


✨ You May Also Like

Lunch
🍜 United States

Creamy, salty, tangy nostalgic Midwestern sandwich pairing rich peanut butter with crisp briny dill pickles for a fast, satisfying no-cook meal.

⏱️ 5 minutesLunch ★ 4.6
Lunch
🍜 United States

Crispy, melty pressed sandwich layered with savory roast pork, ham, Swiss cheese, pickles, and tangy mustard: a beloved Cuban-American comfort classic.

⏱️ 25 minuteLunch ★ 4.9
Lunch
🍜 United States

Hearty, briny New Orleans pressed sandwich stacked with cured Italian meats, provolone, and zesty olive salad, served cold for bold, portable flavor.

⏱️ 1 hour 20Lunch ★ 4.7
Lunch
🍜 United States

A tangy, creamy Southern American staple, this no-cook cheesy sandwich is packed with sharp cheddar and sweet pimentos for a satisfying, portable bite.

⏱️ 1 hour 15Lunch ★ 4.8
Lunch
🍜 United States

Crispy Cajun-spiced fried shrimp piled on crusty French bread with tangy remoulade and fresh toppings, the iconic Louisiana street food sandwich.

⏱️ 35 minuteLunch ★ 4.4
Lunch
🍜 United States

Stacked, savory deli-style corned beef sandwich with melted Swiss, tangy mustard, and crisp griddled rye— a fast, hearty, satisfying classic.

⏱️ 15 minuteLunch ★ 4.9

flying saucer sandwich:Frequently Asked Questions

1.What makes a flying saucer sandwich different from a regular grilled cheese or panini? ▾
Great question! Unlike a standard grilled cheese or pressed panini, flying saucer sandwiches are crimped into tight, round, sealed discs named for their resemblance to 1950s pop culture UFOs. The crimped edge locks in melted cheese and fillings so nothing oozes out while cooking, creating that signature crispy, golden, fully enclosed crust that made them a diner favorite.
2.Do I need a special vintage flying saucer press to make these at home? ▾
You don’t need a retro diner press to get great results! If you don’t have a dedicated flying saucer maker, use a 3.5 to 4 inch round cookie cutter to cut sealed rounds from two slices of filled bread, crimp the edges tightly with fork tines, and cook in a buttered skillet or standard panini press over medium heat until golden on both sides.
3.Why does the recipe specify soft white sandwich bread instead of crusty artisanal bread? ▾
Soft white sandwich bread is ideal here because it’s pliable enough to crimp tightly without cracking or splitting when you seal the edges, which keeps all that melted cheese contained. Heartier, crusty artisanal loaves are too stiff to form a tight seal, and their thick crusts won’t get that evenly tender, crispy golden texture the classic recipe is known for.
4.How do I keep the Roma tomato slices from making my sandwich soggy? ▾
Soggy bread is an easy fix! First, seed your Roma tomato slices before adding them—scoop out the watery, seedy core with a small spoon, and pat the slices dry with a paper towel. Layer the tomato between the cheese and ham, not directly against the bread, so the fat from the cheese and meat acts as a moisture barrier.
5.Can I prep these sandwiches ahead of time for quick weeknight meals or parties? ▾
Absolutely! Assemble and crimp the uncooked sandwiches up to 24 hours ahead, layer them between sheets of parchment paper in an airtight container, and store them in the fridge. When you’re ready to serve, cook them straight from the fridge in a buttered skillet over medium heat—no thawing needed, and they’ll crisp up perfectly in 3 to 4 minutes per side.
6.How do I get an even golden crispy crust without burning the bread? ▾
The trick is consistent medium-low heat and softened (not melted) salted butter. Spread a thin, even layer of softened butter on the outer sides of each bread round, then cook for 3 to 4 minutes per side. Resist the urge to crank the heat up—this will burn the outside before the cheese fully melts and the filling heats all the way through.
7.The recipe uses sharp cheddar and Black Forest ham—can I swap in other fillings? ▾
Of course! This classic base is endlessly flexible, as original diner versions were built to work with whatever ingredients were on hand. Stick to thinly sliced, low-moisture fillings to avoid soggy bread: try Swiss and turkey, pepper jack and cooked bacon, or even a pizza-inspired version with mozzarella and sliced pepperoni for a fun twist.
8.How thick should I slice the cheddar and ham for the best melt? ▾
Aim for 1/8-inch thick slices of both sharp cheddar and Black Forest ham for ideal results. Thin slices heat quickly and evenly, so the cheese gets fully melted and gooey right as the bread hits that perfect golden crisp. Thick slices will leave you with under-melted filling by the time the bread is done, or burnt bread if you wait for the filling to heat through.
9.Is it really important to crimp the edges of the sandwich that tightly? ▾
A tight crimp does two key jobs: First, it creates a sealed pocket that traps all that melted, oozing cheese and savory filling so it doesn’t leak out into your pan and burn while cooking. Second, it creates that signature thick, crispy crust edge that’s the most nostalgic, satisfying bite of a classic diner flying saucer sandwich.
10.Can I cook these sandwiches in a toaster oven instead of on the stovetop? ▾
You definitely can! Assemble, crimp, and butter both sides of the sandwiches, then place them on a small wire rack set over a toaster oven baking sheet to let air circulate. Cook at 375°F for 4 to 5 minutes per side, until the bread is golden crisp and the cheese is fully melted—this method avoids sogginess for a perfect crust.
11.My bread keeps splitting when I try to crimp the edges—what am I doing wrong? ▾
This almost always comes down to bread that’s too dry or cold! Let your bread come to room temperature first so it’s soft and pliable, and don’t overstuff the sandwiches—too much filling will push the edges apart and cause splitting. If edges still crack, brush a tiny bit of melted butter along the inner edge before crimping to help the bread stick.
12.What classic diner sides pair best with these flying saucer sandwiches? ▾
Stick to retro diner pairings for the full nostalgic experience! Crispy crinkle-cut French fries, tangy dill pickle spears, a side of creamy tomato soup for dipping, or crunchy coleslaw all work beautifully. For a fun 1950s vibe, serve them with a cold chocolate milkshake or frosty root beer float on the side.
13.Can I make a tasty vegetarian version of this classic sandwich? ▾
Absolutely! Swap the Black Forest ham for thinly sliced smoked vegetarian deli slices, patted-dry roasted red peppers, or squeezed-dry sautéed spinach, and keep the sharp cheddar for that rich, tangy bite. Add a light sprinkle of smoked paprika to the cheese to amp up the savory umami depth you’d normally get from the ham.

Comments (5)

2 hours ago

OMG y’all, I made these for my kids’ after school snack yesterday and they went feral for them! 12 minutes total cook time is perfect for when the kids are hangry and screaming for food 10 minutes after walking in the door. I used a little extra cheddar and ham, pressed them until the edges were crispy, and even my super picky 7 year old asked for seconds. Total game changer for busy weeknights! Definitely making these for our next soccer potluck too.

30 minutes ago

Wait did you bring these to the Westside soccer potluck last season? I swear I had one of these pressed sandwiches and I’ve been chasing the recipe ever since! The crispy sealed edges are *chef’s kiss* no filling falling out everywhere when the kids are running around eating.

5 minutes ago

So glad these were a hit with your crew! If you’re making them for a potluck, you can prep the fillings ahead and assemble/press them right before serving for maximum crispness. Pro tip: a light spread of butter on the outside of the bread makes them even more golden and crispy!

yesterday

Super easy recipe, knocked these out for a quick lunch while working from home today. I didn’t have a fancy sandwich press so I just used a cast iron skillet and pressed down with a spatula, worked like a charm. Only note is I wish I’d added a little more mustard, but that’s just personal preference. Tasted exactly like the flying saucer sandwiches I got at the community pool snack bar as a kid, total nostalgia bomb. SO good.

2 hours ago

Love the cast iron hack! No special equipment needed for these, which is part of what makes them so accessible. Whole grain mustard, spicy brown, or even a little hot honey are all great swaps to customize the flavor to your taste!

3 days ago

Made a big batch of these for our neighborhood block party last weekend and they were gone in 10 minutes flat. People kept coming up to ask for the recipe, I felt like a celebrity! I did half turkey and cheese, half pizza sauce and pepperoni for the kids, both versions were total hits. So easy to scale up for a crowd, 10/10 will be making these for every gathering from now on.

1 week ago

These are perfect for my weekly meal prep! I made 6 of these on Sunday, wrapped them individually in foil, and they reheated beautifully in the toaster oven all week for quick work lunches. Way better than sad desk salads, and way cheaper than buying lunch out every day. I added some spinach and turkey bacon to mine for a little extra protein and veg, held up perfectly even after a few days in the fridge.

2 days ago

Wait do they get soggy if you store them in the fridge? I’ve tried making pressed sandwiches for meal prep before and the bread got all mushy by day 2, would love to know your trick!

2 weeks ago

I’ve been looking for a proper copycat of the old school flying saucer sandwiches my grandma used to make in her vintage sandwich press for YEARS. This recipe is dead on! The ratio of bread to filling is perfect, the 12 minute cook time is spot on for that crispy, melty perfection I remember. I made these for my grandma last weekend when she came to visit and she said they tasted exactly like the ones she made for my dad when he was a kid. Total sentimental win, my whole family loved it.

5 days ago

Oh my gosh, my grandma had that same chippy turquoise sandwich press! I found hers in her attic last year but had no idea how to get the ratios right, can’t wait to try this recipe this weekend. Did you use plain white bread or sourdough?

3 days ago

That makes my heart so happy! These sandwiches are such a nostalgic staple for so many families. Soft white sandwich bread works best for that classic texture you remember, but sourdough is a delicious upgrade if you want a little extra tang!



