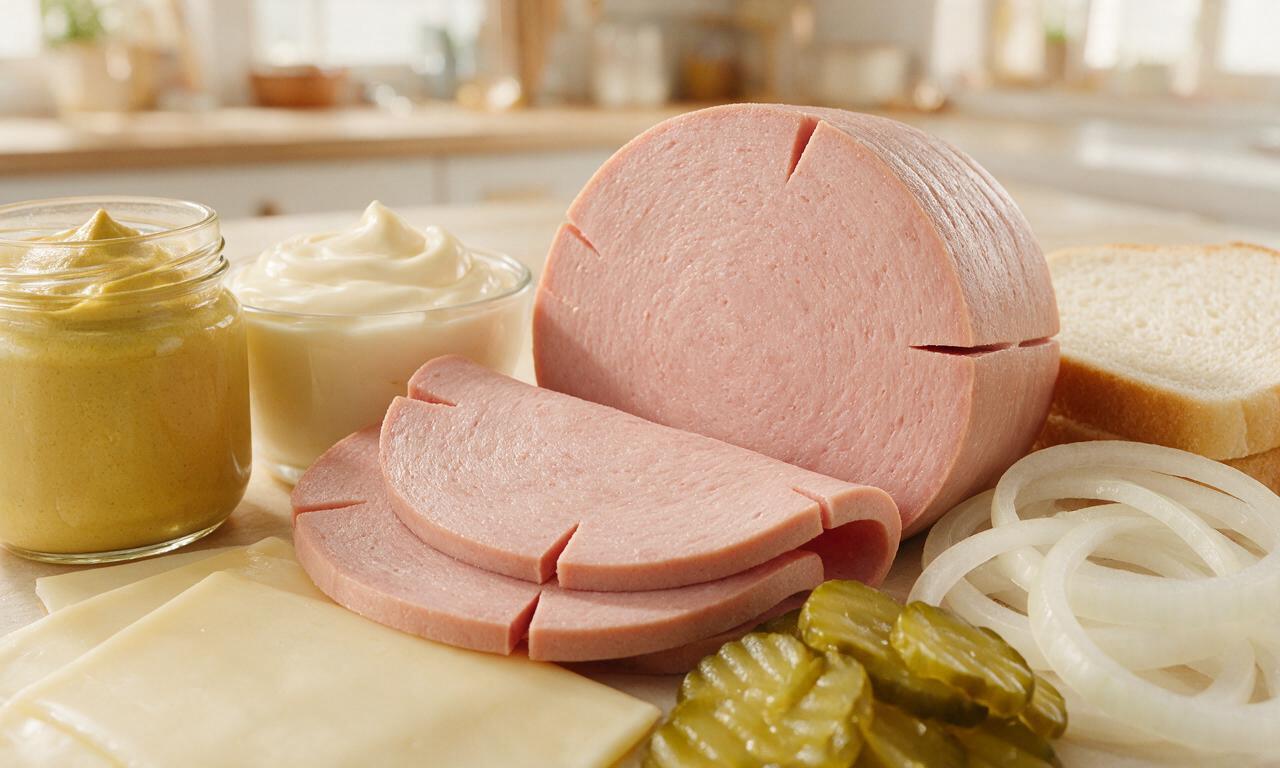
1.Why do I need 1cm thick-cut bologna instead of thin deli slices?
▾
Thin deli bologna slices curl instantly, burn easily, and turn tough instead of developing that signature crispy, caramelized edge. 1cm thick-cut slices hold their shape as they fry, building a crunchy golden crust around a juicy, tender center, and won’t fall apart when you stack cheese and toppings, just like the classic diner version.
2.Can I use a different type of bread instead of plain white sandwich bread?
▾
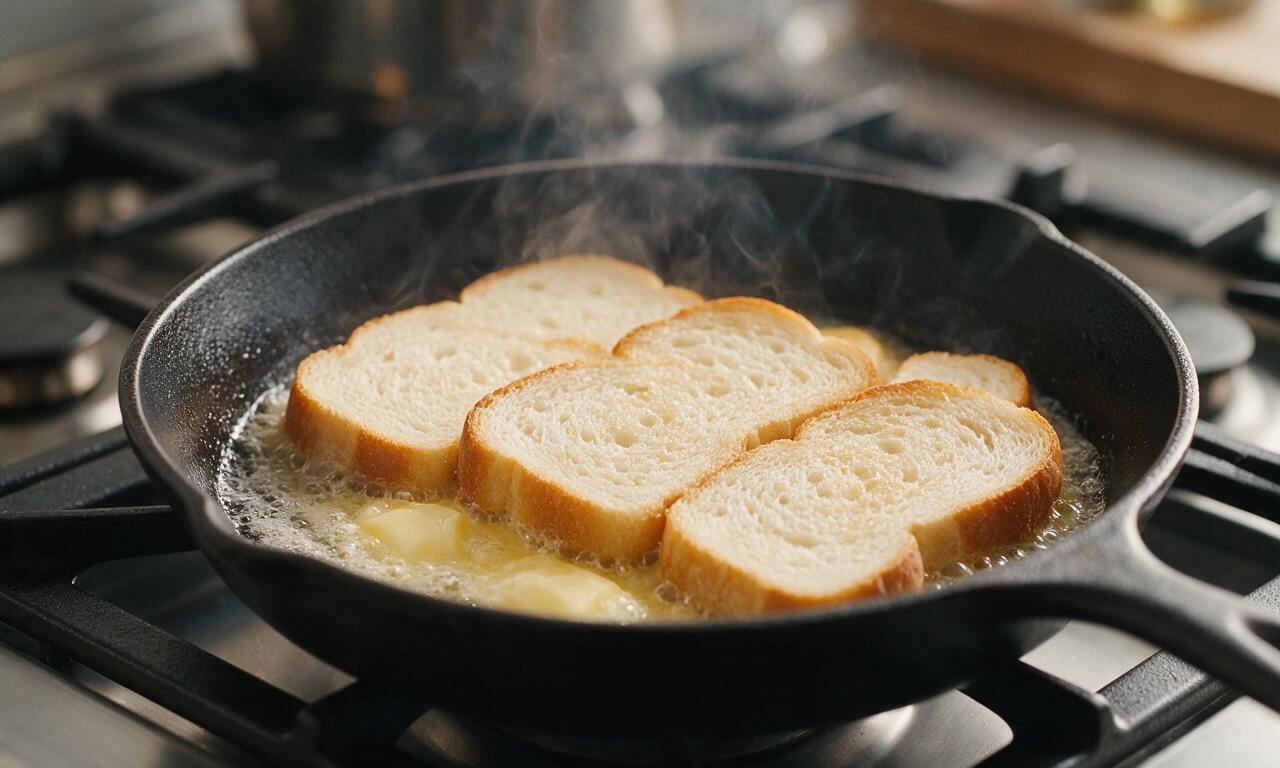
Soft white sandwich bread is the nostalgic, traditional pick, but you can swap it for Texas toast, soft sourdough, or light rye if you prefer. Skip crusty artisanal loaves, though—their hard, dense texture overpowers the mild, savory bologna and melty cheese. Toast lightly in butter for that perfect tender-crisp, structure-holding bite.
3.Do I need to cut slits in the bologna before frying it?
▾
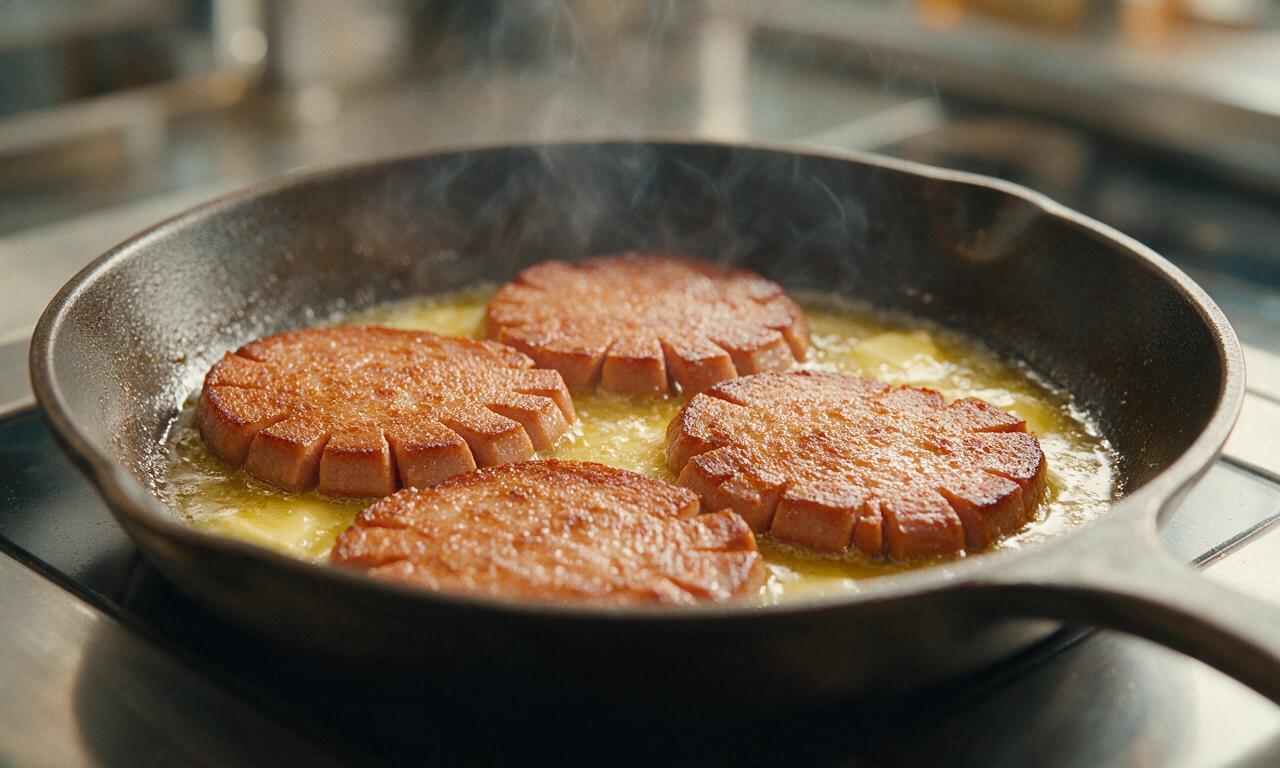
Absolutely! Thick bologna slices puff up and curl tightly as they heat, leaving uneven frying spots and making it hard to stack cheese and toppings evenly. Cut 3 to 4 small ½-inch slits around the edge of each slice before adding it to the pan, so it lays flat, cooks evenly, and gets crispy all over.
4.Why use unsalted butter instead of oil for frying and toasting?
▾
Unsalted butter delivers that rich, toasty, nostalgic diner flavor neutral oil can’t match, and it lets you control sodium levels since bologna and American cheese are already fairly salty. Cook over medium heat to avoid burning the milk solids, and you’ll get golden, crispy bread and bologna with a deep, buttery, well-rounded taste.
5.Can I swap American cheese for a different cheese variety?
▾
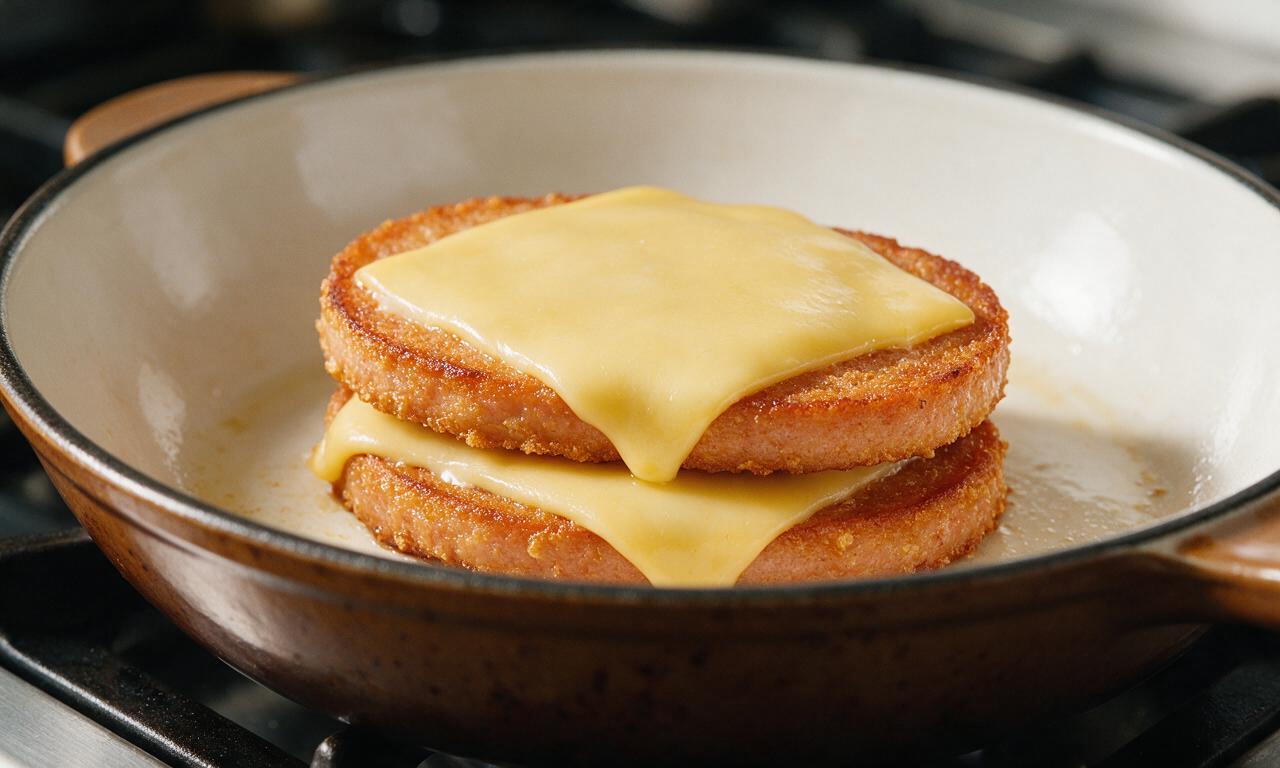
American cheese is ideal here because it melts into that smooth, gooey, pull-apart texture that pairs perfectly with crispy bologna, but you can swap in mild cheddar, provolone, or pepper jack if you prefer. Skip hard, crumbly cheeses like feta or aged parmesan—they won’t melt evenly and throw off the classic, comforting flavor balance.
6.How do I keep the bologna from getting soggy instead of crispy?
▾
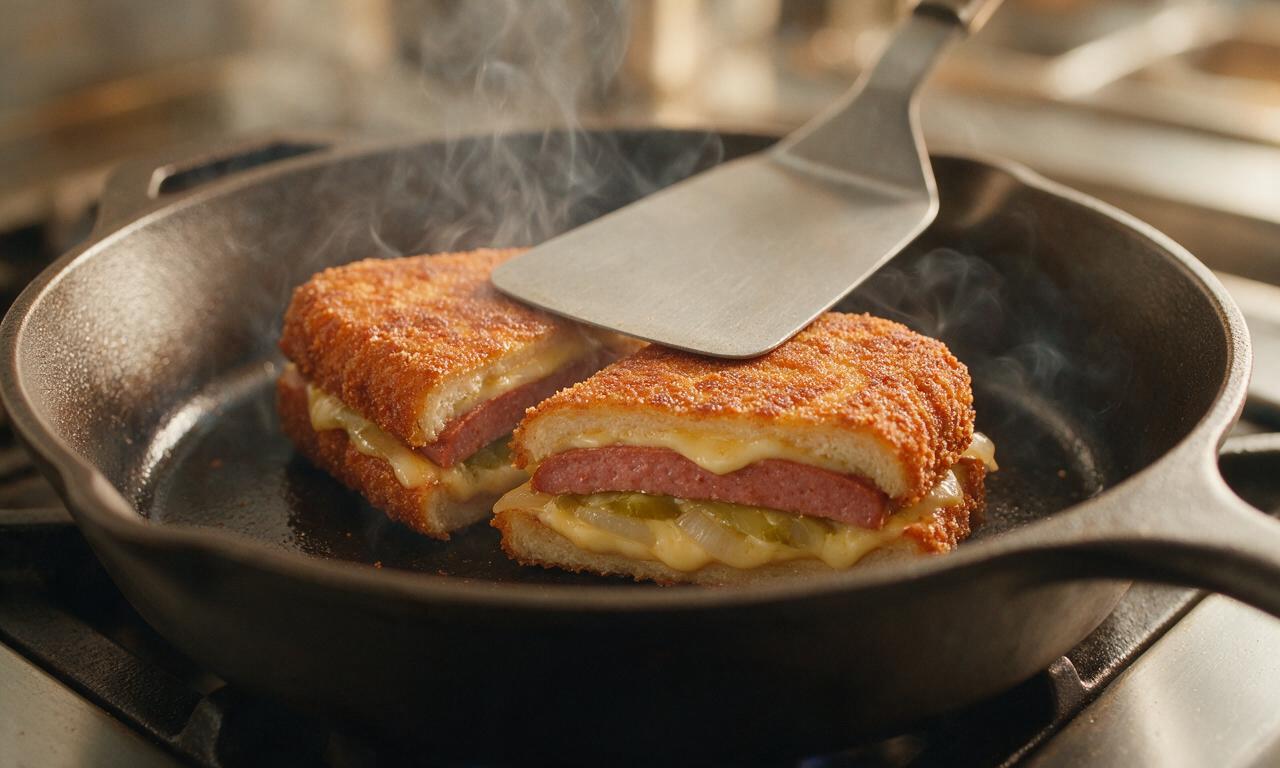
The key is to preheat your pan to medium before adding bologna, and don’t overcrowd the pan—cook 1 to 2 slices at a time if you have a small skillet. Resist the urge to flip constantly; let each slice cook 2 to 3 minutes per side until deep golden, so it builds a crunchy crust that won’t turn soggy under toppings.
7.The recipe says it’s ready in 15 minutes—do I need any special equipment?
▾
Nope, you only need a basic skillet (cast iron works great, but nonstick is totally fine), a spatula, and a butter knife, no fancy gadgets required. The process moves fast: toast bread while the bologna fries, melt cheese in the last 30 seconds of cooking, and assemble for a hot, fresh sandwich in no time.
8.Is yellow mustard required, or can I use other condiments?
▾
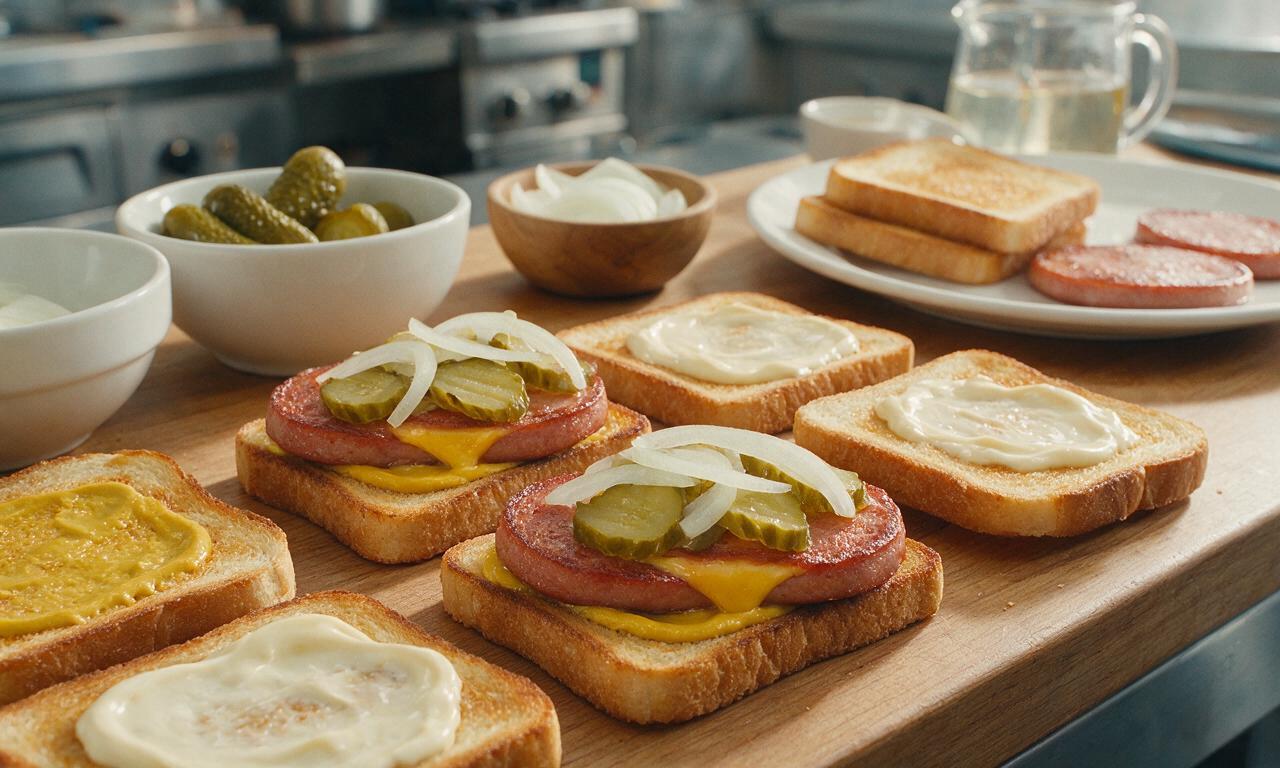
Yellow mustard is the classic tangy, bright counterpoint to rich, salty bologna and melty cheese, but you can absolutely add other favorite toppings to suit your taste. Dill pickles, thinly sliced onion, a swipe of mayo, or a dash of hot sauce all work beautifully—just go light on wet toppings to avoid soggy bread.
9.Can I make this sandwich ahead of time for meal prep?
▾
This sandwich is best eaten immediately after assembly, when the bologna is crispy and the cheese is fully melted, so it’s not ideal for long meal prep storage. That said, you can prep components 2 days ahead: keep bologna chilled, butter bread slices in advance, and cook everything fresh in 5 minutes when you’re ready to eat.
10.Why does my bologna curl even when I cut slits in it?
▾
That usually happens if your pan heat is too high, which makes the outer edges of the bologna cook and shrink much faster than the center. Turn the heat down to medium, make sure your slits cut all the way through the slice edge (not just a tiny nick), and press gently with a spatula for the first 10 seconds of cooking to help it lay flat.
11.Can I fry the bologna in an air fryer instead of a pan?
▾
You absolutely can! Preheat your air fryer to 375°F, spritz the basket lightly with oil, add slit bologna slices in a single layer, and cook 4 to 5 minutes, flipping halfway, until crispy. Add cheese on top for the last minute of cooking to melt, then assemble on butter-toasted bread for a slightly less greasy, still crispy version.
12.How much butter should I use for toasting the bread?
▾
Use about ½ tablespoon of softened unsalted butter per bread slice, spread evenly all the way to the edges so every bite gets that buttery, toasty crunch. If you’re toasting bread in the same pan you used for bologna, use a little less, since the pan will already have savory rendered bologna fat to add flavor.
13.Is there a way to make this sandwich a little less greasy?
▾
For a less greasy bite, set cooked bologna slices on a paper towel-lined plate for 10 to 15 seconds after frying to blot any excess rendered fat before assembling. Don’t leave it on the towel too long, though—you want it to stay hot enough to melt the cheese, and you don’t want to soak away all that savory, meaty flavor.
14.What’s the best way to get the cheese perfectly melted?
▾
The easiest trick is to place a slice of American cheese directly on top of the bologna during the last 30 to 45 seconds it cooks in the pan. For extra smooth melt, tent the pan with a small lid for those last few seconds—trapped light steam melts cheese evenly without making the bologna soggy, no extra steps needed.
15.Can I use low-fat bologna or low-fat cheese for a lighter version?
▾
You can use low-fat bologna and cheese, but note they won’t crisp or melt quite as well as full-fat versions. Low-fat bologna often has added water, so pat it dry first to keep it from steaming instead of frying, and cook low-fat cheese over slightly lower heat to prevent it from turning rubbery instead of gooey.
16.What classic diner-style toppings pair well with the basic recipe?
▾
The most beloved diner add-ons are thin dill pickle slices, crisp shredded iceberg lettuce, paper-thin white onion, a slice of ripe tomato, and a light swipe of mayo alongside the yellow mustard. Stick to thinly sliced, crisp toppings so they don’t weigh down the sandwich or make crispy bread and bologna turn soggy.
17.Do I need to remove the red casing from bologna before frying?
▾
Yes, always peel off the thin red plastic or natural casing from thick bologna slices before cooking. The casing gets tough, chewy, and rubbery when heated, and it will prevent the bologna edges from getting that perfect crispy crunch. It peels off easily in one piece if you start at one of the anti-curl slits you cut.
18.How do I keep the toasted bread from getting squishy after assembly?
▾
After toasting buttered bread to a light golden brown, spread condiments (mustard, mayo, etc.) evenly across the entire bread surface instead of dolloping them in the center. This creates a thin, flavor-packed barrier that keeps bologna juice and wet toppings from soaking into the bread and making it soft or squishy as you eat.
19.Can I make this sandwich for a crowd quickly?
▾
Absolutely! To serve 4 to 6 people in 15 minutes, use two large skillets at once: one to fry batches of bologna and melt cheese, and the other to toast all your buttered bread slices. Keep cooked components on a wire rack set over a baking sheet in a 200°F oven while you work, so everything stays crispy and warm.
20.What makes this sandwich such a beloved nostalgic American classic?
▾
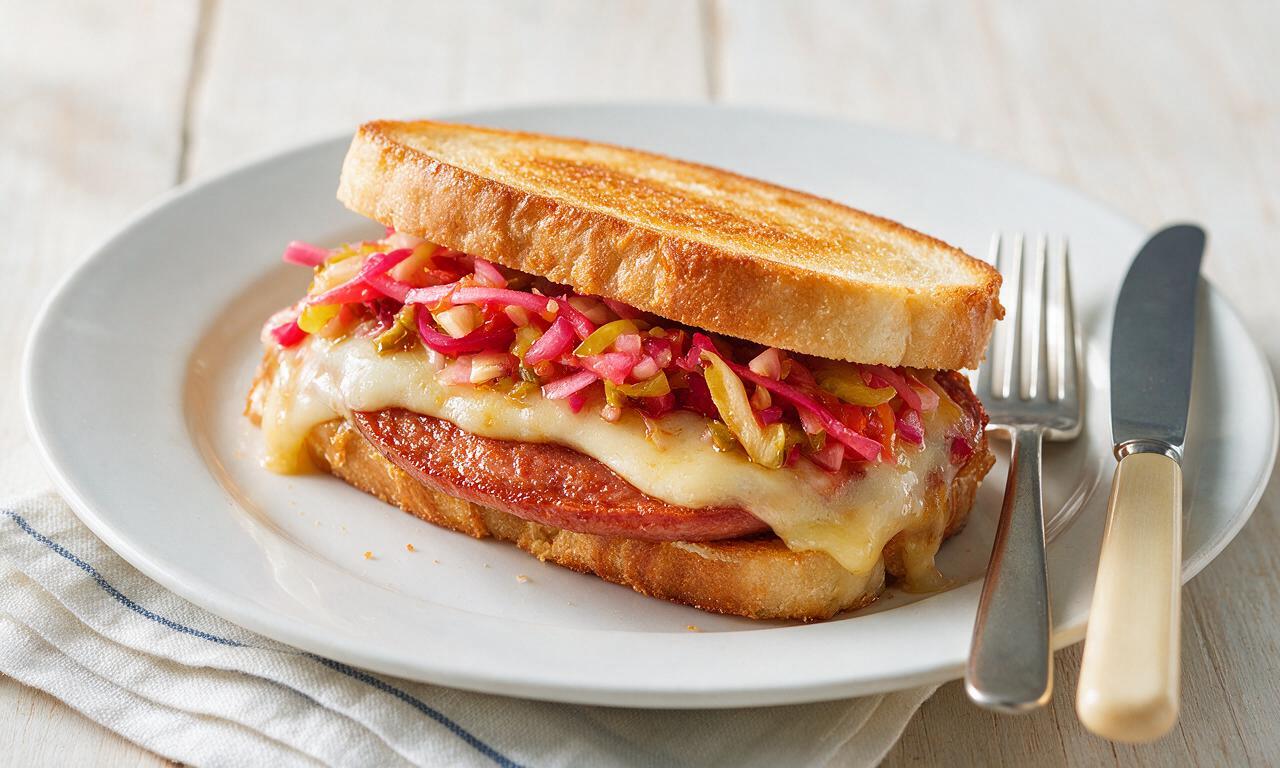
This sandwich became a staple in mid-century diners and home kitchens because it’s affordable, ultra-satisfying, and comes together in minutes with simple fridge and pantry staples. The contrast of crispy, salty bologna, gooey melted cheese, tangy mustard, and buttery toast hits that perfect comfort food note that feels like a quick, happy childhood lunch.

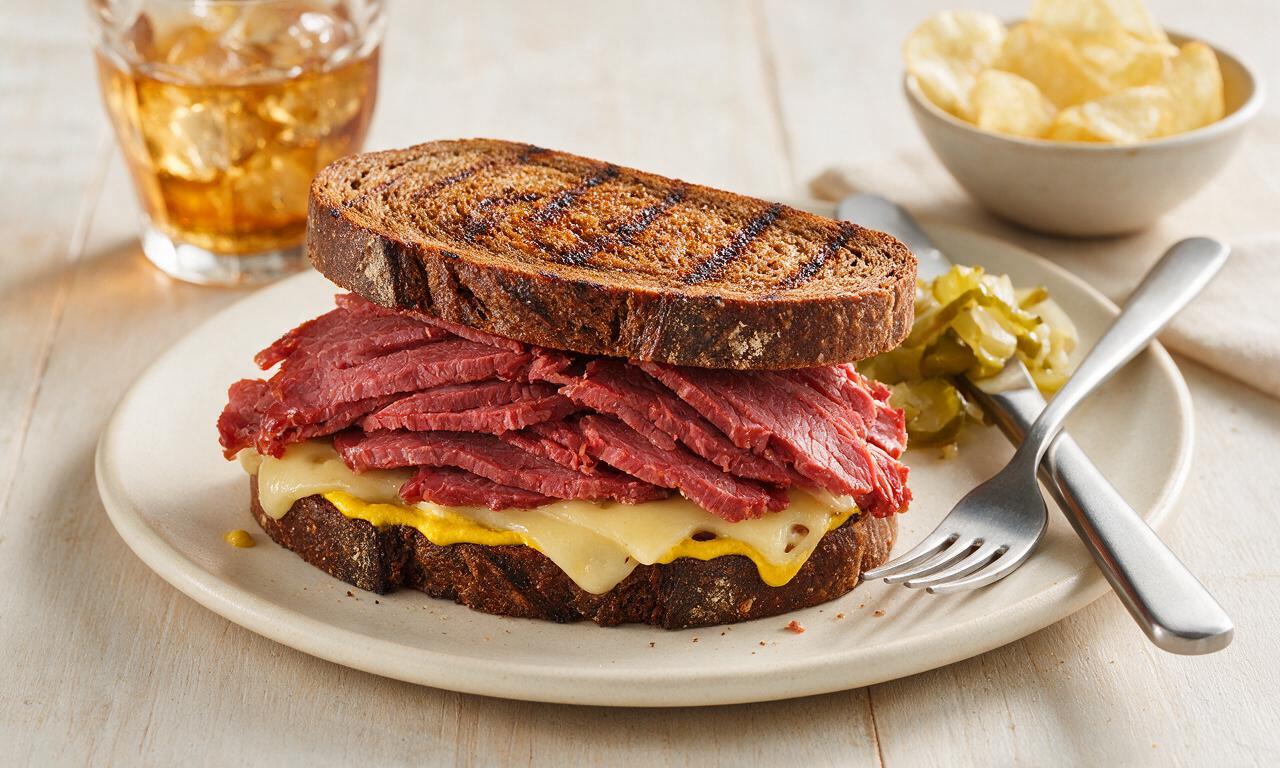
OMG, I haven’t had a fried bologna sandwich since I was a kid staying at my grandma’s house! This recipe turned out so perfectly crispy, I added a little extra yellow mustard and a slice of American cheese and my husband devoured two of them before I even sat down for dinner. Game changer for quick weeknight meals!
Made these for our neighborhood potluck last weekend and they were the first thing gone! I was worried people would think it was too simple of a dish, but everyone was asking for the recipe. So crispy, so savory, 10/10 will be making these for every backyard cookout this summer.
Super easy to throw together for a quick lunch when I’m working from home! I used thick-cut bologna from the local deli instead of the pre-packaged stuff and it came out amazing. Only thing I’ll do differently next time is toast the bun a little longer for extra crunch.
Added these to my weekly meal prep rotation! They reheat really well in the air fryer if you want to crisp them back up, even after being in the fridge for a couple days. My teen son says these are way better than the school lunch sandwiches, total win for mom!
Wait I always thought fried bologna was just a southern thing? I tried this recipe on a whim because I had a pack of bologna in the fridge I needed to use up, and holy cow it’s SO good. I added caramelized onions and a little spicy mayo and it tastes like something you’d get at a fancy gastropub for $12. Who knew?
Just made this for a late lunch, followed the recipe exactly and it came out perfect! That crispy, lacy edge on the bologna is unbeatable. I was a little skeptical how something so simple could be that good, but it totally lives up to the hype.
My kids loved it! I cut the bologna into fun star shapes with a cookie cutter for my youngest, and they both ate every bite without complaining, which is basically a miracle at our house. Served with tater tots on the side and it made for the perfect lazy Saturday dinner.