
fried cheese sandwich

title 1
fried cheese sandwich
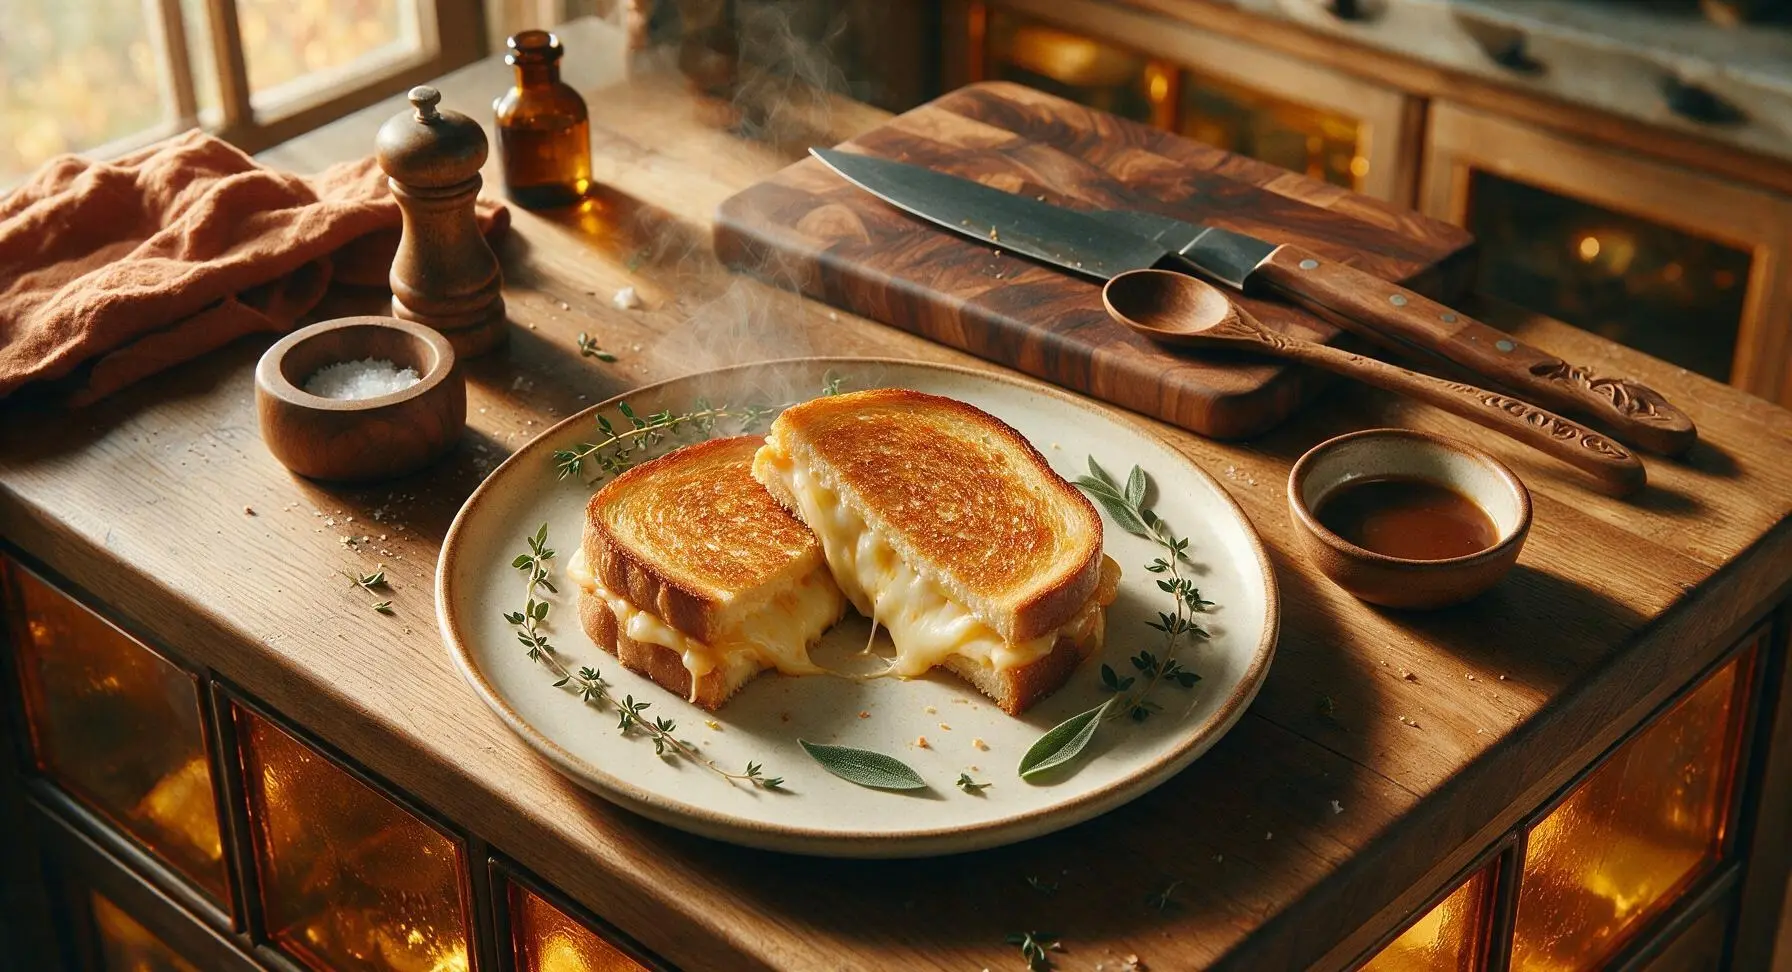
⏱️ cook time 8 minutes
🍽️ servings 2
⚡ Difficulty easy

intro

Crisp, buttery golden bread encasing oozing, stretchy melted cheese—this classic pan-fried sandwich is the ultimate cozy, no-fuss comfort food, ready in just over 10 minutes.

Ingredients
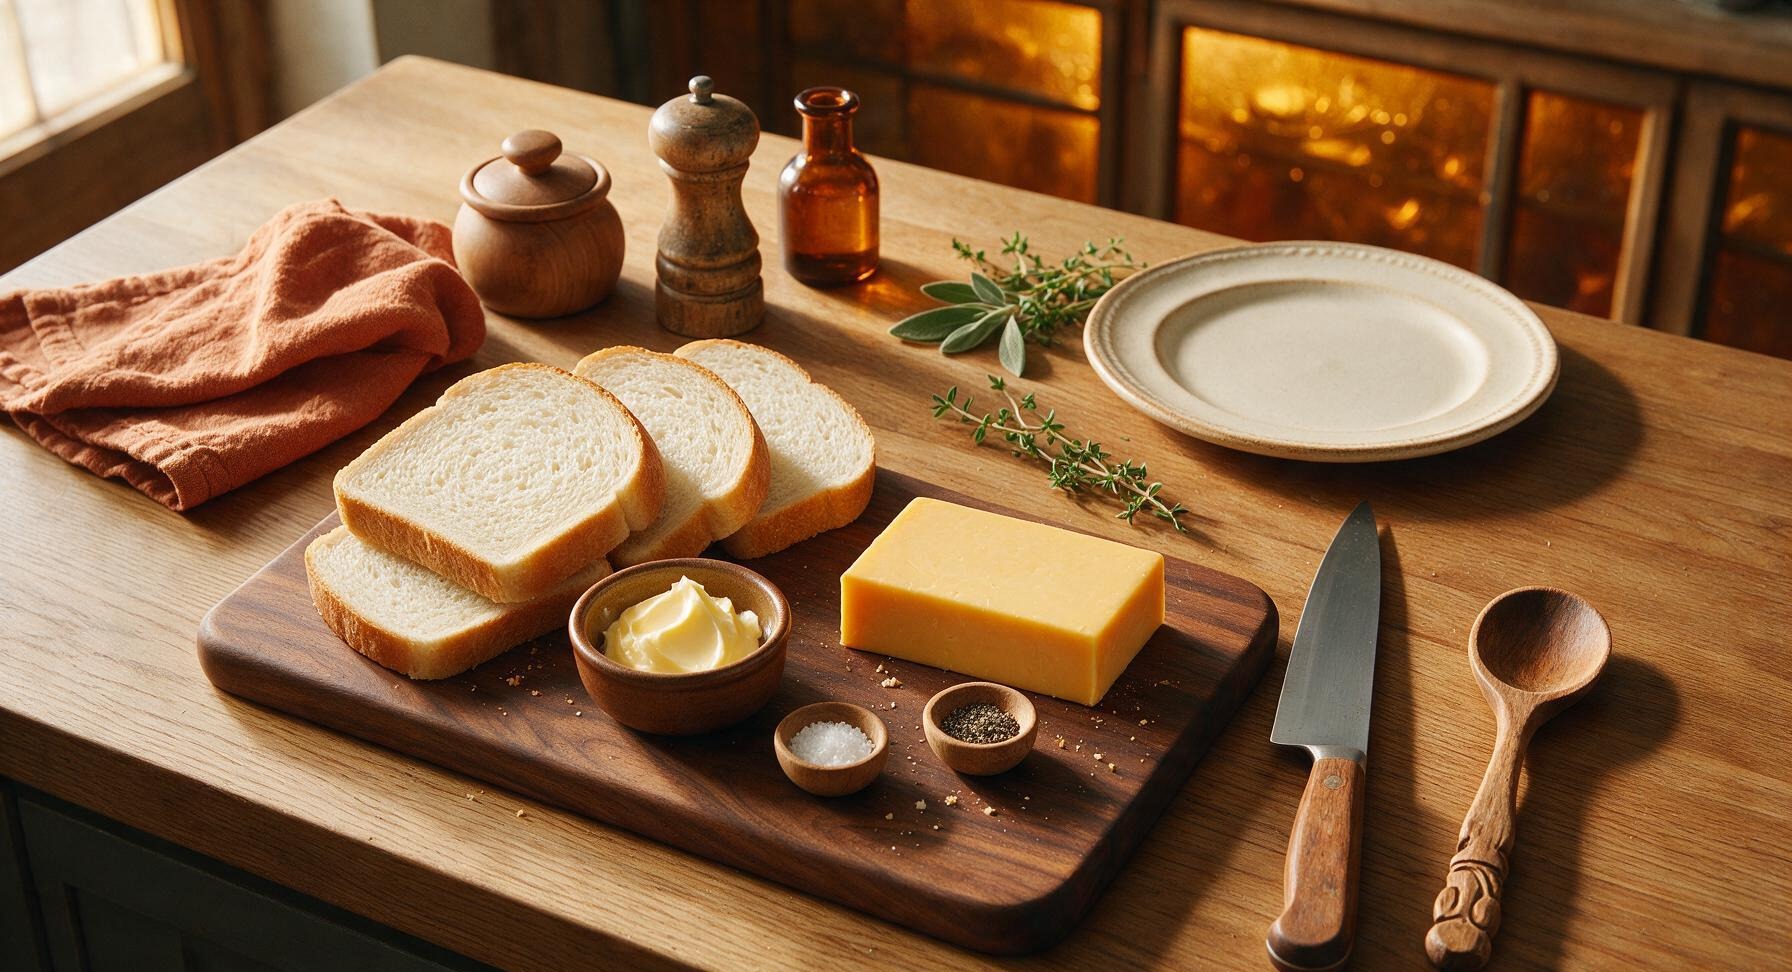
Thick-cut white sandwich bread 4 slices (200g total)
Sharp cheddar cheese 110g, block form
Unsalted butter 2 tablespoons (28g), softened to room temperature
Fine sea salt 1/8 teaspoon
Freshly ground black pepper 1/8 teaspoon
Fresh thyme (optional garnish) 2 small sprigs

Steps

1

Slice and prep cheese

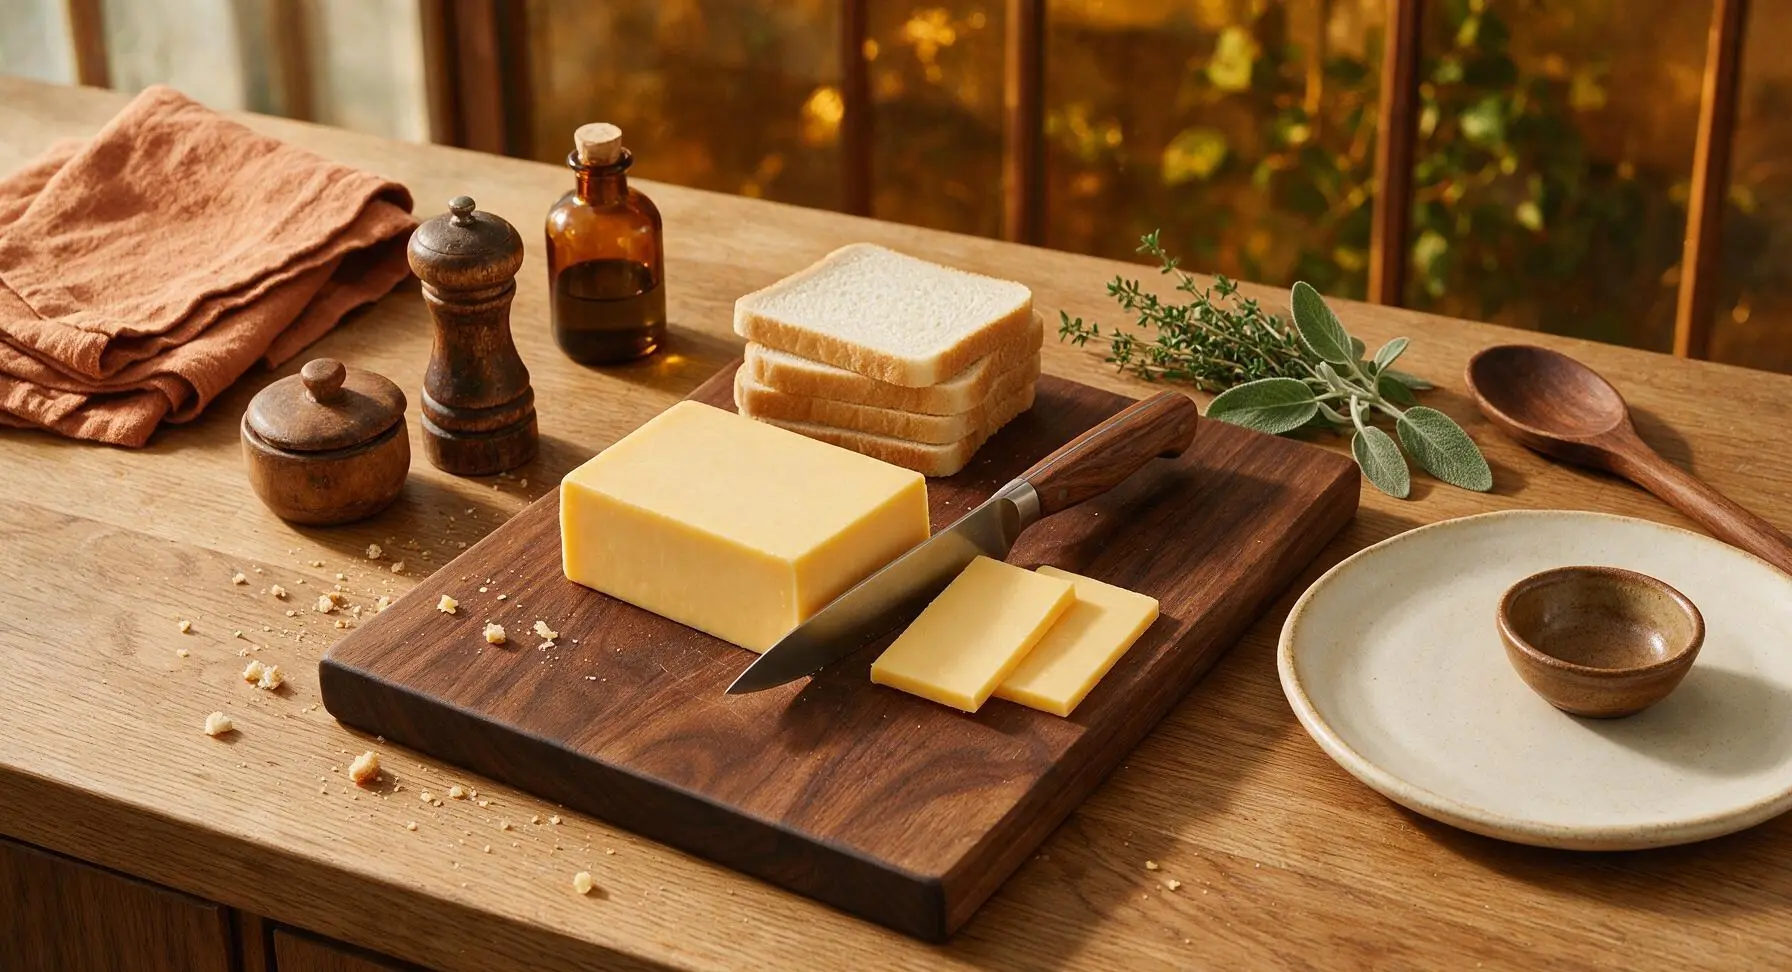
Place the block of sharp cheddar on the light maple cutting board. Use the walnut-handled chef’s knife to cut the cheese into uniform 1/4-inch thick slices, wide enough to cover most of the bread surface without hanging more than 1/8-inch over the edges (overhanging cheese will melt and burn in the pan). Set sliced cheese aside on the corner of the board. Pat bread slices lightly with the corner of the cream cotton kitchen towel to brush away any loose crumbs.
Step 1
step1:Slice and prep cheese
2

Butter bread slices evenly

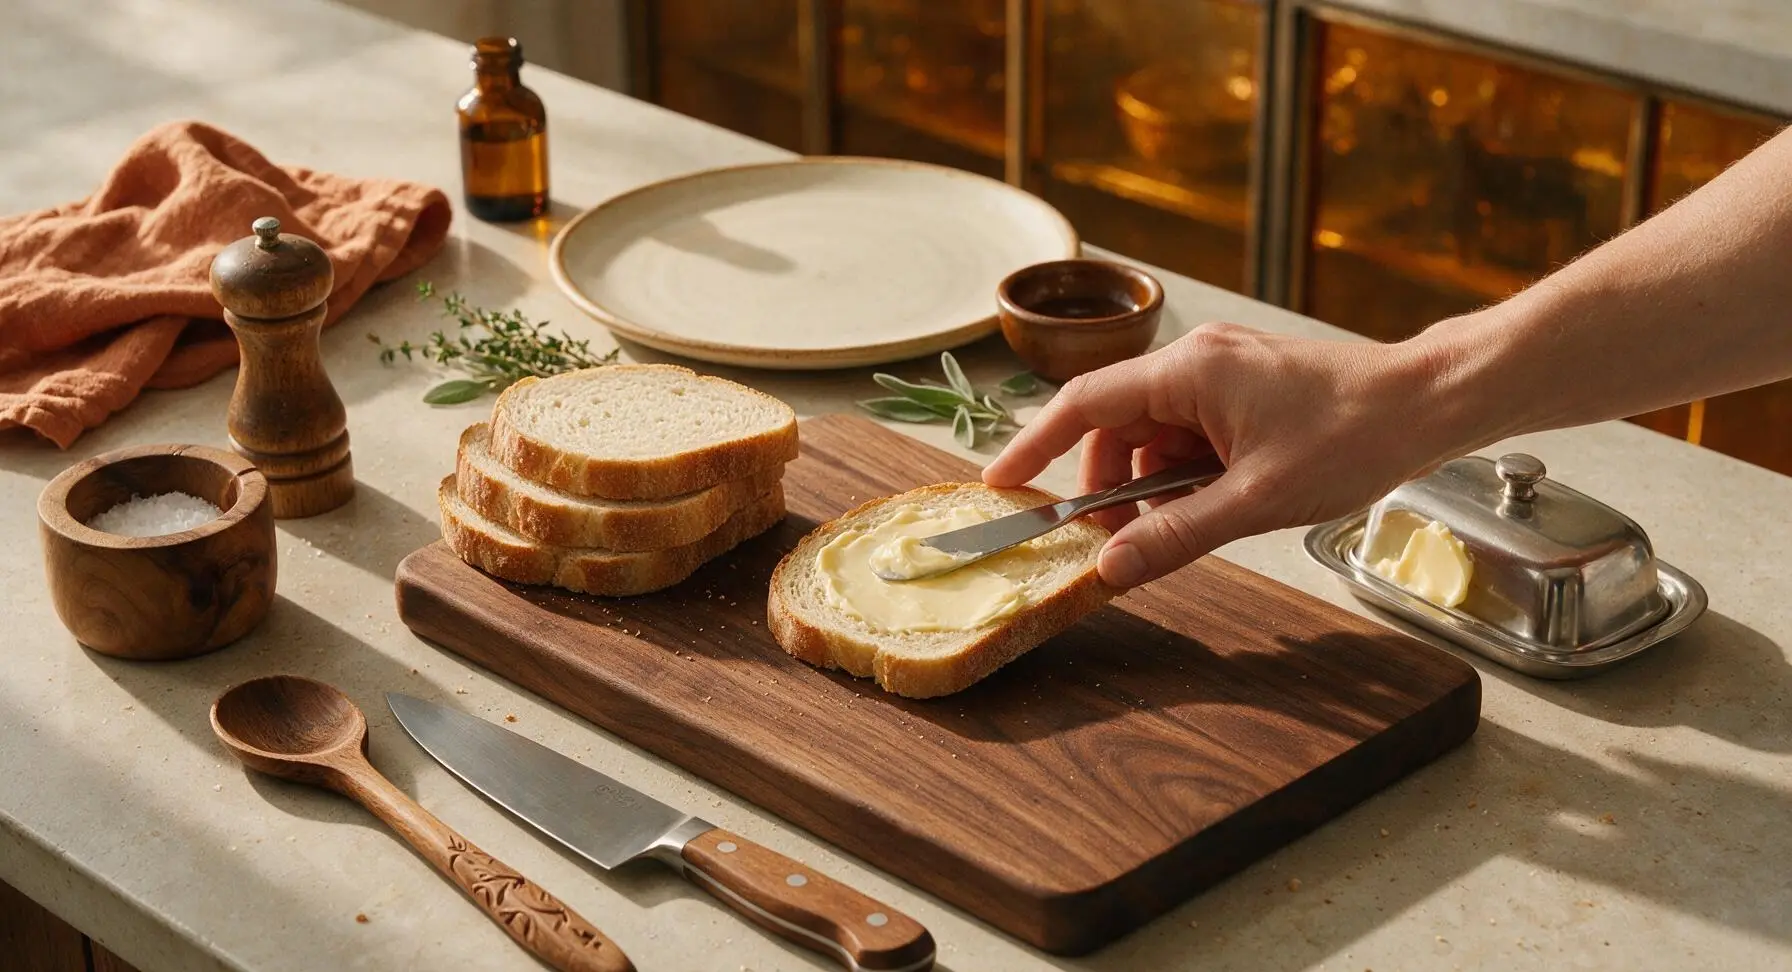
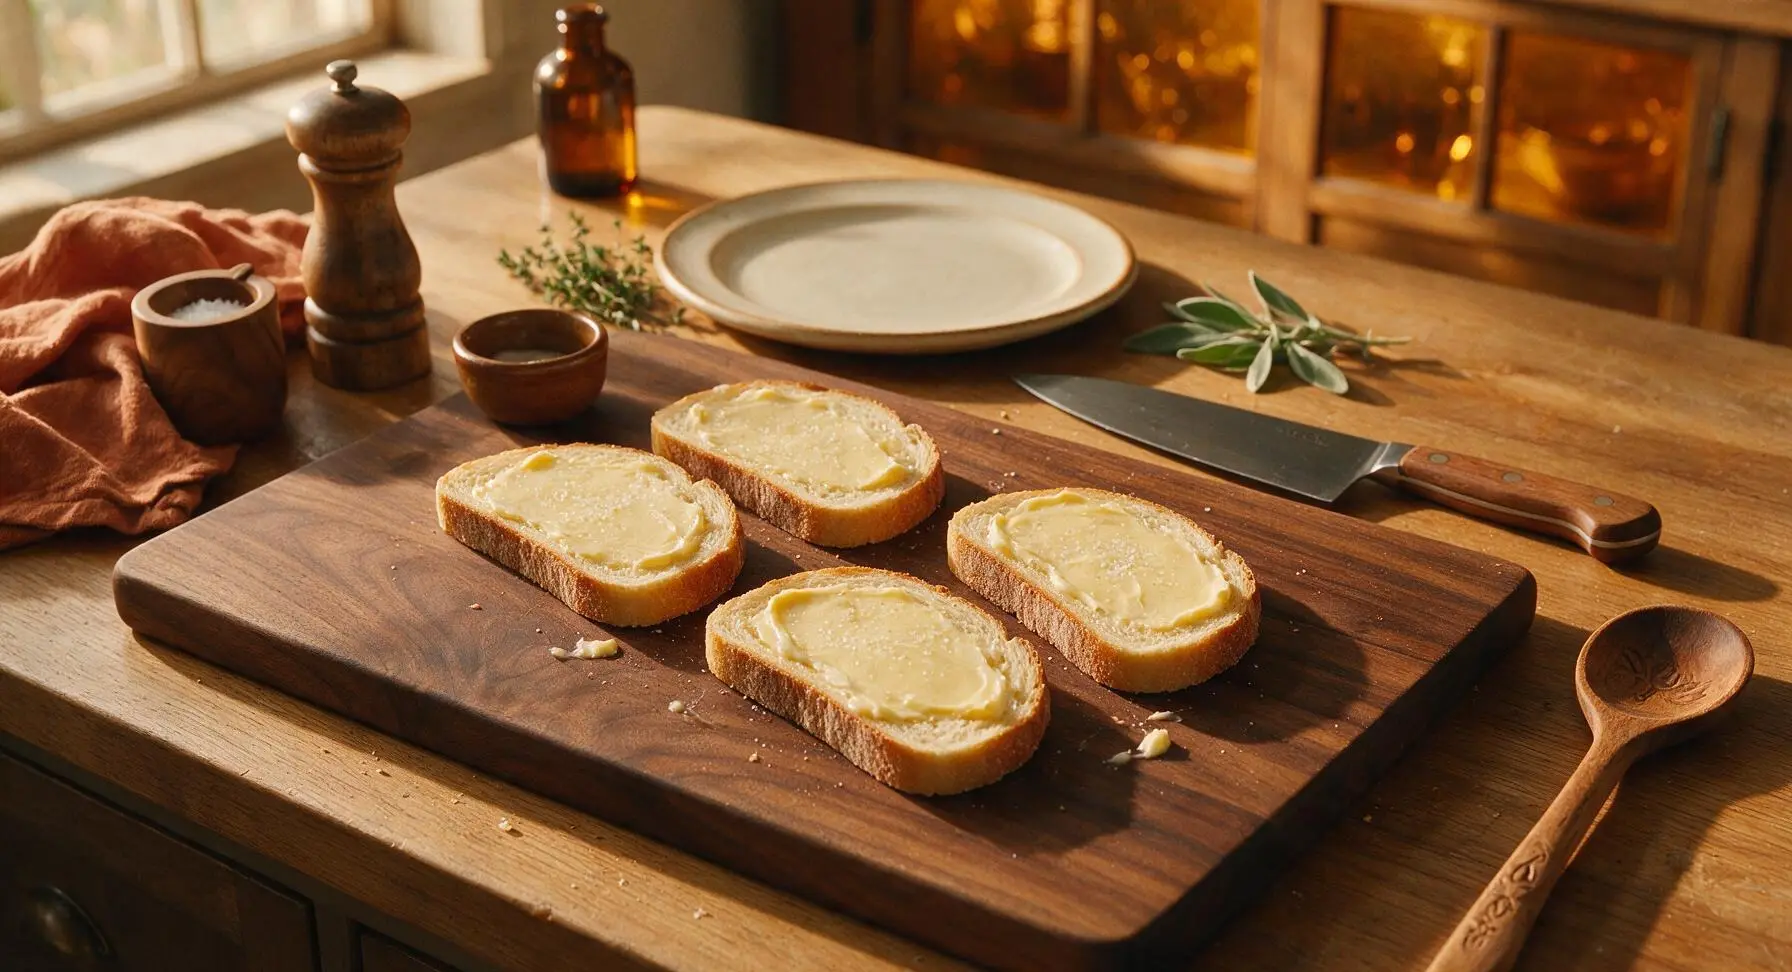
Take each slice of bread, and use the stainless steel butter knife to spread 1/2 tablespoon of softened unsalted butter evenly across one entire side of every slice, making sure to cover all the way to the crust edges. The butter layer should be thin but uniform—thick globs will make the bread soggy, while missed spots will burn instead of toasting. Sprinkle a tiny pinch of fine sea salt over the buttered surface of each slice.
Step 2
step2:Butter bread slices evenly
Step 2
step2:Butter bread slices evenly
3

Assemble cheese filling

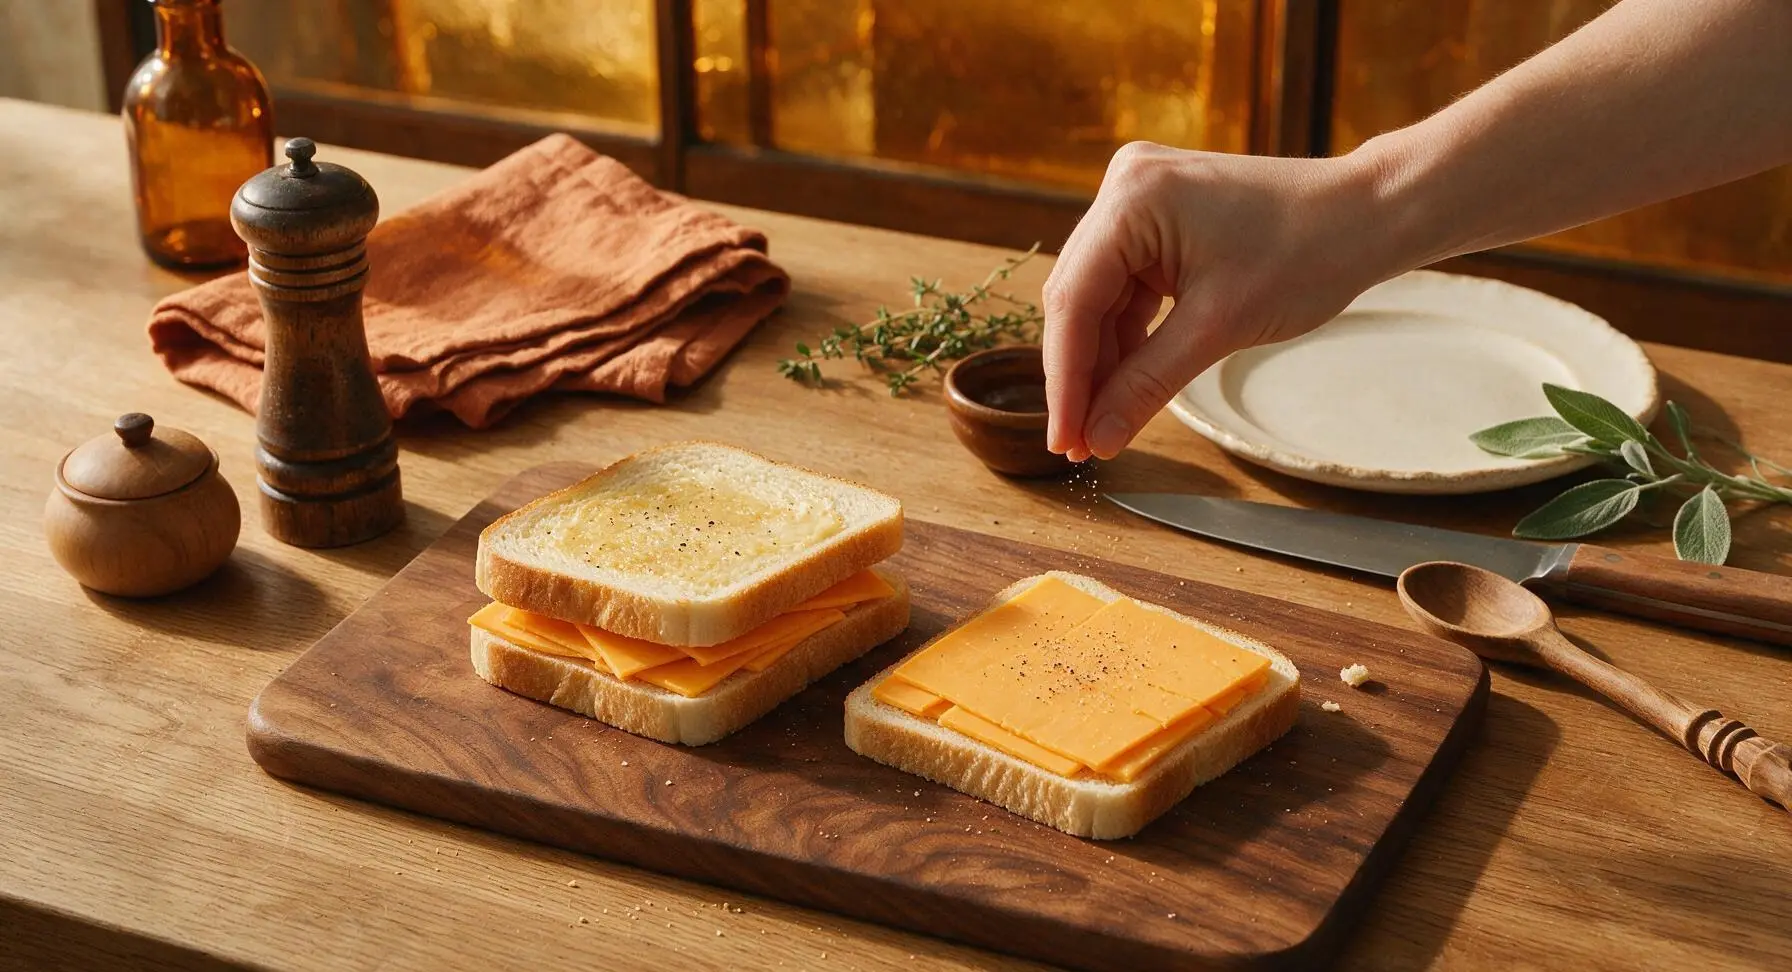
Flip half of the bread slices over so the buttered side faces down on the cutting board. Arrange the sliced cheddar evenly over the unbuttered side of these slices, making sure cheese does not hang over the bread edges. Sprinkle a light pinch of black pepper over the cheese, then top with the remaining bread slices, keeping the buttered side facing out. Press each sandwich down gently with the palm of your hand to help the layers stick together.
Step 3
step3:Assemble cheese filling
4

Preheat the frying pan

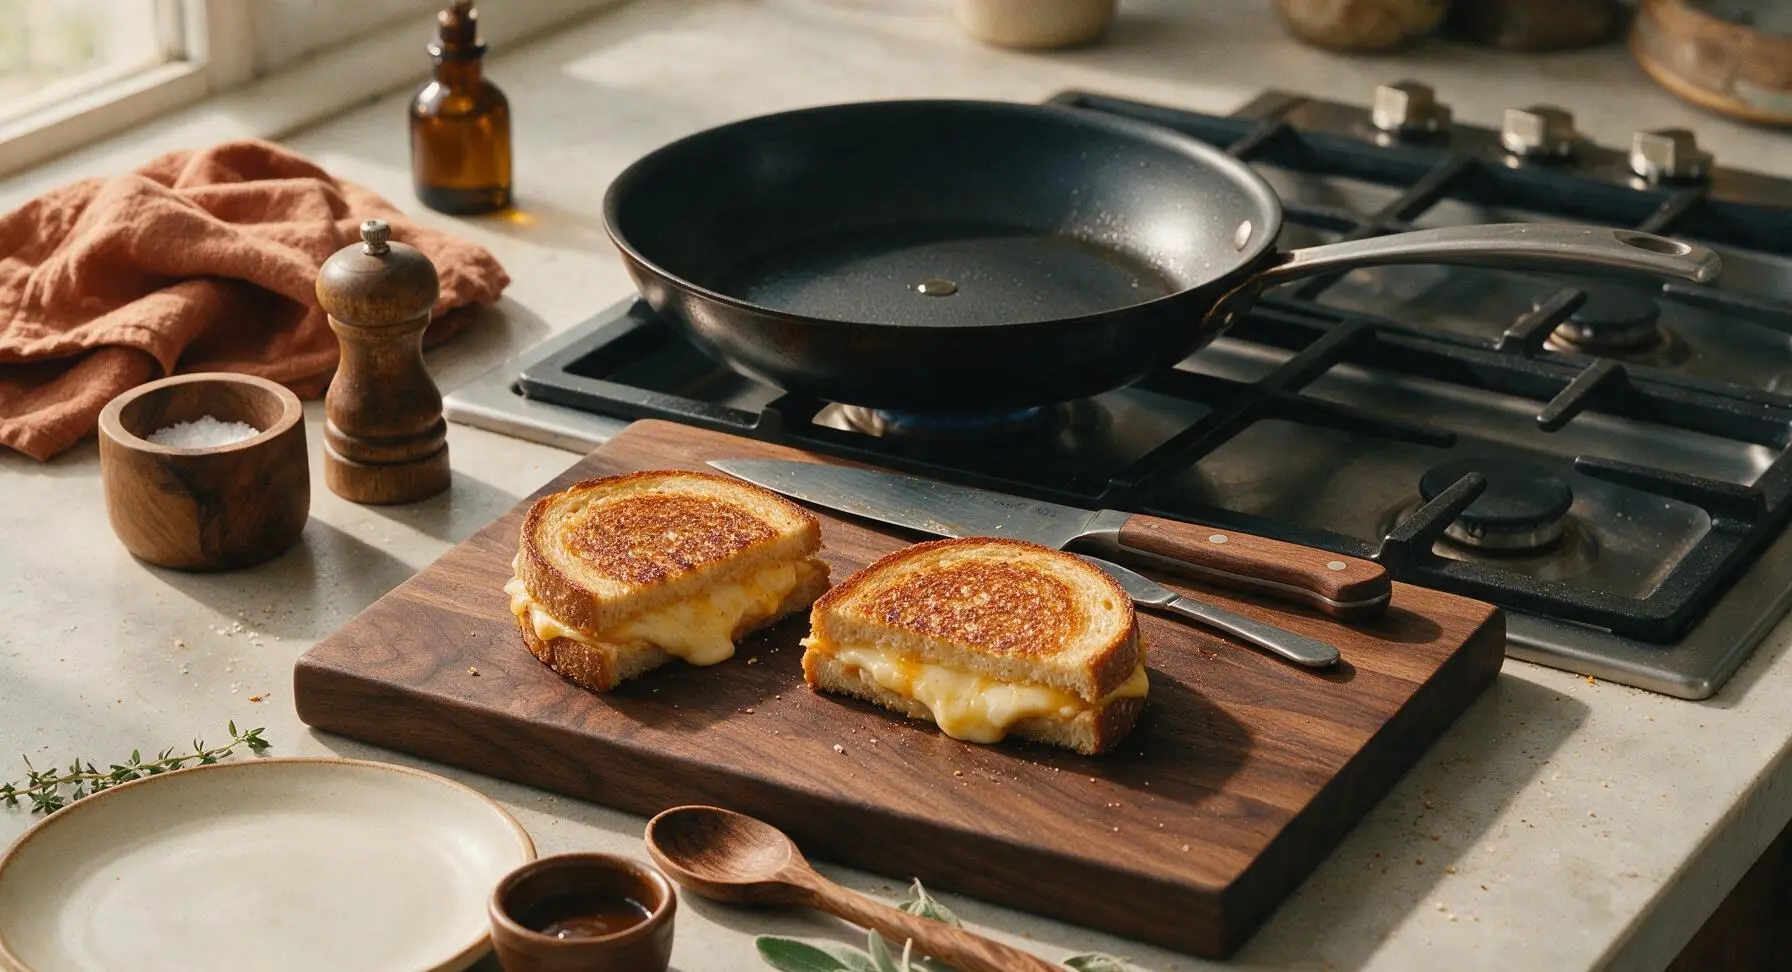
Place the 22cm seasoned carbon steel frying pan on the stovetop burner behind the cutting board, set to medium-low heat (325°F / 160°C if using an electric skillet). Let the pan preheat for 2 minutes—do not turn heat to high, as this will burn the bread before the cheese melts. Test pan temperature by sprinkling a single drop of water: it should sizzle gently and dance across the surface, not instantly evaporate.
Step 4
step4:Preheat the frying pan
5

Fry first sandwich side

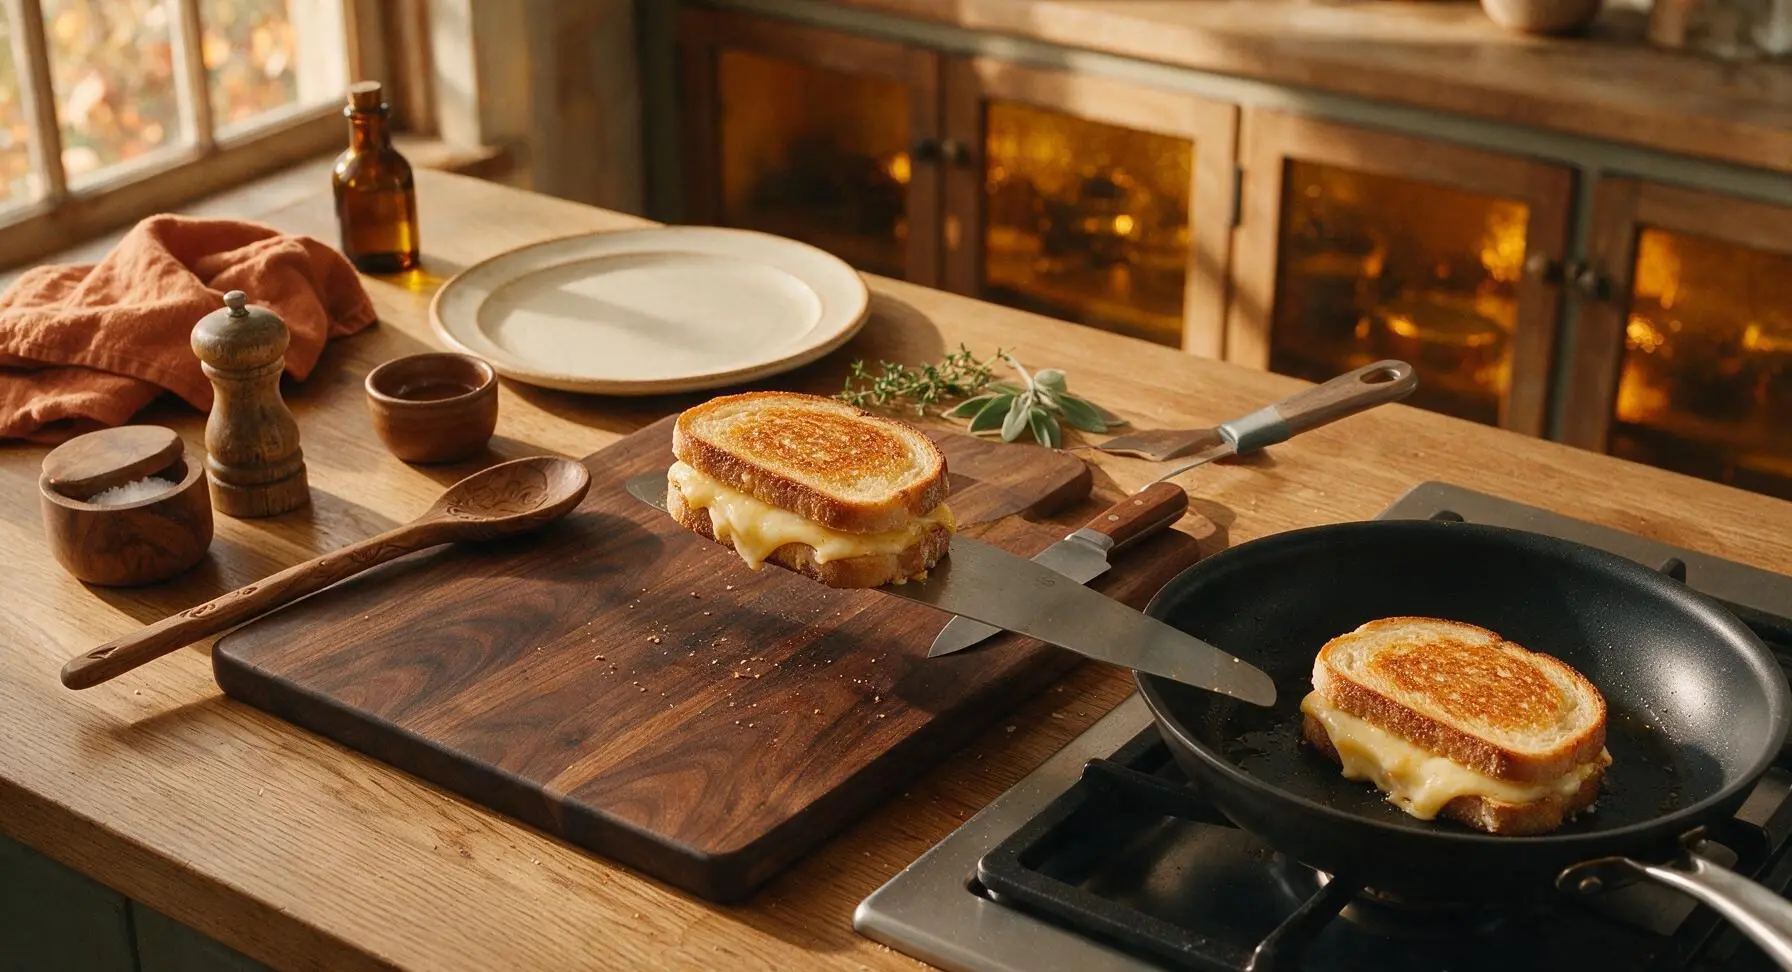
Carefully place both assembled sandwiches into the preheated pan using the stainless steel offset spatula, leaving 1cm of space between them. Cook for 3 minutes over medium-low heat, until the bottom bread slice is deep golden brown and crisp to the touch, and the cheese closest to the pan has started to soften and melt. Do not press down hard on the sandwiches while they cook, as this will squeeze melted cheese out into the pan and create a greasy, less crisp crust.
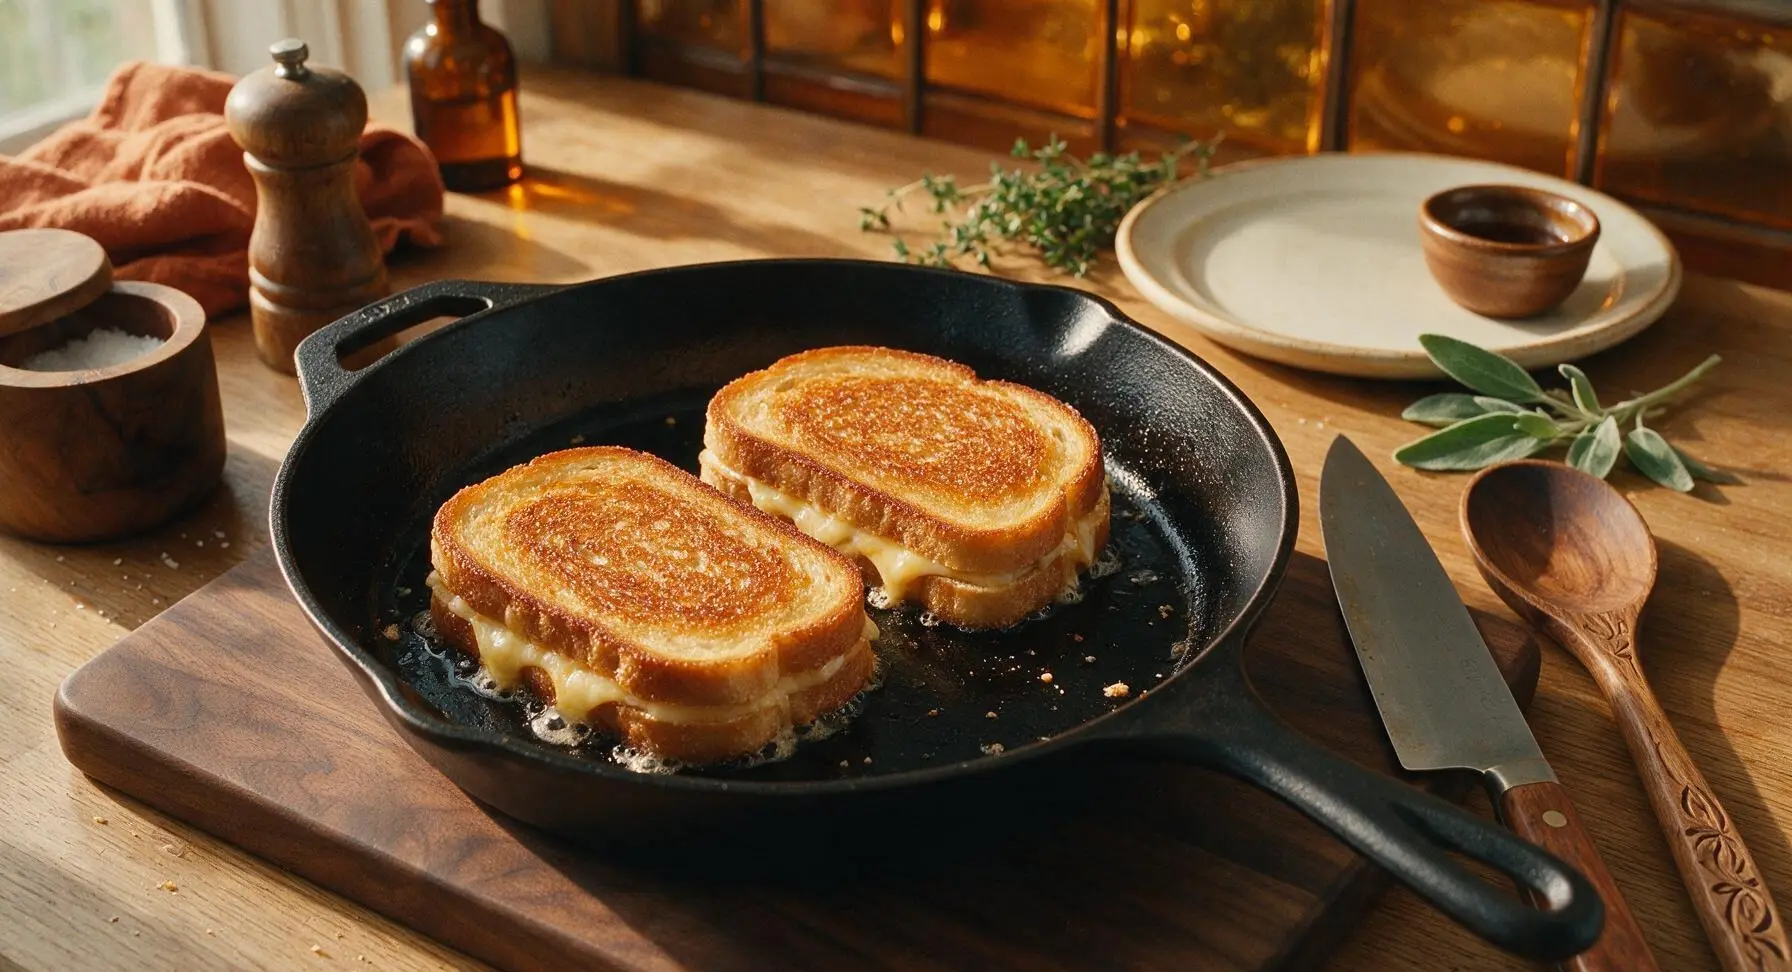
Step 5
step5:Fry first sandwich side
Step 5
step5:Fry first sandwich side
6

Flip and finish cooking

Slide the offset spatula under each sandwich, flipping them quickly and carefully in one smooth motion. Cook the second side for another 3 minutes, until equally golden brown and crisp, and the cheese in the center is fully melted and oozing slightly when you gently press the edge of the sandwich with the spatula. Transfer both finished sandwiches to the cream white stoneware plate.
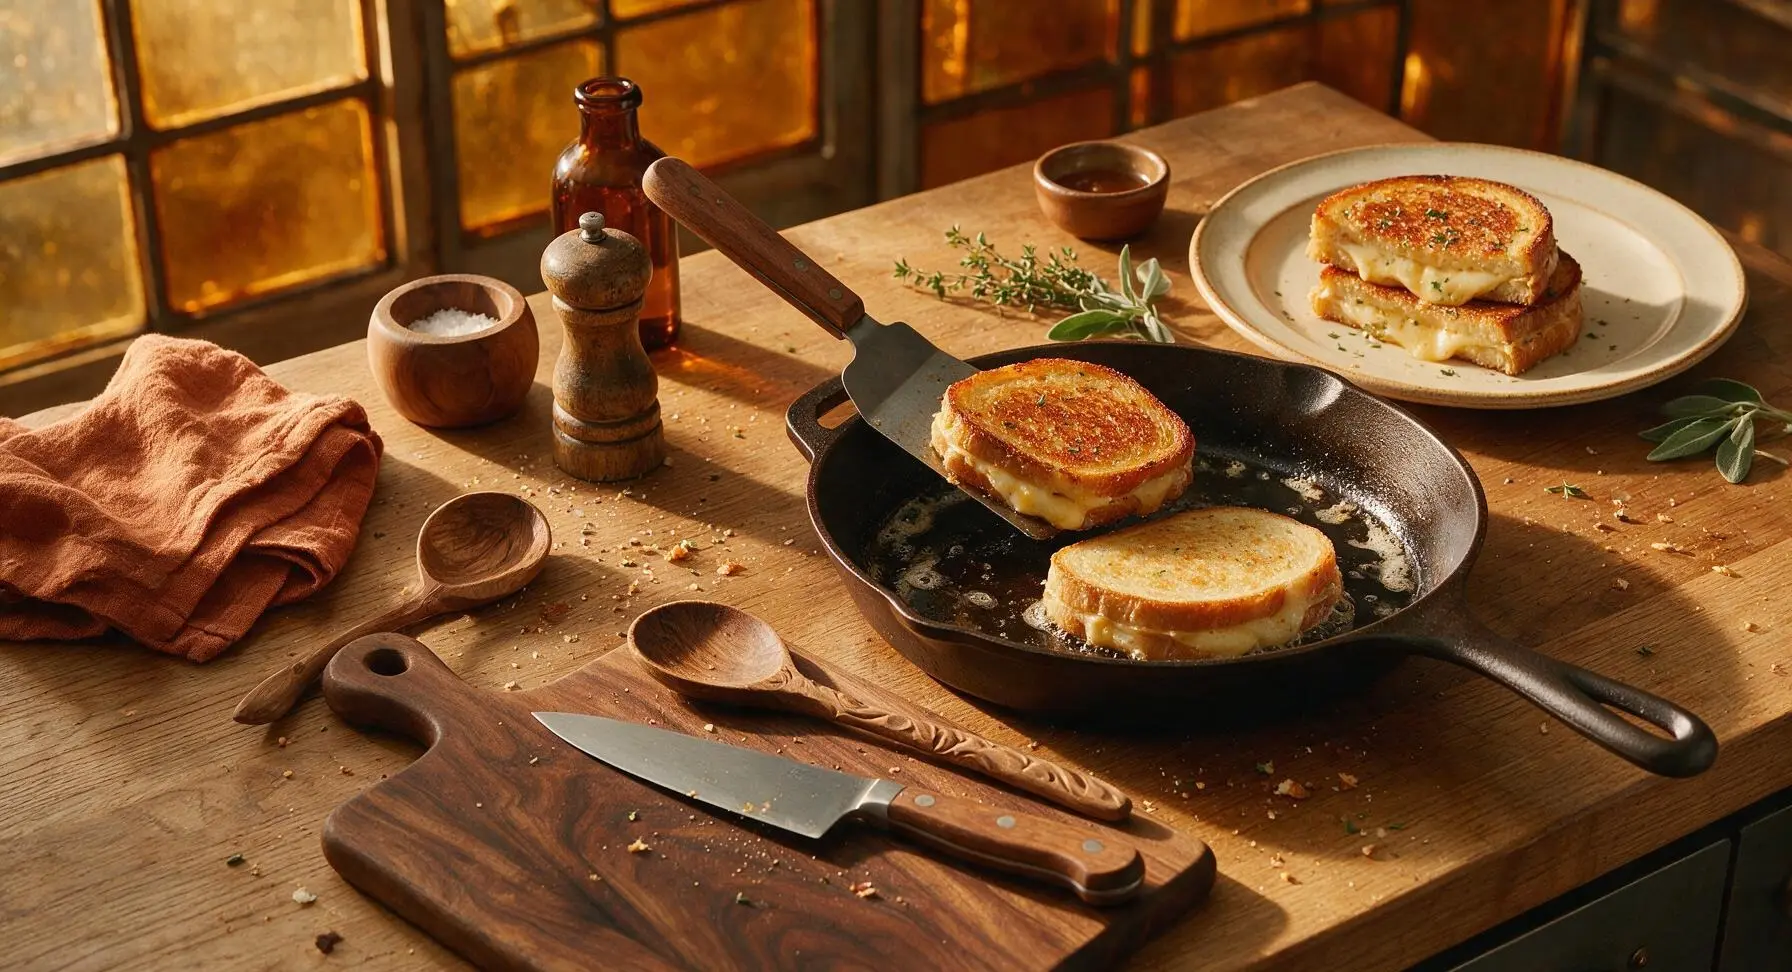
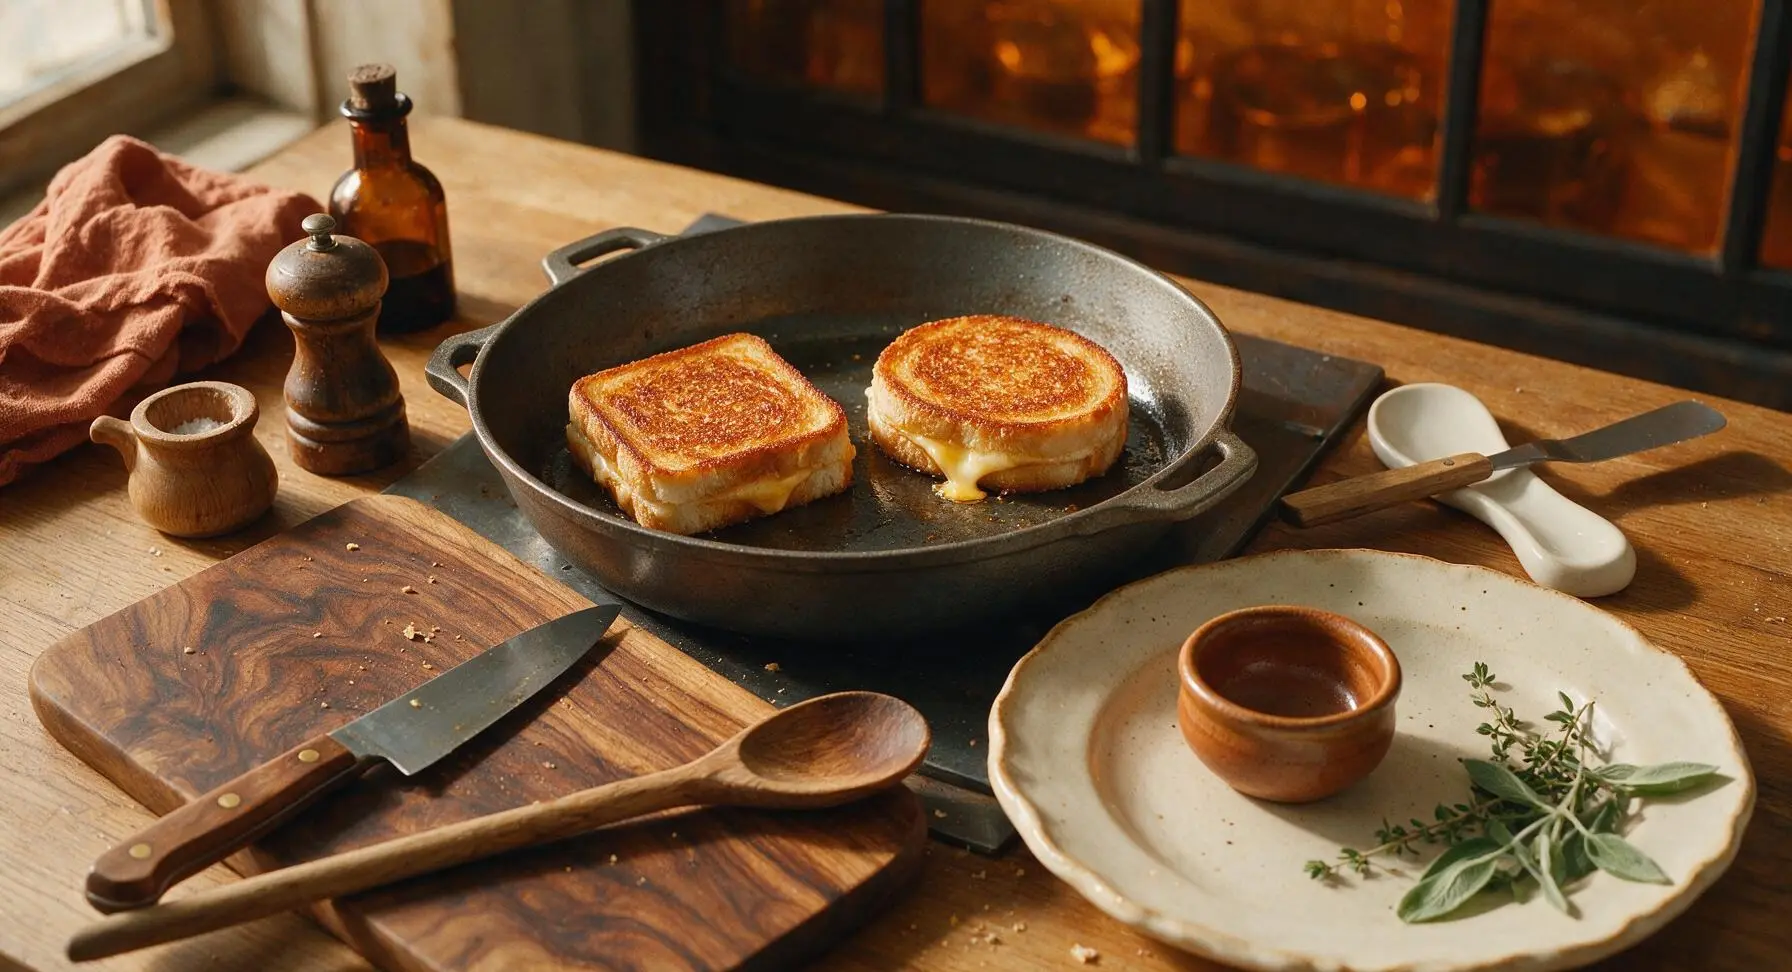
Step 6
step6:Flip and finish cooking
Step 6
step6:Flip and finish cooking
7

Rest, cut, and serve

Once both sandwiches are cooked and transferred to the stoneware plate, let them rest for 1 minute to allow the cheese to set slightly (this prevents all the cheese from running out when you cut them). Cut each sandwich diagonally into two triangles with the chef’s knife, garnish with a small sprig of fresh thyme if desired, and serve immediately.
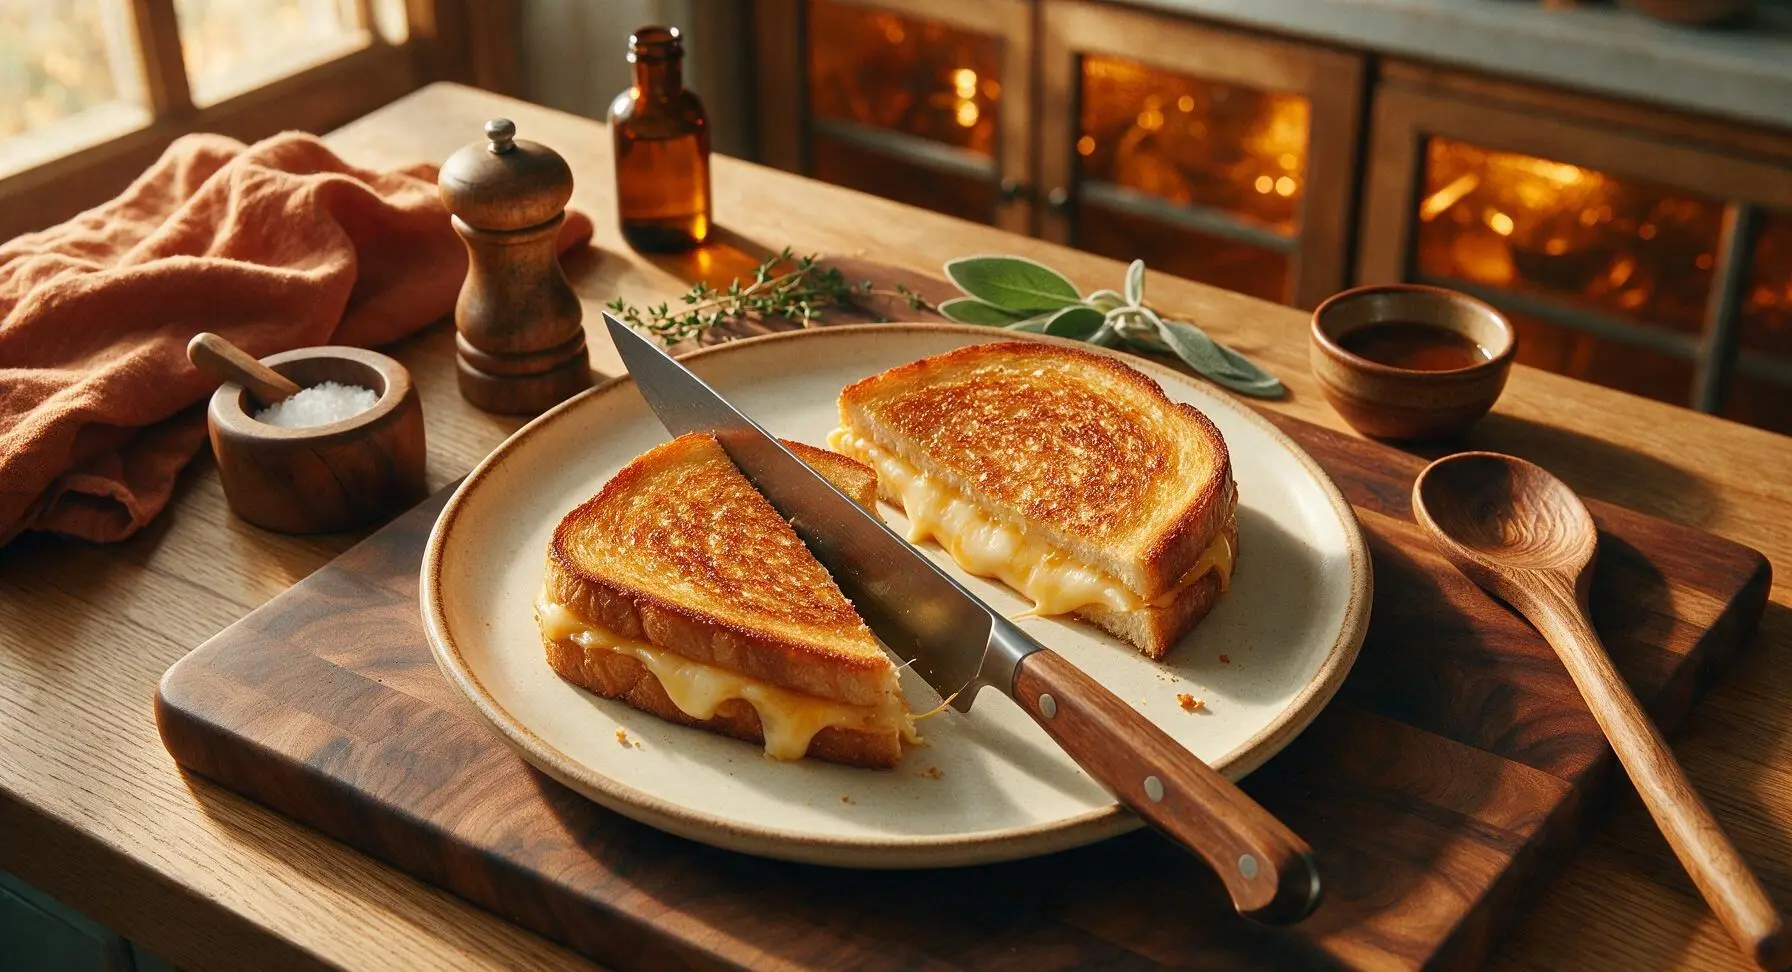
Step 7
step7:Rest, cut, and serve

Tips

1.Use room-temperature softened butter instead of cold or melted butter for spreading: cold butter will tear soft bread and leave uneven patches that burn easily, while melted butter will soak deep into the bread and create a soggy, rather than crisp, crust.
2.Keep stovetop heat set to medium-low, never high: high heat will char the bread surface to a dark, bitter brown in under a minute before the cheese in the center has a chance to fully melt, leaving you with a burnt outside and cold, solid cheese filling.
3.Let the cooked sandwiches rest for 1 full minute before cutting: slicing immediately after removing from the pan will cause all the runny, hot melted cheese to pour out the sides, while a short rest lets the cheese thicken slightly so it stays stretchy and neatly contained between the bread slices.


✨ You May Also Like

Lunch
🍜 United States

Creamy, salty, tangy nostalgic Midwestern sandwich pairing rich peanut butter with crisp briny dill pickles for a fast, satisfying no-cook meal.

⏱️ 5 minutesLunch ★ 4.6
Lunch
🍜 United States

Crispy, melty pressed sandwich layered with savory roast pork, ham, Swiss cheese, pickles, and tangy mustard: a beloved Cuban-American comfort classic.

⏱️ 25 minuteLunch ★ 4.9
Lunch
🍜 United States

Hearty, briny New Orleans pressed sandwich stacked with cured Italian meats, provolone, and zesty olive salad, served cold for bold, portable flavor.

⏱️ 1 hour 20Lunch ★ 4.7
Lunch
🍜 United States

A tangy, creamy Southern American staple, this no-cook cheesy sandwich is packed with sharp cheddar and sweet pimentos for a satisfying, portable bite.

⏱️ 1 hour 15Lunch ★ 4.8
Lunch
🍜 United States

Crispy Cajun-spiced fried shrimp piled on crusty French bread with tangy remoulade and fresh toppings, the iconic Louisiana street food sandwich.

⏱️ 35 minuteLunch ★ 4.4
Lunch
🍜 United States

Stacked, savory deli-style corned beef sandwich with melted Swiss, tangy mustard, and crisp griddled rye— a fast, hearty, satisfying classic.

⏱️ 15 minuteLunch ★ 4.9

fried cheese sandwich:Frequently Asked Questions

1.What thickness of bread works best for this classic pan-fried cheese sandwich? ▾
Stick to ½-inch thick-cut white sandwich bread as the recipe specifies. Slices thinner than ¼ inch turn soggy or burn before the cheese melts, while slices over ¾ inch leave you with under-melted cheese and overly bready bites. The soft, sturdy crumb of standard white bread crisps evenly in butter without falling apart mid-flip.
2.Can I use pre-shredded cheddar instead of shredding my own from a block? ▾
Pre-shredded cheddar works in a pinch, but it’s coated in anti-caking agents that prevent that iconic smooth, stretchy melt. For best results, shred your own sharp cheddar right before assembling; it melts faster, clings better to the bread, and has a brighter, sharper flavor than bagged pre-shredded options.
3.How much butter should I use per sandwich to get that perfect golden crisp? ▾
Use 1 tablespoon of softened unsalted butter per sandwich, split evenly between the outer sides of the two bread slices. Spread it in a thin, uniform layer all the way to the edges to avoid dry, pale bread spots—this butter is what creates that rich, buttery, shatteringly crisp crust everyone loves.
4.Why does my cheese never fully melt before the bread gets too dark? ▾
This almost always happens if your pan heat is set too high. Cook over medium-low heat, not high, so the bread toasts slowly while the cheese has time to melt all the way through. You can also cover the pan with a lid for 1 to 2 minutes after flipping to trap gentle heat that melts the cheese without burning the crust.
5.Can I swap the sharp cheddar for a different type of cheese? ▾
Sharp cheddar is classic for its tangy, bold flavor and reliable melt, but you can swap up to 50% of it for other melty cheeses like mozzarella, Gruyère, or American if you prefer. Just avoid hard, dry cheeses like aged parmesan or crumbly feta as your main cheese, since they won’t melt into that smooth, oozing texture.
6.Do I need to season the sandwich, or is the butter and cheese salty enough? ▾
Always add a tiny pinch of fine sea salt and a light grind of fresh black pepper to the cheese layer before closing the sandwich. The salt amplifies the nutty flavor of browned butter and tangy cheddar, while black pepper adds a subtle warm kick that cuts through richness so every bite feels balanced, not bland.
7.What kind of pan works best for making this sandwich? ▾
A heavy-bottomed cast iron skillet or non-stick frying pan works best, since they distribute heat evenly to avoid hot spots that burn patchy areas of the bread. Skip thin, lightweight stainless steel pans if you can, as they heat unevenly and leave splotchy, under-crisped bread and partially melted cheese.
8.How do I keep the bread from sticking to the pan as it cooks? ▾
First, make sure butter is fully spread across every inch of the outer bread slices, and preheat the pan over medium-low for 1 minute before adding the sandwich. Don’t flip too early—wait until the first side is deep golden and crisp, about 3 to 4 minutes, and it will release easily without tearing.
9.How long does this sandwich actually take to cook from start to finish? ▾
Total cook time is 6 to 8 minutes, plus 2 to 3 minutes of prep to shred cheese and butter the bread, so it’s ready in just over 10 minutes total as the recipe notes. Cook the first side for 3 to 4 minutes until golden, flip, then cook the second side for another 3 to 4 minutes until cheese is fully oozing.
10.Should I butter the pan, or butter the bread directly? ▾
Always butter the outer sides of the bread directly, rather than melting butter in the pan first. This ensures an even, consistent coating on every part of the bread for uniform crispness, instead of butter pooling in parts of the pan that leaves some bread greasy and others dry and un-toasted.
11.Can I add extra fillings like tomato or bacon without ruining the sandwich? ▾
You can add thin, fully cooked extras like crispy bacon or thinly sliced tomato, but pat any wet ingredients (like tomato slices) completely dry first to avoid soggy bread. Keep extra fillings light—too many add-ins prevent even cheese melting and take away from that classic tight, oozing cheese pull.
12.Why is my sandwich coming out soggy instead of crisp? ▾
Sogginess usually stems from three common mistakes: using too-high heat that burns the outside before the bread can crisp, adding wet fillings without drying them first, or using bread that’s too thin. Cook on medium-low, use ½-inch thick bread, and spread butter all the way to the edges to create a full moisture barrier.
13.Is there a way to make this sandwich dairy-free? ▾
For a dairy-free version, swap unsalted butter for a firm, high-quality plant-based butter made for high-heat cooking (skip spreadable tub kinds with high water content), and use a block-style dairy-free sharp cheddar alternative that melts well. Skip pre-shredded dairy-free cheese, as it often has additives that prevent smooth, even melting.
14.How do I get that perfect stretchy cheese pull when I take a bite? ▾
For maximum cheese pull, shred your own sharp cheddar (skip pre-shredded, as noted earlier) and use enough to cover the bread in a thin, even layer—about 2 ounces per sandwich. Let the sandwich rest for 1 minute after taking it out of the pan so melted cheese sets slightly, instead of oozing right out on your first bite.
15.Can I make multiple sandwiches ahead for a crowd and keep them warm? ▾
If you’re cooking for a group, keep finished sandwiches warm on a wire rack set over a baking sheet in a 200°F oven for up to 20 minutes. Don’t stack them on a plate or wrap them in foil, as trapped steam will turn the crisp crust soggy and soft before you get a chance to serve.
16.Do I need to use salted or unsalted butter for this recipe? ▾
The recipe calls for unsalted butter so you can control the exact salt level with the fine sea salt added to the cheese layer. If you only have salted butter on hand, you can use it—just skip the extra pinch of salt on the cheese to avoid an overly salty sandwich, since sodium levels vary across salted butter brands.
17.What’s the best way to serve this sandwich to keep the crust crisp? ▾
Serve it immediately after a 1-minute rest period, either whole or sliced diagonally (the diagonal cut gives you a better cheese pull, too!). Skip setting it on paper towels, which make the bottom crust steam and go soft—set it right on a plate, and pair it with tomato soup or dill pickles for a classic, cozy meal.

Comments (13)

2 days ago

OMG this is so much better than the sad grilled cheese I’ve been making for years! I used sharp cheddar and a little smear of mayo on the outside of the bread instead of butter, total game changer. Cooked up perfectly in 8 minutes exactly, no burnt edges, cheese was all melty and stringy. My kids begged for seconds at family dinner last night!

yesterday

Wait the mayo trick is real?! I was so skeptical when I first heard that but I tried it last month and will never go back to plain butter. Makes the crust so crispy and golden, no weird soggy spots!

yesterday

So glad your family loved it! The mayo spread is such an easy swap for extra crisp, we’re huge fans of that trick too. If you want to level it up next time, try adding a thin slice of ripe tomato inside!

2 hours ago

Perfect quick lunch for my work from home days! I was tired of sad microwave meals and this came together so fast, no fancy ingredients needed. I threw a little garlic powder on the buttered bread and it slapped. Only note is my stove runs a little hot so it was done in 6 minutes instead of 8, so keep an eye on it if you have a finicky range.

30 minutes ago

Great tip about adjusting for stove heat! Every range cooks a little differently, so watching for that golden brown crust and fully melted cheese is always the best marker of doneness. So glad it worked for your WFH lunch!

3 days ago

Made this in my dorm’s tiny shared kitchen between study sessions and it was SO good. I only had American cheese slices and plain white bread, no fancy add-ins, and it still turned out chef’s kiss. Way cheaper than ordering takeout from the sandwich shop down the street, will be making this at least 3 times a week now lmao

1 week ago

Wait, has anyone tried making this with sourdough bread? I have a loaf sitting on my counter that I don’t want to go bad, but I’m worried it’ll be too thick to get the cheese all melty in the middle before the bread burns.

5 days ago

I made it with sourdough last week! Just turn the heat down a tiny bit and cook it a minute longer on each side, it comes out perfect. The tang of the sourdough pairs so well with melty cheddar, 10/10 recommend.

5 days ago

Great question! Sourdough works beautifully here, just like Sally said—lower the heat slightly and add a minute per side to make sure the cheese melts all the way through before the bread gets too dark. It’s one of our favorite bread swaps!

2 weeks ago

I made a whole platter of these cut into little triangles for my neighborhood block party last weekend and they were gone in 10 minutes! People kept tracking me down to ask for the recipe, I can’t believe how simple it is. I did a mix of sharp cheddar and mozzarella for extra stringy cheese pull, chef’s kiss.

1 week ago

That’s such a fun serving idea for a party! The cheddar-mozzarella combo sounds absolutely delicious, we love how customizable this basic recipe is for any occasion. So happy they were a hit at the block party!

yesterday

I make these every Sunday for my kid’s school lunches! I wrap them in foil once they cool a little and they hold up great in the lunch box, they even taste good cold if the kids don’t have time to heat them up in the cafeteria. Way better than the pre-packaged frozen sandwich things I used to buy.

5 minutes ago

Okay full transparency, I burned the first one because I got distracted by my dog barking at the mailman. But the second one? Perfect. So crispy, so cheesy, exactly what I was craving. The 8 minute cook time is totally accurate as long as you don’t walk away lol

just now

We’ve all been there—distractions happen! So glad the second sandwich turned out perfectly for you. For what it’s worth, keeping the heat on medium-low helps prevent burning even if you step away for 10 seconds, but we recommend staying close by while it cooks.

3 days ago

Added a couple slices of pickled jalapeño to mine for a little kick and oh my gosh, it took this sandwich to a whole new level. The creamy, melty cheese with the tangy spicy jalapeño? I could eat this every single day for the rest of my life and not get bored.

2 days ago

Jalapeño is such a good call! I add a drizzle of hot honey on mine sometimes too, the sweet heat is unreal with the crispy buttery bread.

2 days ago

That jalapeño addition sounds incredible! We love hearing all the creative twists people put on this classic recipe. The hot honey tip from Harry is another fan favorite you have to try sometime!

5 days ago

I thought this recipe was going to be super basic and not worth following, but wow, the tip to butter the outside of the bread evenly instead of just slapping a glob of butter in the pan makes such a huge difference. No more soggy uneven bread spots, every bite is perfectly crispy. 10/10, will make again.

3 days ago

We’re so happy we could change your mind! Even super simple recipes have little tricks that make a huge difference, and that even butter spread is one of the key steps to getting that perfect crispy crust every time. Enjoy!

1 week ago

Made this at 2am after coming home from a concert and it was the best late night snack I’ve ever had. I was a little drunk and still managed to not burn it, which says a lot about how easy this recipe is. 10/10, would make again after future late nights out.

2 weeks ago

I swapped the dairy cheese for my favorite vegan cheddar and used plant-based butter, and it turned out exactly like the classic pan-fried cheese sandwich I remember from when I was a kid! So happy to have a quick easy vegan-friendly lunch option that doesn’t taste like cardboard.

1 week ago

Which vegan cheddar did you use? I’ve tried so many brands that never fully melt and end up all rubbery, I’m desperate to find one that works for crispy cheese sandwiches!

5 days ago

I used Violife mature cheddar slices! They get super melty and stringy just like regular dairy cheese, no weird chalky aftertaste either. I stock up on them every grocery run specifically for these sandwiches.

yesterday

Told my kids we were having ‘fancy artisanal pan-fried cheese sandwiches’ for dinner and they thought I ordered takeout from that fancy bistro downtown. Little do they know it took me 8 minutes total and cost like $2 to make. Total dad win!

30 minutes ago

LMAO I’m stealing this. My kids turn their noses up at regular old grilled cheese but if I call it a fancy bistro sandwich they’ll eat two each, no complaints whatsoever.

1 week ago

Packed these for my day hike last weekend and they held up perfectly! I wrapped them in parchment paper and tossed them in my pack, and even after 3 hours of hiking up and down trails they were still tasty, no soggy mess. Way better than bringing crumbly energy bars for once.



