
Fried Grits
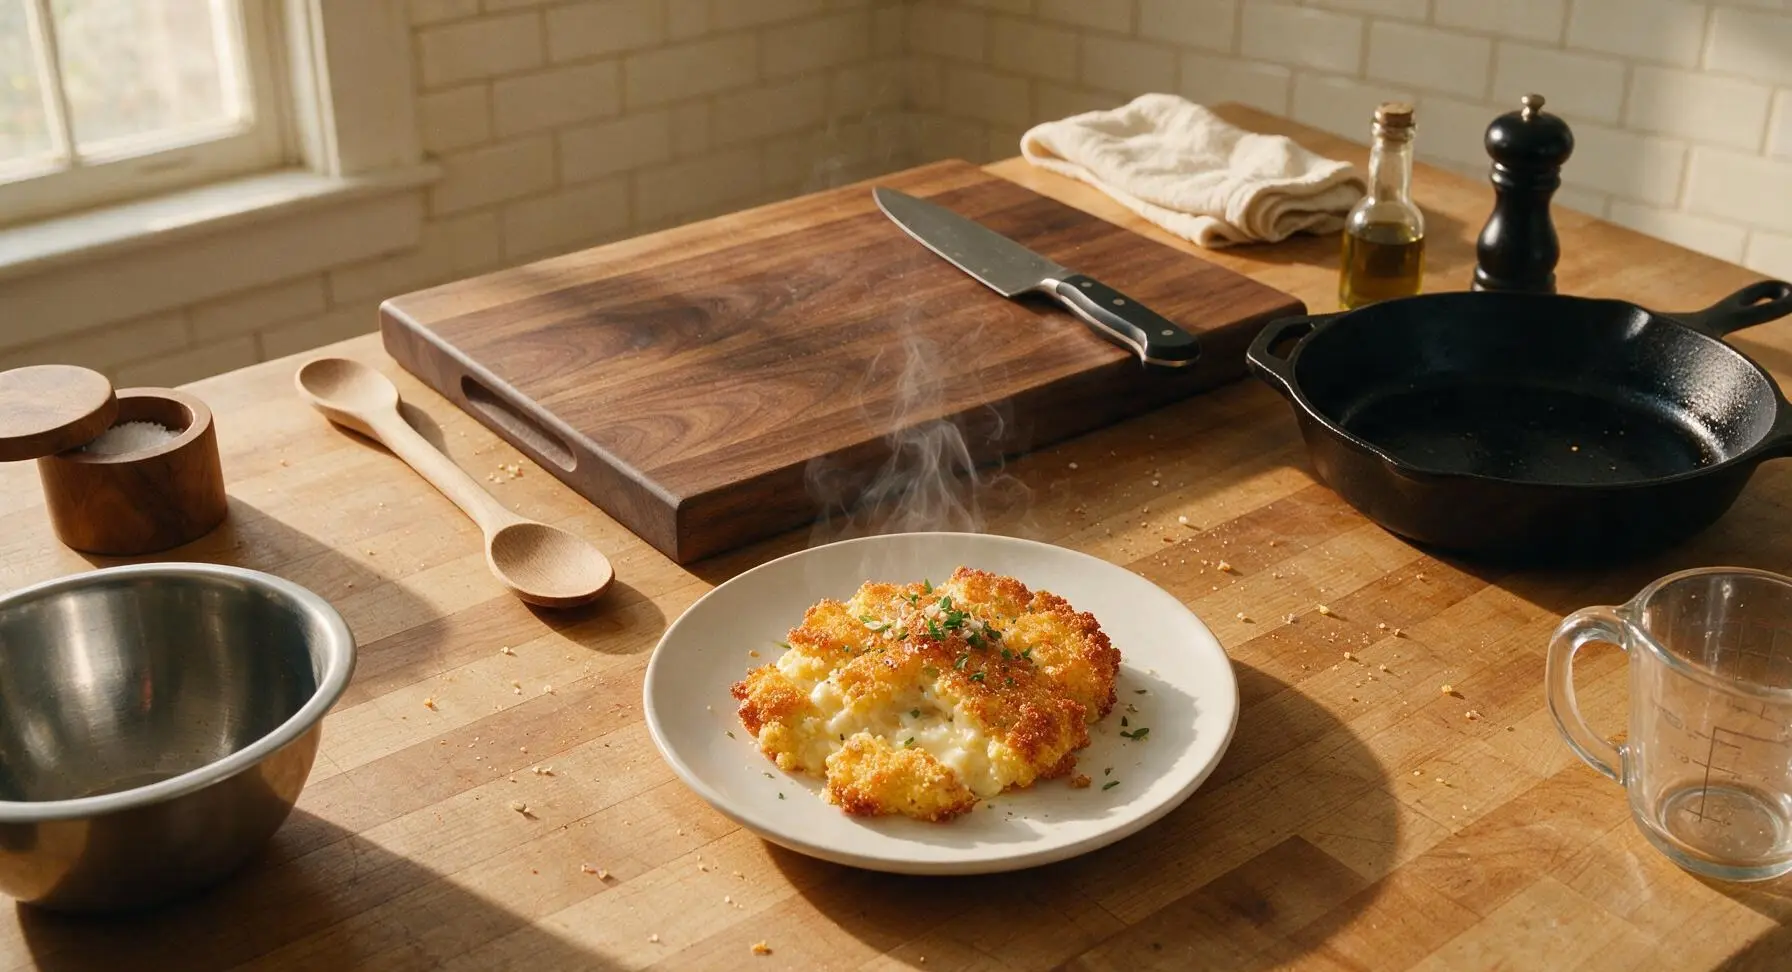
intro
Crispy golden-edged fried grits with a luxuriously creamy soft center, this classic Southern comfort side is buttery, savory, and perfect for pairing with roasted meats, shrimp, or weekend brunch.
Ingredients
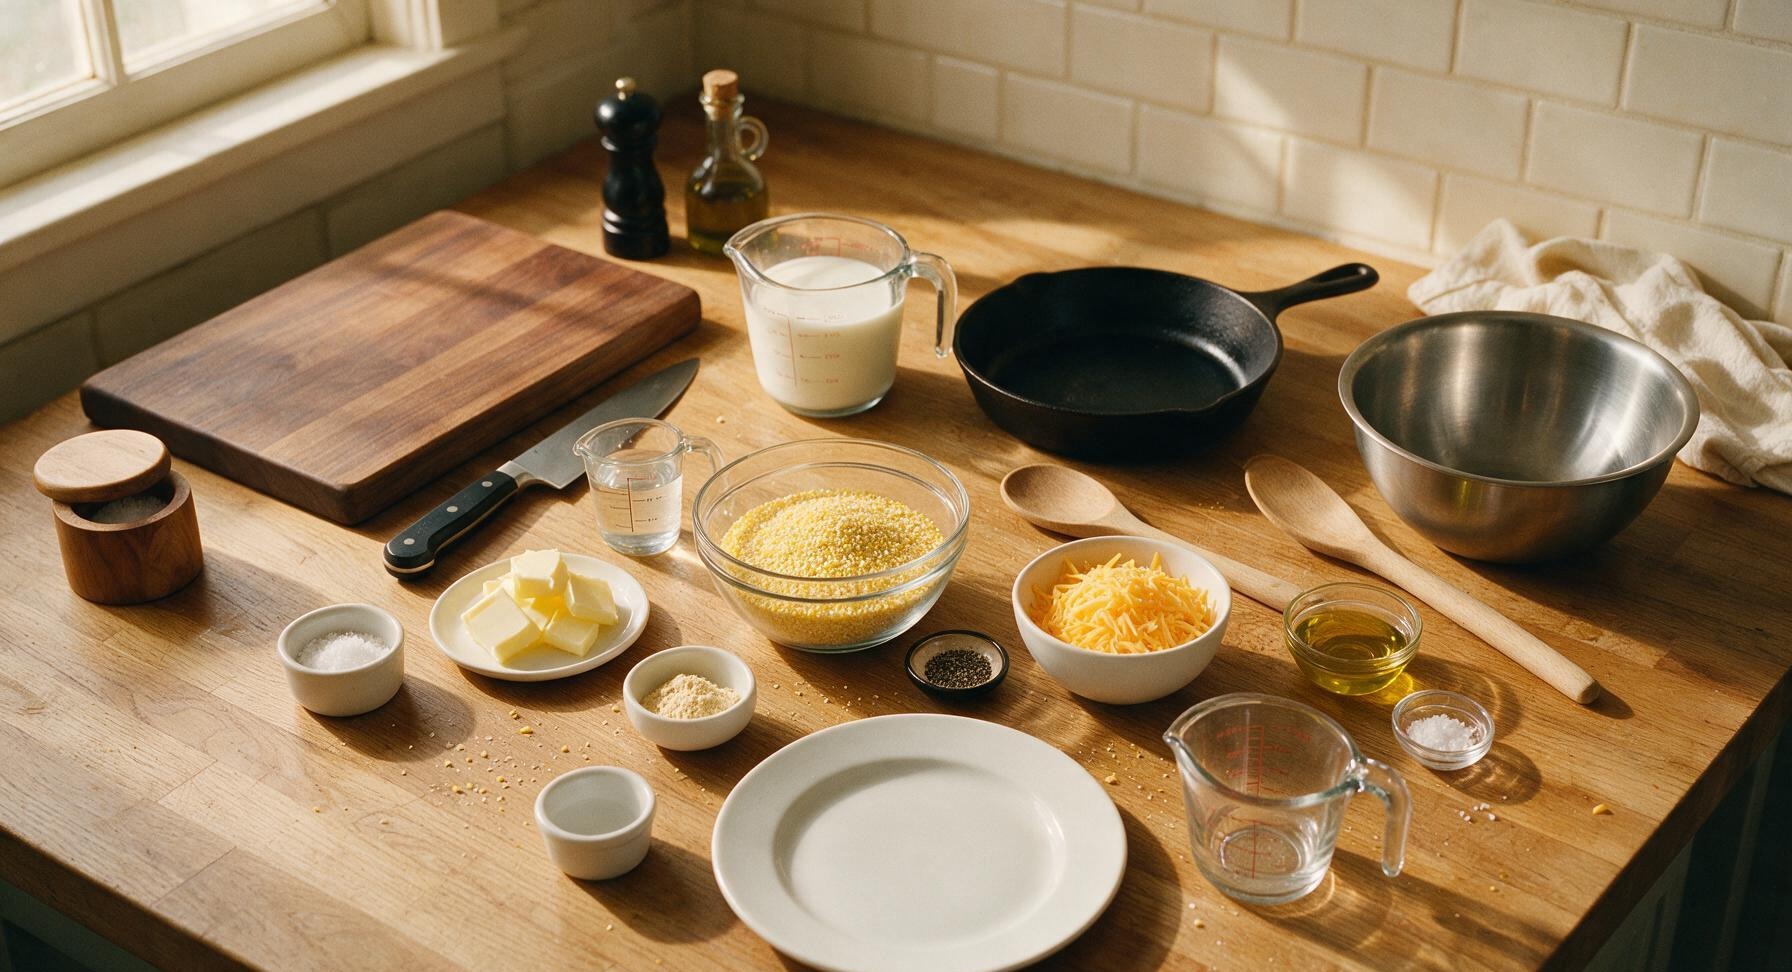
Steps
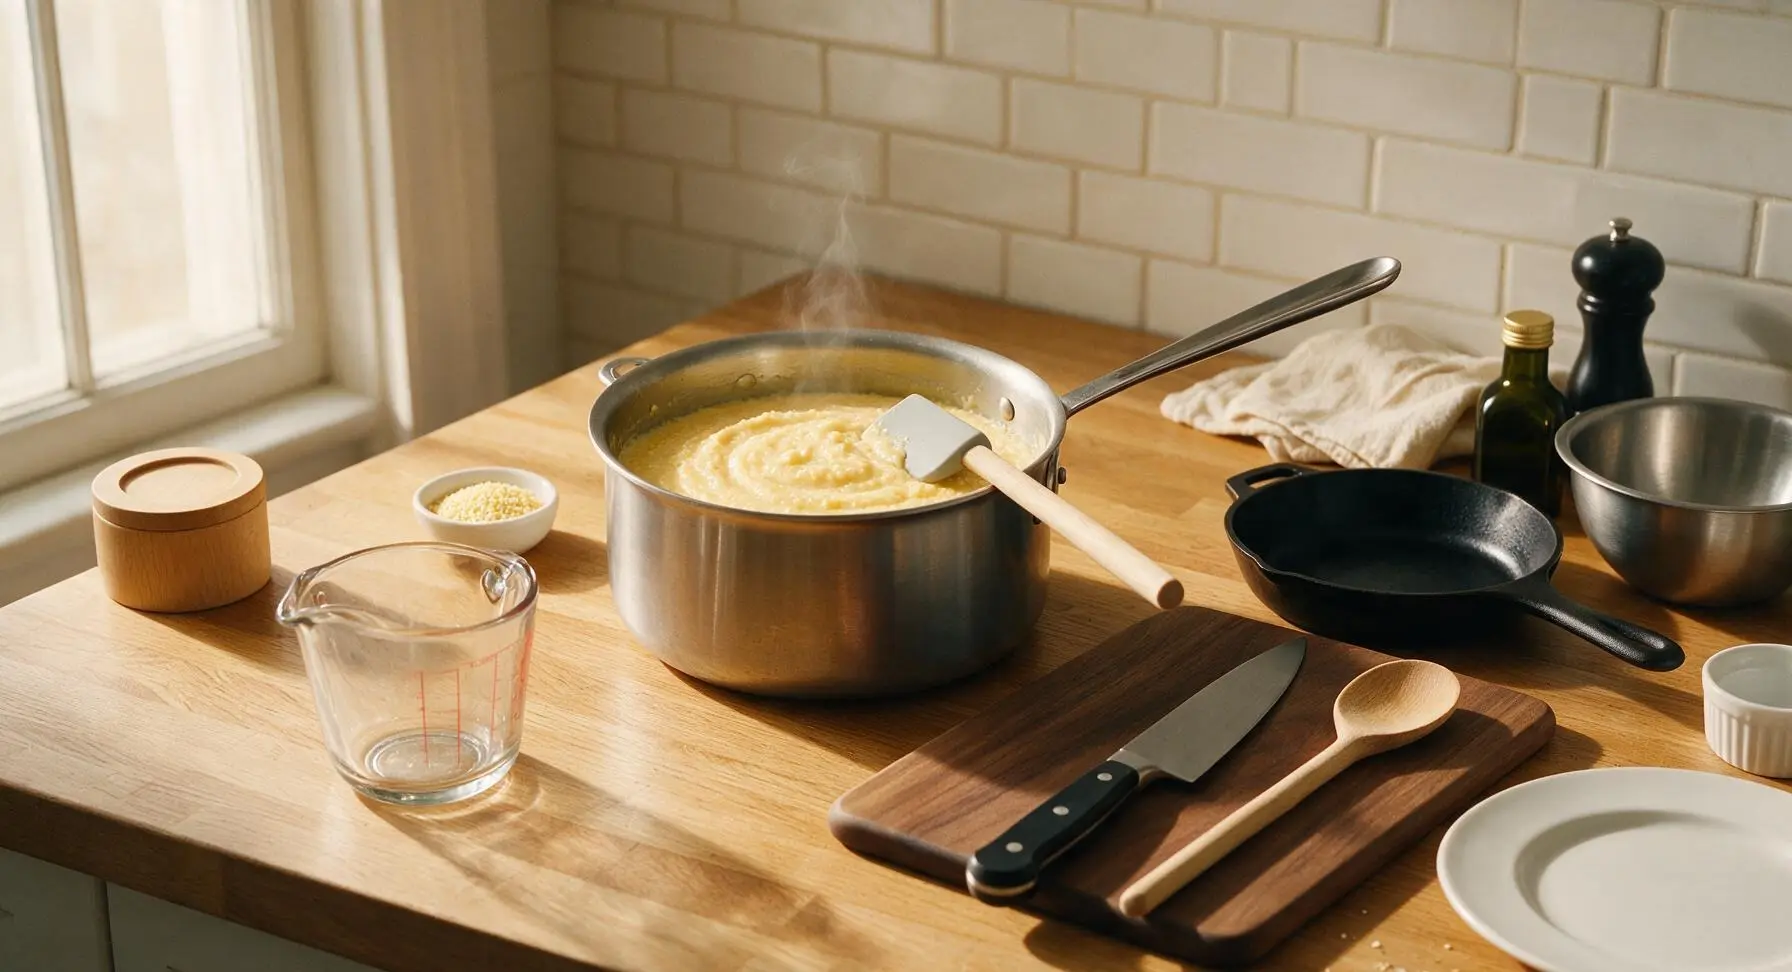
Cook the Grits Base
Place the 3-quart brushed stainless steel saucepan over medium heat. Add 1 cup water, 2 cups whole milk, 1 tsp kosher salt, and 2 tbsp unsalted butter, and bring to a gentle simmer (do not allow a rapid rolling boil, as milk will scald and create a bitter flavor). Slowly pour in 1 cup stone-ground yellow grits, stirring constantly with the pale gray silicone spatula to prevent lumps from forming. Reduce heat to low, cover, and cook for 20 minutes, stirring every 5 minutes to prevent sticking to the pan bottom, until grits are thick, smooth, and pull away slightly from the pan sides when stirred. Stir in ½ cup grated sharp cheddar, ½ tsp black pepper, and ¼ tsp garlic powder, mixing until the cheese is fully melted and evenly incorporated.
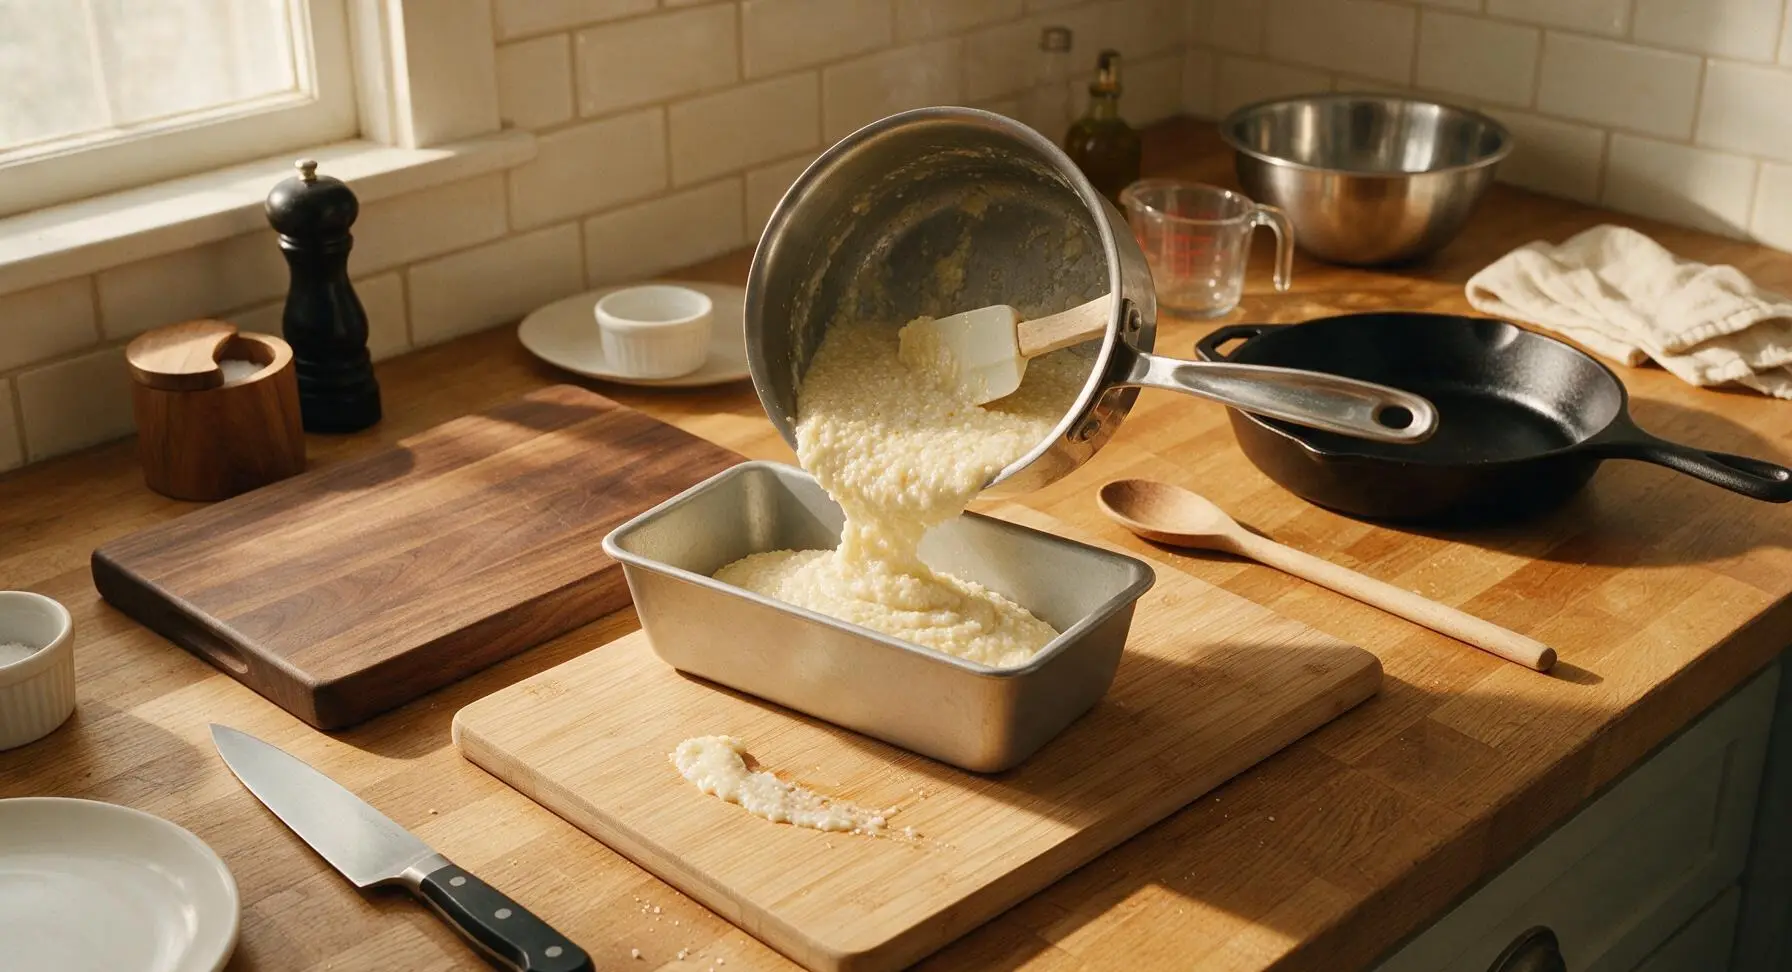
Pour Grits to Set
Lightly grease the interior of the 22x12cm matte aluminized steel loaf pan with a thin coating of butter. Carefully pour the hot cooked grits from the saucepan into the prepared pan, using the silicone spatula to scrape every bit of grits from the pan sides and bottom. Smooth the top surface of the grits into a flat, even layer with the spatula. Let grits cool to room temperature on the counter for 30 minutes, then cover with plastic wrap and refrigerate for a minimum of 2 hours (or up to 3 days) until completely firm, with no visible jiggle when the pan is gently shaken.
Slice Set Grits
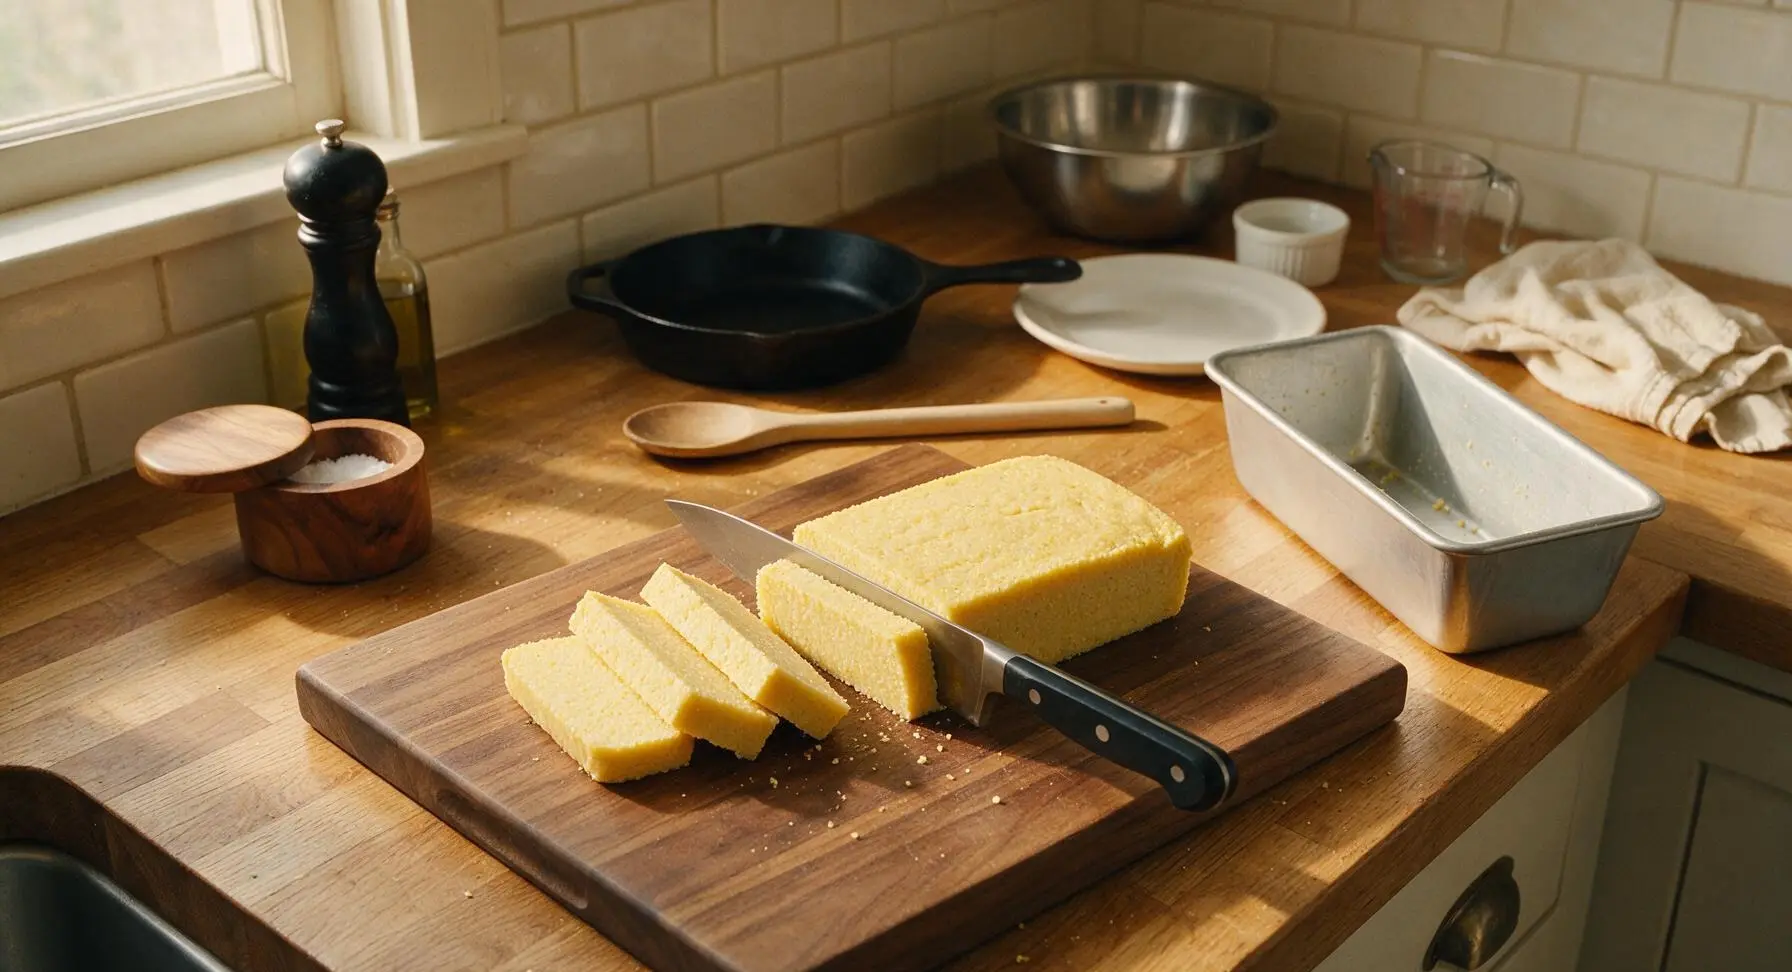
Once grits are fully chilled and solid, run the tip of the chef’s knife around the inner edge of the loaf pan to loosen the grit block. Invert the pan onto the bamboo cutting board, tapping gently to release the solid pale yellow grit loaf in one clean piece. Using the 8-inch walnut-handled chef’s knife, slice the grit loaf crosswise into 8 equal 1.5cm-thick slices. Wipe the knife blade with a quick pass on the folded indigo kitchen towel between slices if grits stick, to ensure smooth, even cuts.
Preheat Frying Pan
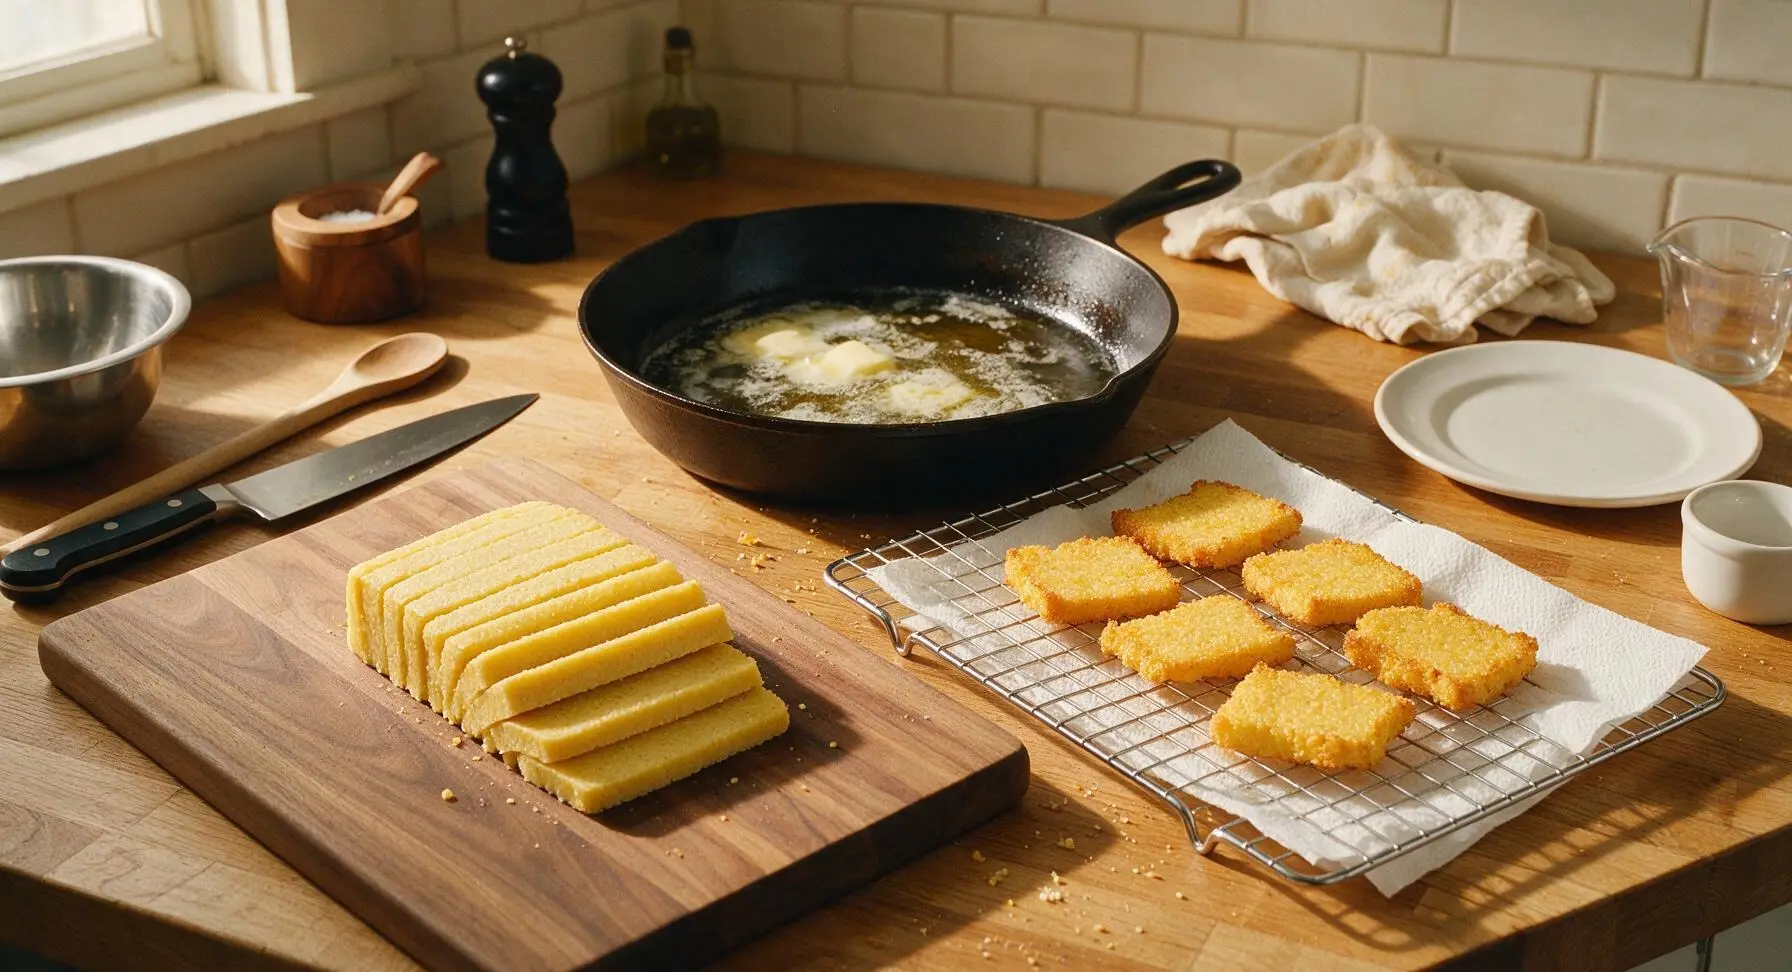
Place the 12-inch seasoned matte black carbon steel skillet over medium heat. Add 2 tbsp neutral avocado oil and 1 tbsp unsalted butter, heating for 2 minutes until the butter is fully melted and foaming subsides. The oil should shimmer slightly across the pan surface but not smoke; if smoke appears, reduce heat immediately to avoid burning the grit crust. Position the chrome wire cooling rack (lined with unbleached paper towel) to the right of the skillet to drain cooked slices.
Fry First Grit Side
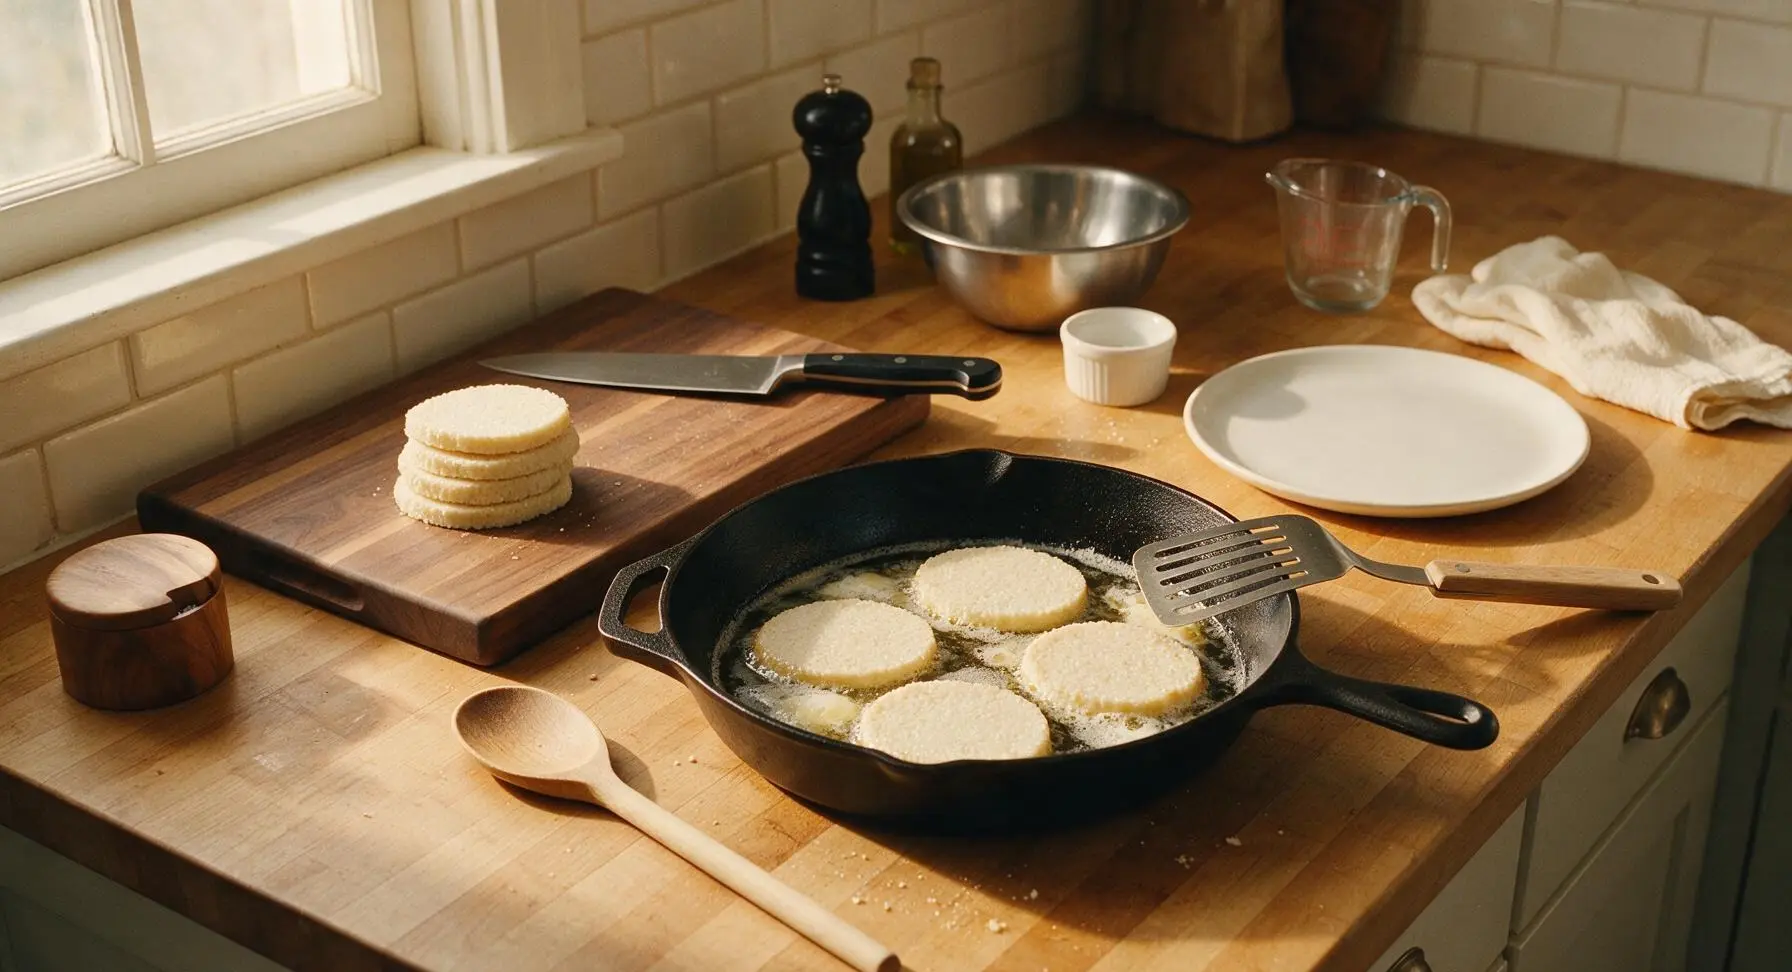
Carefully place 4 grit slices into the preheated skillet in a single layer, leaving 2cm of space between each slice to prevent steaming and ensure a crisp crust. Do not move, nudge, or flip the slices for 3-4 minutes, until the bottom edge turns a deep golden brown and the slice releases easily when touched gently with the slotted stainless steel spatula. If a slice resists lifting, let it cook for 30 more seconds before trying again.
Flip and Finish Frying
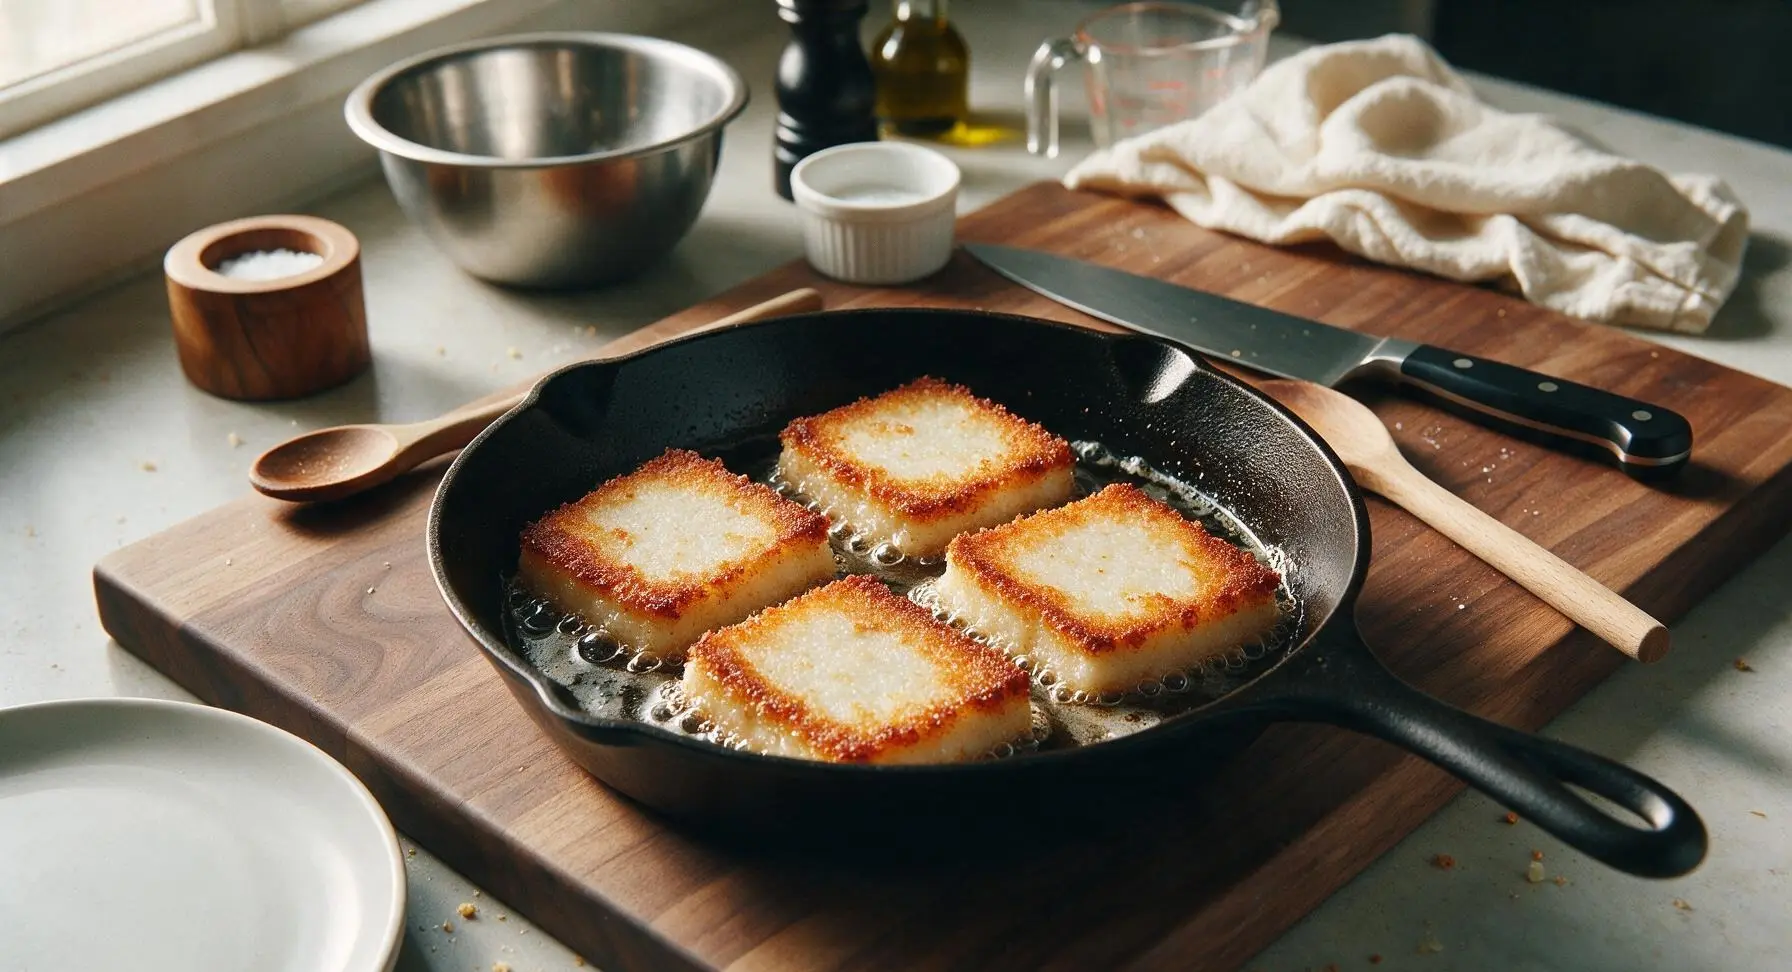
Use the thin slotted metal spatula to carefully flip each grit slice, taking care not to break the crispy crust. Cook the second side for 2-3 minutes, until equally golden and crisp, with no pale soft spots remaining. Transfer the first batch of fried slices to the paper-towel-lined wire rack to drain, and immediately sprinkle lightly with a pinch of flaky sea salt while the surface is still hot and oily, so the salt sticks. Repeat the frying process with the remaining 4 slices, adding an extra ½ tbsp butter to the pan if the surface looks dry.
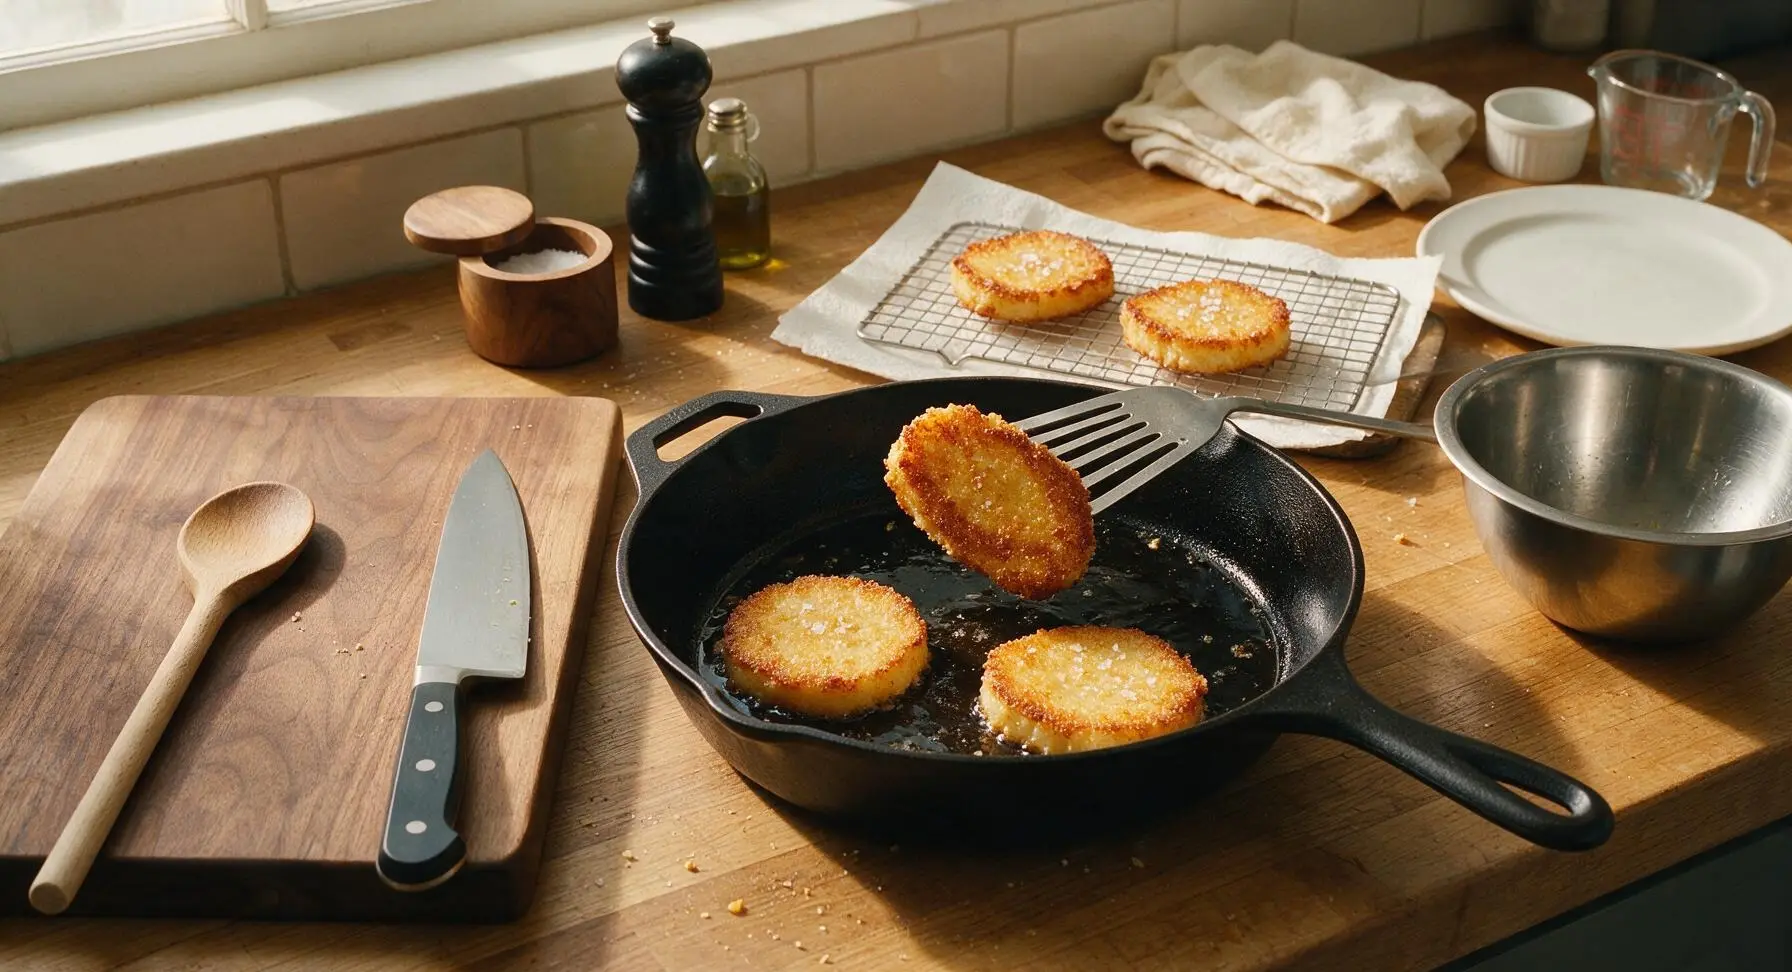
Plate and Serve Hot
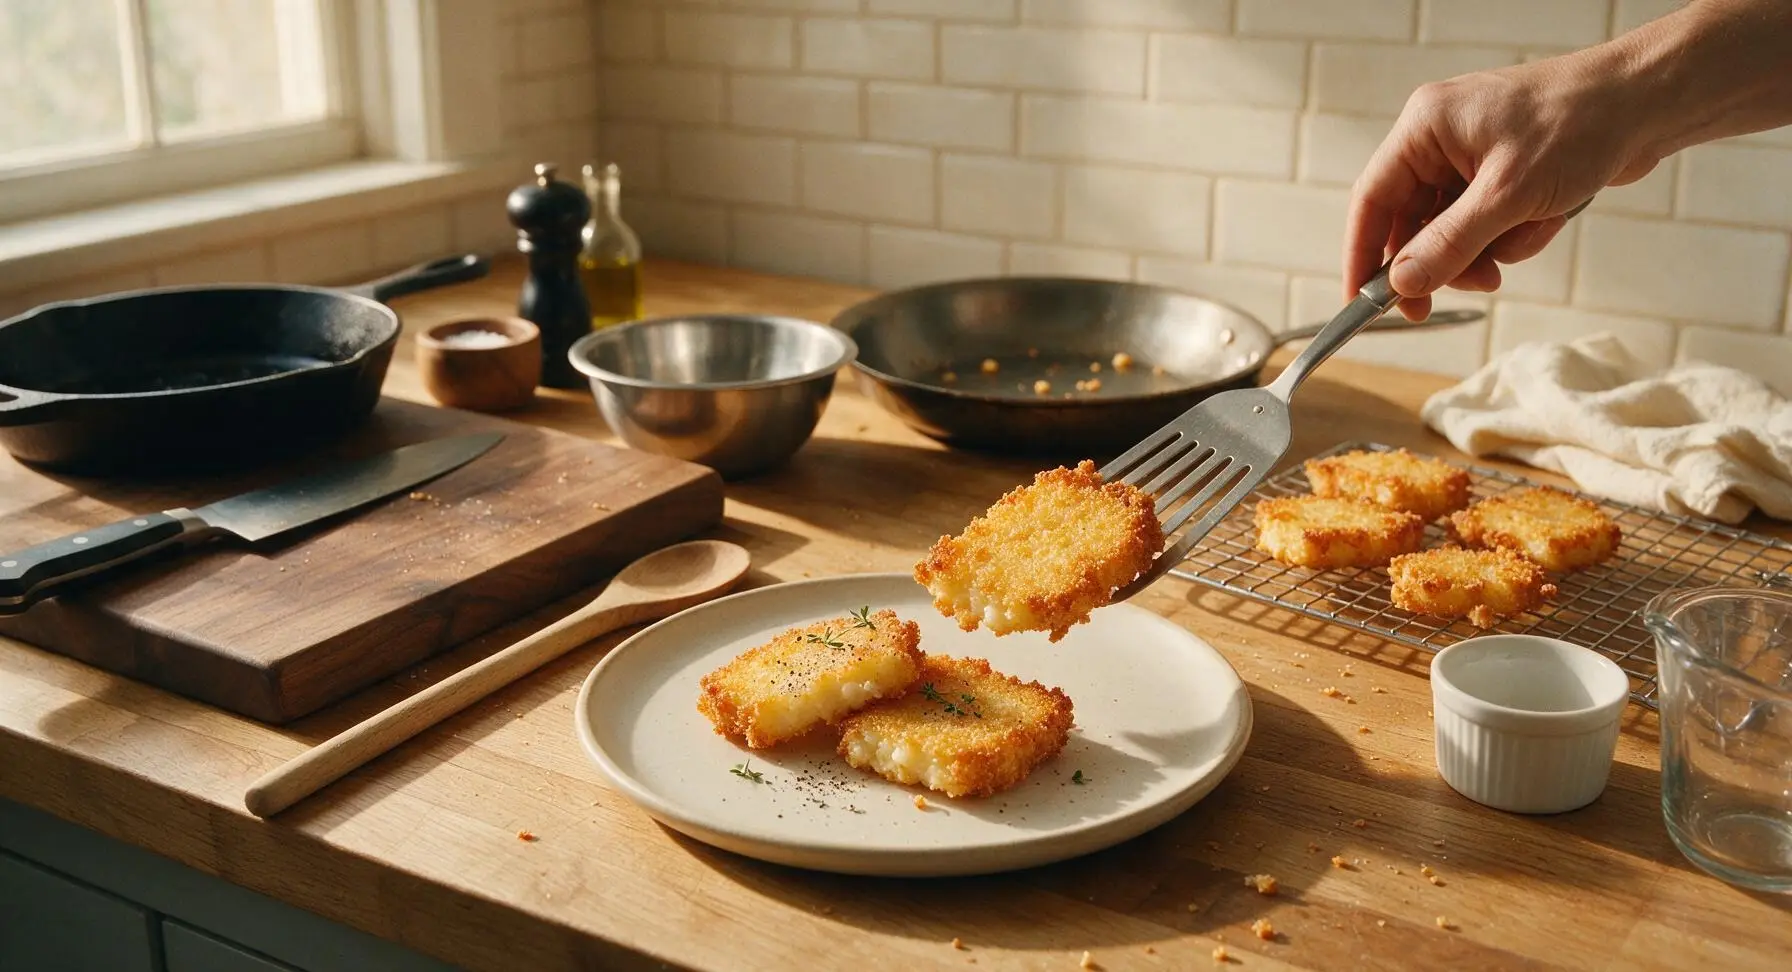
Arrange 2 fried grit slices per serving on the matte off-white ceramic dinner plate. Serve immediately, while the outer crust is shatteringly crisp and the inner grits are soft, creamy, and warm. Garnish with a light twist of freshly ground black pepper and a few leaves of fresh thyme, if desired.
Tips
2.Resist the urge to move slices early: Letting the first side cook undisturbed for 3-4 minutes builds a solid, crispy crust that won’t stick to the pan or break when flipped. Flipping too soon will leave the crunchy crust stuck to the skillet surface, leaving you with ragged, broken slices.
3.Opt for stone-ground grits: Quick-cooking or instant grits have a finer, softer texture that turns mushy when chilled and won’t hold a crisp crust as well during frying. Stone-ground grits have a coarser grind that creates the ideal contrast of shatteringly crisp outside and creamy, toothsome inside.






OMG these crispy fried grits are a total game changer! I made them for our Sunday family dinner after church and every single person went back for seconds. I added a little extra shredded sharp cheddar to the grits before chilling them and the crunch was *chef’s kiss* even better than the ones I get at my favorite local diner. SO good, and so easy for only 30 minutes of cook time?!
Took these to a neighborhood potluck last weekend and people were asking me for the recipe before I even set the platter down! I served them with a little side of spicy remoulade for dipping and they disappeared in 10 minutes flat. Only note is I’d recommend letting the grits chill a little longer than the recipe says if you want super clean cuts when you slice them for frying, mine were a little soft the first go around.
Perfect easy meal prep staple! I made a big batch on Sunday, sliced them up, and stored them in an airtight container in the fridge so I can fry a couple up quick for breakfast all week. They pair so well with scrambled eggs and crispy bacon, no sad desk breakfast for me this week! My kids even asked if I could put them in their school lunches with a little ketchup for dipping.
I was skeptical about fried grits at first because I’ve only ever had them creamy-style served with shrimp, but wow, that crispy outer layer with the soft, creamy inside is unreal. I made these to go with my blackened catfish last night and it was the perfect Southern comfort food combo. 10/10 will be making again for my next cookout.
So happy this recipe is naturally gluten free! I’ve been looking for easy Southern side dishes I can make for my sister’s visit next month, and these check every box. I tested a small batch last night and even without any flour substitute they got perfectly crispy in my cast iron skillet. No weird gritty texture, just pure savory, cheesy goodness.
Y’all, I am a TERRIBLE cook and even I managed to pull these off! I’ve burned toast more times than I can count, but the instructions were so straightforward and the cook time was totally doable after a long day at work. I topped mine with a little hot honey and a pinch of sea salt and oh my god, sweet and savory perfection. My roommate thought I ordered takeout from the fancy Southern spot downtown lmao