
fried sandwich
intro
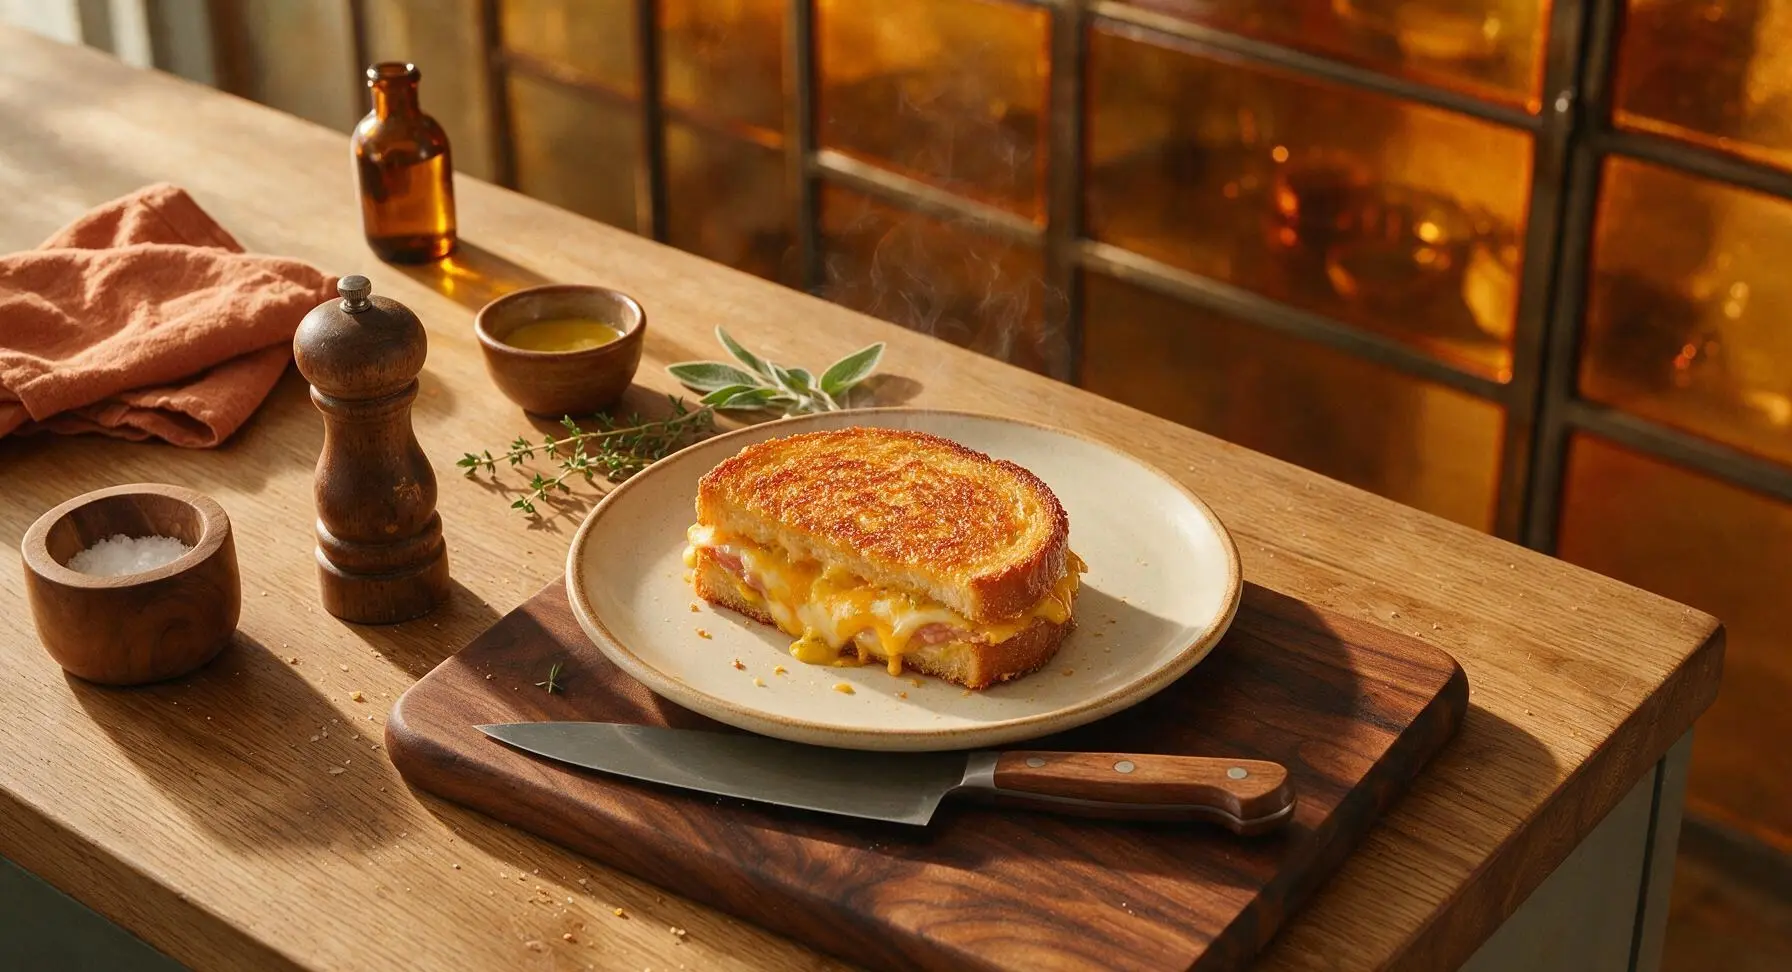
Crispy, golden pan-fried ham and cheese sandwich with a shatteringly buttery crust, oozing melted cheddar, and tangy mustard—fast, satisfying comfort food ready in under 20 minutes.
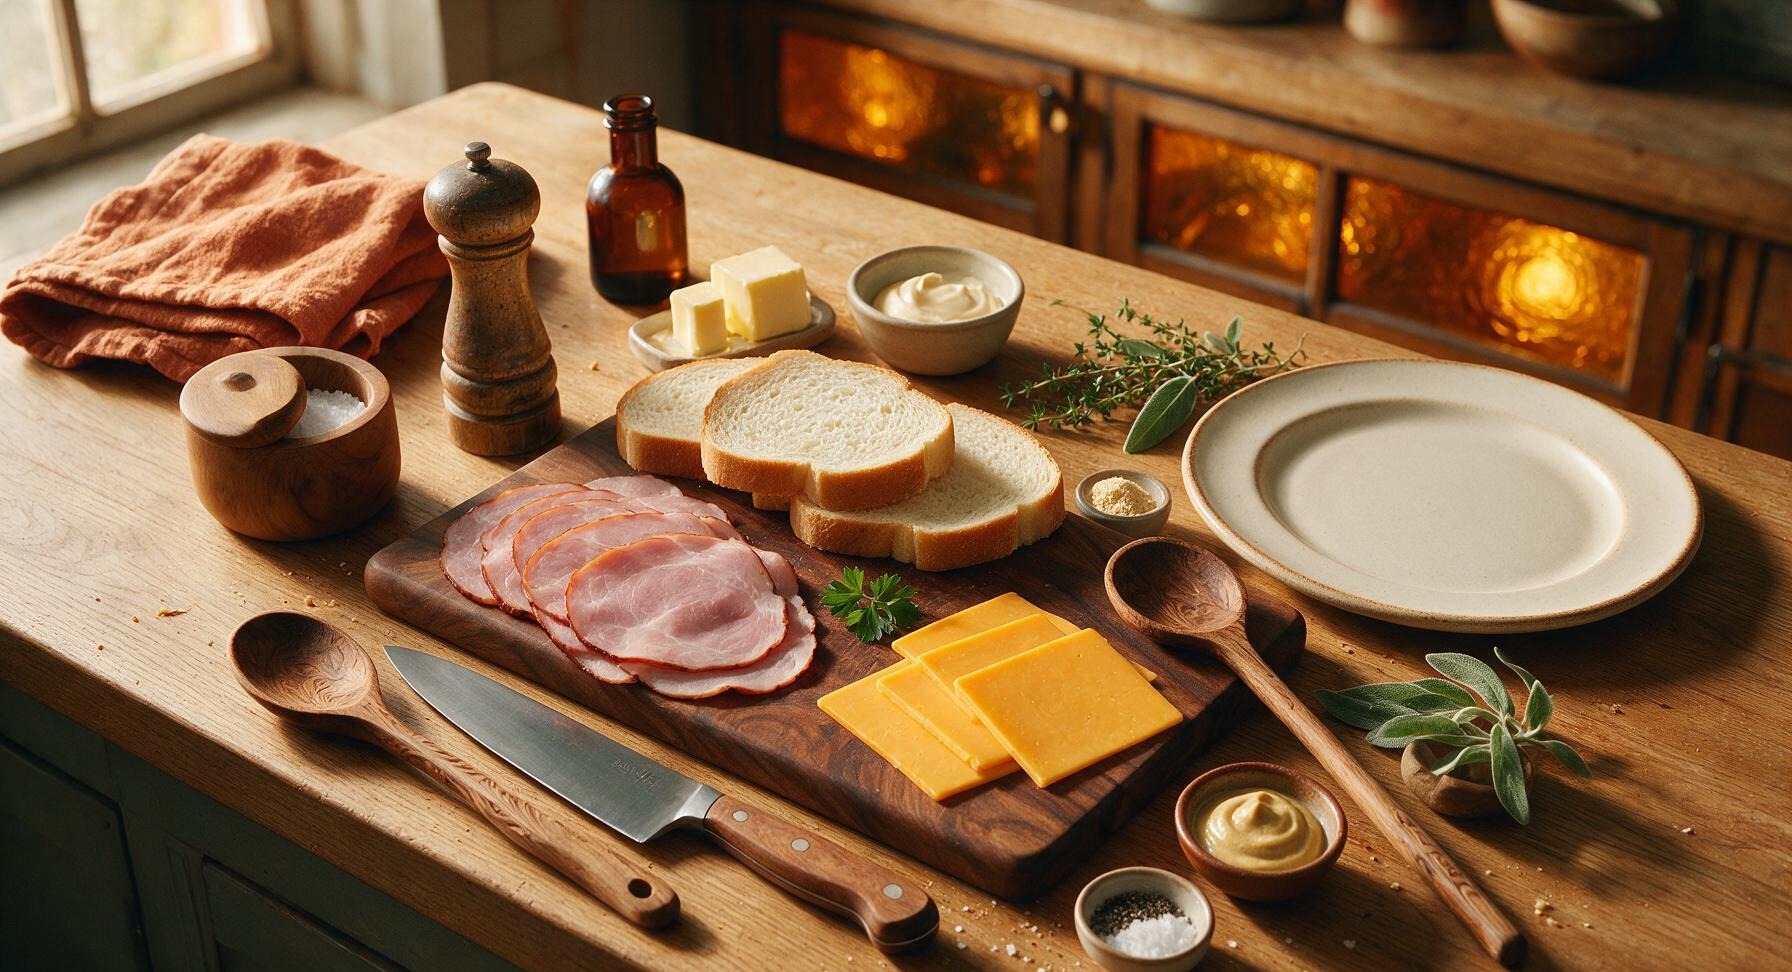
Ingredients
Steps
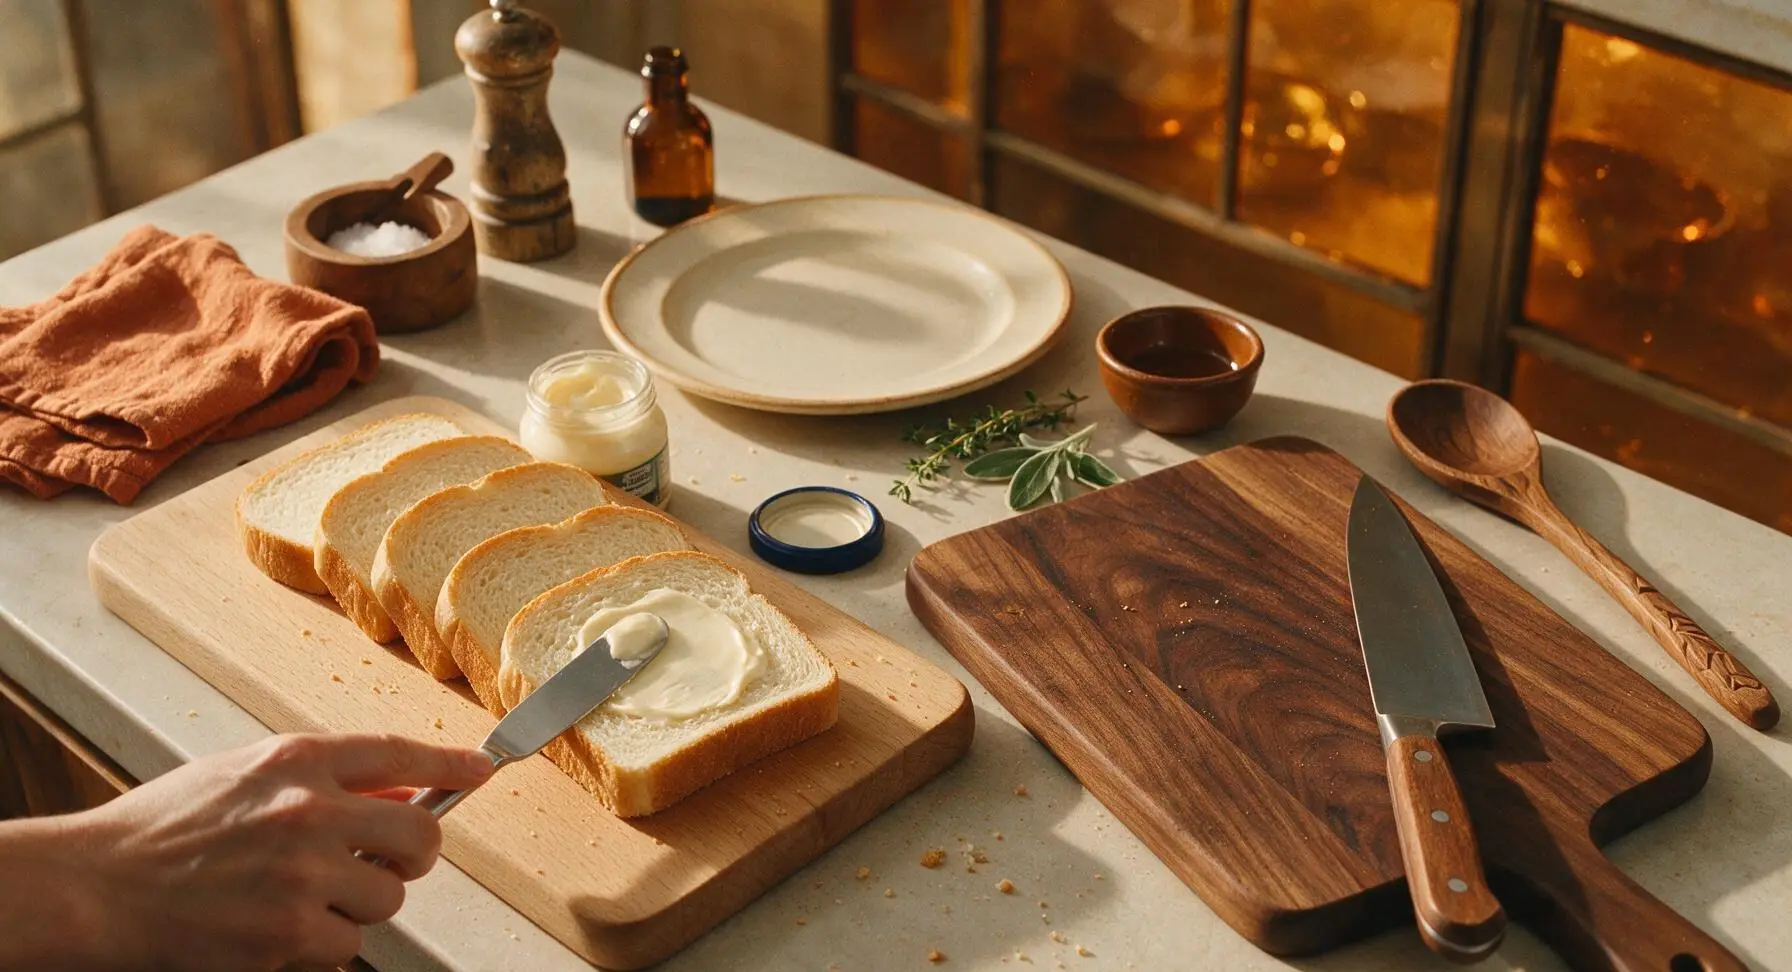
Prep Bread Slices
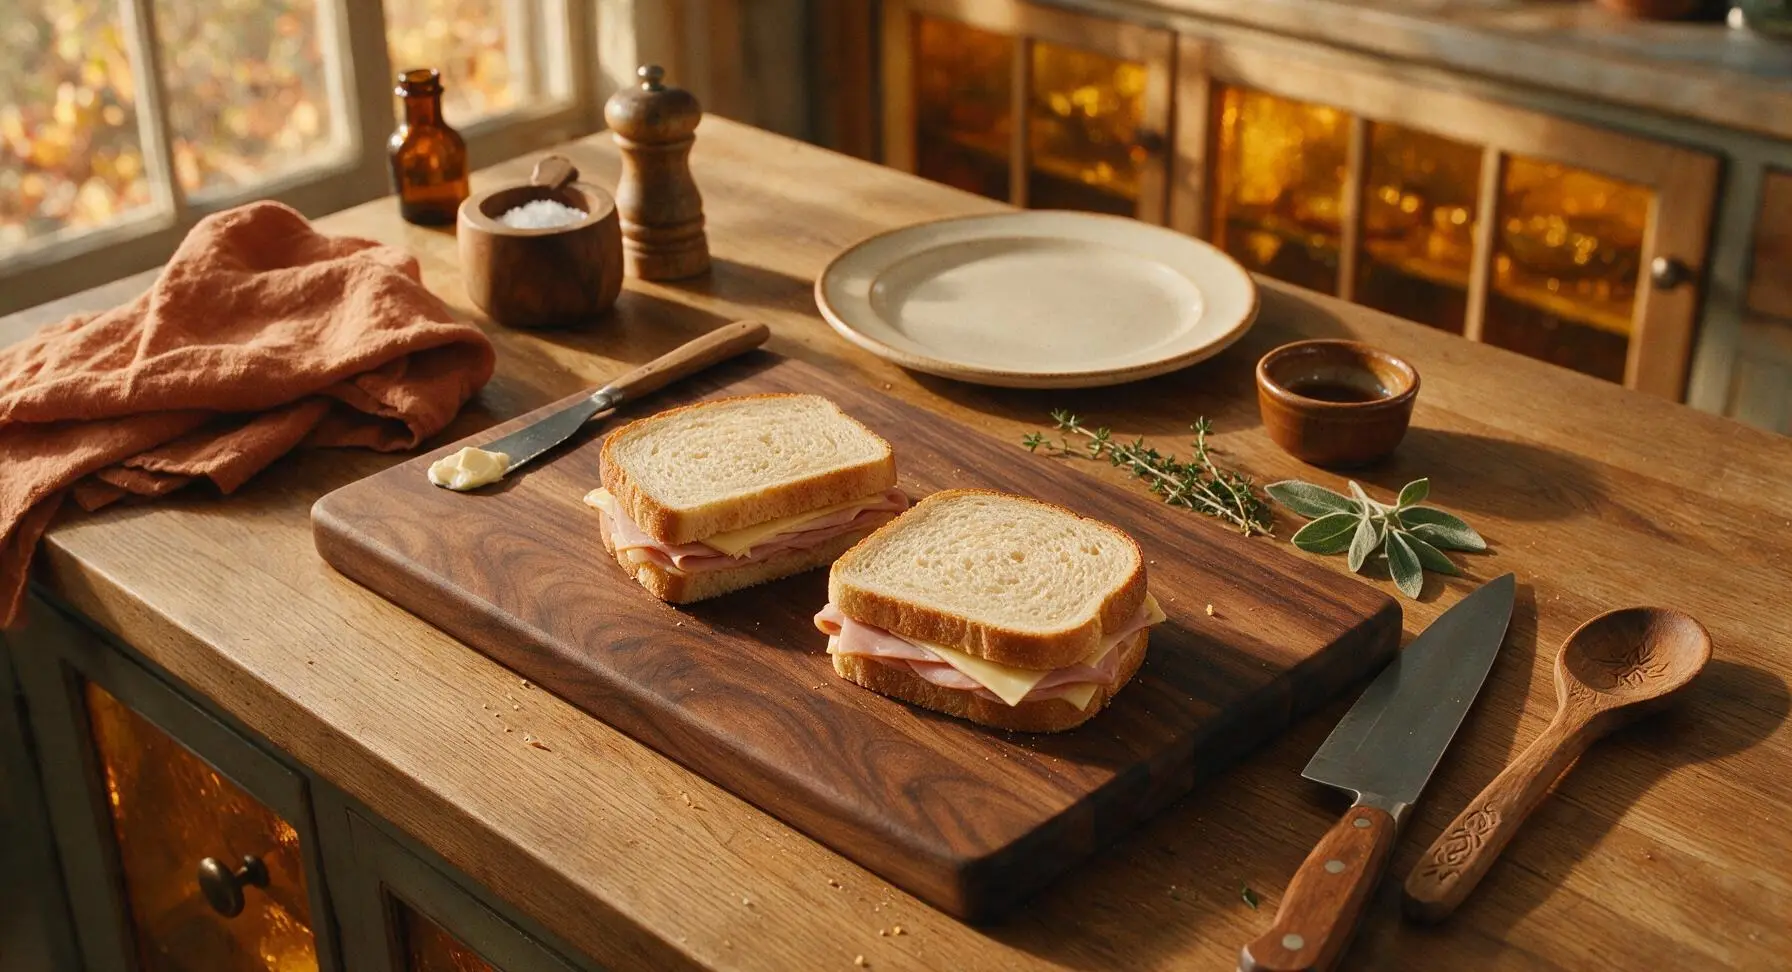
Lay the 4 thick-cut white sandwich bread slices flat on the light beech wood cutting board. Use the 6-inch stainless steel butter spreader to evenly coat one side of each slice with a thin layer of mayonnaise (about 1/4 teaspoon per slice). The mayo coating will create an extra-crispy, golden crust when fried; ensure no bare bread spots remain.
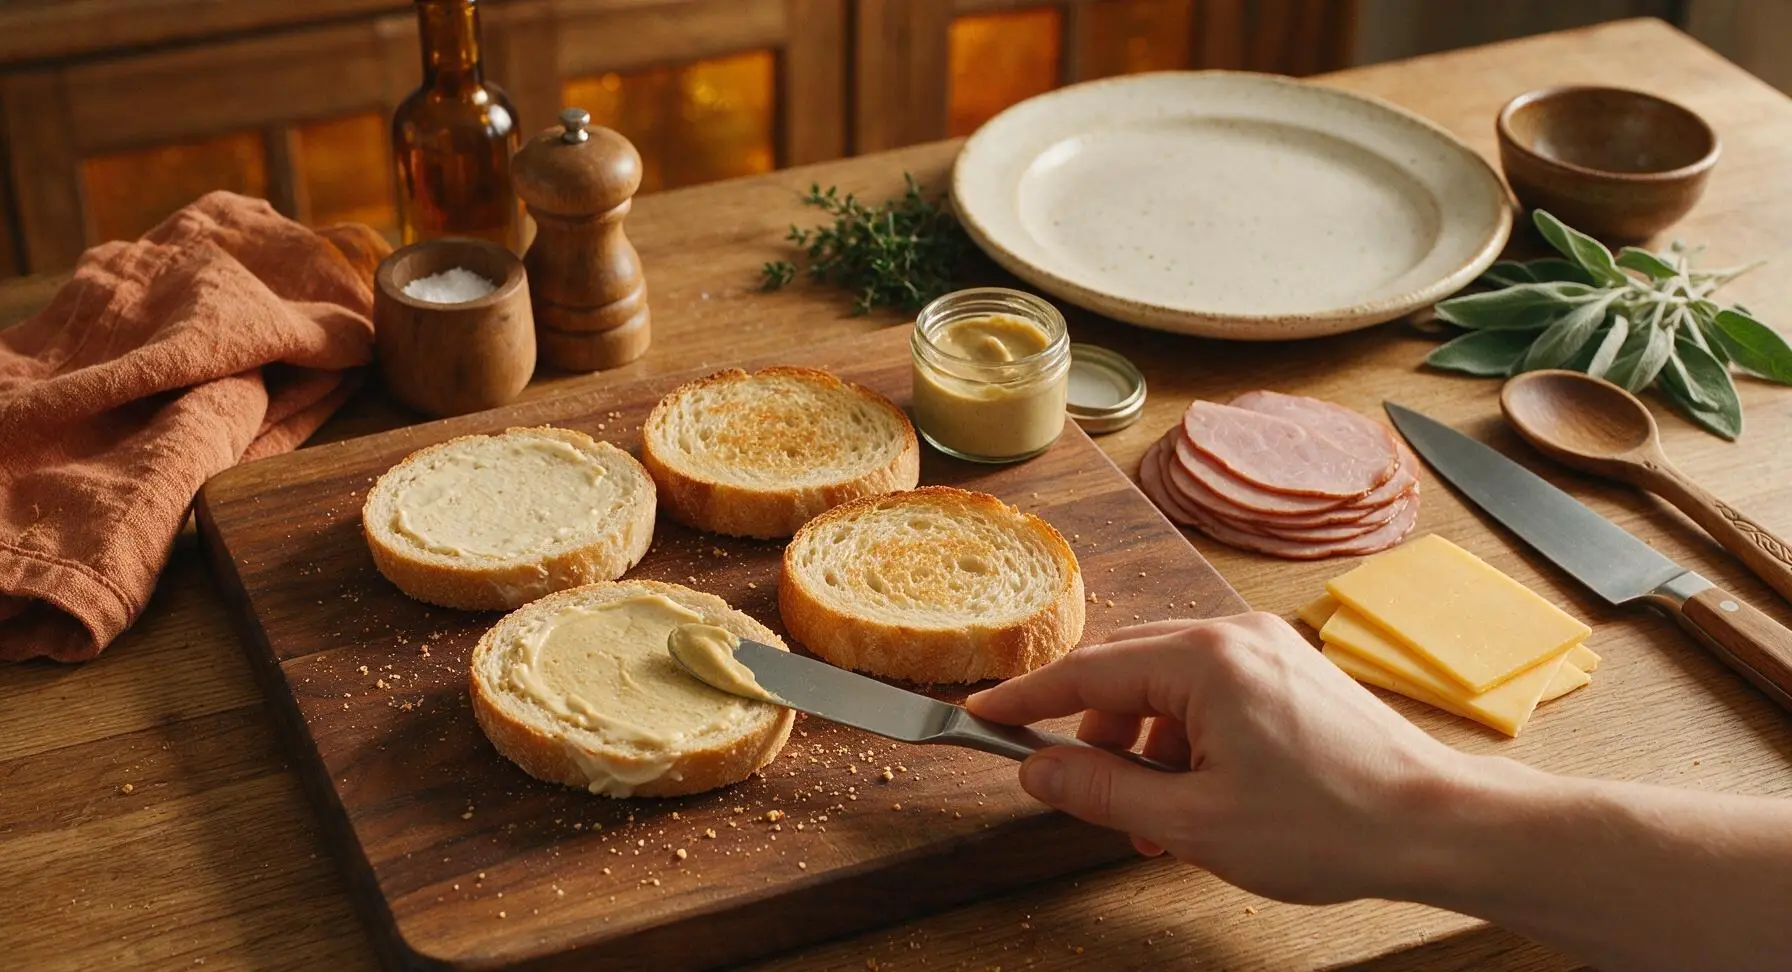
Layer Sandwich Fillings
Flip 2 of the bread slices so the mayo-coated side faces down on the cutting board. Spread 1/2 tablespoon of Dijon mustard evenly across the uncoated top side of these two slices. Layer 4 slices of black forest ham, followed by 2 slices of sharp cheddar cheese, on each mustard-coated slice, keeping fillings 1/2 inch away from the bread edges to prevent oozing during cooking. Sprinkle a pinch of garlic powder and black pepper over the cheese, then top with the remaining 2 bread slices, mayo-coated side facing outward, to form two complete sandwiches. Press down gently on each sandwich with the palm of your hand to seal the edges.
Preheat Cooking Skillet
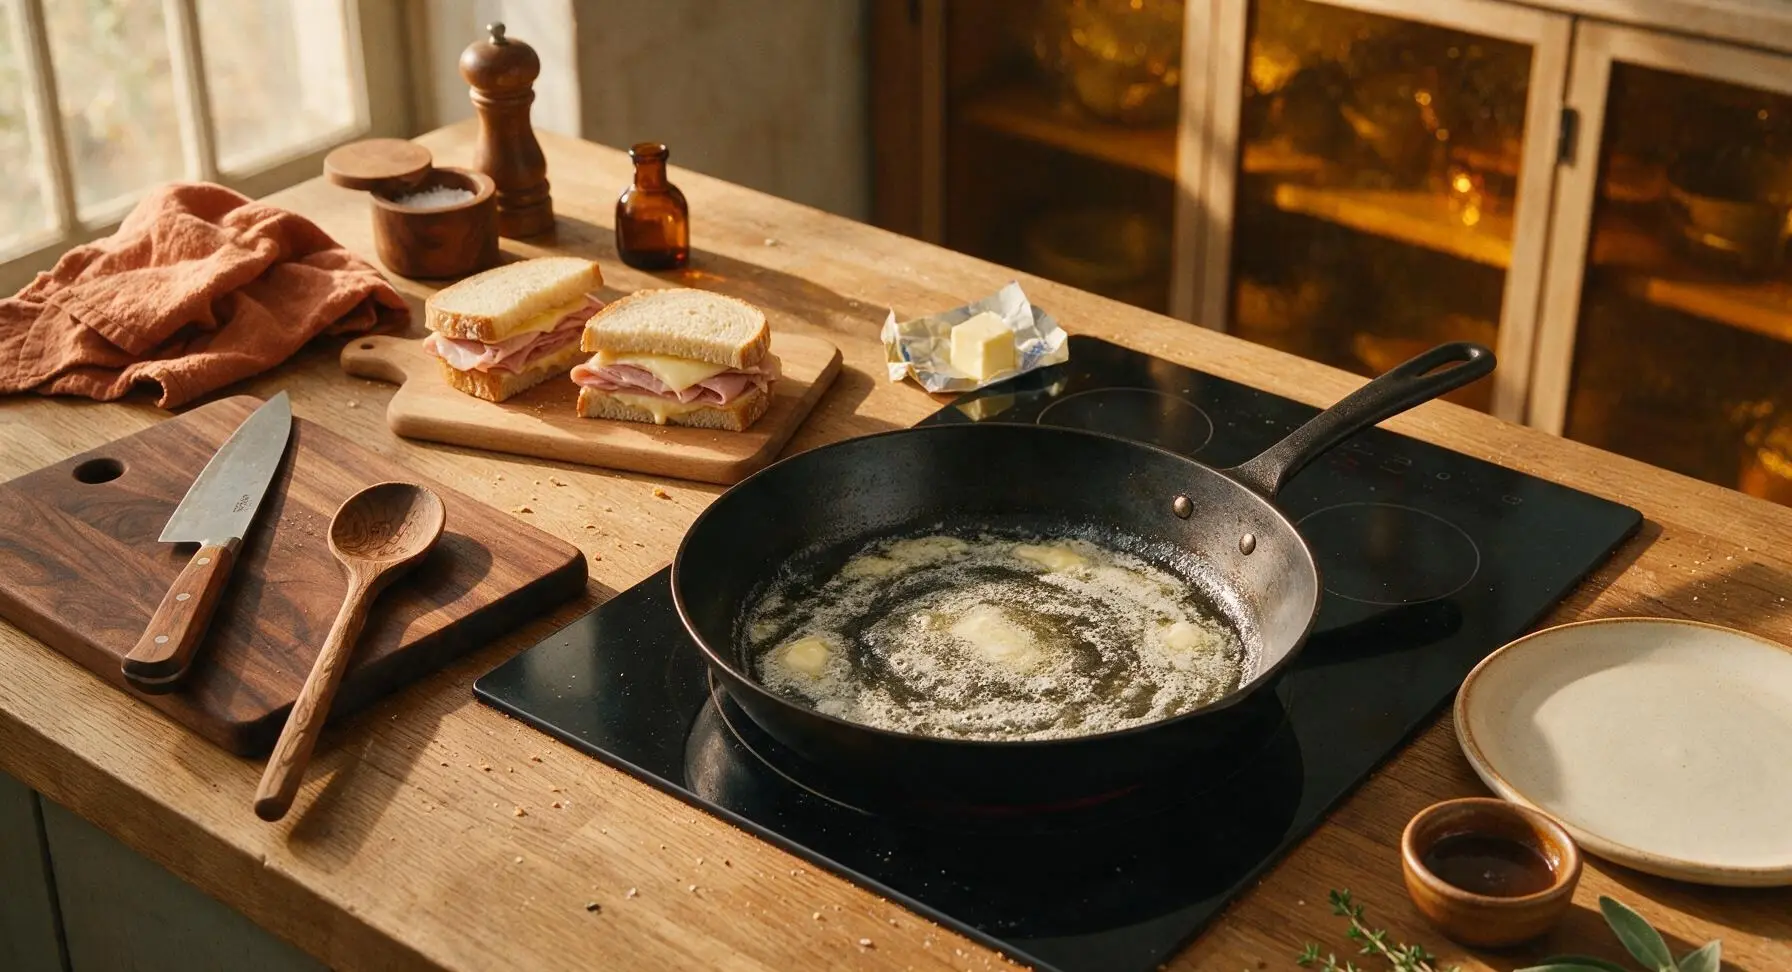
Place the 12-inch matte black carbon steel skillet on the central stovetop burner set to medium-low heat (325°F / 160°C). Add 1 tablespoon of salted butter to the skillet, and allow it to melt fully until it foams slightly but does not turn golden brown, about 1 minute. Swirl the melted butter to coat the entire bottom surface of the pan evenly, leaving no dry spots.
Fry First Sandwich Side
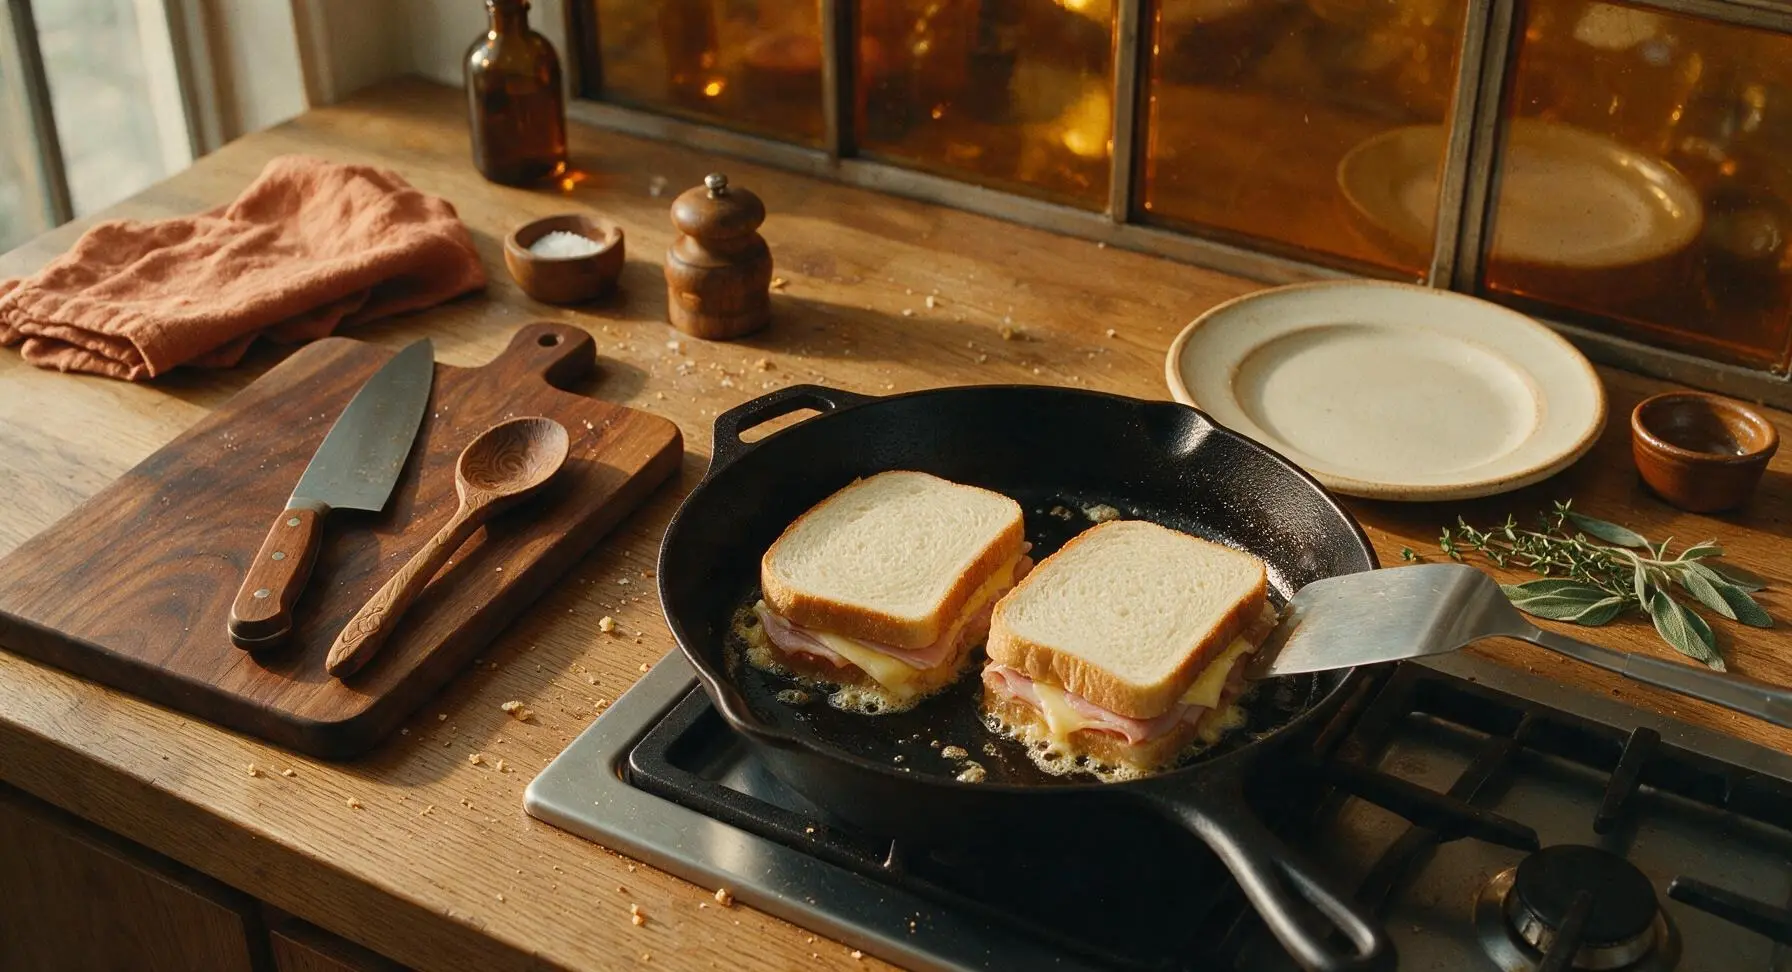
Carefully transfer both assembled sandwiches to the preheated buttered skillet using the stainless steel turner spatula. Cook for 3 to 4 minutes, without pressing or moving the sandwiches, until the bottom bread surface is deep golden brown and crisp to the touch, with no pale soft patches. Adjust heat as needed to prevent burning—if the bread browns in less than 2 minutes, reduce heat slightly to ensure the cheese melts fully before the crust darkens too much.
Flip Sandwiches to Cook
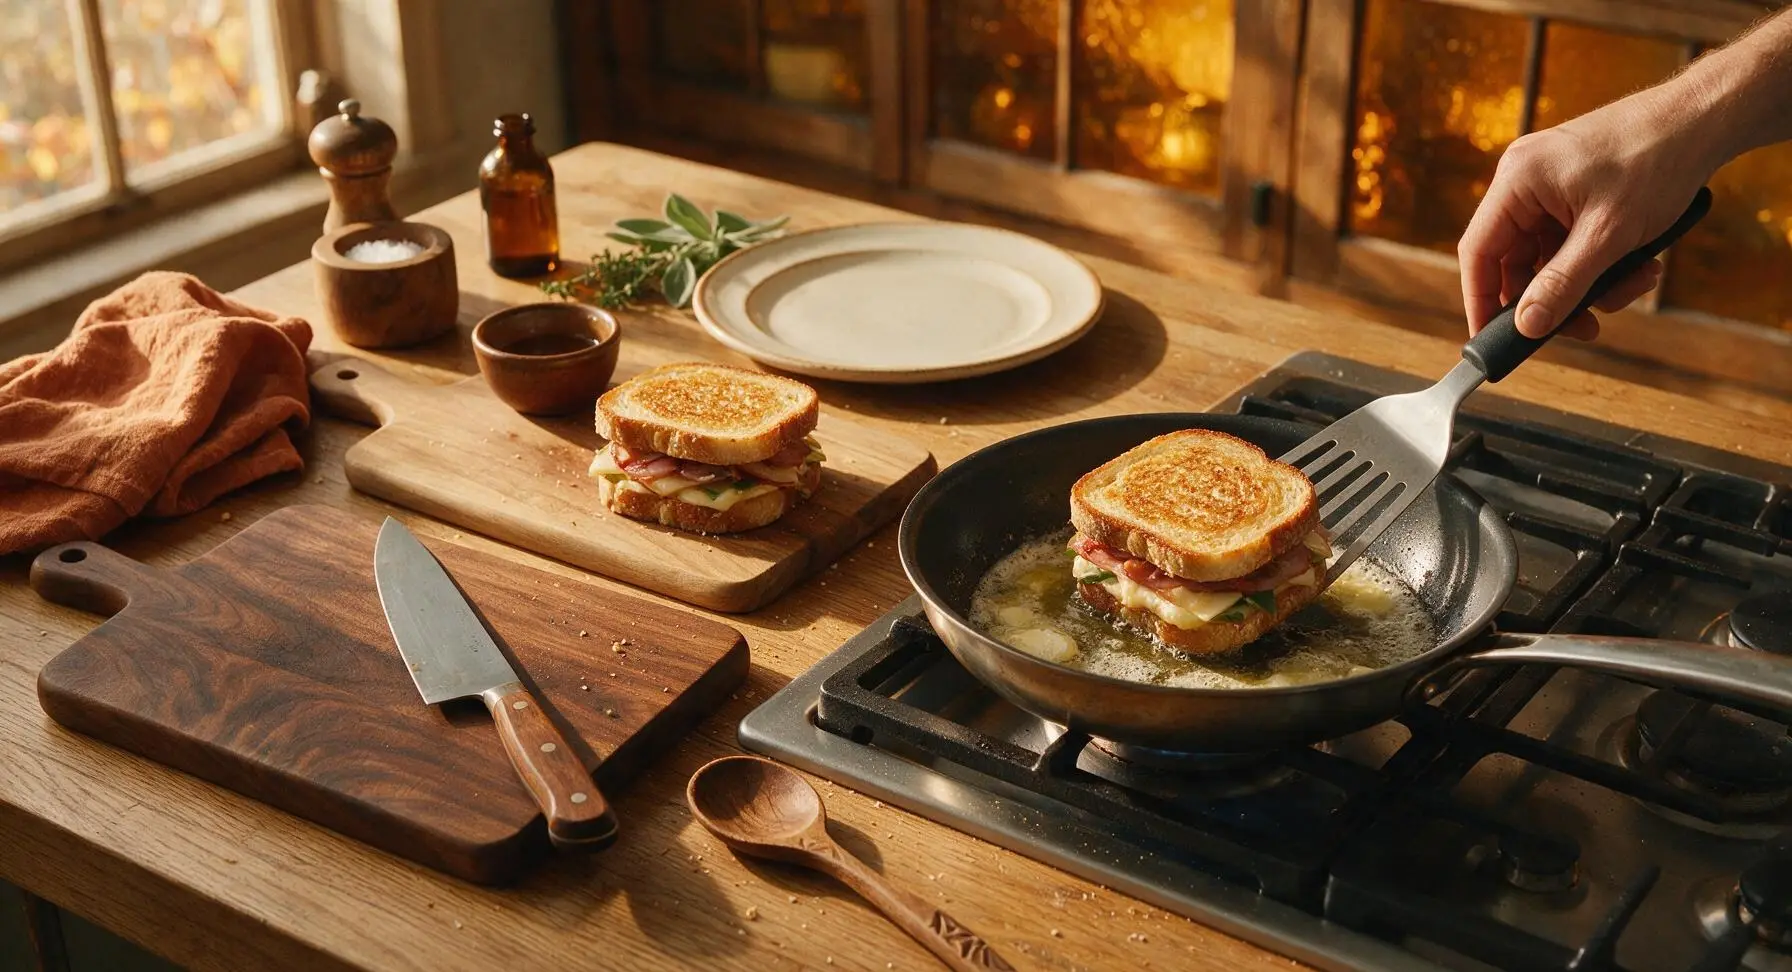
Use the turner spatula to flip each sandwich carefully, taking care not to squeeze fillings out the edges. Add the remaining 1 tablespoon of salted butter to the skillet, tilting the pan gently to let the melted butter flow under the flipped sandwiches. Cook the second side for another 3 to 4 minutes, until it matches the deep golden crispy color of the first side, and the cheddar cheese is fully melted with small amounts oozing gently from the sandwich edges.
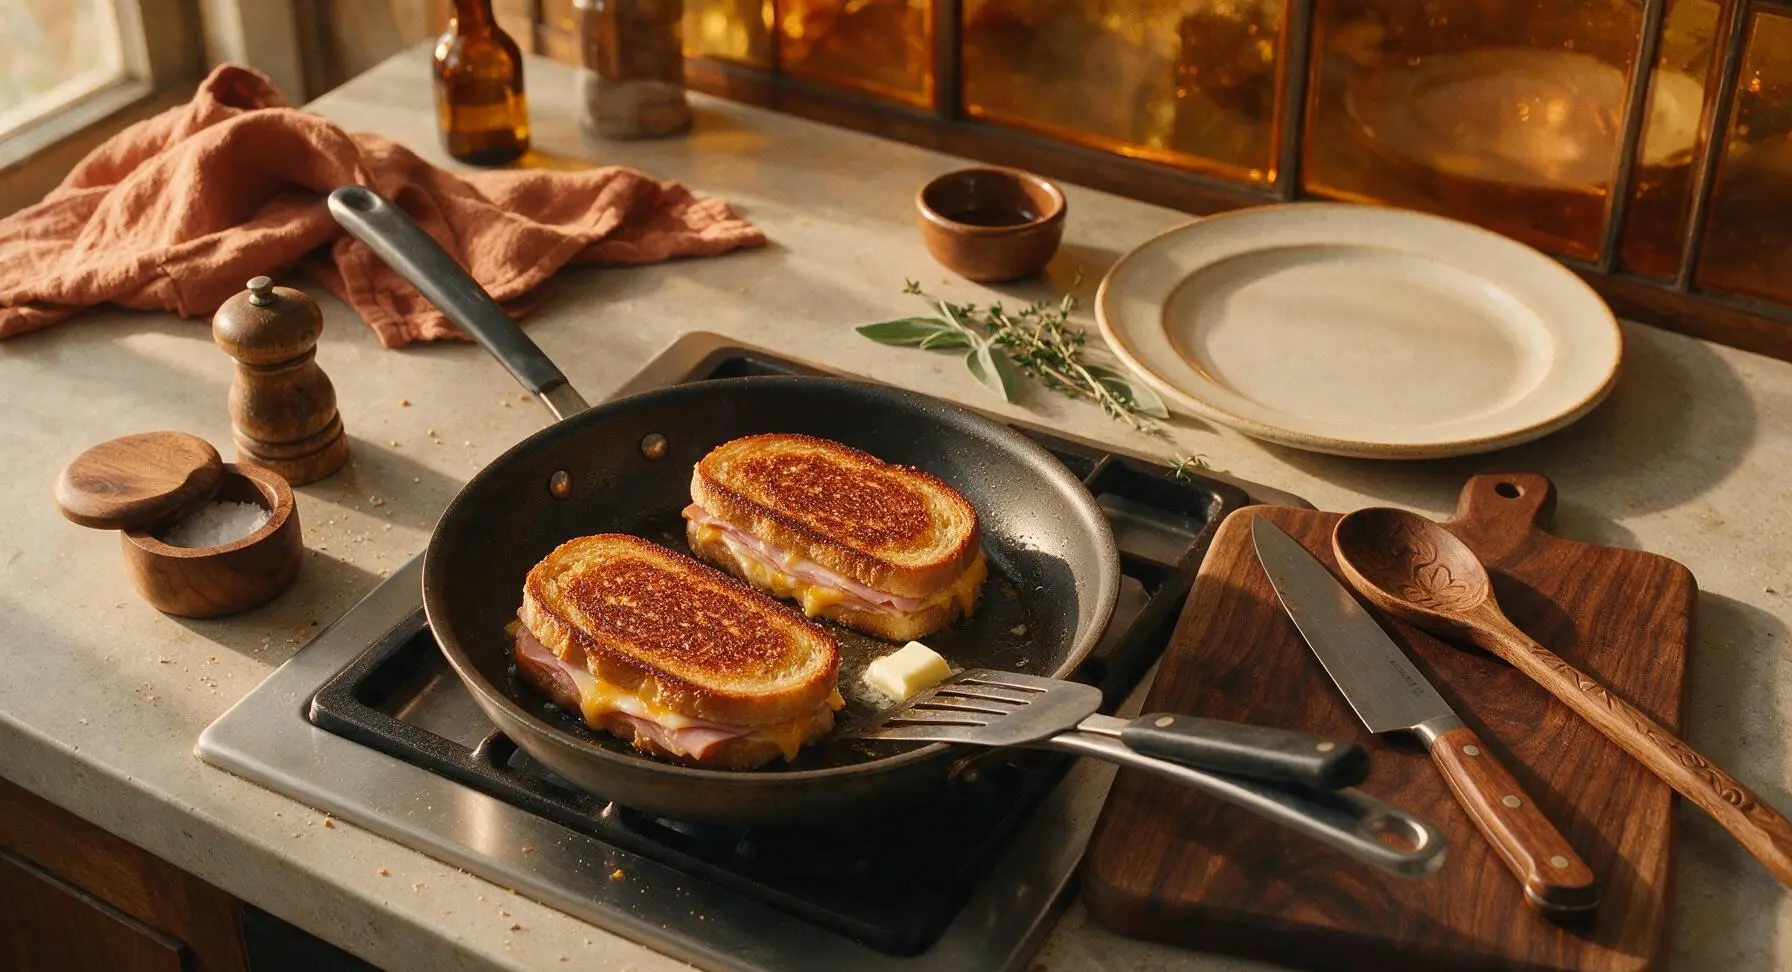
Rest and Season Sandwiches
Transfer the cooked fried sandwiches from the skillet to the folded unbleached paper towel stack for 1 minute to drain excess surface butter, which prevents the crust from becoming soggy. Move the drained sandwiches to a temporary spot on the cutting board, then sprinkle the top of each warm crispy crust with a tiny pinch of flaky sea salt to amplify the buttery, toasty flavor.
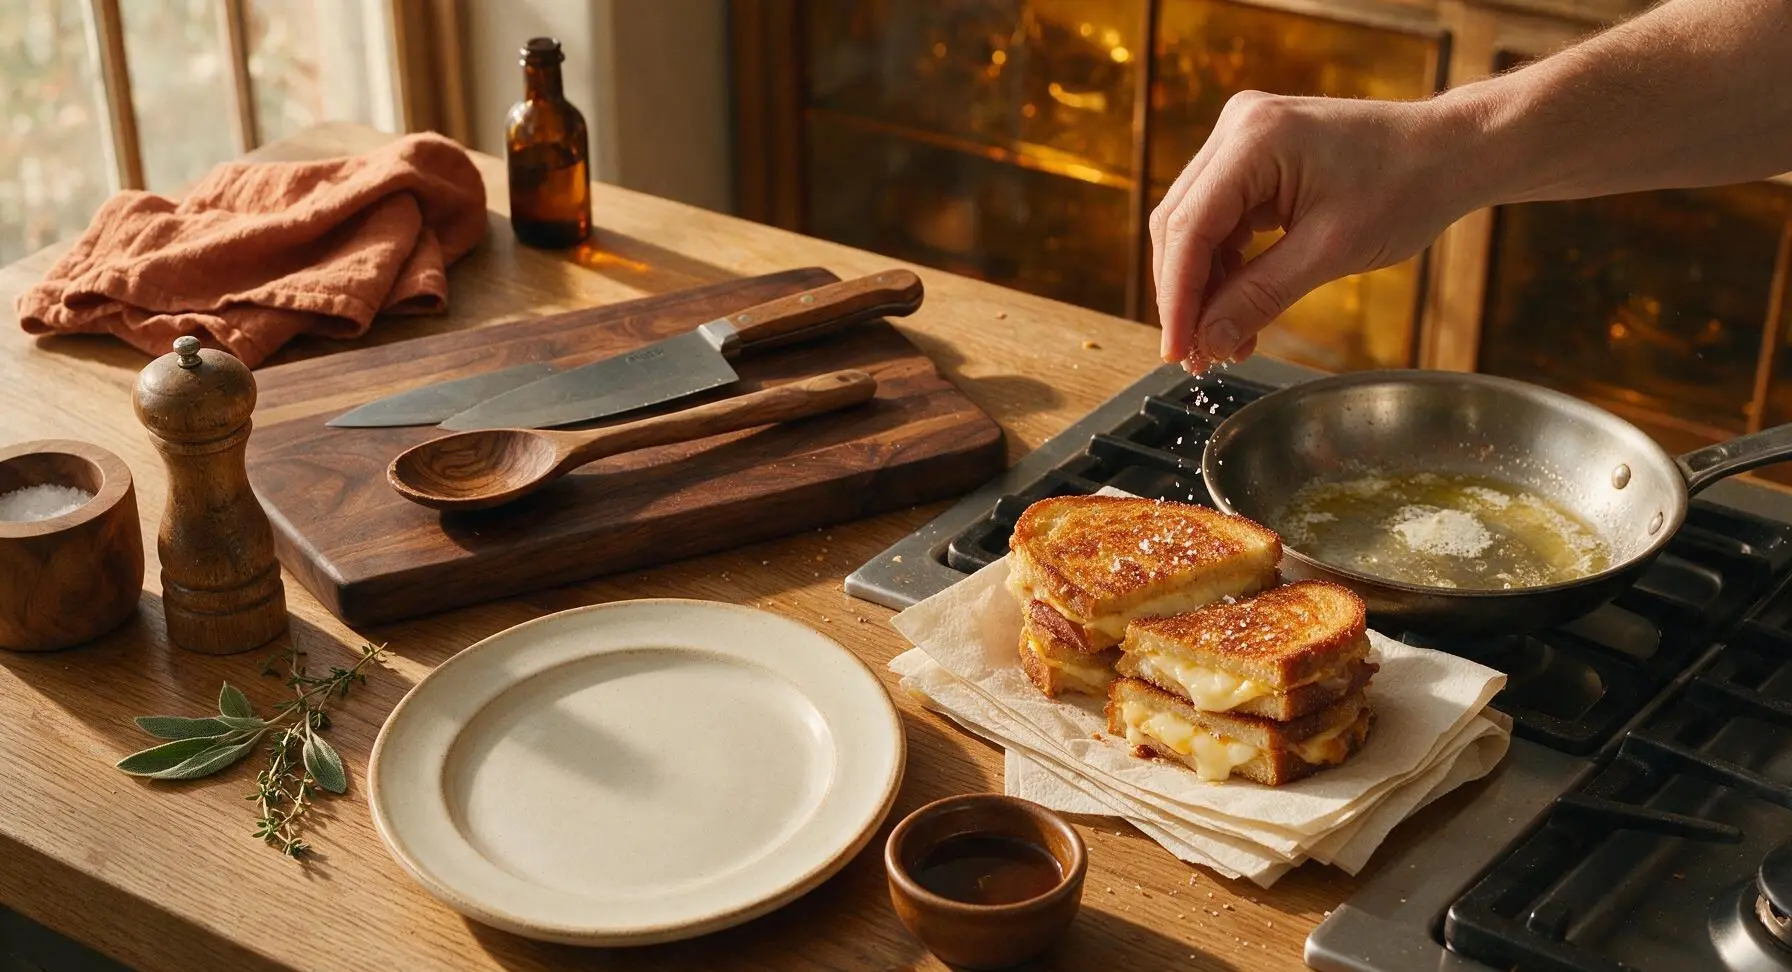
Cut and Plate Sandwiches
Place the drained, seasoned sandwiches back on the light beech wood cutting board. Use the 8-inch stainless steel chef’s knife to cut each sandwich diagonally into two equal triangles in one smooth, firm cut to avoid squishing the melted cheese out. Arrange the cut triangles on the matte cream white ceramic dinner plate, overlapping slightly, and tuck a small sprig of fresh flat-leaf parsley next to the sandwiches for a bright fresh garnish.
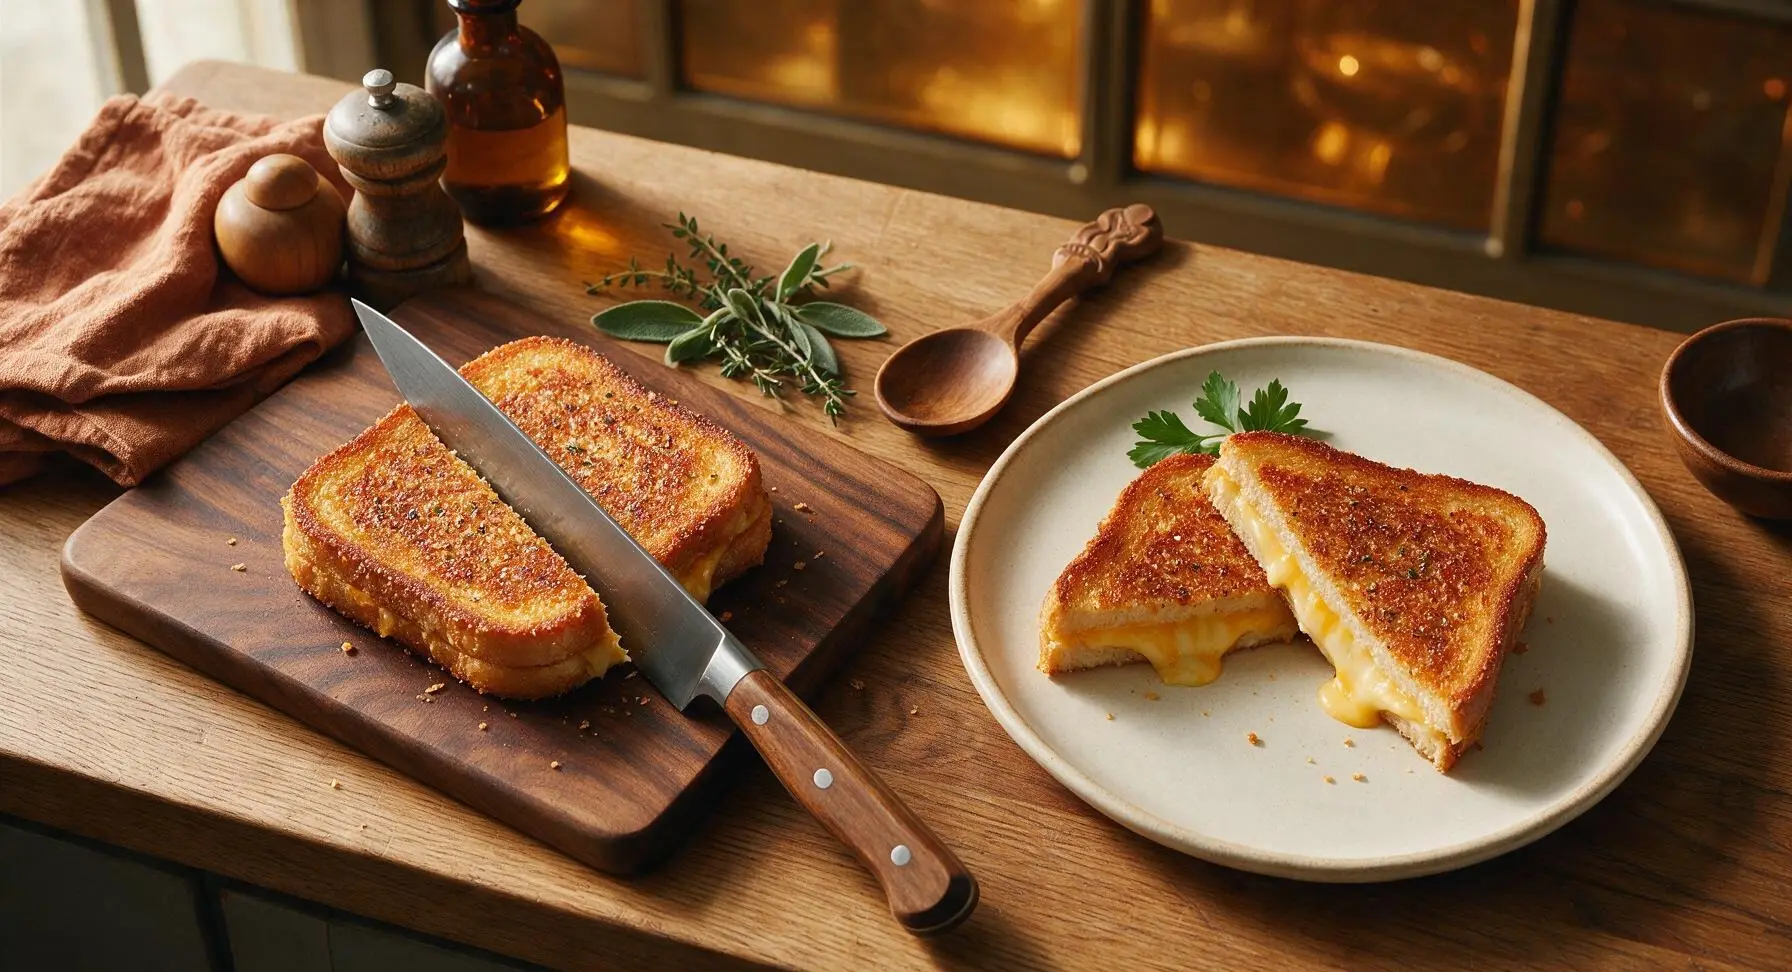
Tips
2.Maintain a steady medium-low heat (325°F / 160°C) throughout cooking: high heat will burn the bread crust before the cheese fully melts, while heat that is too low will make the bread absorb excess butter and turn greasy instead of crisp.
3.Spread mayonnaise on the outer bread surfaces instead of relying solely on butter for frying: mayonnaise has a higher smoke point than butter, which creates a more evenly golden, shatteringly crisp crust without splotchy browned spots.






OMG this was SO good! Threw this together for a quick lunch after my kid’s soccer practice and everyone fought over the last bite. The crisp on the bread is unreal, I’ll never make a regular grilled cheese again.
Wait, do you have to use salted butter? I only have unsalted right now and don’t want to run to the store. Cook time says 8 minutes which is perfect for my busy work from home lunch break.
Total game changer for my weekly meal prep! I make these on Sunday, wrap them tight, and reheat in the toaster oven during the week and they stay crispy? Insane. Added a little dijon to mine for extra zing.
As someone who burns almost everything I cook, this was so easy to nail! 8 minutes total, minimal cleanup, and my roommates thought I ordered takeout. 10/10 would make again for late night study sessions.
Made these for our neighborhood potluck last weekend cut into little sliders and they were gone in 10 minutes flat! People kept asking for the recipe. Only question — can I use Swiss instead of cheddar? My husband hates cheddar for some weird reason.
My 4 and 6 year old are SO hard to please at dinner, and they both ate two whole sandwiches each last night! Even asked if we could have it for breakfast today. The only swap I made was using whole wheat bread because that’s all we had.
Made these before heading out on a day hike last weekend and they were the perfect trail lunch! Didn’t get soggy packed in my backpack, had enough protein to keep me full for miles, and that crispy crunch hit so good at the summit.
Wait, am I the only one who always gets the cheese to melt before the bread gets crispy? Every time I make pan fried sandwiches the bread is either burnt or the cheese is still a solid block. Any tips?
Made these for a lazy Sunday brunch with mimosas and my girlfriends and we all agreed it’s better than the fancy cafe version down the street! Added a slice of tomato and a sprinkle of black pepper for a little freshness.
Wow, this is so cheap to make! All the ingredients were stuff I already had in my fridge, no fancy grocery run needed. Total cost per sandwich was like $1.25? Way better than spending $12 on a deli sandwich downtown.
Has anyone tried adding a little hot sauce or jalapeños to this? I love a little heat with my ham and cheese and don’t want to mess up the crispy texture.
Made this for a casual at-home date night with tomato soup for dipping and my partner said it’s the best meal I’ve ever made him. Like, better than the fancy steak I made for our anniversary? Wild. Super low effort, maximum payoff.
Has anyone tried this with gluten free bread? I have celiac and miss a good crispy ham and cheese so bad, but most GF bread gets really gummy when you pan fry it.
Wait, can I make this in the air fryer instead of pan frying? I hate having to stand over the stove and flip things, plus less mess.
I had leftover holiday ham from Easter so I used that instead of deli ham and OH MY GOODNESS. The salty, smoky flavor was next level. 10/10 will be making this every time I have leftover ham now.
I make these in my little camper stove on long hauls and they’re perfect. No fancy ingredients, fast to cook, and way better than the fast food stops along the highway. Keeps me full for hours of driving.
Wait, has anyone tried using mayo instead of butter on the outside of the bread? I heard that makes for an even crispier crust but I’m scared to deviate from the recipe.