
Fried Squash
intro
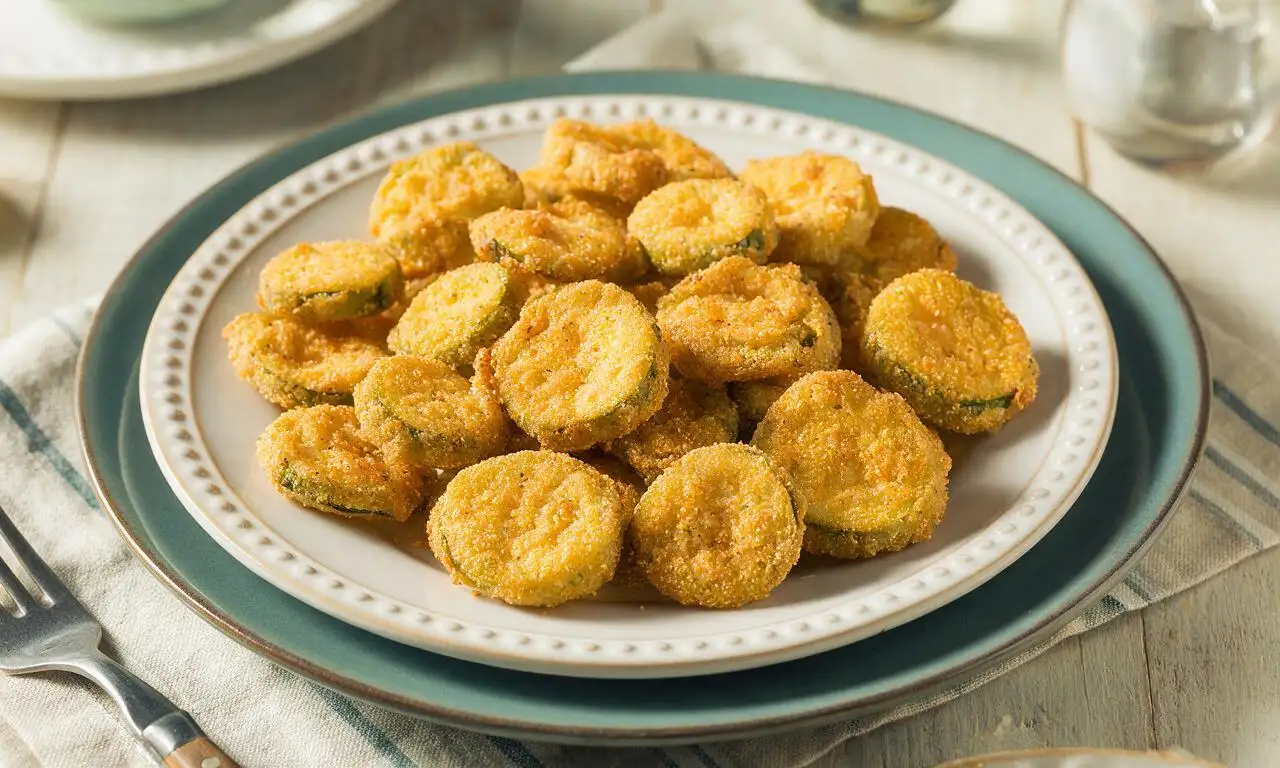
Golden, crispy pan-fried summer squash with a light seasoned cornmeal coating, a beloved quick, savory Southern side made with fresh seasonal produce.
Ingredients
Steps
Prep squash slices
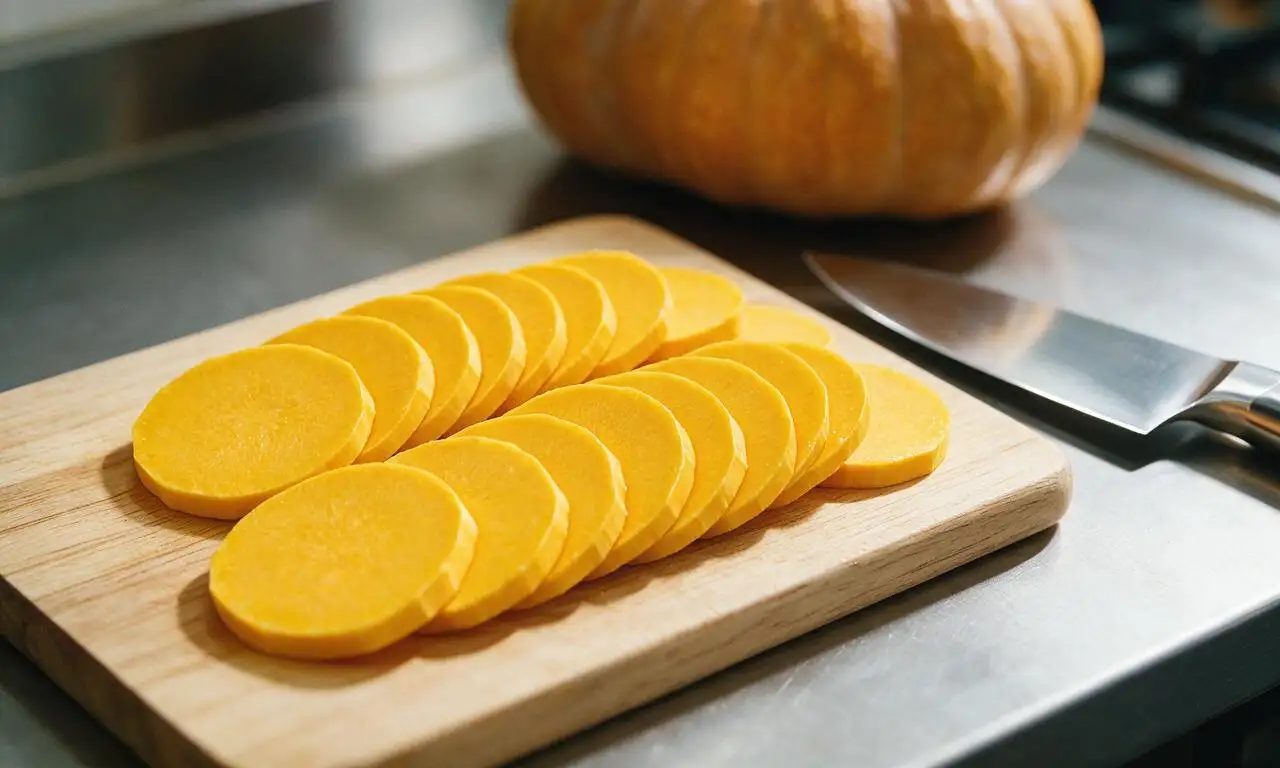
Rinse 450 grams of yellow summer squash under cool running water, pat completely dry with paper towels, then slice into uniform ¼-inch thick rounds; discard the tough stem and blossom ends. Do not slice thinner than ¼-inch to avoid mushy, soggy results during frying.
Set up coating station
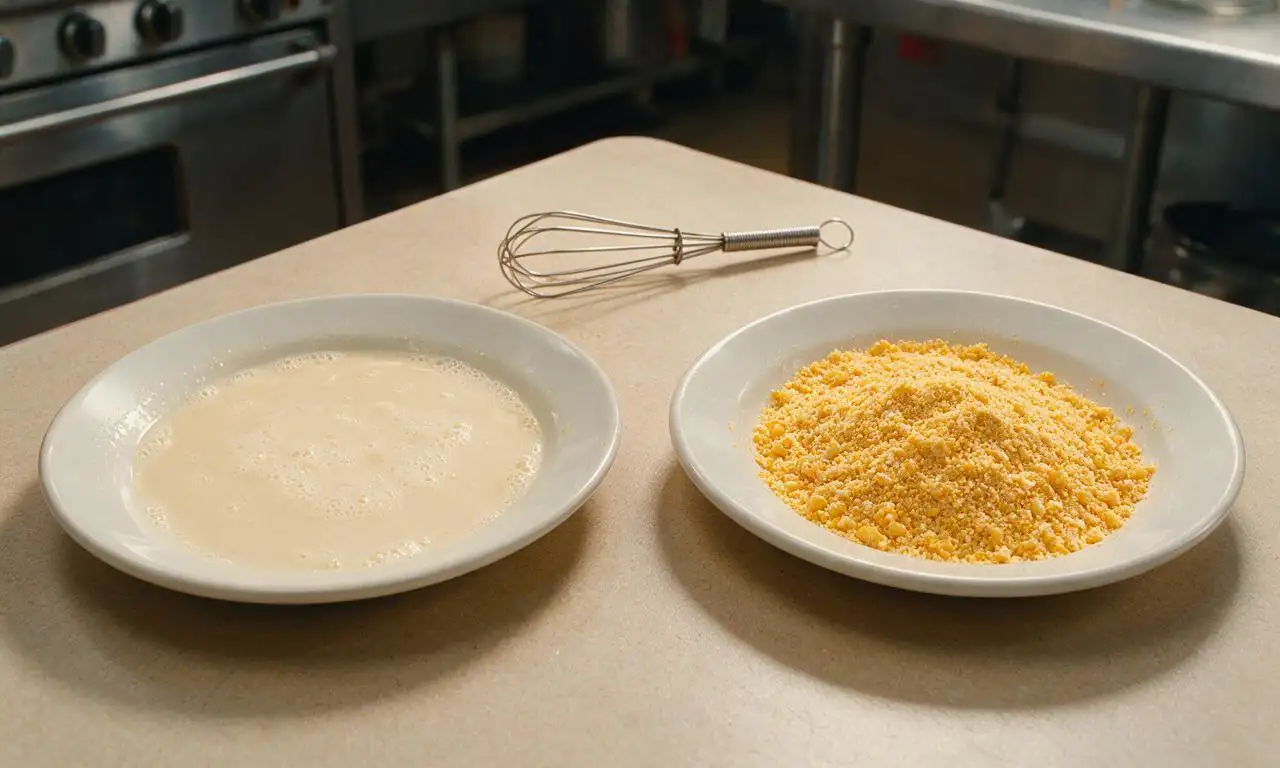
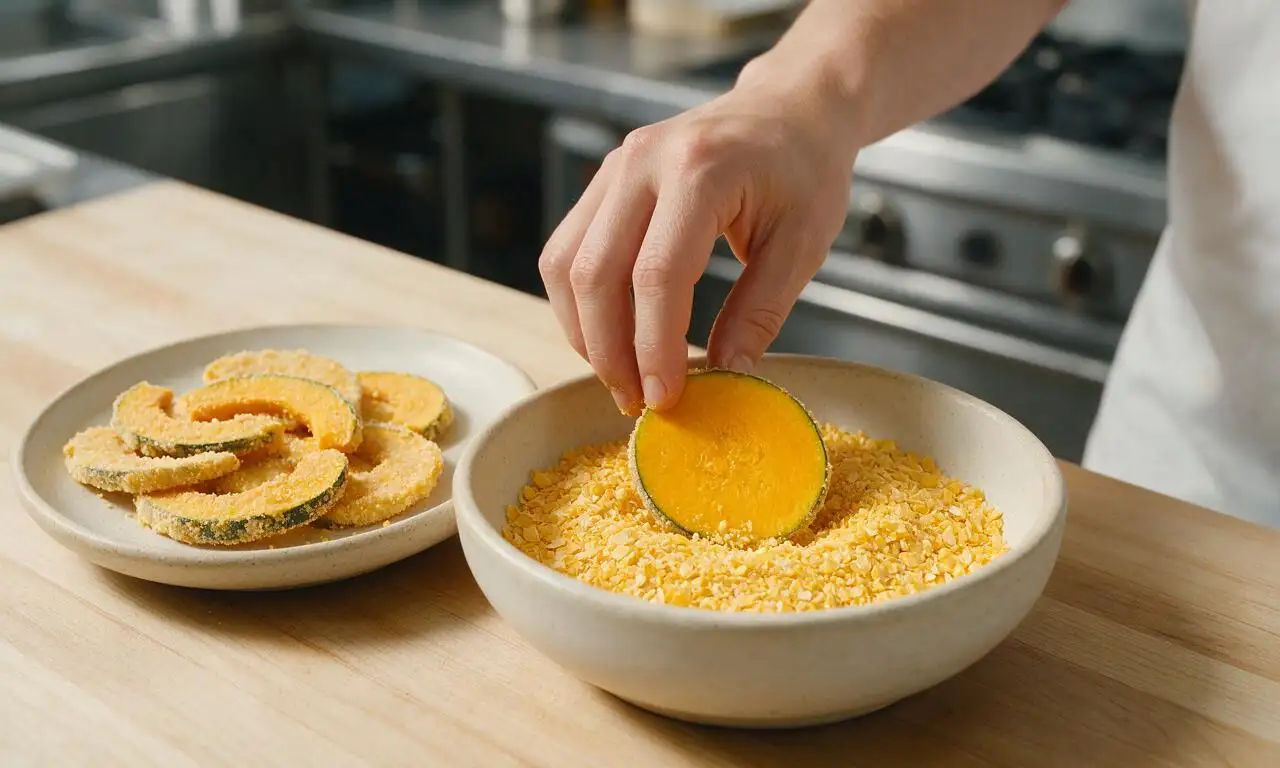
In one shallow wide dish, whisk 1 large egg and 30 ml whole milk until fully smooth with no visible streaks of egg white. In a second shallow dish, mix 60 grams fine cornmeal, 30 grams all-purpose flour, 1 teaspoon kosher salt, ½ teaspoon garlic powder, and ¼ teaspoon black pepper until evenly combined.
Heat frying oil
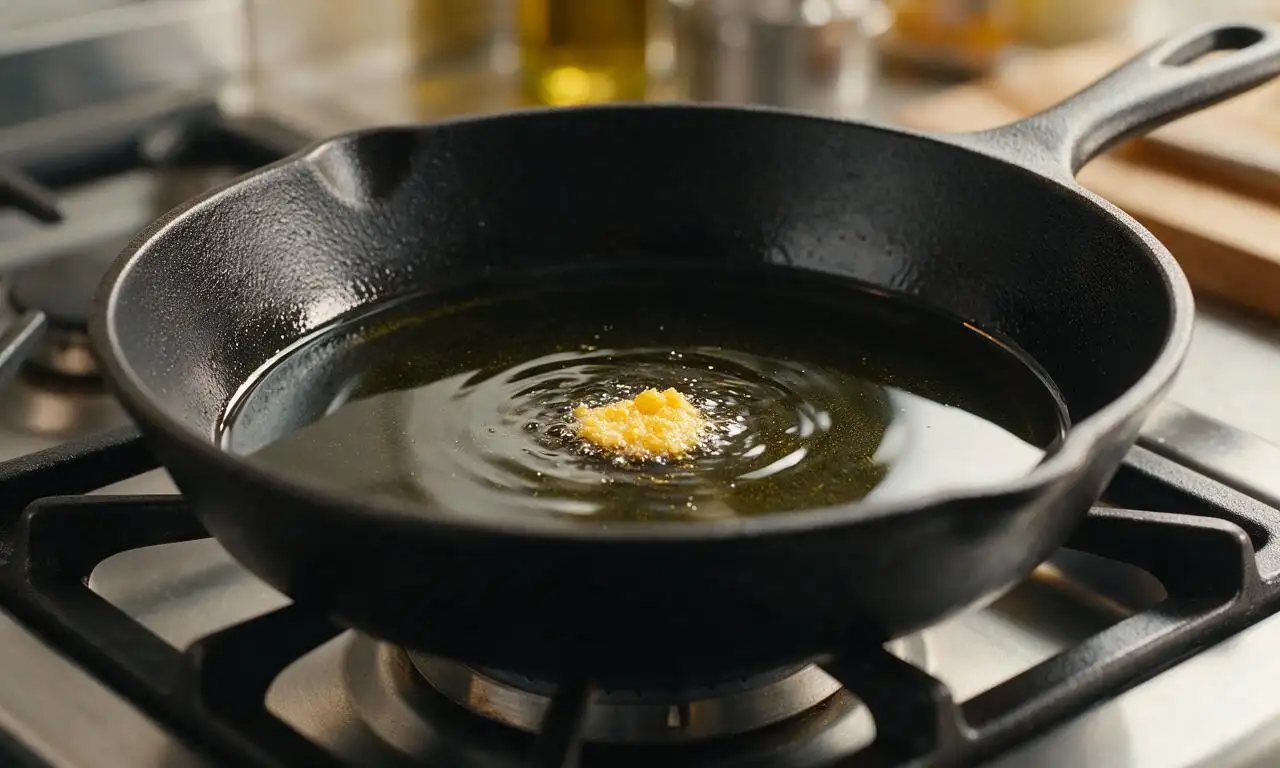
Pour 80 ml of neutral vegetable oil into a 12-inch cast iron or heavy-bottomed skillet, set over medium heat to reach 350°F (175°C). Heat the oil for 3-4 minutes, testing readiness by dropping a single pinch of cornmeal into the oil: it should sizzle immediately and rise to the surface within 1 second without turning dark brown.
Coat squash evenly
Working 3-4 slices at a time to avoid clumping, dip each squash round first into the egg-milk mixture, letting excess liquid drip off for 2 seconds, then press firmly into the cornmeal coating on both sides to ensure a full, even layer. Set coated slices on a clean dry plate while you finish prepping the full batch.
Fry squash in batches
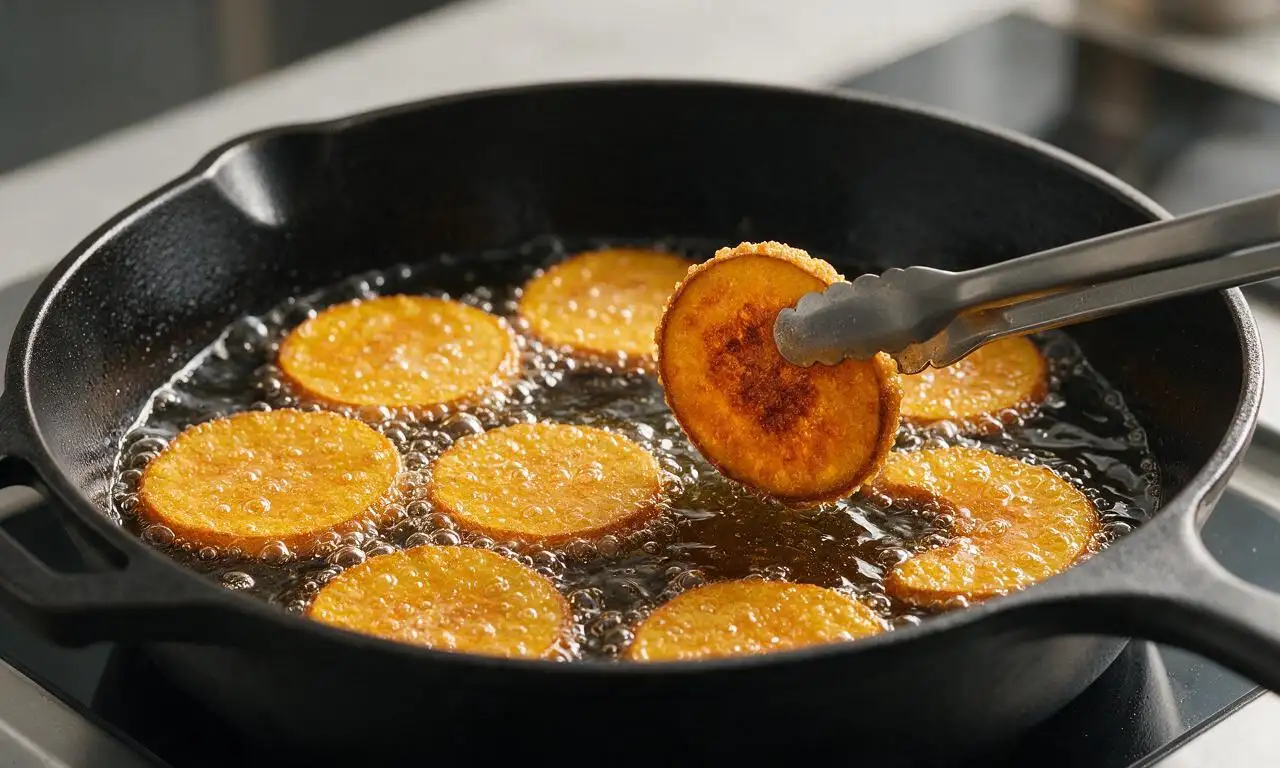
Carefully place 6-7 coated squash slices in the hot oil in a single layer, taking care not to overcrowd the pan (which drops oil temperature and causes sogginess). Fry for 2.5 minutes on the first side over steady medium heat, until the bottom is deep golden and crispy, then flip each slice with metal tongs and fry for another 2 minutes on the second side. If the oil starts to smoke at any point, reduce heat slightly to prevent burning the coating.
Drain and finish
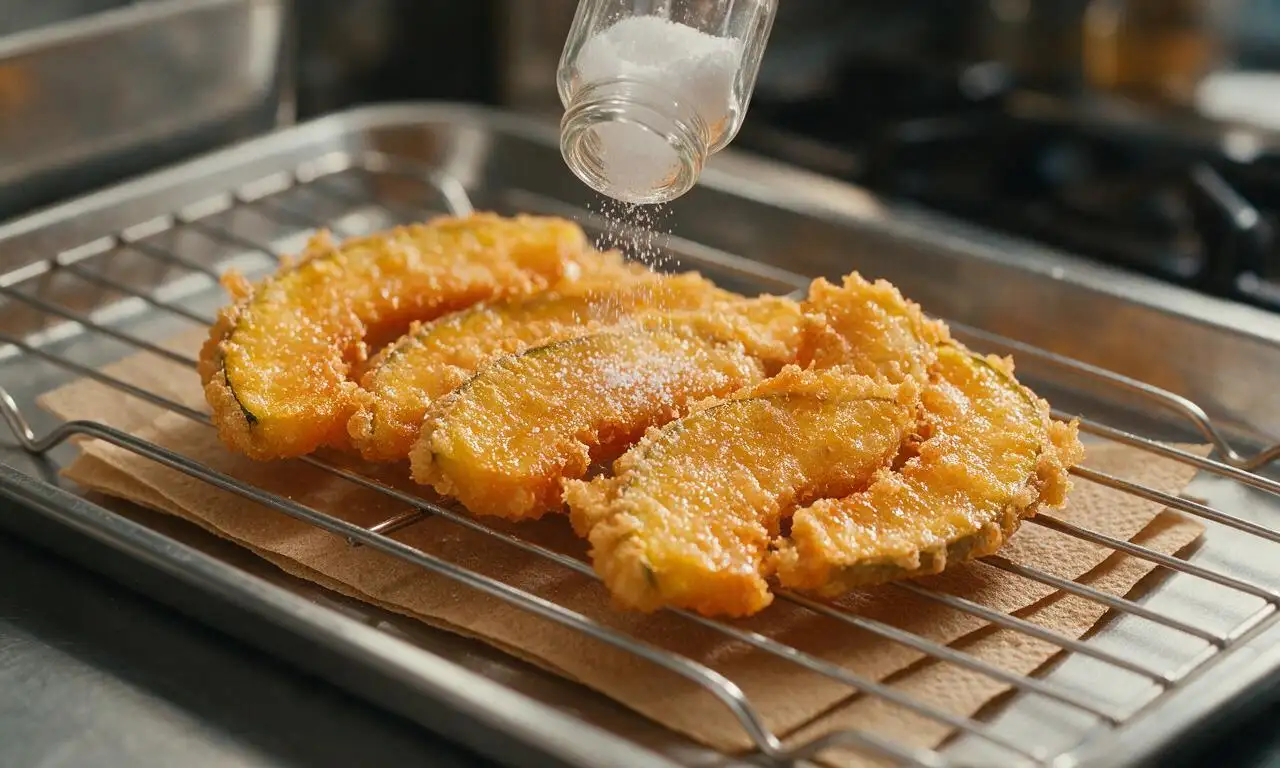
Transfer fried squash slices to a wire rack set over a paper-towel-lined baking sheet, immediately sprinkle with a tiny pinch of extra kosher salt while the slices are still hot. Let excess oil drain for 1 minute before frying the remaining batches of coated squash, adding 1 tablespoon of extra oil if the pan runs dry between batches.
Tips
2.If using extra-moist homegrown squash, sprinkle sliced rounds with ½ teaspoon salt, let rest 10 minutes to draw out excess water, then pat completely dry before coating to prevent sogginess.
3.Maintain a steady 350°F (175°C) oil temperature throughout frying; oil that is too cool will make squash greasy, while oil that is too hot will burn the coating before the squash tenderizes inside.






OMG this was SO good! I made a big batch for our church potluck last Sunday and every single piece was gone before I even got through the serving line. The crust stayed crispy even after sitting out for an hour, total game changer. I used yellow summer squash from my garden and it turned out perfect, so easy even my teen could help bread it. Will be making this every week while squash is in season!
This turned out really tasty when I tested it last night, but I had a quick couple questions! Can I use zucchini instead of yellow squash for my next batch? I have a ton of zucchini sitting in my fridge from my CSA box and I’ve been dying to use it up. Also, do I need to use a cast iron skillet to get it crispier? I used a regular non-stick pan this time and it was good, but I think it could’ve been a little crunchier.
My kids loved it!!! I’ve been struggling to get them to eat any veggies lately and they devoured an entire platter of this before dinner even made it to the table. I added a little extra paprika to the breading per my husband’s request and it had the perfect little kick. Only complaint is I wish I made double, ha!
I was skeptical fried squash would hold up for meal prep but wow, this works! I let the slices cool completely then stored them in an airtight container with paper towels between layers, and they crisped right back up in the air fryer at 375 for 3 minutes at lunchtime. So easy, 20 minute cook time is no joke — perfect for weeknights when I don’t feel like spending an hour in the kitchen.
Made this as a side for our backyard cookout this weekend alongside burgers and coleslaw, and people were raving. I did a quick soak in buttermilk for 10 minutes before breading and it made the squash so tender inside, the crust was shatteringly crisp. 10/10, will be a regular cookout side from now on.
I’ve never fried anything in my life and this was so easy!!! I was so nervous I’d burn it or the breading would fall off but it came out perfect on the first try. I served it with ranch dressing for dipping and my roommate said it tastes exactly like the fried squash her grandma used to make in Alabama. Can’t wait to make this for my parents when they visit next month!