
frozen tater tots cooking instructions

title 1
frozen tater tots cooking instructions
⏱️ cook time 25 minutes
🍽️ servings 4
⚡ Difficulty easy

intro

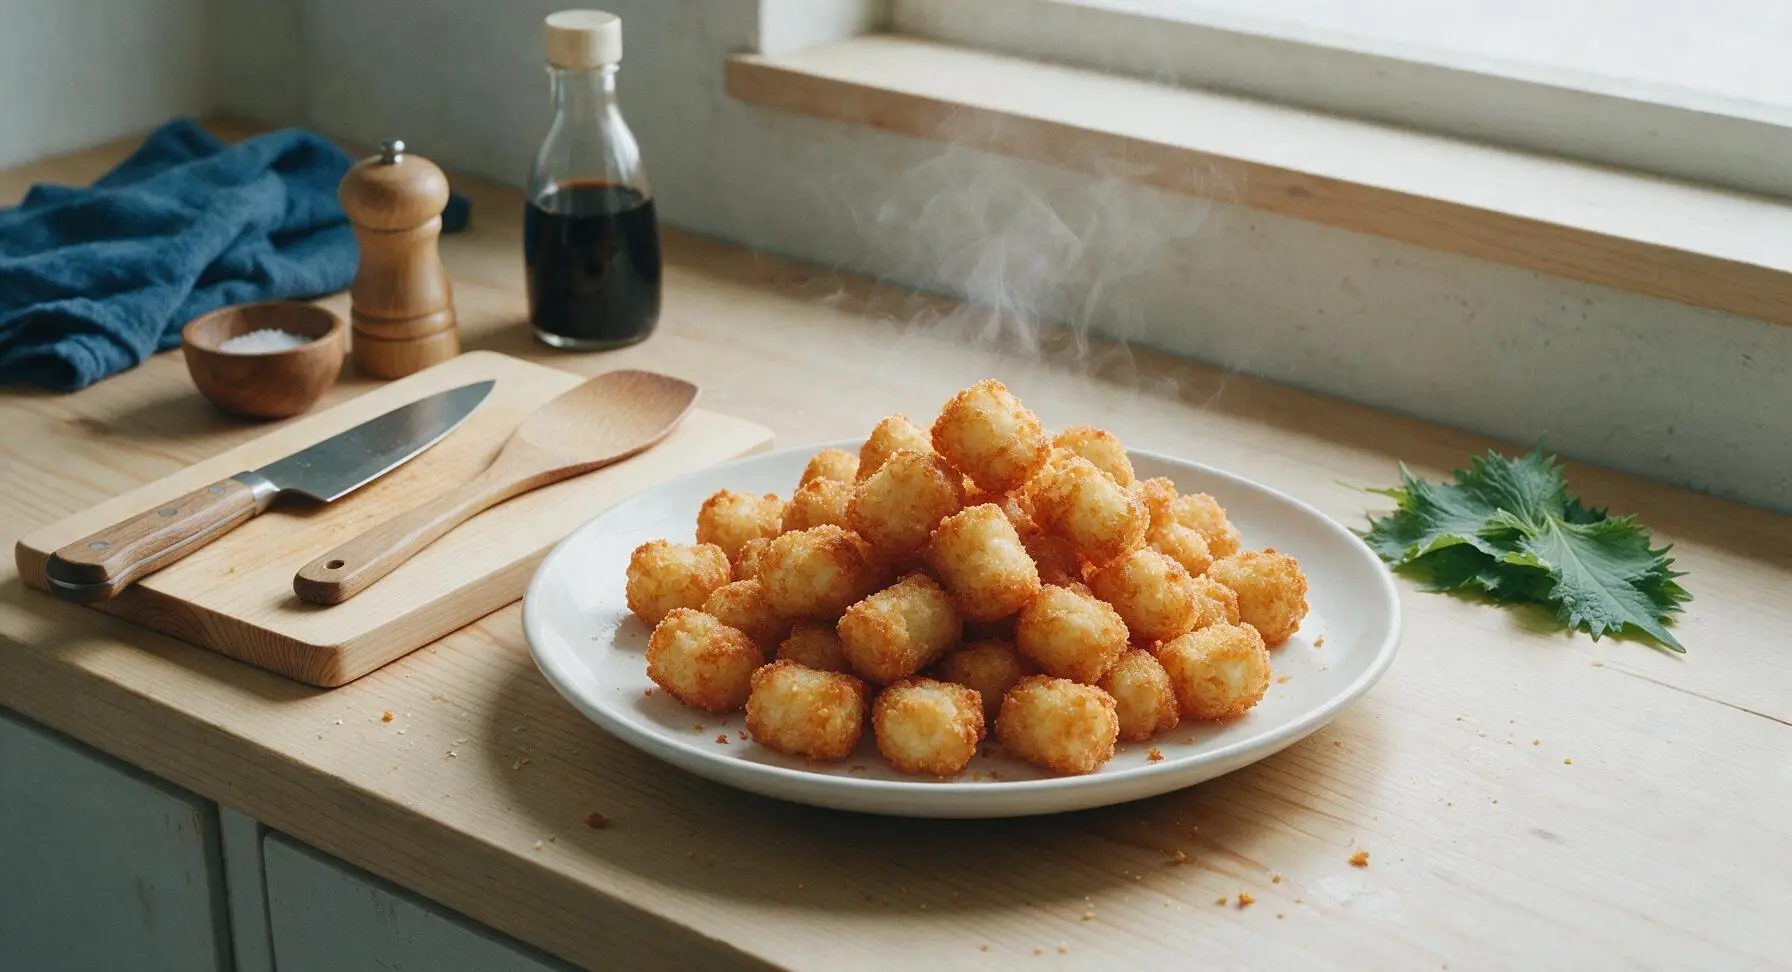
Shatteringly crisp golden frozen tater tots with fluffy, tender potato centers, cooked without sogginess for a crowd-pleasing bite ready in 30 minutes flat.

Ingredients
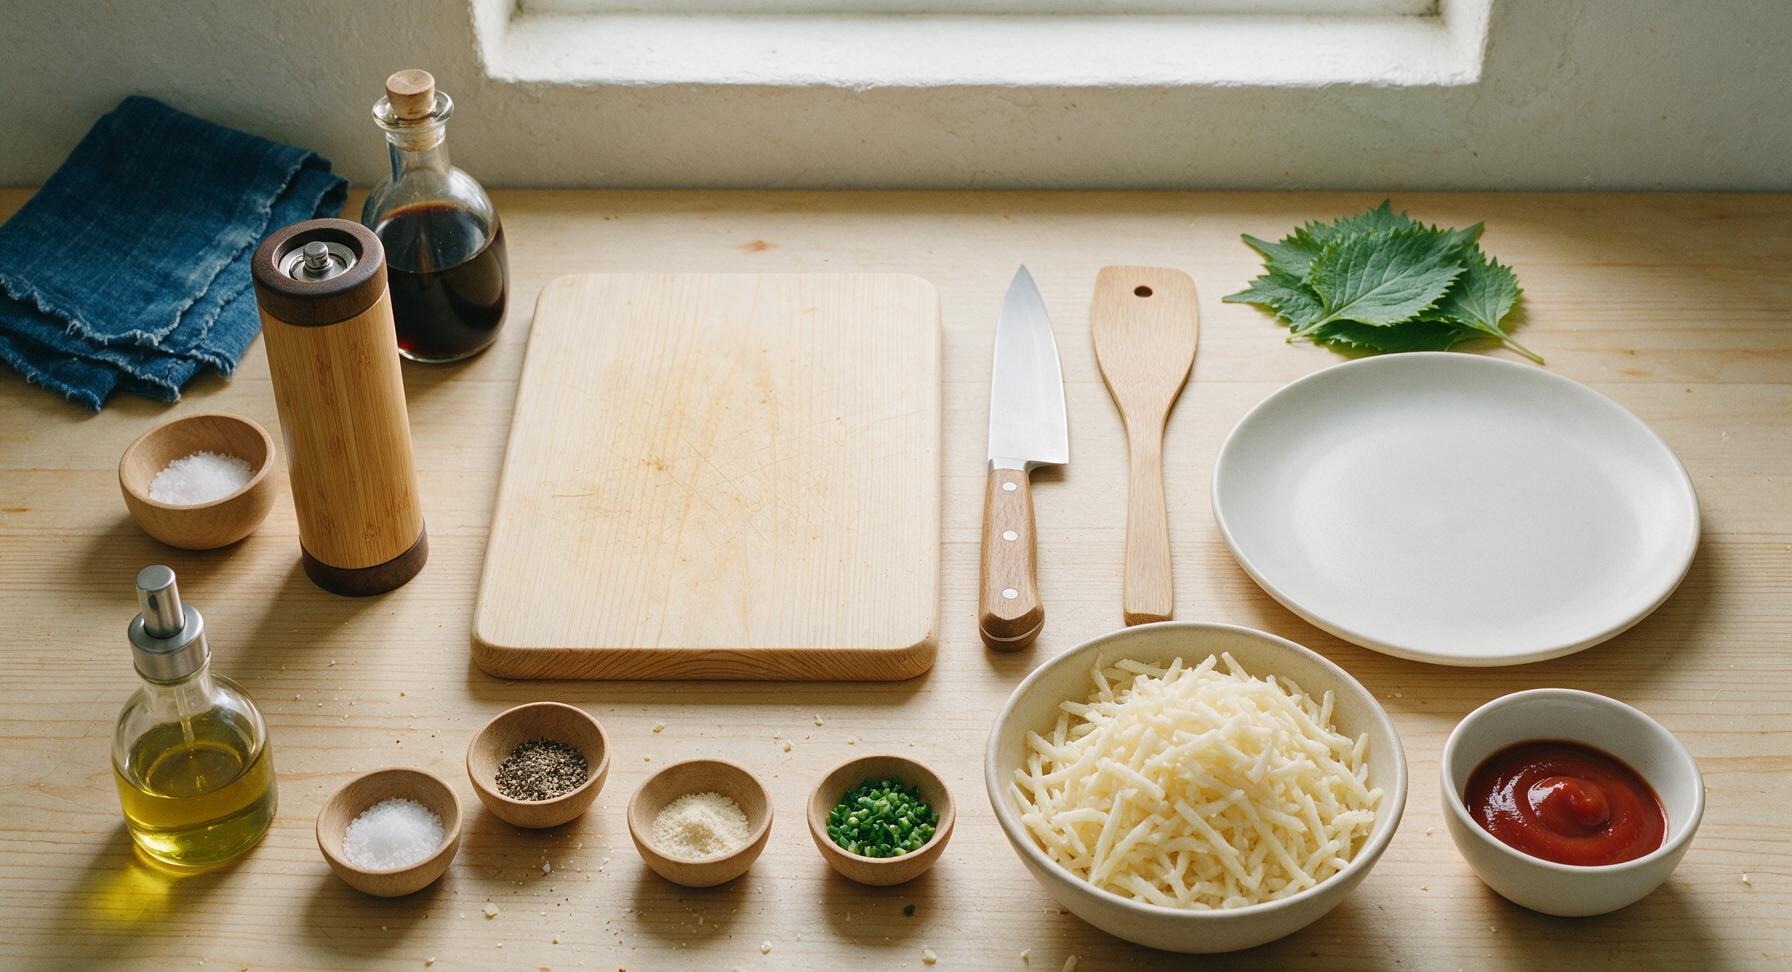
Frozen shredded potato tater tots 28 oz (794g, about 6 cups)
Avocado oil 1 tsp (2-second spray)
Fine sea salt 1/4 tsp
Freshly ground black pepper 1/8 tsp
Garlic powder 1/8 tsp
Fresh chives 1 tbsp, finely chopped
Ketchup (for serving) 1/2 cup

Steps

1

Preheat Oven, Prep Pan

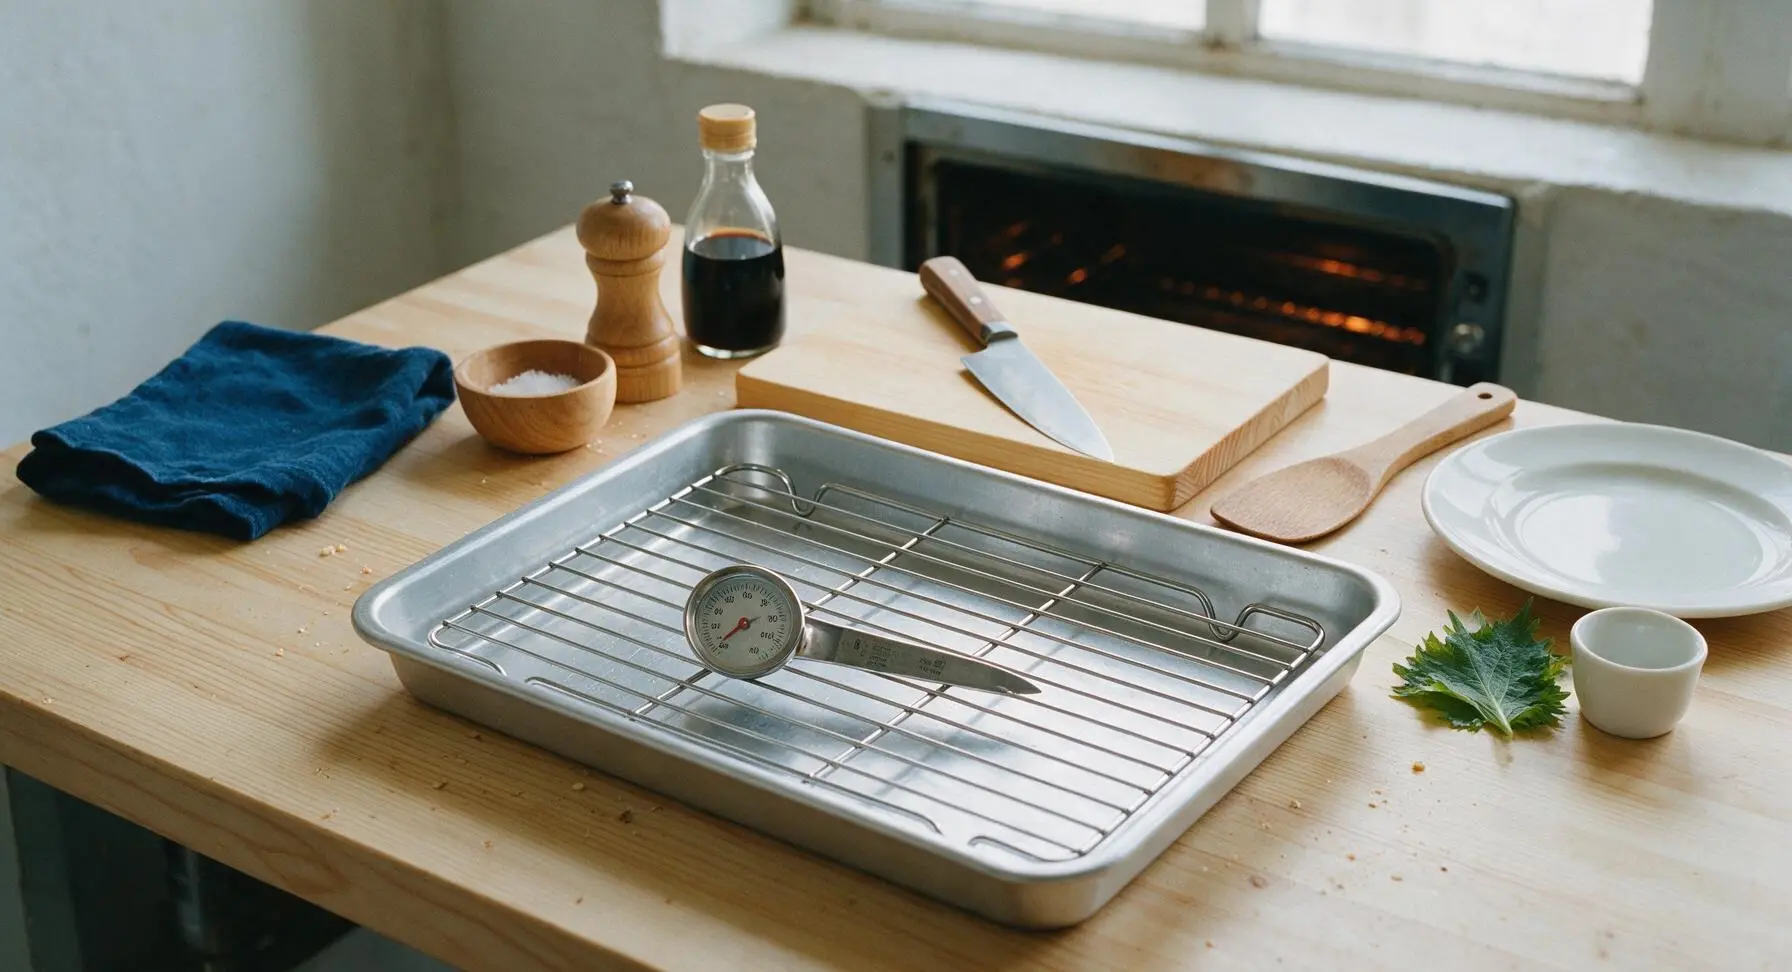
Adjust your oven rack to the middle position, place the stainless steel oven thermometer on the rack, and preheat oven to 425°F (220°C). Retrieve the 13x18 inch aluminized steel baking pan and matching chrome wire rack from oven storage, and set the rack securely inside the pan so it sits level. Do not grease the pan at this stage; the elevated rack will allow 360-degree air circulation to prevent soggy tots.
Step 1
step1:Preheat Oven, Prep Pan
2

Arrange Tots Evenly

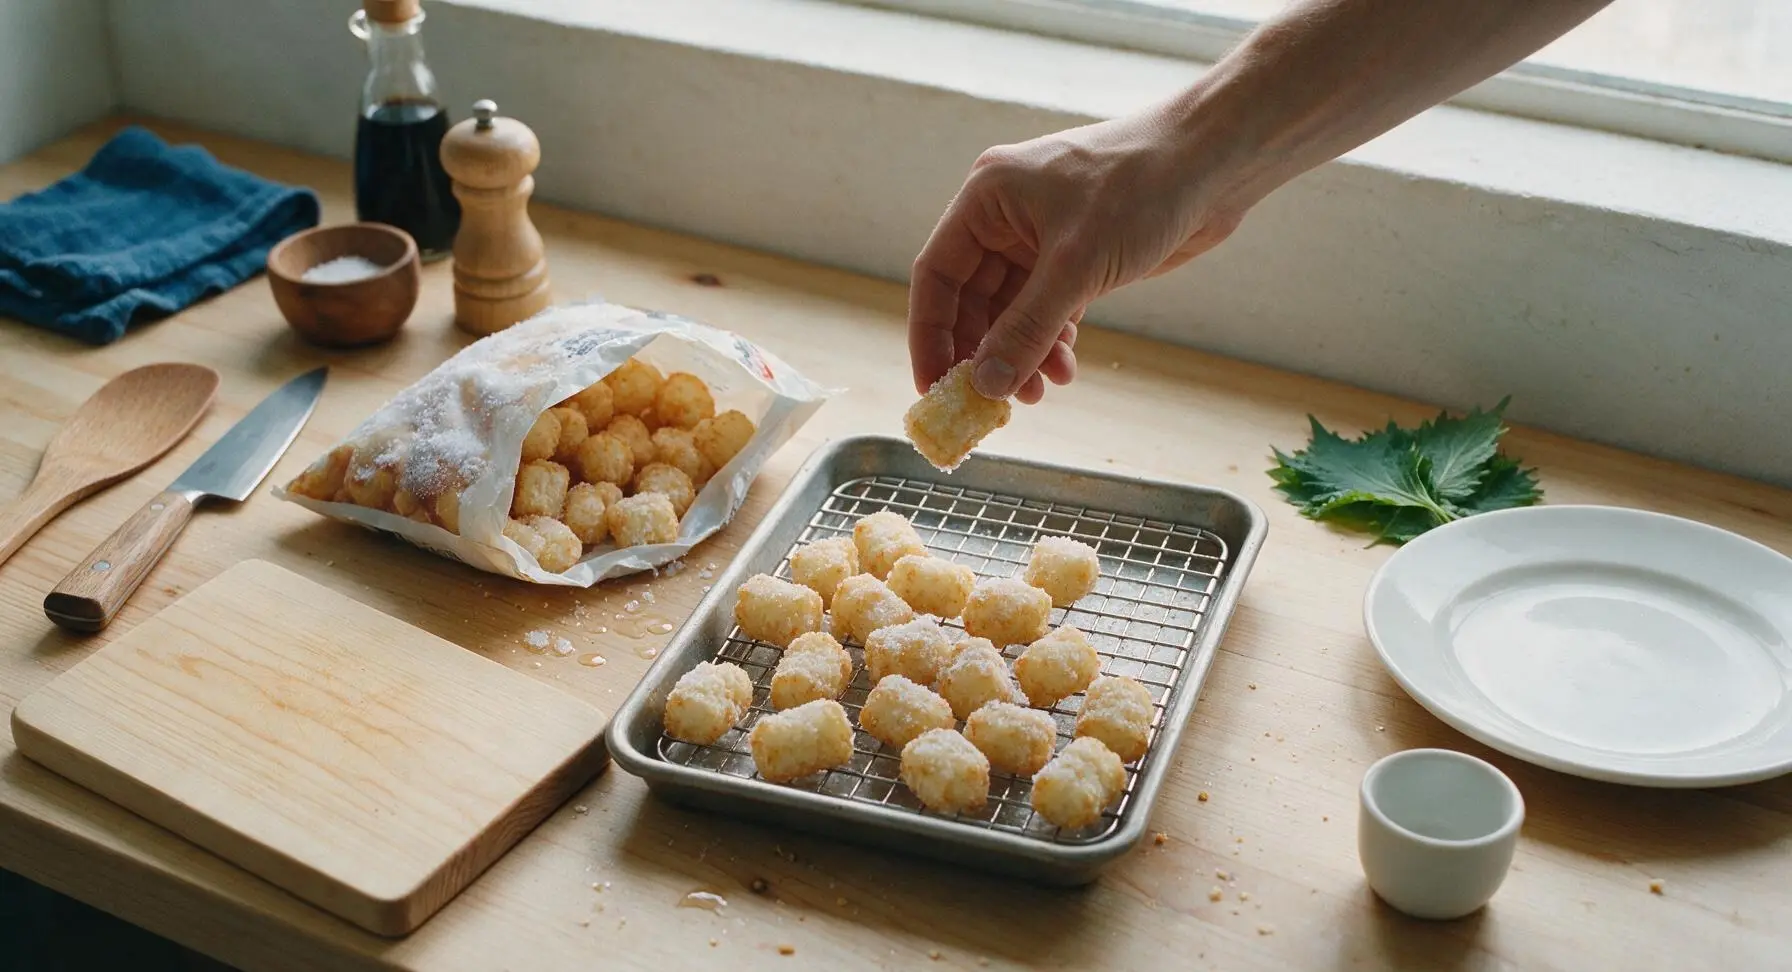
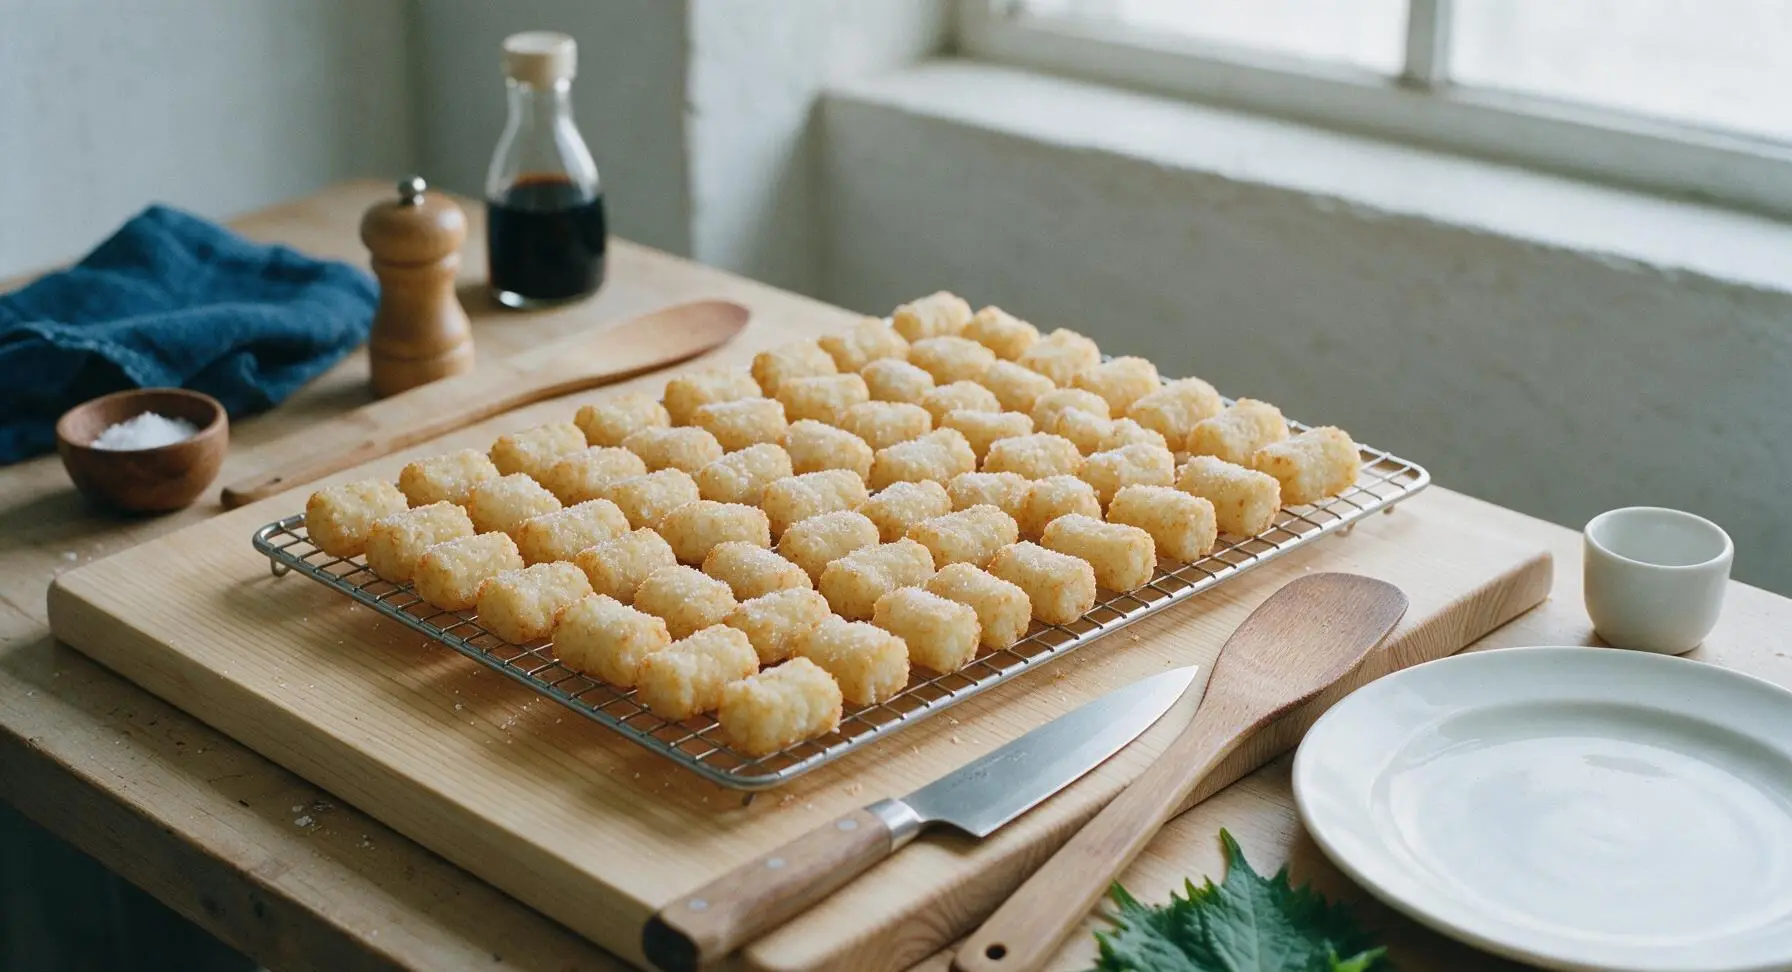
Remove frozen tater tots directly from the freezer (do not thaw, as thawing creates excess moisture and sogginess). Arrange tots in a single, evenly spaced layer on top of the wire rack, leaving 1/4 inch of space between each tot to allow hot air to circulate. Cook in batches if you have more tots than fit without overlapping, as overcrowding leads to uneven crisping.
Step 2
step2:Arrange Tots Evenly
Step 2
step2:Arrange Tots Evenly
3

Oil and Season Tots

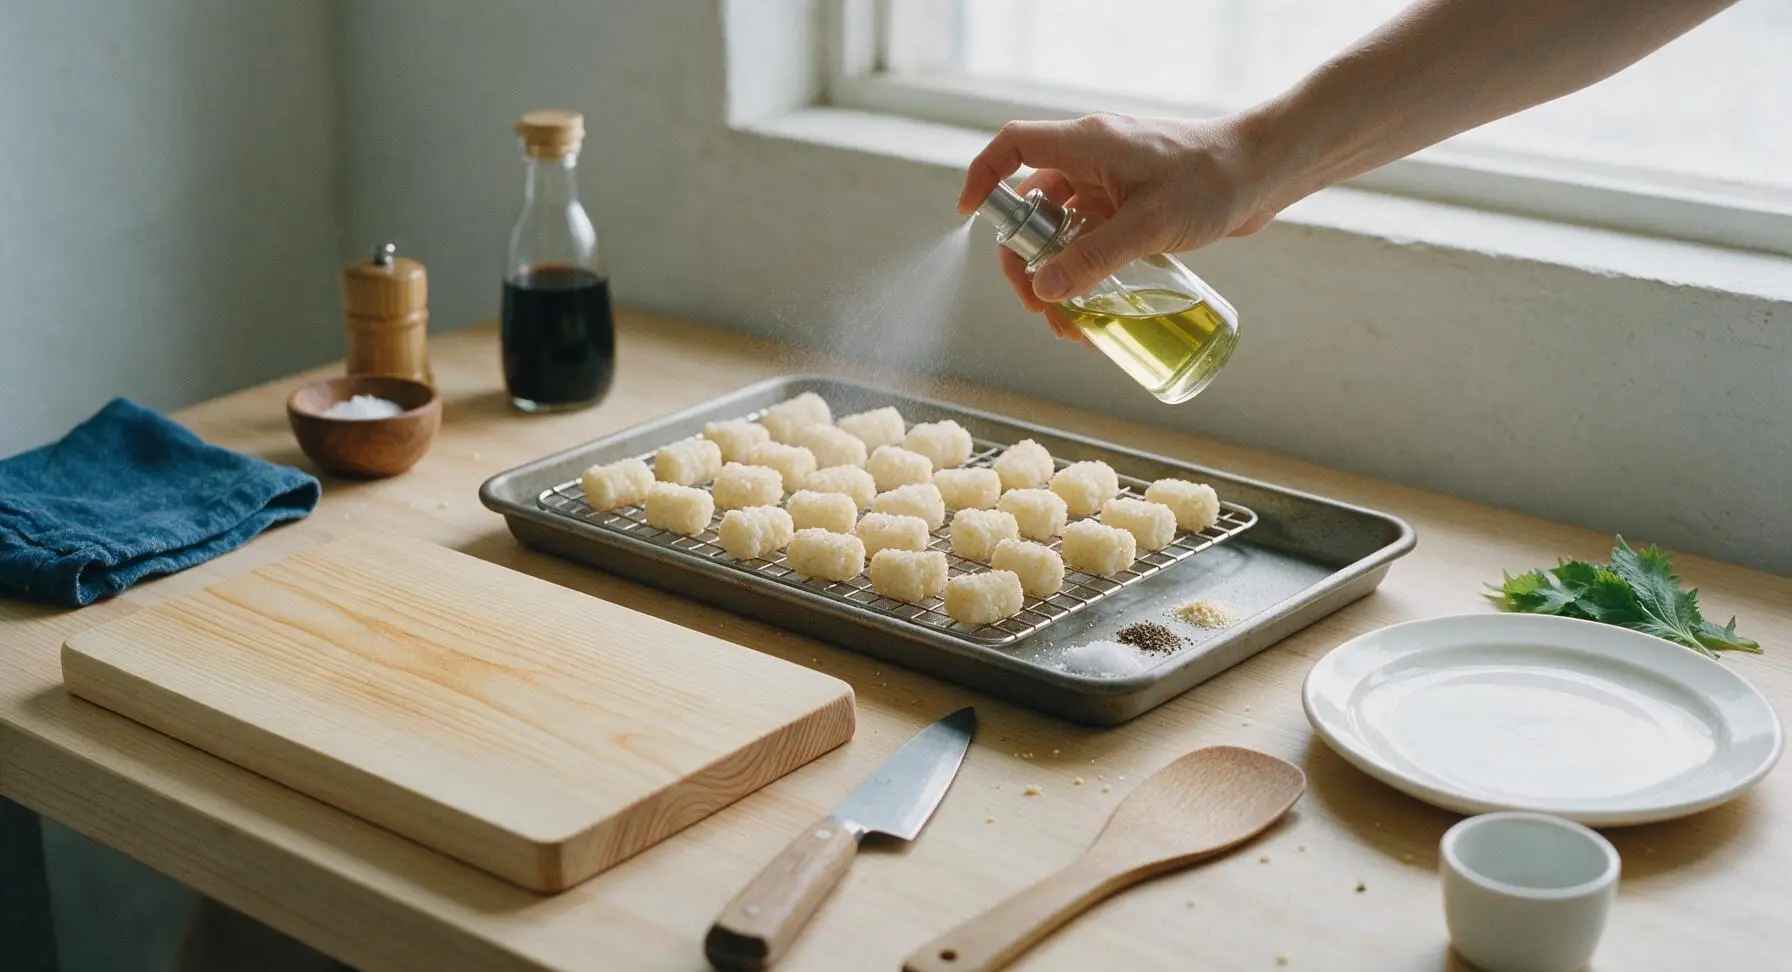
Hold the fixed clear glass oil spray bottle 6 inches above the tots, and spray a light, even coating of oil across all exposed tot surfaces (about 2 seconds of spray, equal to 1 teaspoon of oil). Sprinkle tots evenly with 1/4 teaspoon fine sea salt, 1/8 teaspoon freshly ground black pepper, and 1/8 teaspoon garlic powder. Do not over-oil, as excess oil will make tots greasy instead of crisp.
Step 3
step3:Oil and Season Tots
4

Bake First 15 Minutes

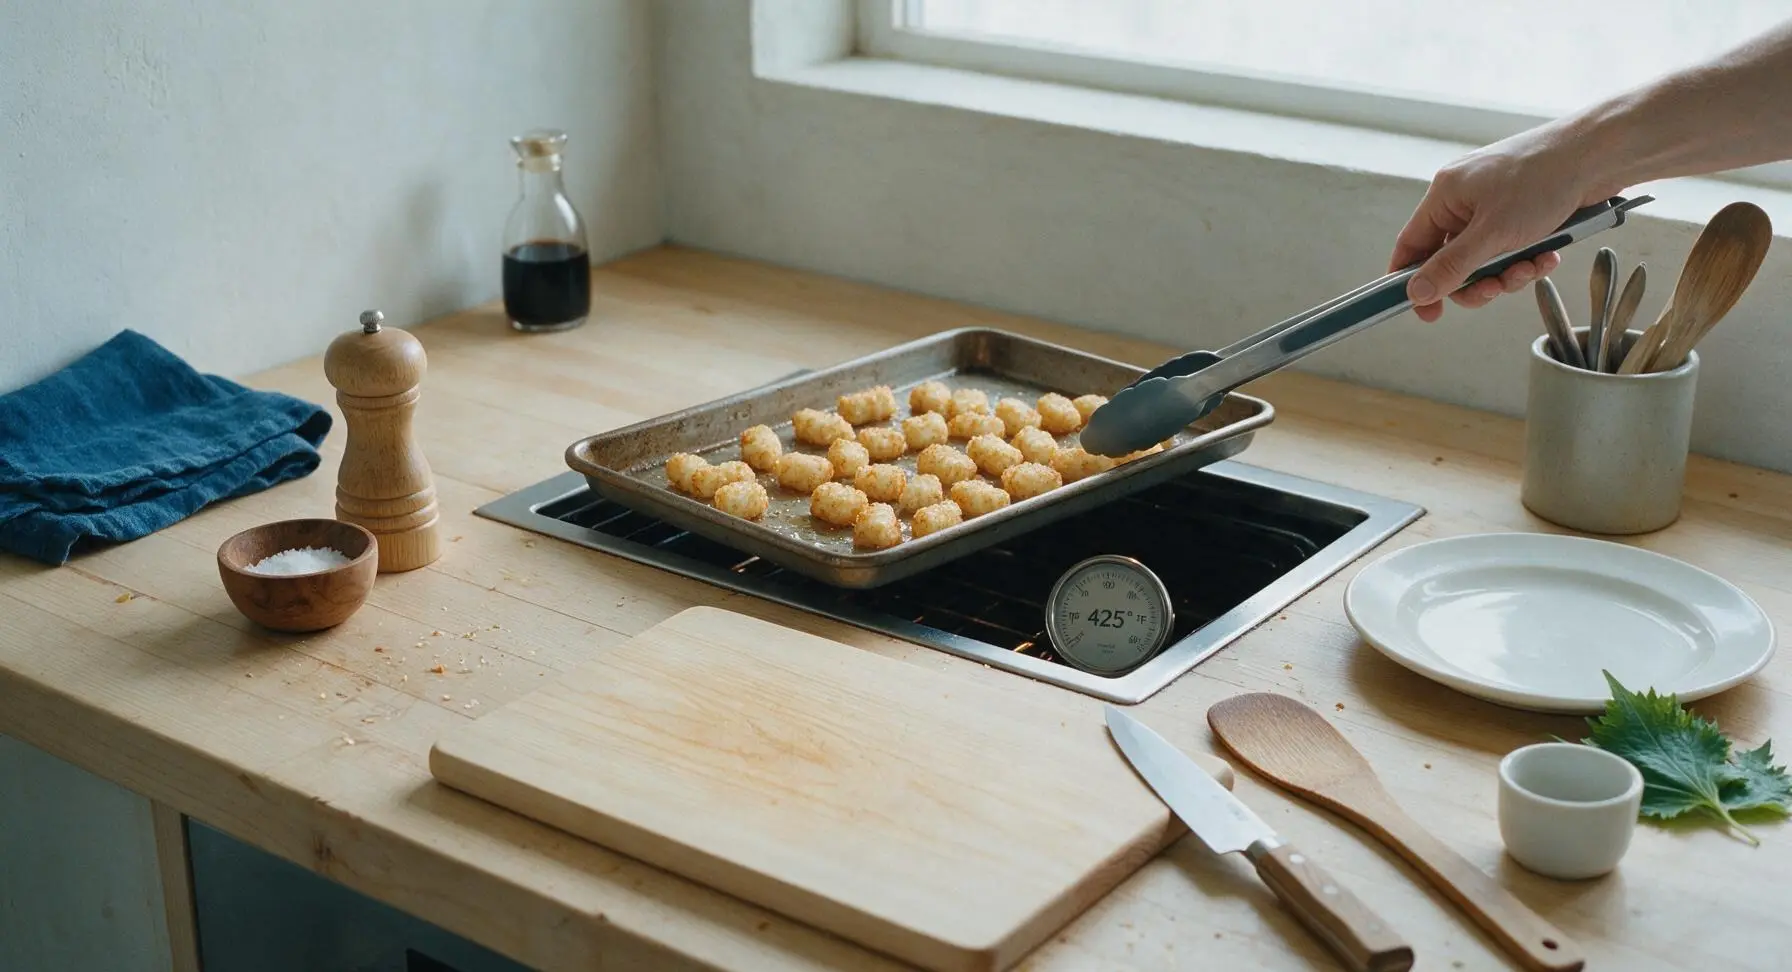
Carefully place the baking pan with the rack and seasoned tots on the middle oven rack, confirming the oven thermometer reads a steady 425°F (220°C). Bake undisturbed for 15 minutes. Do not open the oven door during this time, as temperature drops will slow crisping and extend cook time.
Step 4
step4:Bake First 15 Minutes
5

Flip Tots at Halfway

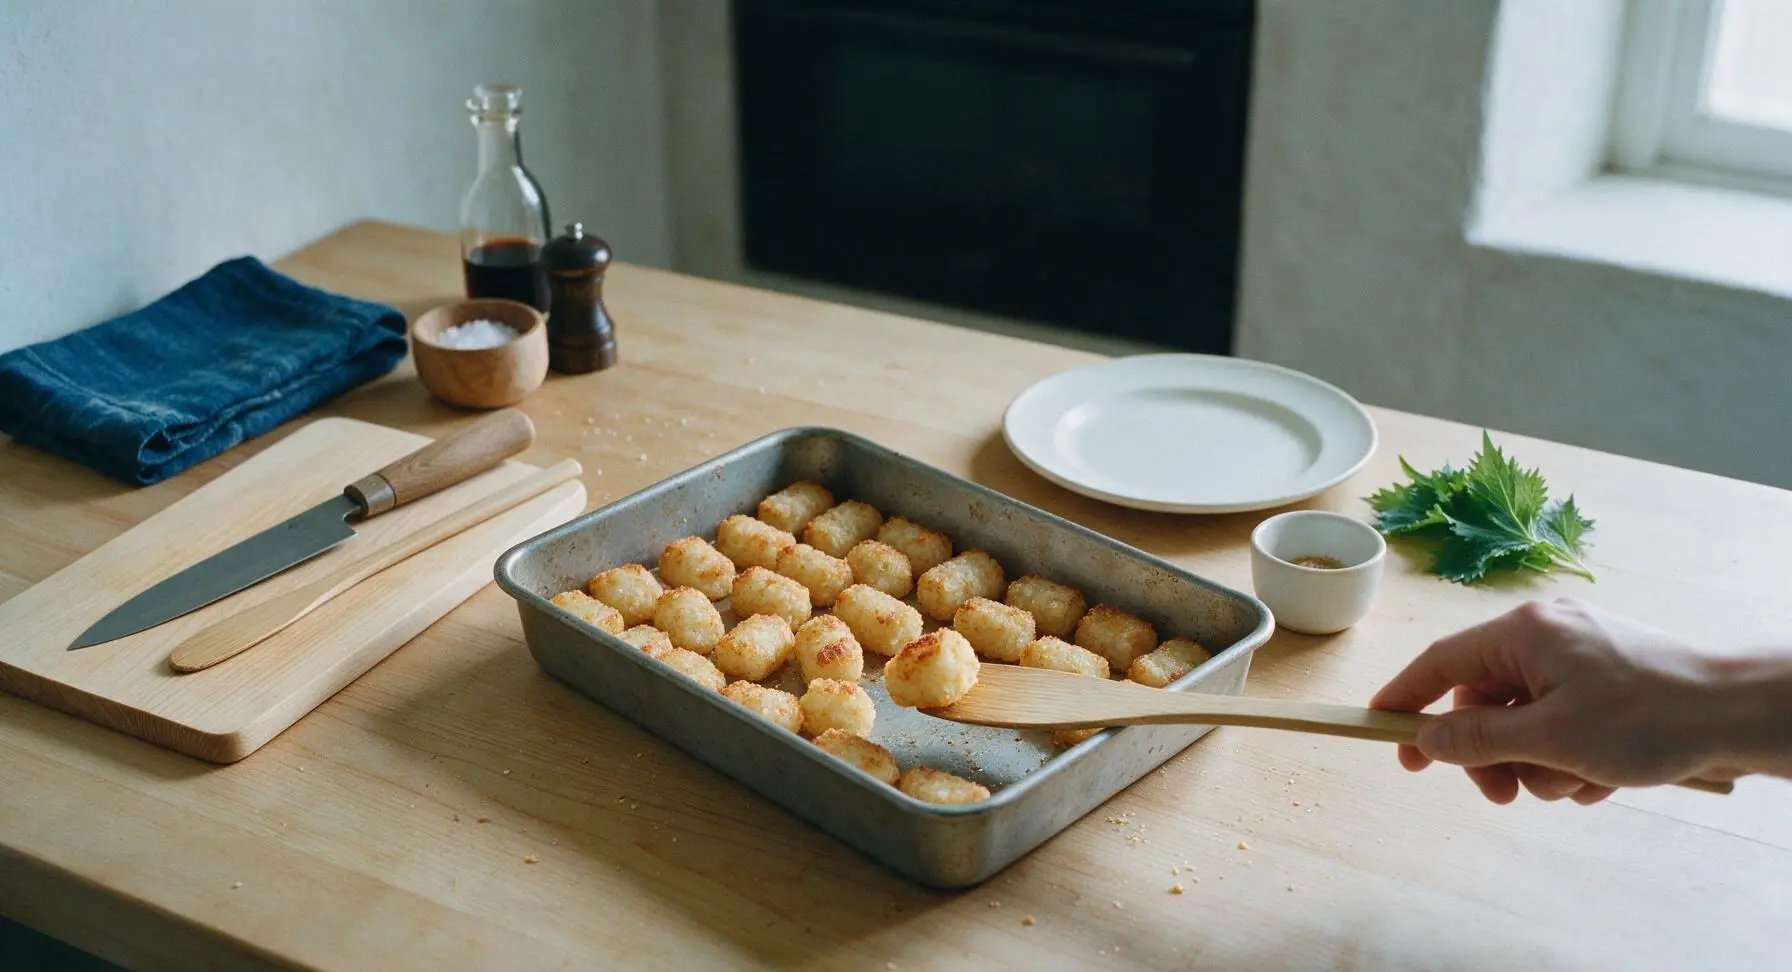
After 15 minutes of baking, carefully pull the baking pan out of the oven, closing the oven door immediately to retain heat. Use the light bamboo spatula to gently flip each tot, so the pale, soft bottom side faces up. At this stage, the top surfaces of the tots should be light golden brown and starting to crisp at the edges.
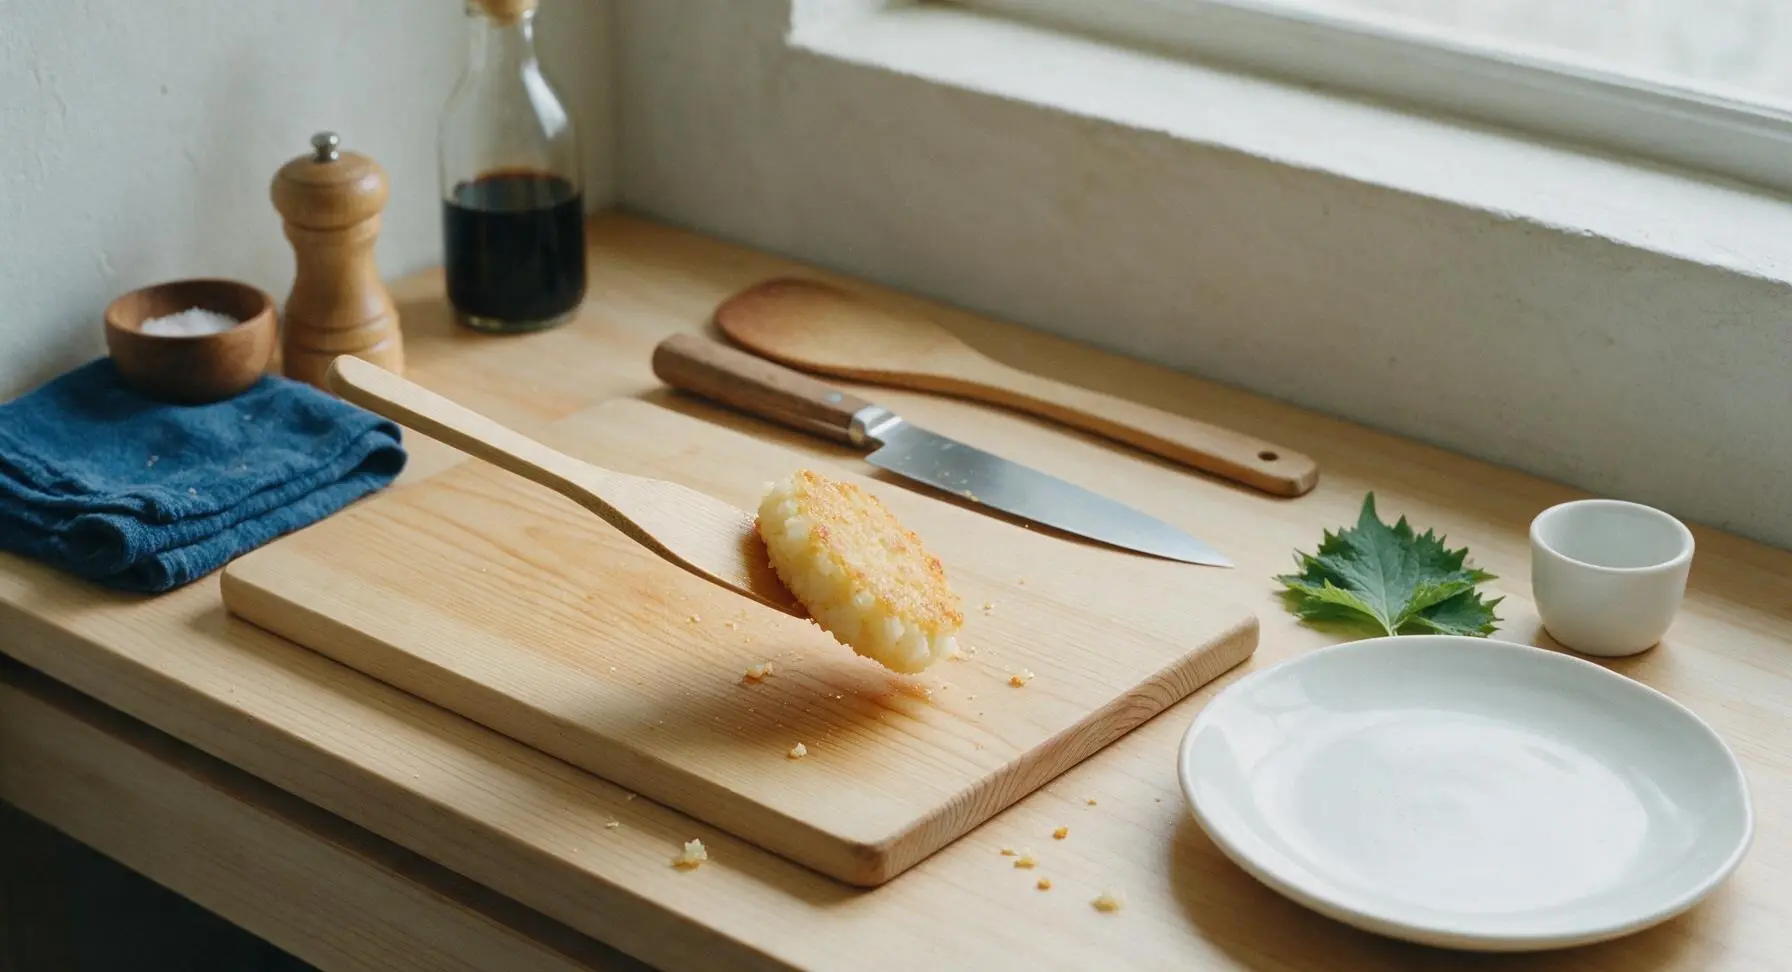
Step 5
step5:Flip Tots at Halfway
Step 5
step5:Flip Tots at Halfway
6

Bake to Final Crisp

Return the pan to the middle oven rack, and bake for an additional 8-10 minutes, until tots are deep golden brown all over with a rough, crunchy exterior. Total bake time will be 23-25 minutes; add 2 extra minutes for extra-crispy tots, watching closely to avoid burning.
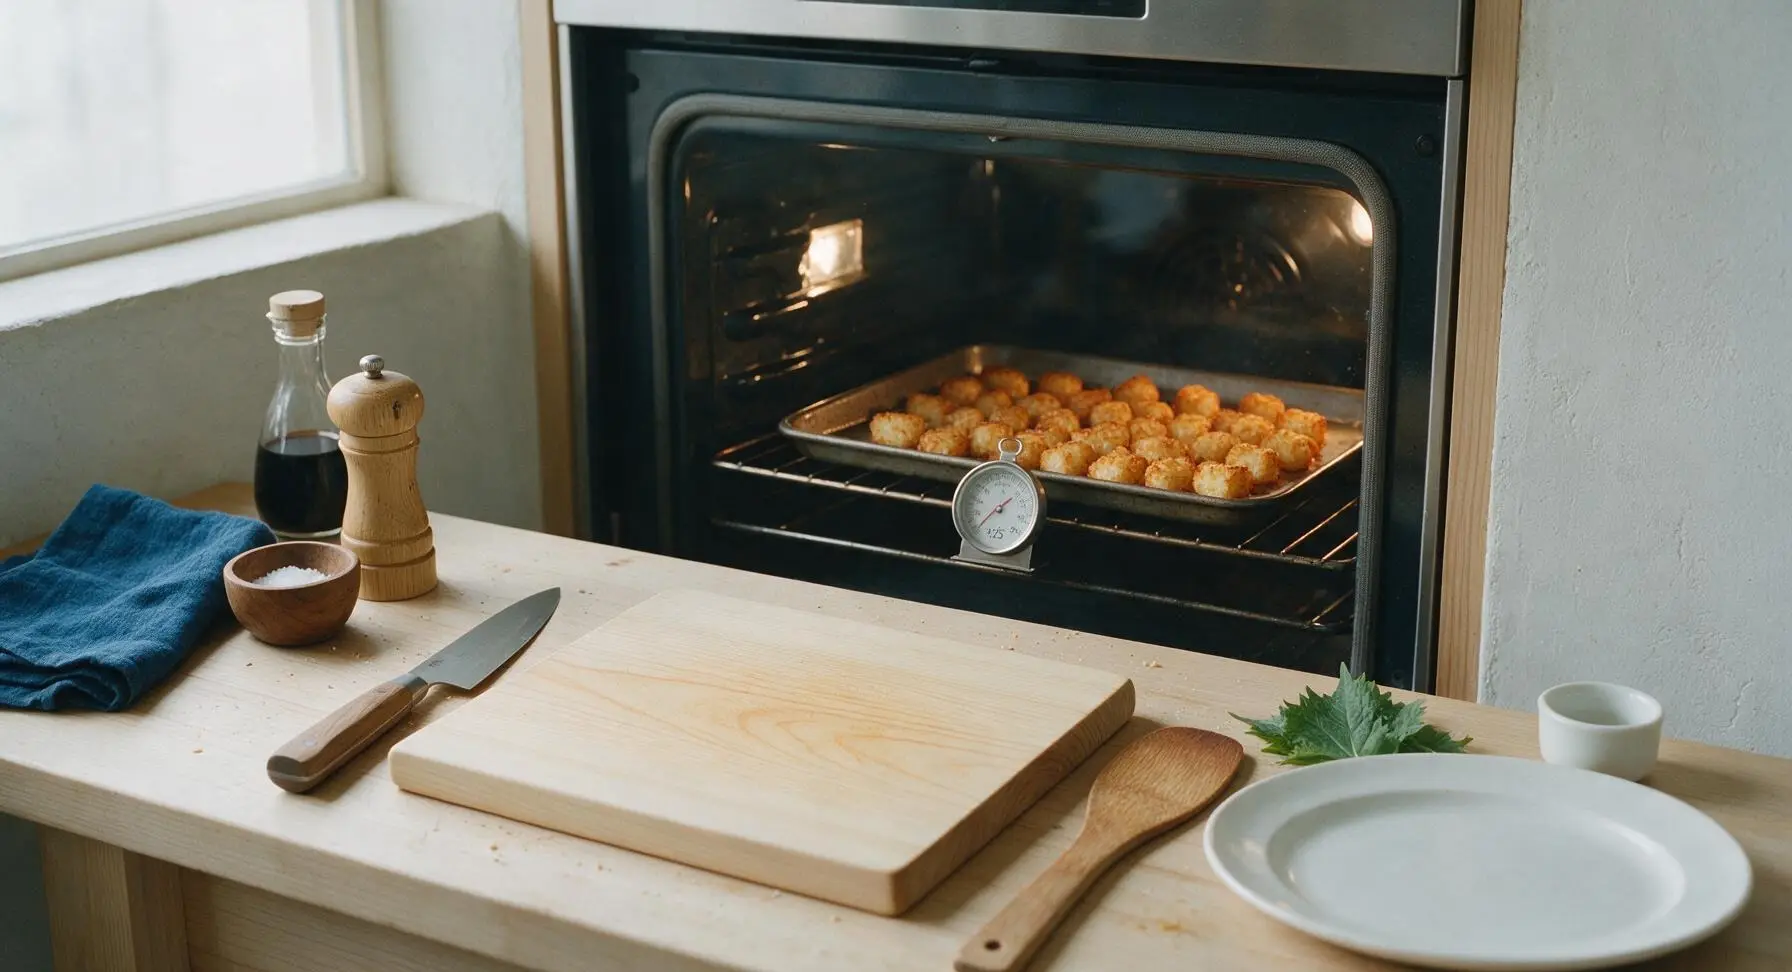
Step 6
step6:Bake to Final Crisp
7

Rest Tots 2 Minutes

Once tots reach a deep golden, crisp appearance, remove the pan from the oven, and let tots rest on the wire rack for 2 full minutes. This resting period allows excess oil to drip away and the crisp exterior to set, creating a shatteringly crisp texture instead of soft, steamy bites.

Step 7
step7:Rest Tots 2 Minutes
8

Plate, Garnish, Serve

Use the stainless steel silicone-tipped tongs to transfer the crispy rested tots to the fixed matte off-white oval serving platter, piling them loosely in the center. Sprinkle the top with 1 tablespoon finely chopped fresh chives for bright, fresh flavor contrast. Serve immediately with the terracotta ramekin of ketchup (or your preferred dipping sauce) alongside.

Step 8
step8:Plate, Garnish, Serve

Tips

1.Never thaw frozen tater tots before cooking: frost on frozen tots melts into steam as it thaws, leading to limp, soggy exteriors instead of crisp texture. Always cook tots straight from the freezer for best results.
2.Using a wire rack inside the baking pan eliminates the need for repeated flipping and ensures 360-degree hot air circulation, so every side crisps evenly without the bottoms turning soggy from sitting in pooled oil on a flat pan surface.
3.Skip parchment paper or aluminum foil liners under the wire rack: these materials trap moisture and block hot air flow, leading to soft, unevenly crisped tots. The open grid of the wire rack lets air circulate freely for consistent crunch.


✨ You May Also Like

Side Dishes
🍜 India

Velvety, aromatic all-purpose curry sauce perfect for tossing with roasted veggies, grilled protein, or rice for fast, cozy, flavorful meals.

⏱️ 25 minuteSide Dishes ★ 4.8
Side Dishes
🍜 Spain

Tender, starchy boiled yuca tossed in bright, garlicky citrus mojo sauce—an iconic, zesty side that pairs beautifully with roasted pork, grilled meats, and rice and beans.

⏱️ 40 minuteSide Dishes ★ 5
Side Dishes
🍜 United States

Tender, paper-thin potato flatbread, a beloved Norwegian-American Minnesota Christmas staple, griddled until softly spotted and served warm with butter.

⏱️ 1 hour 30Side Dishes ★ 4.6
Side Dishes
🍜 United States

Rich, deeply savory cured salt pork, a long-lasting kitchen staple perfect for frying crispy as a side or adding umami to stews, beans, and chowders.

⏱️ 7 days (2Side Dishes ★ 4.9
Side Dishes
🍜 United States

Crispy, tangy classic Southern fried green tomatoes with a crunchy cornmeal crust, served hot for a nostalgic, comforting summery bite.

⏱️ 25 minuteSide Dishes ★ 4.9
Side Dishes
🍜 United States

Moist, golden-crusted savory muffins with sweet corn, zesty jalapeño, and melted cheddar, perfect for pairing with smoky summer grilled fare.

⏱️ 30 minuteSide Dishes ★ 4.9

frozen tater tots cooking instructions:Frequently Asked Questions

1.Do I need to thaw frozen tater tots before baking them for the crispiest results? ▾
Absolutely not—thawing is the number one cause of soggy, mushy tater tots. Keep them fully frozen until the second they go in the oven. Thawing pulls excess starchy moisture out of the shredded potato, which steams instead of crisping as it cooks, leaving you with limp tots instead of that signature shatteringly crisp crust.
2.What oven temperature works best for crispy baked tater tots? ▾
Aim for 425°F (220°C) for perfect, even results. This high, dry heat quickly sears the outer layer of the tots, locks in moisture for a light, fluffy center, and caramelizes the shredded potato edges to that perfect golden crisp without burning the exterior before the inside cooks all the way through.
3.Can I use a different oil if I don’t have avocado oil on hand? ▾
Definitely! Avocado oil works great because of its high smoke point and neutral flavor, but you can swap it for any high-smoke-point neutral oil: refined canola, grapeseed, or light olive oil all work perfectly. Avoid toasted sesame oil or extra virgin olive oil, which will smoke at high heat and leave a bitter off-flavor.
4.Why do my baked tater tots always turn out soggy? ▾
The most common culprits are overcrowding the baking sheet, using too low an oven temperature, thawing tots first, or lining the sheet with foil that traps moisture. Make sure tots sit in a single layer with space between them, use a fully preheated hot oven, and skip steamy, covered setups for crisp results every time.
5.Do I need to flip the tater tots halfway through baking? ▾
Yes, flip them once at the 15-minute mark for a total 30-minute cook time to ensure every side gets evenly crisp and golden. If you leave them sitting on one side the whole time, the bottom will get overly dark while the top stays pale and soft, so a quick spatula flip delivers consistent crunch all around.
6.Should I line my baking sheet with parchment paper or foil? ▾
Skip both if you want maximum crispness! Parchment and foil trap moisture between the tots and the pan, leading to steamed, soft bottoms. For best results, use a bare, rimmed baking sheet lightly coated with oil, or a wire rack set inside the baking sheet to let hot air circulate fully around every tot.
7.Should I season the tots before baking, or wait until they’re done cooking? ▾
Toss them with oil and your dry seasonings (salt, pepper, garlic powder) right before they go in the oven! The oil helps spices stick evenly to the tot surface, and the high heat toasts garlic powder to bring out its nuttiness, instead of sprinkling dry spices on cooked tots where they’ll just fall off onto your plate.
8.How far apart should I space tater tots on the baking sheet? ▾
Leave about ¼ inch of space between each tot, and arrange them in a single, even layer. If they’re touching or stacked, they’ll steam each other instead of crisping up. If you’re cooking for a crowd, use two separate baking sheets instead of piling tots onto one, rotating sheets halfway through for even cooking.
9.Can I cook these tater tots in a toaster oven if I don’t have a full-size oven? ▾
Absolutely! Just adjust the rack to the middle position, keep the 425°F temperature, and use a small, rimmed baking sheet that fits your toaster oven. You may need to shave 2-3 minutes off the total cook time since toaster ovens circulate heat more tightly, so check for golden crispness at the 25-minute mark.
10.How do I know when the tater tots are fully done cooking? ▾
They’re ready when they’re a deep, even golden brown all over, with visibly crisp, rough edges, and feel light when you lift them with a spatula (heavy, dense tots mean they still have excess moisture to cook off). The center will be light and fluffy, not dense or gummy, when you break one open to test.
11.Can I add extra seasonings beyond salt, pepper, and garlic powder? ▾
Of course! Once you toss them with oil, add any dry seasonings you love: smoked paprika, cajun seasoning, grated parmesan, dried oregano, or ranch powder all work beautifully. Just skip wet seasonings like sauce before baking, as they’ll add unwanted moisture and make the tot exterior soggy instead of crisp.
12.Do I need to use a wire rack for baking, or is a regular baking sheet fine? ▾
A regular rimmed baking sheet works perfectly if you arrange the tots properly with space between them! A wire rack set inside the sheet does boost air circulation for extra all-around crispness, but it’s not required. If you use a rack, give it a light oil spray first to keep tots from sticking as they cook.
13.Can I make these tater tots ahead of time for a party or game day? ▾
For the absolute best crispness, serve them immediately after baking, but if you need to prep ahead, you can hold them for up to 30 minutes in a 200°F oven on a wire-lined sheet. Don’t cover them or stack them while holding, as trapped steam will turn that perfect crust soft and soggy fast.
14.Why are my tater tots burning on the bottom before the center cooks through? ▾
This usually happens if your oven runs hot, or if you placed the baking sheet too close to the bottom heating element. Move the rack to the middle position, use an oven thermometer to confirm your temp is actually 425°F, and avoid thin, flimsy baking sheets that transfer heat too quickly and cause uneven cooking.
15.Can I cook frozen tater tots straight from the bag without any oil? ▾
You can, but you won’t get that same shatteringly crisp, golden crust. The thin coating of oil helps conduct heat evenly across the tot’s rough surface, encourages deep browning, and helps seasonings stick. Without oil, the tots will be dry, pale, and have a tough, chalky exterior instead of that satisfying crunch.
16.How do I keep leftover cooked tater tots crispy when reheating? ▾
Skip the microwave—it turns tots soggy and rubbery extremely fast. Instead, reheat them on a bare baking sheet in a 400°F oven for 8-10 minutes, flipping halfway through. You can also use an air fryer at 400°F for 5-7 minutes for extra fast, crisp results that taste just as good as fresh out of the oven.
17.What’s the best way to get seasoning to stick evenly to every tot? ▾
Add the frozen tots to a large mixing bowl, drizzle with the measured avocado oil, and toss well for 30 seconds until every tot has a thin, even coating of oil. Add your salt, pepper, and garlic powder, then toss again for another 20 seconds before spreading them on the baking sheet to eliminate bare, unseasoned spots entirely.
18.Are these oven-baked tater tots gluten-free? ▾
That depends entirely on the brand of frozen tater tots you buy! Plain shredded potato tater tots are often naturally gluten-free, but many commercial brands add a wheat-based coating to boost crispness. Always check the ingredient label for wheat, flour, or wheat-derived modified food starch if cooking for someone with celiac disease or gluten sensitivity.

Comments (6)

2 hours ago

OMG these are a total game changer! I always thought frozen tater tots came out soggy no matter what I did, but following this method they were perfectly crispy all the way through in 25 minutes flat. My kids devoured half the pan before dinner even hit the table, 10/10 will be making these every week for our family movie nights!

30 minutes ago

Same! I used to bake mine way longer at a lower temp and they’d still be mushy in the middle. Cranked the oven like the recipe said and wow, total difference. Even brought a batch to our neighborhood potluck last weekend and everyone asked for the trick!

5 minutes ago

So happy to hear these were a hit for movie night and the potluck, folks! Pro tip: don’t overcrowd the baking sheet, that’s the #1 secret to keeping that crunch all the way through!

3 days ago

Super easy recipe that’s perfect for quick weeknight meals! I tossed mine with a little Old Bay before baking and they came out so flavorful, no extra dipping sauce needed. Great for meal prep too, they reheat really well in the air fryer for a quick side.

yesterday

Wait, is there a trick to making sure they don’t stick to the baking sheet? I tried this last night and half the tots stuck and lost their crispy outer layer when I flipped them. Flavor was great though, just frustrated about the sticking!

2 hours ago

Sorry to hear about the sticking, Ryan! I recommend lining your sheet with parchment paper or giving it a very light coating of high-smoke-point oil (like canola or avocado) before spreading the tots out in a single layer. That should keep them from sticking so they flip cleanly!

1 week ago

SO good. I was skeptical because oven-baked frozen tots never compete with the deep fried ones from the fast food place down the street, but these were crispy on the outside, fluffy inside, zero sogginess. Made them to go with burgers for my partner’s birthday cookout and everyone raved.

5 days ago

Wait did you preheat the baking sheet first? I saw another hack about that and wondered if it makes a difference here?

3 days ago

Great question, Dan! Preheating the baking sheet for 5 minutes while the oven comes up to temp absolutely adds extra crisp, but it’s totally optional if you’re short on time! So glad the tots were a birthday hit, Sophia!

5 minutes ago

I make these at least once a week now! They’re so easy I let my 10 year old help prep them for dinner, and they come out perfect every single time. Way better than the soggy microwaved version I used to make when I was in college lmao

just now

Oh my gosh same! My teen is obsessed with these, I stock up on frozen tots every grocery run now so we never run out. We dip ours in cheese sauce and it’s chef’s kiss.

2 weeks ago

Solid recipe! I was able to whip these up real quick while my burgers were grilling, no fancy equipment needed. Crispy, salty, exactly what I want from tater tots. Will be ditching the fried version for this baked method from now on.



