
Garlic Butter Dinner Rolls
intro
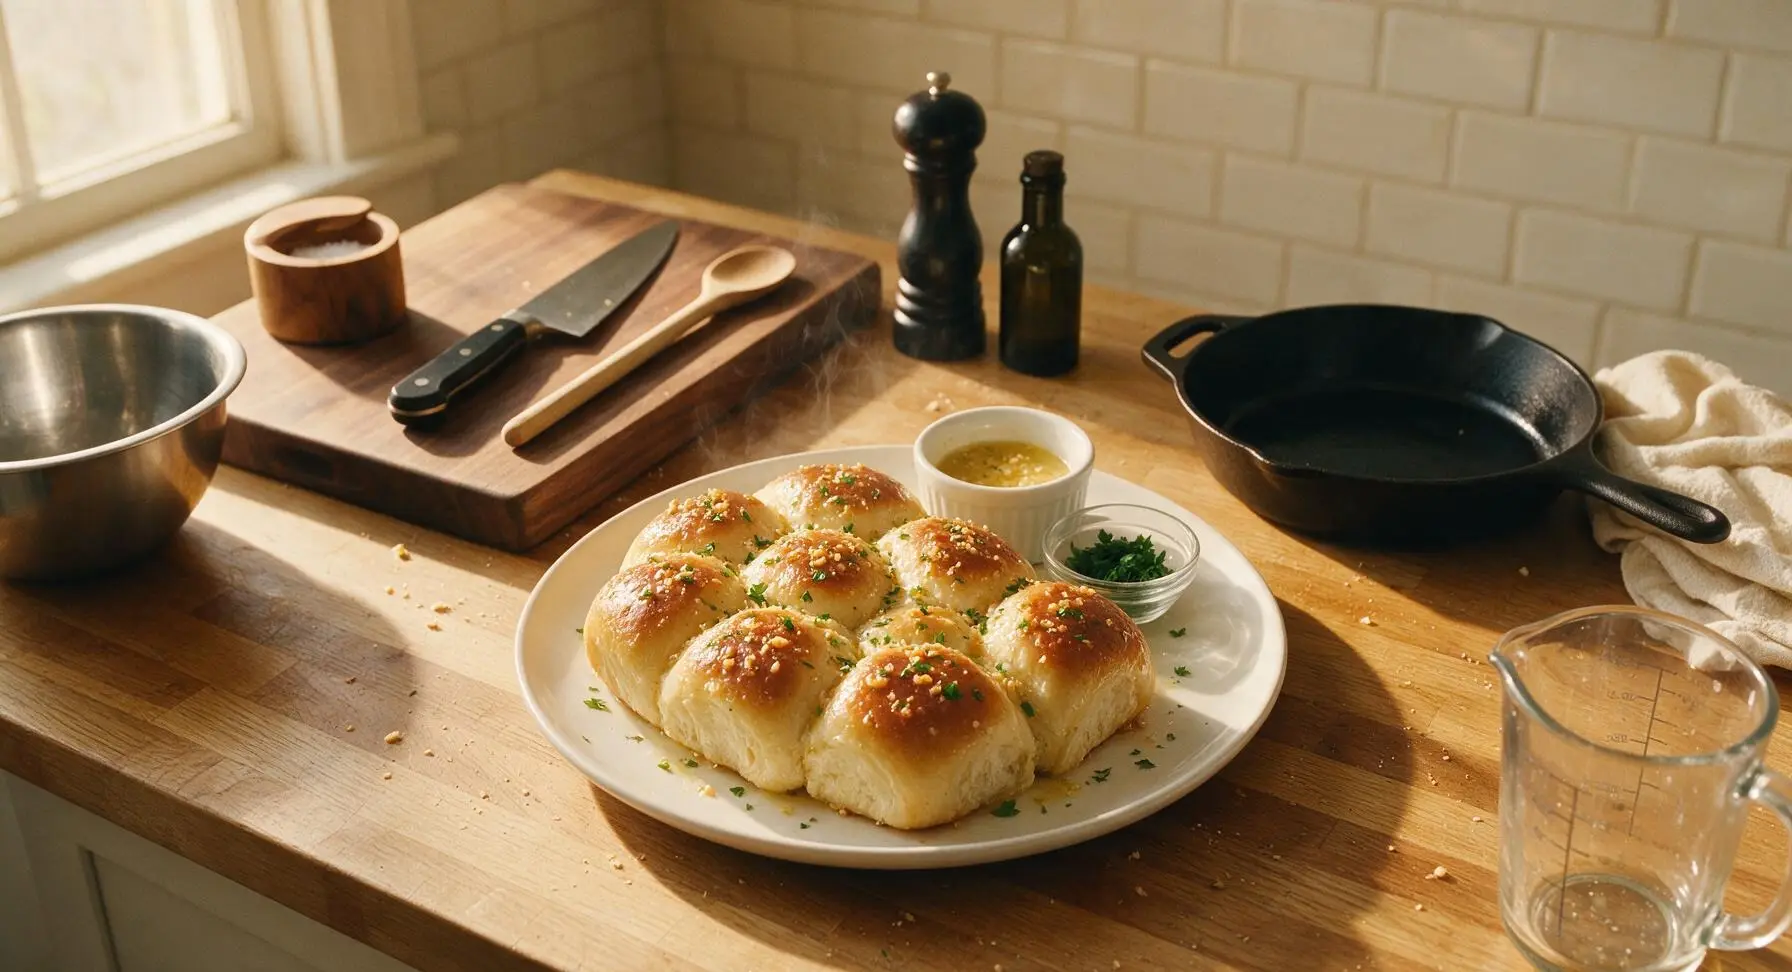
Soft, pillowy pull-apart dinner rolls slathered in fragrant garlic butter, golden-crusted, and perfect for sopping up sauces or enjoying warm straight from the pan.
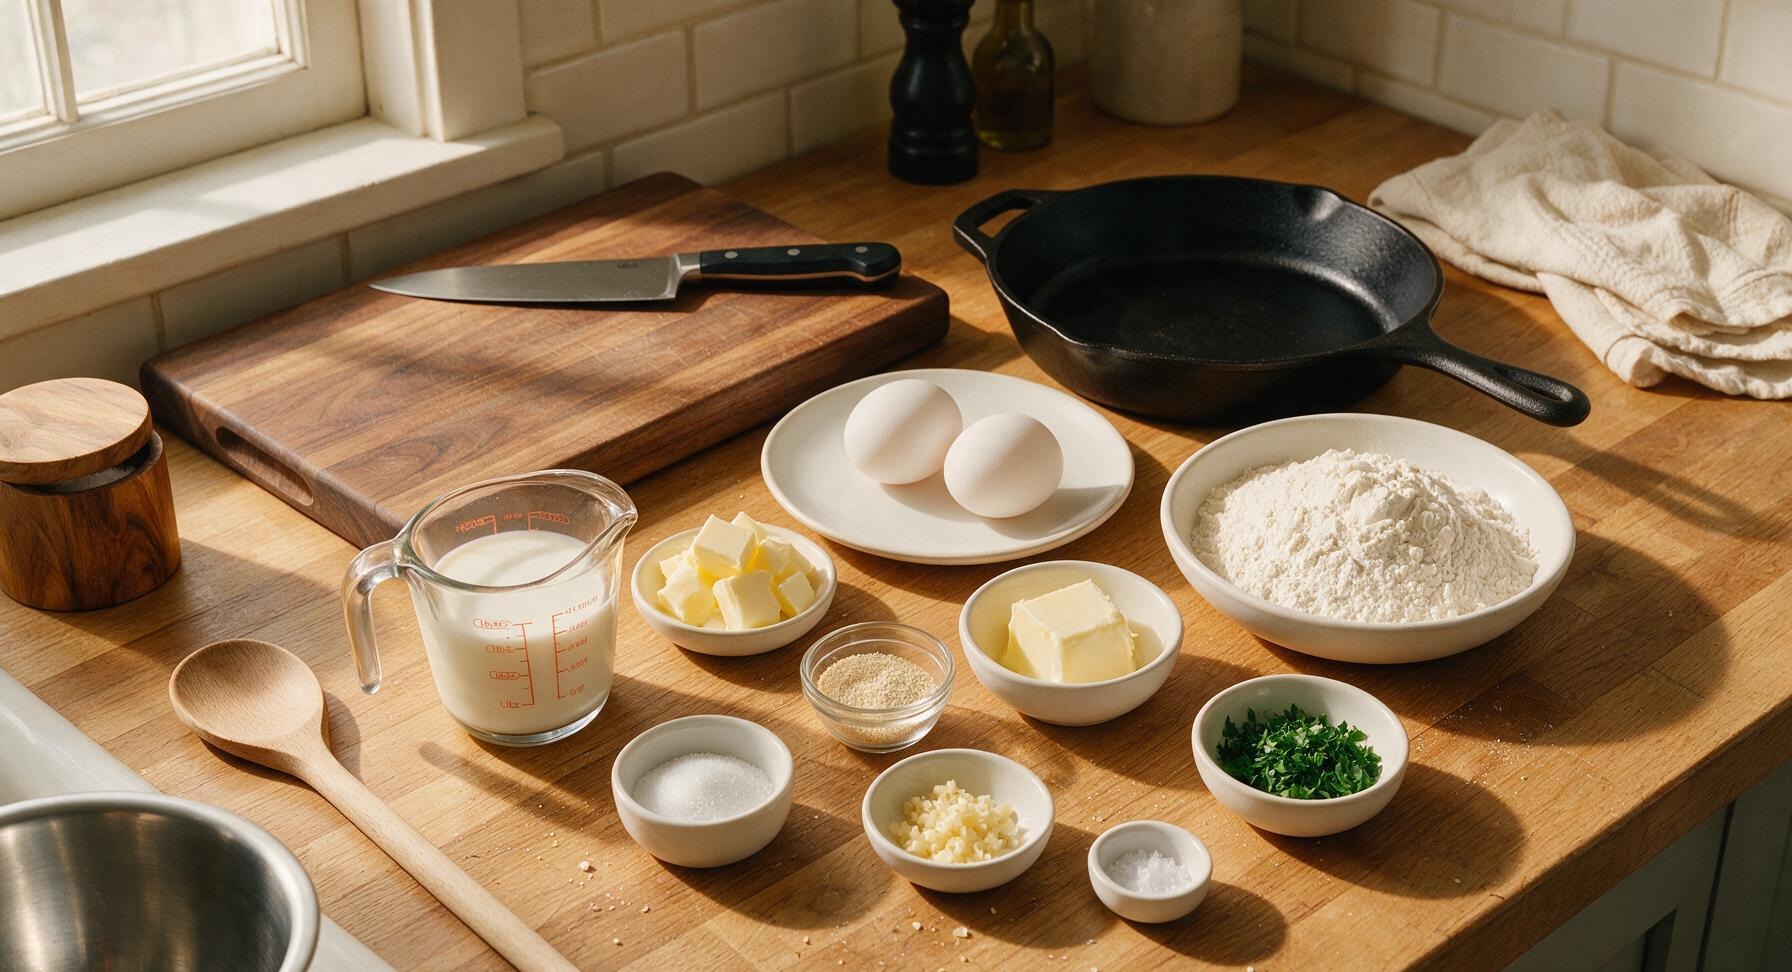
Ingredients
Steps
Activate the Yeast
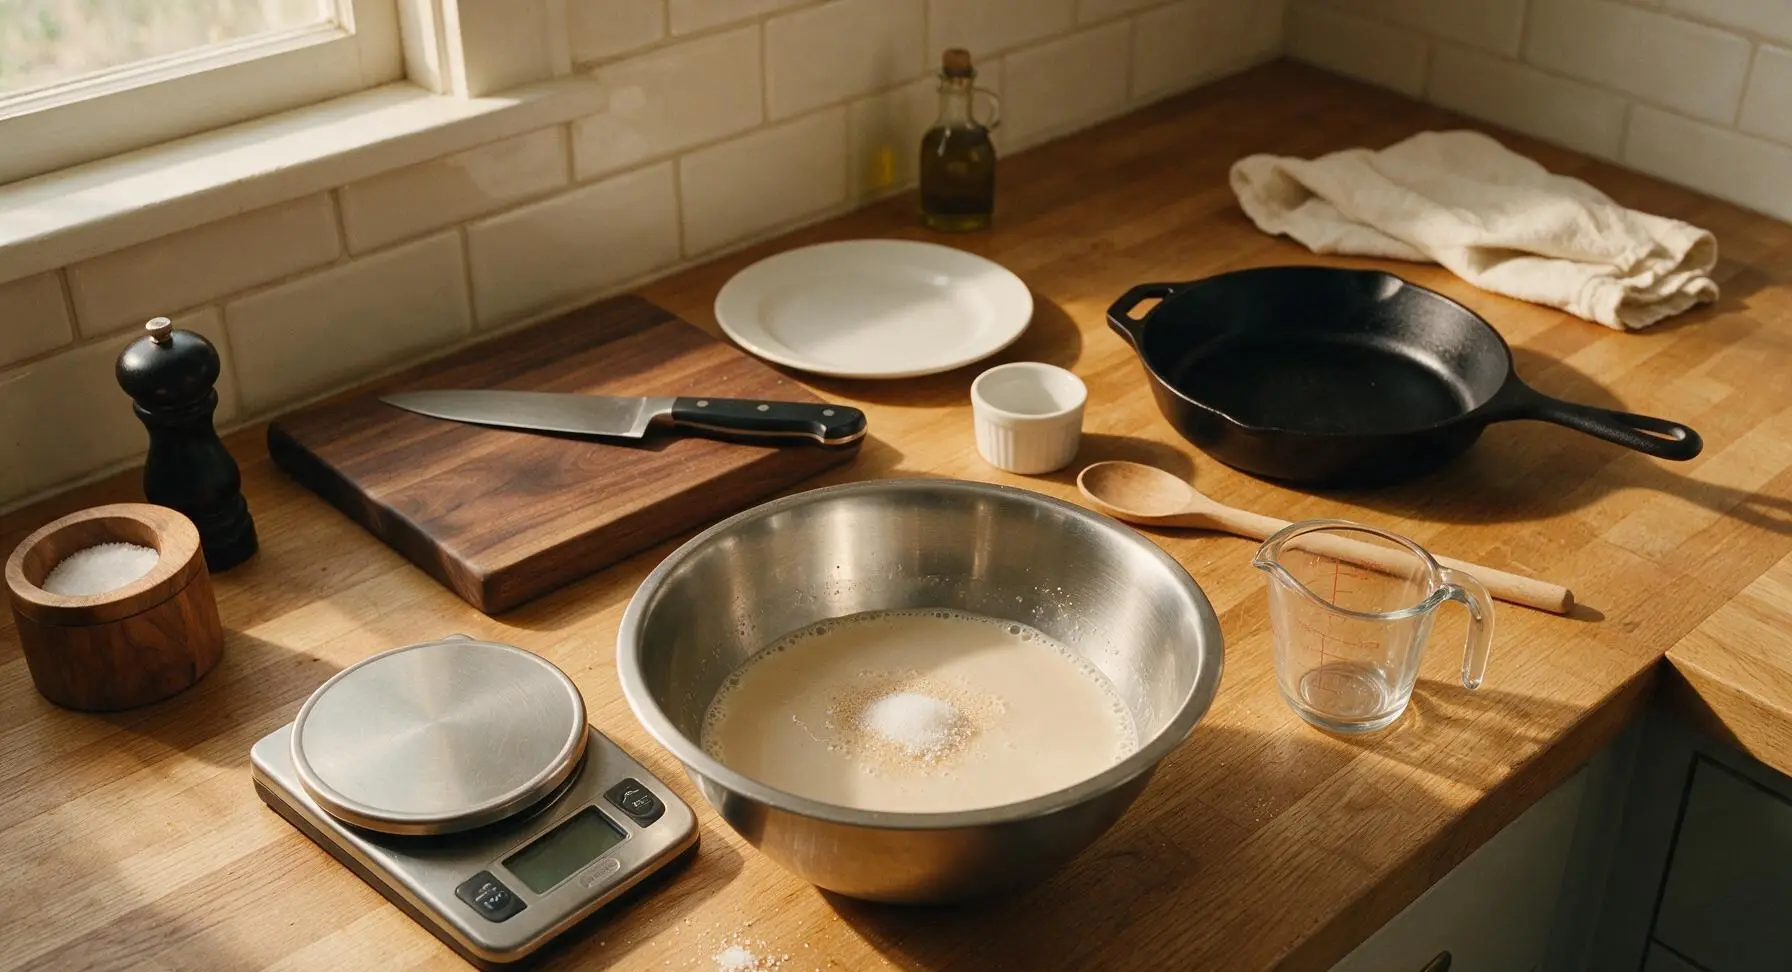
Pour the warm whole milk (warmed to exactly 38C/100F, no hotter to avoid killing active yeast) from the clear glass measuring cup into the large brushed stainless steel mixing bowl. Stir in 1 teaspoon of the measured granulated sugar and the full 7g packet of active dry yeast. Let rest for 5-7 minutes until the surface forms a frothy, bubbly foam layer 1/4 inch thick, confirming the yeast is active. If no foam forms after 7 minutes, discard the mixture and start with fresh, unexpired yeast.
Mix Shaggy Dough
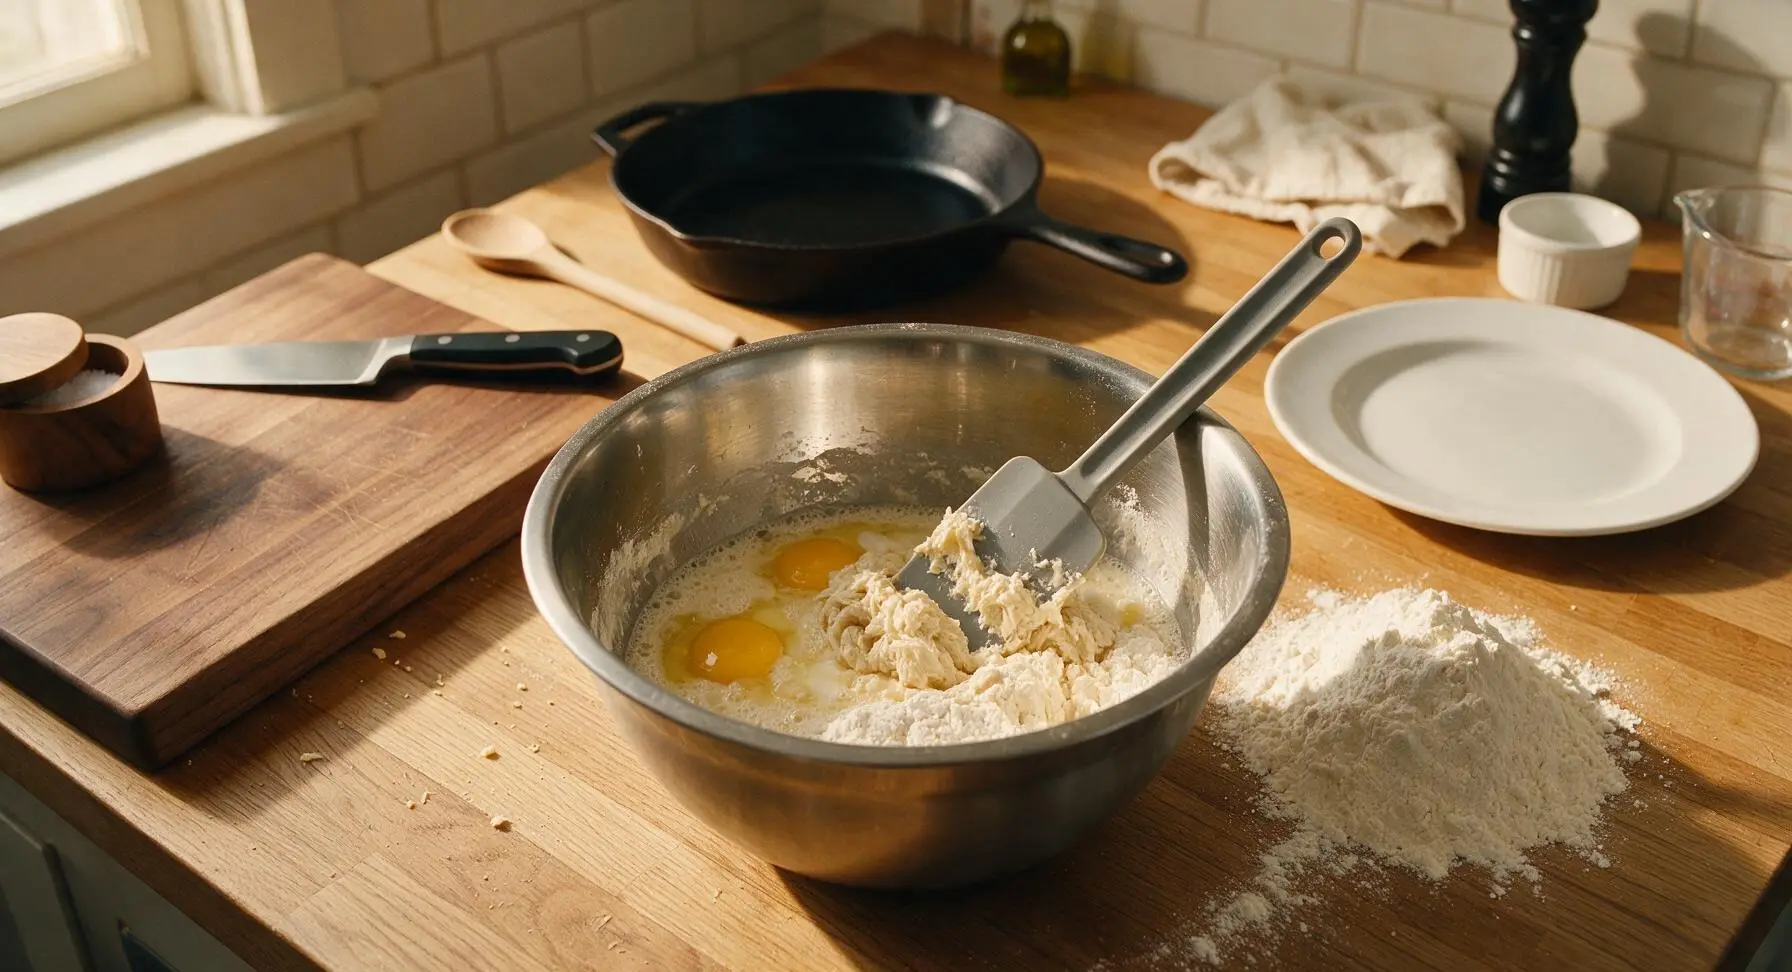
Add the remaining granulated sugar, fine sea salt, 4 tablespoons softened room-temperature unsalted butter, and two room-temperature large eggs to the foamy yeast mixture. Whisk briefly to break up the eggs and melt the soft butter into the liquid, then gradually add the all-purpose flour one cup at a time, stirring with the silicone dough scraper until a shaggy, sticky dough forms that pulls away from the bowl sides, with no dry flour pockets left at the bowl bottom.
Knead for First Rise
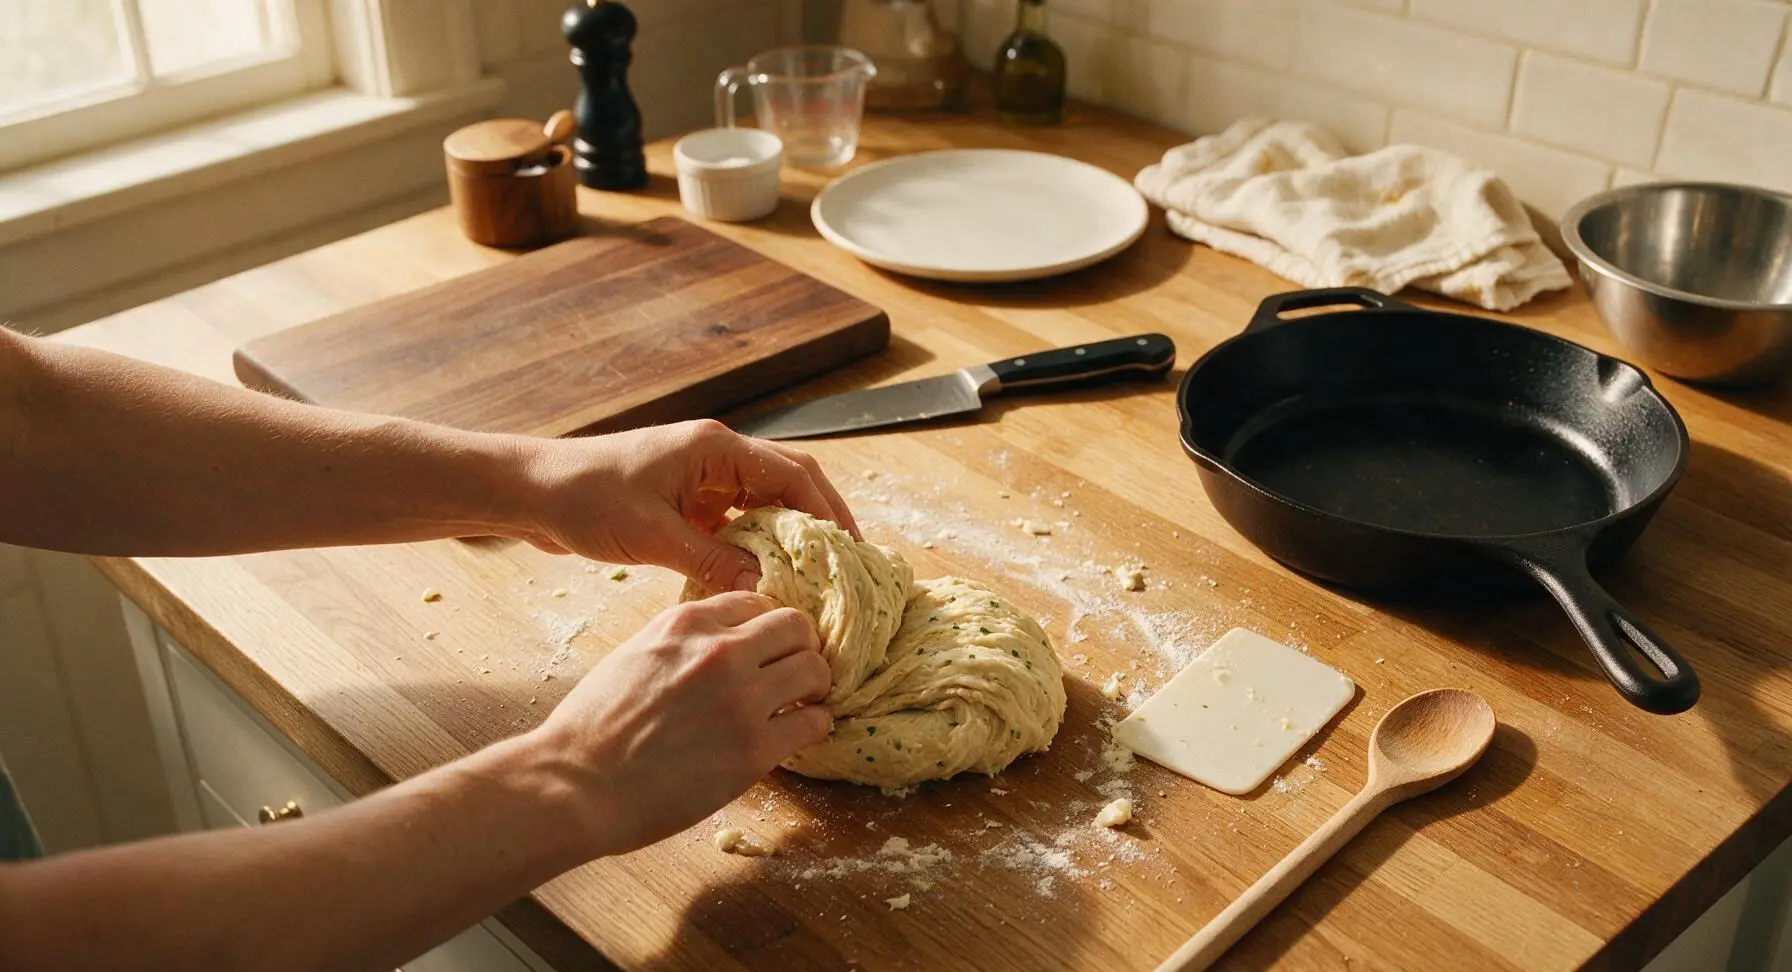
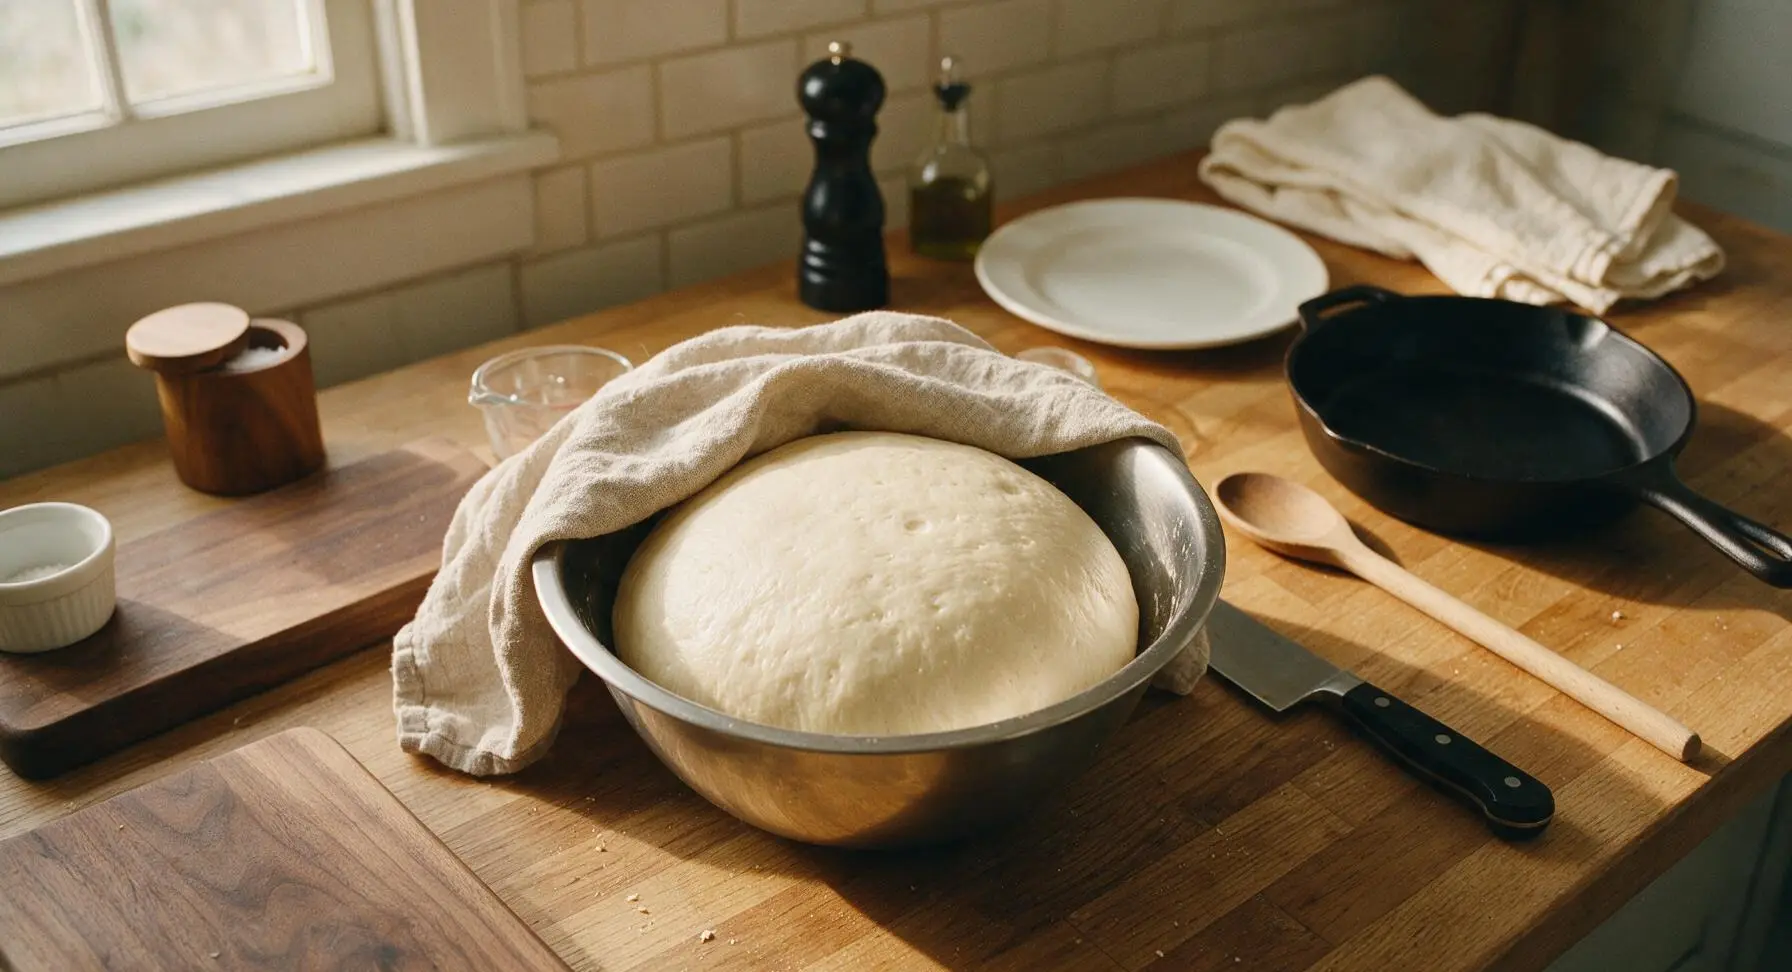
Turn the shaggy dough out onto a clean, lightly floured section of the central counter. Knead by hand for 8-10 minutes, folding the dough over itself and pushing forward with the heel of your hand, until the dough is smooth, elastic, and springs back slowly when poked with a floured finger. Form the dough into a tight ball, place it back into the lightly greased stainless steel mixing bowl, drape the oatmeal linen kitchen towel over the bowl, and let rise in a warm draft-free spot for 1 hour until doubled in volume.
Make Garlic Butter
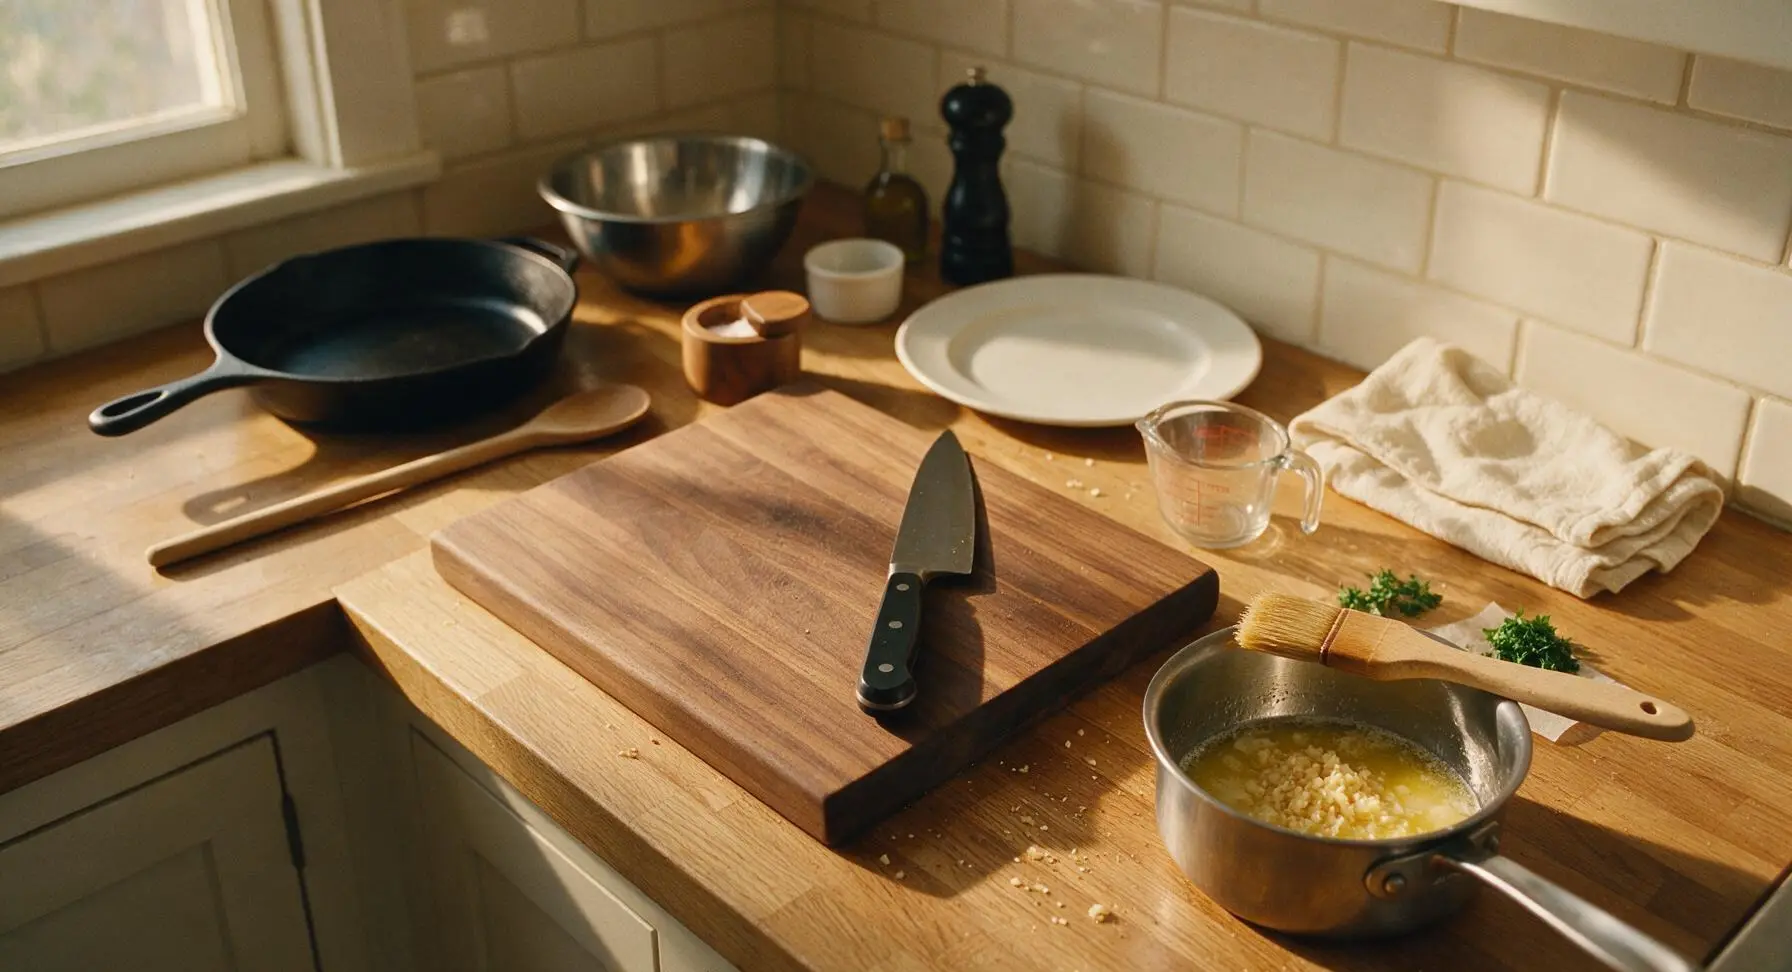
While the dough completes its first rise, place the small 1L stainless steel saucepan over the lowest heat setting. Add 4 tablespoons unsalted butter, and once fully melted, stir in the 6 minced garlic cloves. Cook for 1-2 minutes, stirring constantly, until the garlic is fragrant and just turning pale golden (do not let it brown, as burnt garlic creates a bitter flavor). Remove from heat, stir in half the chopped fresh parsley, and set aside to cool slightly.
Divide and Shape Rolls
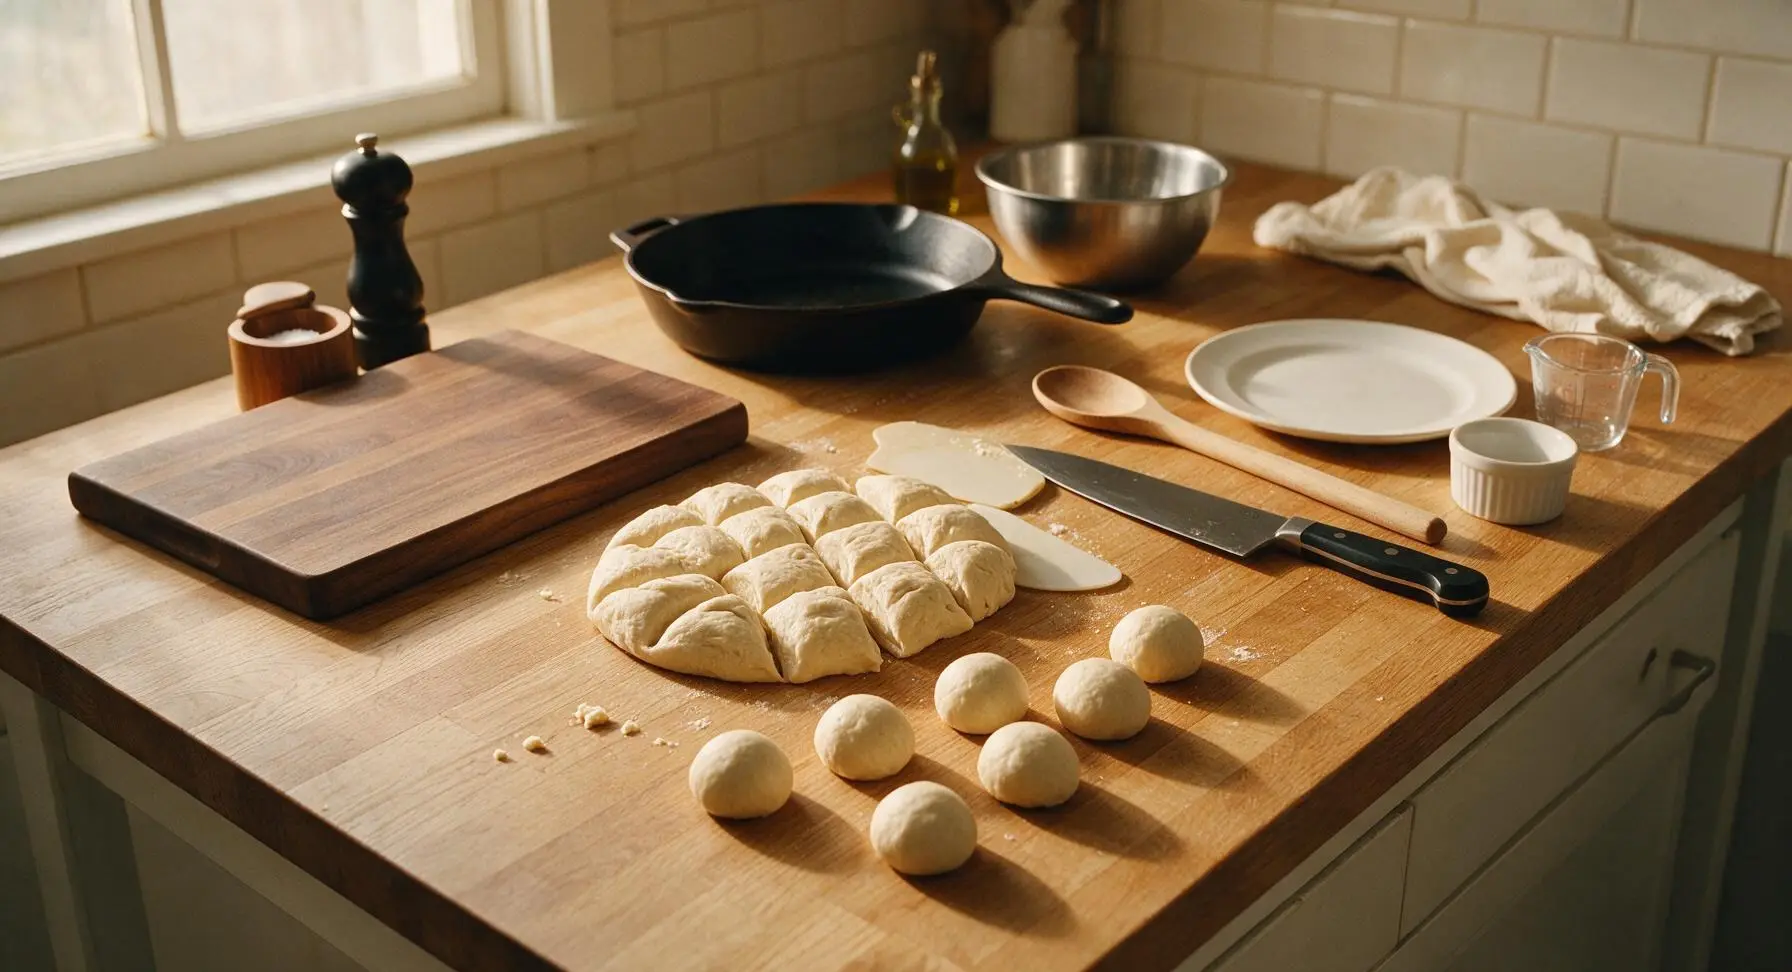
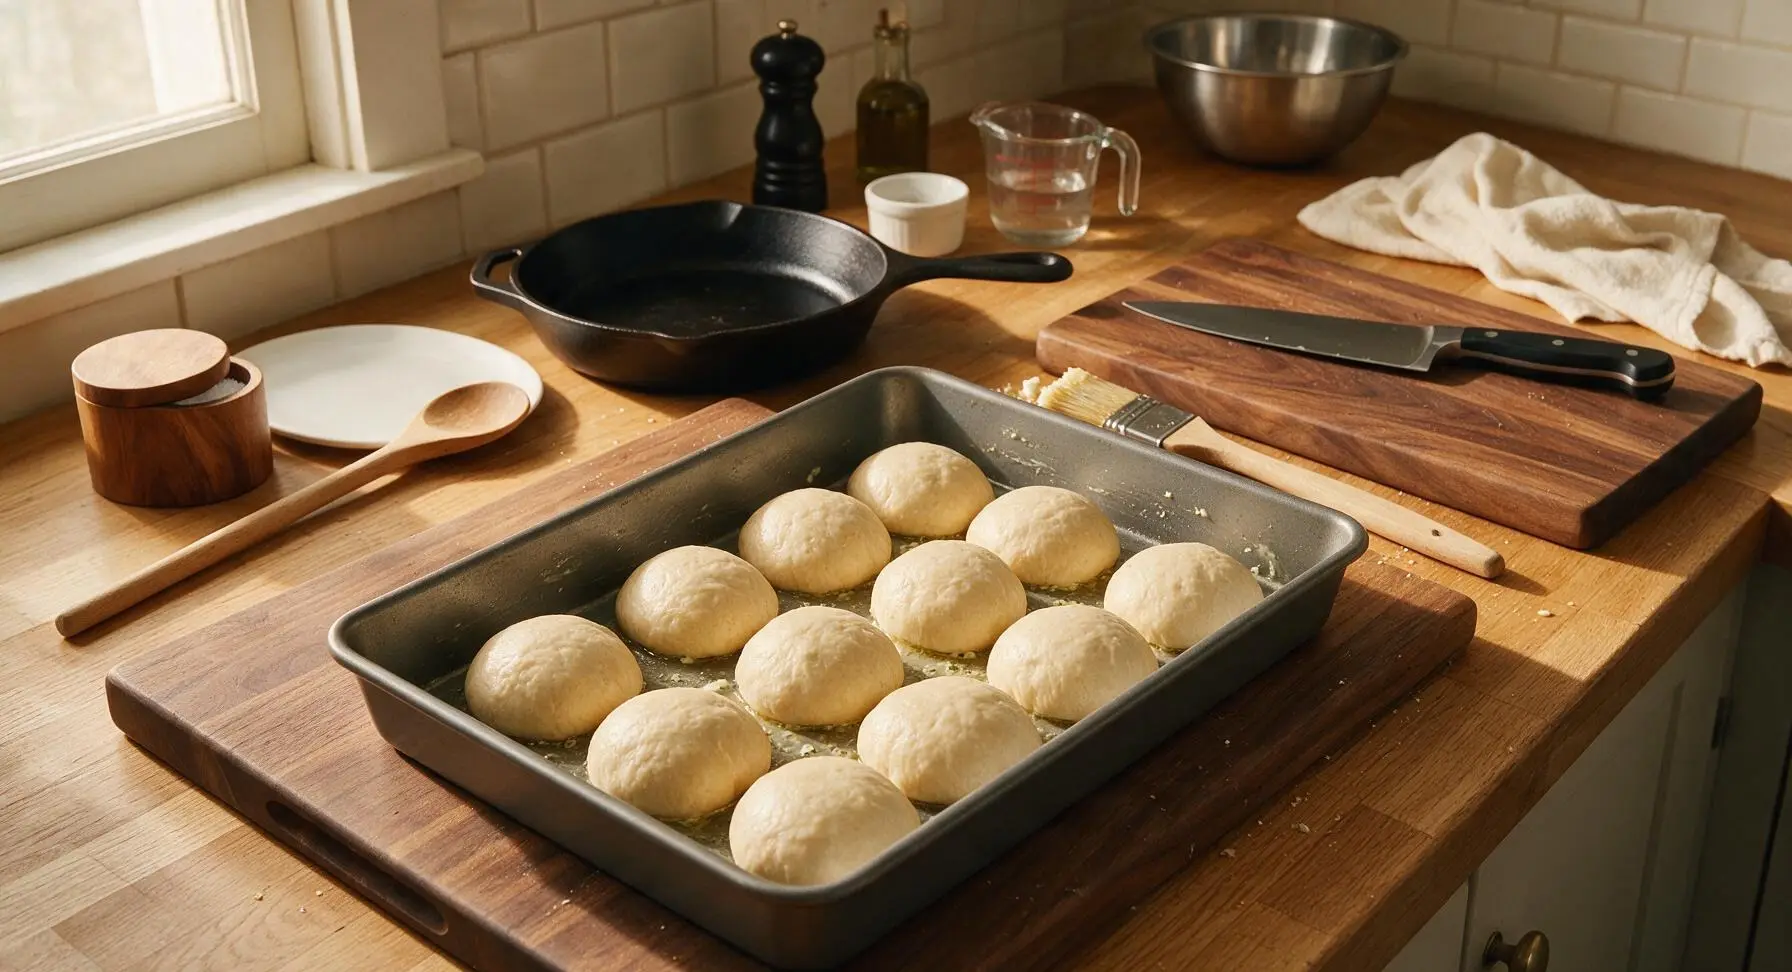
Once the dough has fully doubled in size, punch it firmly in the center to release all trapped air. Turn it out onto the counter, and use the silicone dough scraper to cut the dough into 12 equal pieces (each approximately 65g for even baking). Roll each piece into a tight, smooth ball by cupping your hand over the dough and rolling it in small circles against the counter, pinching any seams closed at the bottom of each ball.
Proof Shaped Rolls
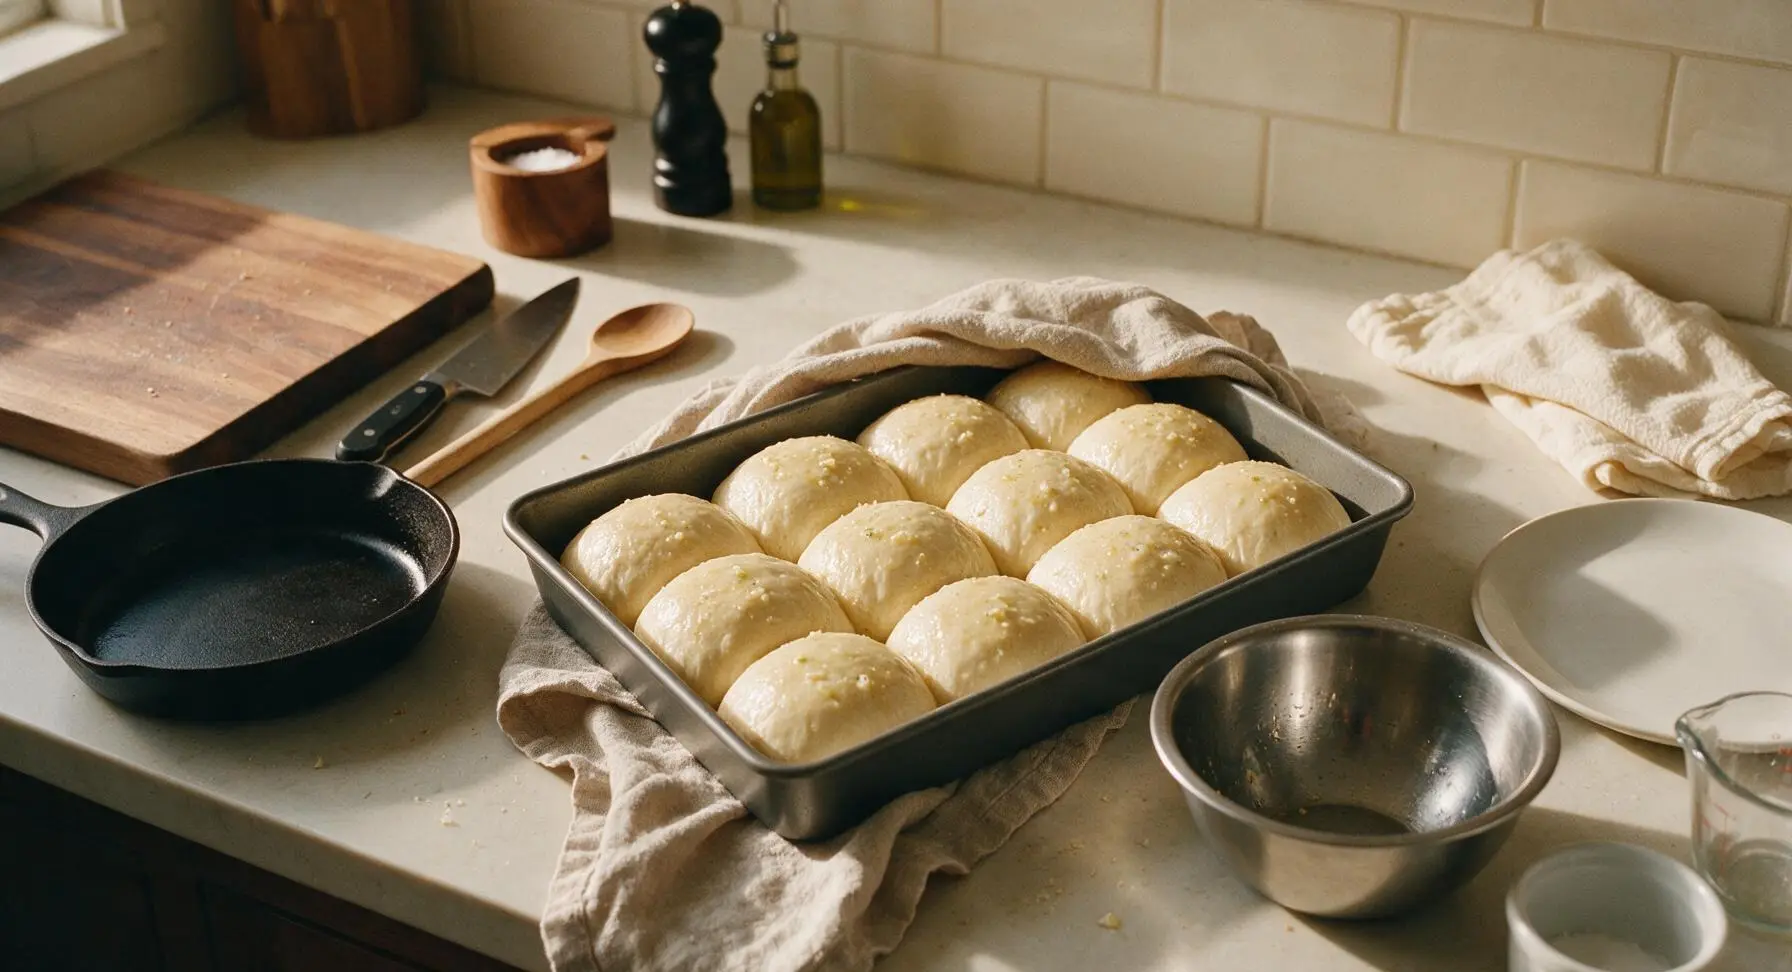
Brush the entire interior of the 9x13 inch matte dark gray metal baking pan with a thin coat of the prepared garlic butter. Arrange the 12 shaped dough balls evenly in the pan, spaced 1cm apart in 3 rows of 4. Drape the oatmeal linen kitchen towel loosely over the pan, and let the rolls rise for a second 30 minutes, until they are puffy, touching one another, and fill 3/4 of the pan height.
Bake to Golden Brown
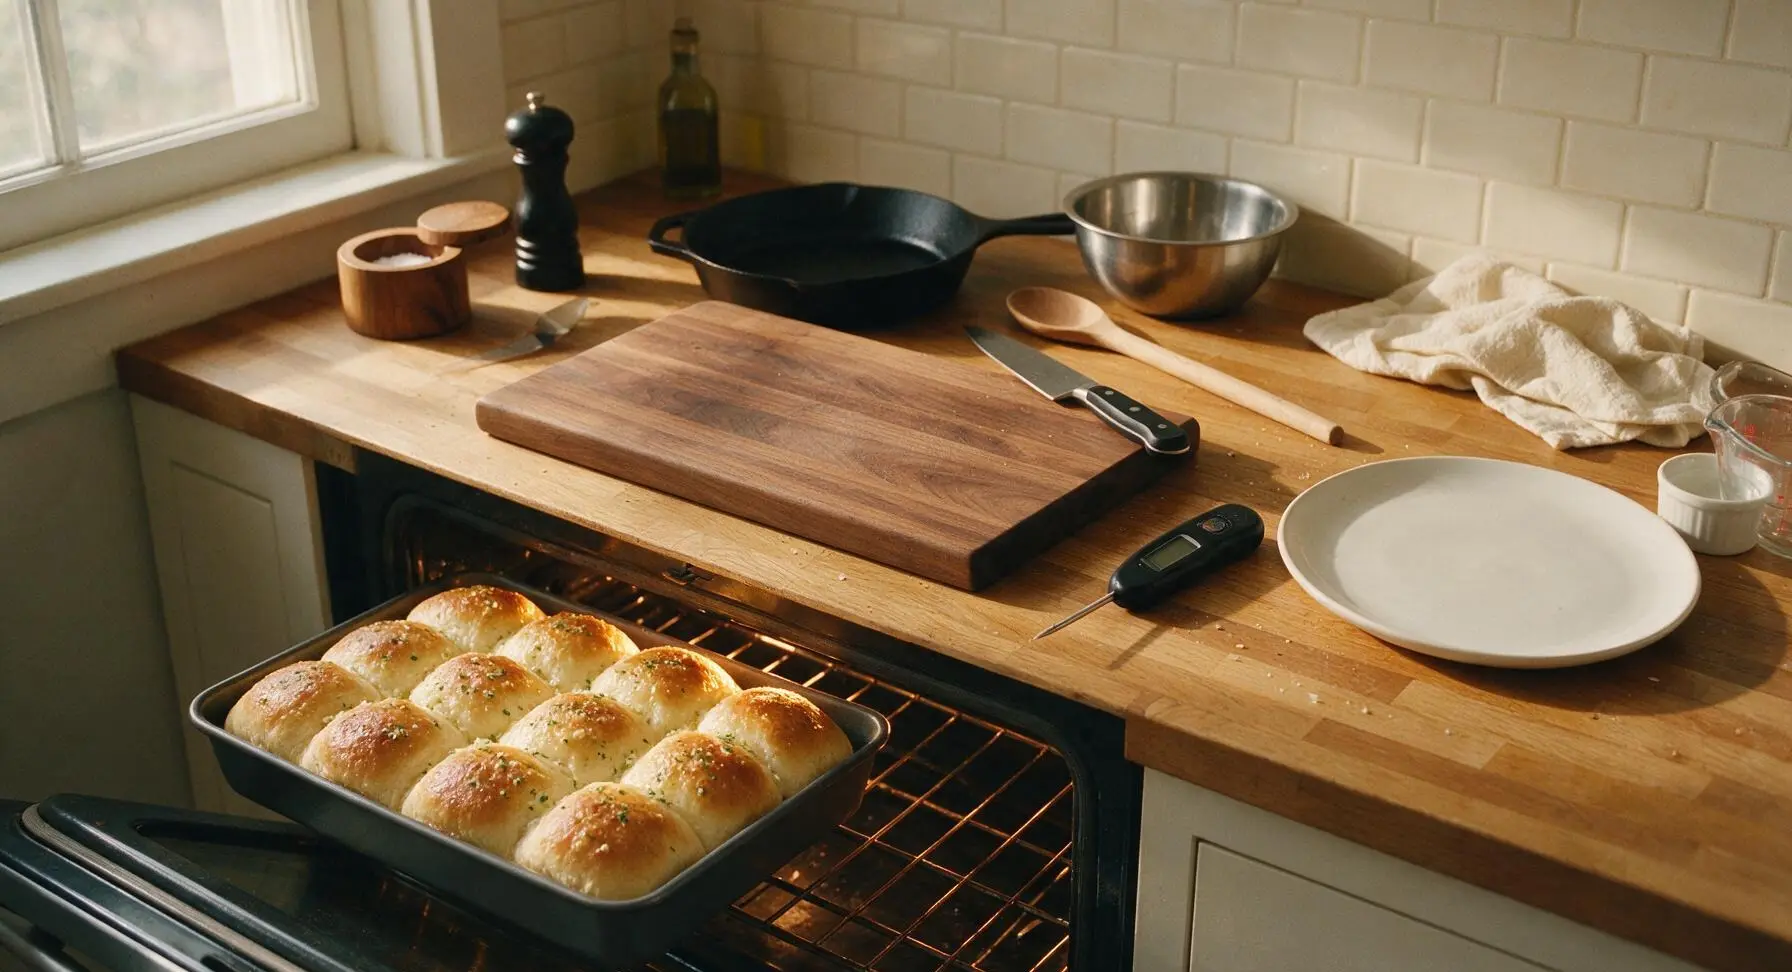
Preheat the oven to 190C/375F. Once the rolls finish their second rise, remove the linen towel, and place the baking pan on the middle oven rack. Bake for 18-22 minutes, rotating the pan halfway through for even browning, until the roll tops are deep golden brown and the internal temperature of the center rolls reads 88C/190F on the instant-read thermometer.
Butter and Serve Warm
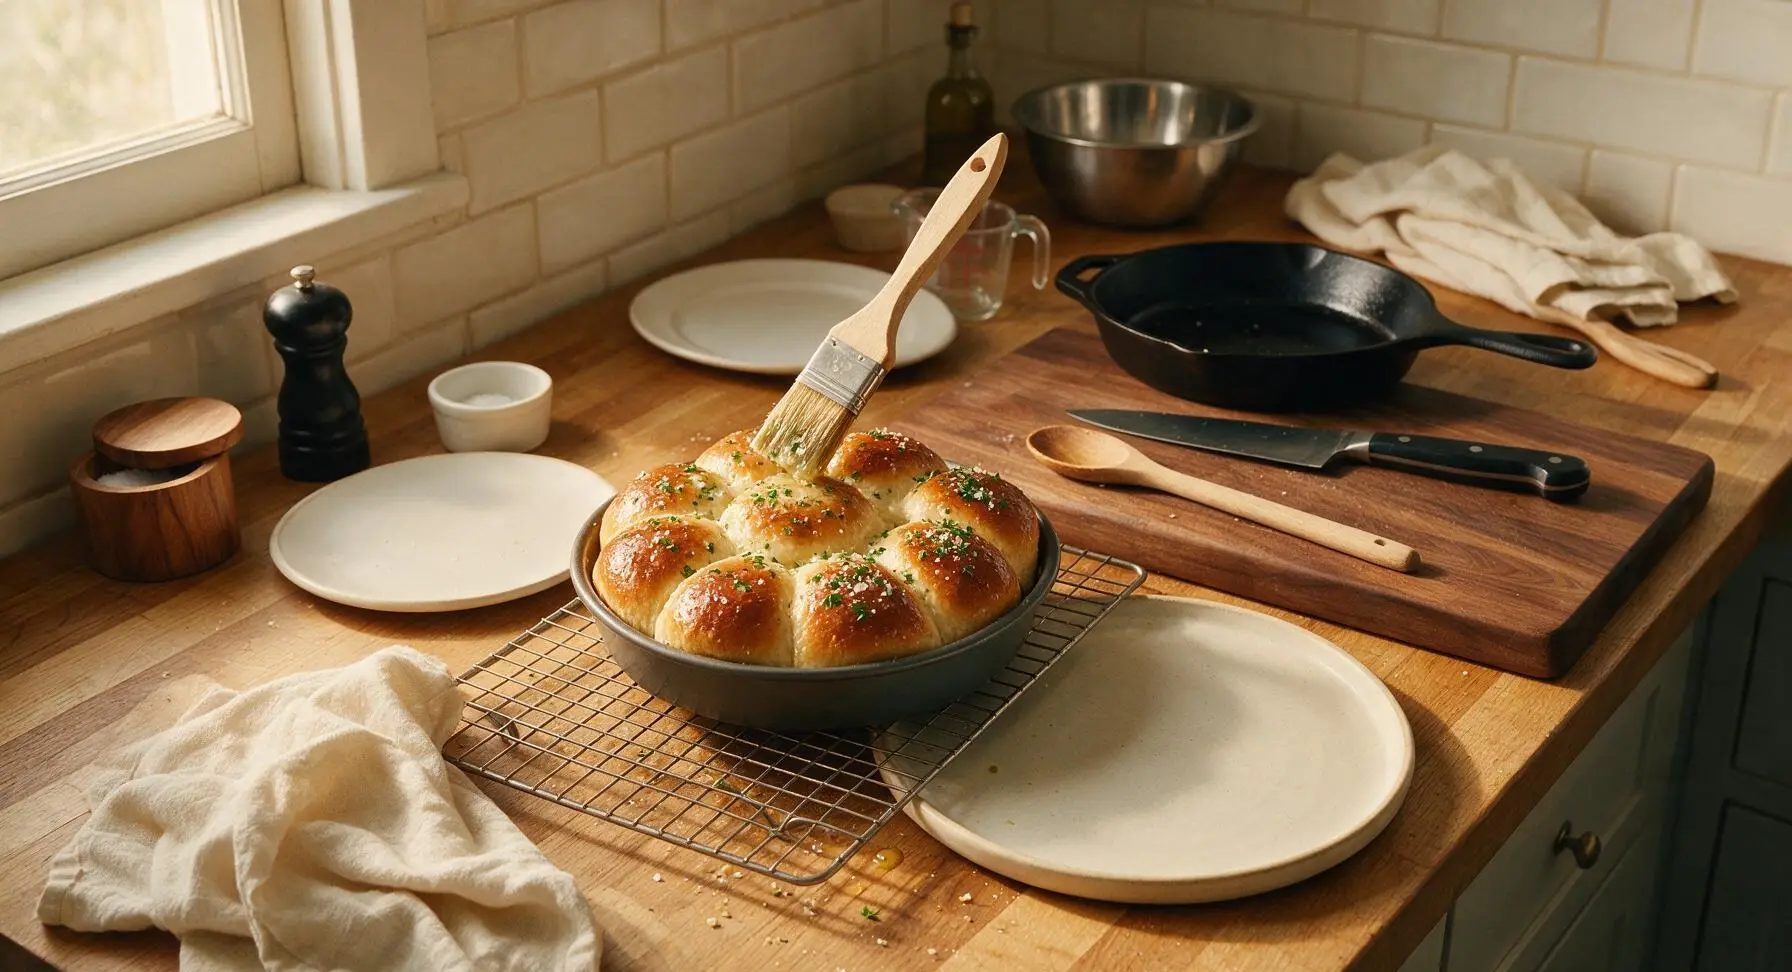
Remove the baked rolls from the oven, and immediately brush the tops generously with the remaining garlic butter, letting it soak into the warm crevices between rolls. Sprinkle with the remaining chopped parsley and flaky sea salt. Let the rolls cool in the pan for 5 minutes set on the wire cooling rack, then transfer the connected pull-apart roll cluster to the round matte cream ceramic serving platter to serve warm.
Tips
2.Avoid browning the garlic when making the garlic butter: garlic cooks very quickly over even medium heat, turning sharp and bitter in as little as 30 seconds once it starts to brown. Keep the heat on low, and remove the pan from the stove as soon as you smell the warm, mellow garlic aroma.
3.For the softest, fluffiest roll texture, do not over-knead the dough, and do not add too much extra flour during kneading. The dough should feel soft and slightly tacky (not sticky enough to cling to your hands) when properly kneaded; extra flour will create dry, dense rolls instead of light, pillowy ones.






OMG these garlic butter dinner rolls are a total game changer! I made them for our Sunday family dinner last night and even my super picky 7 year old asked for seconds, which never happens. The garlic butter glaze is so fragrant and the rolls came out perfectly fluffy inside, crispy golden on top. I will say, as someone who’s pretty new to baking bread, the almost 2 hour total time felt a little intimidating at first but the steps were totally easy to follow! Will absolutely be making these for our neighborhood potluck next weekend too. 10/10!
These rolls are SO good, I’ve made them twice now! The only reason I’m not giving 5 stars is the first time I made them I let the dough rise too close to my open window where it was a little chilly, and they didn’t puff up as much as I wanted. Second time I let them rise inside my turned-off oven with the light on and they came out perfect! I added a little sprinkle of parmesan to the garlic butter last time and *chef’s kiss*.
Meal prep win! I baked a double batch of these on Sunday and they reheated perfectly all week for quick side dishes with dinner. The garlic butter doesn’t get soggy even after a few days in an airtight container, which I was worried about. So much better than the store-bought frozen rolls I used to grab every grocery run. Will be a staple in our house rotation for sure!