
Gluten Free Grilled Cheese
intro
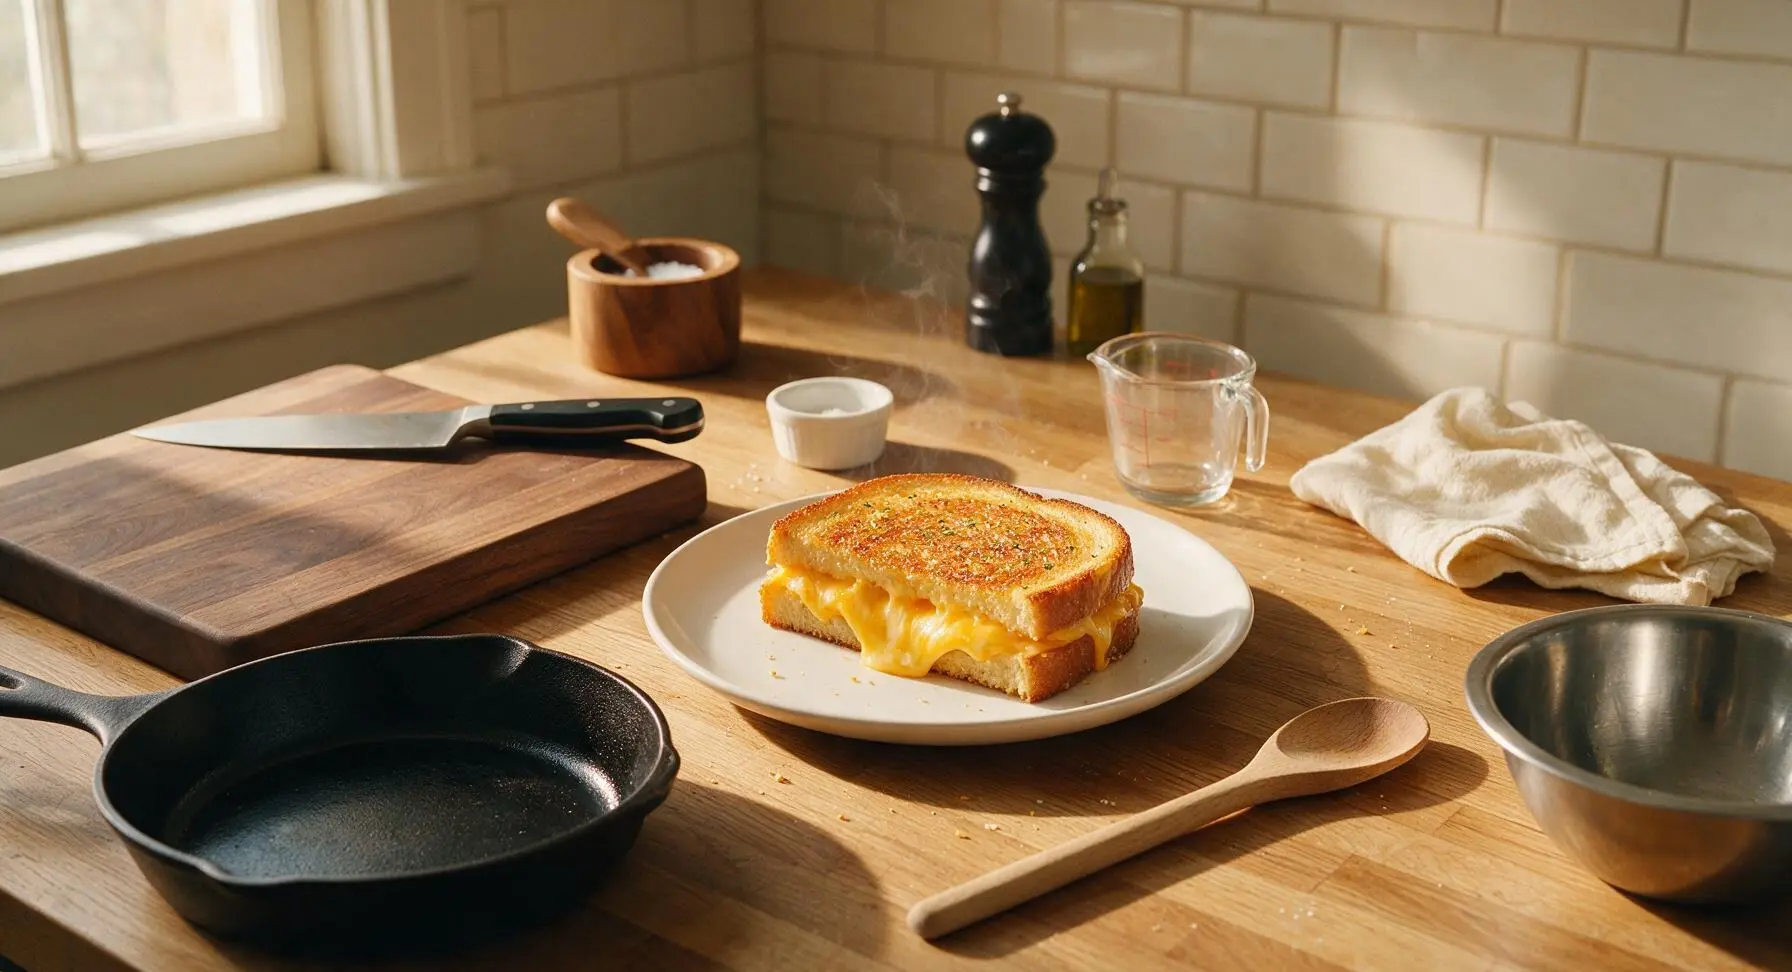
Golden, crispy gluten-free bread oozing with stretchy melted cheddar, finished with a buttery garlic-kissed crust—this classic comfort food tastes just as good as the wheat-based original.
Ingredients
Steps
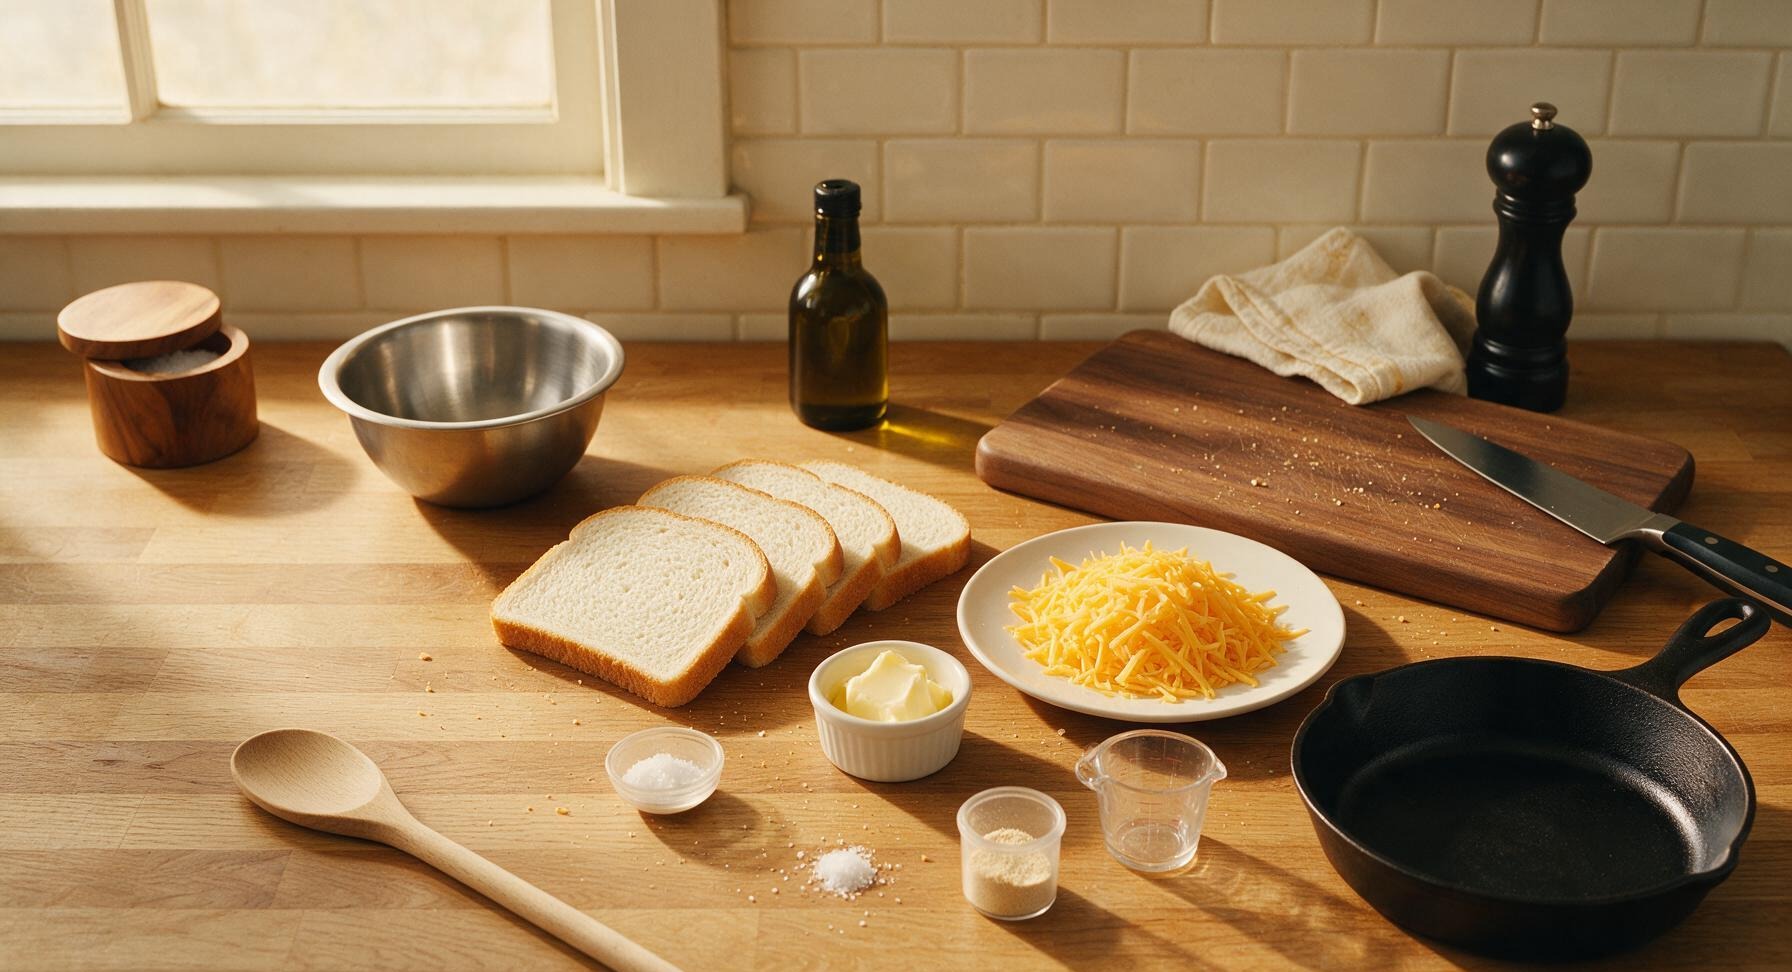
Prep and Measure Ingredients
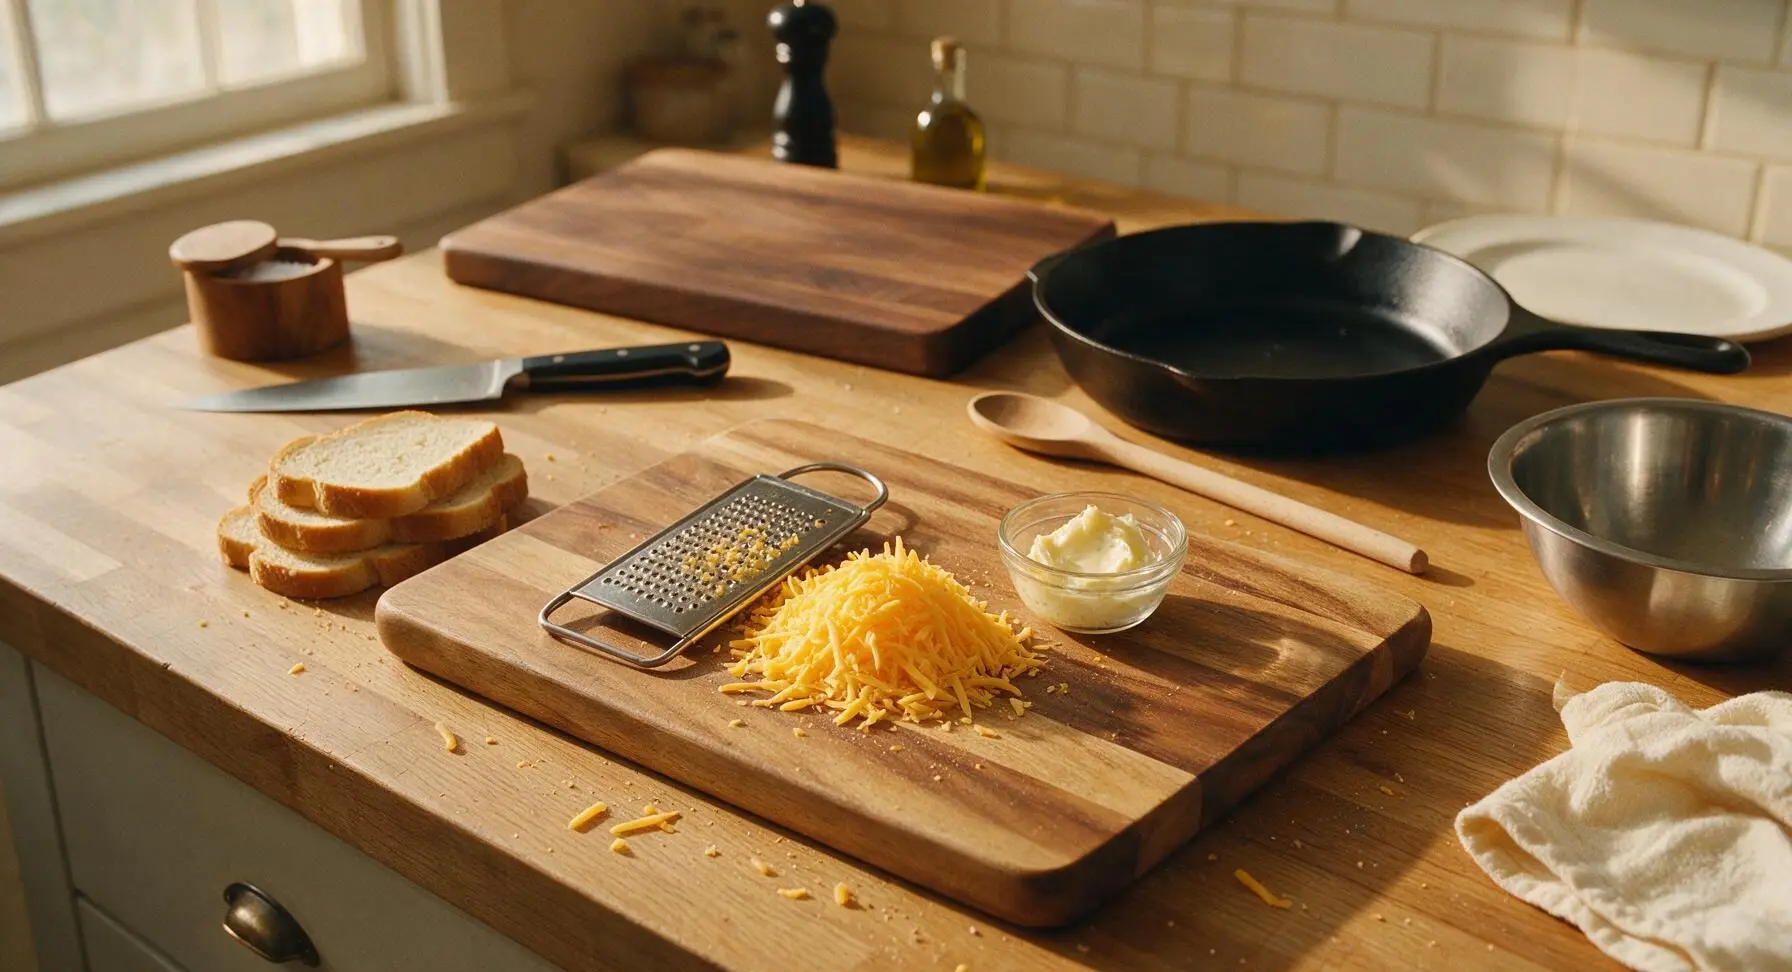
Gather all ingredients on the counter. Grate the sharp cheddar cheese on the coarse side of the stainless steel box grater, collecting shreds on the acacia wood cutting board. Measure softened unsalted butter, fine sea salt, and garlic powder into the small clear glass ramekin, stirring gently with the tip of the butter spreader to combine into a smooth, spreadable garlic butter. Do not fully melt the butter—soft, room-temperature spreadable consistency ensures even coating without soggy bread.
Butter the Bread Slices
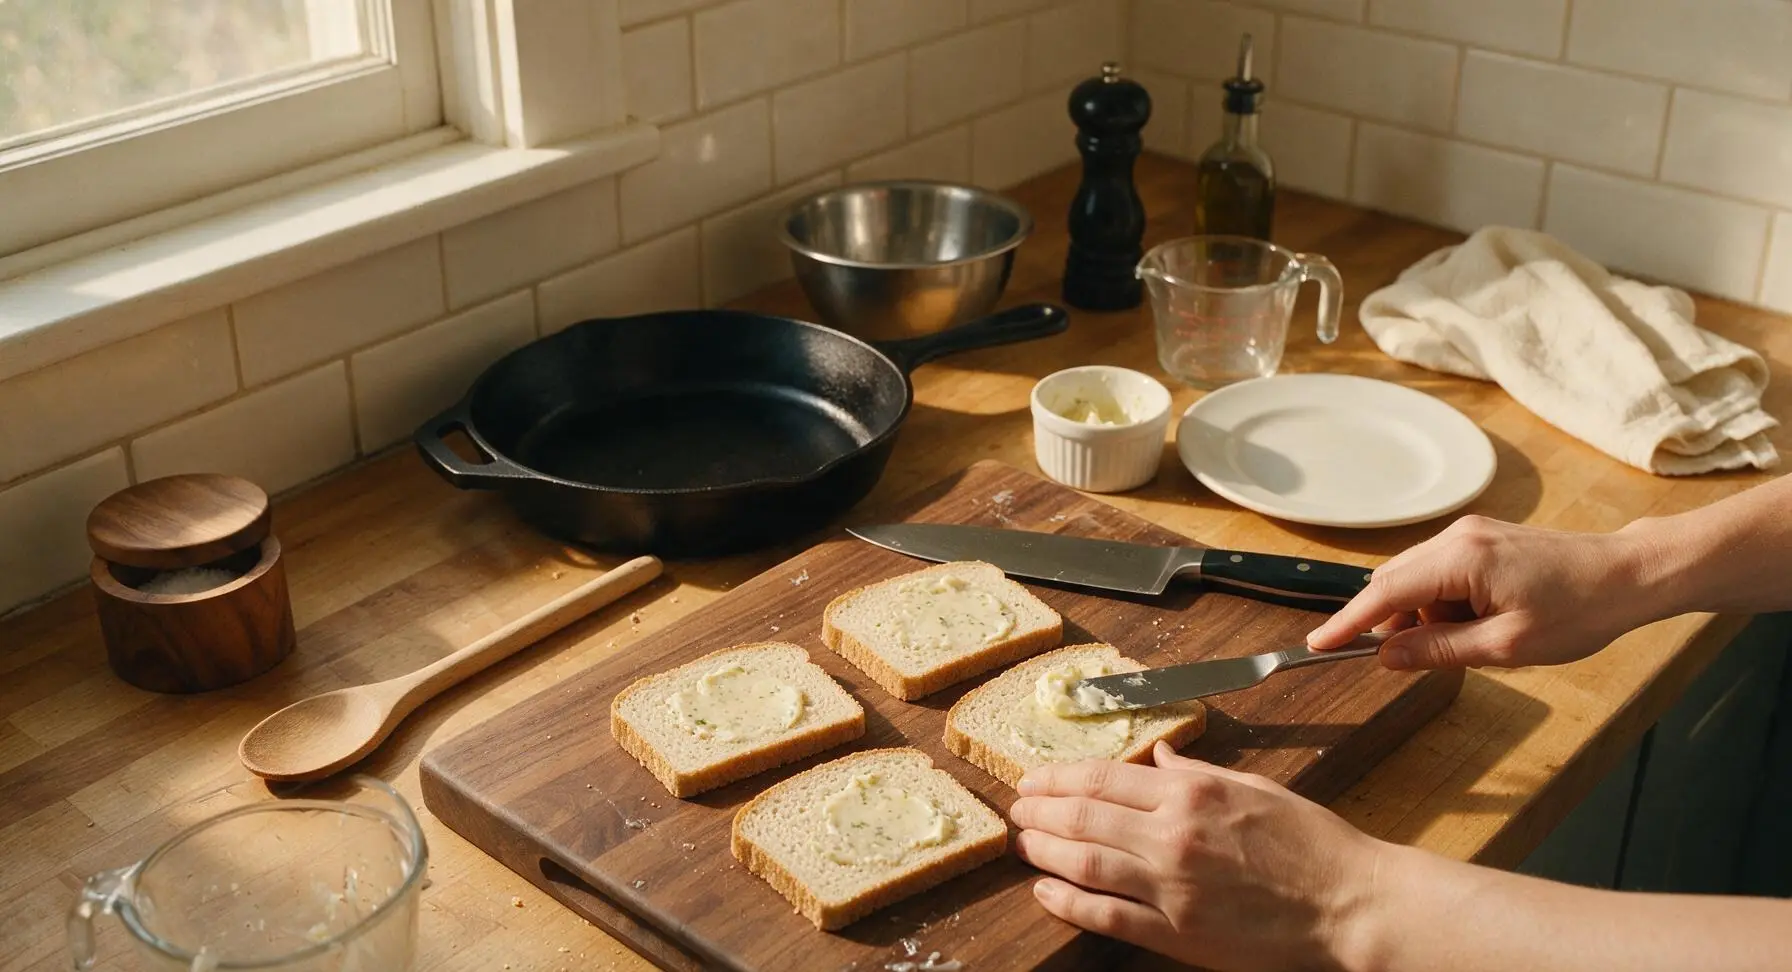
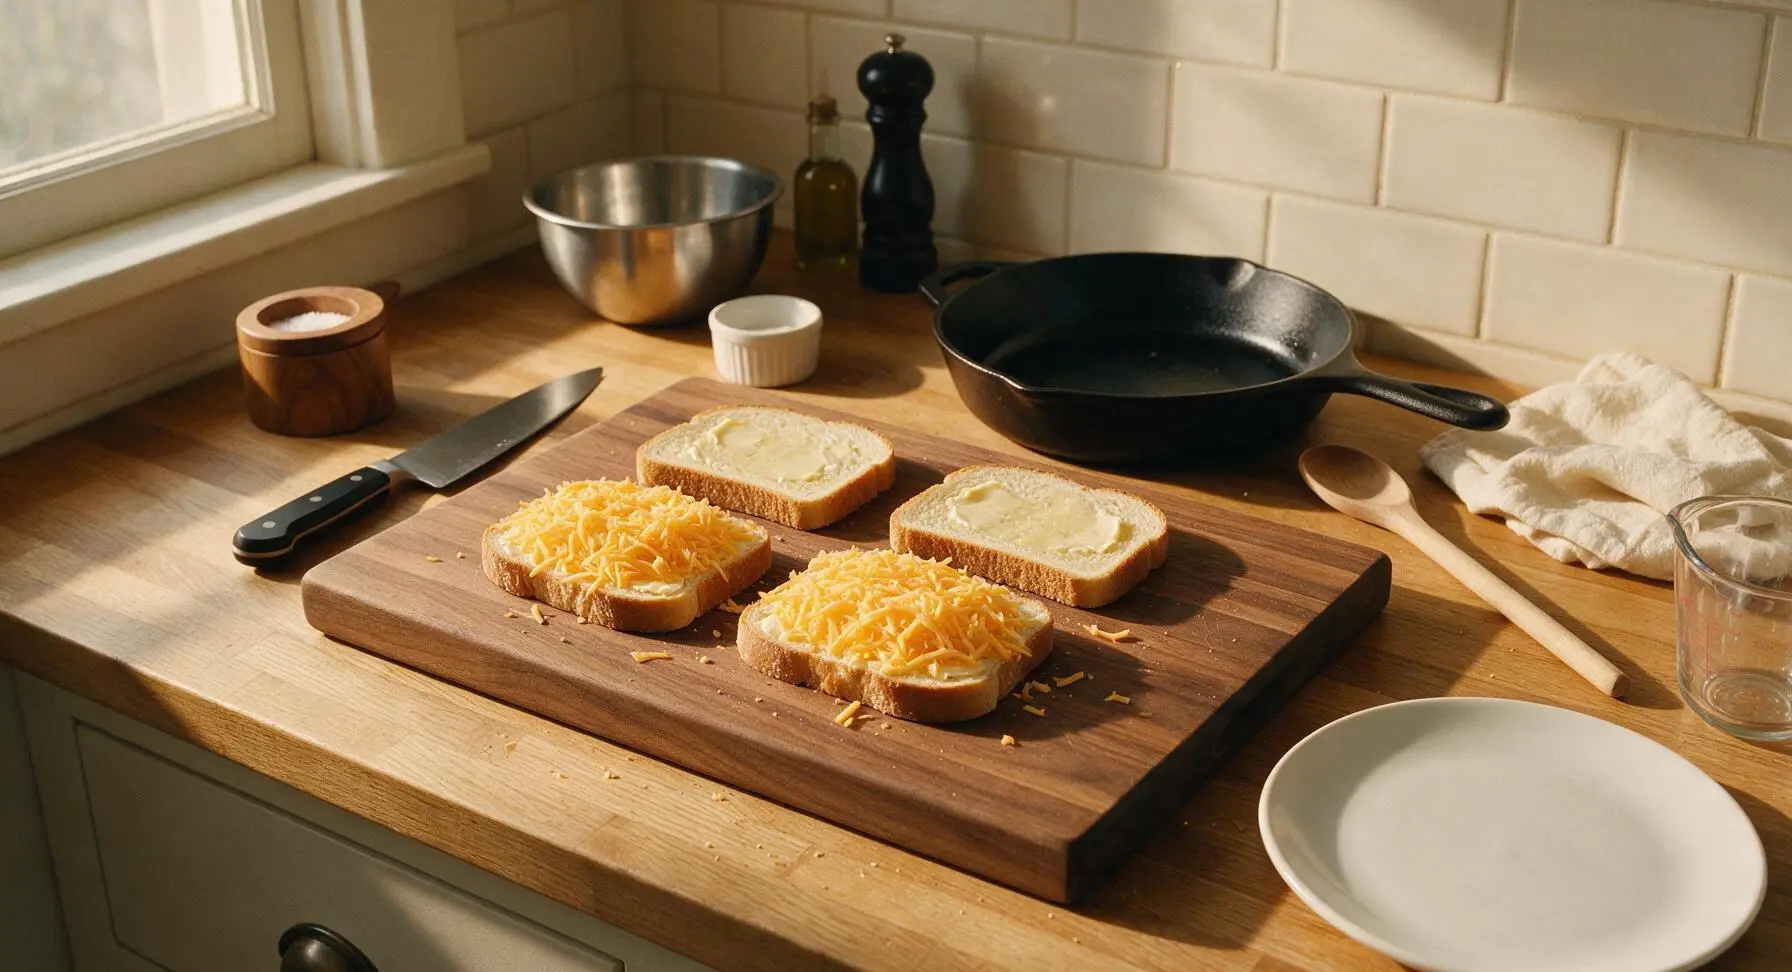
Lay all 4 slices of gluten-free bread flat on the acacia cutting board. Use the stainless steel butter spreader to coat one outer side of each bread slice evenly with the garlic butter mixture, using approximately 1 teaspoon of butter per slice. Spread butter all the way to the crust edges to eliminate dry, pale spots during cooking. The buttered sides will form the crispy outer crust of the finished sandwich.
Add Cheese Filling
Flip two of the bread slices so the buttered side faces down on the cutting board. Divide the grated cheddar cheese evenly between the two slices, spreading it in a uniform layer all the way to the bread edges. Top with the remaining two bread slices, buttered side facing up, and press down gently on each sandwich to help the layers adhere. Avoid overstuffing, as too much cheese will ooze out of the sides during cooking rather than staying contained.
Preheat Cooking Skillet
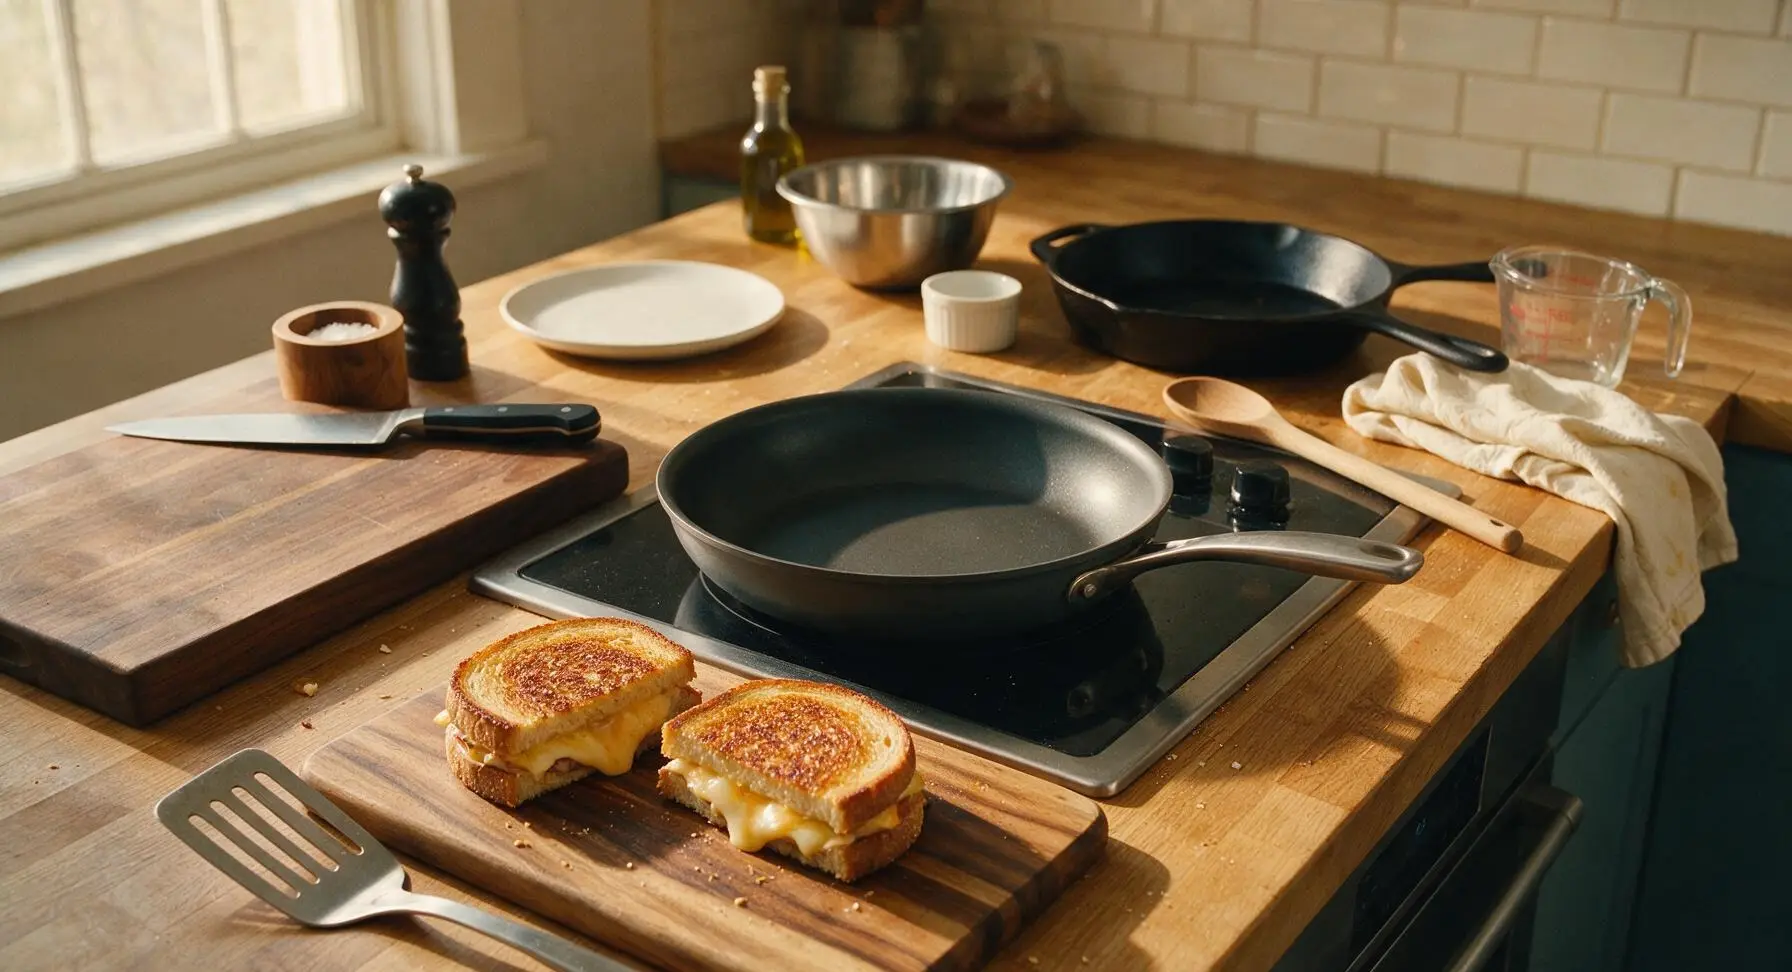
Place the 10-inch matte charcoal non-stick skillet on the stovetop over medium-low heat (325°F / 160°C for electric burners). Allow the pan to preheat for 2 full minutes—do not use high heat, as this will burn the gluten-free bread before the cheese has a chance to melt. No extra butter is needed in the pan, as the butter coated on the bread will create the crispy crust.
Cook First Sandwich Side
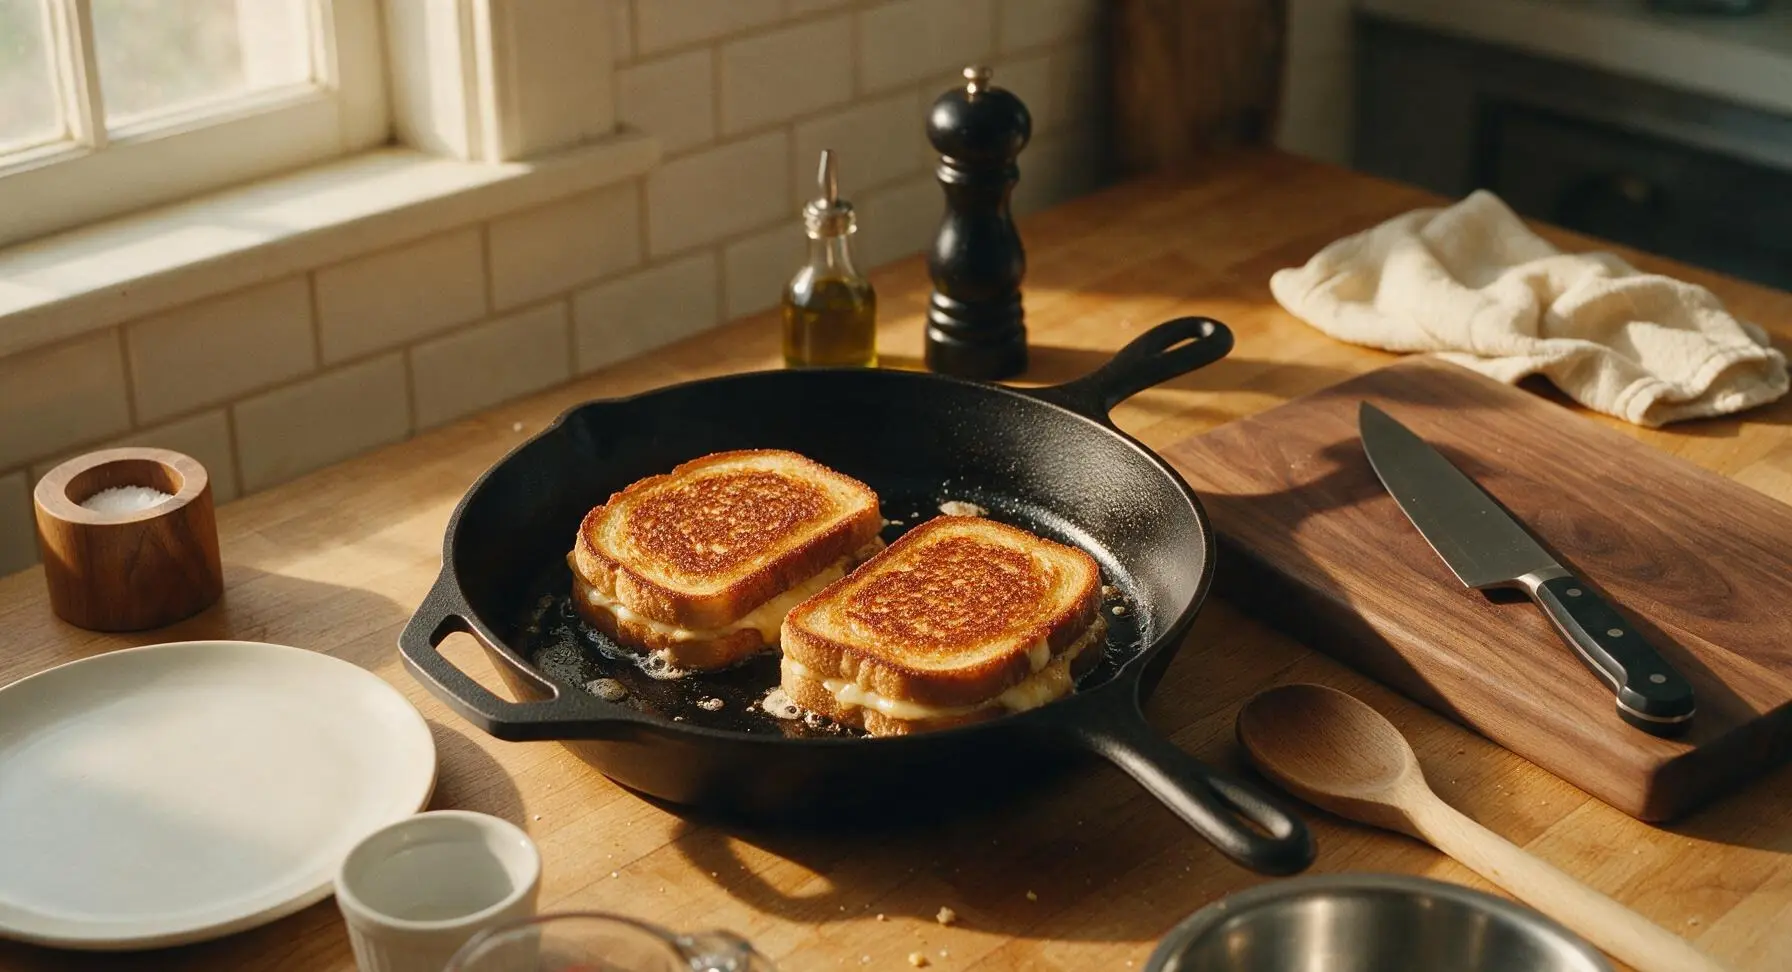
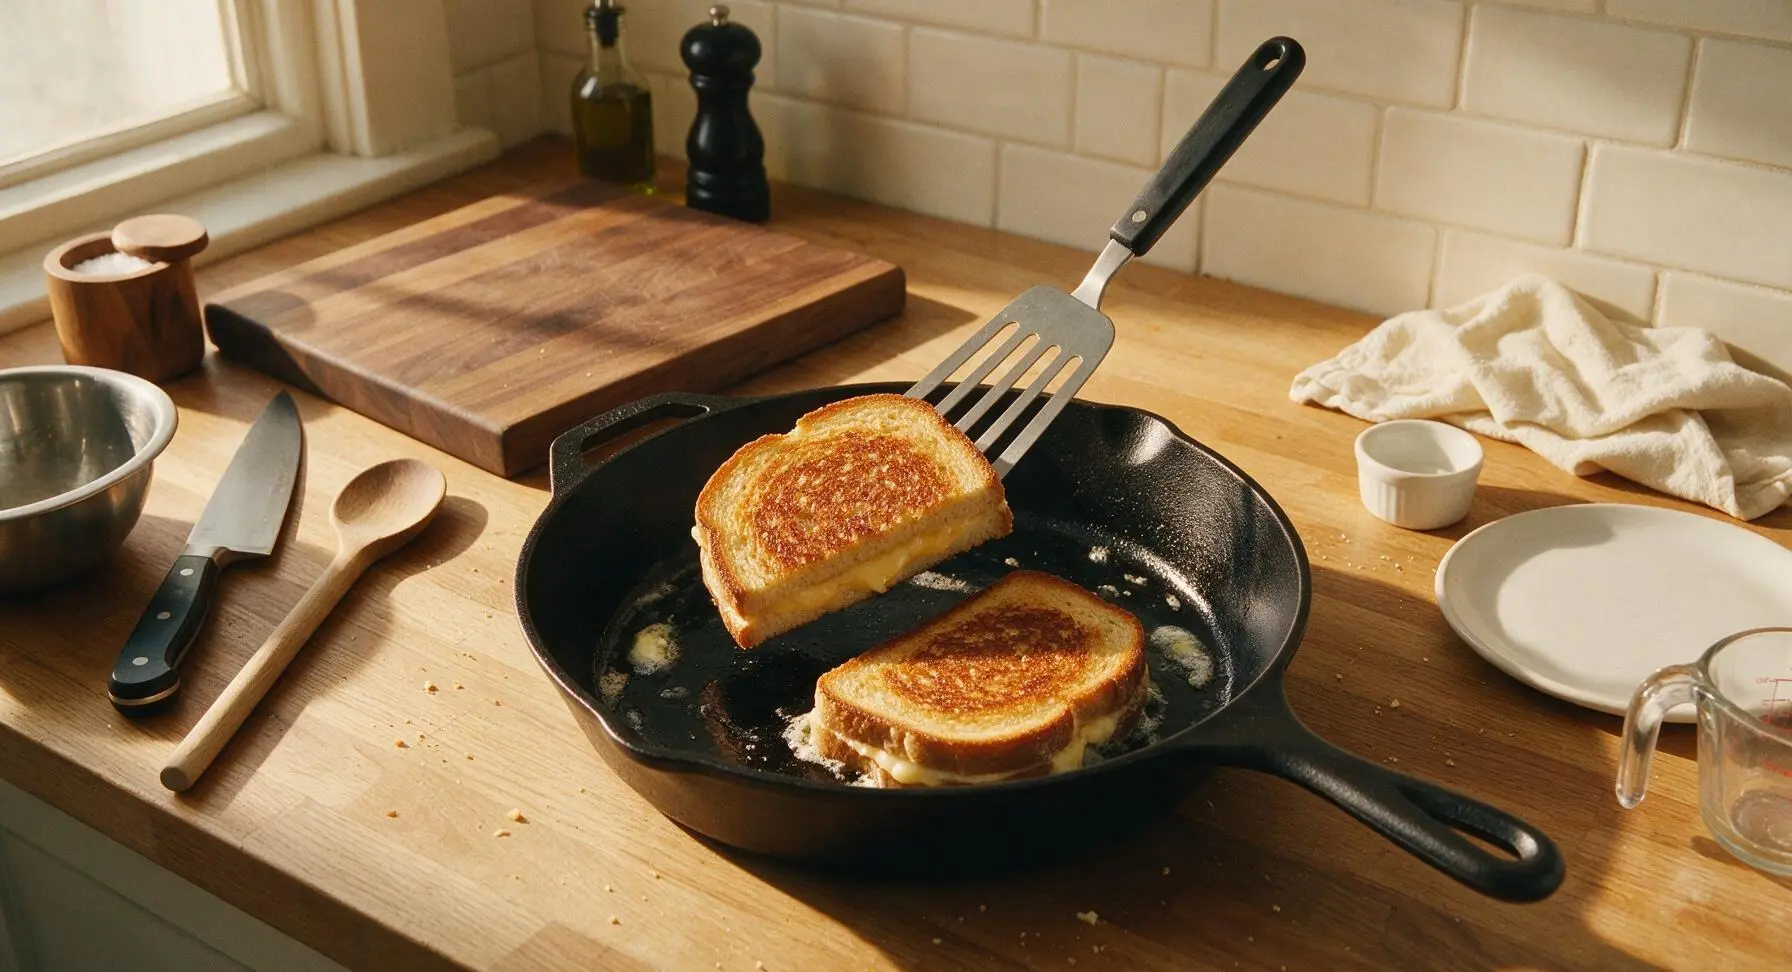
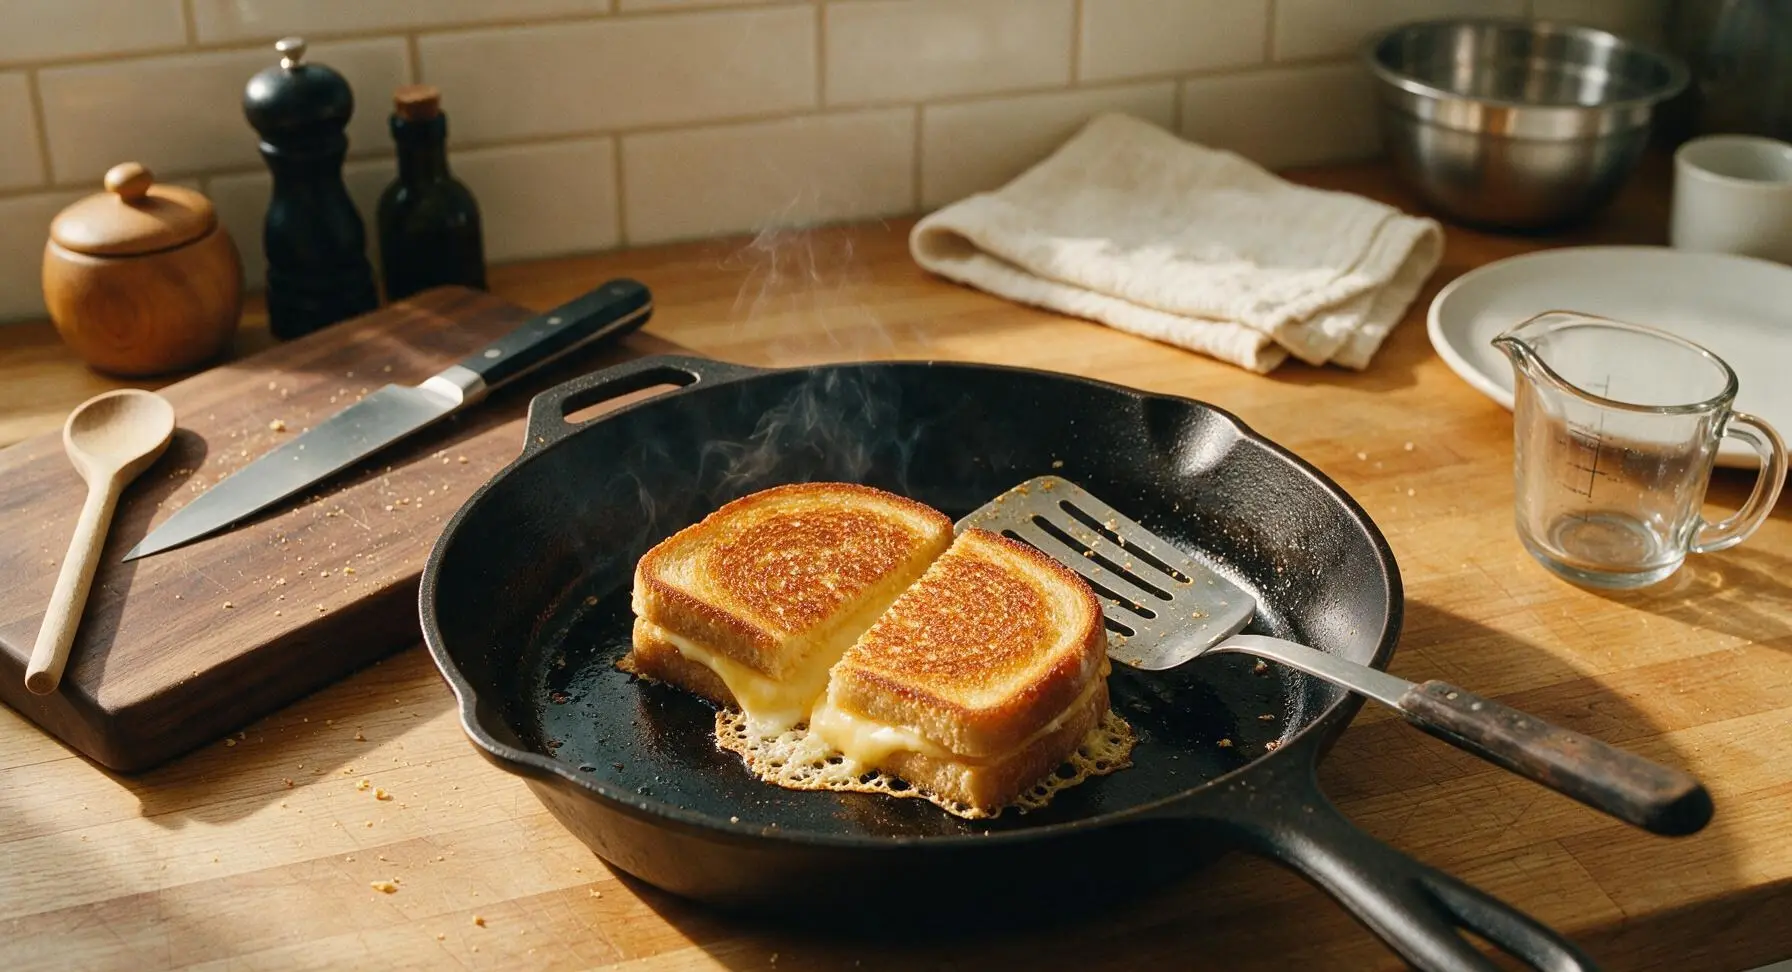
Carefully place both assembled sandwiches into the preheated skillet using the slotted turner. Cook for 3 to 4 minutes on the first side, resisting the urge to press down hard on the sandwiches (this squeezes out melted cheese and creates dry spots). The first side is ready to flip when it reaches a deep, even golden brown, and the cheese closest to the pan has just started to soften and melt.
Flip and Finish Cooking
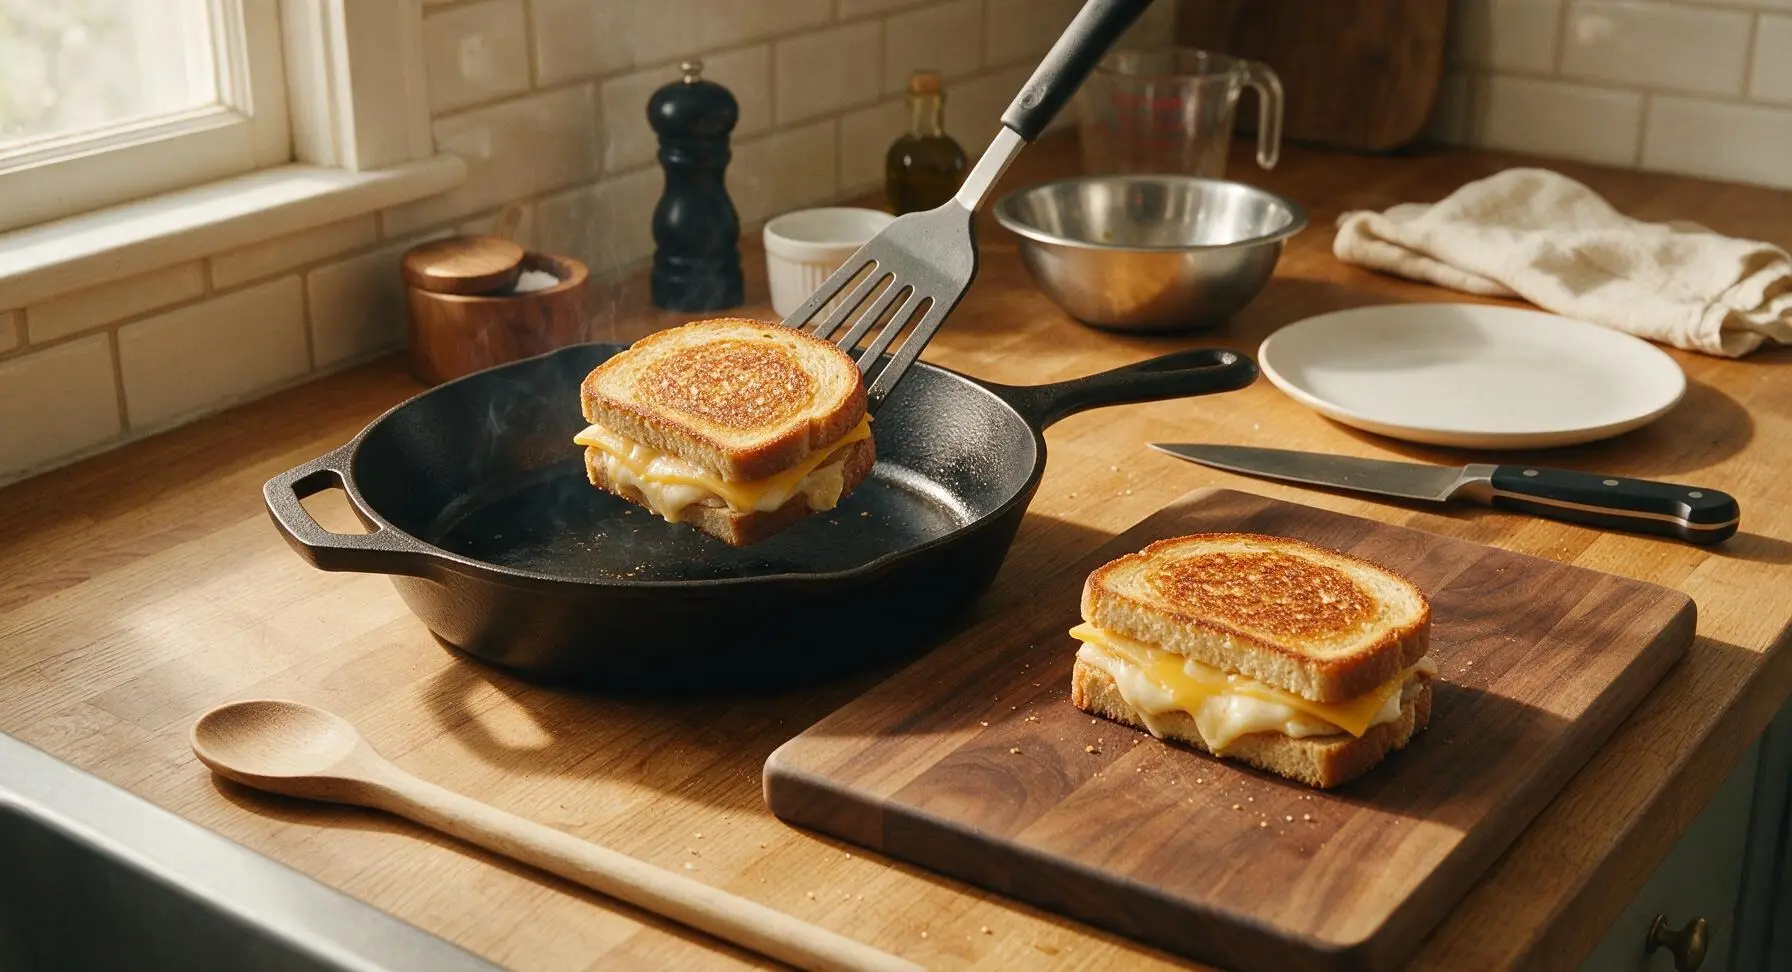
Use the slotted turner to carefully flip each sandwich to the second side. Cook for an additional 2 to 3 minutes, until the second side matches the first in golden brown crispness, and the cheese in the center is fully melted and stretchy. If the bread browns too quickly, reduce heat to low to prevent burning before the cheese melts through.
Rest and Slice Sandwiches
Transfer the cooked sandwiches from the skillet to the acacia cutting board using the slotted turner. Allow them to rest for 1 full minute before slicing—this lets the melted cheese set slightly so it does not run out when cut. Use the 8-inch chef knife to slice each sandwich diagonally into two even triangles, wiping the blade between cuts if cheese sticks to it.
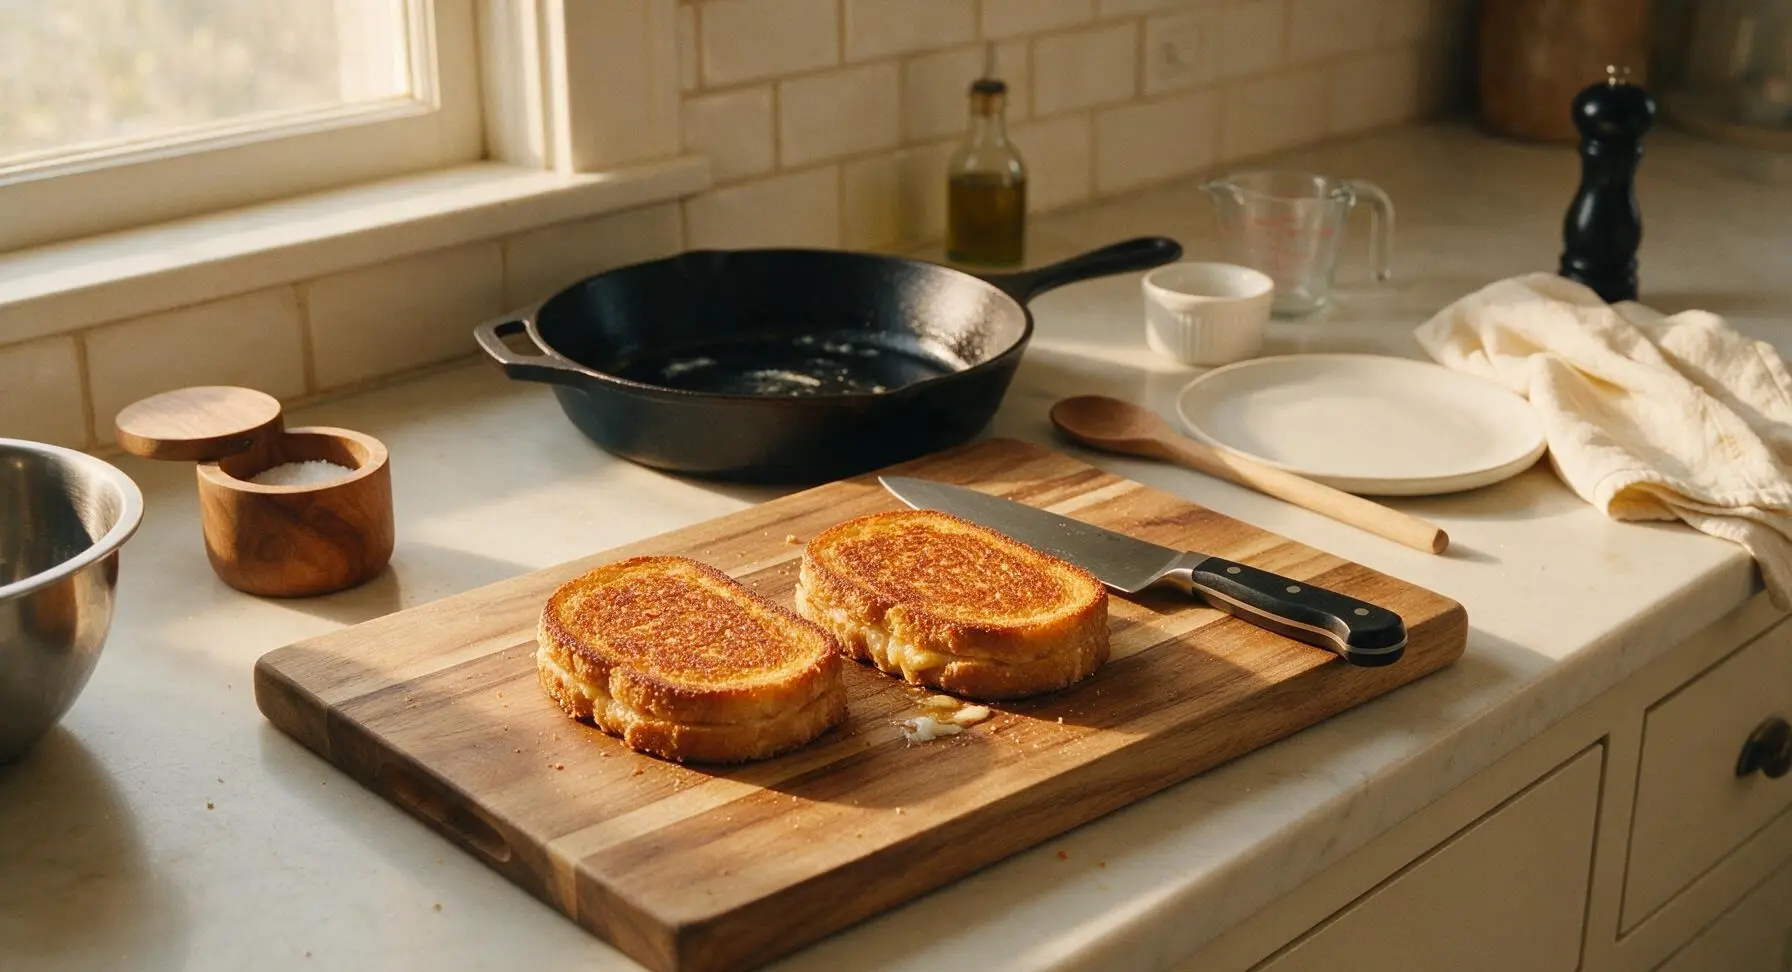
Plate and Serve Hot
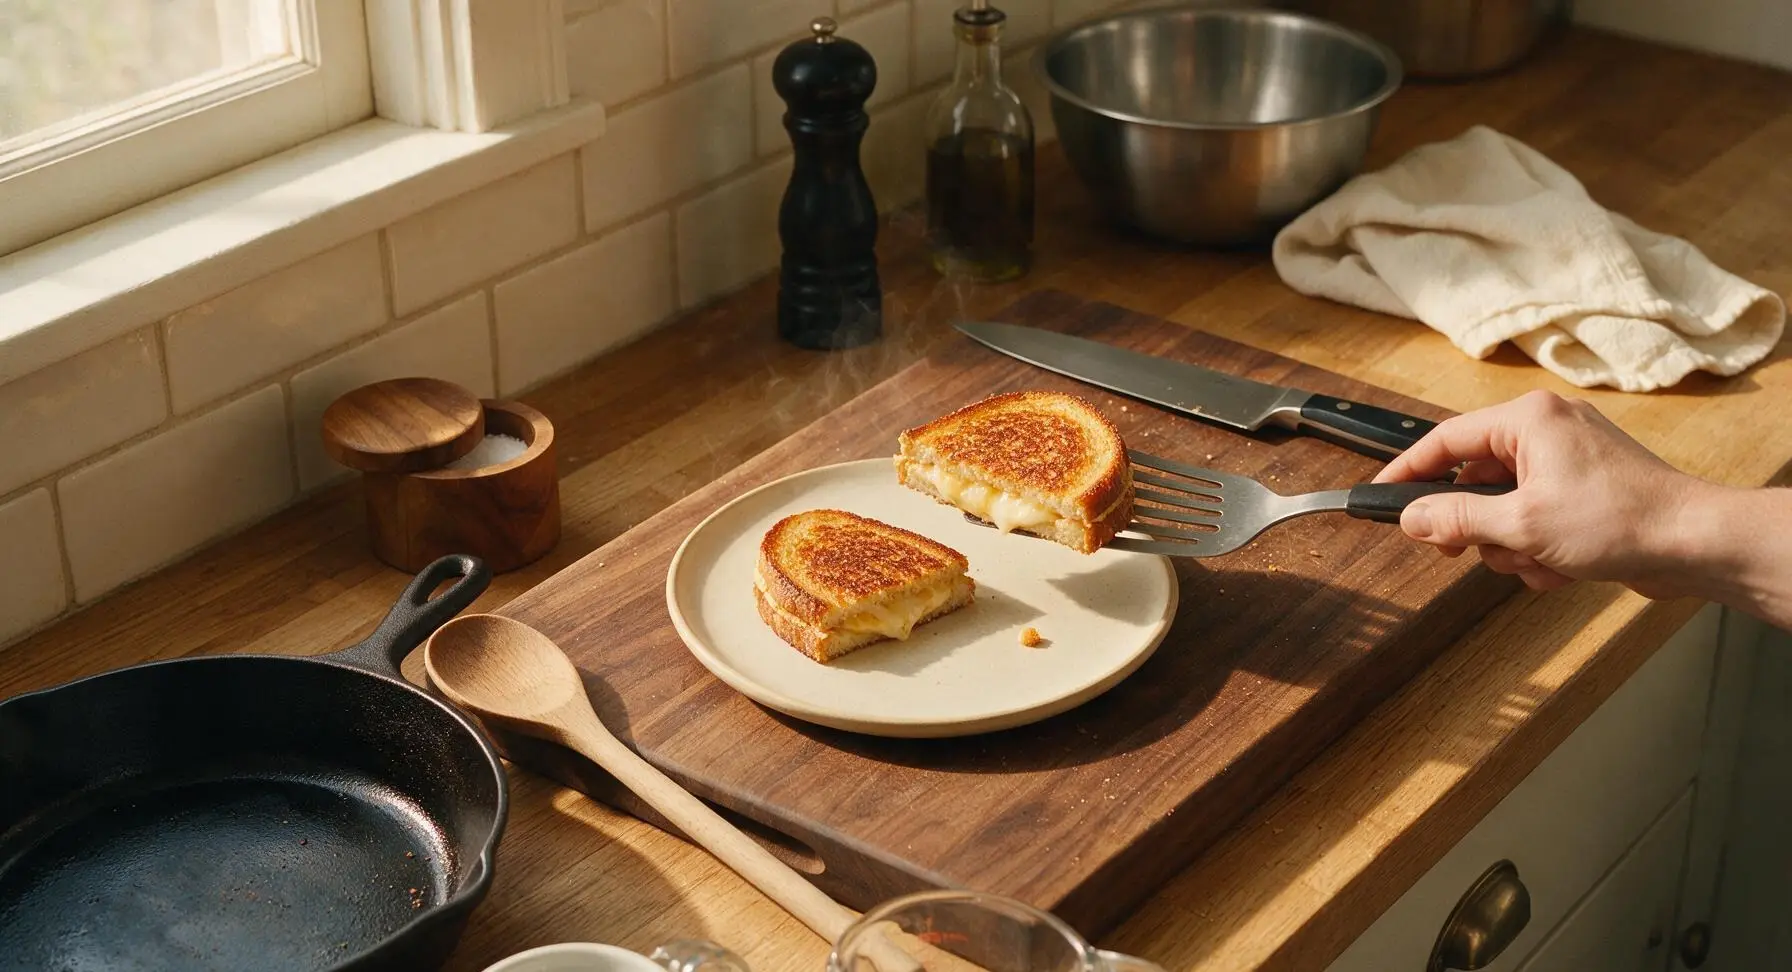
Transfer the sliced sandwich triangles to the matte cream ceramic lunch plate, arranging them slightly offset to show the melted cheese interior. Serve immediately while hot, paired with creamy tomato soup or a side salad if desired.
Tips
2.Stick to medium-low heat for cooking: Gluten-free bread typically has a higher starch content than traditional wheat bread, so it browns and burns much faster. Low, even heat ensures the bread develops a shatteringly crisp crust without charring before the cheese fully melts in the center.
3.Always let the sandwich rest for 1 minute after cooking: Cutting into the sandwich immediately causes all the hot melted cheese to slide out of the bread. The short rest lets the cheese thicken slightly, so every bite has the perfect ratio of crispy bread to gooey cheese, with no messy runoff.






OMG this is a total game changer! I’ve been making sad, soggy gluten-free grilled cheese for years because my kids refuse to give up their favorite lunch, and this came out SO crispy even my picky 7 year old asked for seconds. Cooked it in exactly 8 minutes too, perfect for rushed school mornings. Will be making this weekly for meal prep!
Took this to a neighborhood potluck last weekend and even the people who don’t eat gluten free were raving about it! I added a little pickled jalapeno to mine for a kick, and the crisp held up even after sitting out for 20 minutes while we set up the food table. 10/10, super easy to pull off even when you’re juggling a dozen other potluck dishes.
Wait why didn’t I think of the thin, even butter spread trick earlier??? I’ve been burning my GF grilled cheese for months in my dorm kitchen because the bread is so finicky, and following this recipe it came out perfectly golden first try. 8 minutes is totally doable even between study sessions, no fancy equipment needed.
Added this to my weekly Sunday meal prep rotation! I make a batch on Sunday and reheat them in the toaster oven during the week, and they get almost as crispy as fresh. My teen who is super anti-gluten-free food didn’t even realize it wasn’t regular white bread until I told him. Total win for busy weeknights when we’re running between soccer practice and tutor sessions! Only tiny gripe is I wish there were notes on dairy-free cheese swaps, but otherwise it’s perfect.
I was so skeptical that gluten-free bread could get this crispy without a ton of extra oil, but wow. Made this for lunch yesterday with tomato soup on the side, and it tasted exactly like the grilled cheese my mom made when I was a kid. No weird grainy aftertaste at all, and it was so easy I almost felt silly looking up a recipe for it.
Just got diagnosed with celiac a month ago and have been mourning all my favorite comfort foods, so this hit so different. It’s so simple I didn’t mess it up even on my first try, and the crunch when you bite into it? *Chef’s kiss* No more sad GF meals for me, I’m making this every time I’m craving cozy comfort food.
Made this on my cast iron on our last car camping trip and it was the best campsite meal we had all weekend! Only took 8 minutes even on our tiny camp stove, and the crispy crust didn’t get all greasy like regular grilled cheese sometimes does. My partner is already begging me to make it on our next trip next month.
Made this for my son who has both celiac and a soy allergy, and it was the first grilled cheese he’s been able to eat at home without a reaction in years! I used soy-free butter and his favorite GF rice bread, and it came out perfectly crispy just like the recipe photos. He even brought one to school for lunch today and said all his friends wanted a bite.