
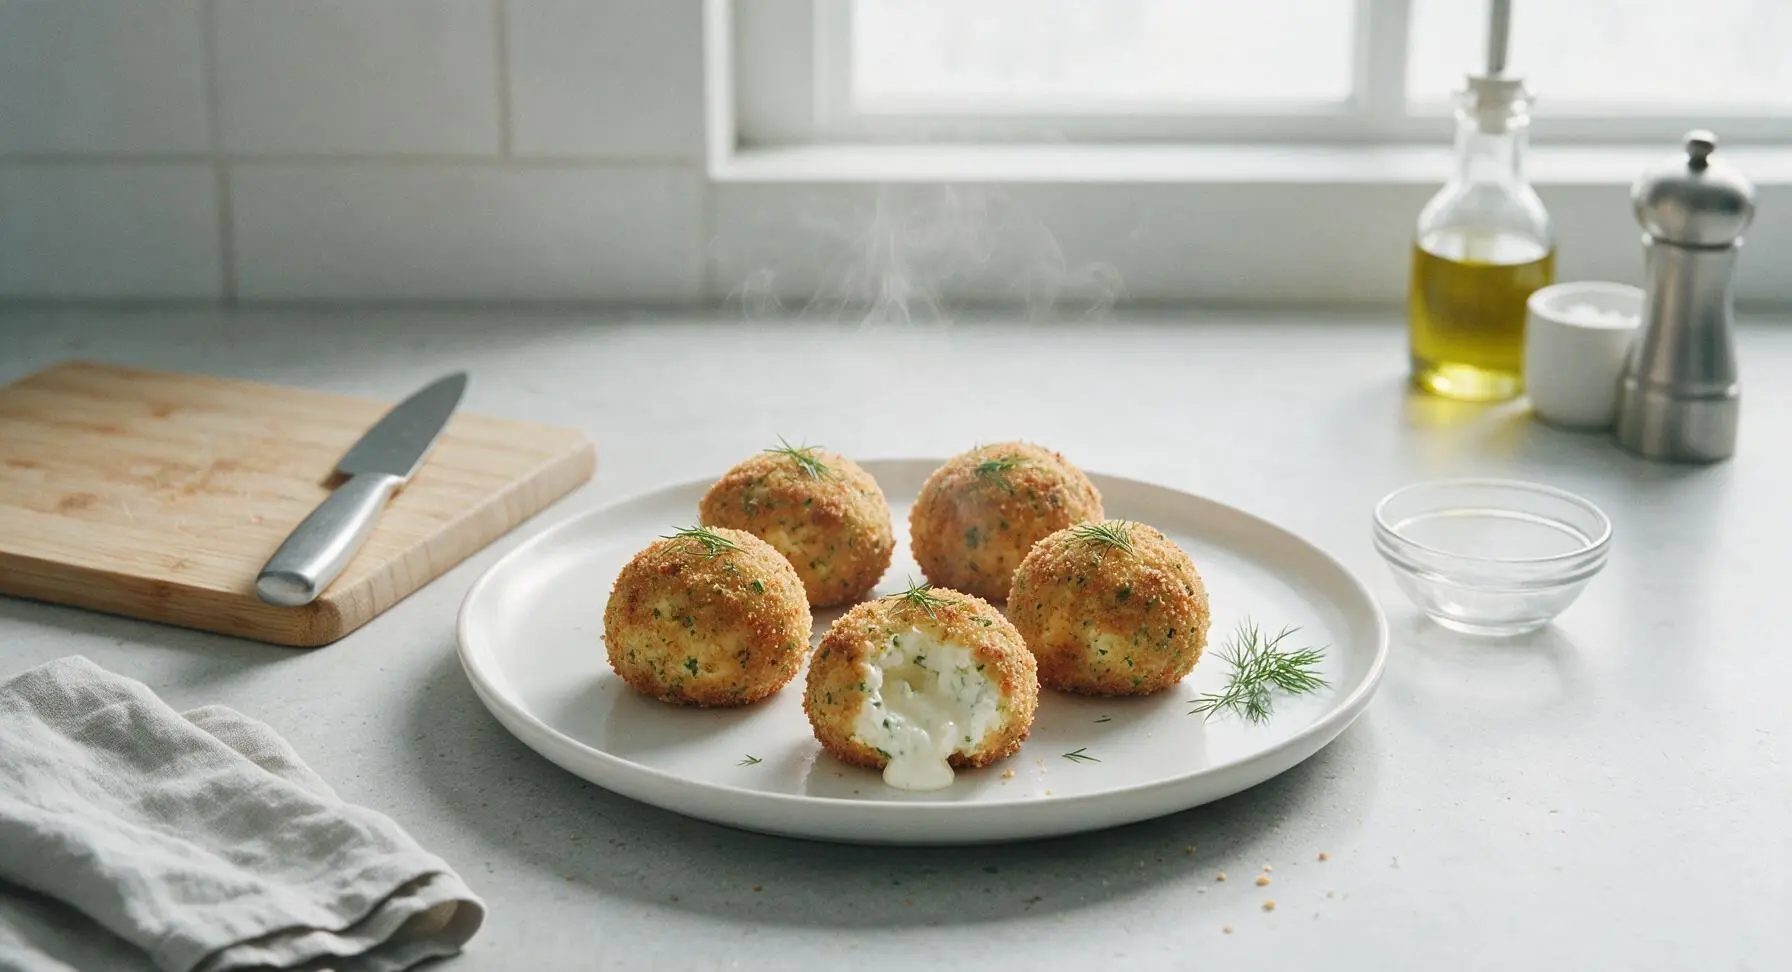
goat cheese balls

title 1
goat cheese balls
⏱️ cook time 10 minutes
🍽️ servings 6
⚡ Difficulty easy

intro

Crisp on the outside, tangy and oozing with warm creamy goat cheese inside, these herbed fried cheese balls are the perfect shareable, dippable bite for casual gatherings.

Ingredients
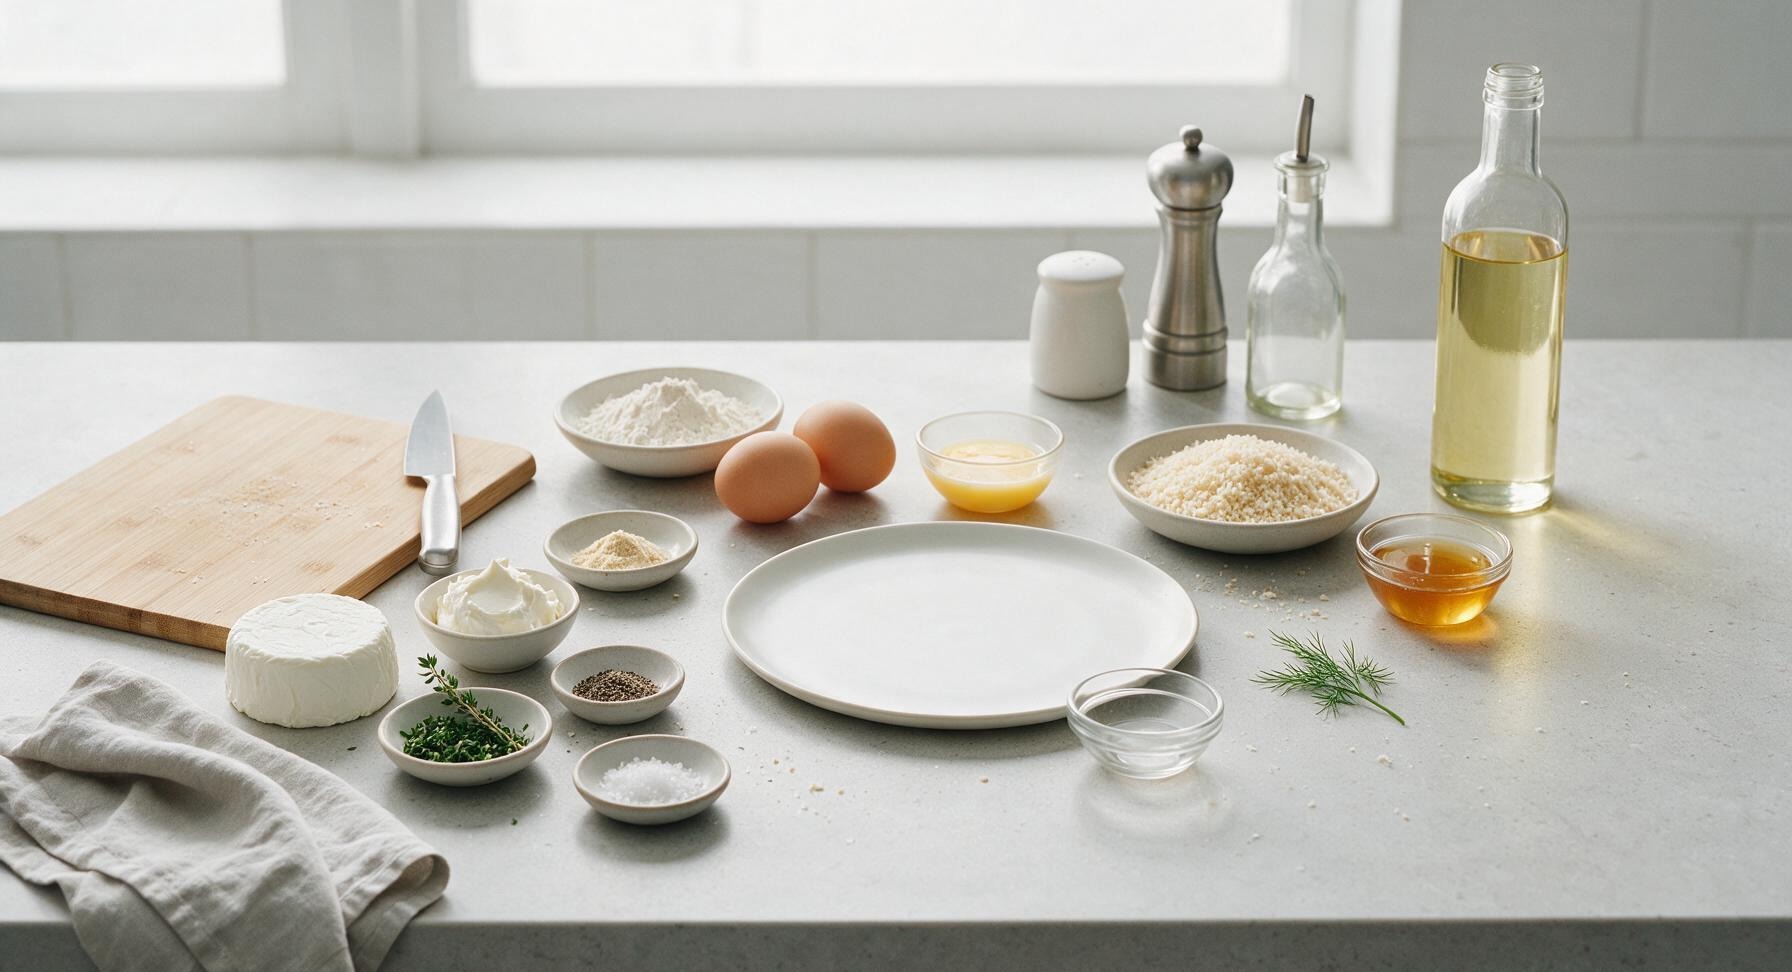
Fresh goat cheese (chèvre) 225g (8oz), chilled
Cream cheese 55g (2oz), softened to room temperature
Fresh thyme 1 tbsp, finely chopped, plus extra sprigs for garnish
Garlic powder 1/2 tsp
Freshly ground black pepper 1/4 tsp
Flaky sea salt 1/4 tsp, plus extra for finishing
All-purpose flour 1/3 cup
Large eggs 2, lightly beaten
Panko breadcrumbs 1.5 cups
Neutral frying oil (avocado or canola) 2 cups
Wildflower honey 1/4 cup, for serving

Steps

1

Mix Cheese Filling

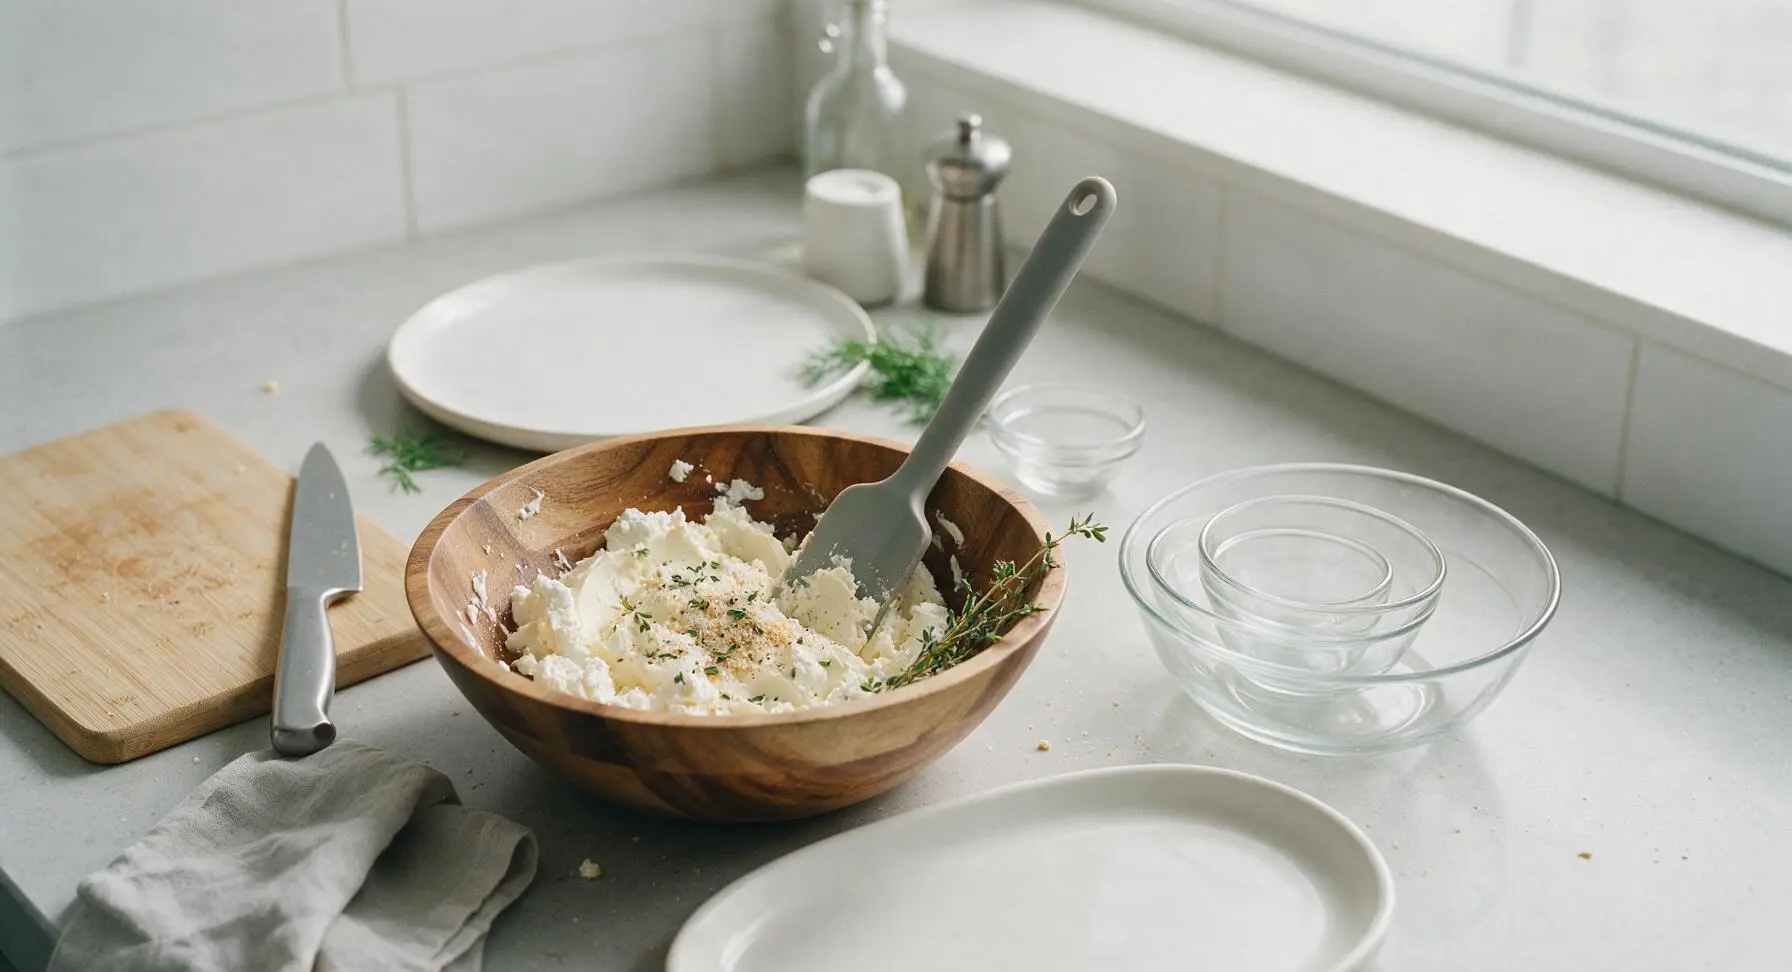
Unwrap the chilled goat cheese and softened cream cheese, placing both into the acacia wood mixing bowl. Add the finely chopped thyme, garlic powder, black pepper, and 1/4 teaspoon flaky sea salt. Use the matte grey silicone spatula to fold the ingredients together until completely smooth, with no streaks of cream cheese remaining, about 2 minutes of mixing. The mixture should hold its shape when pressed lightly with a finger.
Step 1
step1:Mix Cheese Filling
2

Portion and Roll Balls

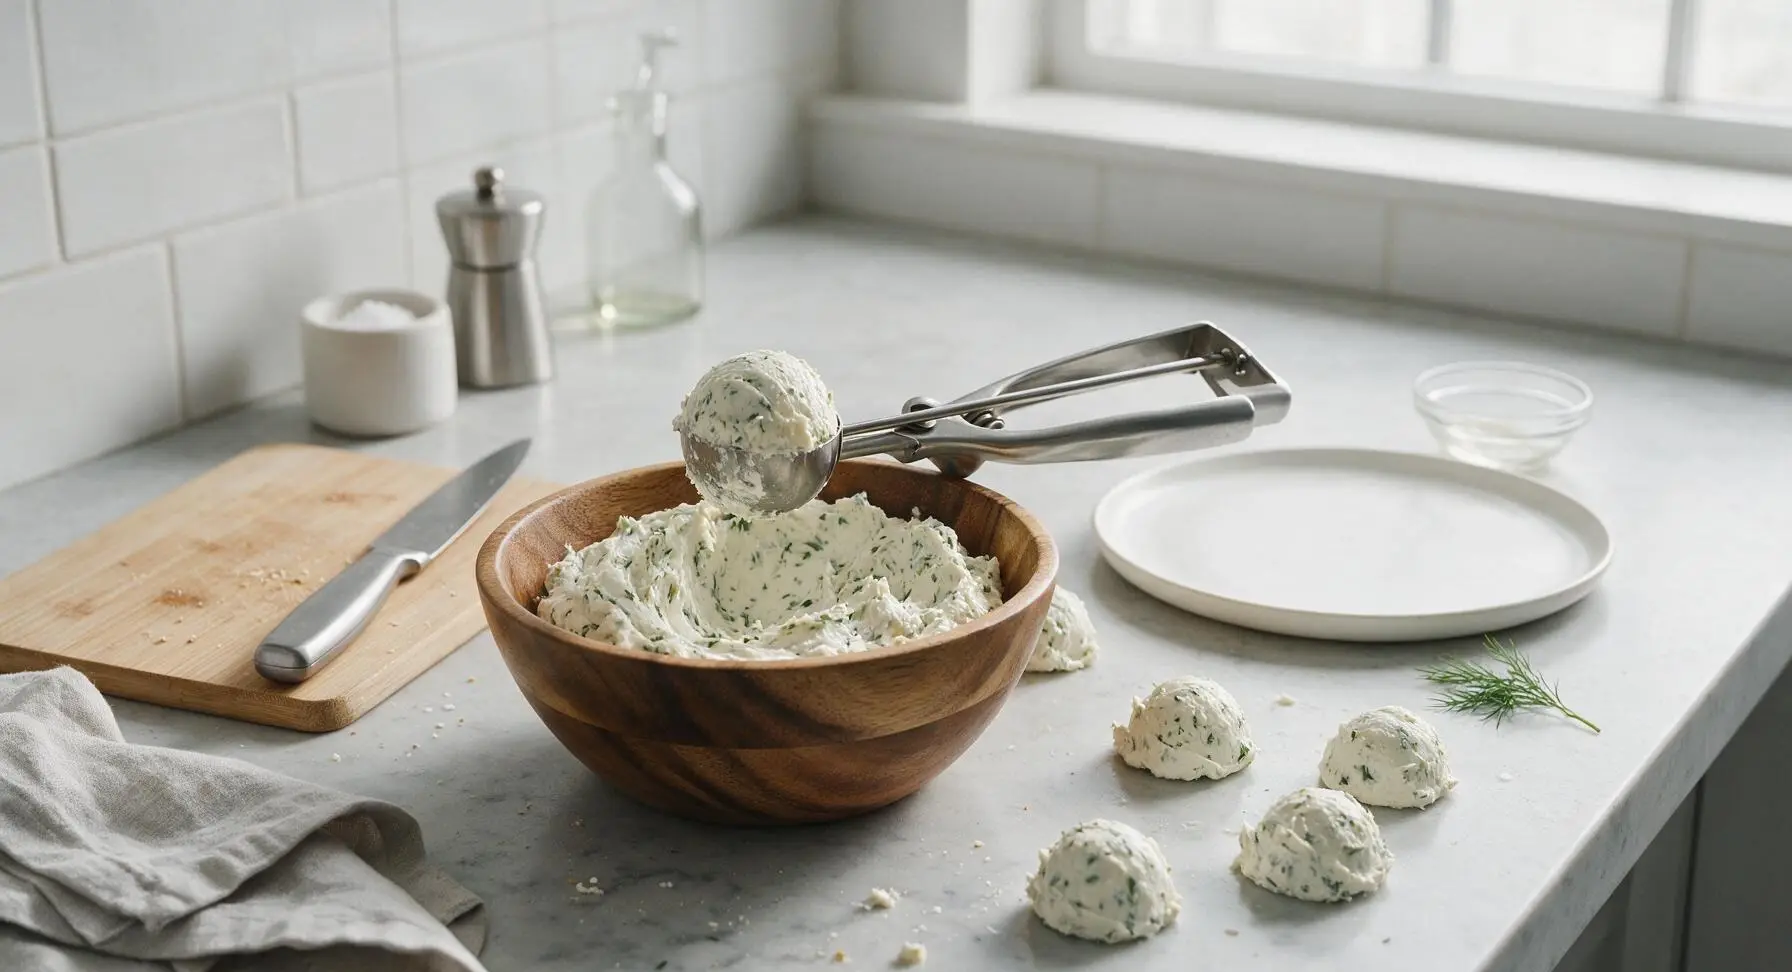
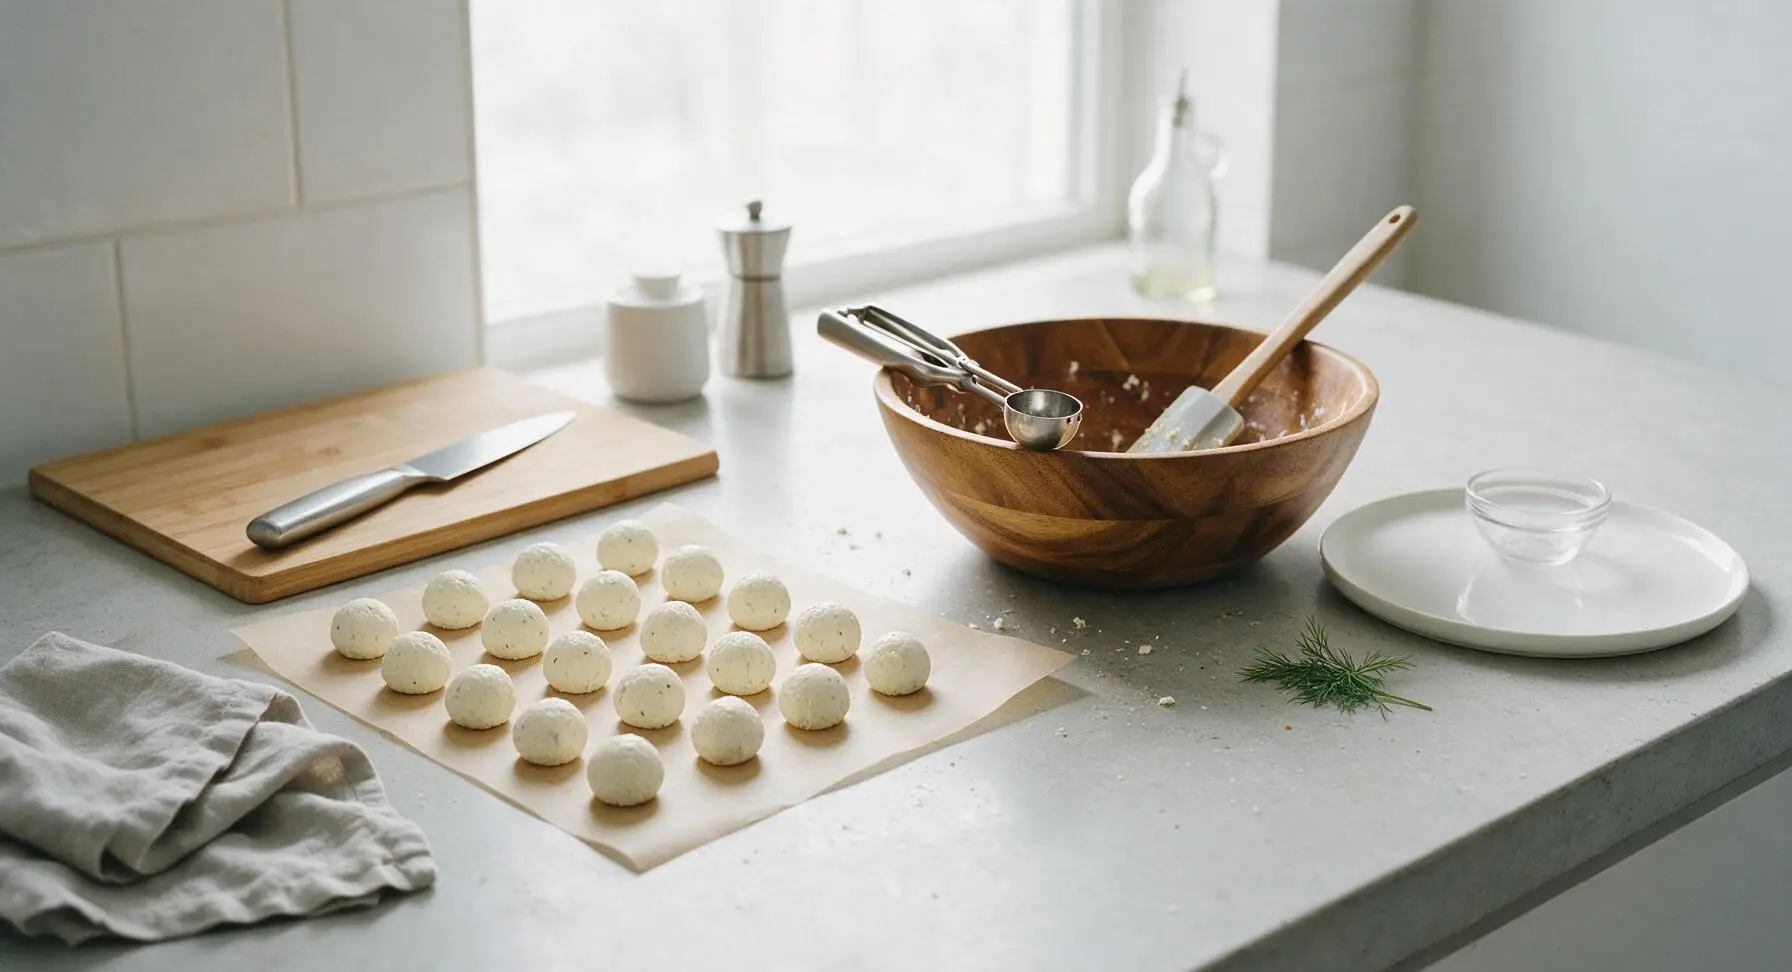
Use the 3cm stainless steel cookie scoop to portion even 1-tablespoon mounds of the cheese mixture onto the clean marble surface between the mixing bowl and serving platter. Once all mixture is portioned (approximately 18 equal mounds), roll each mound between clean, slightly cold palms to form smooth, tight 2.5cm (1-inch) balls. Arrange the rolled balls in a single layer on the parchment paper set left of the acacia bowl, leaving small gaps between each ball to prevent sticking.
Step 2
step2:Portion and Roll Balls
Step 2
step2:Portion and Roll Balls
3

Chill for Firmness

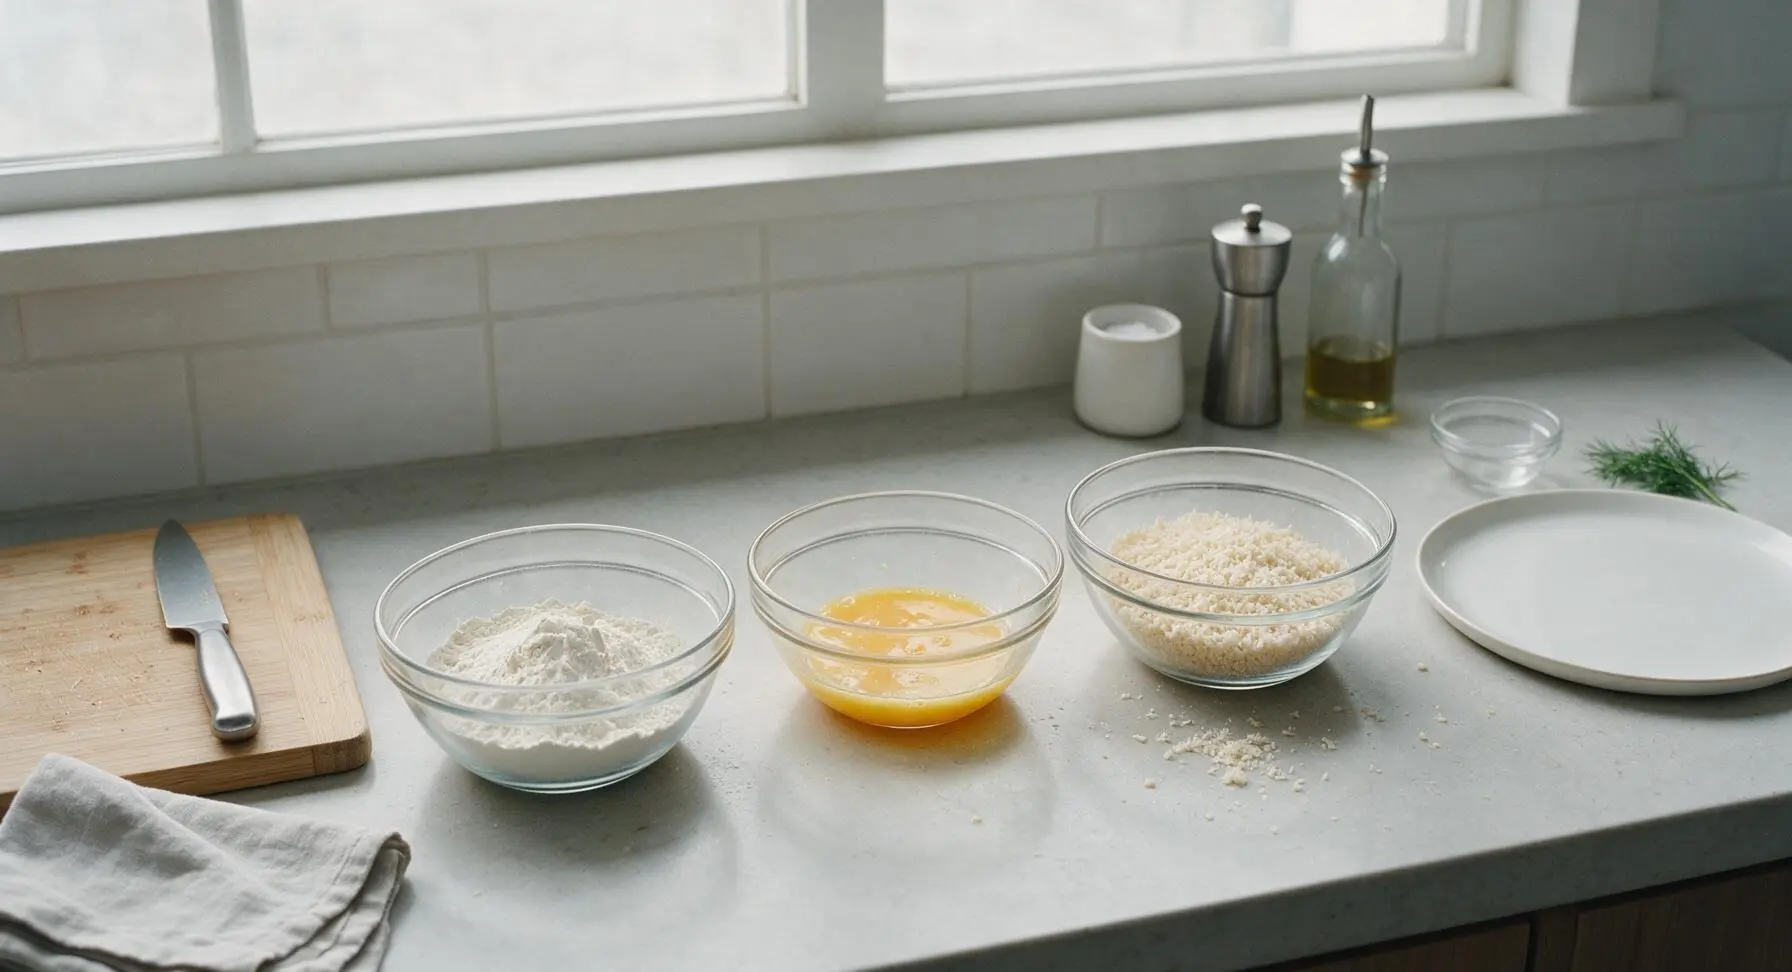
Carefully transfer the parchment paper with rolled cheese balls to the refrigerator to chill for 1 full hour, until the balls are completely firm to the touch and hold their shape without squishing when lightly pressed. Do not skip this step: soft cheese will melt and leak out during frying. While the cheese chills, set up your breading station in the three glass nesting bowls: place flour in the leftmost bowl, lightly beaten eggs in the middle bowl, and panko breadcrumbs in the rightmost bowl.
Step 3
step3:Chill for Firmness
4

Bread the Cheese Balls

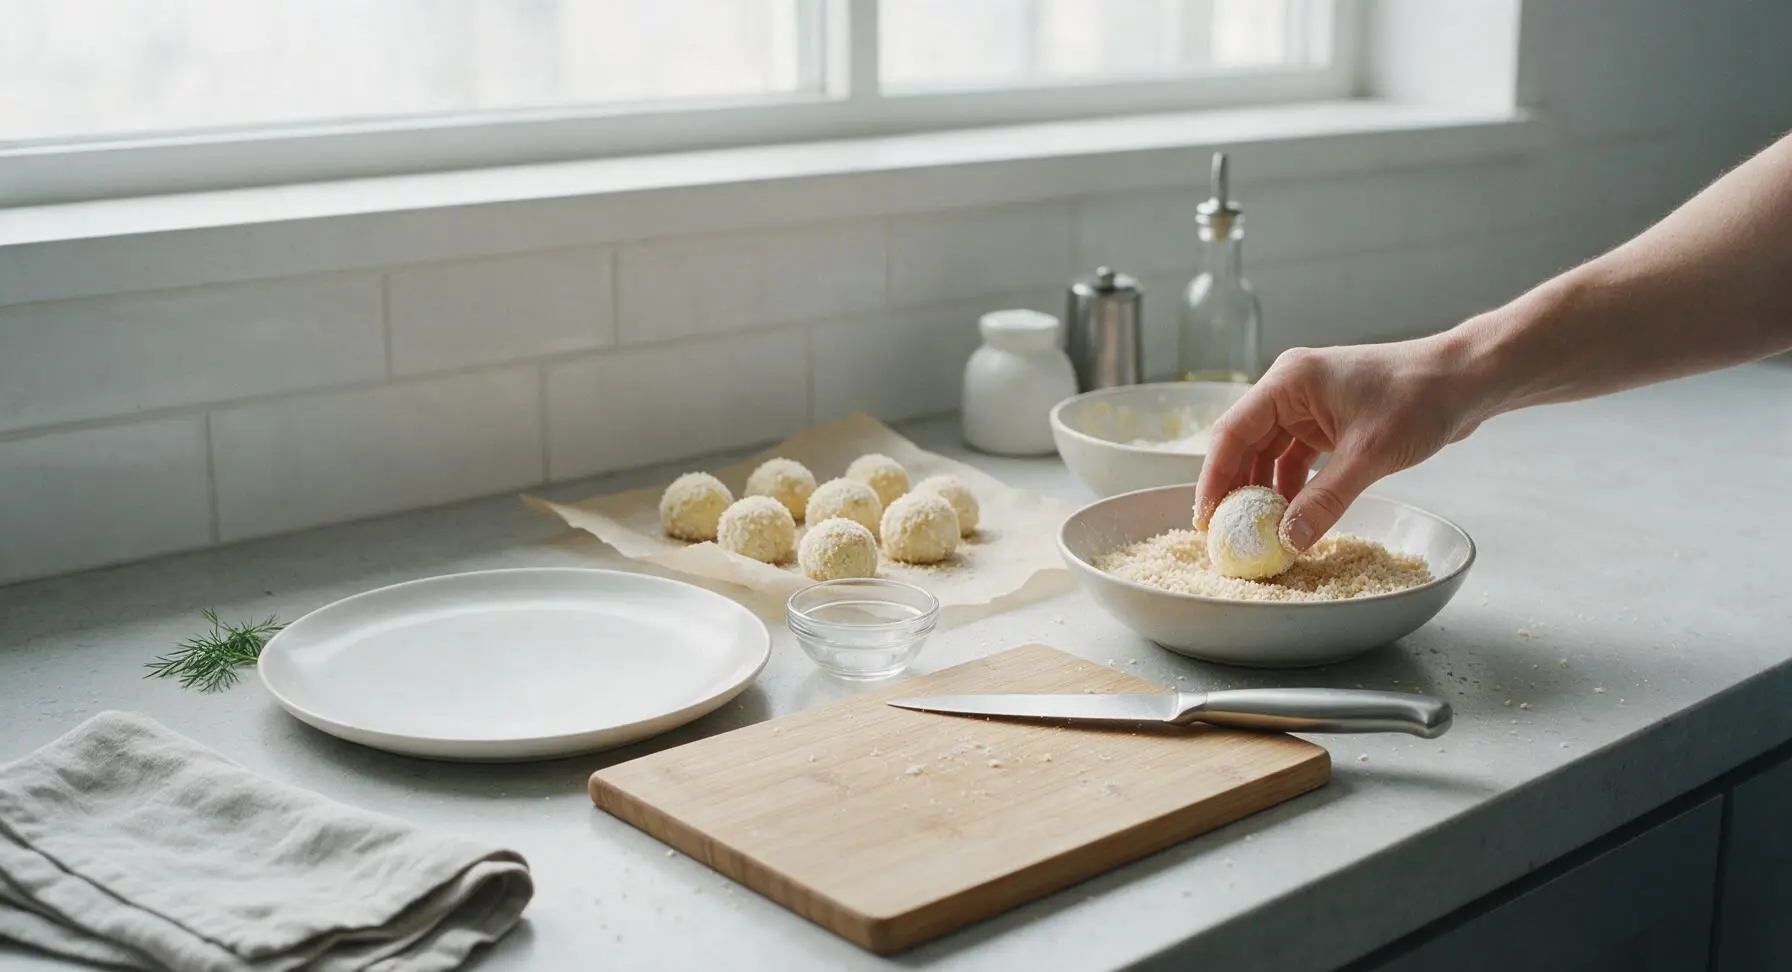
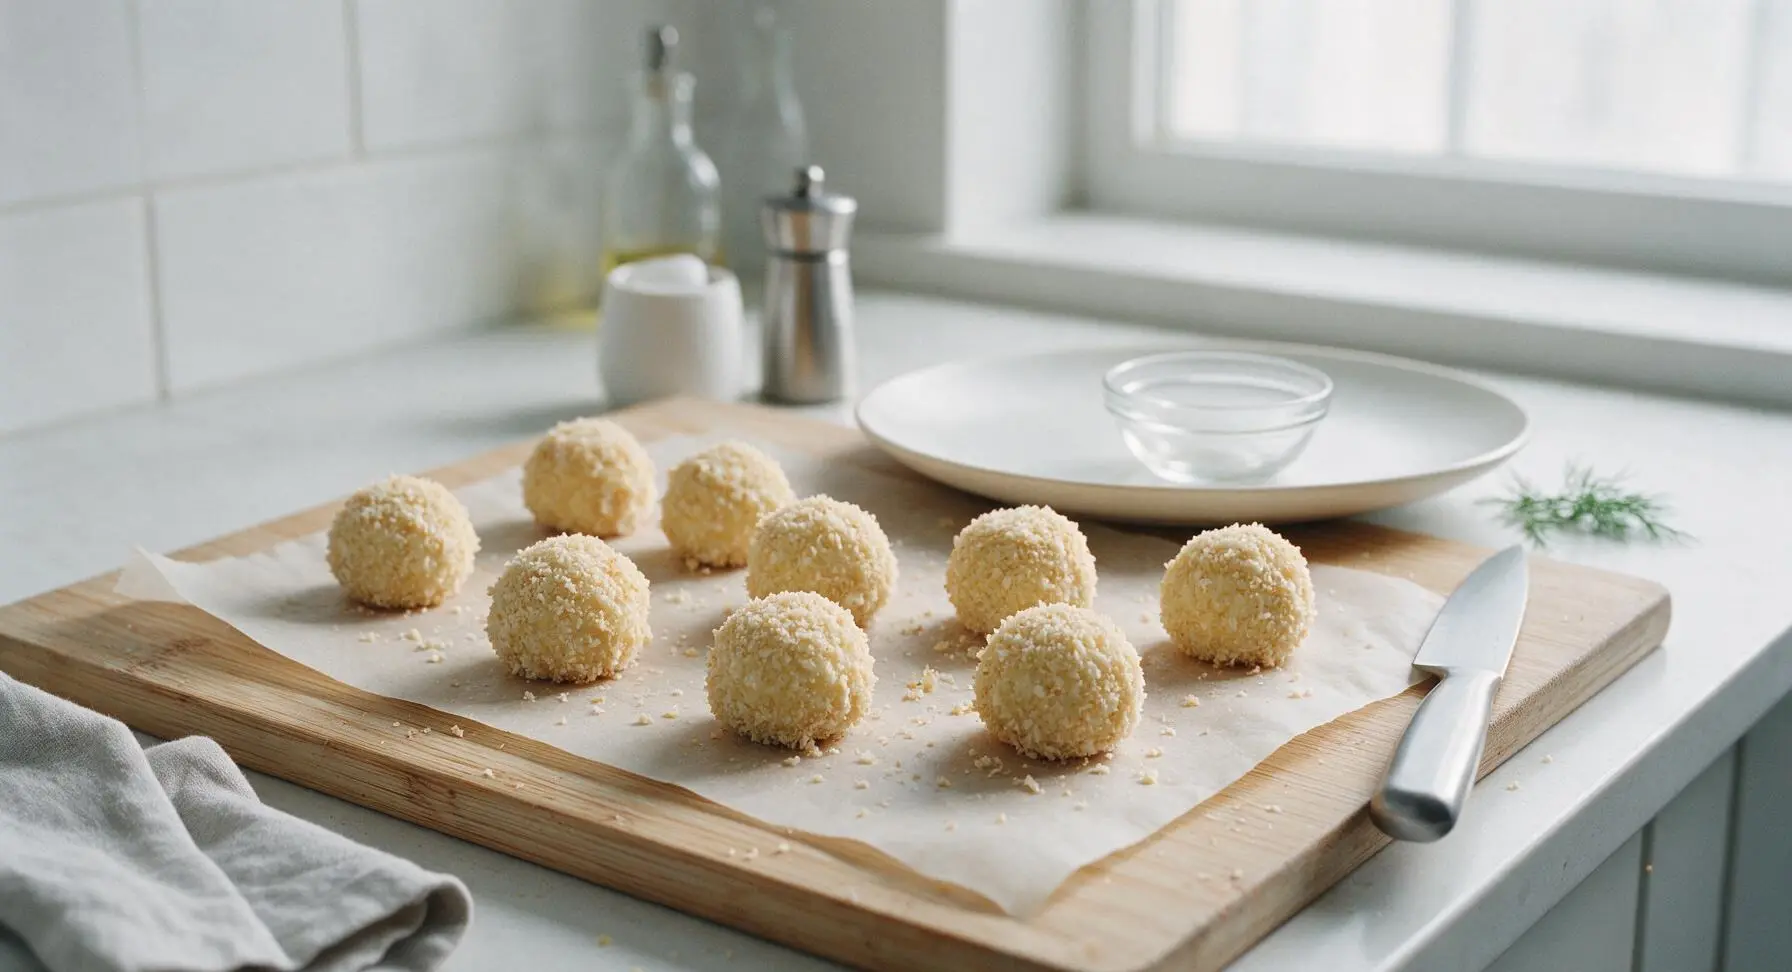
Once the cheese balls are fully chilled, remove them from the fridge and return the parchment to its original position left of the mixing bowl. Working one ball at a time, coat first in flour, shaking off all excess; then dip fully in beaten egg, letting excess drip off; then roll gently in panko breadcrumbs, pressing lightly so crumbs adhere to every surface. Return breaded balls to the parchment paper, ensuring they do not touch each other. For an extra-crispy coating, repeat the egg and panko dip a second time for all balls.
Step 4
step4:Bread the Cheese Balls
Step 4
step4:Bread the Cheese Balls
5

Heat Frying Oil

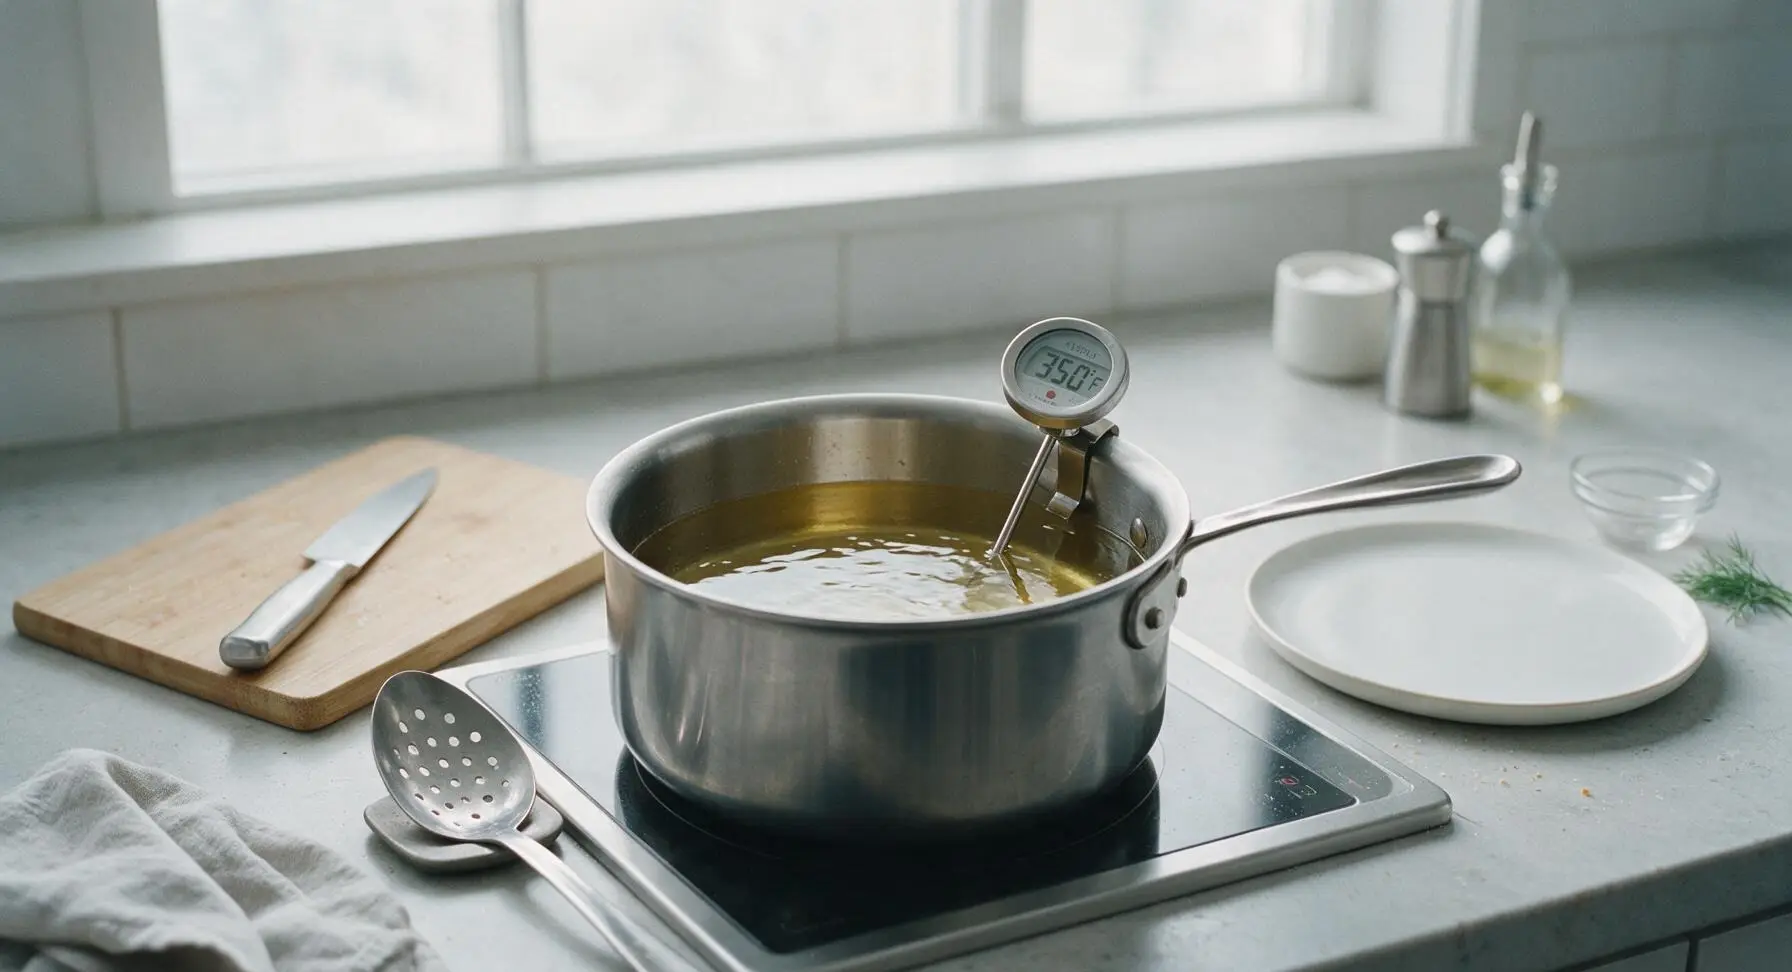
Pour the 2 cups of neutral oil into the 3-quart stainless steel saucepan on the induction cooktop. Heat the oil over medium heat until it reaches 175°C (350°F), verified with the instant-read thermometer. Maintain this steady temperature throughout frying: oil that is too hot will burn the panko before the cheese inside warms, and oil that is too cool will make the coating greasy.
Step 5
step5:Heat Frying Oil
6

Fry Until Golden

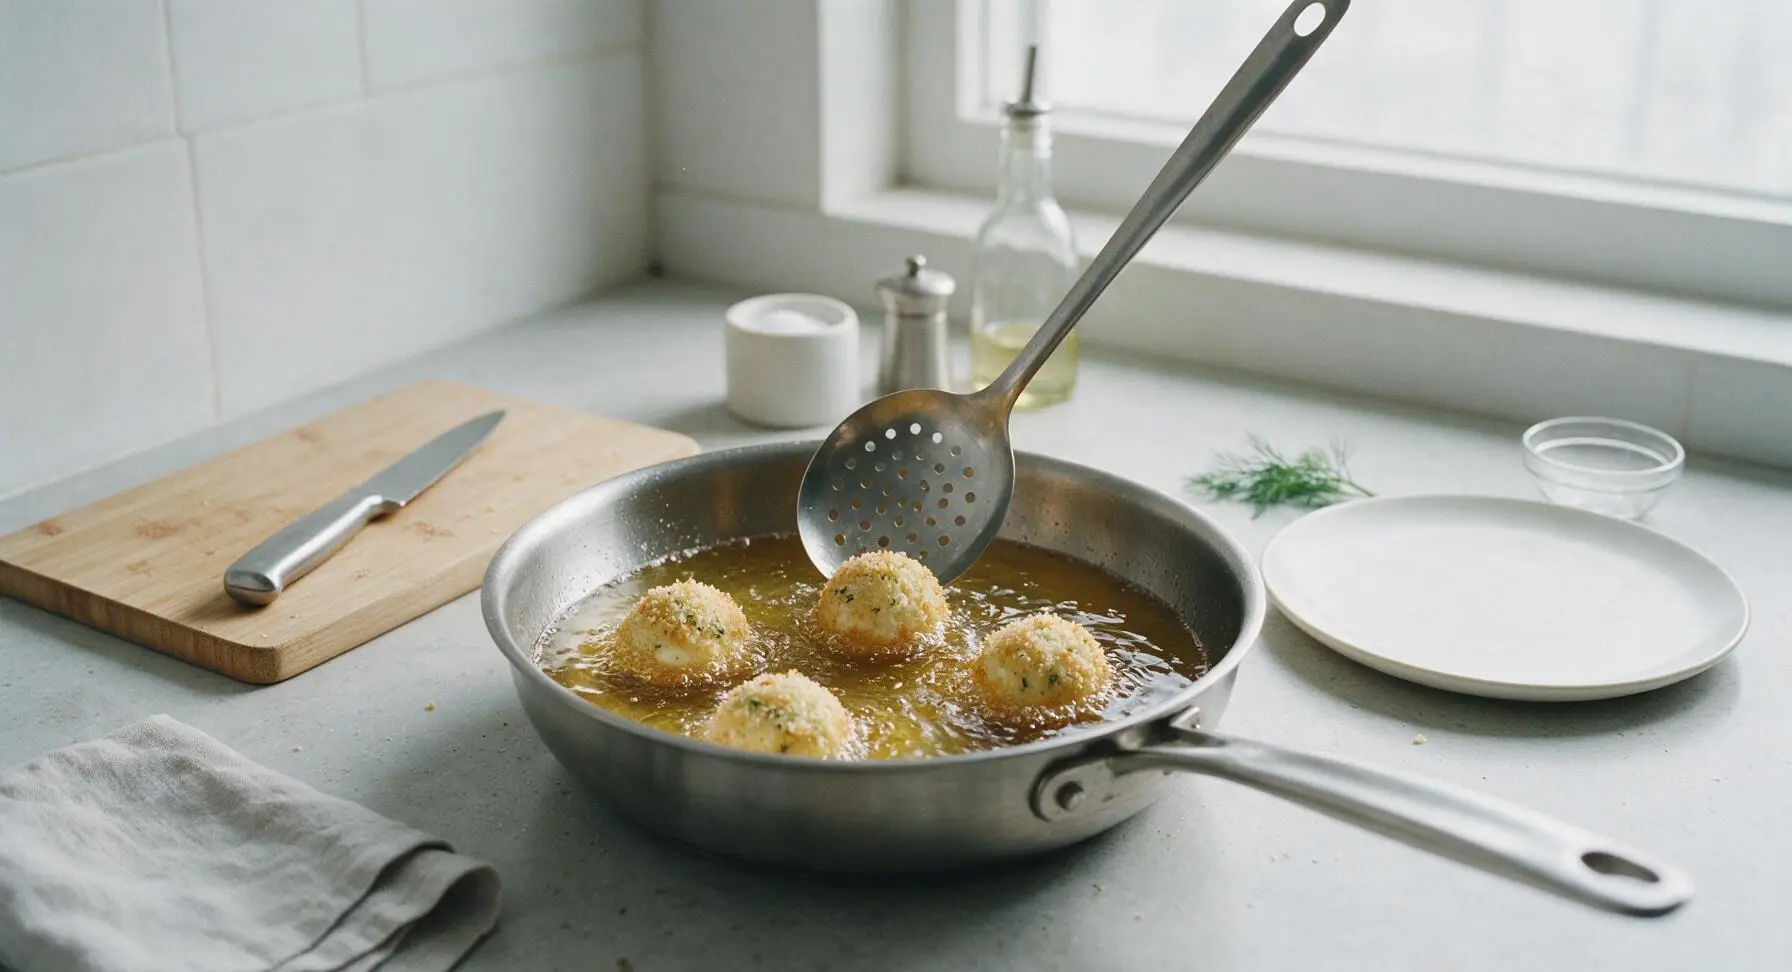
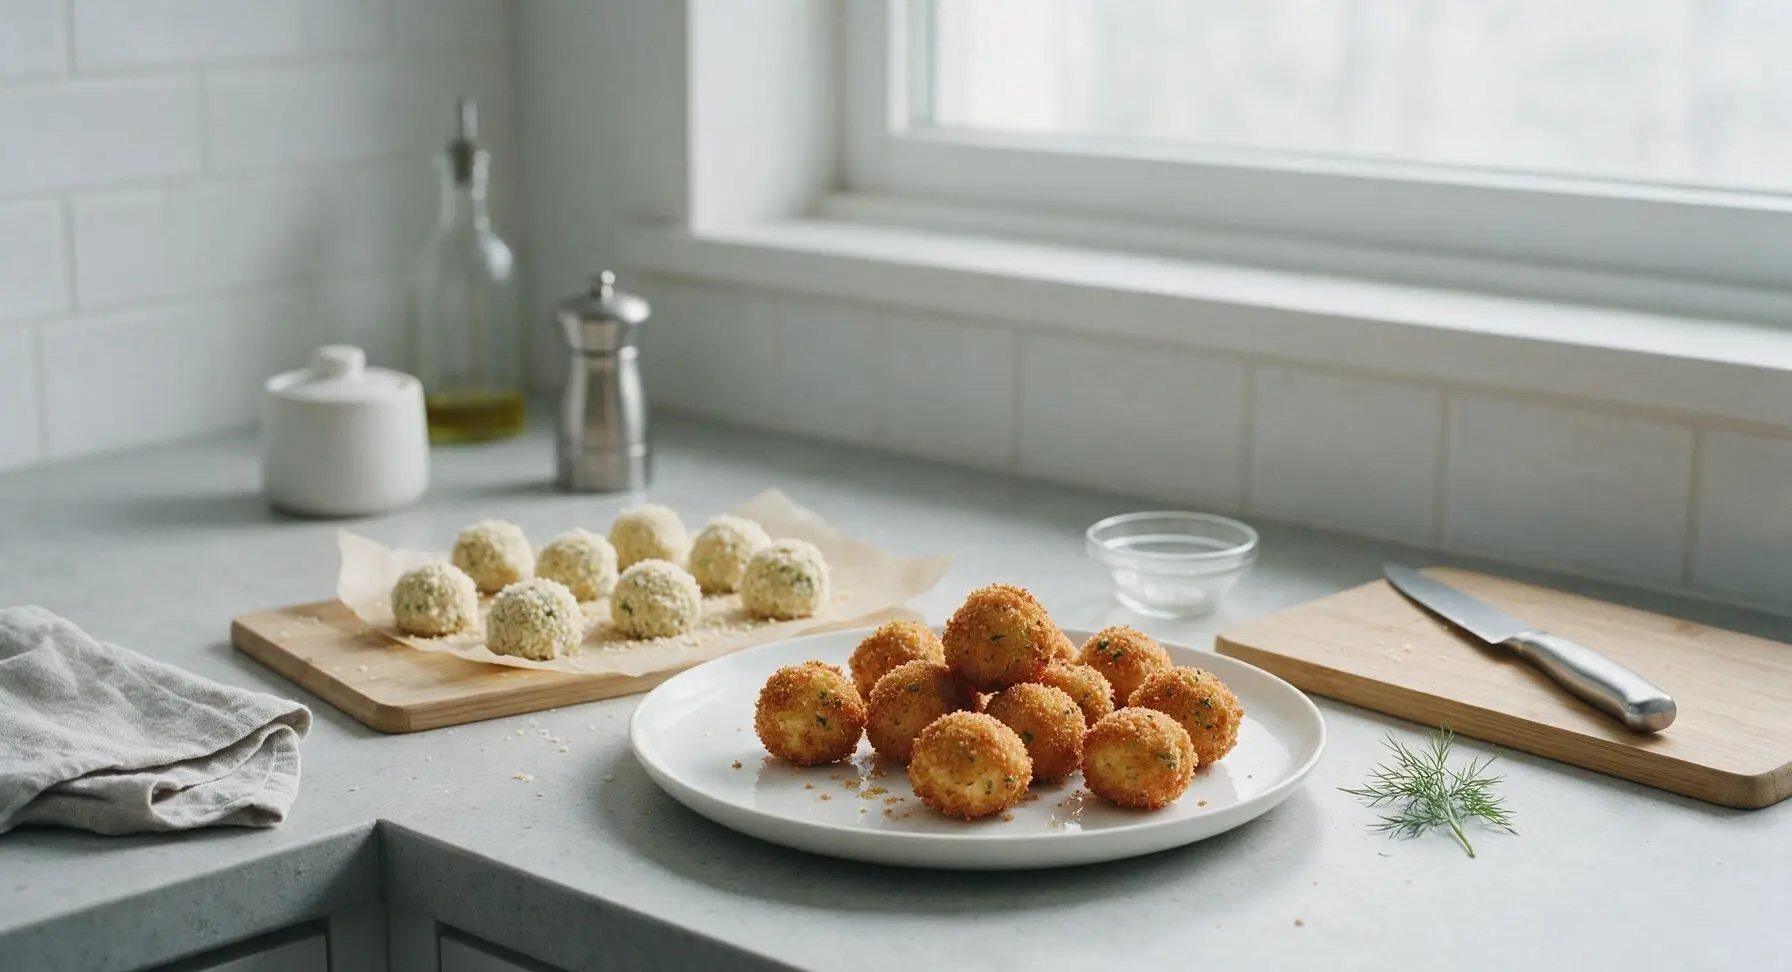
Working in batches of 4-5 balls at a time (do not overcrowd the pan), gently lower breaded balls into the hot oil using the slotted spoon. Fry for 1.5 to 2 minutes per batch, turning once halfway through, until the panko coating is deep golden brown and crisp all over. Use the slotted spoon to lift finished balls from the oil, letting excess oil drain back into the pan for 5 seconds before transferring them to the cream white serving platter.
Step 6
step6:Fry Until Golden
Step 6
step6:Fry Until Golden
7

Garnish and Serve

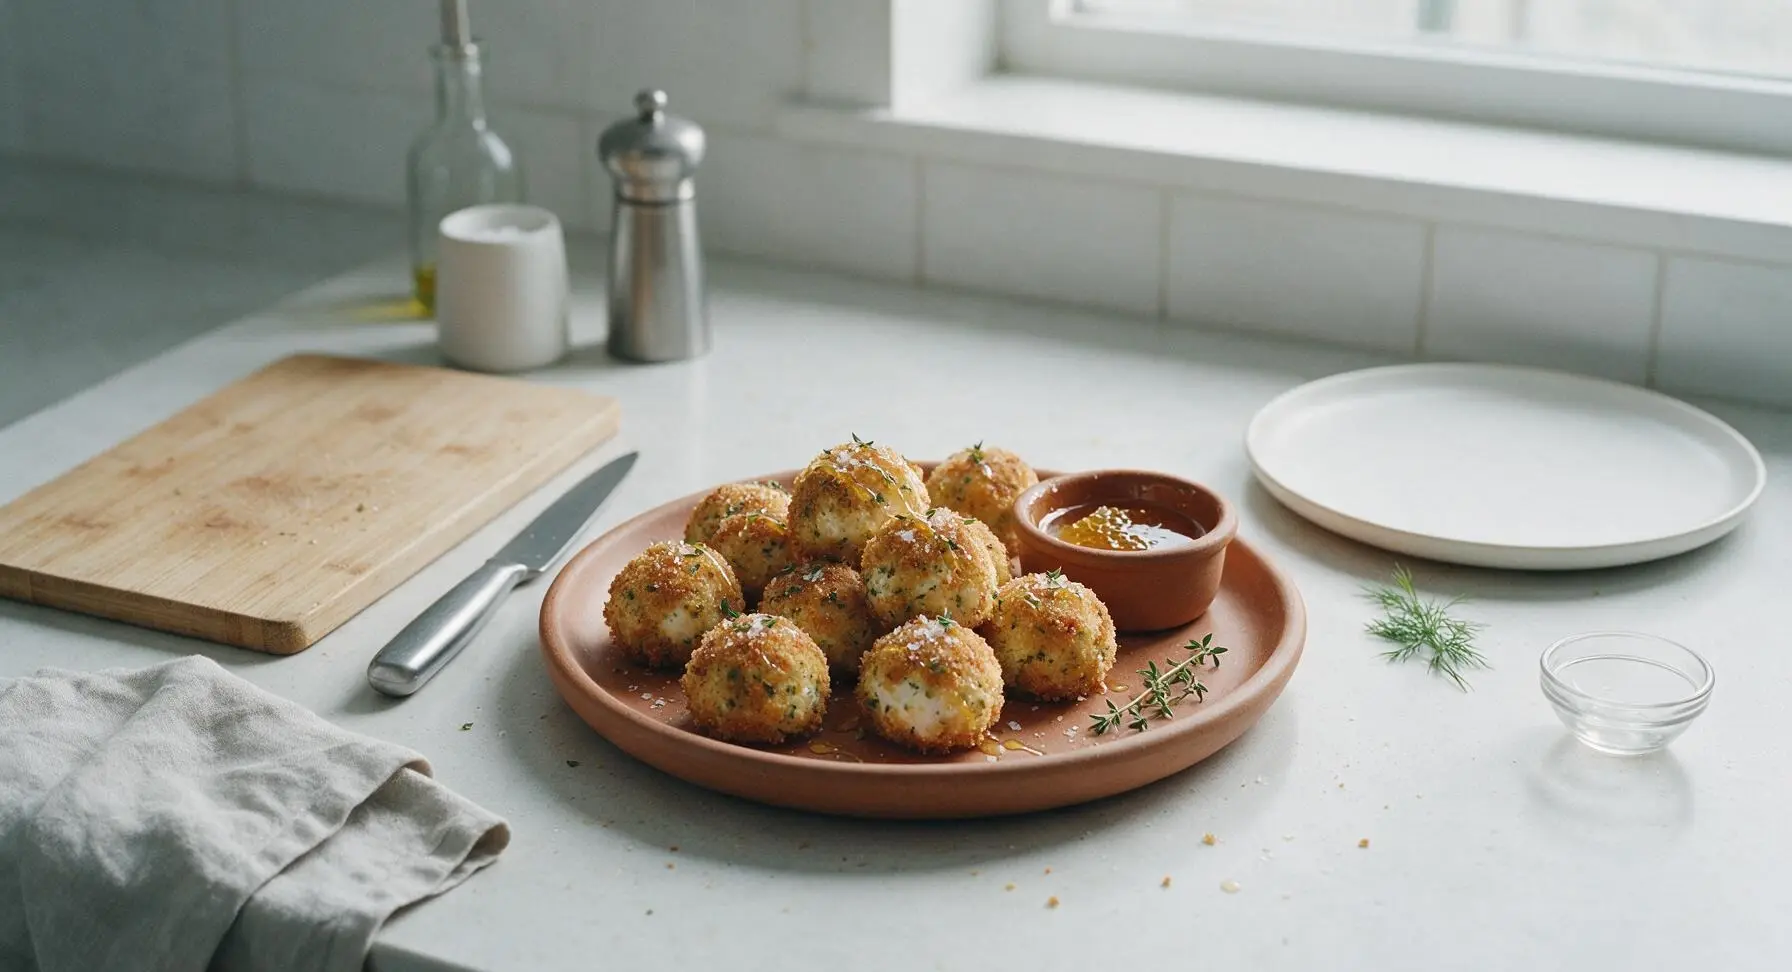
Once all cheese balls are fried and arranged on the serving platter, sprinkle lightly with extra flaky sea salt and chopped fresh thyme. Drizzle 1 tablespoon of wildflower honey over the top of the balls, and pour the remaining honey into the small terracotta ramekin for dipping. Serve immediately, while the cheese inside is warm and creamy.
Step 7
step7:Garnish and Serve

Tips

1.Keep cheese balls fully chilled before frying: Warm, soft cheese will expand faster than the panko coating can set, leading to leaking, misshapen balls and lost filling. For extra security, freeze breaded balls for 15 minutes immediately before frying for zero leakage.
2.Avoid compacting panko crumbs when breading: Pressing crumbs too tightly creates a dense, hard crust instead of the signature light, shatteringly crisp texture. Aim for even, gentle coverage that leaves crumb texture intact.
3.Fry in small, spaced batches: Adding more than 5 balls at a time drops the oil temperature rapidly, leading to greasy, soggy coating instead of a crisp crust. Wait 30 seconds between batches to let oil return to 350°F for consistent results.


✨ You May Also Like

Snacks & Appetizers
🍜 Mexico

Crispy thick-cut tortilla chips piled high with seasoned beef, melted cheese, and bright fresh toppings for a shareable, crowd-favorite bite.

⏱️ 25 minuteSnacks & Appetizers ★ 4.8
Snacks & Appetizers
🍜 United States

Crisp, sweet-tangy spiced pickled watermelon rind is a zero-waste summer staple, perfect with grilled meats, charcuterie, or eaten straight from the jar as a bright snack.

⏱️ 30 minuteSnacks & Appetizers ★ 4.6
Snacks & Appetizers
🍜 Germany

A tangy, jellied pork cold cut slow-simmered with aromatic spices, set into a firm sliceable loaf, served cold with mustard and crusty bread.

⏱️ 3 hours 4Snacks & Appetizers ★ 4.8
Snacks & Appetizers
🍜 United States

Creamy, tangy, perfectly seasoned hard-boiled egg halves filled with a rich, smooth yolk mixture, a timeless, crowd-pleasing bite for holiday and casual gatherings alike.

⏱️ 40 minuteSnacks & Appetizers ★ 4.8
Snacks & Appetizers
🍜 Russia

Silky, dill-forward no-smoke cured salmon, a Scandinavian classic with bright salty-sweet flavor, ideal for holiday starter platters and open-faced rye sandwiches.

⏱️ 48 hours Snacks & Appetizers ★ 4.7
Snacks & Appetizers
🍜 Japan

Crisp golden bottoms, juicy savory pork and vegetable filling, and tangy dipping sauce make these pan-fried gyoza a beloved shareable bite.

⏱️ 45 minuteSnacks & Appetizers ★ 4.8

goat cheese balls:Frequently Asked Questions

1.Why do you add cream cheese to the mixture instead of using 100% goat cheese? ▾
That’s such a common swap question! Straight fresh chèvre can be overly tangy and crumbly, which makes it prone to leaking out of the crispy coating as it fries. A small amount of cream cheese mellows that sharp tang, adds luxe, oozing creaminess, and helps the cheese bind tightly for a mess-free, perfectly textured center.
2.How do I keep the goat cheese balls from exploding or leaking cheese while frying? ▾
The number one trick is to freeze the formed, breaded cheese balls for at least 30 minutes before frying. That chills the cheese enough that the outer breading gets golden and crispy long before the cheese gets hot enough to burst through. Also, don’t overcrowd the fryer—too-cold oil from too many balls at once is another common leak culprit.
3.Can I make these goat cheese balls ahead of time for a party? ▾
Absolutely—these are ideal for party prep! Form, bread, and freeze the fully assembled cheese balls on a parchment-lined baking sheet, then transfer them to a sealed freezer bag for up to 2 weeks. You don’t even need to thaw them; pop them straight from the freezer into hot oil when guests arrive for fresh, crispy, perfectly melted bites every time.
4.What kind of dipping sauce pairs best with these herbed goat cheese balls? ▾
You’ve got tons of delicious options that complement that tangy, herby flavor! My go-tos are honey with a pinch of red pepper flakes, warm marinara, fig jam, creamy balsamic dip, or simple garlic aioli. Sweet, bright, or garlicky dips cut right through the rich, creamy cheese for a perfectly balanced bite.
5.Can I use dried thyme instead of fresh thyme in the cheese mixture? ▾
You can absolutely swap, just stick to the standard 3:1 fresh to dried herb ratio! For every tablespoon of fresh thyme the recipe calls for, use 1 teaspoon of rubbed dried thyme (skip ground thyme, which tastes dusty). Dried thyme is highly concentrated, so adding too much will overpower the delicate, tangy goat cheese.
6.What oil is best for frying these to get that extra crispy crust? ▾
Reach for a neutral, high-smoke-point oil like canola, vegetable, peanut, or avocado oil. These oils won’t add any off-flavors to the crispy crust, and they hold up perfectly to the 350°F frying temperature you need. Skip regular olive oil for frying here—it has a lower smoke point and will make bites taste bitter and greasy.
7.Do I need a deep fryer to make these, or can I use a regular stovetop pan? ▾
You don’t need any special equipment at all! A deep, heavy-bottomed skillet or Dutch oven works perfectly, as long as you have 1.5 to 2 inches of oil and a clip-on candy thermometer to track temperature. Just turn the balls occasionally as they cook to get an even, golden crispy crust on all sides.
8.Can I bake these goat cheese balls instead of frying them for a lighter version? ▾
You definitely can! Arrange the frozen breaded balls on a wire rack set over a baking sheet, spritz them generously with olive oil spray, and bake at 425°F for 12 to 14 minutes, flipping halfway through. They won’t be quite as shatteringly crisp as fried ones, but they’ll still have a crunchy crust and warm, oozing cheese center.
9.How do I get the breading to stick to the cheese balls without sliding off? ▾
Stick to the classic three-step breading method for a no-slip crust: roll each cold cheese ball in a thin layer of flour, dip fully in beaten egg, then press firmly into panko breadcrumbs to cover every spot. Let the breaded balls chill for 15 minutes before freezing to help the coating set tightly.
10.How much garlic powder and black pepper should I add to avoid overpowering the goat cheese? ▾
Start with ½ teaspoon of garlic powder and ¼ teaspoon of freshly ground black pepper for an 8-ounce block of goat cheese mixed with 4 ounces of cream cheese. You can always taste the cold cheese mixture before rolling balls and add a pinch more if you want a bolder kick—remember, cold food tastes less seasoned, so go light at first.
11.How long should I fry the balls to get a crispy outside and perfectly oozing inside? ▾
If frying from frozen (the method I always recommend), cook 3 to 4 balls at a time in 350°F oil for 2 to 2.5 minutes total, turning once halfway through. They’re done when the crust is a deep, even golden brown. Don’t cook them longer, or the cheese will get hot enough to burst through the crust and leak into the oil.
12.Can I add other mix-ins to the goat cheese base for extra flavor? ▾
Absolutely! The simple herbed goat cheese base is super versatile. Try stirring in finely chopped sun-dried tomatoes, a pinch of red pepper flakes for heat, chopped fresh chives, or finely crumbled cooked bacon for a smoky twist. Just keep mix-ins finely chopped so they don’t poke holes in the breading as you form balls.

Comments (5)

2 days ago

OMG these were such a hit at my neighborhood potluck last weekend! I was worried the goat cheese would ooze out while frying but they got perfectly crispy on the outside and stayed rich and creamy inside. My 7 year old kept sneaking them off the platter before guests even arrived 😂 I added a tiny extra sprinkle of red pepper flakes on top for a little kick, 10/10 will make again for game night next month!

yesterday

So happy these were a potluck hit, Mia! Love the red pepper flake addition—such a great way to cut through the tangy richness of the goat cheese. Pro tip for next time: if you freeze the prepped balls for 15 minutes before frying, they hold their shape even better if you’re worried about oozing!

3 days ago

Game changer alert! I made these as an appetizer for our Sunday football watch party and every single one was gone in 10 minutes flat. The herb coating is so flavorful I didn’t even need a dipping sauce, though a side of hot honey went crazy good with them. Super easy too, I thought fried goat cheese would be way more fussy for a quick weeknight or game day prep.

2 days ago

Wait how did you get the panko to stick so evenly? Mine kept sliding off when I tried to fry them last night, I was so frustrated! Half of them ended up with bare spots and lost all that crispy crunch.

yesterday

Great question, Lizzy! The key is following the standard breading station order: first a light dip in flour, then beaten egg, then press the herbed panko firmly into the cheese so it adheres really well. Popping the coated balls in the fridge for 20 minutes before frying also helps the coating stay put while they cook!

1 week ago

SO good! I made a batch for my weekly meal prep to toss on top of salads all week and they hold up way better than I expected. I air fried mine at 400F for 8 minutes instead of pan frying and they got just as crispy with way less mess. Perfect easy protein and flavor boost for boring work lunches.

yesterday

My kids loved it! I was looking for a quick fancy-ish appetizer to bring to my sister’s birthday dinner and these looked impressive but took almost no time to throw together. I used a mix of chives, thyme, and rosemary from my windowsill herb garden and the flavor was so fresh. Only note: make sure your oil is hot enough before dropping them in, my first batch got a little soggy because I rushed it.

2 hours ago

Thanks so much for the great feedback, and happy the kids were fans! You’re totally right about oil temp—keeping it steady around 350F is the sweet spot for that shatteringly crisp crust without any sogginess. Homegrown herbs sound like the absolute perfect touch here!

30 minutes ago

Wait, can I make these ahead of time and freeze them? I’m hosting a big holiday party in a few weeks and trying to knock out as much prep as I can ahead of time so I’m not running around the kitchen the whole time. These look perfect for a crowd!

5 minutes ago

I froze a batch a couple weeks ago for my own house party! Just bread them, freeze them solid on a baking sheet, then toss in a freezer bag. Fry straight from frozen, add a couple extra minutes cook time, and they turn out exactly as crispy as fresh ones. No weird texture issues at all!

just now

Great question, Erin! Kevin is totally right—these freeze beautifully for up to 3 months before cooking. No need to thaw them first, just fry for an extra 2-3 minutes until golden and heated all the way through, and they’ll taste just as fresh as the day you prepped them. Perfect for low-stress party hosting!



