
Gravy

title 1
Gravy
⏱️ cook time 15 minutes
🍽️ servings 4
⚡ Difficulty easy

intro

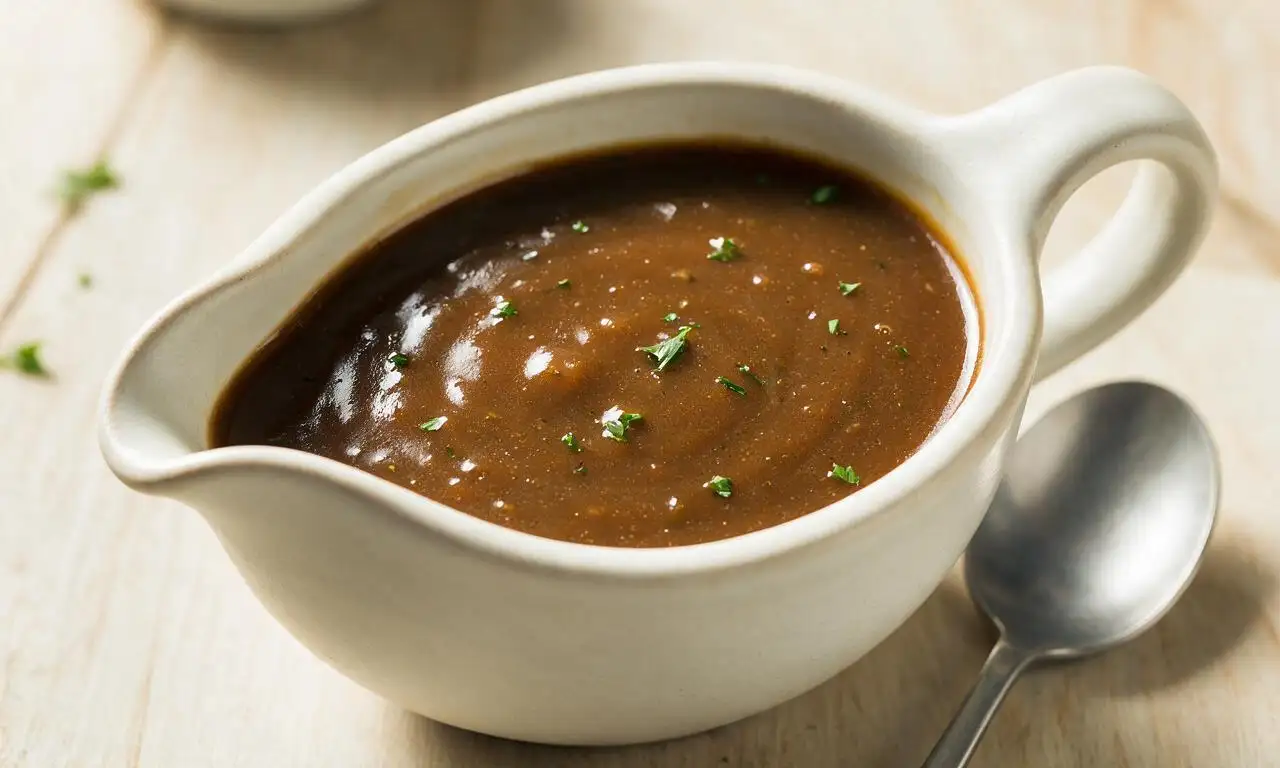
Rich, silky, deeply savory pan gravy made from roasted meat drippings, perfect for draping over turkey, mashed potatoes, and holiday sides.

Ingredients

Roasted turkey/chicken pan drippings (fat and browned bits) 4 tbsp (60ml)
Low-sodium turkey broth 2 cups (480ml)
All-purpose flour 3 tbsp (24g)
Unsalted butter 1 tbsp (14g, for topping up fat if needed)
Kosher salt 1/2 tsp (3g)
Freshly ground black pepper 1/4 tsp (1g)
Fresh thyme leaves (optional) 1 tsp (1g)

Steps

1

Collect and strain drippings

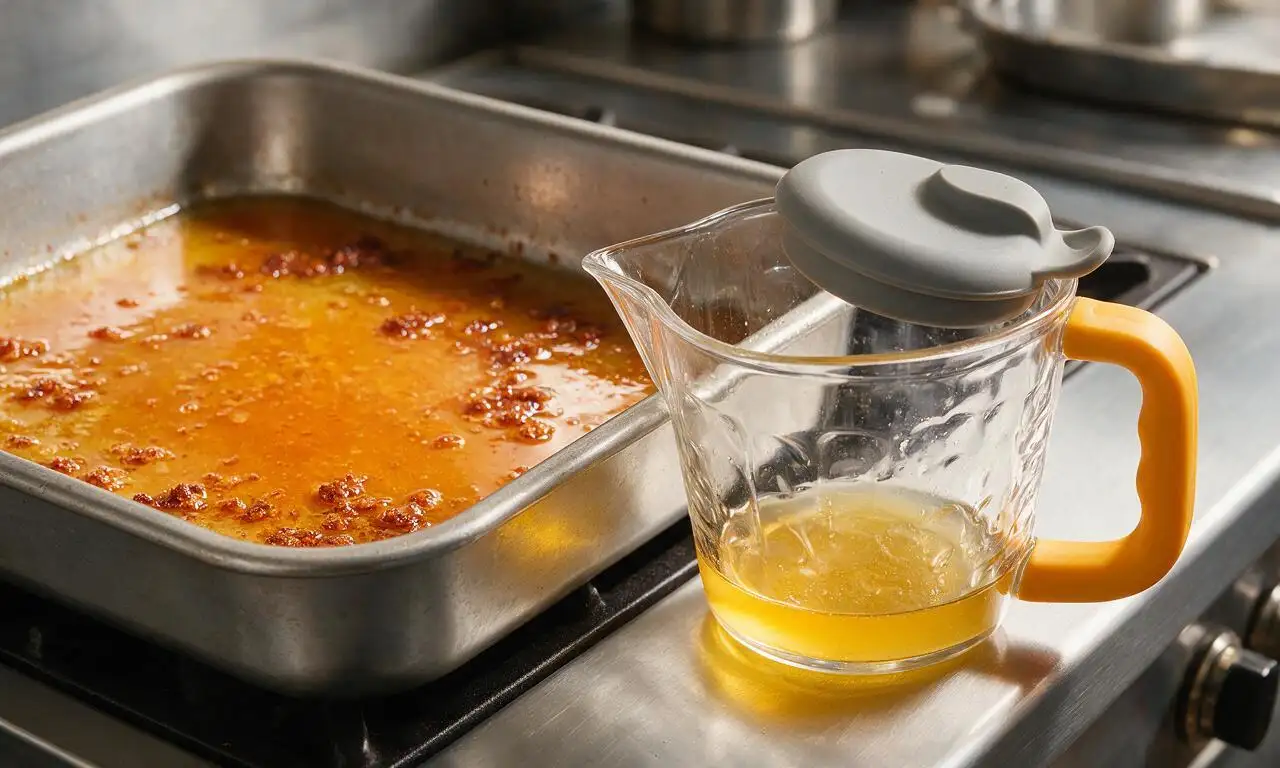
After removing your roasted turkey or chicken from the roasting pan, place the pan on the stovetop over medium-low heat. Pour all collected drippings (fat and caramelized brown bits) into a fat separator, let rest 2 minutes to allow fat to separate from meaty cooking juices; reserve 4 tbsp of the fat and all the browned jus, discarding any excess fat.
Step 1
step1:Collect and strain drippings
2

Make the golden roux

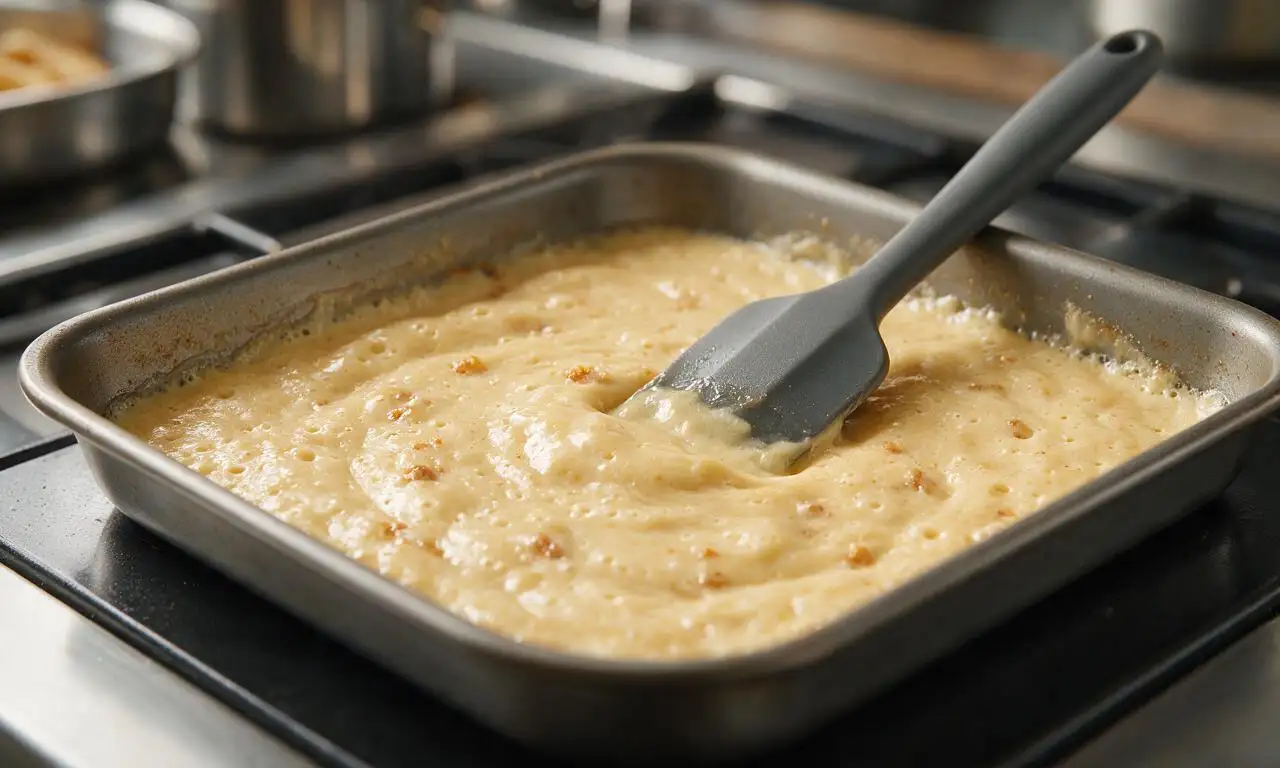
Return the 4 tbsp of reserved fat to the roasting pan (top up with 1 tbsp unsalted butter if you have less than 4 tbsp of fat) set over medium heat. Slowly whisk in 3 tbsp all-purpose flour to form a smooth, loose paste, stirring constantly for 3 minutes until the roux turns a light golden tan and releases a nutty aroma, ensuring no dry lumps remain.
Step 2
step2:Make the golden roux
3

Deglaze the roasting pan

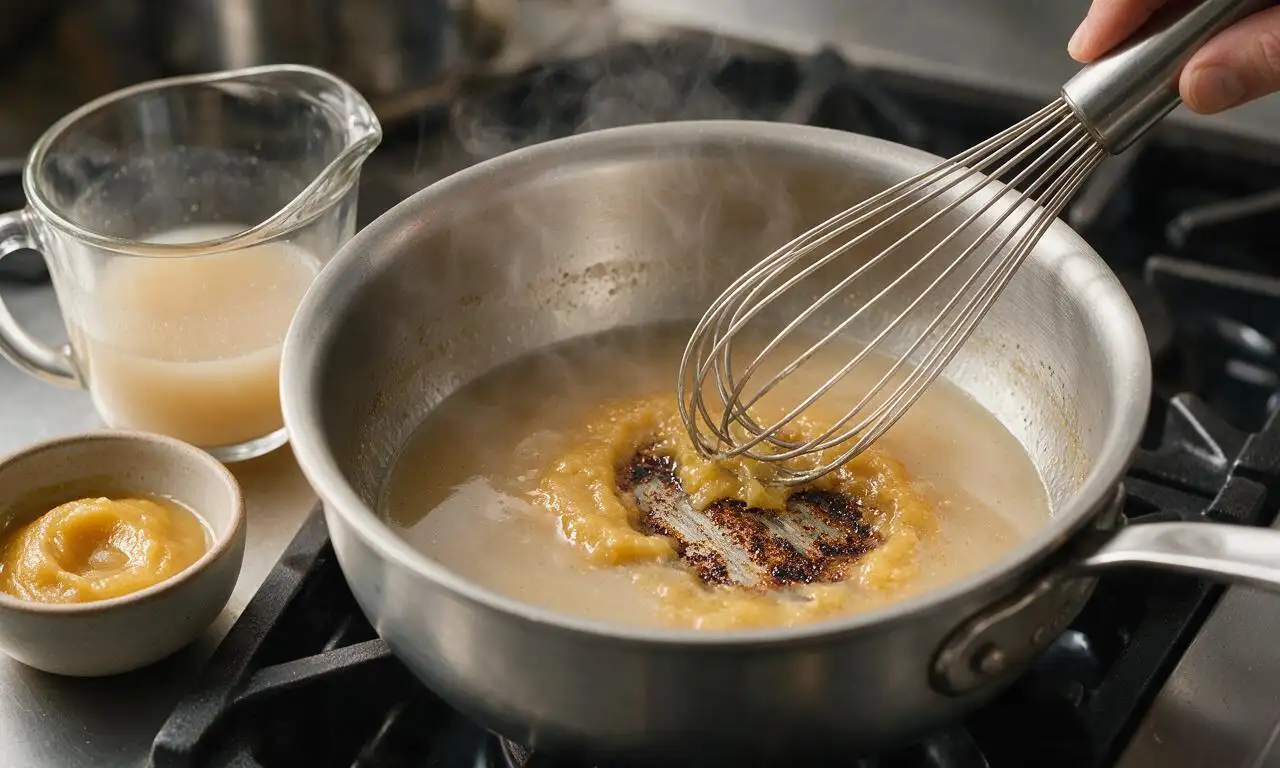
Slowly pour in 1/2 cup (120ml) of turkey broth while whisking vigorously, scraping up all the dark brown fond (stuck cooked bits) from the pan bottom as the liquid bubbles. Continue whisking for 1 minute until the mixture thickens into a smooth, lump-free paste-like consistency.
Step 3
step3:Deglaze the roasting pan
4

Incorporate remaining broth

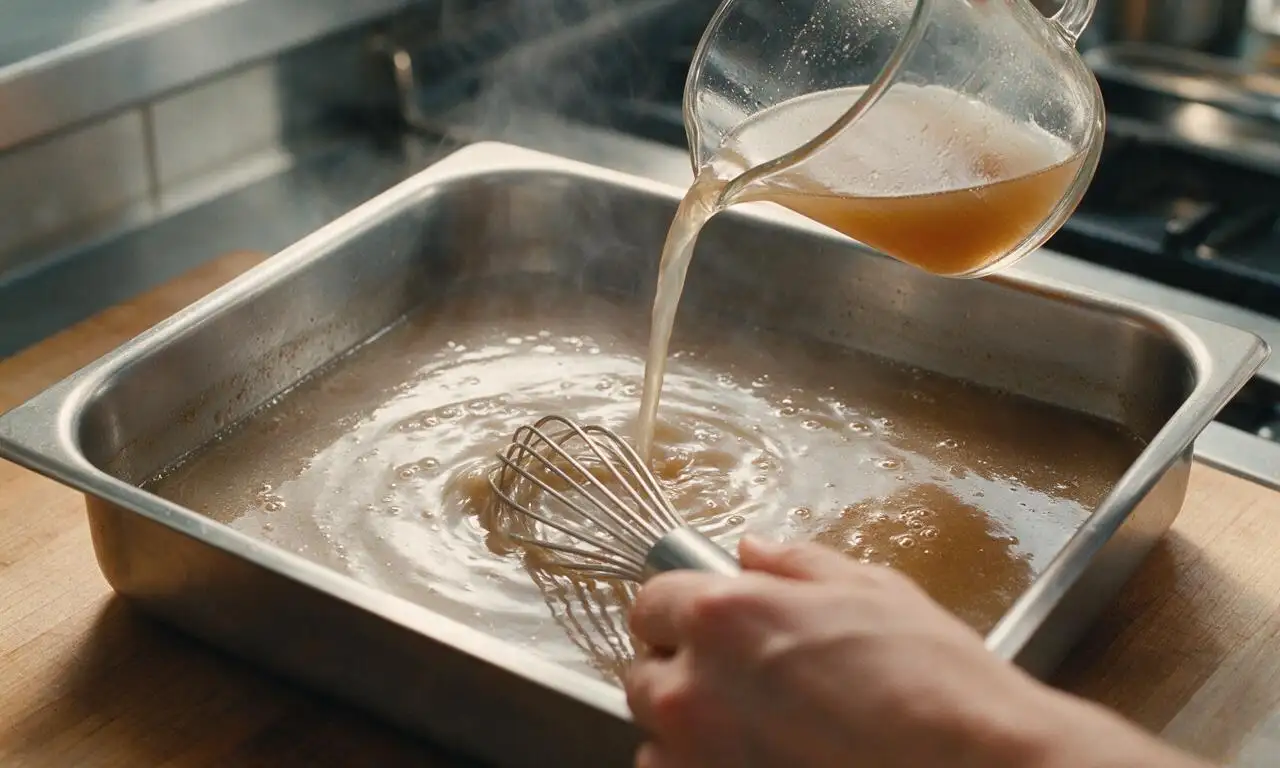
Gradually whisk in the remaining 1.5 cups (360ml) of turkey broth and the reserved separated meat juices from the drippings, adding liquid in 1/2 cup increments to prevent lumps from forming. Bring the entire mixture to a gentle simmer over medium heat, stirring occasionally.
Step 4
step4:Incorporate remaining broth
5

Simmer to perfect thickness

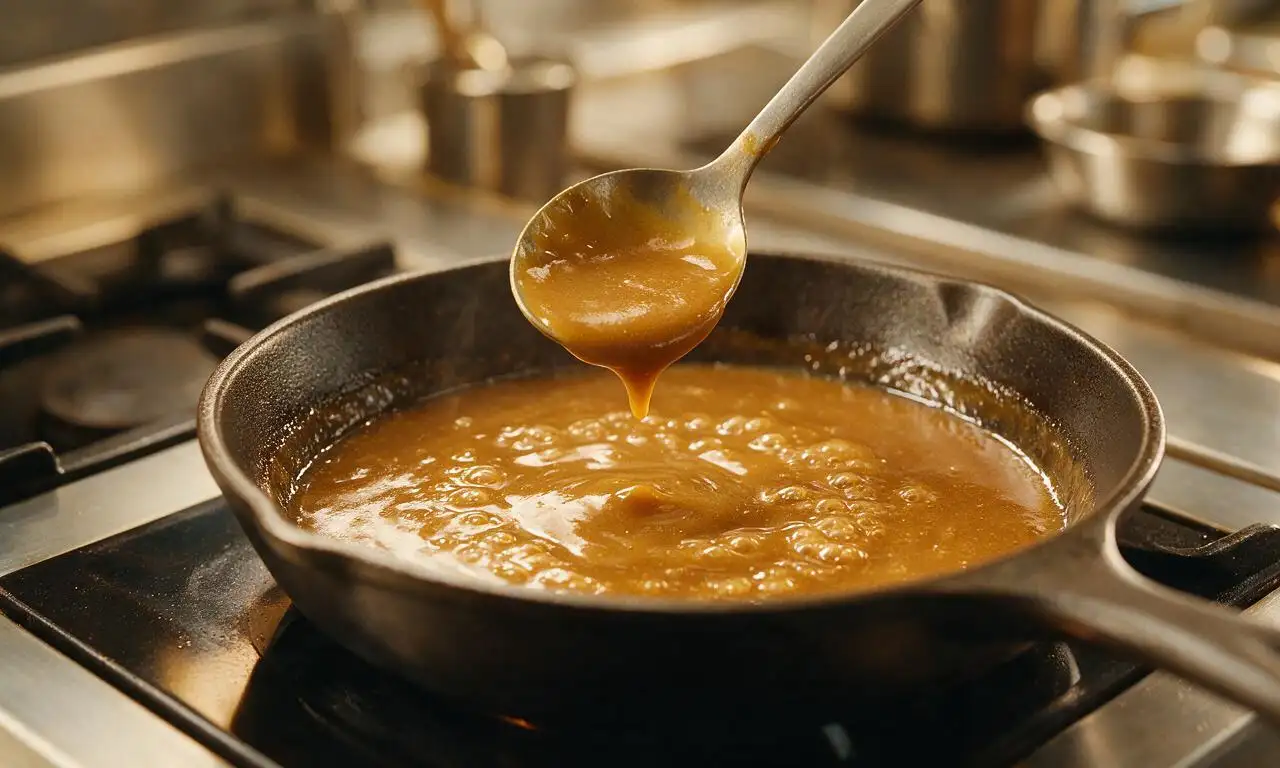
Reduce heat to medium-low, let the gravy simmer uncovered for 5 minutes, stirring every 30 seconds, until it thickens enough to coat the back of a metal spoon (it will thicken slightly more as it cools). Stir in 1/2 tsp kosher salt, 1/4 tsp freshly ground black pepper, and 1 tsp fresh thyme leaves if using.
Step 5
step5:Simmer to perfect thickness
6

Strain and serve hot

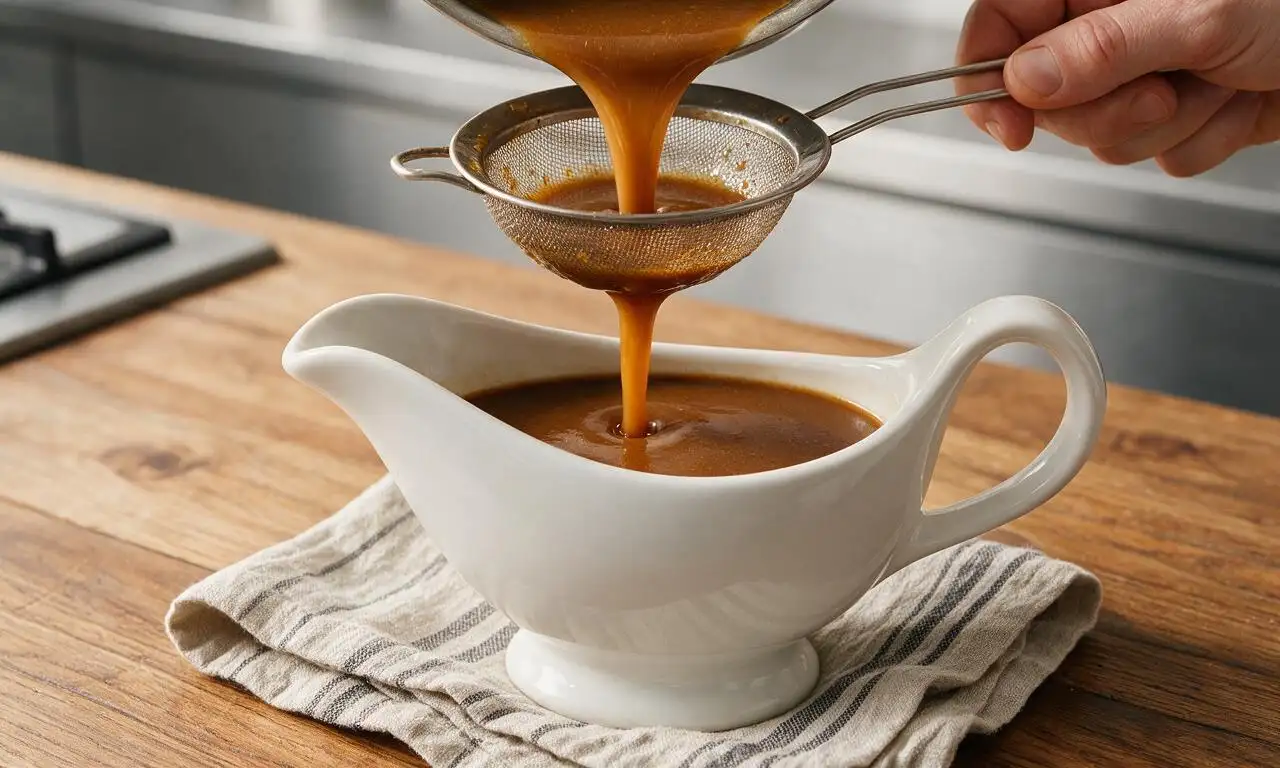
Pour the finished gravy through a fine-mesh sieve into a pre-warmed gravy boat to remove any small lumps or herb stems, pressing gently on any trapped solid bits to extract all their flavor. Taste and adjust salt if needed, then serve immediately while hot.
Step 6
step6:Strain and serve hot

Tips

1.If lumps form despite constant whisking, blend the gravy for 10 seconds with an immersion blender or strain it twice through a fine sieve for a perfectly silky texture.
2.Adjust consistency as needed: thin overly thick gravy with extra broth 1 tbsp at a time, or thicken thin gravy by simmering 2-3 extra minutes, or stirring in a slurry of 1 tsp cornstarch mixed with 1 tbsp cold water.
3.For extra umami depth, stir in 1 tsp Worcestershire sauce or a splash of dry white wine when adding the broth, but avoid adding too much as it will overpower the natural meaty flavor of the drippings.


✨ You May Also Like

Side Dishes
🍜 India

Velvety, aromatic all-purpose curry sauce perfect for tossing with roasted veggies, grilled protein, or rice for fast, cozy, flavorful meals.

⏱️ 25 minuteSide Dishes ★ 4.8
Side Dishes
🍜 Spain

Tender, starchy boiled yuca tossed in bright, garlicky citrus mojo sauce—an iconic, zesty side that pairs beautifully with roasted pork, grilled meats, and rice and beans.

⏱️ 40 minuteSide Dishes ★ 5
Side Dishes
🍜 United States

Tender, paper-thin potato flatbread, a beloved Norwegian-American Minnesota Christmas staple, griddled until softly spotted and served warm with butter.

⏱️ 1 hour 30Side Dishes ★ 4.6
Side Dishes
🍜 United States

Rich, deeply savory cured salt pork, a long-lasting kitchen staple perfect for frying crispy as a side or adding umami to stews, beans, and chowders.

⏱️ 7 days (2Side Dishes ★ 4.9
Side Dishes
🍜 United States

Crispy, tangy classic Southern fried green tomatoes with a crunchy cornmeal crust, served hot for a nostalgic, comforting summery bite.

⏱️ 25 minuteSide Dishes ★ 4.9
Side Dishes
🍜 United States

Moist, golden-crusted savory muffins with sweet corn, zesty jalapeño, and melted cheddar, perfect for pairing with smoky summer grilled fare.

⏱️ 30 minuteSide Dishes ★ 4.9

Gravy:Frequently Asked Questions

1.Can I make this pan gravy if I don’t collect enough drippings from my roasted turkey or chicken? ▾
Absolutely! If you’re short on drippings, supplement the rendered fat with extra unsalted butter to hit ¼ cup total fat, and add a tiny pinch of poultry seasoning and ¼ teaspoon low-sodium soy sauce to replicate the deep, savory browned bit flavor. Use the full measured amount of turkey broth, and your gravy will still turn out rich and well-rounded.
2.Why does my gravy turn out lumpy, and how do I fix it if that happens mid-cook? ▾
Lumps almost always form when flour is added too quickly to hot fat, or when cold broth is poured in all at once without constant whisking. If lumps pop up, simply pour the gravy through a fine-mesh sieve set over a bowl, pressing gently to extract smooth liquid, then return it to the pan to reheat briefly before serving.
3.What ratio of fat to flour should I use to get that perfect silky, not-too-thick gravy? ▾
For classic, silky, pourable gravy that coats a spoon without turning gummy or gluey, stick to a 1:1 ratio of fat to all-purpose flour: ¼ cup total fat (drippings topped with butter as needed) to ¼ cup flour for every 2 cups of turkey broth. Cook that roux 2 to 3 minutes to remove raw flour taste before streaming in broth.
4.Can I make this pan gravy ahead of time for holiday meals, and how should I reheat it? ▾
You absolutely can! Make the gravy up to 3 days ahead, store it in an airtight container in the fridge, and reheat it gently in a small saucepan over low heat, whisking occasionally. If it thickens too much as it cools, stir in a splash of extra turkey broth or warm water to thin it to your preferred consistency.
5.Do I really need to use low-sodium turkey broth, or can I use regular full-sodium broth? ▾
Low-sodium broth is strongly recommended because pan drippings are often naturally salty from the meat and any roast seasoning, making it very easy to over-salt gravy if you start with full-sodium broth. If you only have regular broth, hold off on adding extra kosher salt until the very end, when you can taste and adjust slowly.
6.What are those crusty brown bits stuck to the bottom of my roasting pan, and do I need them? ▾
Those crusty, caramelized bits are called fond, and they’re the secret to deep, roasty, meaty gravy flavor. Don’t skip them! After removing your roasted bird, set the pan over low stovetop heat, and scrape them up with a wooden spoon as you build your roux to dissolve every last flavorful bit.
7.My gravy tastes really bland—what usually causes that, and how can I fix it fast? ▾
Bland gravy usually happens when you don’t cook the roux long enough, fail to incorporate all the browned fond bits from the roasting pan, or under-season. Fix it quickly by stirring in a tiny pinch of kosher salt, a crack of black pepper, a small splash of Worcestershire, or a squeeze of fresh lemon juice to brighten and amp up savory notes.
8.Can I use this same recipe method to make gravy for roasted chicken, pork, or beef instead of turkey? ▾
Absolutely! This reliable method works for any roasted meat gravy. Simply swap the turkey broth for a matching broth (chicken, beef, or pork) to complement your roast, and use the exact same 1:1 fat to flour ratio, scraping up all pan fond for that deep, roasted flavor every time.
9.How long do I need to cook the gravy after adding broth to get the right texture? ▾
After streaming in all your broth while whisking constantly, bring the gravy to a gentle simmer and cook 3 to 5 minutes, stirring occasionally, until it thickens enough to coat the back of a spoon. Keep in mind it will thicken slightly more as it cools, so avoid overcooking it to a pasty, gluey consistency.
10.I don’t eat gluten—can I make this gravy with a gluten-free thickener instead of all-purpose flour? ▾
You can easily make this gluten-free by swapping the all-purpose flour for a 1:1 gluten-free all-purpose baking flour with xanthan gum, or using 2 tablespoons of cornstarch mixed with 2 tablespoons cold water (a slurry) instead of a flour roux. Whisk the slurry into simmering broth and cook 1 to 2 minutes until thickened.
11.My finished gravy is too greasy and leaves a fatty film on top—what’s the easiest fix? ▾
If your finished gravy feels overly rich and leaves a slick, greasy film on your tongue, fix it fast by skimming visible excess fat off the top with a spoon, tossing in a couple ice cubes for 2 to 3 seconds (fat will stick to the cold ice, which you can pull right out), or pouring it through a fat separator before serving.

Comments (3)

2 days ago

OMG this is a total game changer! I’ve messed up pan gravy so many times before that I just used to buy the jarred stuff out of embarrassment, but this came out perfectly smooth on my first try? Served it over mashed potatoes and fried chicken for our Sunday family dinner, my kids loved it so much they asked for extra gravy on their broccoli too. 15 minutes cook time is no joke, it came together so fast while my chicken rested. 10/10 will never buy store bought again!

yesterday

Wait this is such a relief to hear! I’ve avoided making pan gravy for years because mine always comes out lumpy no matter how hard I whisk, and I’m hosting our fall neighborhood potluck next weekend. I was gonna just grab a couple jars from the grocery store, but I’m definitely testing this recipe out before then!

2 hours ago

So happy to hear this recipe is helping folks skip the store-bought stuff! Quick pro tip for both of you: if you ever run into a few stubborn lumps, just pour the finished gravy through a fine mesh sieve before serving and it’ll come out perfectly silky every time. Good luck with that potluck!

30 minutes ago

Super easy recipe, came out great! Quick question though — can I make this ahead for meal prep and reheat it later in the week? I usually prep all my Sunday meals for work lunches and this would be perfect to go with my turkey meatloaf and roasted veggies.

5 minutes ago

Great question! You absolutely can make this ahead for meal prep — let it cool completely, store it in an airtight container in the fridge for up to 4 days, and reheat it slowly on the stovetop over low heat, stirring often. If it thickens up too much in the fridge, just stir in a tiny splash of chicken broth or milk to get it back to your ideal consistency. Hope it makes your work lunches taste extra cozy!

1 week ago

SO good. I made this last night to go with sliders I made from frozen leftover Thanksgiving turkey (yes, I still have a random container in the back of my freezer, don’t judge) and it tasted exactly like the smooth, savory gravy my grandma used to make for Sunday suppers. None of that weird artificial aftertaste you get from the packet or jarred stuff, just pure, rich pan flavor. I added a tiny pinch of extra cracked black pepper and a splash of Worcestershire sauce because that’s how grandma always made hers, and it slapped. Will be whipping this up every time I roast chicken or pork from now on!



