
Green Bean Casserole

title 1
Green Bean Casserole
⏱️ cook time 40 minutes
🍽️ servings 6
⚡ Difficulty easy

intro

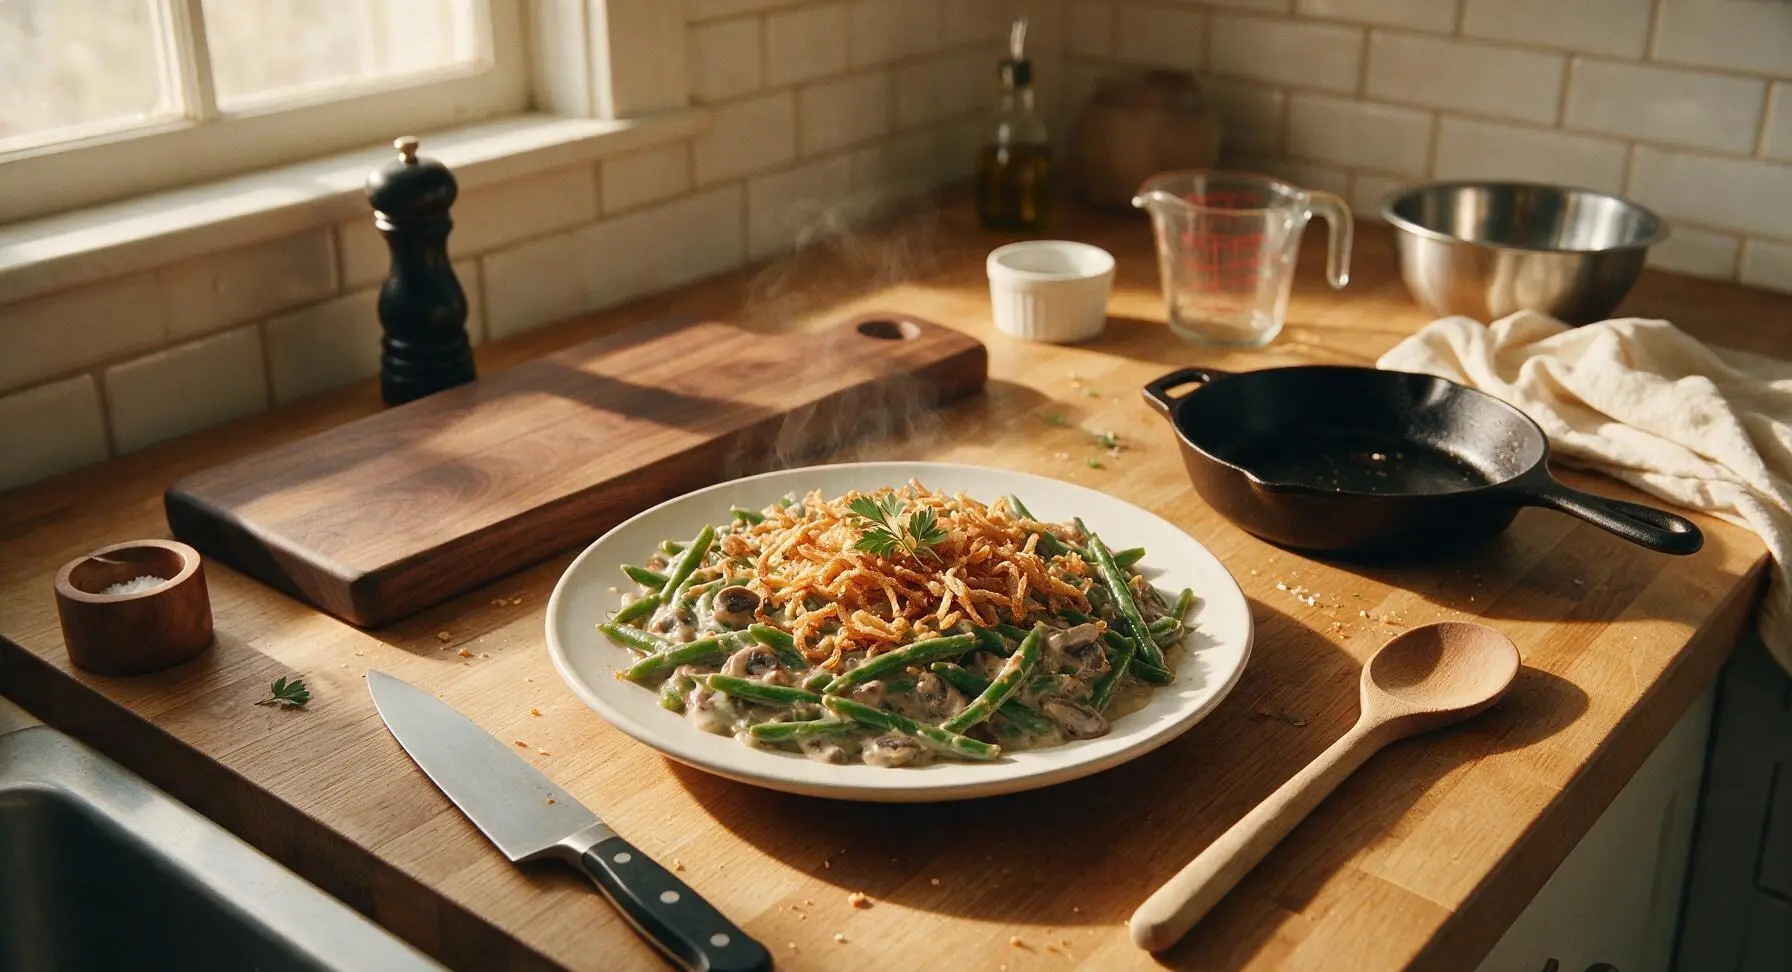
Creamy, crunchy, and endlessly comforting, this from-scratch green bean casserole has tender fresh beans, rich mushroom sauce, and crispy fried onion topping: a beloved holiday table staple.

Ingredients
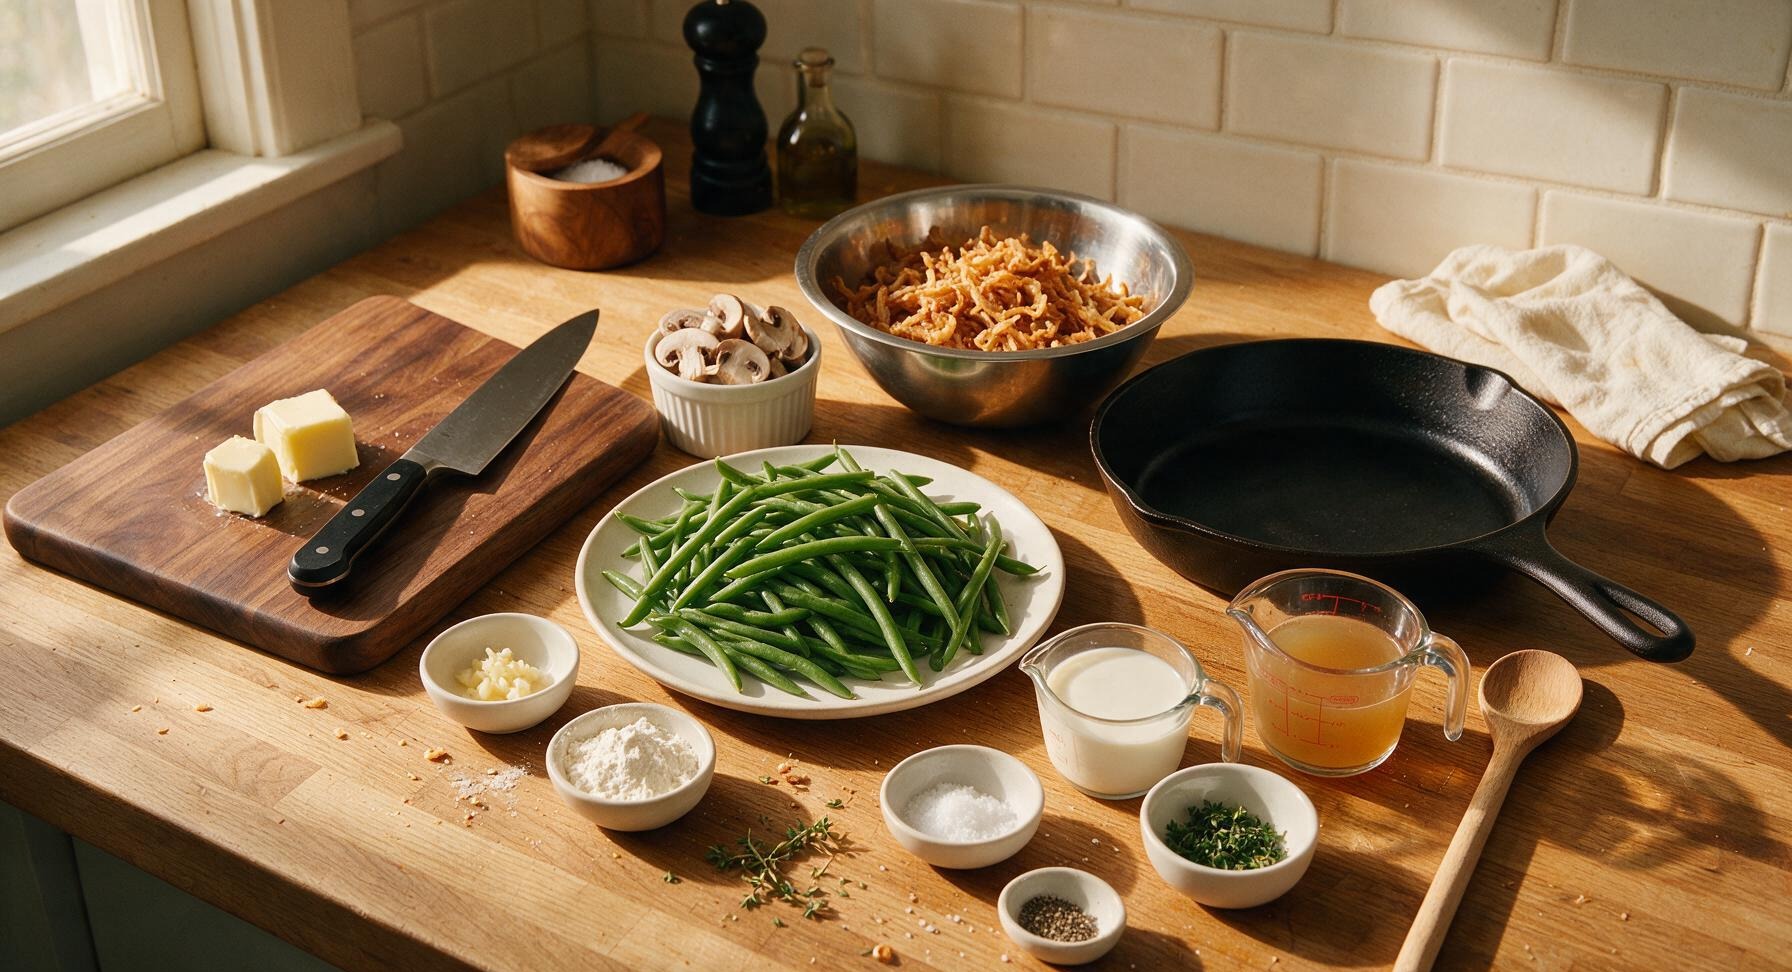
Fresh green beans, trimmed 1.5 lbs (680g)
Cremini mushrooms, sliced 8 oz (225g)
Crispy fried onions, divided 1.5 cups
Unsalted butter 3 tbsp
Garlic cloves, minced 2 cloves
All-purpose flour 2 tbsp
Whole milk 1 cup (240ml)
Low-sodium chicken broth 1/2 cup (120ml)
Fresh thyme, chopped (plus extra sprigs for garnish) 1 tsp
Kosher salt 1 tsp
Ground black pepper 1/2 tsp

Steps

1

Blanch Fresh Green Beans

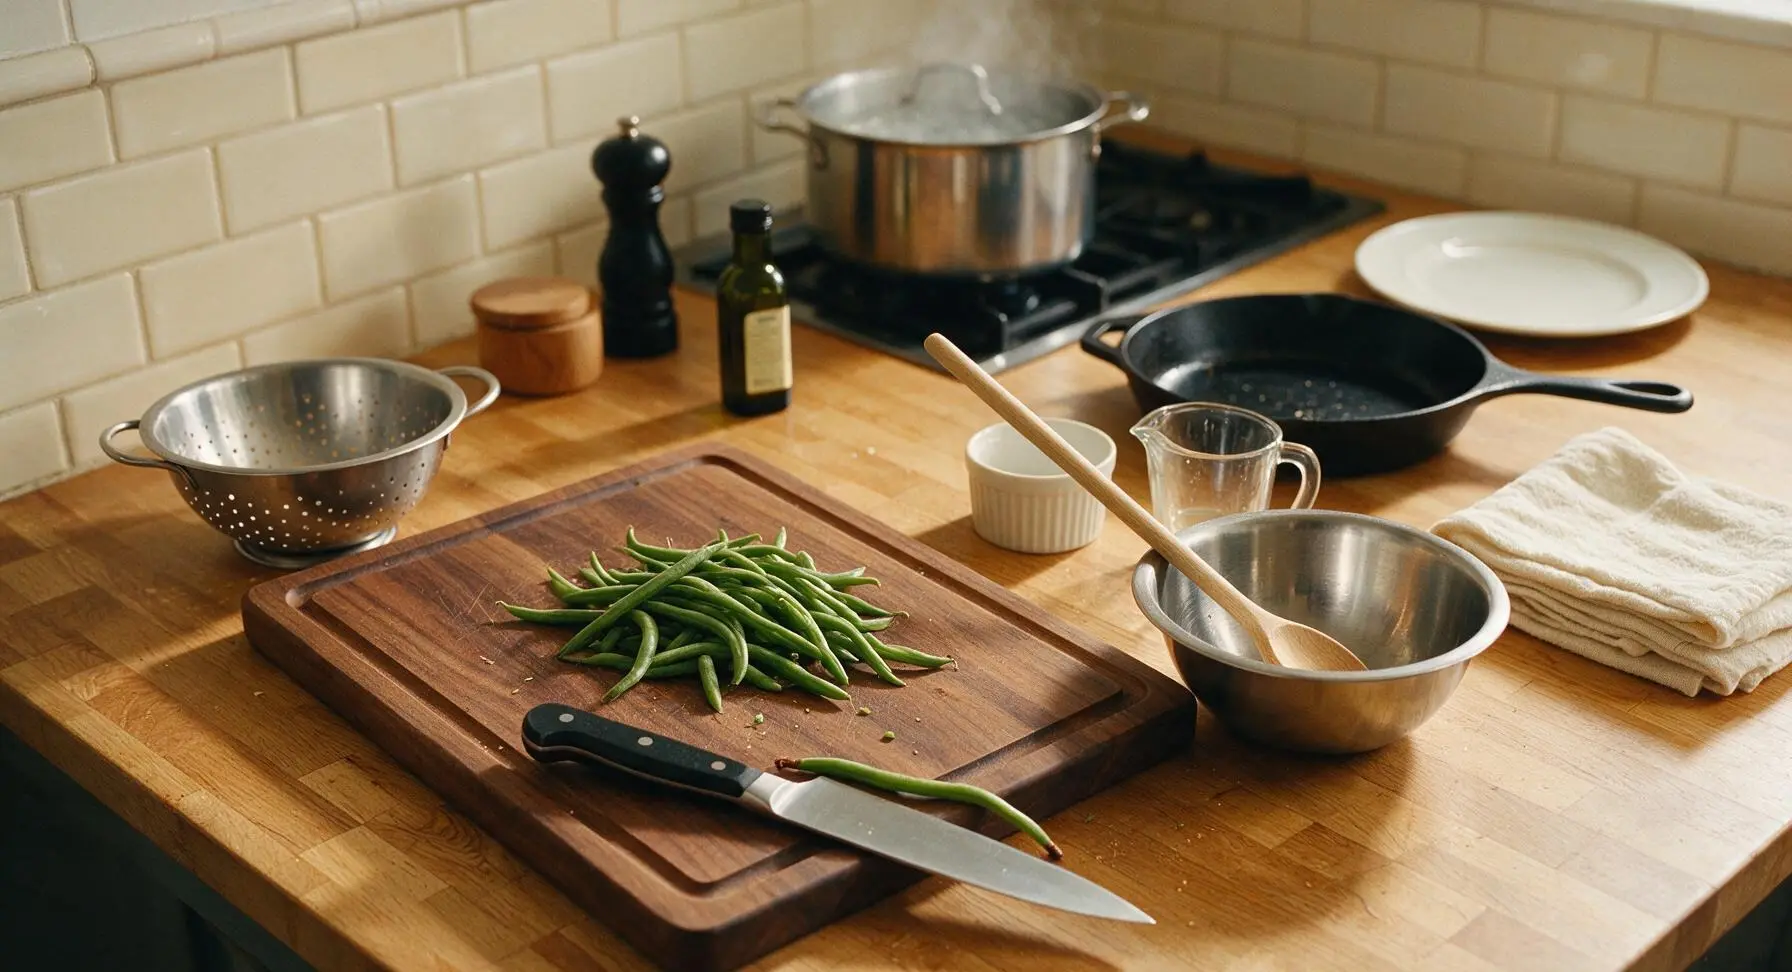
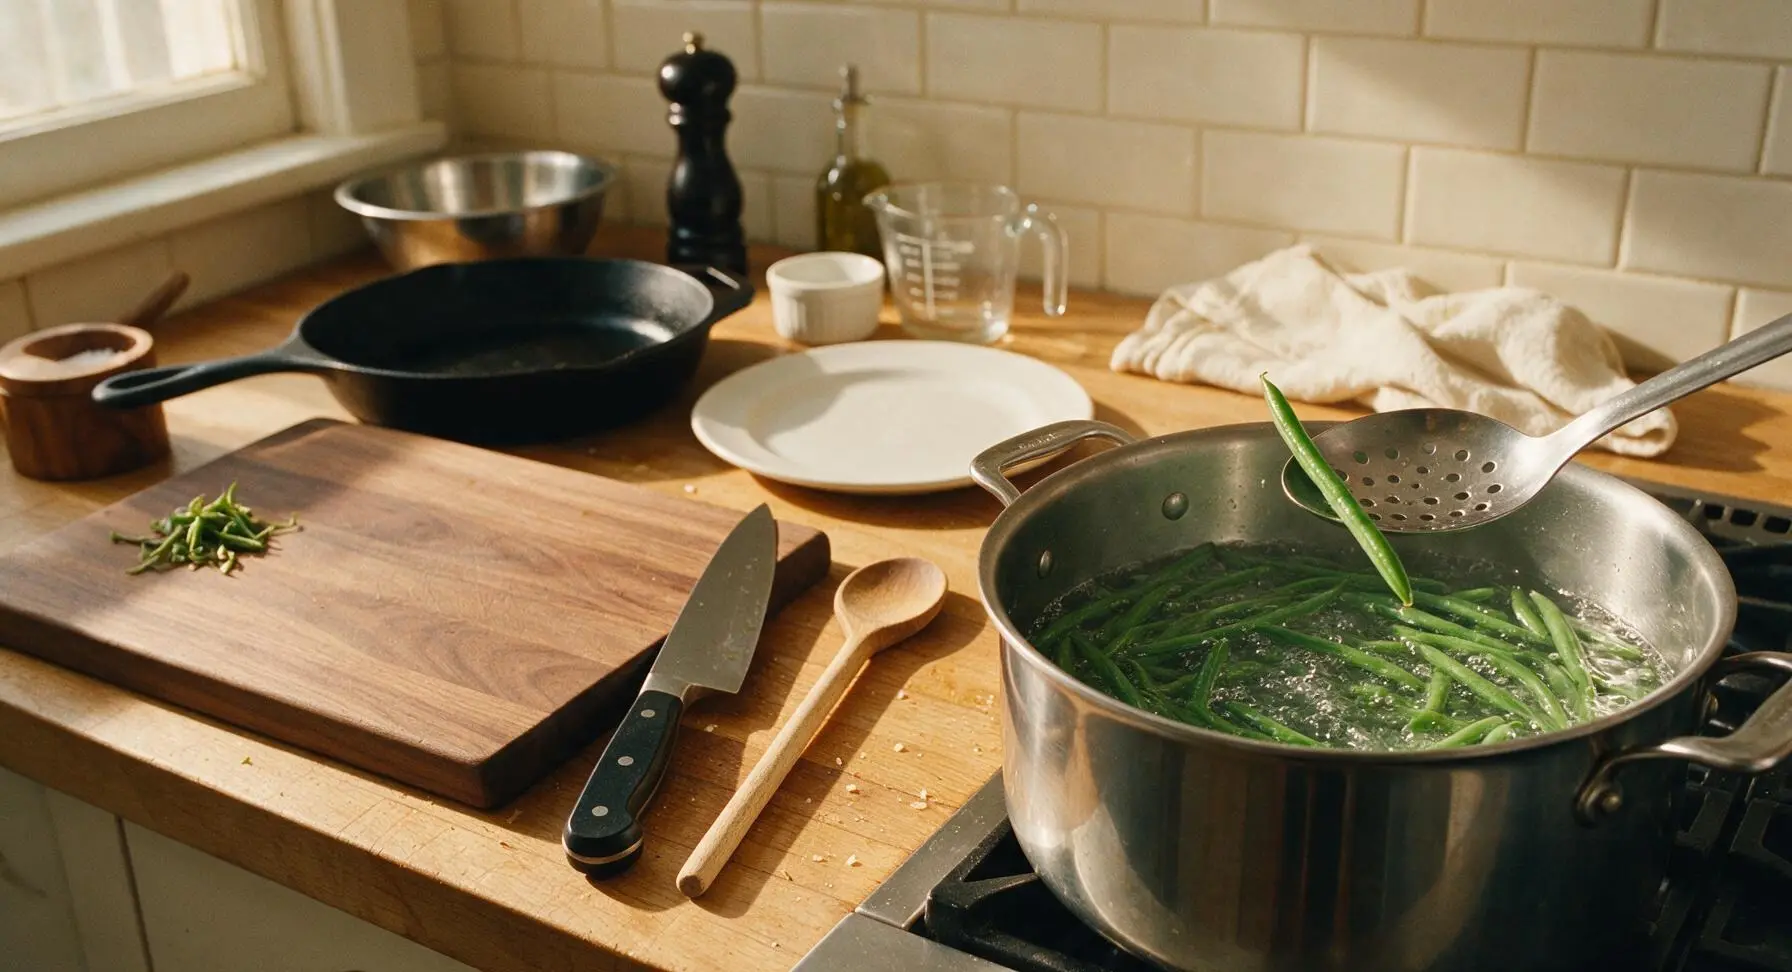
First, rinse green beans under cool running water in the stainless steel colander, then transfer to the acacia wood cutting board. Use the chef knife to trim off and discard the tough woody stem ends from each bean. Bring 4 quarts of heavily salted water to a rolling boil in the 5-quart stock pot over high heat. Add trimmed green beans and cook for exactly 4 minutes, until bright vivid green and crisp-tender (a properly cooked bean will snap cleanly when bent, not bend limply). Drain immediately and plunge beans into a bowl of ice water for 3 minutes to stop the cooking process and lock in color, then drain fully and set aside.
Step 1
step1:Blanch Fresh Green Beans
Step 1
step1:Blanch Fresh Green Beans
2

Sauté Mushrooms and Aromatics

Melt 3 tablespoons unsalted butter in the 10-inch light gray enameled cast iron skillet over medium heat. Add sliced cremini mushrooms in an even layer, cook for 6-7 minutes, stirring occasionally with the slotted spoon, until mushrooms release all their moisture, turn deep golden brown at the edges, and the pan is nearly dry. Add 2 minced garlic cloves and 1 teaspoon chopped fresh thyme, cook for 30 seconds until fragrant, taking care not to burn the garlic (burnt garlic will turn the sauce bitter).
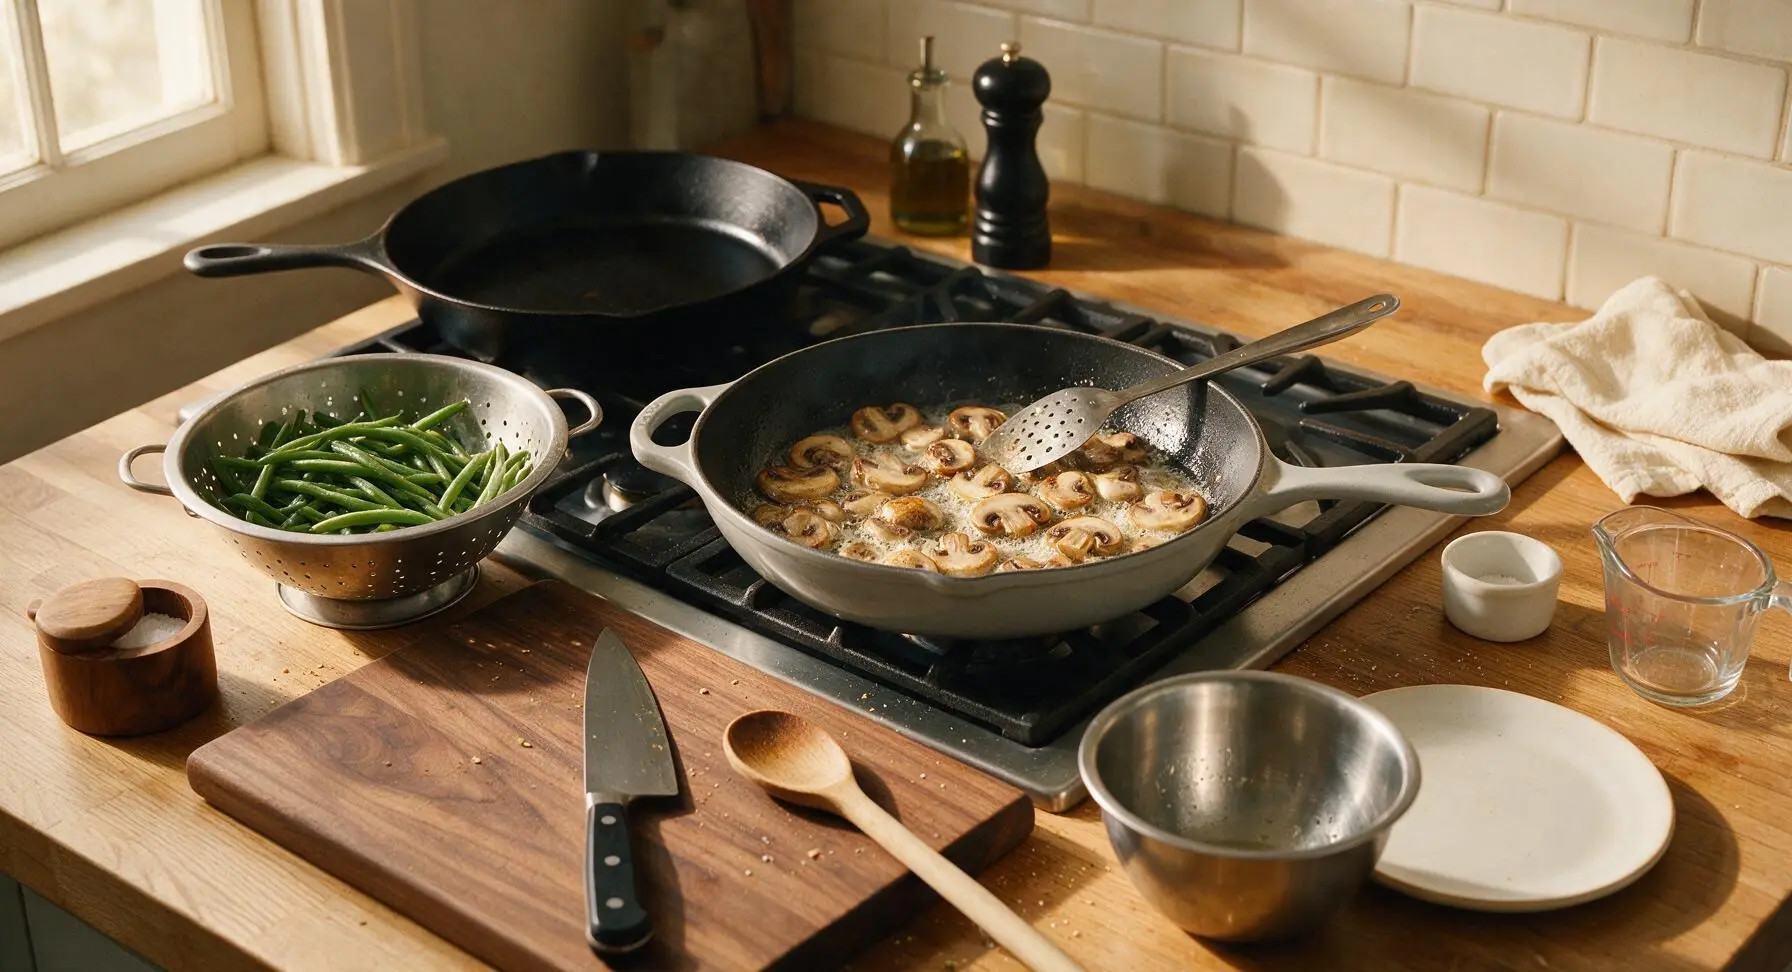
Step 2
step2:Sauté Mushrooms and Aromatics
3

Make Creamy Mushroom Sauce

Sprinkle 2 tablespoons all-purpose flour evenly over the cooked mushroom and garlic mixture, stir constantly with the silicone whisk for 1 full minute to cook out the raw flour taste, until the flour coats all mushrooms and forms a light golden, fragrant roux. Slowly pour in 1/2 cup low-sodium chicken broth while whisking constantly to prevent lumps, then slowly stream in 1 cup whole milk, continuing to whisk to combine. Bring the sauce to a gentle simmer, cook for 3-4 minutes, until thickened enough to coat the back of a spoon (run a clean finger across the coated spoon; the sauce should hold a clean line without running). Season with 1 teaspoon kosher salt and 1/2 teaspoon ground black pepper, taste and adjust seasoning if needed.
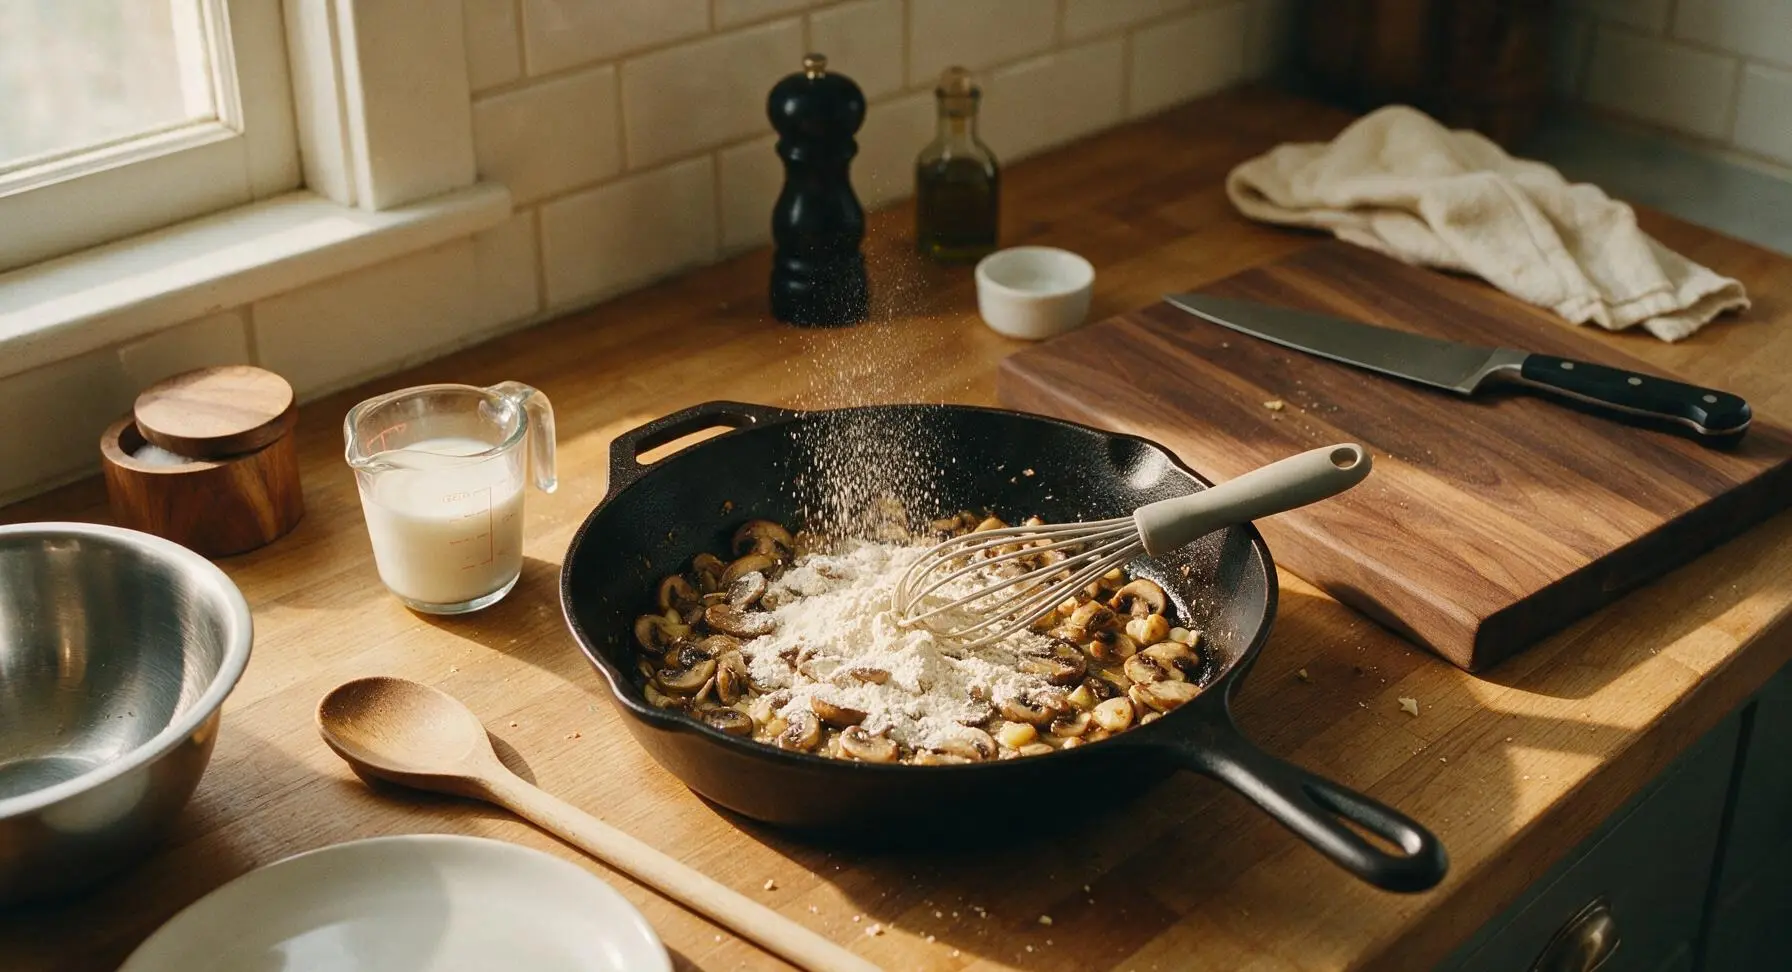
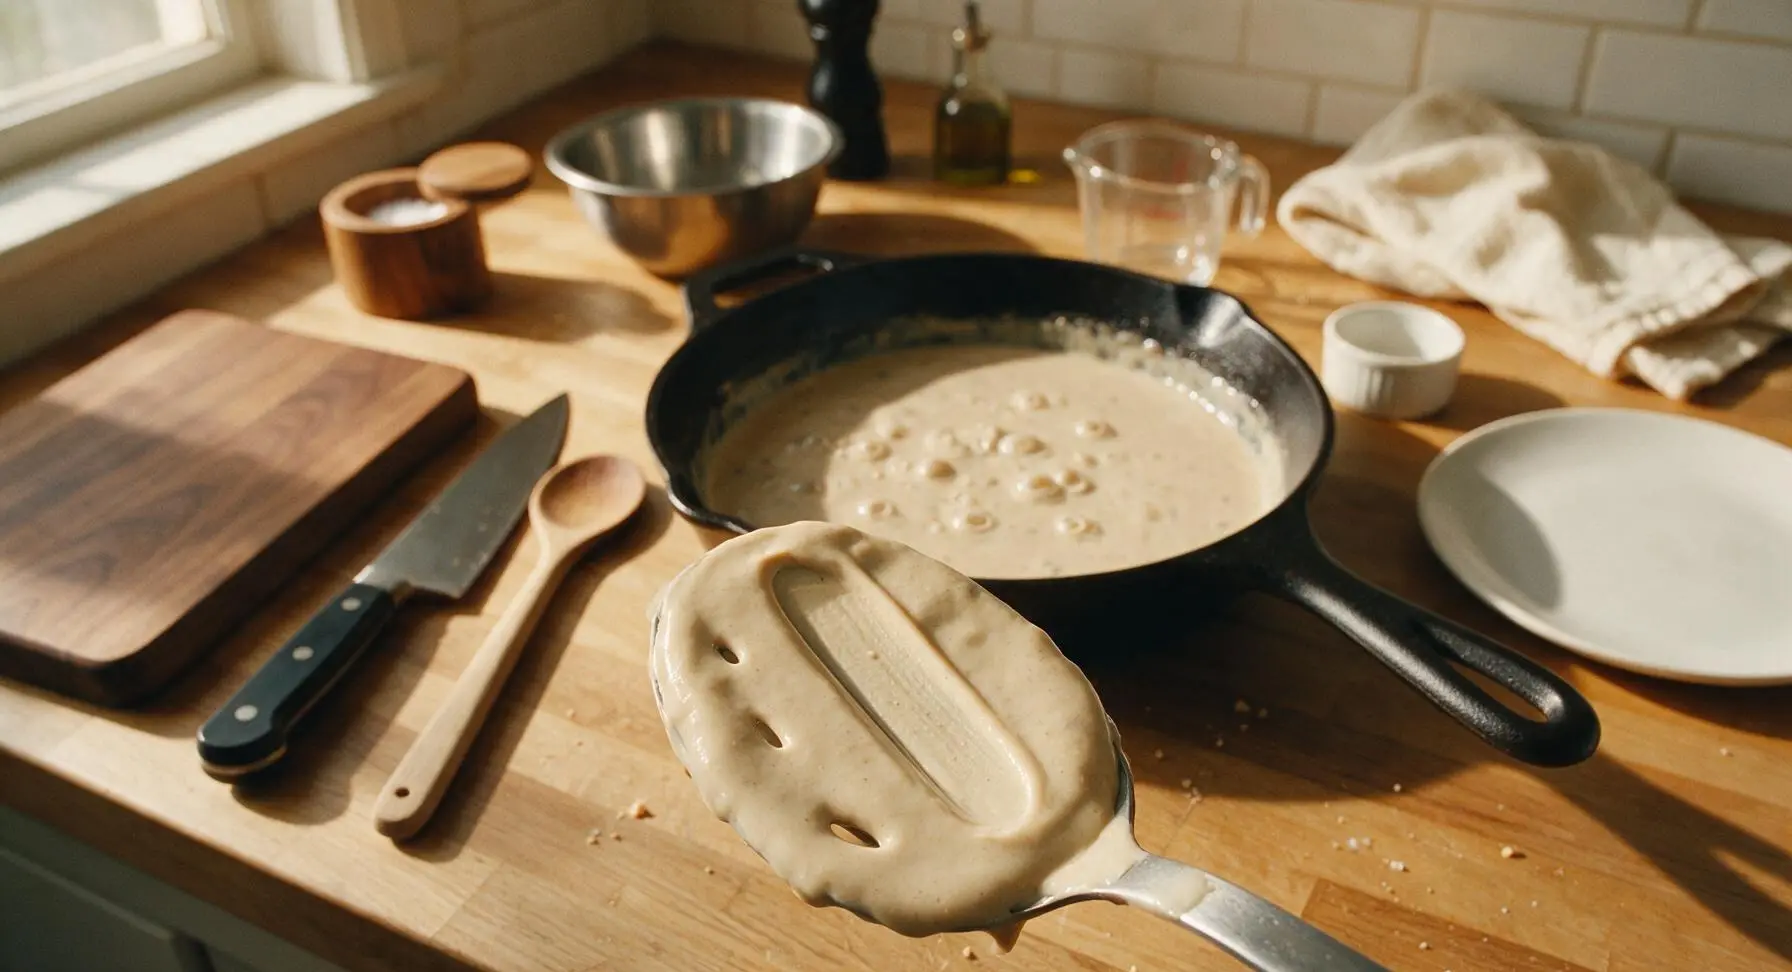
Step 3
step3:Make Creamy Mushroom Sauce
Step 3
step3:Make Creamy Mushroom Sauce
4

Combine Beans and Sauce

Add the fully drained, blanched green beans to the skillet with the finished creamy mushroom sauce, toss gently with the slotted spoon until every bean is evenly coated in sauce, taking care not to break or mash the tender beans. Fold in 1/2 cup of the crispy fried onions, mixing just until evenly distributed throughout the bean mixture.
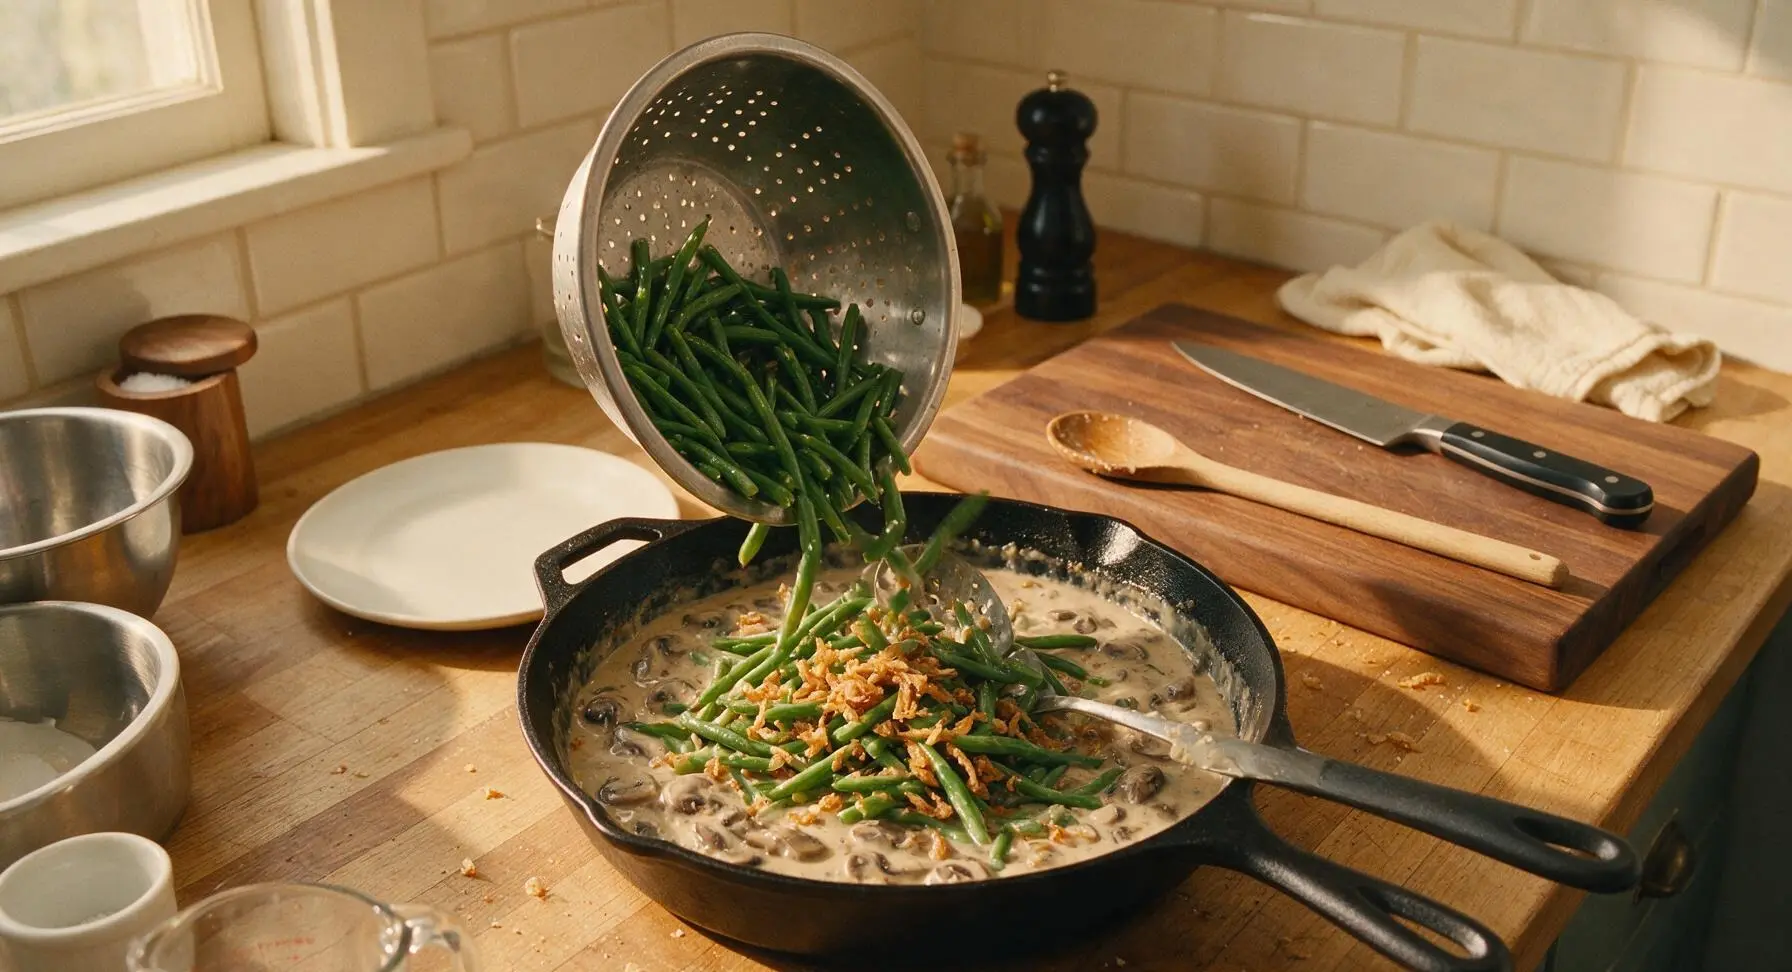
Step 4
step4:Combine Beans and Sauce
5

Layer Casserole for Baking

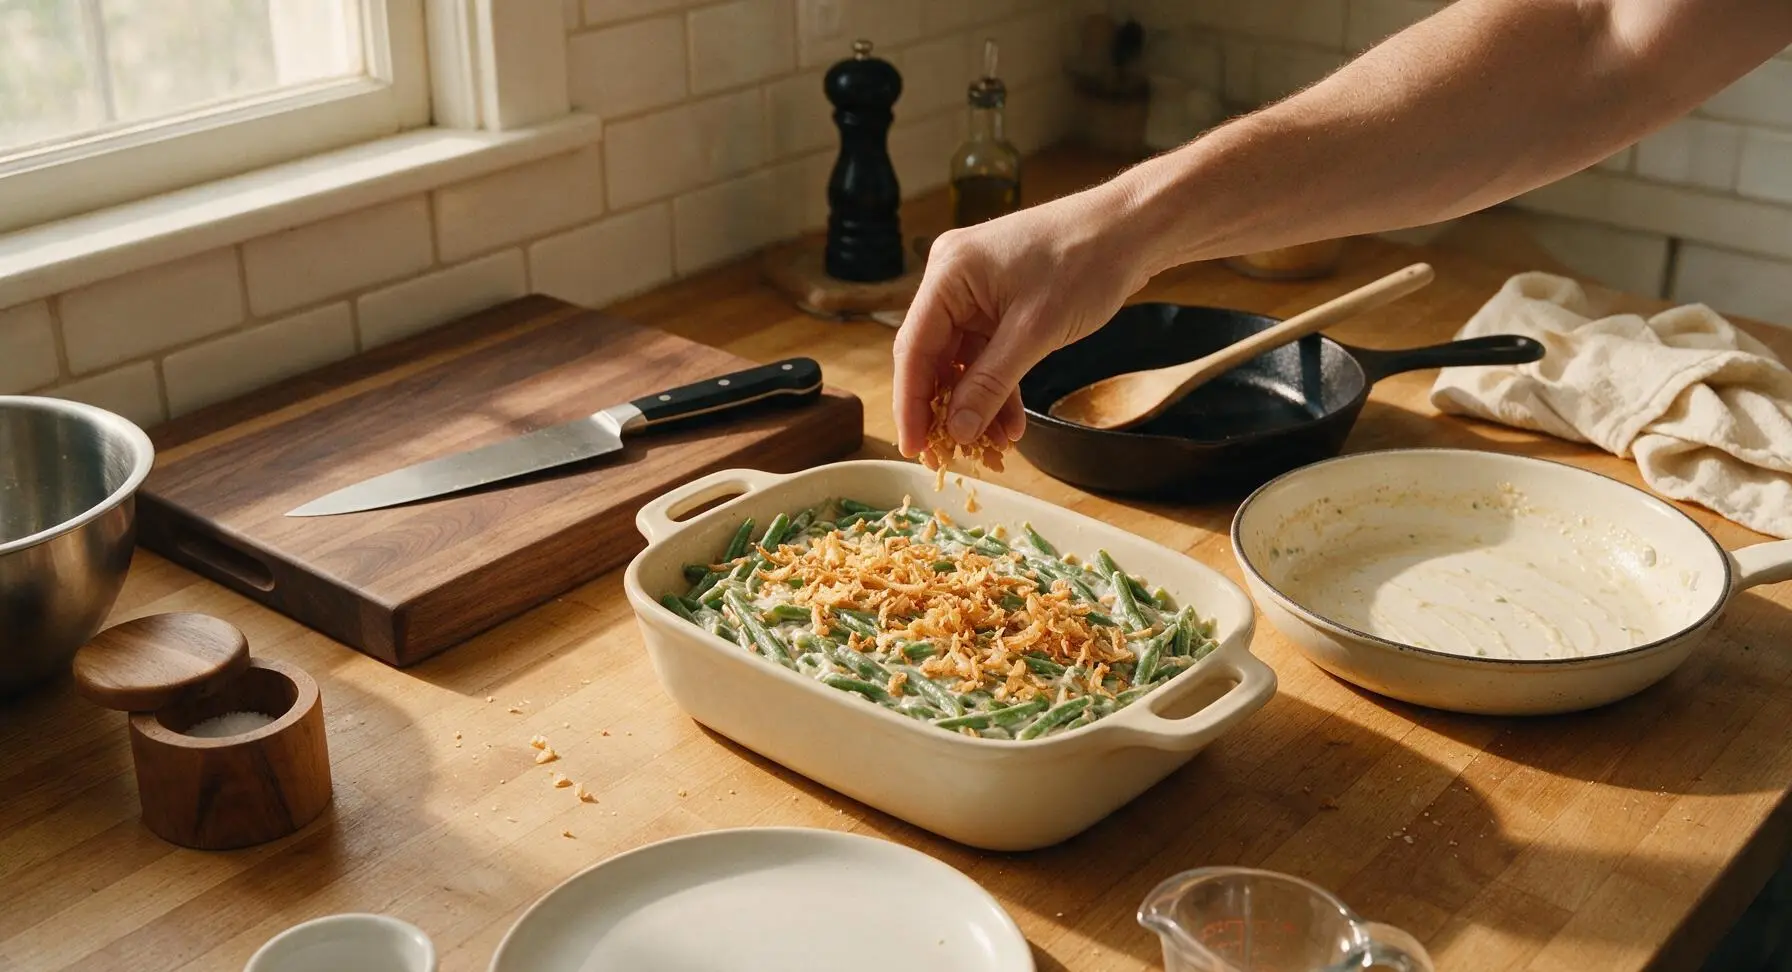
Transfer the entire coated green bean and sauce mixture into the 2-quart matte cream ceramic baking dish, spreading it into a smooth, even layer with the back of the slotted spoon. Top the casserole evenly with the remaining 1 cup of crispy fried onions, scattering them in a loose, even layer across the entire surface—do not press the onions into the sauce, as this will make them soggy during baking.
Step 5
step5:Layer Casserole for Baking
6

Bake Until Golden Bubbly

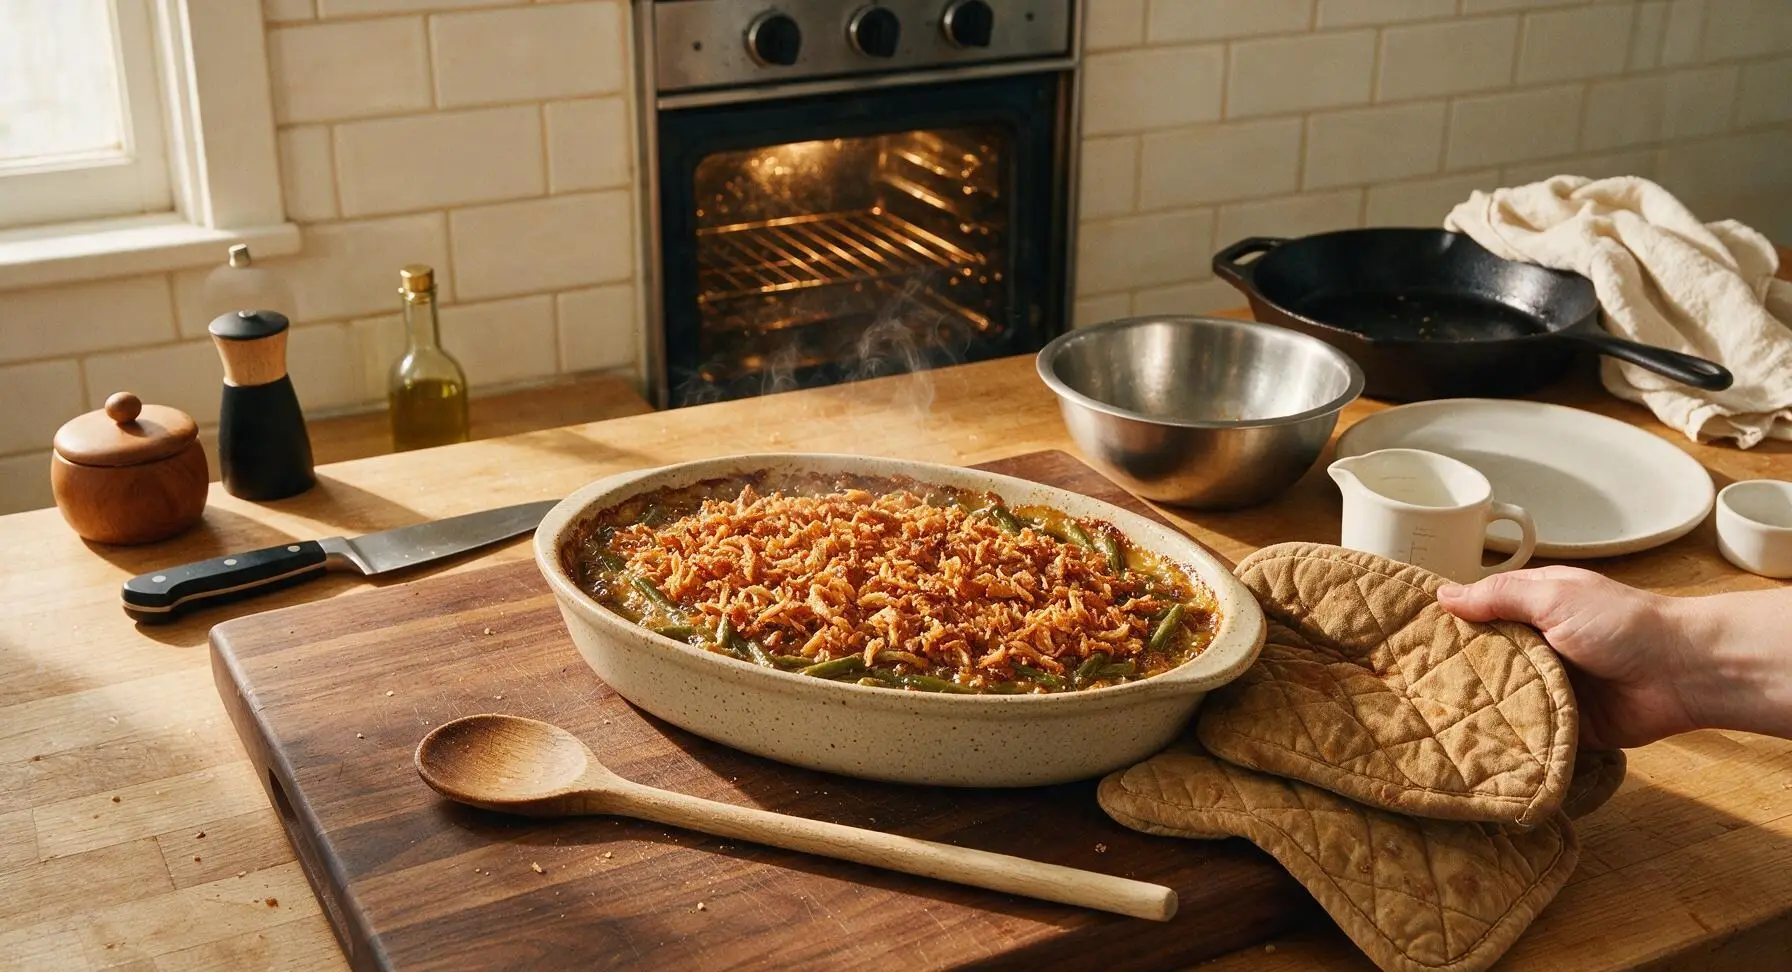
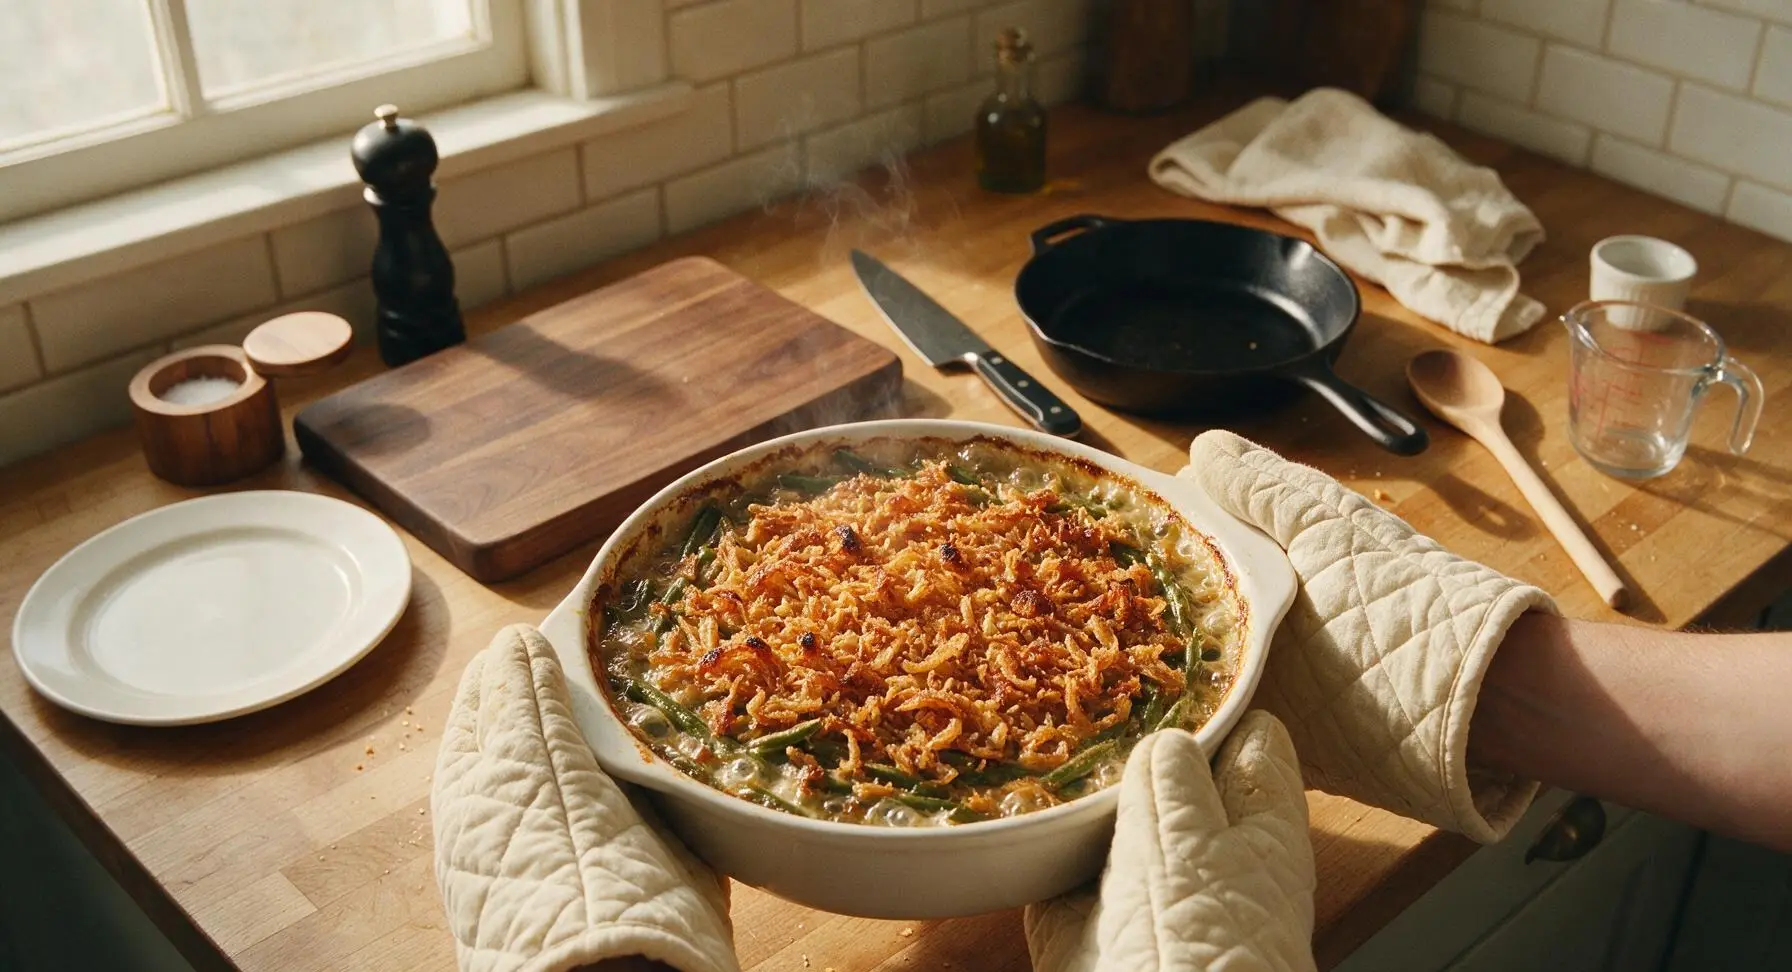
Place the assembled casserole in a preheated 375°F (190°C) oven, bake uncovered for 20-25 minutes, until the sauce is bubbling vigorously around the edges of the dish, and the fried onion topping is deep golden brown and crispy. Use the quilted cotton oven mitts to carefully remove the hot dish from the oven, let it rest for 5 minutes before serving to allow the sauce to set slightly.
Step 6
step6:Bake Until Golden Bubbly
Step 6
step6:Bake Until Golden Bubbly

Tips

1.Don’t skip the ice water bath after blanching: shocking the beans stops the cooking process instantly, locking in their bright green color and crisp-tender texture so they don’t turn mushy and olive-drab while baking in the hot sauce.
2.Keep fried onion topping loose and unpressed: scattering onions lightly instead of pressing them into the sauce allows hot oven air to circulate around each piece, keeping them light and crispy instead of soggy and sauce-soaked.
3.Prep this casserole up to 24 hours ahead for easy holiday entertaining: assemble the bean and sauce mixture in the baking dish (hold the fried onion topping in an airtight container), cover and refrigerate, then add the onion topping and bake for 30-35 minutes (adding 5-10 minutes to account for the cold dish) when ready to serve.


✨ You May Also Like

Side Dishes
🍜 India

Velvety, aromatic all-purpose curry sauce perfect for tossing with roasted veggies, grilled protein, or rice for fast, cozy, flavorful meals.

⏱️ 25 minuteSide Dishes ★ 4.8
Side Dishes
🍜 Spain

Tender, starchy boiled yuca tossed in bright, garlicky citrus mojo sauce—an iconic, zesty side that pairs beautifully with roasted pork, grilled meats, and rice and beans.

⏱️ 40 minuteSide Dishes ★ 5
Side Dishes
🍜 United States

Tender, paper-thin potato flatbread, a beloved Norwegian-American Minnesota Christmas staple, griddled until softly spotted and served warm with butter.

⏱️ 1 hour 30Side Dishes ★ 4.6
Side Dishes
🍜 United States

Rich, deeply savory cured salt pork, a long-lasting kitchen staple perfect for frying crispy as a side or adding umami to stews, beans, and chowders.

⏱️ 7 days (2Side Dishes ★ 4.9
Side Dishes
🍜 United States

Crispy, tangy classic Southern fried green tomatoes with a crunchy cornmeal crust, served hot for a nostalgic, comforting summery bite.

⏱️ 25 minuteSide Dishes ★ 4.9
Side Dishes
🍜 United States

Moist, golden-crusted savory muffins with sweet corn, zesty jalapeño, and melted cheddar, perfect for pairing with smoky summer grilled fare.

⏱️ 30 minuteSide Dishes ★ 4.9

Green Bean Casserole:Frequently Asked Questions

1.Can I use frozen green beans instead of fresh for this recipe? ▾
Absolutely, if fresh beans aren’t available. Thaw frozen beans fully and pat them very dry with paper towels first, then blanch for 2 minutes less than the recipe specifies for fresh beans. Skip canned green beans entirely—they have a mushy, tinny aftertaste that throws off the classic texture and bright flavor.
2.Do I have to use Cremini mushrooms, or can I swap for a different variety? ▾
Cremini mushrooms add a deep, earthy umami that pairs perfectly with the creamy sauce, but regular white button mushrooms work as a 1:1 substitute if that’s what you have. Avoid canned mushrooms, as they hold excess water that will make your casserole runny, and always sauté fresh mushrooms until their released liquid fully evaporates.
3.How do I keep my green bean casserole from turning out watery? ▾
Two easy steps fix this common issue. First, blanch fresh beans and shock them in ice water to stop overcooking, which leaches excess water. Second, sauté sliced mushrooms until their released moisture cooks off before adding minced garlic and building the cream sauce, so no extra liquid seeps out during baking.
4.Can I assemble this casserole a day ahead to cut down on holiday prep time? ▾
You absolutely can, and it’s a great time-saver for busy holiday meals. Assemble the green bean and mushroom sauce layer fully, cover tightly, and store in the fridge for up to 24 hours. Wait to add the top layer of fried onions until right before baking, and add 5-7 minutes to the bake time to account for the cold dish.
5.What’s the fastest way to trim fresh green beans for this recipe? ▾
Skip the tedious process of snapping each bean individually. Line up 8-10 beans at a time on your cutting board, then slice off all the tough stem ends in one clean cut with a sharp chef’s knife. You can leave the tender, tapered tail ends on—they’re perfectly edible and add a nice, natural look to the finished dish.
6.My fried onion topping always gets soggy when I bake it—how do I keep it crispy? ▾
Hold back two-thirds of the crispy fried onions to add during the last 10 minutes of baking, instead of piling them all on at the start. Always bake the casserole uncovered so steam can escape, and never add the onion topping ahead of time if you’re prepping the dish to store in the fridge overnight.
7.Can I adapt this recipe to be dairy-free for guests with dietary restrictions? ▾
Absolutely, with simple swaps that don’t sacrifice flavor. Replace the unsalted butter with a high-quality plant-based butter, use full-fat oat milk or unsweetened coconut cream in the mushroom sauce, and double-check that your fried onions don’t contain milk derivatives—many classic store-bought fried onion brands are accidentally dairy-free.
8.How long should I blanch fresh green beans before adding them to the casserole? ▾
Blanch trimmed beans in heavily salted boiling water for exactly 4 minutes, then immediately transfer them to an ice water bath to stop the cooking process. This leaves beans perfectly tender-crisp, not mushy, so they hold their pleasant texture through the second bake coated in rich mushroom sauce.
9.What if I don’t have pre-made crispy fried onions? Can I make my own? ▾
Homemade fried onions are even better than store-bought, and they’re easy to make. Thinly slice one yellow onion, toss rings in a light coating of flour and pinch of salt, then pan-fry in ½ inch of neutral oil over medium heat for 3-4 minutes until golden. Drain fully on paper towels before using to keep them crisp.
10.Can I add extra mix-ins without straying too far from the classic flavor? ▾
Small, complementary add-ins work beautifully without overpowering the traditional profile. Try mixing in a sprinkle of crispy cooked bacon bits, a pinch of fresh thyme, or a handful of toasted slivered almonds to the sauce. Skip watery add-ins like undrained canned veggies that will make the creamy base runny.
11.What visual or temperature cues tell me the casserole is fully done baking? ▾
Bake at 375°F for 25-30 minutes total. You’ll know it’s ready when the creamy mushroom sauce is bubbling vigorously around the edges of the baking dish, the top layer of fried onions is deep golden brown, and the center hits 165°F if you check with an instant-read food thermometer.
12.How do I store leftovers, and how long will they stay good to eat? ▾
Let leftover casserole cool completely to room temperature within 2 hours of baking, then cover tightly with an airtight lid or plastic wrap and store in the refrigerator for up to 4 days. Reheat portions in the microwave or oven, and top with a small sprinkle of extra fried onions to refresh the crunchy texture.

Comments (10)

2 days ago

OMG this is SO much better than the canned soup version!!! I made this for our Sunday family dinner last night and even my super picky 7 year old asked for seconds. The homemade fried onion topping is an absolute game changer, no more store-bought crispy onions for me! 10/10 will be making this for every Thanksgiving and potluck from now on.

1 day ago

Wait did you make the fried onions ahead of time? I’m prepping for a work potluck next week and trying to get as much done early as possible!

20 hours ago

So glad your family loved it! You can absolutely make the fried onions 2-3 days ahead if you store them in an airtight container at room temp — they stay perfectly crispy!

3 days ago

Took this to our neighborhood block party this weekend and people were hounding me for the recipe all night. Love that it’s from scratch but still totally easy to throw together even when you’re juggling 3 other side dishes. Only thing I added was a tiny pinch of cayenne for a little kick, chef’s kiss.

2 days ago

Love the cayenne add! A little heat cuts through the richness so well, I’ll have to note that variation for other readers. So happy it was a block party hit!

1 week ago

Great weeknight side! I prepped the green beans and mushroom sauce on Sunday, baked it up when I got home from work on Monday and it came out perfectly. Even holds up well for leftover lunch the next day, which is a huge win for my meal prep routine.

5 days ago

Super excited to make this for my first ever Thanksgiving dinner for my in-laws this year! Quick question though — do I really need to blanch the green beans first, or can I skip that step to save time? I don’t want mushy beans!!

4 days ago

Don’t skip the blanch! It only takes like 3 minutes and then you shock them in ice water, it keeps them bright green and perfectly crisp-tender even after baking. I skipped it once and they were sad and mushy, total bummer.

3 days ago

Great question! I definitely don’t recommend skipping the blanch step — it locks in that bright color and keeps the beans from getting mushy while the casserole bakes. It’s super quick, I promise it’s worth the extra 5 minutes!

yesterday

Y’all, this is the first green bean casserole I’ve been able to eat in years since going gluten free! I swapped the all purpose flour for a 1:1 GF flour blend and used GF breadcrumbs for the topping and it turned out exactly like the classic I remember growing up. No weird texture or aftertaste at all!

12 hours ago

Oh thank you for sharing the GF swap! My son has celiac and I’ve been searching for a GF green bean casserole that doesn’t taste like cardboard for our holiday dinner. Can’t wait to try this!

2 weeks ago

Made this for my office Friendsgiving last week and it was the first dish gone off the table. People kept going back for thirds, I was low key proud of myself. The cook time is so reasonable too, I didn’t have to wake up at the crack of dawn to get everything ready. 10/10, no notes.

2 hours ago

Loved this recipe! The only issue I ran into was my mushroom sauce got a little lumpy when I added the milk. Did I do something wrong? Tasted amazing anyway, just not as smooth as I wanted it to be.

1 hour ago

Oh no, sorry about the lumps! That usually happens if the milk is added too quickly — next time try adding it a splash at a time, whisking constantly as you go, and it’ll come out silky smooth. So glad it still tasted great for you!

30 minutes ago

I never liked green bean casserole growing up because the canned version always tasted so salty and processed to me. This from-scratch version? Total convert. The fresh mushrooms and real cream sauce make it taste like actual food, not something out of a can. My husband said it’s his new favorite side, even better than his mom’s (don’t tell her lol).

15 minutes ago

I feel the exact same way! I avoided green bean casserole for decades because of that weird canned soup taste, this recipe made me a believer too. I added a little extra garlic to the sauce, so good!

10 minutes ago

That makes me so happy to hear! I grew up on the canned version too, and while it’s nostalgic, the fresh version just hits different. Your garlic addition sounds fantastic — I’m totally trying that next time I make it!

5 minutes ago

Super easy even for a cooking newbie like me! I’m a college senior living in my first apartment and I made this for my roommates’ pre-Thanksgiving dinner and they all thought I was a professional chef. Didn’t even mess anything up, which is a miracle for me tbh.

2 minutes ago

Wait how much did this cost to make total? I’m on a super tight college budget and want to make it for my floor’s potluck next week, no fancy expensive ingredients right?

just now

Pro tip: I baked mine in the air fryer for the last 5 minutes to get the topping extra crispy and it was chef’s kiss. 40 minutes total cook time was spot on, even with my little air fryer hack. Will be making this on repeat all holiday season.



