
green bean casserole bon appetit

title 1
green bean casserole bon appetit
⏱️ cook time 40 minutes
🍽️ servings 8
⚡ Difficulty easy

intro

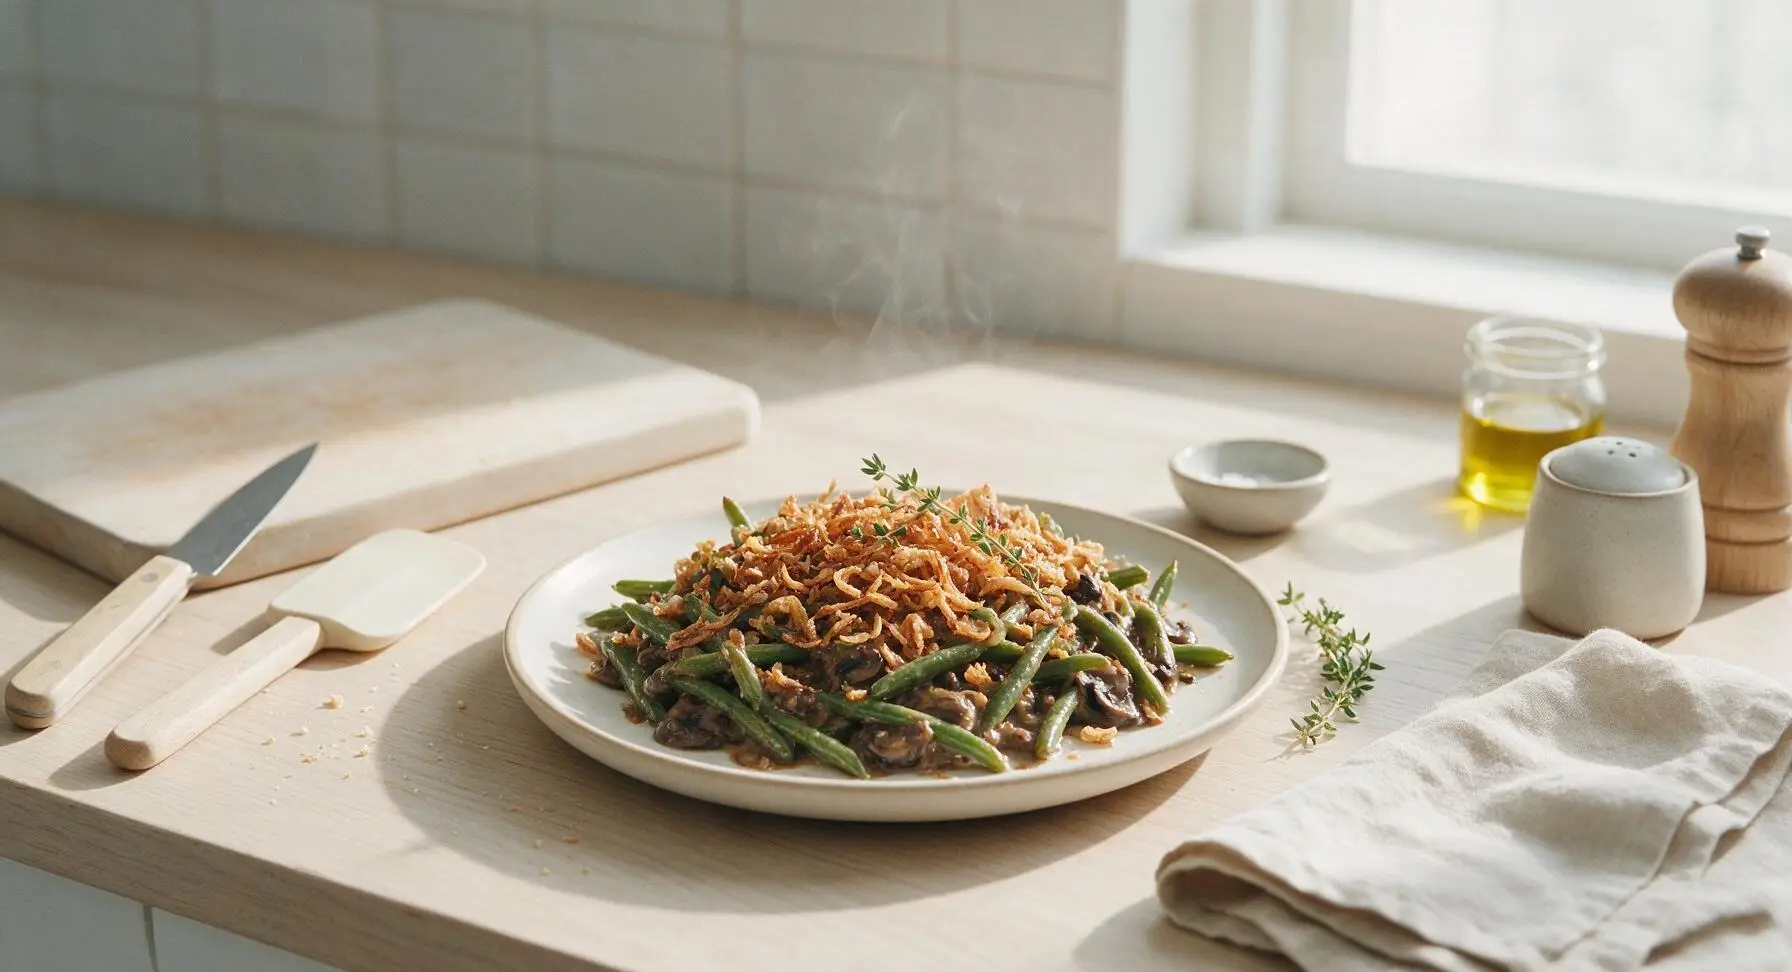
This elevated Bon Appétit take on green bean casserole swaps canned soup for rich umami mushroom gravy, pairing crisp-tender beans with crunchy fried shallots for nostalgic, bright holiday flavor.

Ingredients
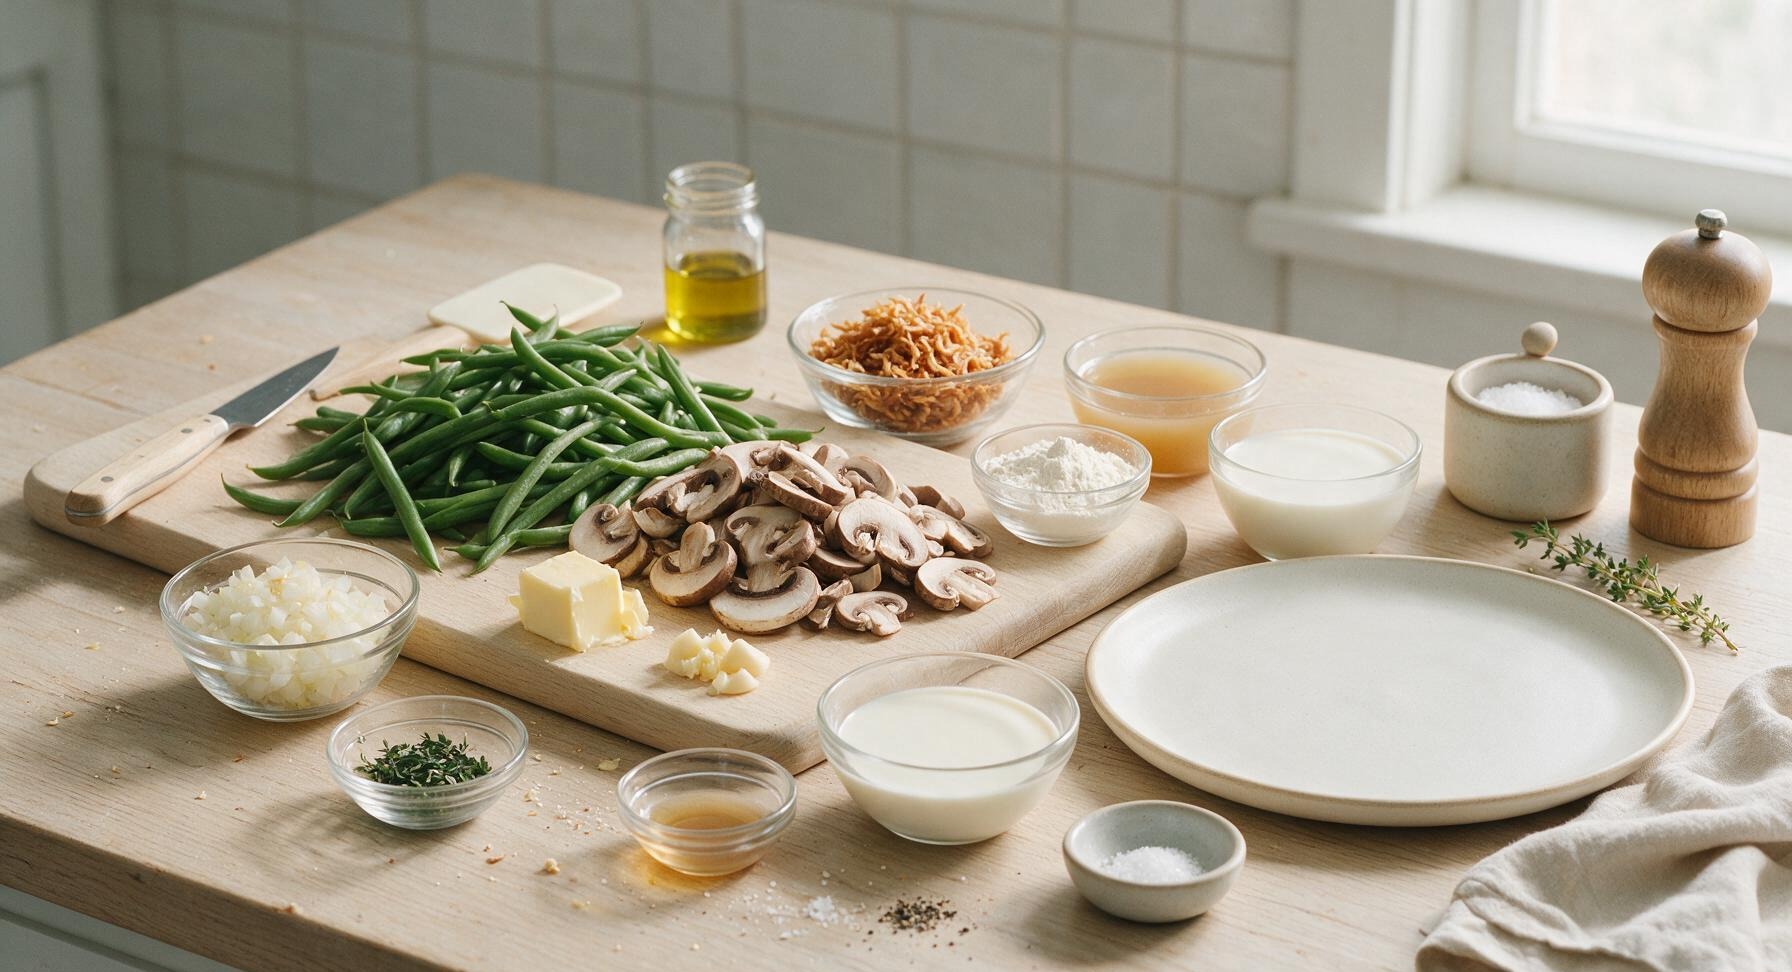
Fresh green beans, trimmed 900g (2 lbs)
Cremini mushrooms, thinly sliced 450g (1 lb)
Crispy fried shallots 1.5 cups (90g)
Unsalted butter 6 tbsp (85g)
Yellow onion, finely diced 1 medium (150g)
Garlic cloves, minced 3 (10g)
All-purpose flour 3 tbsp (25g)
Whole milk 1.5 cups (360ml)
Heavy cream ½ cup (120ml)
Low-sodium chicken broth 1 cup (240ml)
Fresh thyme leaves 1 tbsp (3g)
Low-sodium soy sauce 1 tsp (5ml)
Kosher salt 1.5 tsp
Freshly ground black pepper ½ tsp

Steps

1

Blanch Fresh Green Beans

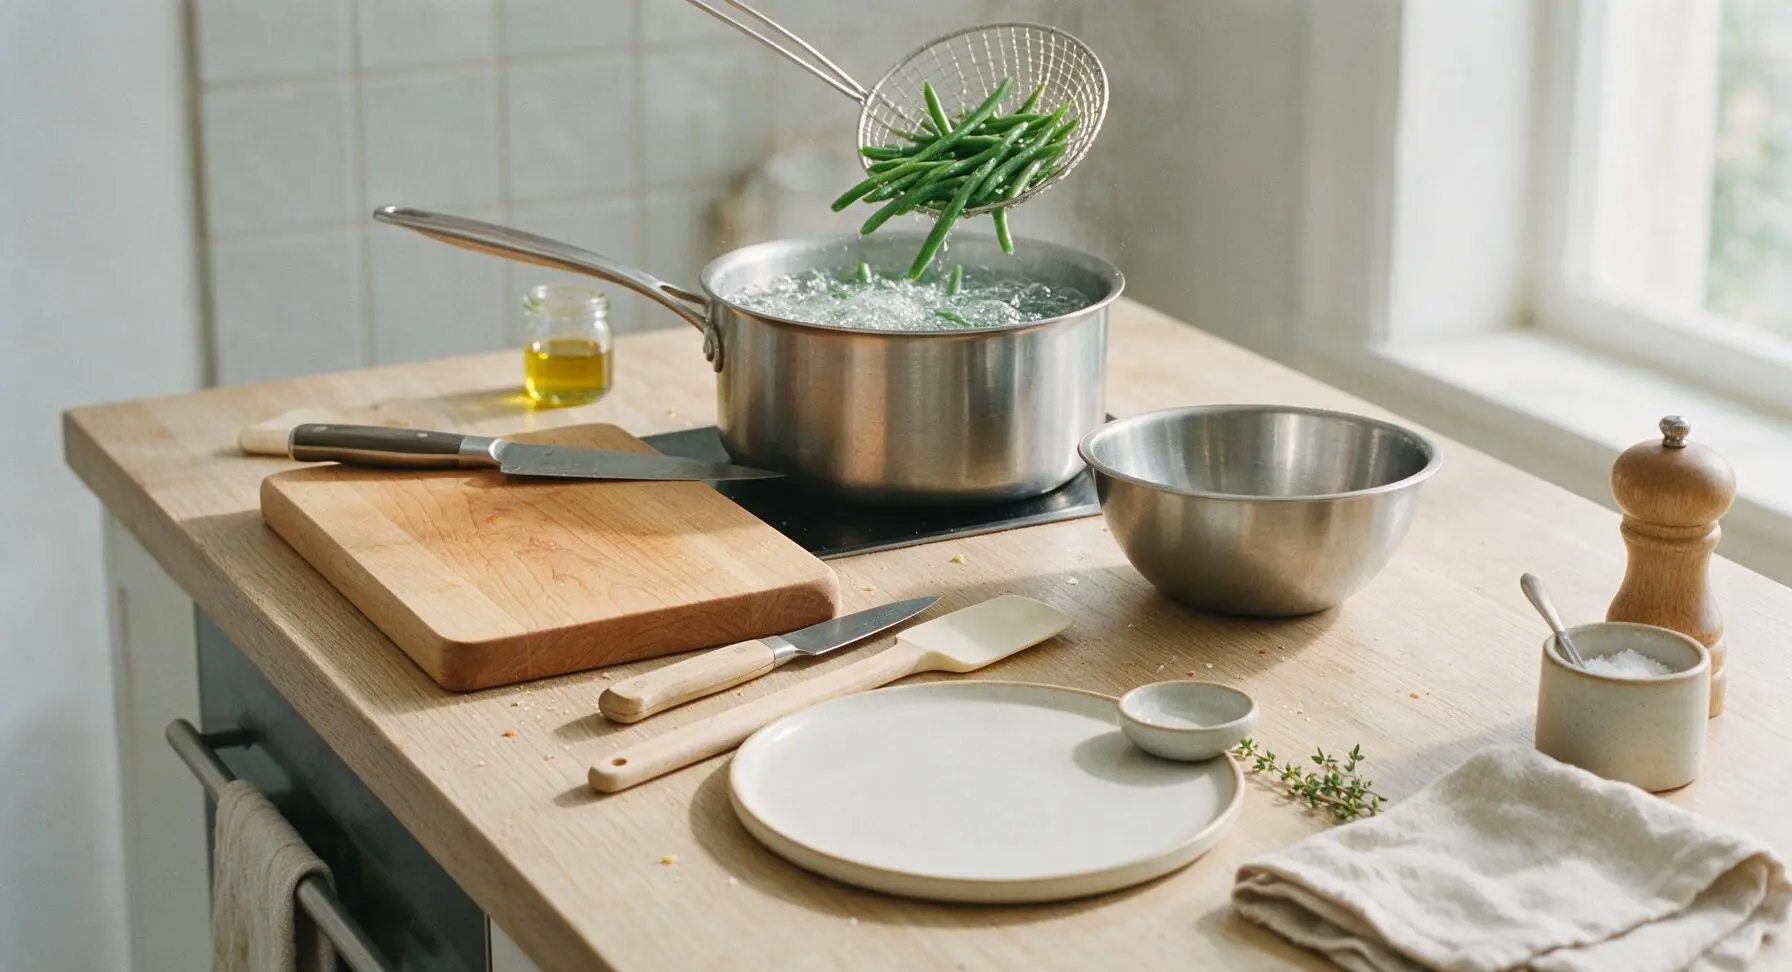
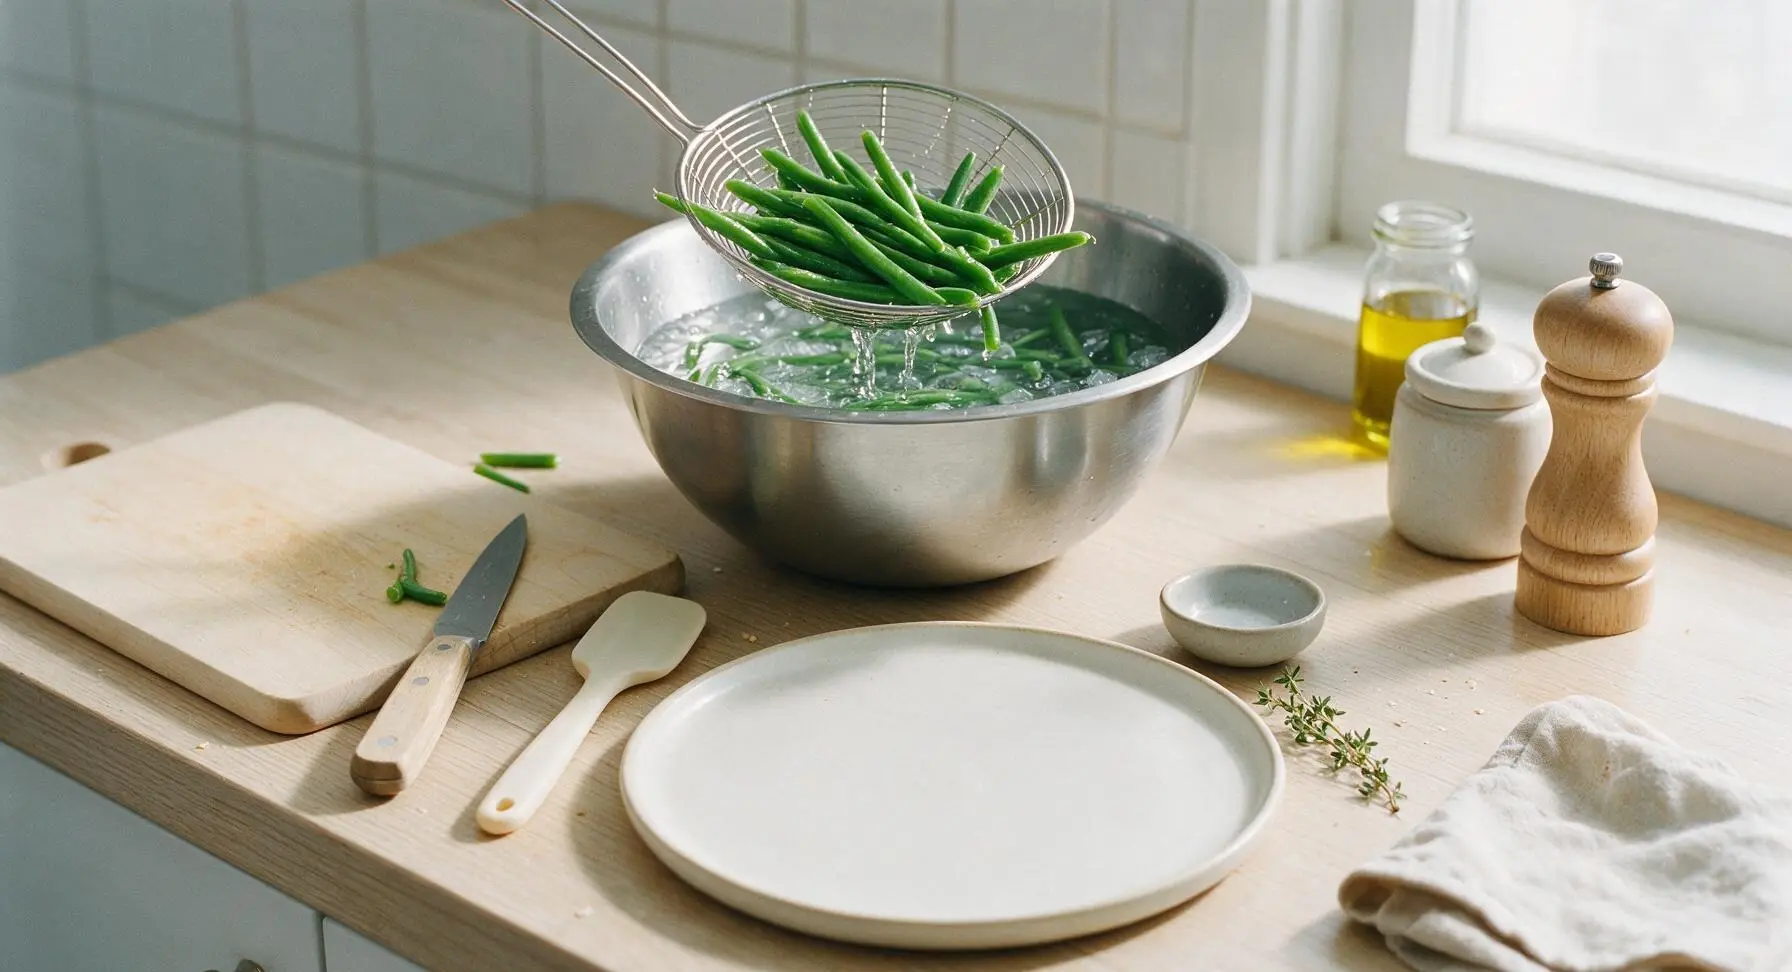
Fill the 3L brushed stainless steel saucepan ⅔ full of heavily salted water, bring to a rolling boil over high heat. Add 900g trimmed fresh green beans and cook for exactly 3 minutes, until bright emerald green and crisp-tender (beans should snap cleanly when bent, with no mushy texture). While beans cook, fill the stainless steel mixing bowl with ice water. Use the stainless steel wire skimmer to transfer beans immediately to the ice bath to stop cooking and lock in bright color, then drain thoroughly and pat dry with the linen towel.
Step 1
step1:Blanch Fresh Green Beans
Step 1
step1:Blanch Fresh Green Beans
2

Sauté Mushroom Aromatics

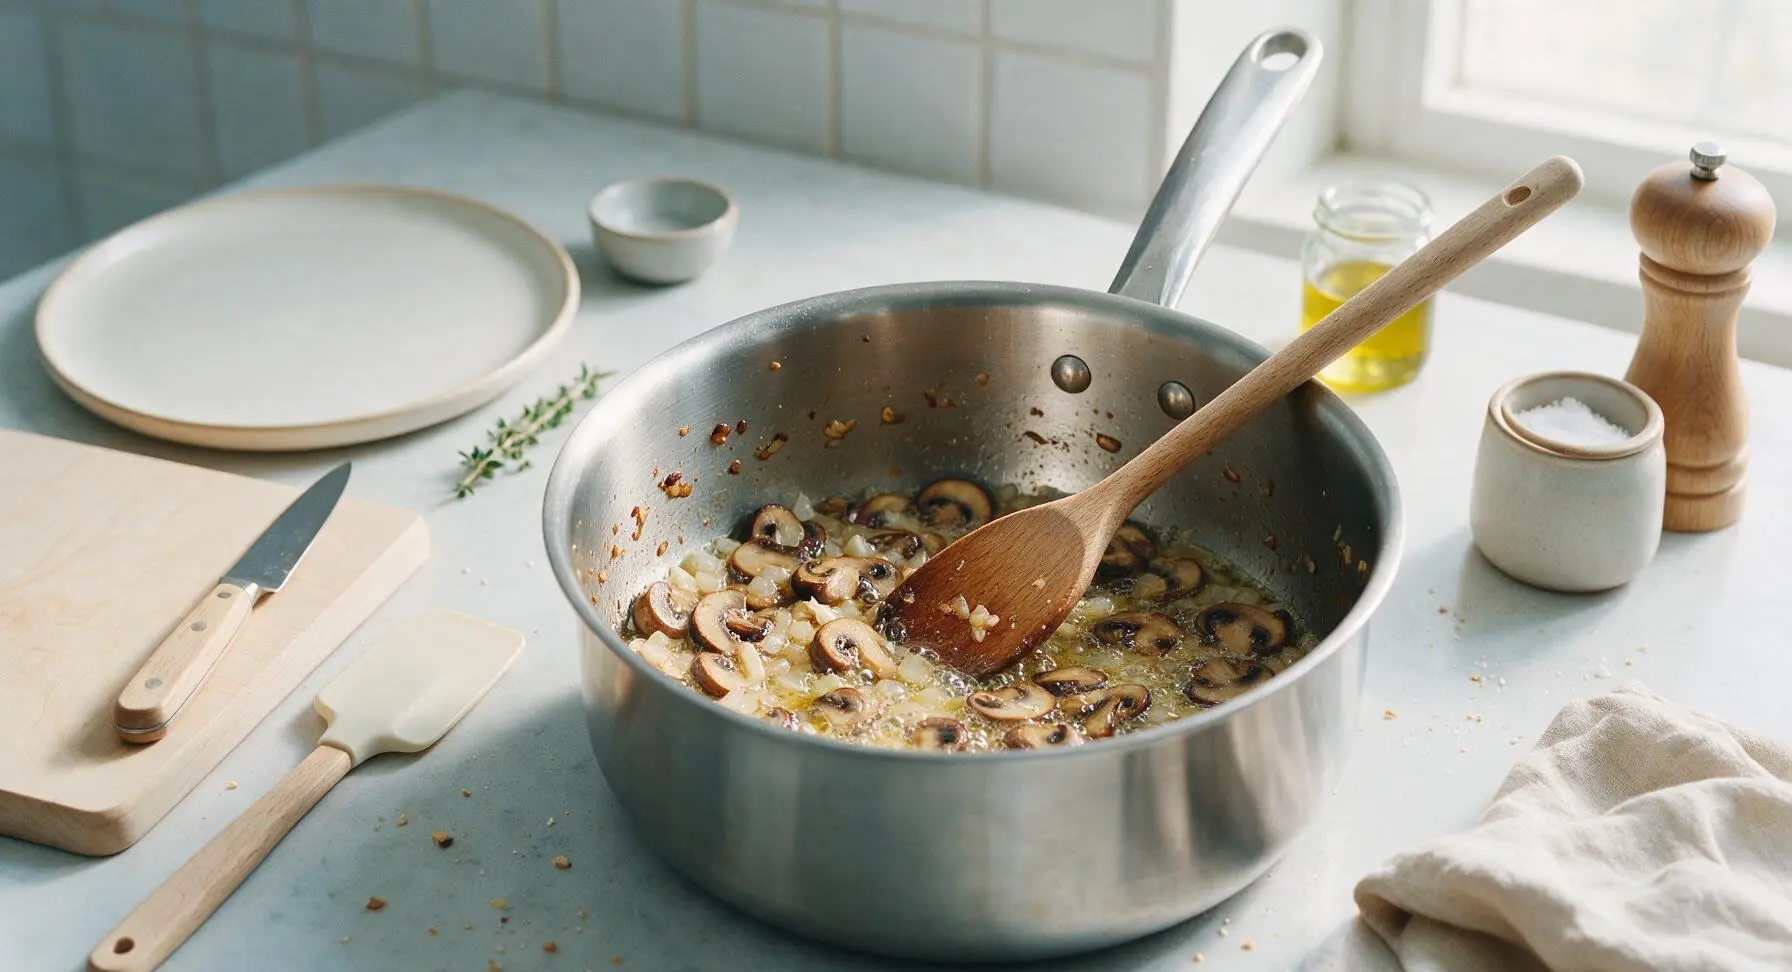
Wipe the 3L saucepan dry, then melt 6 tbsp unsalted butter over medium heat. Add 450g sliced cremini mushrooms, cook for 8-10 minutes, stirring occasionally with the beechwood wooden spoon, until mushrooms are deeply golden brown and all their released cooking liquid has fully evaporated. Add 1 diced medium yellow onion, cook 3 minutes until soft and translucent, then add 3 minced garlic cloves and 1 tbsp fresh thyme leaves, cooking 30 seconds more until fragrant.
Step 2
step2:Sauté Mushroom Aromatics
3

Build Creamy Gravy

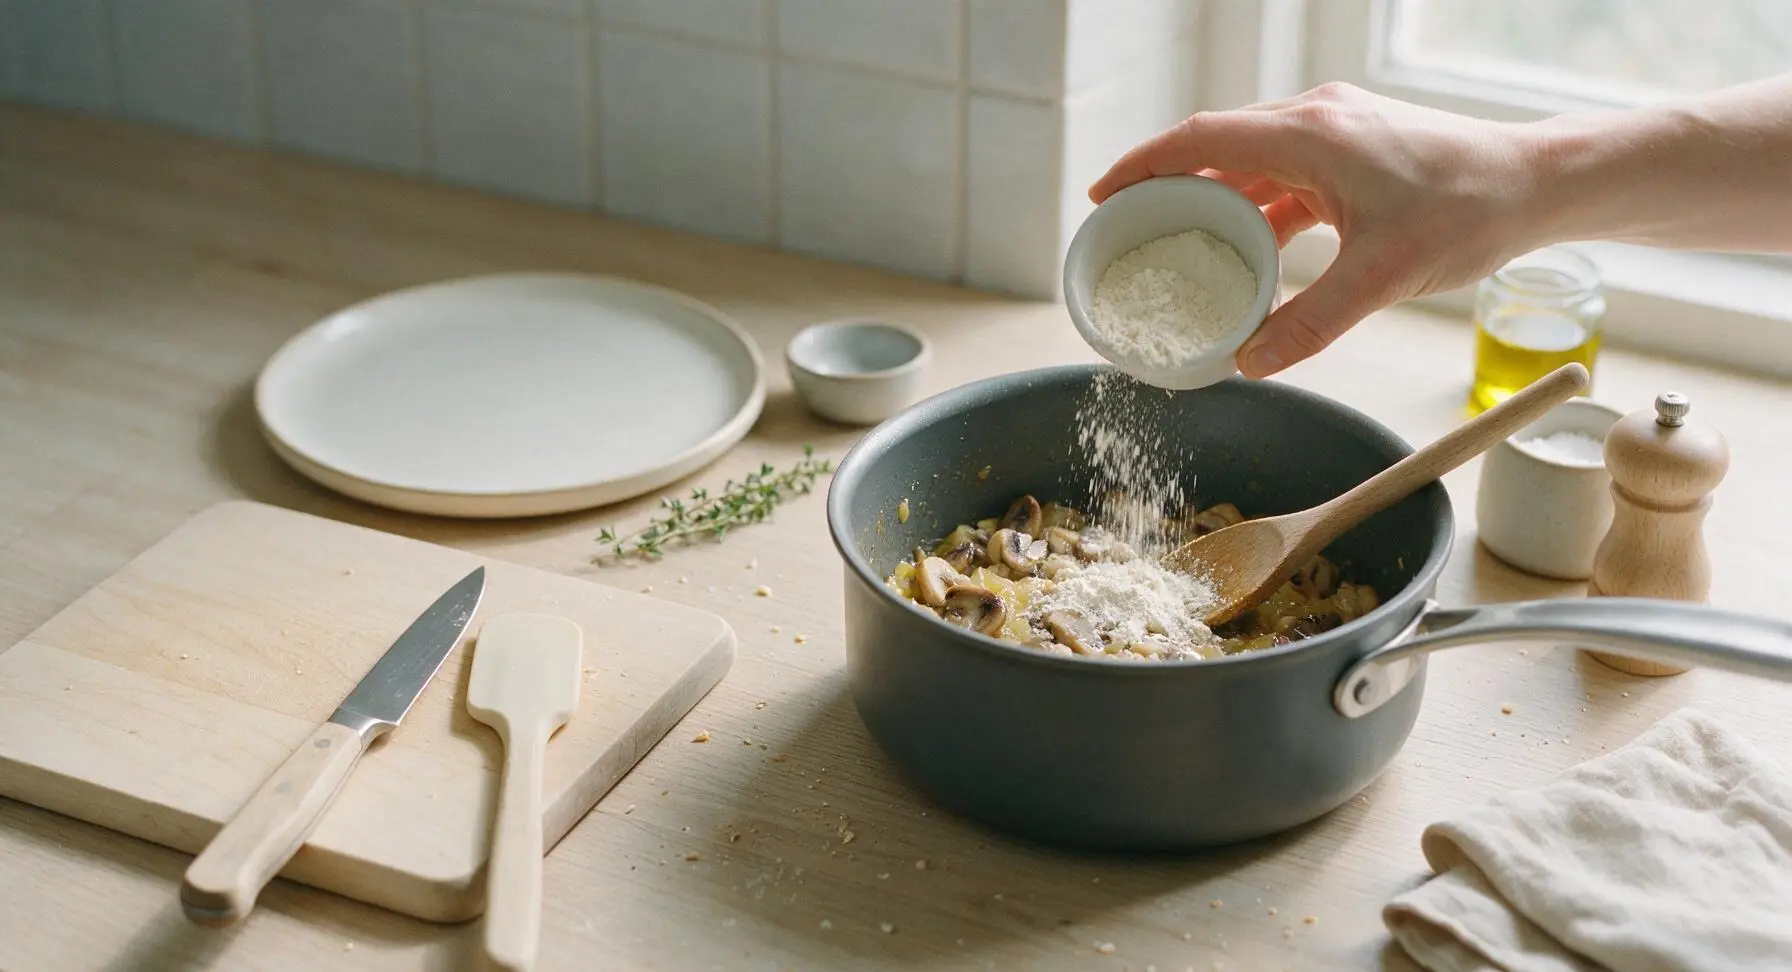
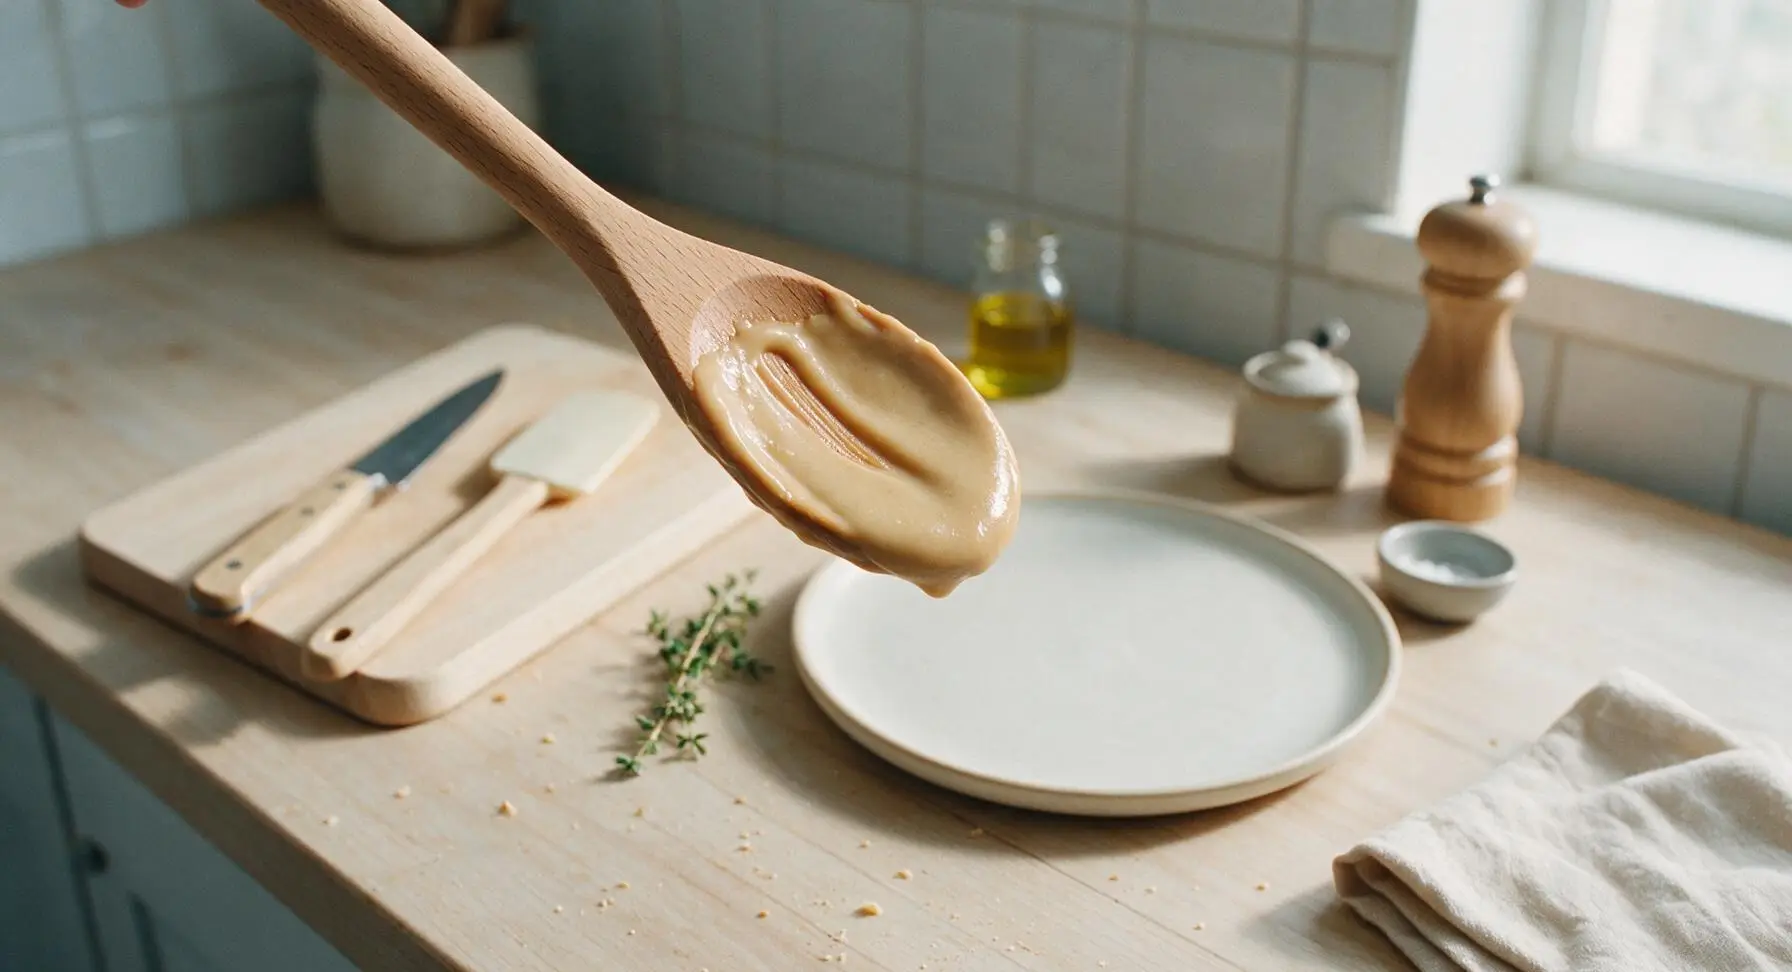
Sprinkle 3 tbsp all-purpose flour over the cooked mushroom mixture, stir constantly with the wooden spoon for 1 minute to cook out raw flour taste, forming a thick, paste-like roux that coats every mushroom piece. Slowly pour in 1 cup low-sodium chicken broth, 1.5 cups whole milk, and ½ cup heavy cream, stirring constantly to prevent lumps. Add 1 tsp low-sodium soy sauce, 1.5 tsp kosher salt, and ½ tsp black pepper. Bring the mixture to a gentle simmer, cook 4-5 minutes, stirring occasionally, until gravy thickens enough to coat the back of the wooden spoon (a clear line will remain when you run your finger across the spoon’s coated surface).
Step 3
step3:Build Creamy Gravy
Step 3
step3:Build Creamy Gravy
4

Toss Beans with Gravy

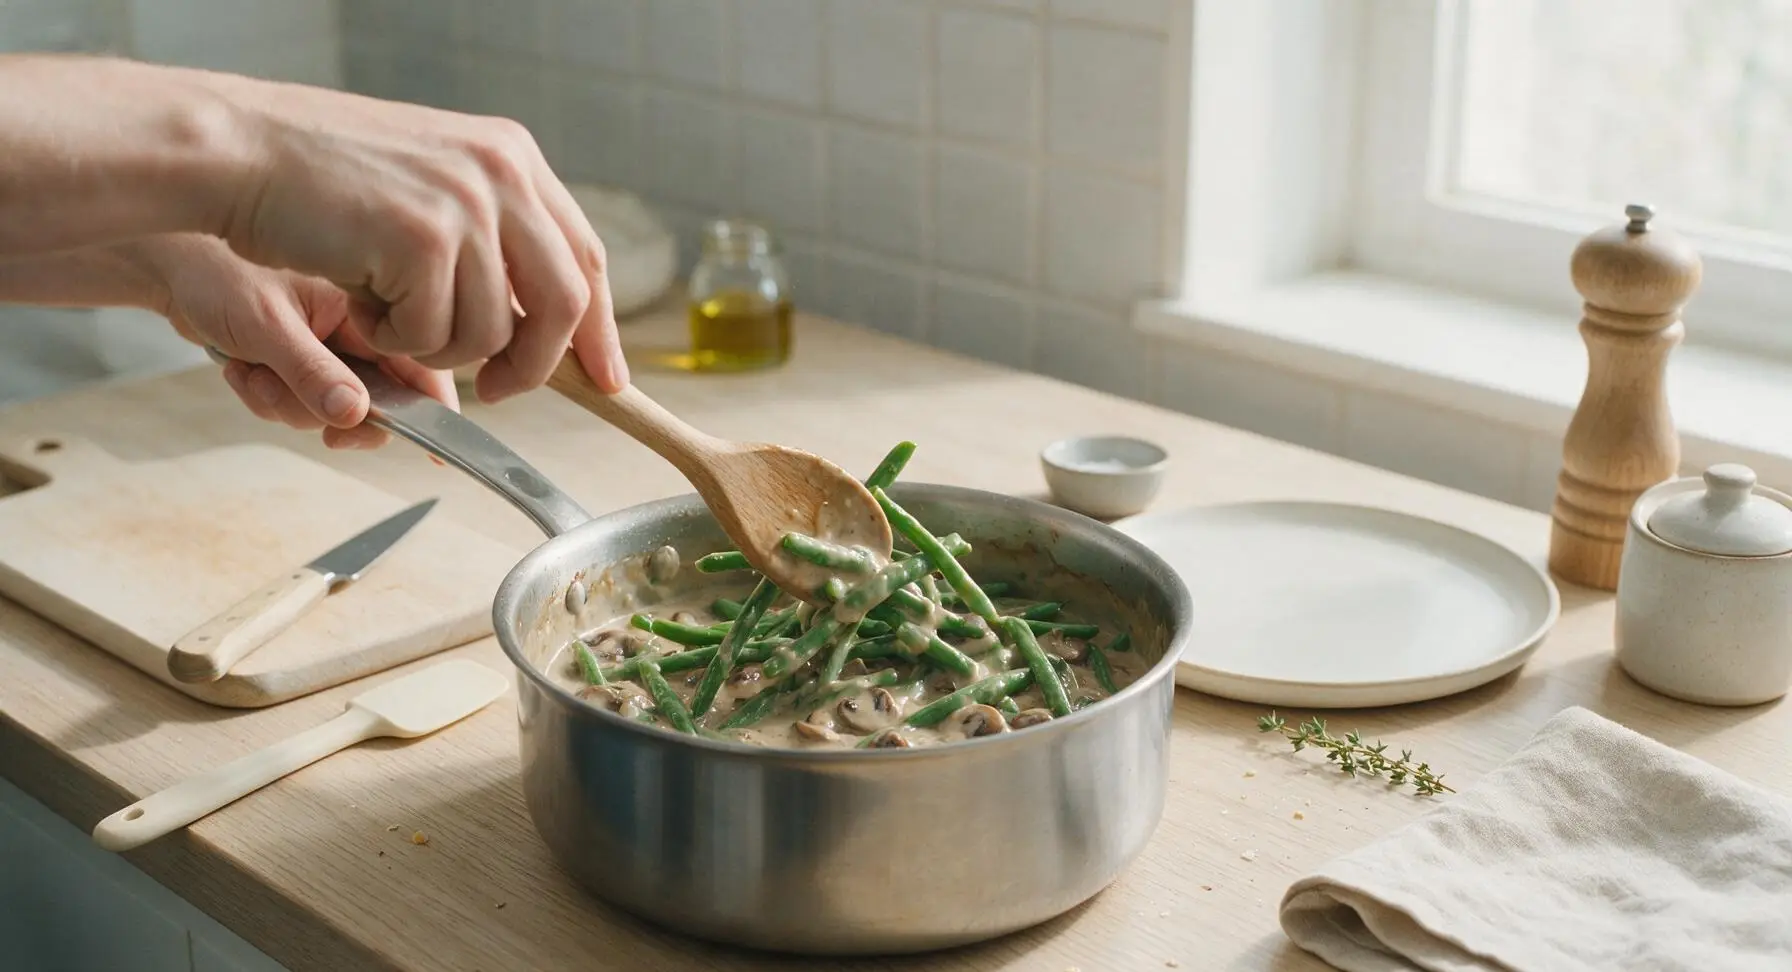
Add the fully drained, patted-dry blanched green beans to the saucepan with thickened mushroom gravy. Use the wooden spoon to toss gently until every green bean is evenly coated in gravy, taking care not to break or mash the tender bean pods. Taste and adjust seasoning with extra salt or pepper if needed.
Step 4
step4:Toss Beans with Gravy
5

Layer Casserole for Baking

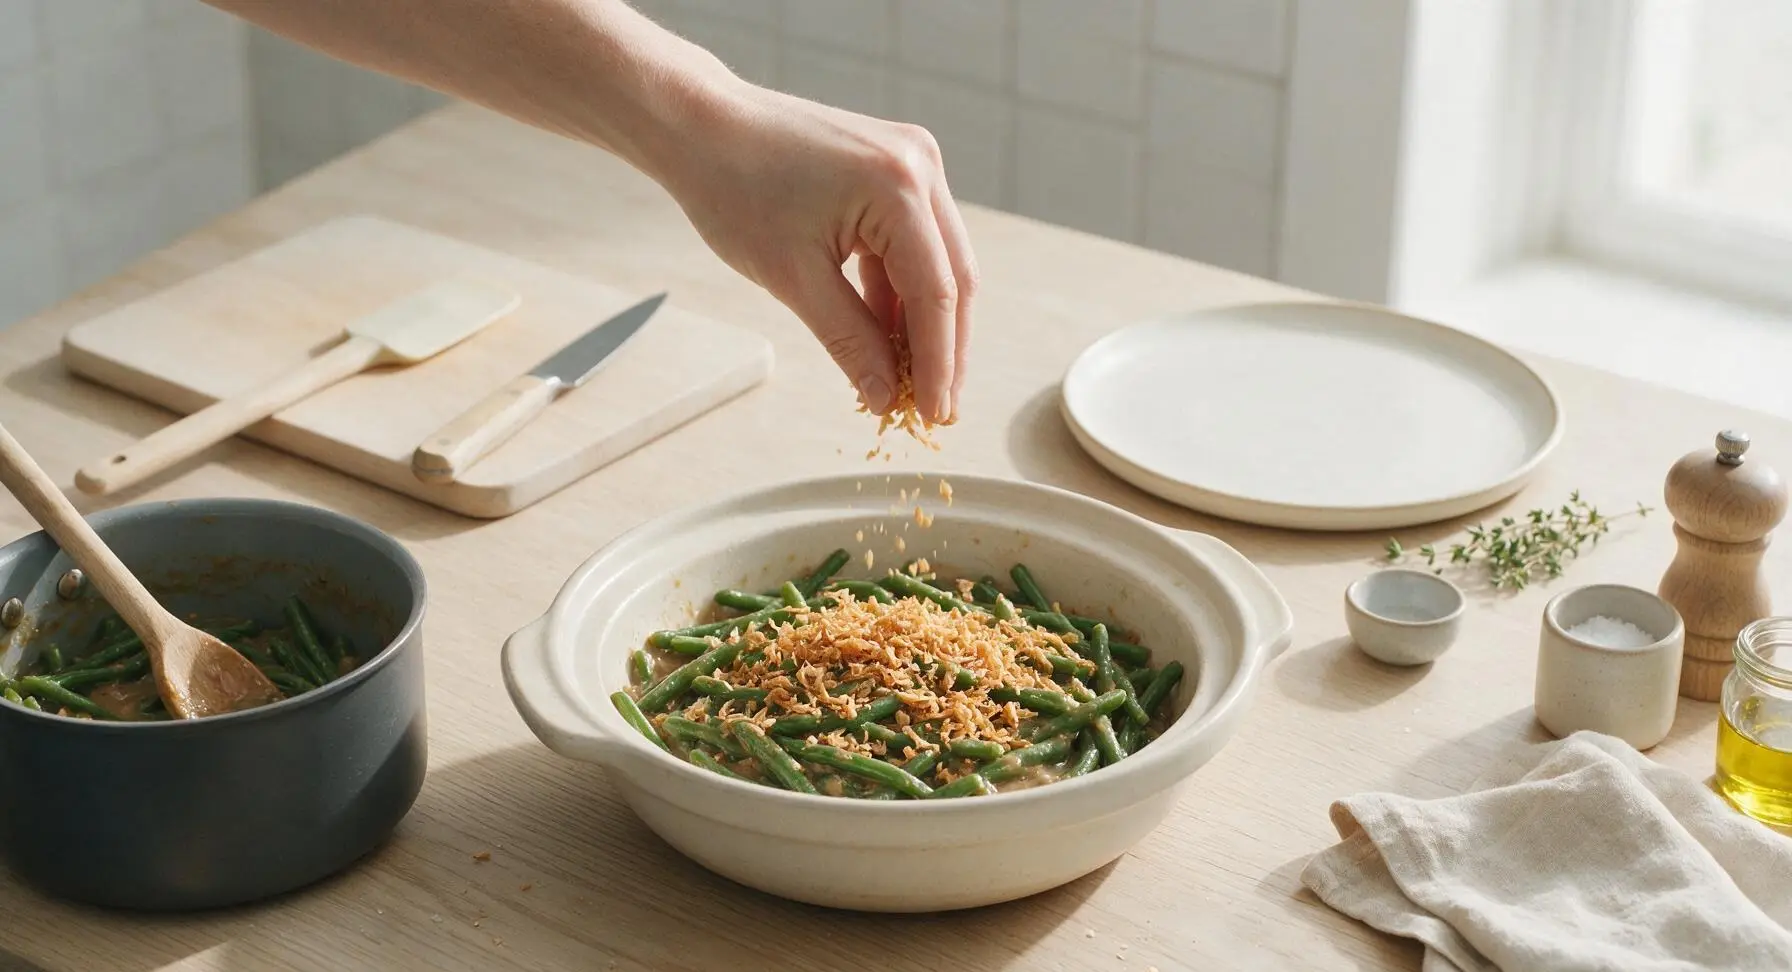
Transfer half of the green bean and gravy mixture to the matte off-white ceramic casserole dish, spreading it in a smooth, even layer across the dish bottom. Sprinkle ½ cup of crispy fried shallots evenly over the first bean layer, then top with the remaining green bean and gravy mixture, smoothing the top surface with the back of the wooden spoon.
Step 5
step5:Layer Casserole for Baking
6

Bake Until Bubbly

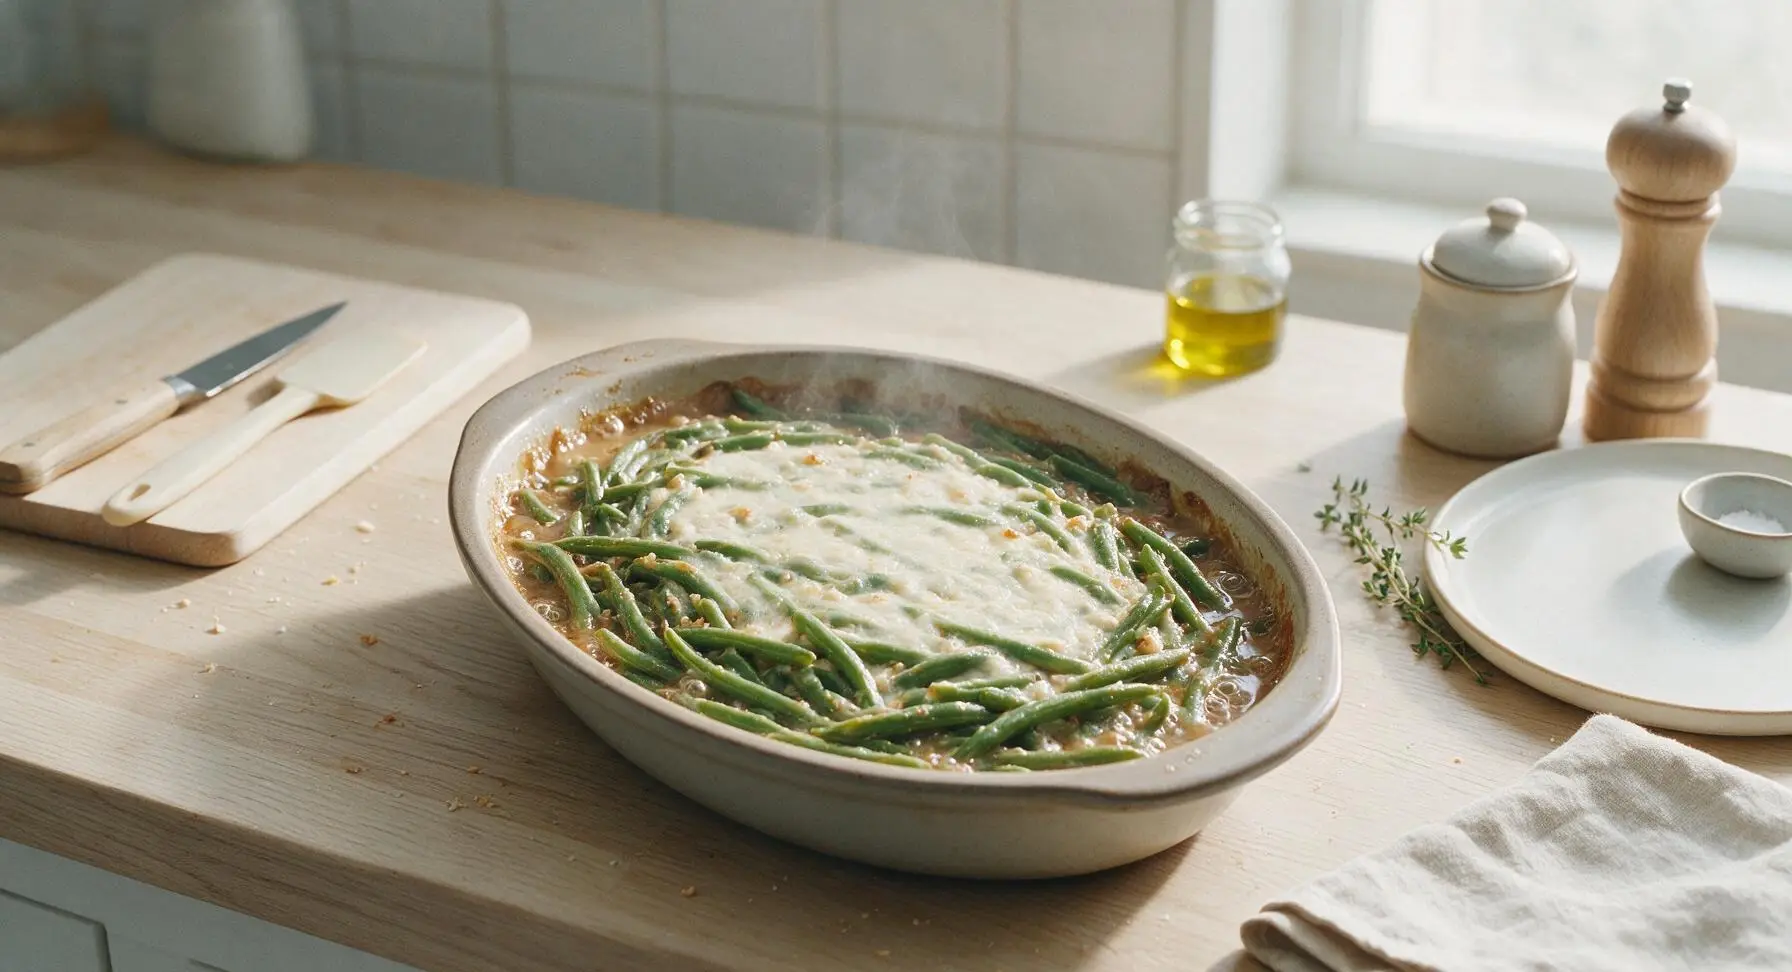
Place the assembled casserole in a preheated 375°F (190°C) oven, bake uncovered for 20 minutes, until gravy is actively bubbling around the dish edges and the top surface is just starting to turn pale golden. Carefully remove the dish from the oven using heat-resistant mitts.
Step 6
step6:Bake Until Bubbly
7

Top with Crispy Shallots

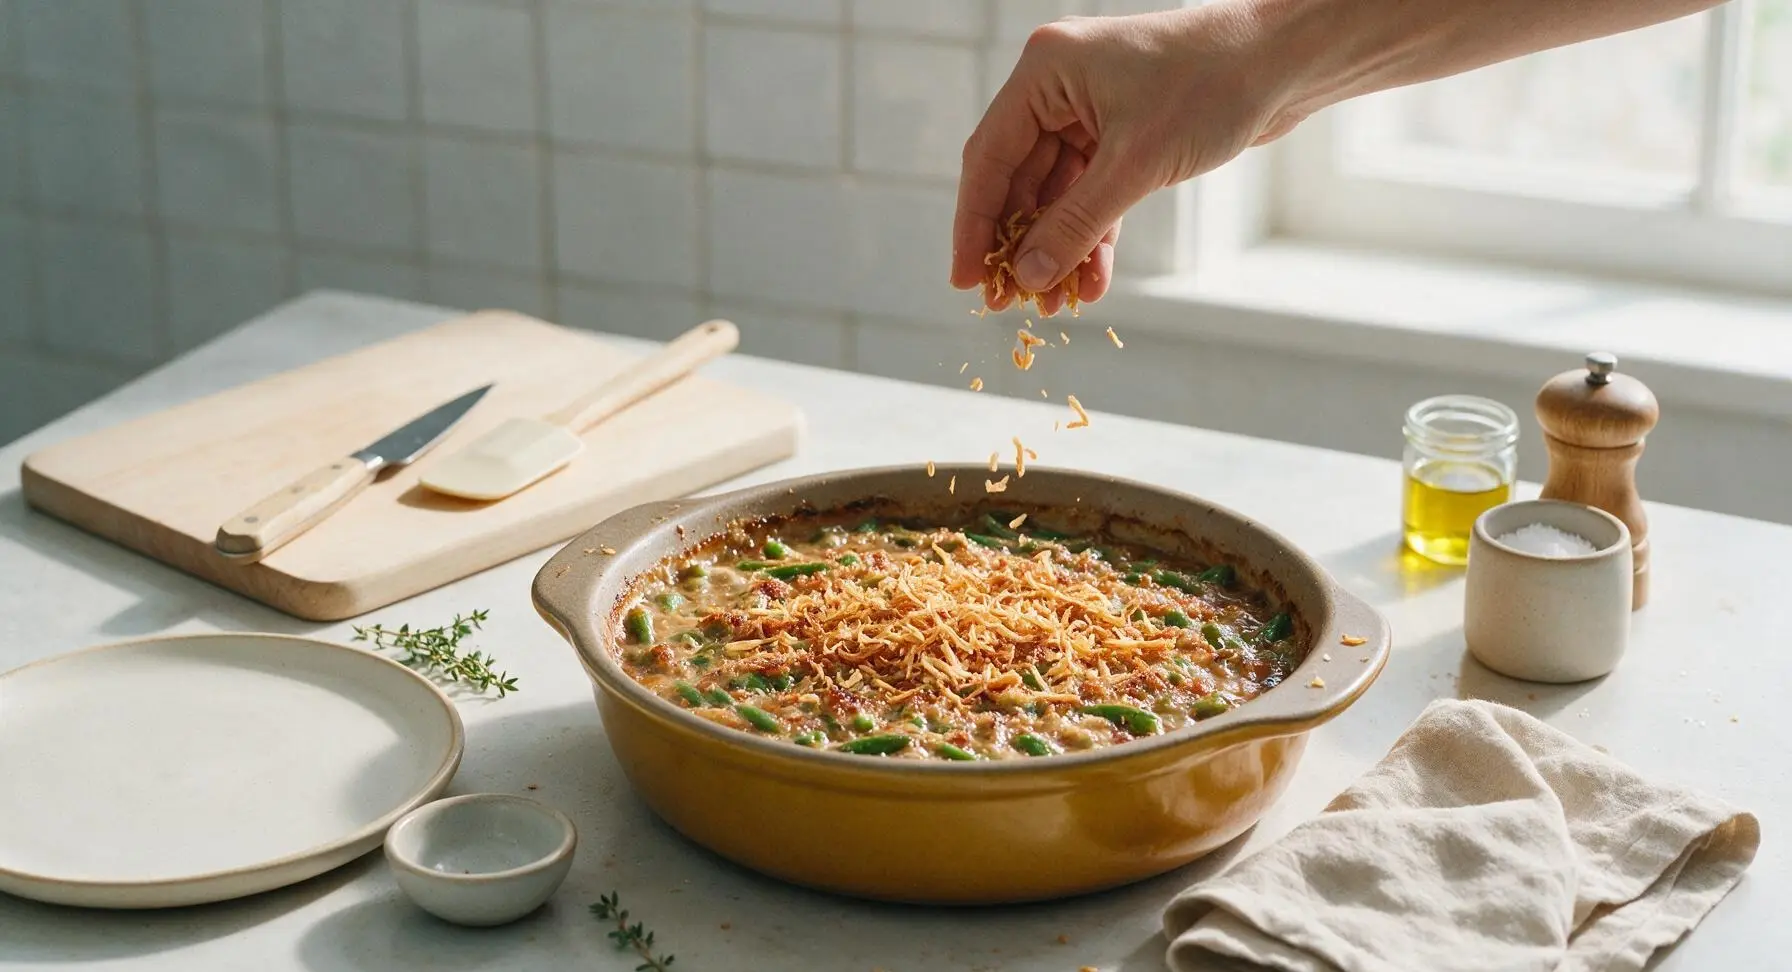
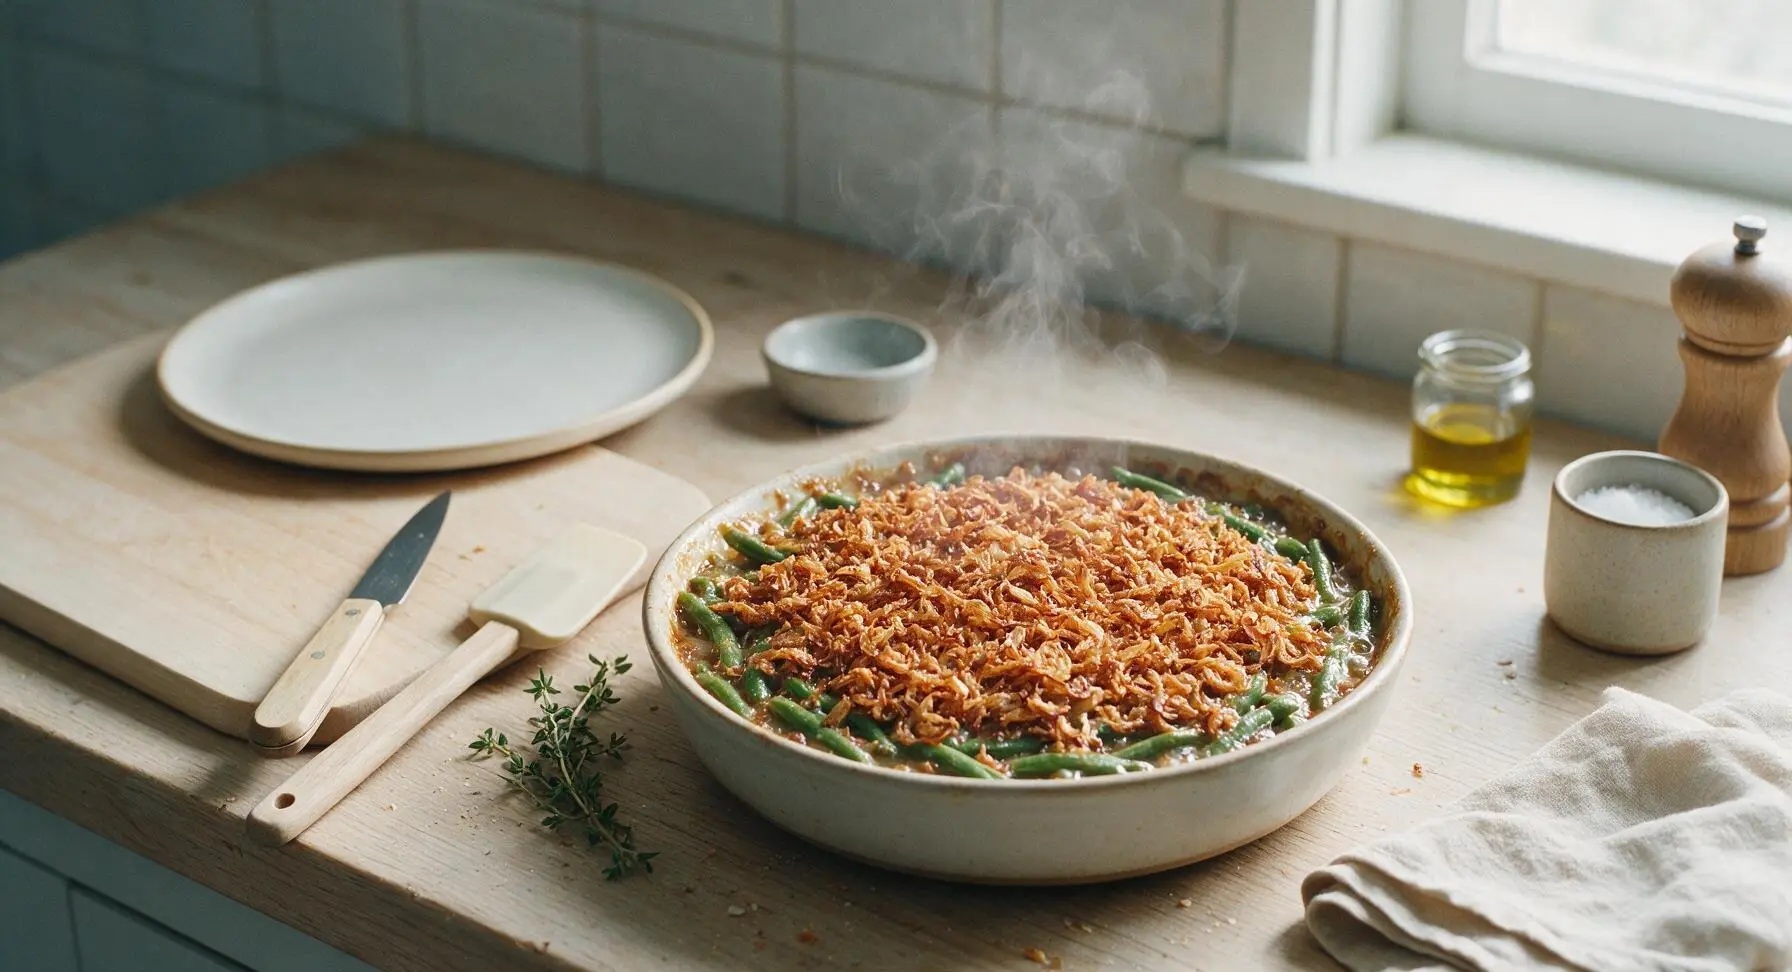
Sprinkle the remaining 1 cup of crispy fried shallots evenly over the hot, bubbling casserole surface, covering the top in a thin, even layer. Return the casserole to the oven for 5 more minutes, until shallots turn deep golden and extra crunchy. Remove from the oven and let rest 5 minutes before serving to allow the gravy to set slightly.
Step 7
step7:Top with Crispy Shallots
Step 7
step7:Top with Crispy Shallots

Tips

1.Pat blanched green beans completely dry with a linen towel before tossing with gravy: residual water on the beans will thin the sauce and lead to a watery, diluted casserole instead of a rich, cohesive dish.
2.Cook mushrooms until all their released moisture evaporates and they turn deep golden brown: this step builds deep, savory umami that makes the from-scratch gravy taste far more complex than versions made with canned condensed soup.
3.Reserve ¼ cup of crispy fried shallots to sprinkle on immediately before serving: shallots baked for the full cook time will soften slightly, so the fresh topping adds an extra layer of shatteringly crisp contrast to the creamy, tender beans.


✨ You May Also Like

Side Dishes
🍜 India

Velvety, aromatic all-purpose curry sauce perfect for tossing with roasted veggies, grilled protein, or rice for fast, cozy, flavorful meals.

⏱️ 25 minuteSide Dishes ★ 4.8
Side Dishes
🍜 Spain

Tender, starchy boiled yuca tossed in bright, garlicky citrus mojo sauce—an iconic, zesty side that pairs beautifully with roasted pork, grilled meats, and rice and beans.

⏱️ 40 minuteSide Dishes ★ 5
Side Dishes
🍜 United States

Tender, paper-thin potato flatbread, a beloved Norwegian-American Minnesota Christmas staple, griddled until softly spotted and served warm with butter.

⏱️ 1 hour 30Side Dishes ★ 4.6
Side Dishes
🍜 United States

Rich, deeply savory cured salt pork, a long-lasting kitchen staple perfect for frying crispy as a side or adding umami to stews, beans, and chowders.

⏱️ 7 days (2Side Dishes ★ 4.9
Side Dishes
🍜 United States

Crispy, tangy classic Southern fried green tomatoes with a crunchy cornmeal crust, served hot for a nostalgic, comforting summery bite.

⏱️ 25 minuteSide Dishes ★ 4.9
Side Dishes
🍜 United States

Moist, golden-crusted savory muffins with sweet corn, zesty jalapeño, and melted cheddar, perfect for pairing with smoky summer grilled fare.

⏱️ 30 minuteSide Dishes ★ 4.9

green bean casserole bon appetit:Frequently Asked Questions

1.Can I make this from-scratch green bean casserole ahead of time for holiday gatherings? ▾
Absolutely! Assemble the casserole (hold off on adding the top layer of fried shallots) up to 2 days in advance, cover tightly, and refrigerate. When ready to bake, add 5 to 7 minutes to the covered bake time to account for the cold dish, then top with shallots during the last 10 minutes of cooking to keep them crunchy.
2.Can I use frozen or canned green beans instead of fresh to cut down on prep time? ▾
Fresh green beans deliver that signature crisp-tender bite this recipe is known for, but high-quality frozen whole green beans work as a convenient swap—just skip the pre-blanch step and pat them very dry before mixing with gravy. Skip canned green beans, as they turn mushy and lend a tinny, off-flavor to the finished dish.
3.How do I get the mushroom gravy rich and umami-packed without using canned soup? ▾
Start by sautéing the finely diced yellow onion in butter first until soft, then add your thinly sliced cremini mushrooms over medium-high heat until they release all their moisture and turn deep golden brown. Don’t rush this step—those browned pan bits, called fond, build deep, savory flavor that makes the gravy far richer than canned condensed soup.
4.My fried shallots always burn or turn soggy—what’s the trick to perfect crispy shallots? ▾
Cook thinly sliced shallots in gently heated (not smoking) neutral oil over medium-low heat, stirring constantly, until they turn pale golden brown—they’ll keep crisping as they cool. Drain them well on paper towels immediately, and don’t salt them until right before serving to keep them from drawing out moisture and going soggy.
5.Can I adapt this recipe to be vegan without losing that rich, savory flavor? ▾
It’s easy to adapt this for vegan eaters! Swap the unsalted butter for an equal amount of high-quality vegan butter, use low-sodium vegetable stock in the mushroom gravy, and confirm your fried shallots are cooked in neutral plant-based oil rather than animal fat to keep the dish fully plant-based and flavorful.
6.How do I keep my green beans from turning mushy and dull olive green in the casserole? ▾
The trick is a quick blanch and ice bath right after trimming! Boil the beans for 3 to 4 minutes until bright green and just barely tender, then plunge them immediately into ice water to stop cooking and lock in vivid color. Pat them completely dry before mixing with gravy so excess water doesn’t make the dish watery or mushy.
7.What can I substitute for cremini mushrooms if I don’t have them on hand? ▾
Cremini mushrooms have an earthy, deep flavor ideal for the gravy, but you can swap in thinly sliced white button mushrooms for a milder taste, or a mix of shiitake and oyster mushrooms for an even richer, more umami-forward gravy. Skip canned mushrooms, as they have a rubbery texture and briny, off-flavor.
8.Should I cover the casserole while it bakes, or leave it uncovered the whole time? ▾
Start baking covered with foil for the first 20 minutes to let the gravy heat through evenly without drying out the top, then uncover for the last 10 to 12 minutes to let the edges bubble and the top layer crisp slightly. Add your reserved crispy fried shallots during that final uncovered bake so they don’t get soggy under foil.
9.How do I fix mushroom gravy that’s too thick or too thin before baking the casserole? ▾
If your gravy is too thick, stir in 1 tablespoon of warm chicken or vegetable stock at a time until it reaches a smooth, pourable consistency that coats the back of a spoon. If it’s too thin, simmer it over low heat for 3 to 5 minutes, stirring often, to reduce it slightly before tossing with green beans.

Comments (8)

2 days ago

OMG this from-scratch version is a total game changer! I’ve made the canned soup version for every Thanksgiving potluck for 10+ years and was nervous to switch, but my whole family went back for seconds. The crispy fried onion topping made in-house? *Chef’s kiss* Even my picky 7-year-old ate all his green beans without complaining! Quick question—can I prep the mushroom base a day ahead to save time on Turkey Day?

yesterday

So glad your family loved it, Mia! You absolutely can make the mushroom cream base 1-2 days ahead—just store it in an airtight container in the fridge, give it a good stir before mixing with the blanched beans, and you’re golden! Saves so much oven and stove chaos on the big day.

2 hours ago

Seconding this! I prepped the base last weekend for a test run and it held up perfectly—no weird texture changes at all. Saved me so much time when I was juggling rolls and mac and cheese for our friend group dinner!

3 days ago

Really solid recipe! Cook time was totally accurate at 40 minutes, which was perfect for a quick weeknight side to go with my smoked pork chops. Only note: I added a tiny pinch of cayenne to the mushroom sauce for a little heat, and it slapped. My only gripe is I wish there was a little more direction on how crispy to get the fried onions—mine got a little darker than I wanted on the first batch.

2 days ago

Great call adding that cayenne kick, Jake—such a fun upgrade! For the fried onions, aim for a light golden brown (they’ll keep crisping up a little after you pull them out of the oil, too) and you’ll nail it next time.

1 week ago

SO good! I swapped the heavy cream for oat cream and used vegan butter to make this dairy-free for my sister who’s visiting, and no one at our Sunday family dinner could tell the difference. The from-scratch sauce is so much richer than the canned stuff, I don’t think I can ever go back. Perfect easy side that doesn’t feel like a ton of work.

5 days ago

Made this for my roommate’s birthday dinner last night and everyone was raving. I was intimidated at first because I thought from-scratch casserole would be super high effort, but the difficulty rating being easy was no lie! I used fresh green beans from the farmers market and it made such a difference. Wait—has anyone tried freezing a batch of this for meal prep?

3 days ago

I froze half a batch after my first test run two weeks ago! Let it thaw in the fridge overnight, then bake covered for 20 minutes and uncovered for 10 to crisp the top back up. Tasted just as fresh as the day I made it!

2 days ago

Great tip from MealPrepMama! Just a quick note: if you’re freezing it, hold off on adding the fried onion topping until right before you bake it after thawing for the absolute best crunch.

yesterday

My kids loved it!!! I’ve been trying to get them to eat more veggies forever, and they asked for SECONDS of green beans? Unheard of. The sauce is so creamy and savory, no weird metallic canned soup aftertaste. This is going on our regular weeknight rotation for sure.

2 hours ago

That makes our day to hear, Sarah! There’s no better win than getting kids excited to eat their veggies. So happy it’s earned a spot in your regular rotation!

2 weeks ago

Took this to my neighborhood potluck last weekend and got so many recipe requests! I added a handful of crispy bacon bits to the topping because, well, bacon makes everything better, and it was chef’s kiss. Only reason it’s 4 stars instead of 5 is I felt the blanching step for the beans took a couple minutes longer than the recipe said to get them tender-crisp, but that’s probably just my stove being finicky.

30 minutes ago

Just pulled this out of the oven for dinner tonight and wow, it smells incredible. I was worried it wouldn’t live up to the classic version I grew up eating, but the homemade mushroom sauce is next level. Super easy to follow even for someone like me who’s pretty new to cooking, no fancy skills needed.

5 minutes ago

So stoked it turned out well for you as a newer cook! That’s exactly what we love to hear—no fancy techniques, just really good, cozy food. Enjoy your dinner!

2 hours ago

This was good, but I ran into a couple issues. First, the sauce got way too thick for me when I was making it, I had to add extra milk to thin it out. Second, I felt like the seasoning was a little bland, I ended up adding extra garlic powder and black pepper after tasting. Did anyone else have this problem?

30 minutes ago

I had the same thick sauce issue at first! Turned out my heat was a little too high when I was reducing it, so it evaporated faster than it should have. Turned the burner down, added a splash of chicken broth, and it was perfect. Agree on the extra pepper though, I always add a little more than recipes call for!

just now

Sorry to hear the consistency and seasoning were off for you! Thickness can vary a bit based on the fat content of your cream or milk and stovetop heat, so adding extra splashes of milk or broth to thin is exactly the right move. We always recommend tasting as you go and adjusting seasoning to match your preference—extra garlic and pepper sounds delicious!



