
green bean recipe oven

title 1
green bean recipe oven
⏱️ cook time 20 minutes
🍽️ servings 4
⚡ Difficulty easy

intro

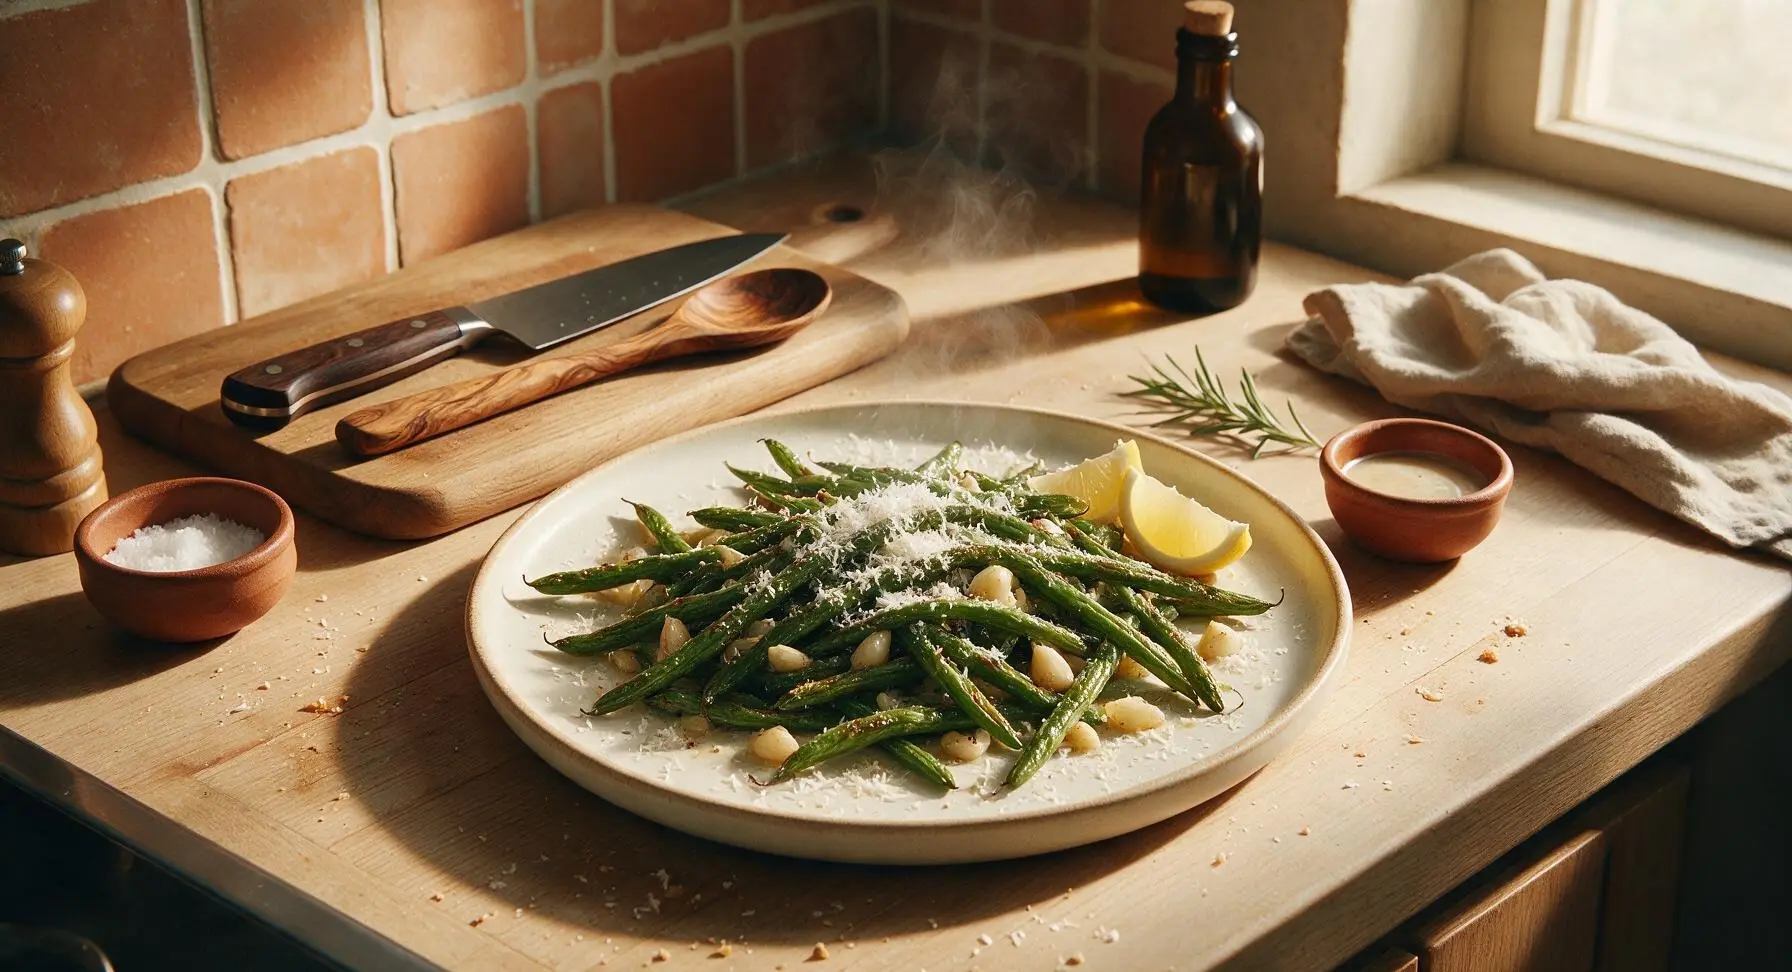
Crispy, blistered oven-roasted green beans with garlic, parmesan, and a bright lemon squeeze—no mushy texture, minimal prep, and big savory, toasty flavor for any meal.

Ingredients
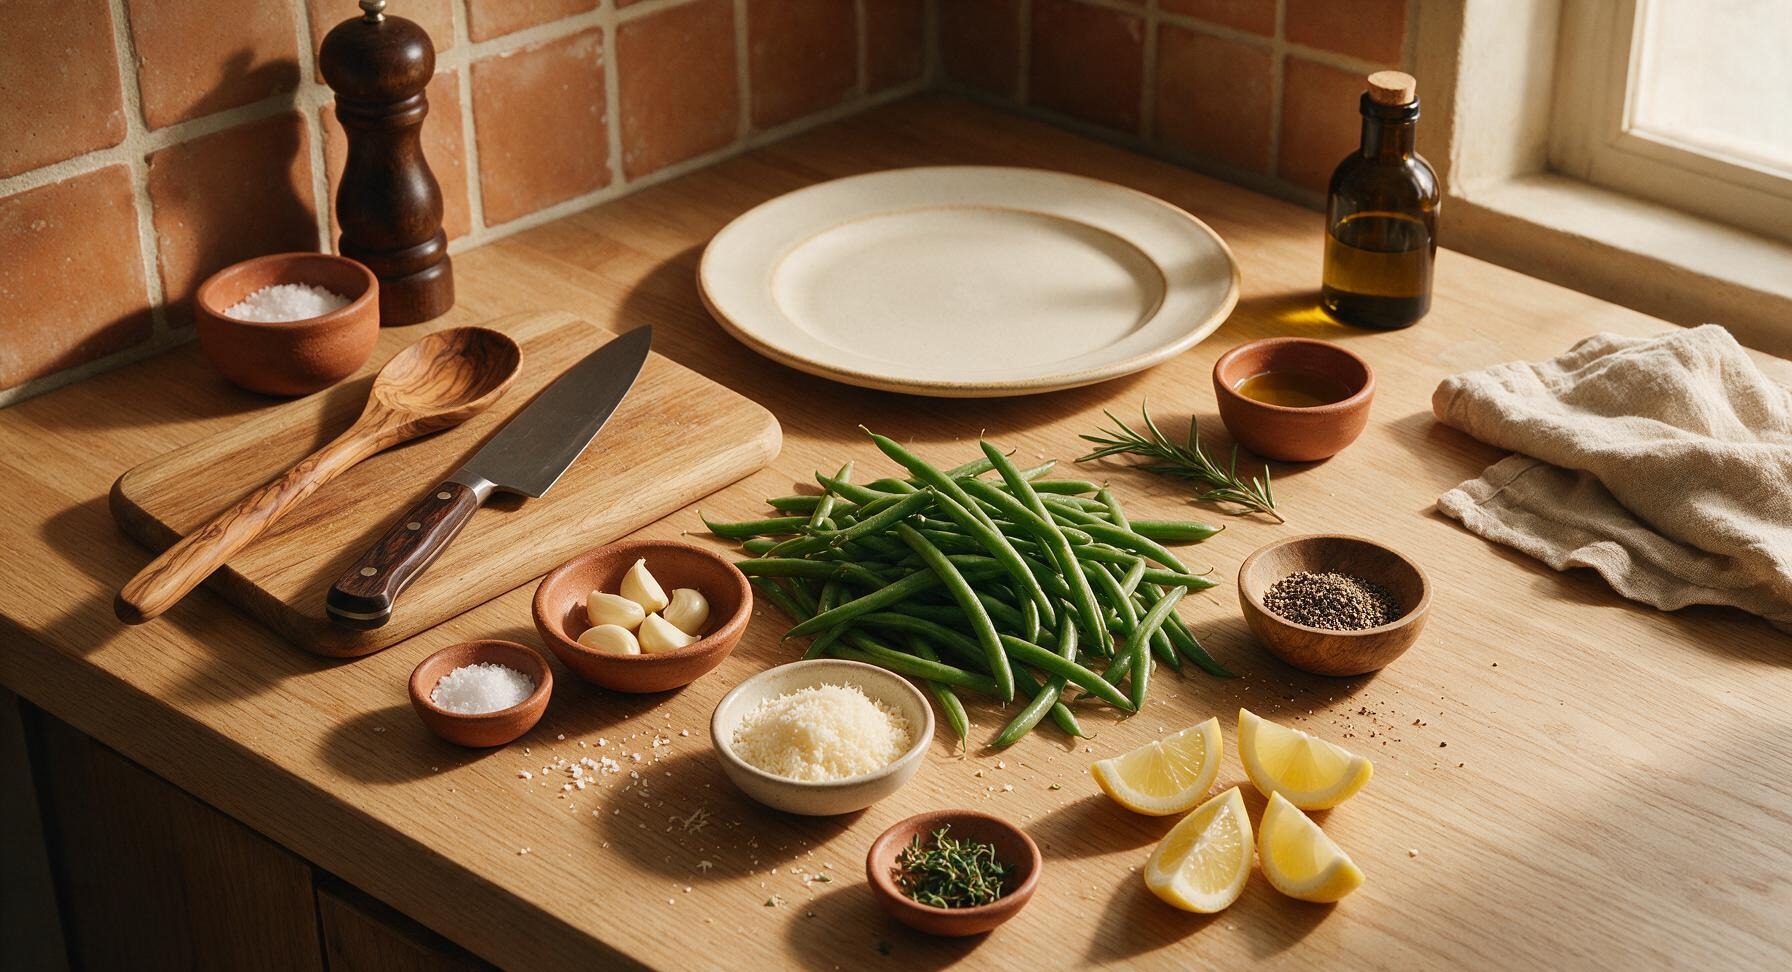
Fresh green beans, trimmed 1 lb (450g)
Extra virgin olive oil 2 tbsp (30ml)
Garlic cloves, thinly sliced 4 cloves (12g)
Kosher salt 3/4 tsp
Freshly cracked black pepper 1/2 tsp
Finely grated parmesan cheese 2 tbsp (15g)
Fresh thyme leaves 1 tsp
Fresh lemon, cut into wedges 1 small (60g)

Steps

1

Preheat Oven, Trim Beans

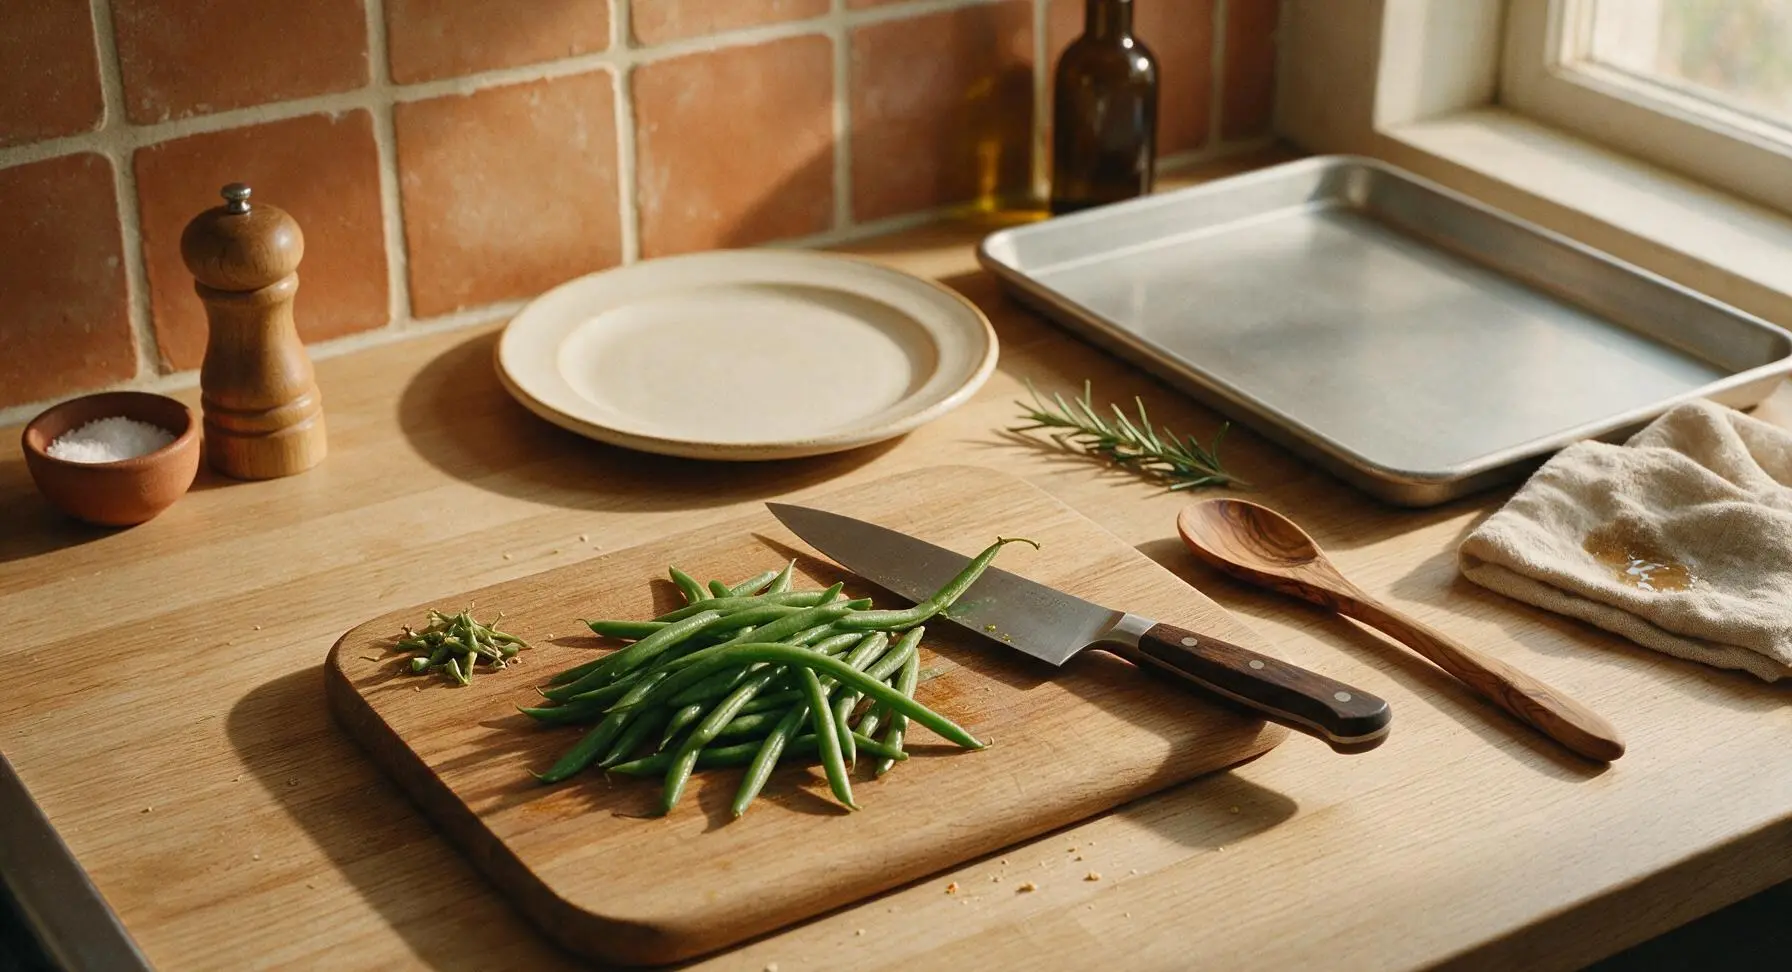
Adjust oven rack to the middle position, preheat oven to 425°F (220°C). Rinse fresh green beans under cool running water, then pat completely dry with a section of the cream linen towel. Place dry beans on the centered acacia wood cutting board, use the 8-inch chef knife to trim off the tough stem ends from each bean, piling discarded trimmings in the corner of the board. Visual cue: Beans should be completely dry to the touch with no visible surface moisture, which is critical for achieving crispy, non-soggy results.
Step 1
step1:Preheat Oven, Trim Beans
2

Toss Beans with Oil

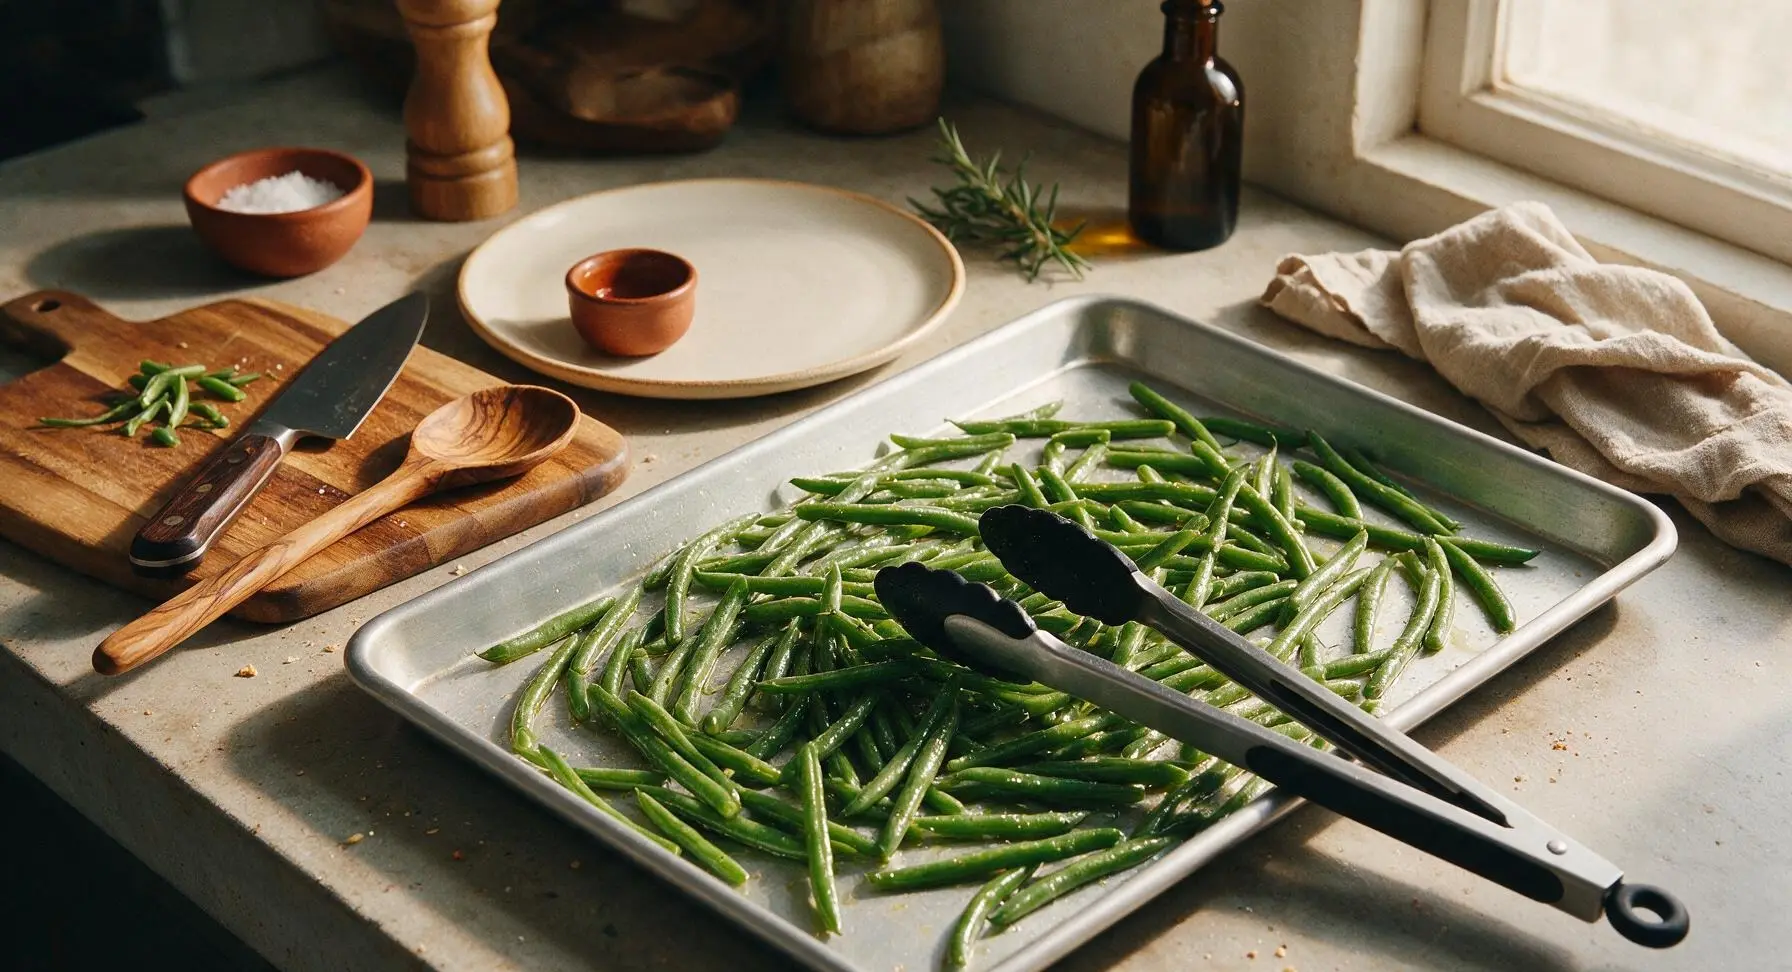
Transfer all trimmed, dried green beans to the large rimmed aluminum baking sheet. Drizzle evenly with 2 tablespoons extra virgin olive oil. Use the black silicone-tipped tongs to toss the beans thoroughly until every bean is lightly coated in oil, then spread them out in a single, even layer across the baking sheet, ensuring no beans are stacked or overlapping (overcrowding causes steaming instead of crispy roasting).
Step 2
step2:Toss Beans with Oil
3

Season Beans Evenly

Sprinkle the oiled green beans evenly with 3/4 teaspoon kosher salt and 1/2 teaspoon freshly cracked black pepper. Scatter thinly sliced garlic cloves across the sheet, distributing them between beans rather than clumping them in one spot to prevent burning. Toss once more with the tongs to redistribute seasonings, then re-spread beans into a tight single layer.
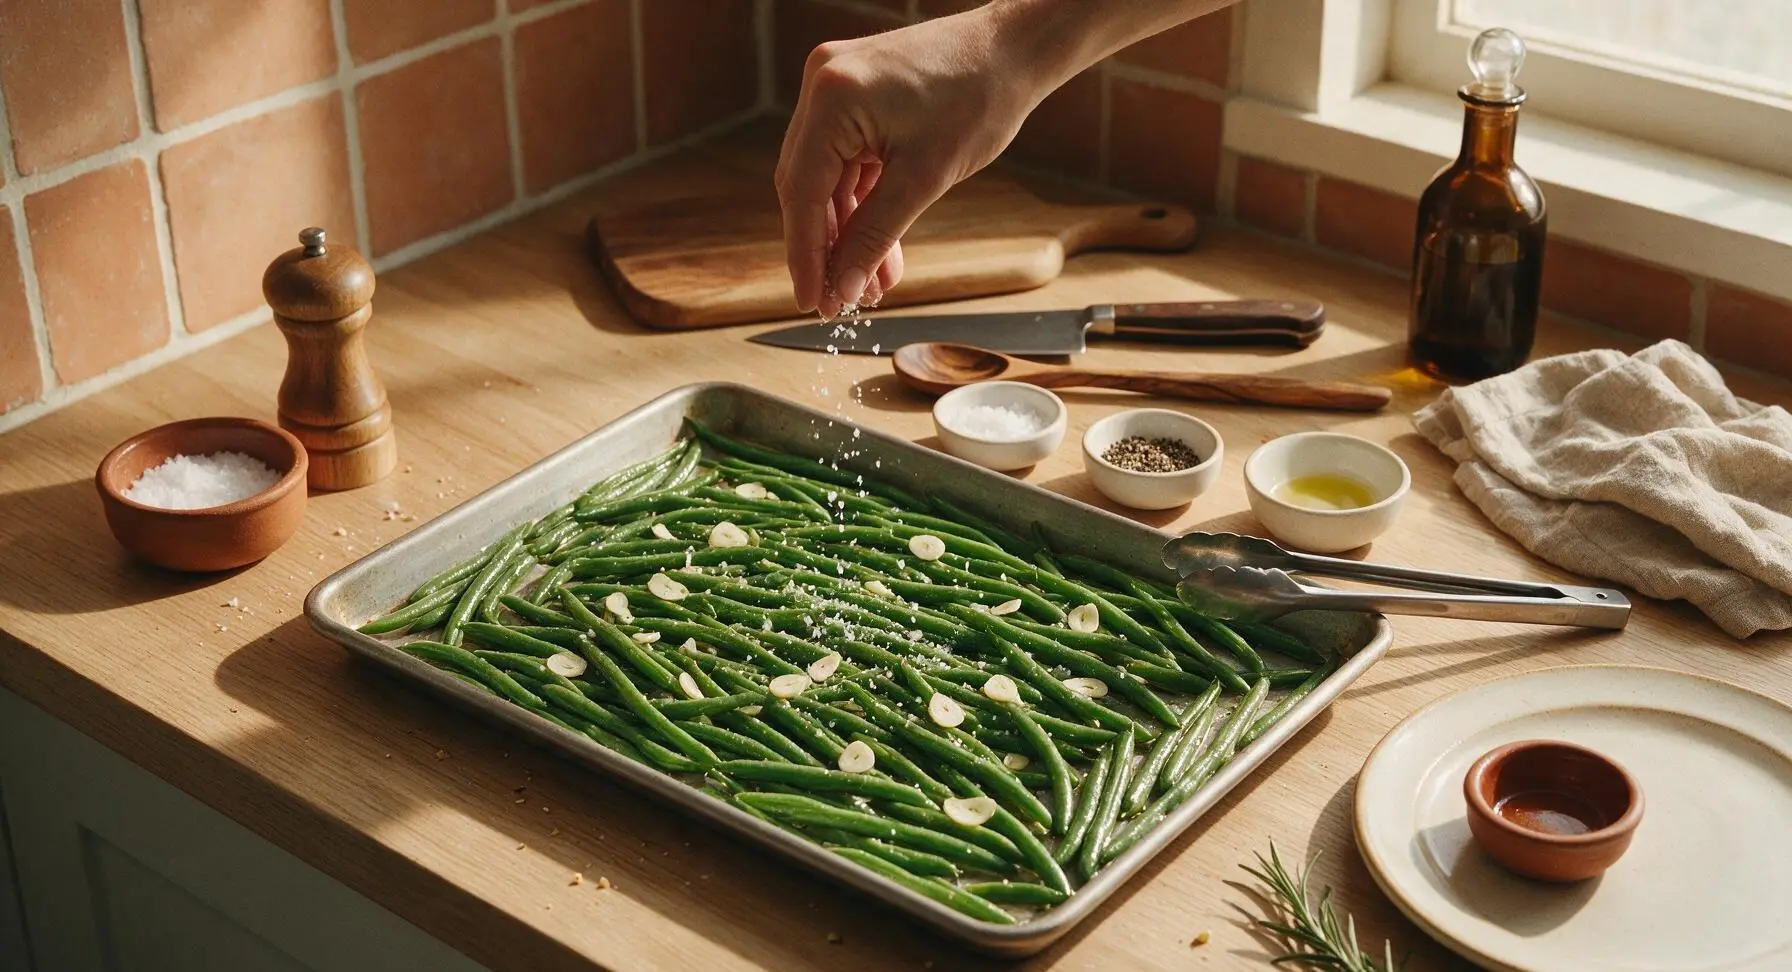
Step 3
step3:Season Beans Evenly
4

Roast Until Crispy

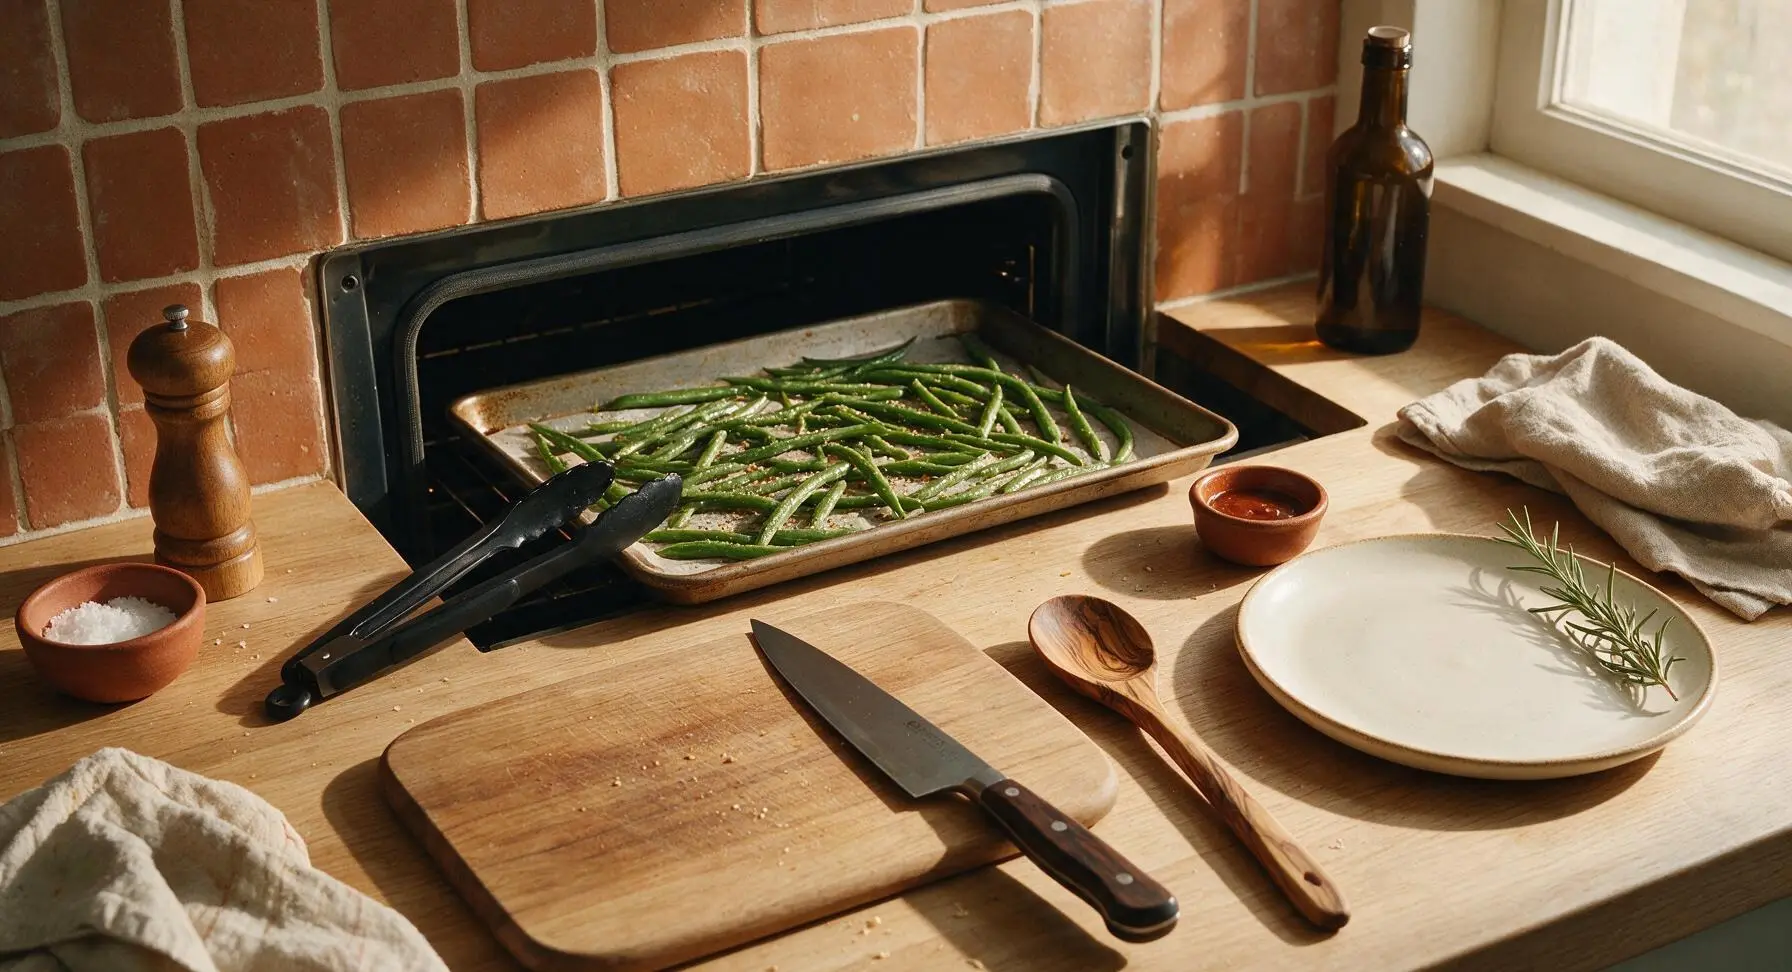
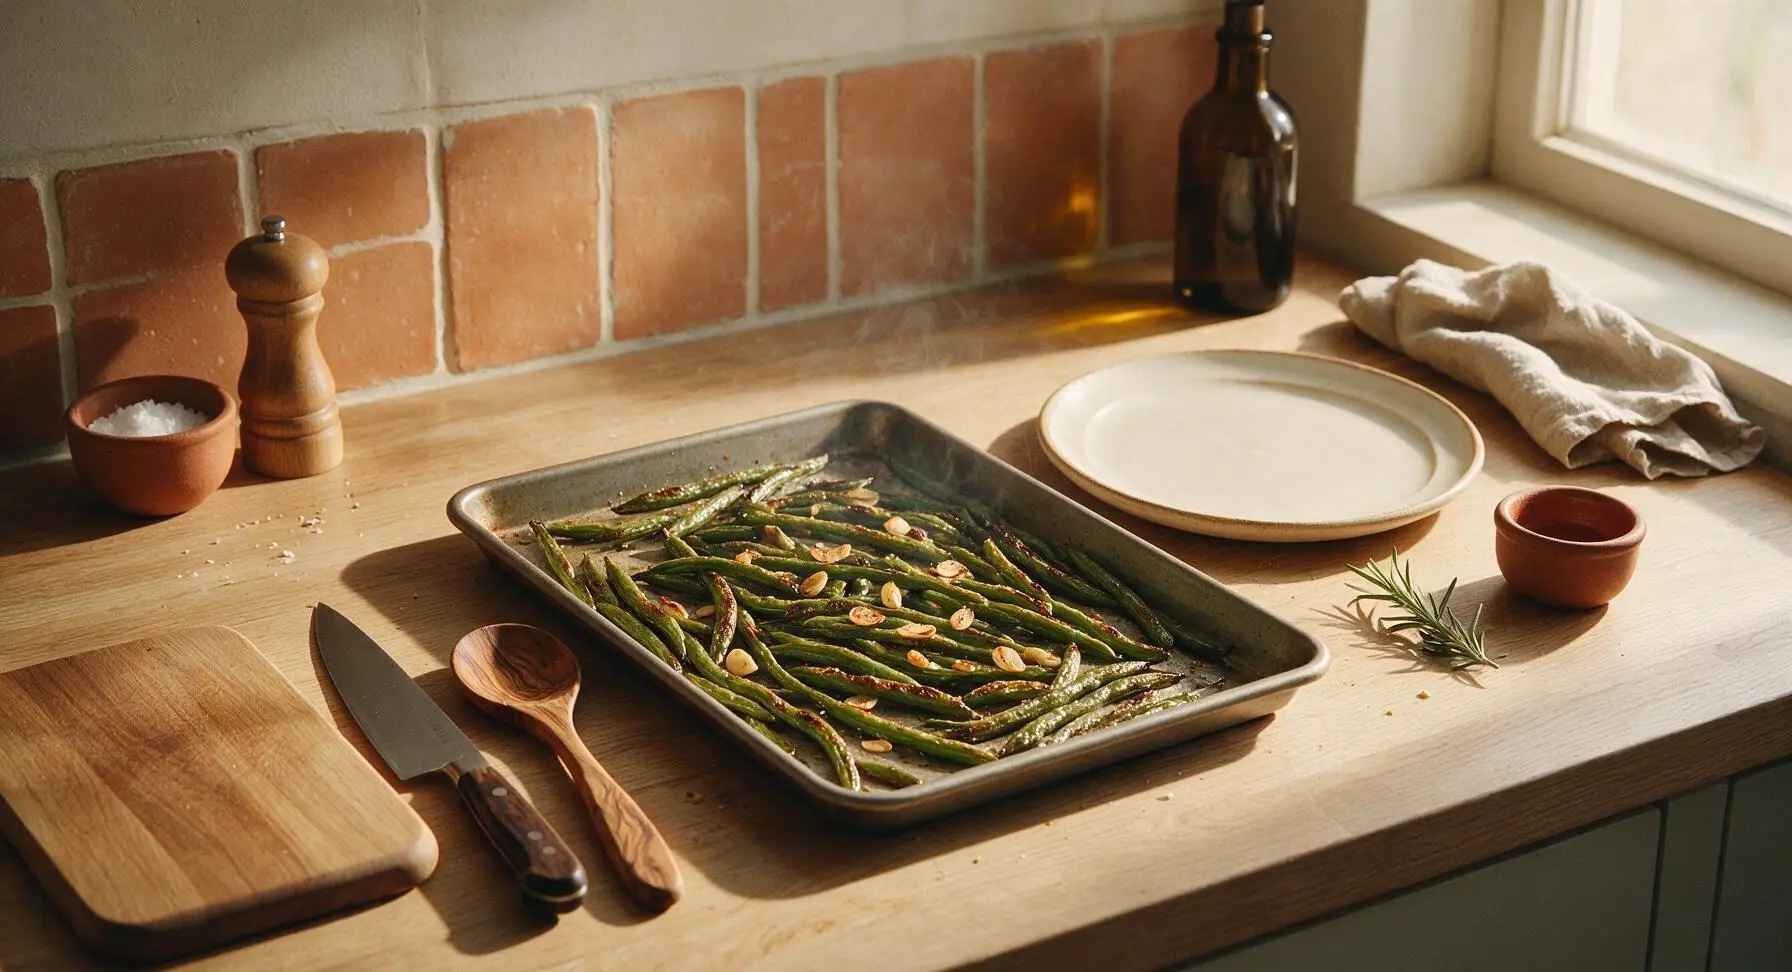
Carefully place the baking sheet on the middle oven rack. Roast for 15 minutes at 425°F (220°C), then use tongs to flip all green beans. Roast for an additional 5 minutes, until beans are tender-crisp with deep golden, slightly blistered edges, and garlic slices are light golden and fragrant. Pull the sheet from the oven immediately if garlic turns dark brown, as burnt garlic tastes bitter.
Step 4
step4:Roast Until Crispy
Step 4
step4:Roast Until Crispy
5

Top with Parmesan, Thyme

Immediately after removing the baking sheet from the oven, sprinkle the hot green beans evenly with 2 tablespoons finely grated parmesan cheese and 1 teaspoon fresh thyme leaves. The residual heat from the beans and pan will slightly melt the parmesan, creating nutty, cheesy bits that stick to the bean surfaces instead of sliding off.
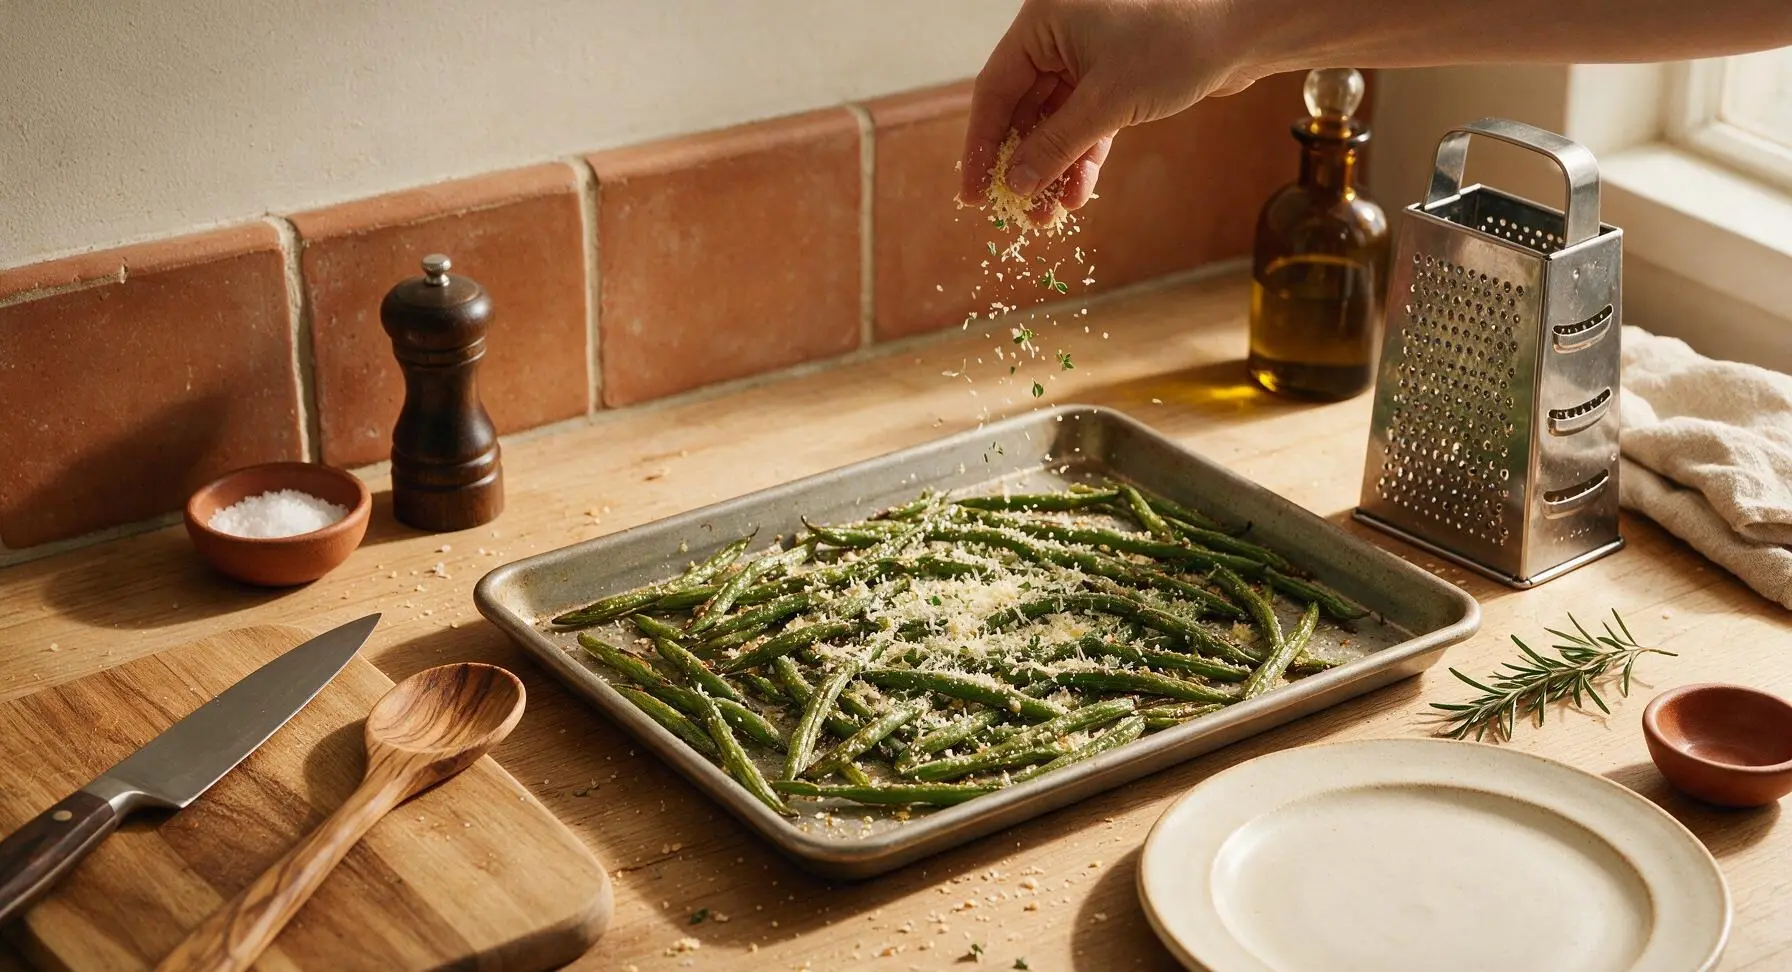
Step 5
step5:Top with Parmesan, Thyme
6

Transfer to Serving Platter

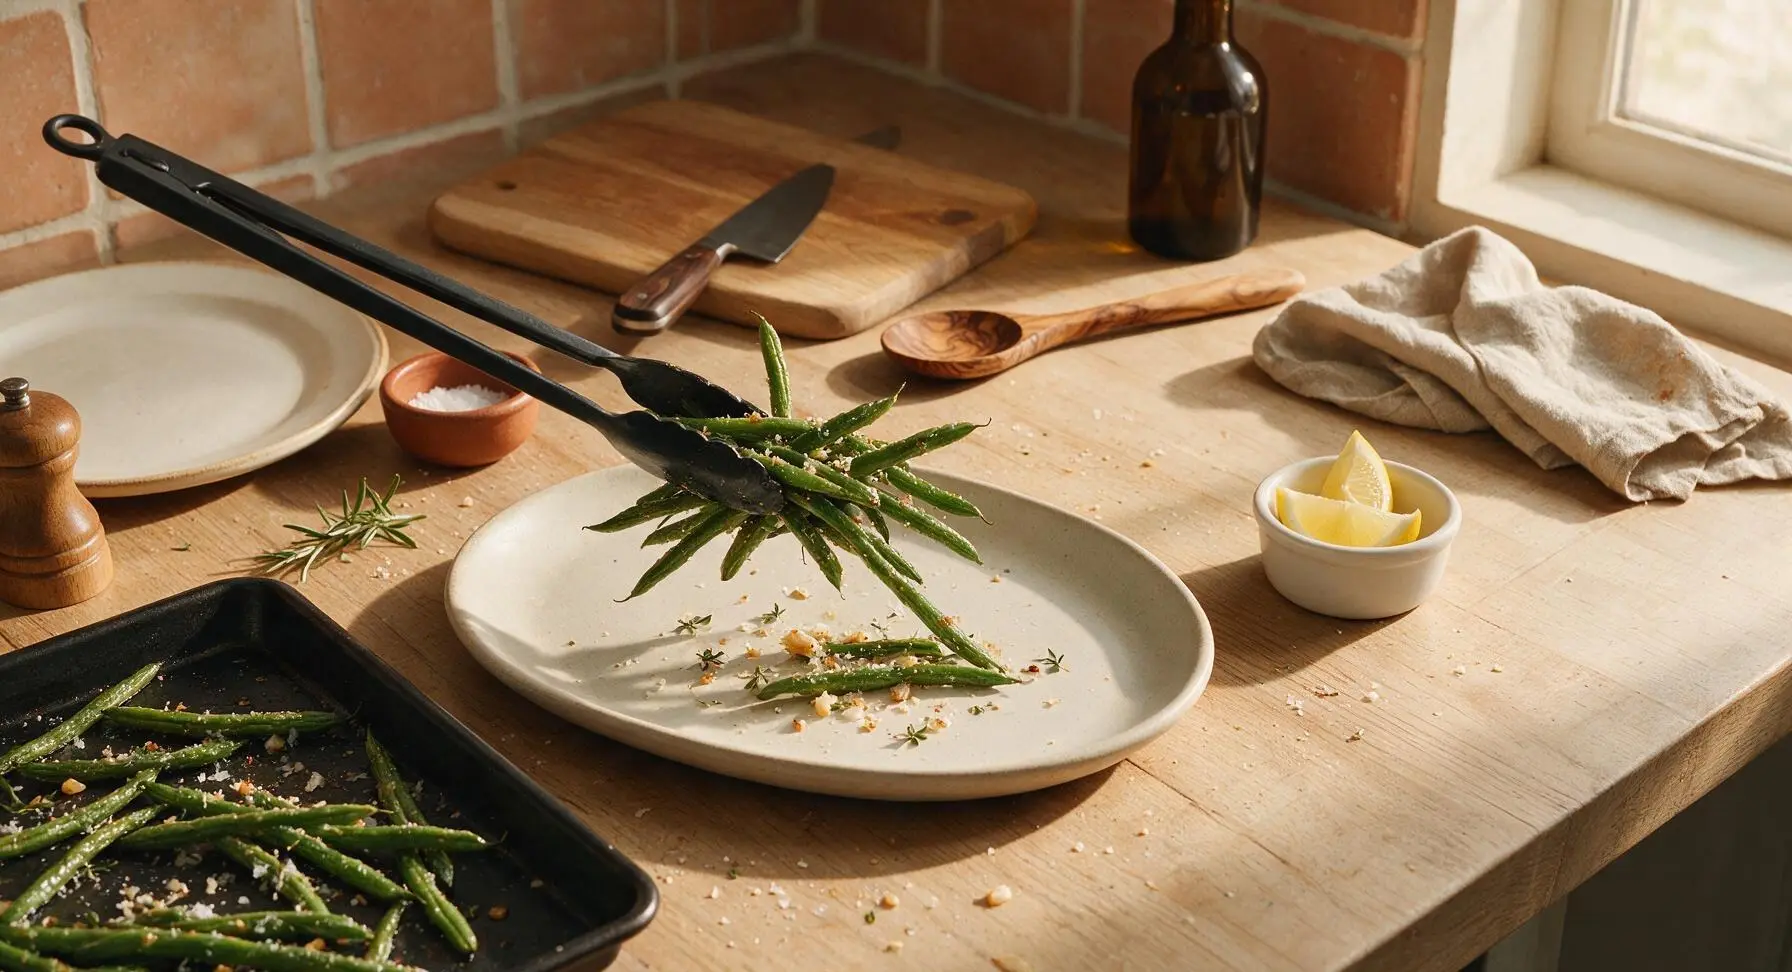
Use the tongs to pile the finished roasted green beans loosely onto the matte off-white oval ceramic serving platter, making sure to scoop up all toasted garlic bits, melted parmesan crumbs, and thyme leaves from the baking sheet to top the pile. Place 2 fresh lemon wedges in one of the small white ramekins set to the right of the platter.
Step 6
step6:Transfer to Serving Platter
7

Finish with Lemon Squeeze

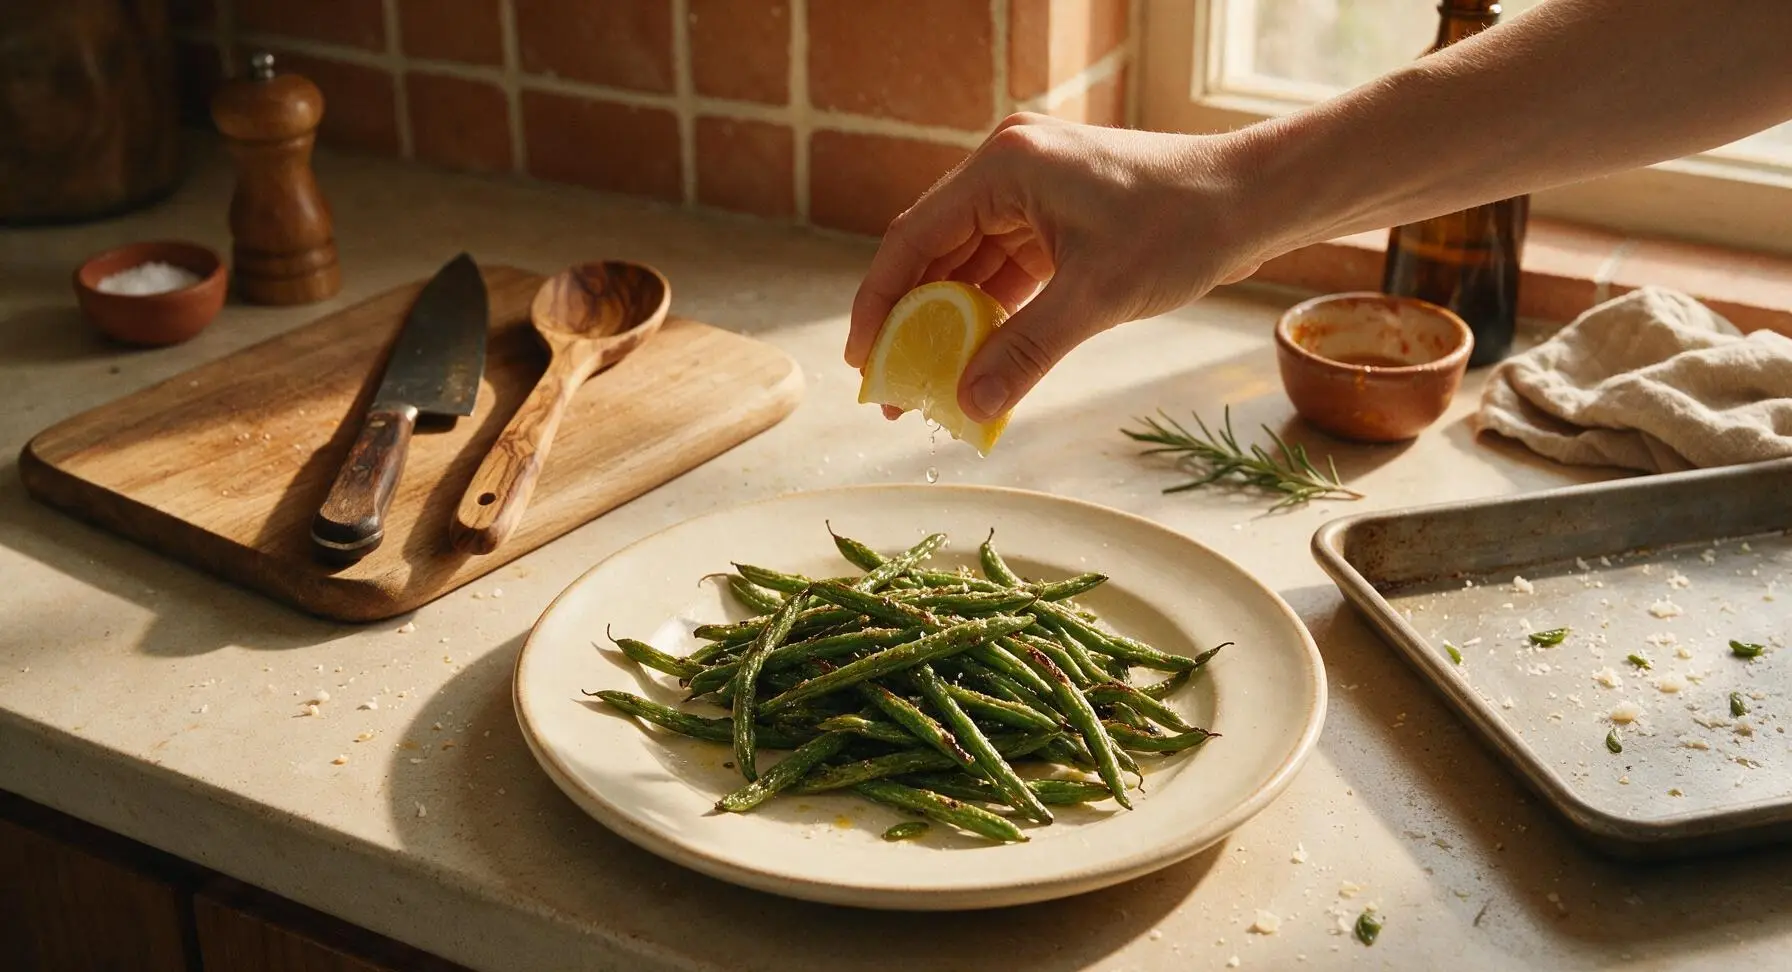
Right before serving, squeeze one lemon wedge lightly over the top of the green beans to add a bright, acidic contrast to the savory, crispy beans. Use a light hand—only a small amount of juice is needed to cut through the richness of the olive oil and parmesan; do not drench the beans, as this will make them soggy. Serve immediately while hot and crispy.
Step 7
step7:Finish with Lemon Squeeze

Tips

1.Pat green beans completely dry before tossing with oil: Any residual rinse water on bean surfaces will turn to steam in the hot oven, leading to soggy, mushy beans instead of the desired crispy, blistered edges.
2.Avoid overcrowding the baking sheet: If beans are stacked or overlapping, trapped steam will prevent crisping. For a double batch, use two separate baking sheets and rotate racks halfway through cooking for even browning.
3.Add parmesan immediately after removing the pan from the oven: The residual 425°F pan heat melts the cheese just enough to create crispy, stuck-on cheesy bits, rather than letting clumpy, unmelted cheese slide off cool bean surfaces.


✨ You May Also Like

Side Dishes
🍜 India

Velvety, aromatic all-purpose curry sauce perfect for tossing with roasted veggies, grilled protein, or rice for fast, cozy, flavorful meals.

⏱️ 25 minuteSide Dishes ★ 4.8
Side Dishes
🍜 Spain

Tender, starchy boiled yuca tossed in bright, garlicky citrus mojo sauce—an iconic, zesty side that pairs beautifully with roasted pork, grilled meats, and rice and beans.

⏱️ 40 minuteSide Dishes ★ 5
Side Dishes
🍜 United States

Tender, paper-thin potato flatbread, a beloved Norwegian-American Minnesota Christmas staple, griddled until softly spotted and served warm with butter.

⏱️ 1 hour 30Side Dishes ★ 4.6
Side Dishes
🍜 United States

Rich, deeply savory cured salt pork, a long-lasting kitchen staple perfect for frying crispy as a side or adding umami to stews, beans, and chowders.

⏱️ 7 days (2Side Dishes ★ 4.9
Side Dishes
🍜 United States

Crispy, tangy classic Southern fried green tomatoes with a crunchy cornmeal crust, served hot for a nostalgic, comforting summery bite.

⏱️ 25 minuteSide Dishes ★ 4.9
Side Dishes
🍜 United States

Moist, golden-crusted savory muffins with sweet corn, zesty jalapeño, and melted cheddar, perfect for pairing with smoky summer grilled fare.

⏱️ 30 minuteSide Dishes ★ 4.9

green bean recipe oven:Frequently Asked Questions

1.Why do my roasted green beans always turn out mushy instead of crispy? ▾
Mushy green beans almost always come down to three common mistakes: not patting beans completely dry after washing, overcrowding the baking sheet so they steam instead of roast, or using too low an oven temperature. Arrange beans in a single layer with space between them, roast at 425°F, and skip covering the pan to let moisture escape for perfect crispness.
2.Can I use frozen green beans for this recipe instead of fresh? ▾
You absolutely can, but you’ll need to adjust your prep to avoid sogginess. First, thaw frozen green beans completely, then pat them extremely dry with paper towels to remove all excess moisture from melted ice. Toss with oil and seasonings as directed, and add 3 to 5 minutes to the total roast time to get that same blistered, crispy texture you get with fresh beans.
3.What oven temperature works best to get that signature crispy, blistered texture? ▾
A high oven temperature of 425°F is the sweet spot for this recipe. Lower temps (under 400°F) cook beans too slowly, letting them release excess moisture and turn limp before they can crisp. Temperatures above 450°F risk burning the thin sliced garlic and parmesan before the beans reach that perfect tender-crisp doneness.
4.Do I need to line my baking sheet with parchment paper for this recipe? ▾
Parchment paper works for easy cleanup, but thick parchment can slightly reduce how crispy the bottom of the beans gets. For the absolute best crunch, use a bare, heavy-gauge rimmed baking sheet, or line it with thin aluminum foil lightly coated in a tiny spritz of oil. Skip silicone baking mats, which trap moisture and lead to limp beans.
5.When do I add the sliced garlic so it doesn’t burn in the hot oven? ▾
Thinly sliced garlic burns in as little as 2 minutes at high oven heat, so don’t add it at the very start of roasting. Toss it with the oiled, seasoned green beans during the last 8 to 10 minutes of cook time. That gives it enough time to turn golden, toasty, and fragrant without turning bitter and overly charred before the beans are done.
6.Can I prep these green beans ahead of time for fast weeknight meals? ▾
You can trim the green beans up to 3 days ahead of time, storing them in an airtight container lined with a paper towel in your fridge’s crisper drawer to cut down on weeknight work. Wait to toss them with oil, salt, pepper, and garlic until right before roasting, though—salting beans too early draws out moisture that leads to sogginess.
7.How do I know when the green beans are finished roasting? ▾
Perfectly done crispy roasted green beans will have wrinkled, slightly blistered, golden-brown spots on the outside, and be tender-crisp when you bite into them—no raw, snappy crunch, but no mushy softness either. For most ovens, that takes 18 to 22 minutes total; give the pan a good shake halfway through to flip beans for even browning.
8.Is it really necessary to trim the ends off green beans before roasting? ▾
Yes, you’ll want to trim the tough, woody stem ends off each green bean before roasting—those ends are fibrous, chewy, and unpleasant to eat. You don’t need to trim the thin, tapered tail end unless it’s brown or damaged, but removing the stem side makes the final dish much more enjoyable, with no tough bits to pick around.
9.Can I add parmesan cheese without it burning to a crisp in the hot oven? ▾
Absolutely! Add finely grated parmesan during the last 3 to 5 minutes of roasting, after the garlic has had a few minutes to toast. That gives the cheese just enough time to melt, turn golden and crispy, and stick to the beans, without burning to a bitter, blackened mess on the surface of your baking sheet.
10.Why are my roasted green beans stringy and chewy even after cooking? ▾
Stringy green beans usually mean you’re using older, past-their-prime beans that have developed tough, fibrous strings along their seam. When shopping, pick firm, bright green beans that snap cleanly when bent, with no limp, wrinkled, or yellowed spots. Peel off any visible tough strings along the edge before roasting if using slightly older beans.
11.Can I make these crispy green beans in an air fryer instead of the oven? ▾
You definitely can! Toss the prepared, fully dried green beans with oil and seasonings, cook in a single layer in your air fryer at 400°F for 10 to 12 minutes, shaking the basket every 4 minutes. Add garlic the last 5 minutes and parmesan the last 2 minutes; the circulating air creates extra crispy beans in slightly less time than oven roasting.
12.How much olive oil should I use to get crispy beans without them feeling greasy? ▾
Use about 1 tablespoon of extra virgin olive oil per pound of trimmed green beans. That’s just enough to lightly coat every bean so heat transfers evenly to create that crispy, blistered exterior, without leaving excess oil pooled on the baking sheet that makes the final dish feel heavy. Toss well to make sure no beans are dry.
13.When should I add the fresh lemon squeeze mentioned in the recipe intro? ▾
Wait to add the fresh lemon squeeze until right after you pull the green beans out of the oven, immediately before serving. Adding lemon juice too early, while the beans are still roasting, can make them turn soggy and dull their bright green color, plus heat will mellow out that bright, zingy contrast to the savory, toasty beans.
14.How do I store leftover roasted green beans, and will they stay crispy? ▾
Store leftover roasted green beans in an airtight container in the fridge for up to 4 days. They will lose some of their crisp texture as they chill, but you can crisp them back up by spreading them on a baking sheet and reheating at 400°F for 5 to 7 minutes. Skip microwaving leftovers, which will turn them mushy and limp no matter how crispy they were initially.
15.What extra seasonings can I add to switch up the flavor without ruining the crispy texture? ▾
Stick to dry seasonings added with the oil at the start to avoid adding excess moisture that causes sogginess—great options include smoked paprika, red pepper flakes, garlic powder, onion powder, or dried oregano. Skip wet sauces like soy sauce or balsamic glaze until the very last minute after roasting, as those will soften the crispy exterior if added during cooking.

Comments (18)

2 days ago

OMG these are SO good! I’ve been steaming green beans for years and my kids always complained they were mushy. Tossed these with a little garlic powder and parmesan right after pulling them out, and both boys asked for seconds! Total game changer for weeknight dinners.

yesterday

Wait did you use fresh or frozen green beans? I only have frozen in the freezer right now and wondering if they’ll still crisp up?

yesterday

Hi there! Frozen green beans work great too – just pat them really dry with paper towels before tossing with oil and seasoning, and add 3-4 minutes to the cook time to get that perfect crisp!

3 days ago

Made these to go with my smoked brisket for last weekend’s cookout and everyone raved! I added a sprinkle of smoked paprika to the seasoning mix and they had the perfect little kick. So easy too, didn’t have to babysit a pan on the stove while I was tending the smoker.

2 days ago

Love the smoked paprika add-in! That sounds like the perfect pairing with brisket – thanks for sharing the tip!

1 week ago

I make a big batch of these every Sunday for my weekday work lunches! They hold up way better than roasted broccoli in my opinion, don’t get soggy when I reheat them in the office microwave. 20 minute cook time is chef’s kiss for busy prep days.

5 minutes ago

Full transparency: I hate green beans. Or I thought I did, until my roommate made these last night. Crispy, salty, not at all that mushy canned garbage I grew up eating. I ate half the pan by myself. Who even am I right now?

just now

Same! I used to only eat green beans covered in casserole at Thanksgiving, now I make these twice a week. Life changing lol

1 week ago

Brought these to my neighborhood potluck last week and people were asking me for the recipe before I even set the platter down! I did add a squeeze of lemon juice and some toasted almond slices at the end, and they were chef’s kiss. Will absolutely be making these again for every gathering.

yesterday

20 minute cook time? Sold. I’m always scrambling to get a side on the table between soccer practice drop off and homework time, and these were so straightforward. My 7 year old dipped hers in ketchup and ate every last one, so that’s a permanent win in my book.

30 minutes ago

This is such a perfect easy side for anyone avoiding gluten! I didn’t have to make any swaps at all, they’re naturally GF and still packed with flavor. I tossed mine with a little everything bagel seasoning for extra crunch, 10/10.

5 minutes ago

The everything bagel seasoning swap is genius! So glad this worked out for your dietary needs, that sounds delicious.

2 weeks ago

First recipe I’ve made in my new apartment oven that didn’t burn, lol. Super easy to follow, didn’t need any fancy equipment. I only had olive oil, salt, and pepper and they still turned out crispy and tasty. Way better than the dining hall green beans, that’s for sure.

1 week ago

Wait same! I made these in my tiny dorm oven last week and they came out perfect, I was shocked. I thought my oven was too garbage to roast anything right.

1 week ago

So happy this worked out in your apartment oven! Pro tip: if your oven runs hot, just check them a couple minutes early to avoid burning, especially if it’s a smaller model.

2 hours ago

Finally! A roasted green bean recipe that actually gets crispy instead of turning into sad, limp steamed wannabes. The tip about drying the beans really well before tossing with oil is no joke, that’s the secret I was missing all these years.

30 minutes ago

RIGHT? I used to skip the drying step and wonder why mine were always mushy. Total game changer.

5 days ago

These fit perfectly into my low carb meal rotation! I pair them with baked salmon or chicken thighs almost every other night, and I never get sick of them. Way more satisfying than a plain side salad, honestly.

2 weeks ago

I’ve been making green beans for 60 years, and I’ll admit it – this recipe is better than my old boiled green bean recipe. My granddaughter showed me this last Sunday, and even my bridge club asked for the recipe! I added a little bacon grease to the oil for extra flavor, highly recommend.

1 week ago

Bacon grease? That’s the hack I needed! I bet that adds such a deep, savory flavor. Can’t wait to try that this weekend.

1 week ago

Bacon grease is such a classic, delicious swap for olive oil! So happy this recipe got the Grandma Marge seal of approval, that means the world.

3 days ago

Okay so I messed up the first batch because I dumped way too many beans on one baking sheet and they steamed instead of crisping. But I made them again last night with two sheets, spread out in a single layer, and holy cow they were perfect. Don’t be like me, follow the single layer tip!

2 days ago

Thanks for keeping it real! Overcrowding the pan is the #1 mistake people make with roasted veggies, so your reminder is super helpful for other cooks. So glad the second batch turned out!

yesterday

Made these for date night last night with some steak and mashed potatoes, and my boyfriend thought I ordered from a fancy steakhouse. Little does he know it took me 5 minutes to prep and 20 minutes in the oven. This recipe is going to be my little secret for impressing people, tbh.

1 week ago

I have a kid with multiple food allergies (soy, dairy, nuts) and it’s so hard to find side dishes that are safe and actually taste good. These are totally free of all his allergens, and he ate three servings last night! No fancy ingredients, no cross-contamination risks if I use my regular olive oil, absolute lifesaver.

5 days ago

This is so good to know! My son has a dairy and nut allergy too, I’ve been looking for easy sides he’ll actually eat. Can’t wait to try these tonight!

3 days ago

This makes me so happy to hear! It means the world that this recipe is a safe, tasty option for your family. Hope your kid loves them as much as Sarah’s does!

2 hours ago

Added a big pinch of red pepper flakes and a dash of garlic salt to mine, and these had the perfect zing. I was worried 20 minutes wouldn’t be enough to get them crispy, but the edges got all caramelized and perfect. Will be adding these to my weekly rotation for sure.

30 minutes ago

Red pepper flakes on these is elite! I add a little parmesan too for that salty-spicy combo, it’s so addictive.

3 days ago

These taste exactly like the crispy green beans they serve at my favorite local diner, but I can make them at home for a fraction of the cost! I don’t even need to order takeout sides anymore when I can whip these up in 20 minutes. 10/10, no notes.

30 minutes ago

As a vegan, I love that this recipe is naturally plant-based without any weird substitutes! I tossed mine with nutritional yeast instead of parmesan for that cheesy flavor, and it was chef’s kiss. Great for quick weeknight meals when I don’t feel like putting in a ton of effort.

5 minutes ago

The nutritional yeast swap is such a great call for a cheesy, vegan-friendly twist! Thanks for sharing that tip with other plant-based cooks.

yesterday

These were good, but mine didn’t get as crispy as the photos look? I followed the recipe exactly, used fresh green beans, olive oil, 425 oven for 20 minutes. Maybe my oven runs cool? Flavor was great though, just missing that crunch I was hoping for.

yesterday

I had that same problem my first try! Turns out I was using a baking sheet with too high sides, which trapped steam. Switched to a flat rimmed sheet pan and they crisped right up!

yesterday

Sorry to hear the crisp level wasn’t quite right! A few quick fixes: make sure your oven is fully preheated before putting the beans in, pat them completely dry after washing, and try raising the oven rack to the top position for more direct heat. That should get you that perfect crunch next time!



