1.How do I get perfectly crisp-tender green beans instead of mushy ones?
▾
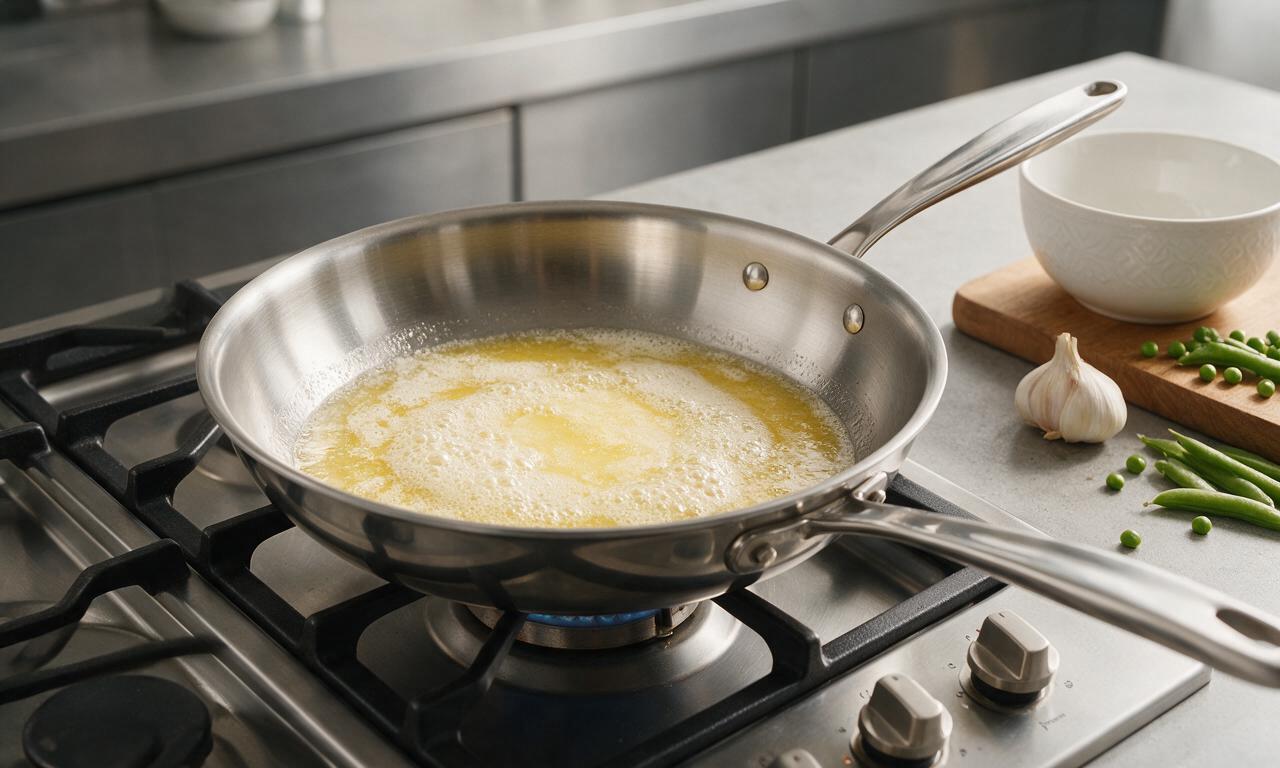
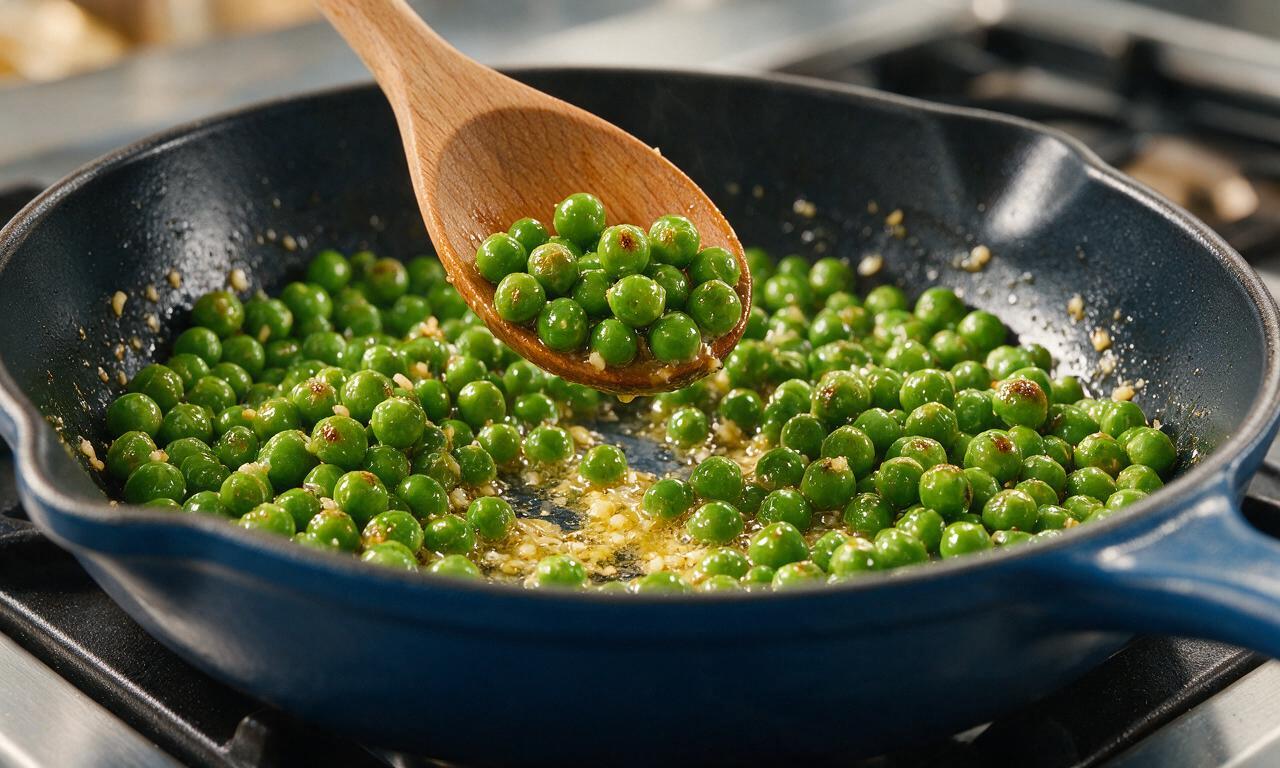
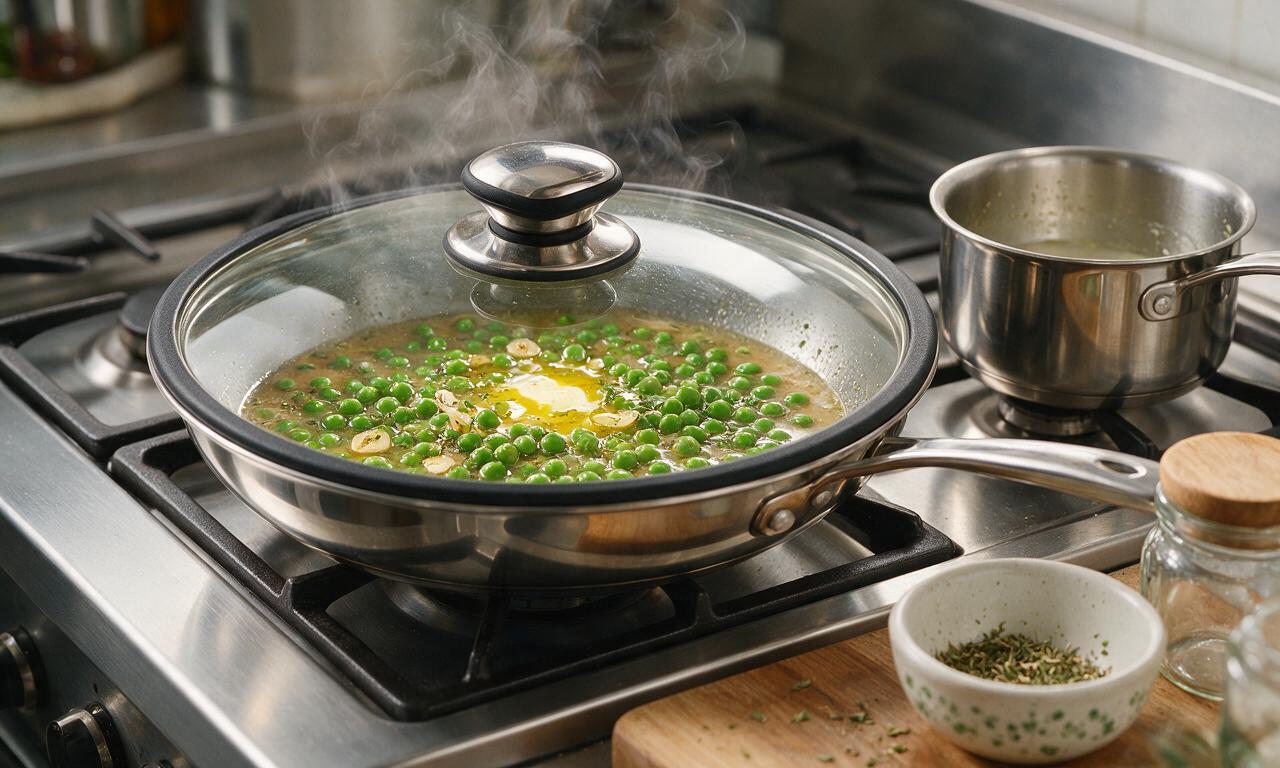
The biggest culprit of mushy beans is overcrowding the pan and overcooking. First, pat fully trimmed, washed green beans completely dry before adding to hot butter, cook over medium-high heat for 4 to 5 minutes total, tossing occasionally, until they pierce easily with a fork but still have a snappy crunch. Resist covering the pan, as trapped steam will turn them soft and dull.
2.Can I use frozen green beans instead of fresh for this recipe?
▾
You absolutely can, but take one extra step for best results: fully thaw the frozen green beans and pat them extremely dry with paper towels before sautéing. Skip pre-seasoned frozen bean blends to control salt and garlic flavor, and add 1 to 2 minutes of cook time if needed to get that signature crisp-tender texture without excess water making the dish soggy.
3.How do I keep the garlic from burning and turning bitter?
▾
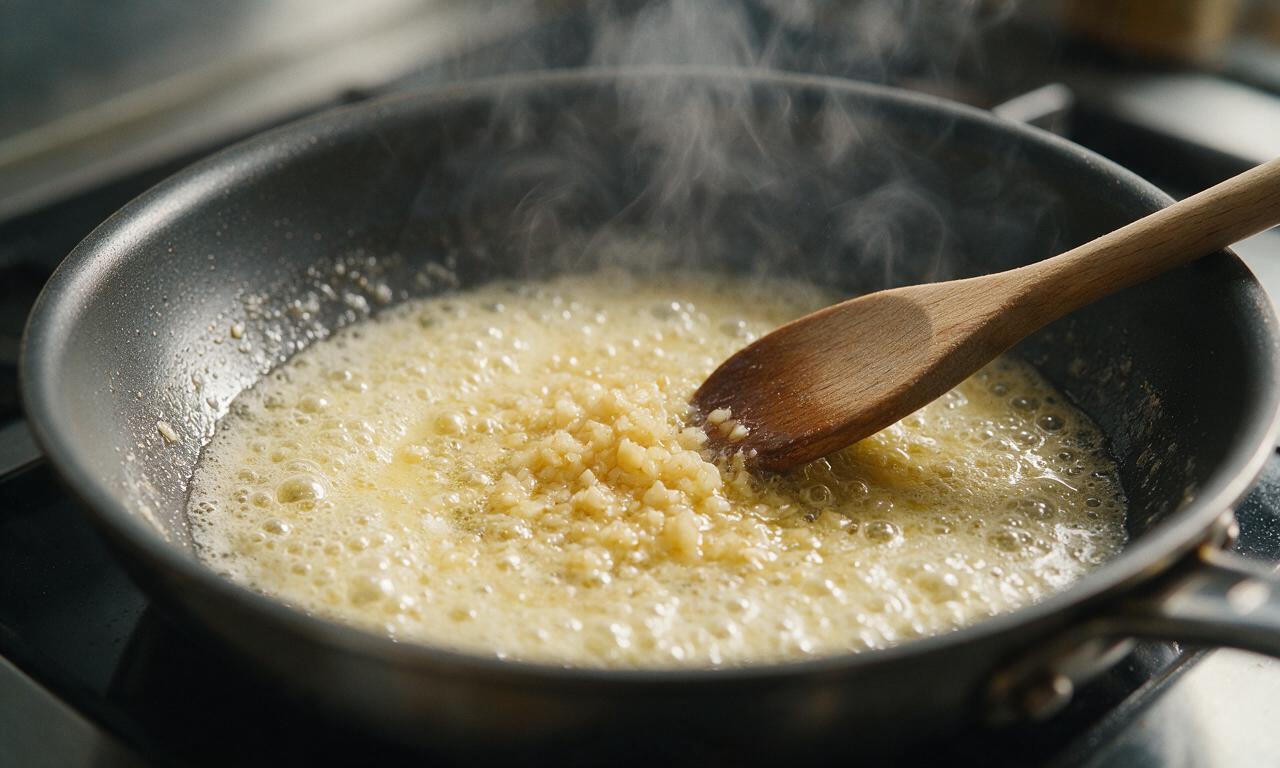
Burnt garlic ruins the dish’s warm, aromatic flavor, so don’t add minced garlic too early. Wait until the green beans are about 2 minutes away from being fully done, turn the heat down slightly, toss the garlic into the butter, and stir constantly for 60 to 90 seconds until it smells fragrant and pale golden. Pull the pan off heat immediately if you see it turning dark brown.
4.Do I need to blanch green beans first before sautéing them?
▾
Blanching is totally optional for this fast weeknight recipe! If you prefer extra-bright, uniformly crisp beans, blanch trimmed beans in boiling salted water for 2 minutes, shock them in ice water, and pat fully dry before sautéing for 2 minutes. For a no-fuss version, skip this step entirely and sauté raw, dried beans directly in the garlic butter.
5.What’s the fastest way to trim a big batch of fresh green beans?
▾
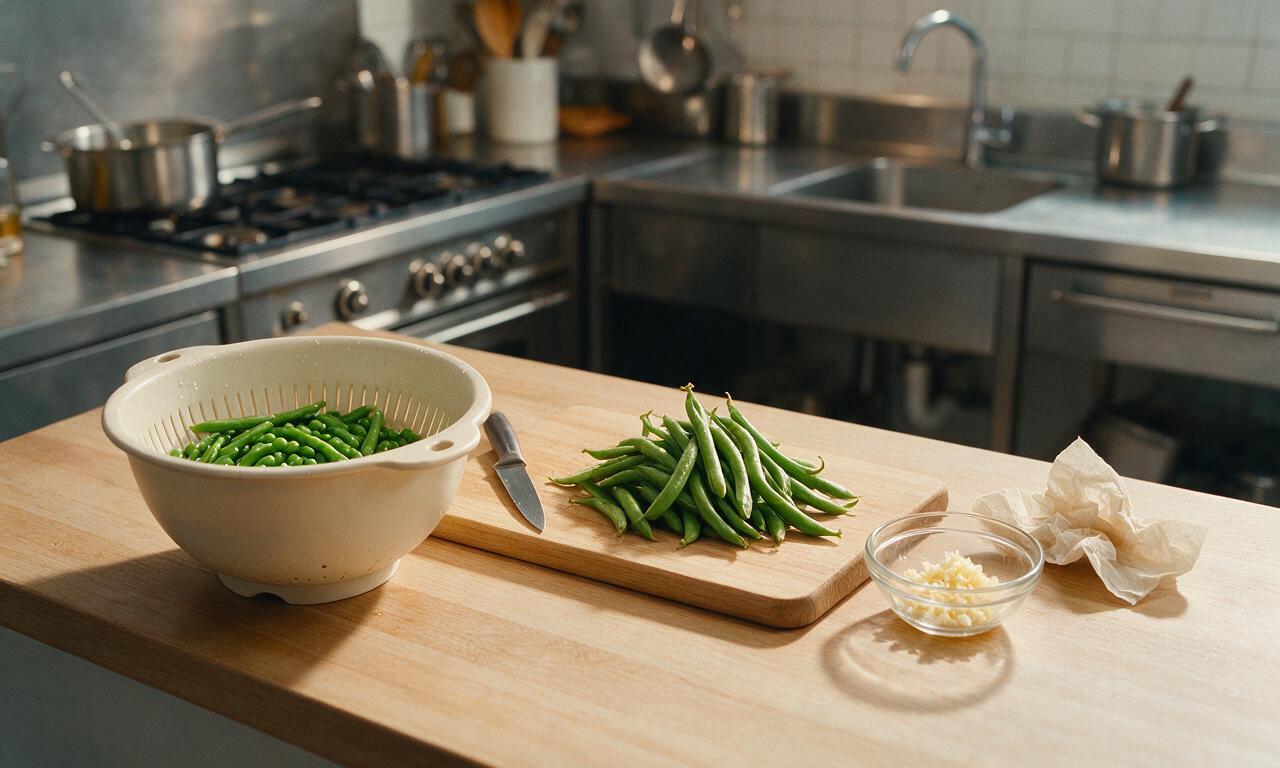
The quickest method is to line up a small handful of beans at a time on a cutting board, then slice off the tough, stem ends in one single cut with a sharp chef’s knife. You don’t need to trim the thin, pointy tail end unless it’s discolored or wilted—those are totally tender and edible, so leaving them cuts down prep time significantly.
6.Can I make this recipe ahead for meal prep or a potluck?
▾
This dish is best served fresh right off the stove, but you can prep components ahead to cut down on last-minute work. Trim and dry your green beans, mince your garlic, and measure out your butter 1 to 2 days in advance. Store leftovers in an airtight fridge container for up to 3 days, and reheat quickly in a hot skillet with a tiny pat of extra butter to refresh flavor.
7.The recipe uses unsalted butter—can I substitute salted butter instead?
▾
You can absolutely use salted butter if that’s what you have on hand, just hold off on adding extra kosher salt until the very end of cooking. Taste a bean first after tossing with melted salted butter, then add small pinches of salt only if needed, so you don’t end up with an overly salty dish that masks the bright garlic and subtle citrus notes.
8.The recipe mentions bright lemon flavor—when and how much should I add?
▾
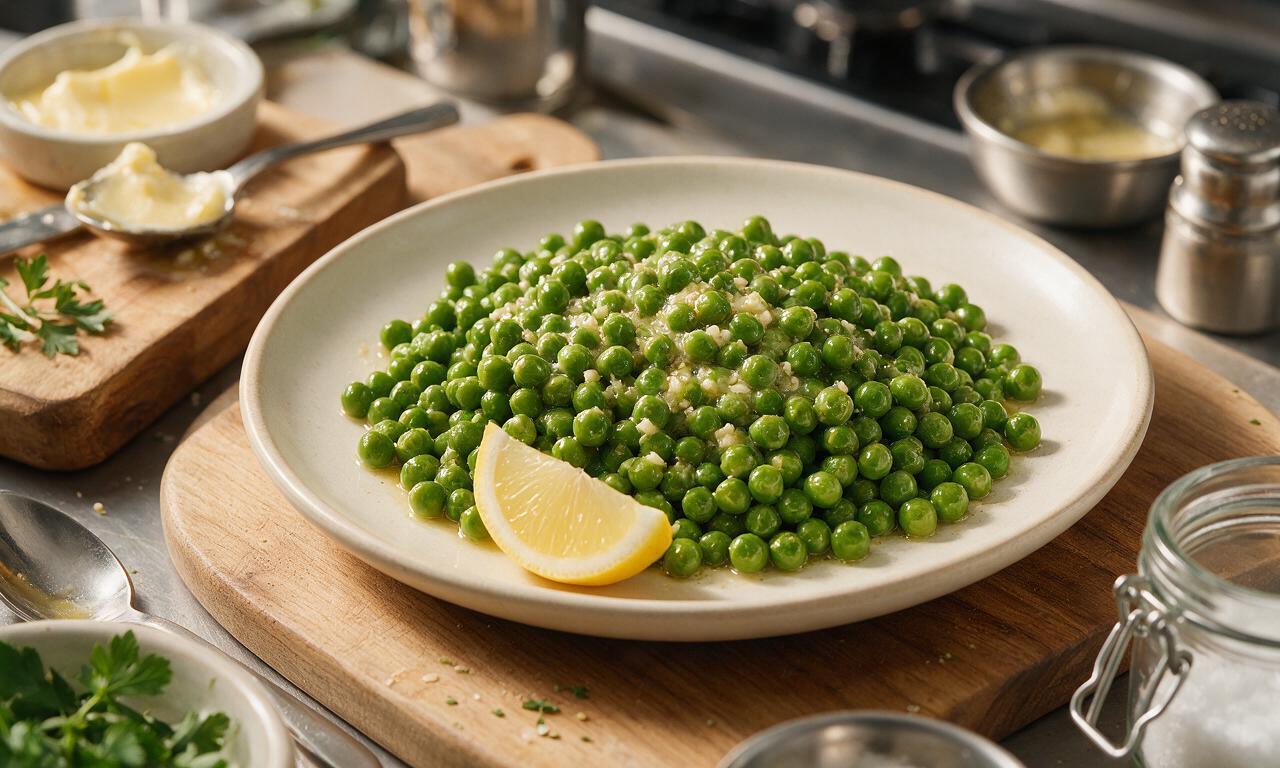
Aim for 1 to 2 teaspoons of fresh-squeezed lemon juice, added right as you pull the pan off the heat, plus a tiny pinch of lemon zest if you want extra bright citrus depth. Don’t add lemon juice while the pan is screaming hot, as high heat can mellow the tart, bright flavor and make it taste flat instead of fresh. Toss to coat evenly before serving.
9.Why are my green beans soggy even when I follow the recommended cook time?
▾
Soggy green beans almost always trace back to excess surface moisture on the beans before cooking. After washing, pat beans completely dry with a clean kitchen towel or paper towels—any leftover water will steam the beans instead of sautéing them, even in a hot pan. Also make sure your pan is fully preheated, and don’t stack beans more than a single layer deep.
10.What easy add-ins can I use to switch up this basic recipe?
▾
There are tons of quick, tasty add-ins that pair beautifully with the garlic butter base. Toss in a tablespoon of toasted slivered almonds, crispy cooked bacon bits, a handful of halved cherry tomatoes during the last minute of cooking, a pinch of red pepper flakes for gentle heat, or a light grating of parmesan right before serving for extra savoriness.
11.What main dishes pair best with these garlic butter green beans?
▾
These versatile green beans work with almost any weeknight main, making them a perfect staple side. They pair seamlessly with seared chicken breasts, baked salmon, grilled steak, roasted pork tenderloin, pan-fried pork chops, or even creamy pasta dishes. Their bright, garlicky, buttery flavor cuts through rich mains and balances heartier plates without competing for attention.
12.Can I make this recipe dairy-free?
▾
You can easily make this dairy-free by swapping the unsalted butter for an equal amount of high-quality vegan butter with a rich, neutral, buttery flavor, or extra-virgin olive oil for a lighter take. If using olive oil, keep the heat at medium instead of medium-high to avoid smoking the oil, and follow the exact same cook times and garlic addition steps for great results.
13.How do I tell if fresh green beans are too old to use for this recipe?
▾
Skip fresh green beans that are limp, wrinkly, mushy, or have dark brown, slimy spots on the surface—those are past their prime and won’t develop that desired crisp-tender texture. Good fresh beans are bright, vibrant green, firm to the touch, and snap cleanly with a crisp sound when bent in half. Store unwashed beans in the crisper drawer for up to 5 days.
14.Should I cook green beans whole, or cut them into smaller pieces?
▾
You can prepare them either way based on your preference! Whole, trimmed green beans have an elegant look for dinner parties and hold their crisp texture really well. If you’re serving kids or prefer bite-sized pieces, cut them into 1 to 2 inch segments before sautéing—just reduce cook time by about 1 minute, since smaller pieces cook faster and can turn mushy quickly.
15.Can I use jarred pre-minced garlic instead of fresh garlic?
▾
You can use jarred pre-minced garlic in a pinch, but fresh garlic will give you a much brighter, sweeter, more aromatic flavor. Jarred garlic has a slightly muted, sometimes bitter edge from preservatives in its packing brine, so use about 25% less than the recipe calls for, and watch it closely as it cooks, since it tends to burn faster than fresh hand-minced garlic.

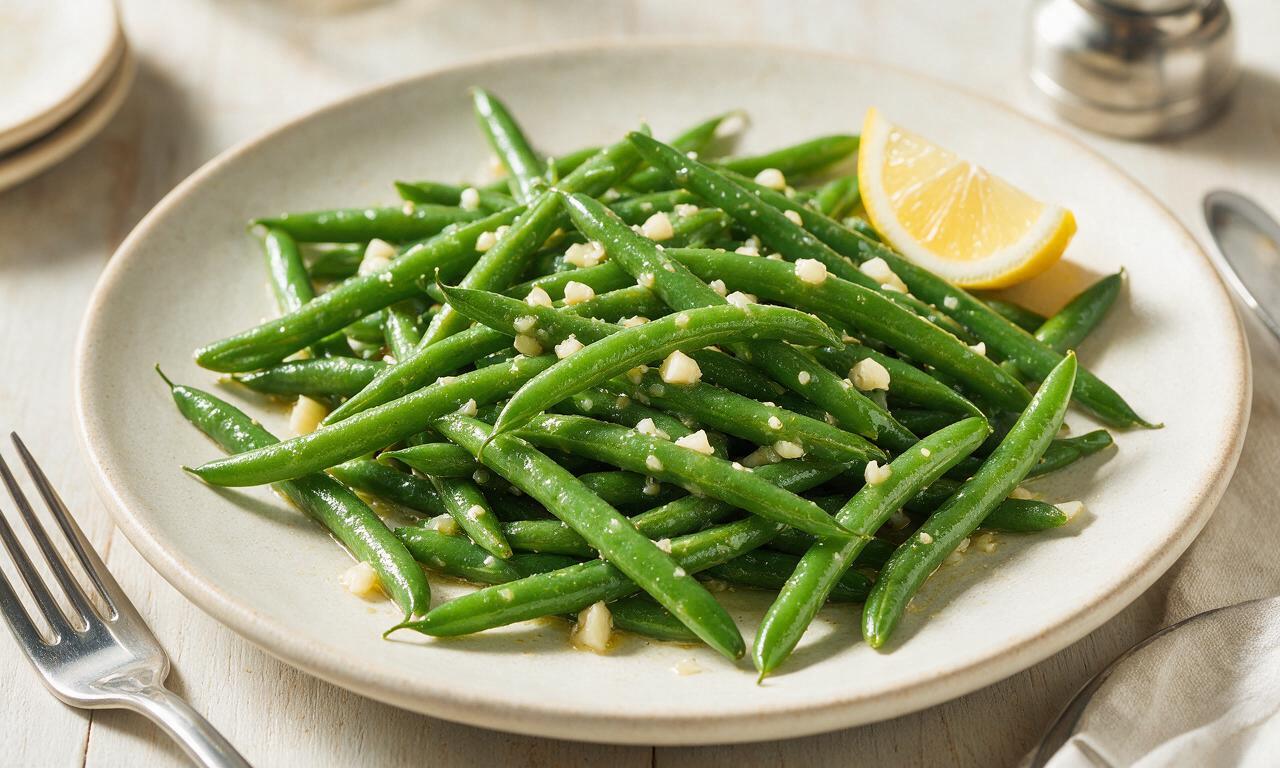



OMG these garlic butter green beans are a GAME CHANGER for our weekly family dinners! My super picky 7 year old asked for SECONDS, which never happens. I added a tiny squeeze of lemon at the end like I saw someone mention once and it was chef’s kiss. 15 minute cook time is no joke too, perfect for busy weeknights when I’m running between soccer practice and homework help.
Brought these to my office potluck last week and the entire pan was gone in 10 minutes flat. Multiple people came up to ask for the recipe, I felt like a cooking rockstar! Only thing I did different was toss in a pinch of red pepper flakes for a tiny kick, would 100% recommend.
Guys I am TERRIBLE at cooking vegetables, they always come out mushy or totally bland. I followed this recipe exactly and they were perfectly crisp-tender, so garlicky and buttery I could have eaten the whole batch myself for dinner. Who knew easy recipes could taste this good??
I’ve been making green beans for 60+ years and I have to say, this recipe is right up there with my old standby. I used green beans from my backyard garden and home churned butter, tasted like summer on a plate. My grandkids said they taste better than the ones at our favorite steakhouse!
SO good, I make these at least twice a week for my low carb meal prep! They pair perfectly with grilled chicken or salmon, and I don’t get bored of them at all. I’ve been skipping the heavy sides lately and these totally satisfy that savory, buttery craving I get.
Made these for my date night last night and my girlfriend said they were the best part of the meal (and I made a whole fancy steak dinner! lmao). Super simple, minimal ingredients, maximum flavor. Will be making these for every date night from now on.
Wait can I use frozen green beans for this? I keep a huge bag in my freezer for quick meals and I don’t feel like running to the grocery store tonight. Looks so good!
I tripled the garlic like a true garlic fiend and I have zero regrets. My whole apartment smelled amazing for hours, and the beans were so flavorful I didn’t even need to add extra salt. 10/10, will be overloading on garlic every time I make these.
Made these for our big Sunday family dinner alongside roasted pork and mashed potatoes, everyone raved. Even my brother who says he “hates vegetables” went back for two helpings. It’s the butter and garlic, no one can resist that combo.
Okay I followed the recipe step by step and somehow still burned the garlic a little oops. But even with the slightly toasty garlic, the green beans still slapped! Next time I’ll turn the heat down a little like the recipe says, I swear.
These reheat SO well! I was worried the butter would get weird when I microwaved them for lunch at work, but they tasted just as good as night one. My kids even loved eating the leftovers after school, way better than the sad cafeteria veggies I used to buy, and way cheaper too.
I sprinkled a little freshly grated parmesan on top right after taking them off the heat and it melted perfectly, added such a nice salty cheesy kick. If you’re a parm fan you have to try it, trust me.
15 minutes is NOT a lie! I threw these together while my pasta was boiling and had a whole side dish done in no time, no fancy equipment needed. Perfect for when I forget to plan a side until the last minute.
I’ve never liked green beans my whole life, my mom always made them canned and mushy and gross. A friend sent me this recipe so I tried it with fresh beans and I’m officially converted. These are SO good, I’ve made them three times in the last two weeks.
Made these over the camp stove last weekend on our camping trip and they were a hit with the whole crew! Super easy to pack the ingredients, minimal cleanup, way fancier than the canned beans we usually bring camping. Will be a regular on our camping menu from now on.
Love that this recipe uses super basic ingredients I almost always have kicking around in the fridge. No fancy specialty spices, no last minute runs to the overpriced grocery store, just green beans, butter, garlic, salt and pepper. That’s my exact kind of no-fuss weeknight recipe!
Doing a test run of Thanksgiving sides early this year and these are officially going on the menu! They’re light enough to not weigh you down next to all the heavy casseroles, but flavorful enough to hold their own. So excited to serve these to my whole family in November.