
green chili corn casserole

title 1
green chili corn casserole
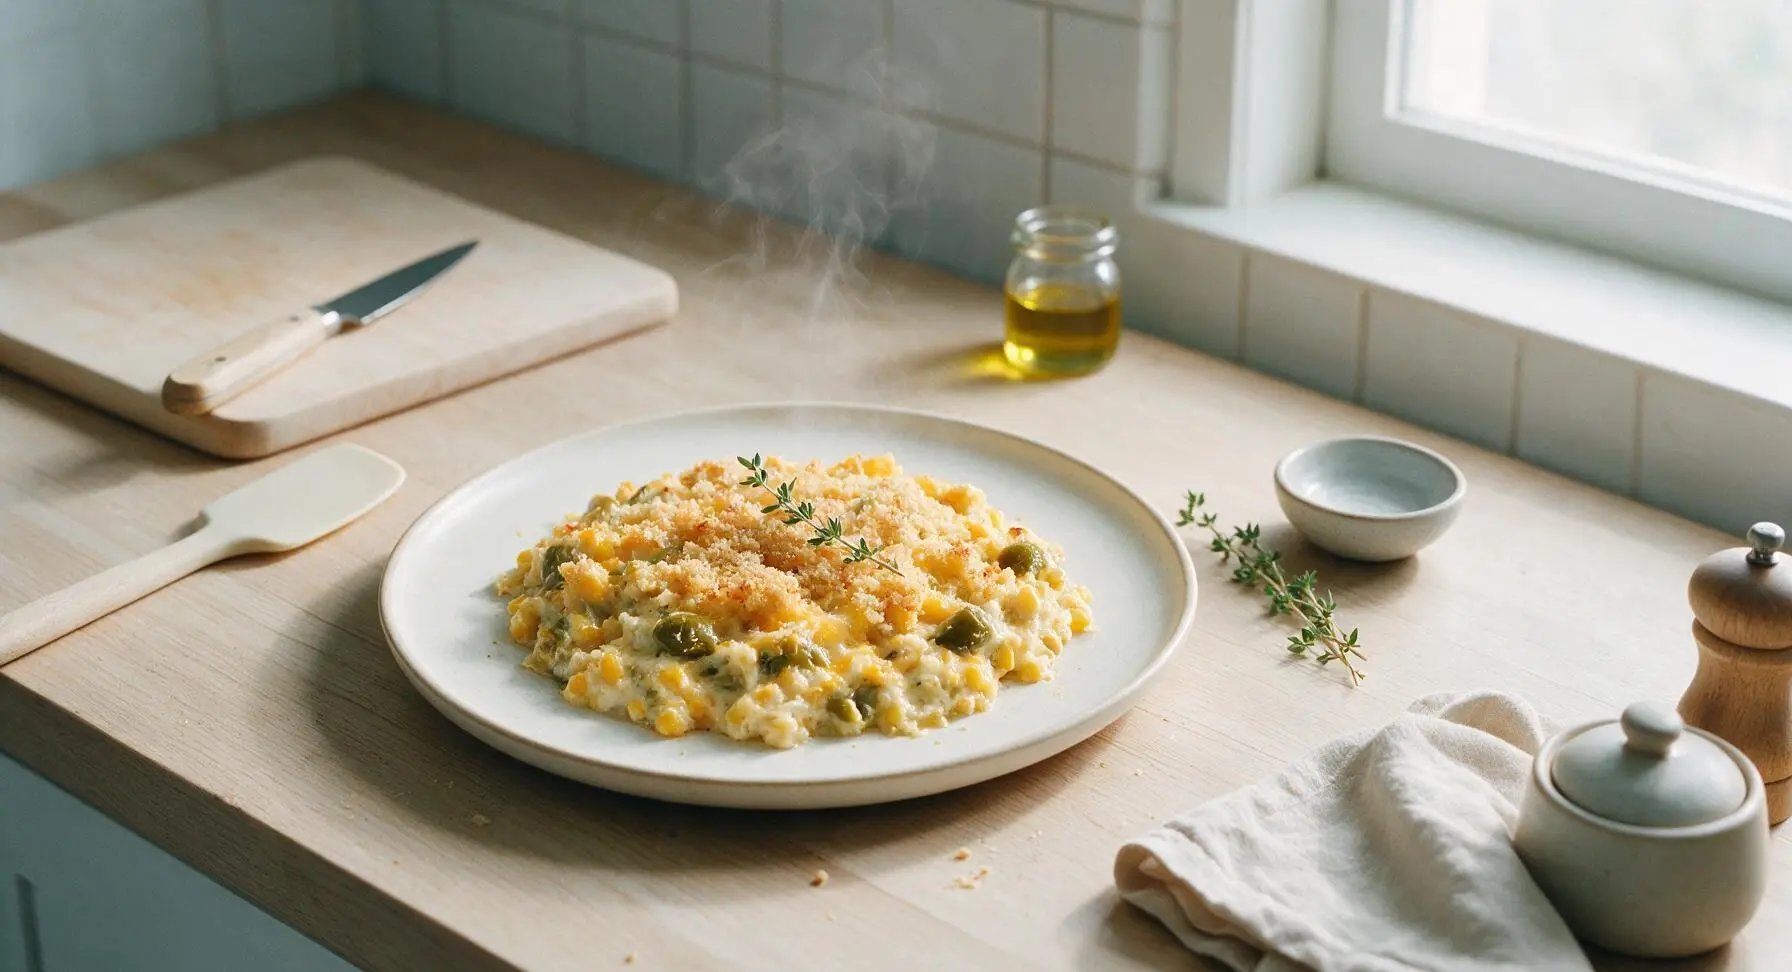
⏱️ cook time 45 minutes
🍽️ servings 8
⚡ Difficulty easy

intro

Creamy, slightly smoky baked corn casserole studded with roasted green chiles and melted cheddar, with a tender fluffy crumb: cozy, shareable Southwestern comfort food perfect for feeding a crowd.

Ingredients
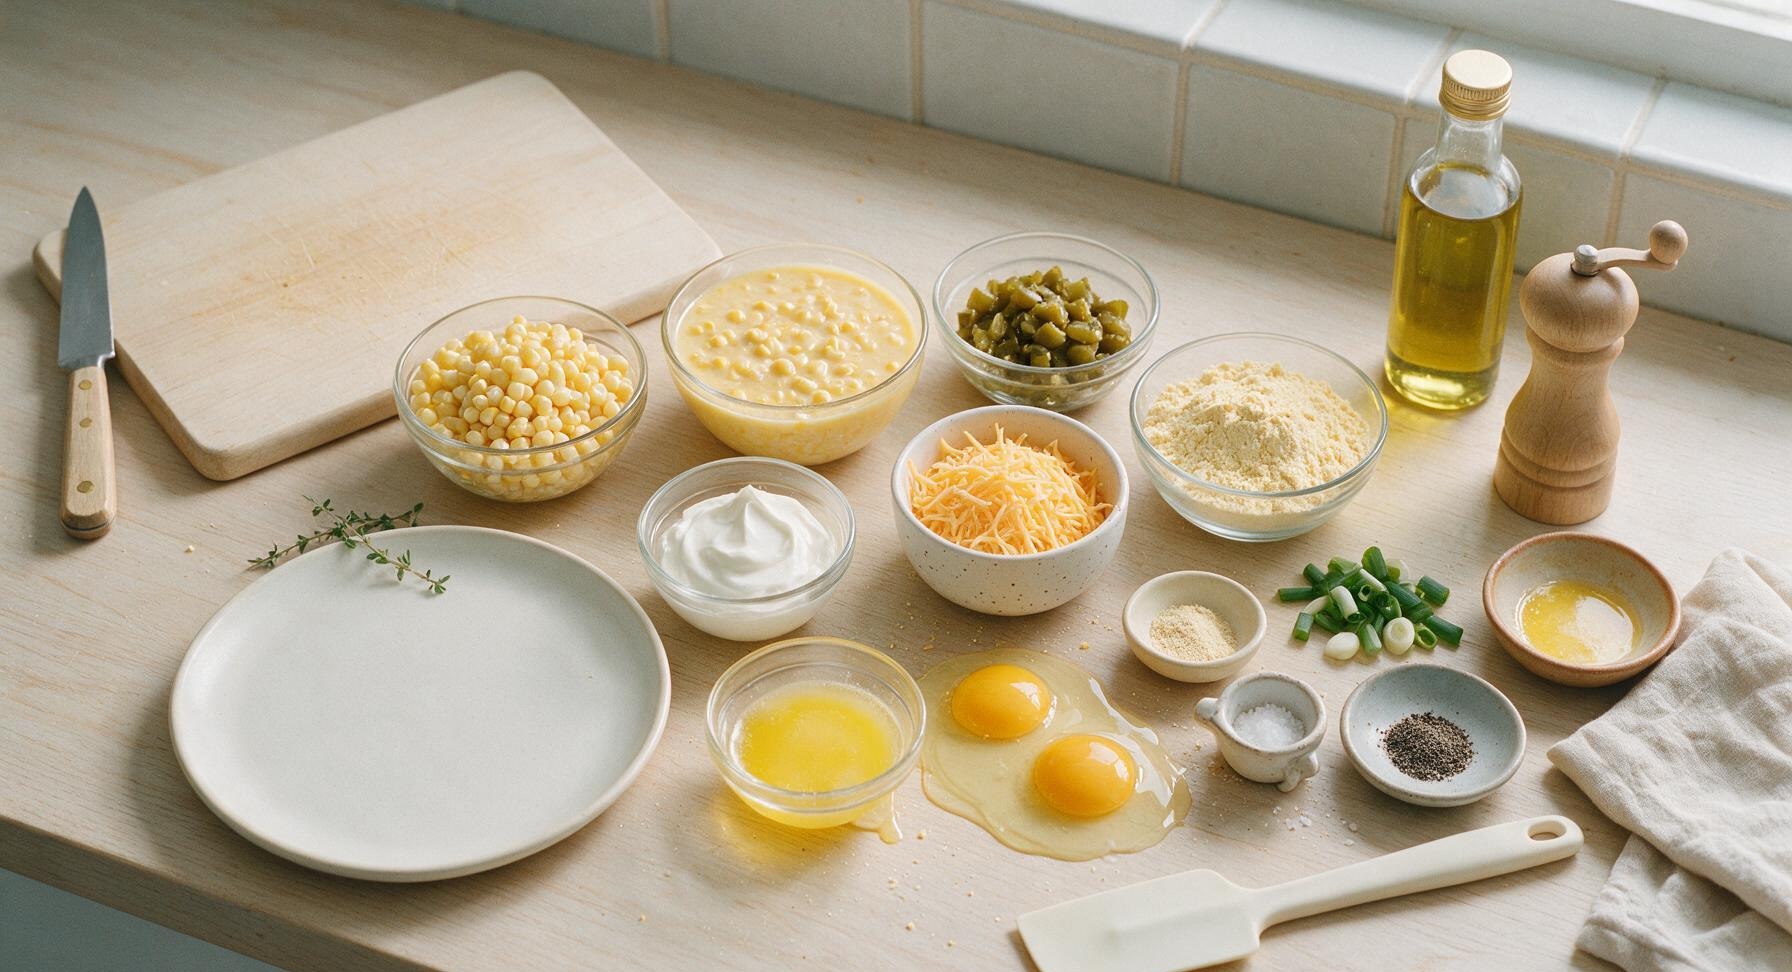
Whole kernel sweet corn (canned, drained) 15oz (1.5 cups)
Cream-style sweet corn (canned, undrained) 14.75oz (1.75 cups)
Roasted diced green chiles (canned, drained, mild) 4oz (1/2 cup)
Shredded sharp cheddar cheese (divided) 1 cup
Dry cornbread mix 8.5oz (1 standard box)
Full-fat sour cream 1/2 cup
Unsalted butter (melted, plus extra for greasing) 4 tbsp (1/2 stick)
Large eggs 2
Garlic powder 1/2 tsp
Kosher salt 1/4 tsp
Ground black pepper 1/4 tsp
Thinly sliced green onions (garnish) 2 tbsp

Steps

1

Preheat and Prep Pan

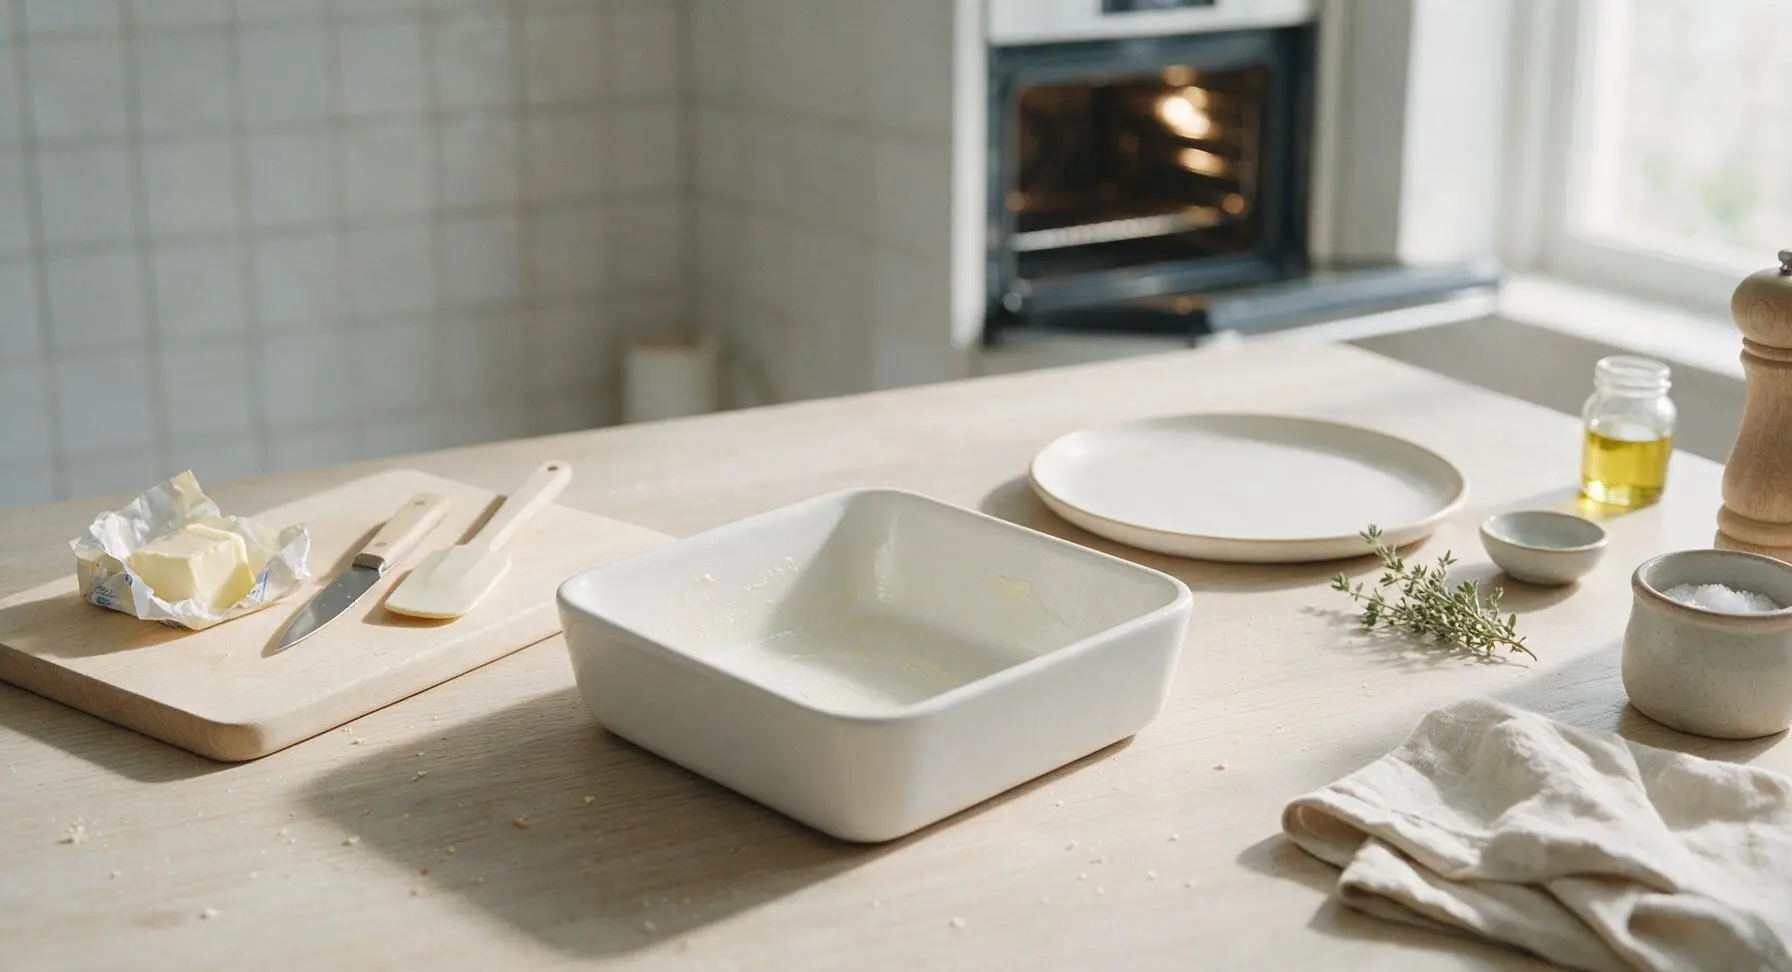
Preheat your oven to 375°F (190°C). Retrieve the 9x9 inch matte white ceramic baking dish from the lower cabinet, then use a small pat of butter (reserved from the measured 4 tbsp) to lightly grease the bottom and inner sides of the dish to prevent sticking. Set the greased dish at counter center.
Step 1
step1:Preheat and Prep Pan
2

Drain Canned Ingredients

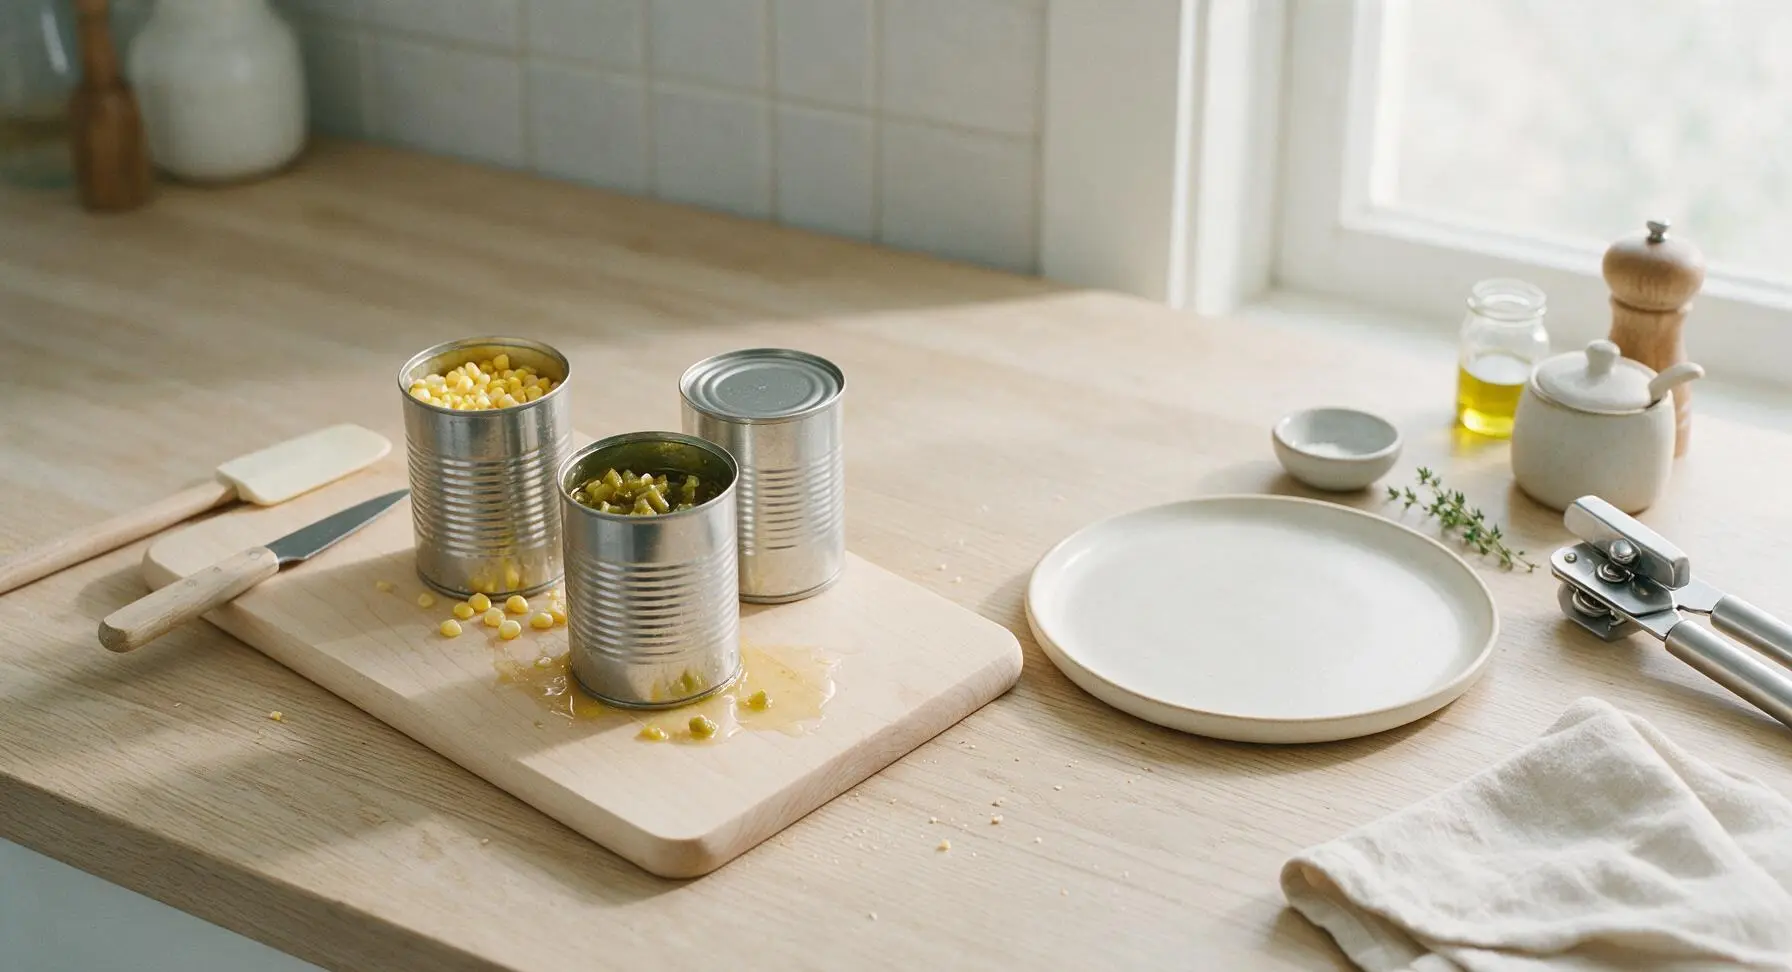
Retrieve the matte stainless steel can opener from its fixed far-right position. Open the 15oz can of whole kernel corn and 4oz can of roasted diced green chiles, tilting the cans over the sink (off frame) to drain all excess starchy liquid. Do not drain the can of cream-style corn, as its liquid creates the casserole’s signature creamy texture. Return the can opener to its fixed position after use.
Step 2
step2:Drain Canned Ingredients
3

Whisk Wet Ingredients

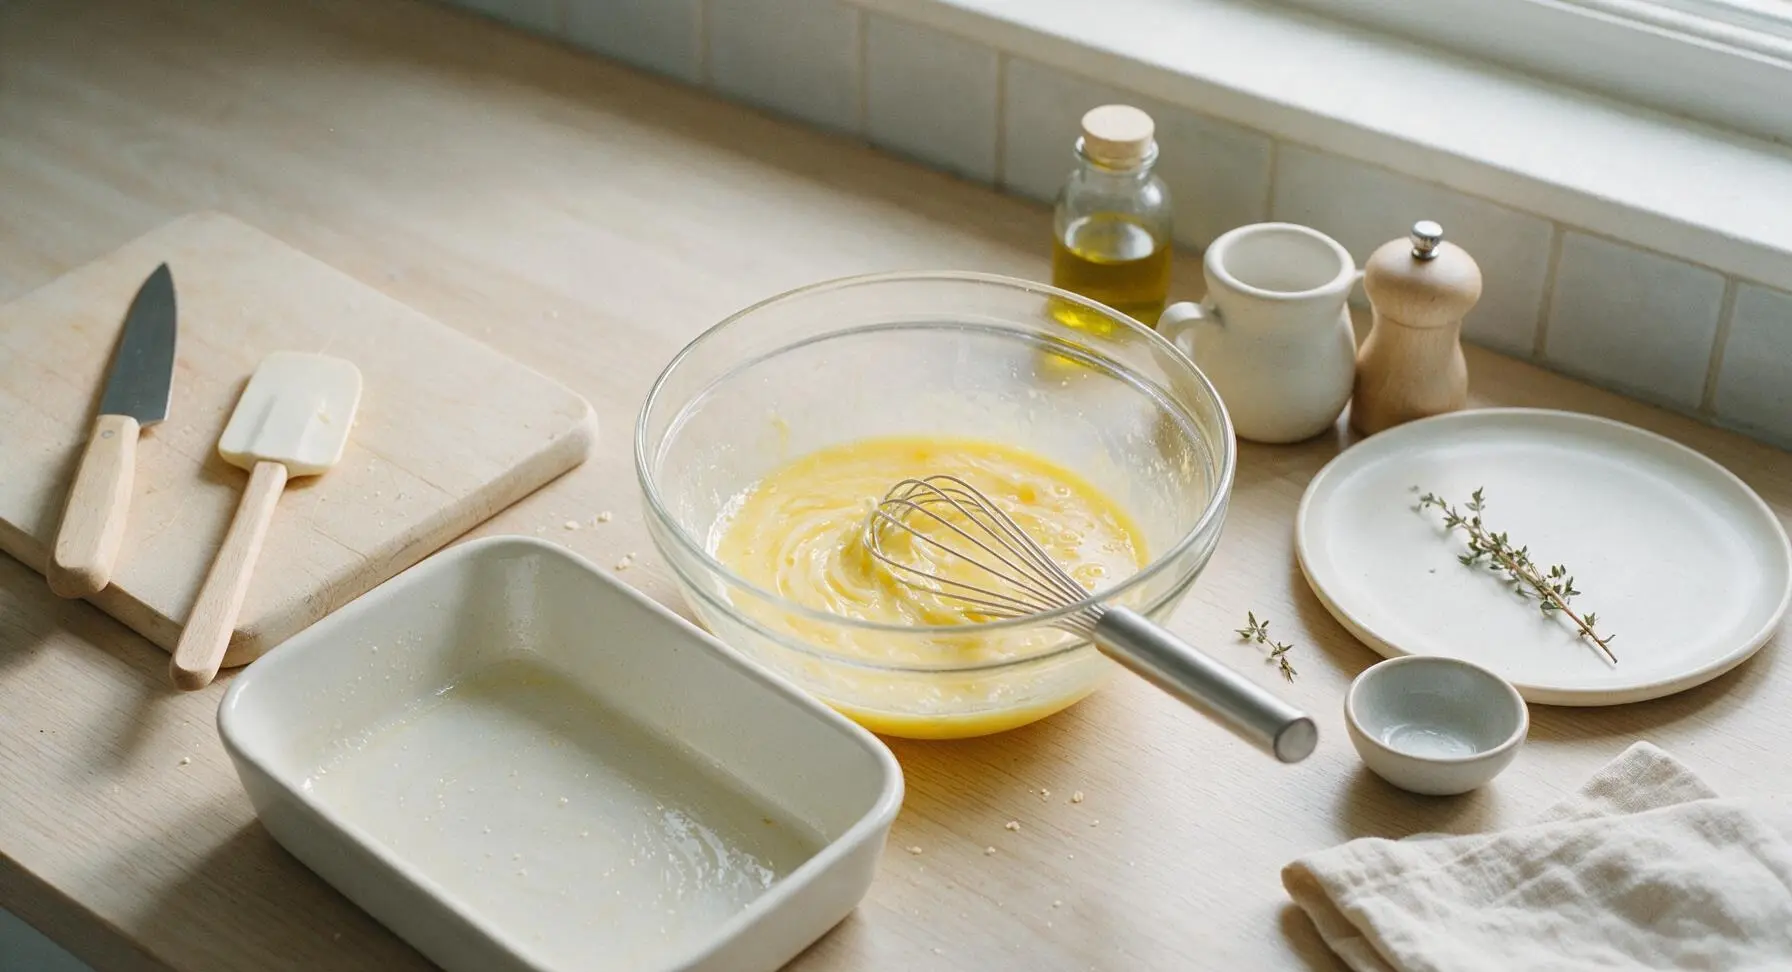
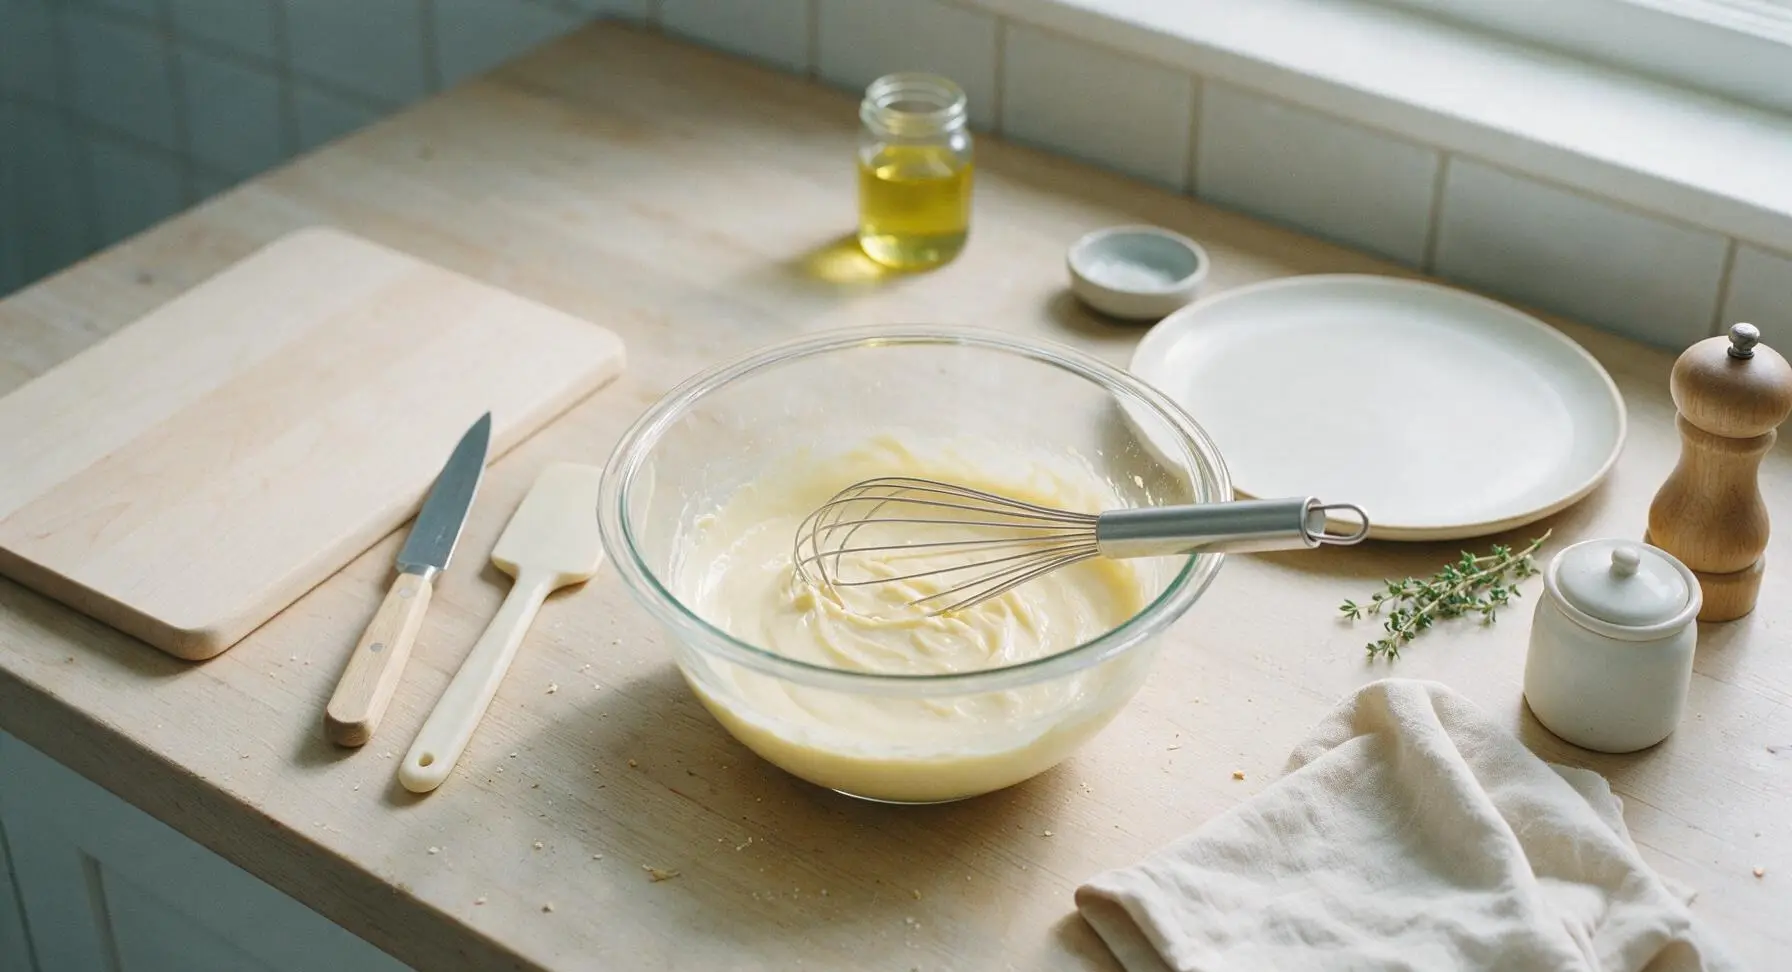
Retrieve the 2-quart clear glass mixing bowl from the lower open shelf, placing it at counter center. Melt the 4 tbsp unsalted butter, let it cool for 2 minutes so it does not cook the eggs on contact, then pour it into the bowl. Crack the 2 large eggs into the bowl, then use the stainless steel wire whisk to beat until smooth, about 30 seconds. Add the 1/2 cup full-fat sour cream, stirring with the whisk until no white lumps remain, creating a smooth pale yellow base.
Step 3
step3:Whisk Wet Ingredients
Step 3
step3:Whisk Wet Ingredients
4

Add Corn and Chiles

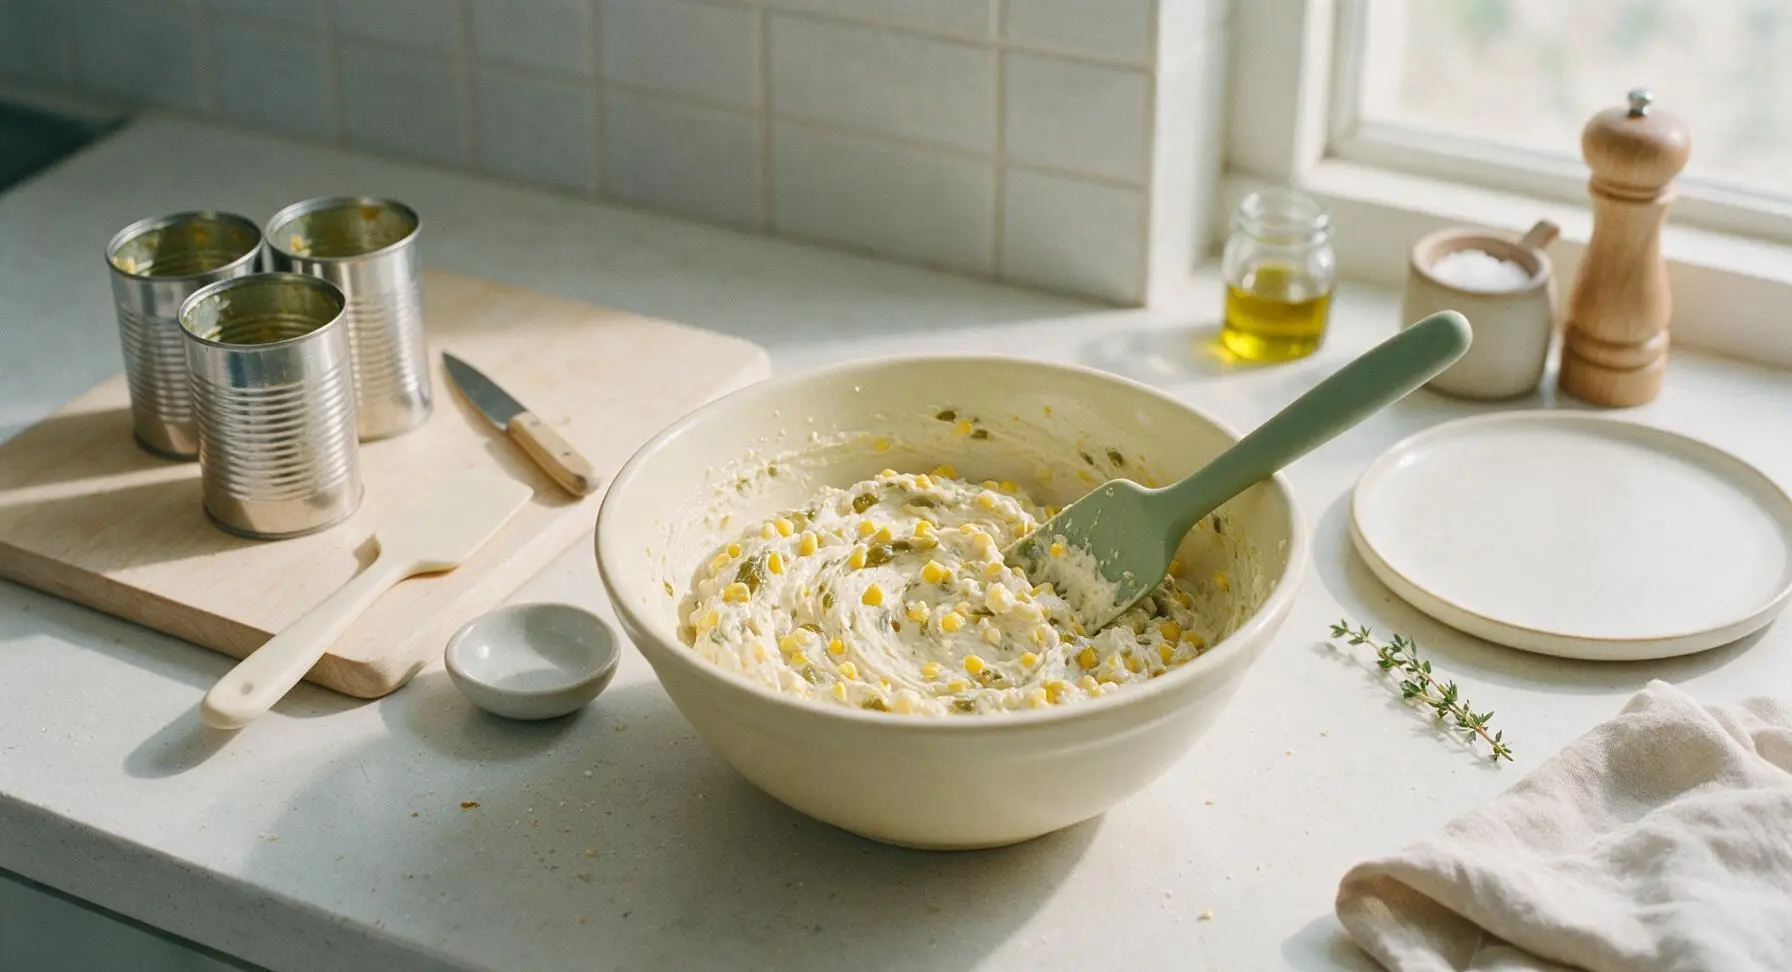
Pour the drained whole kernel corn, undrained cream-style corn, and drained diced green chiles into the wet mixture in the bowl. Use the matte sage green silicone spatula to fold the ingredients until evenly distributed, about 20 seconds, so chile flecks and corn kernels are spread throughout the creamy base.
Step 4
step4:Add Corn and Chiles
5

Fold in Dry Mix

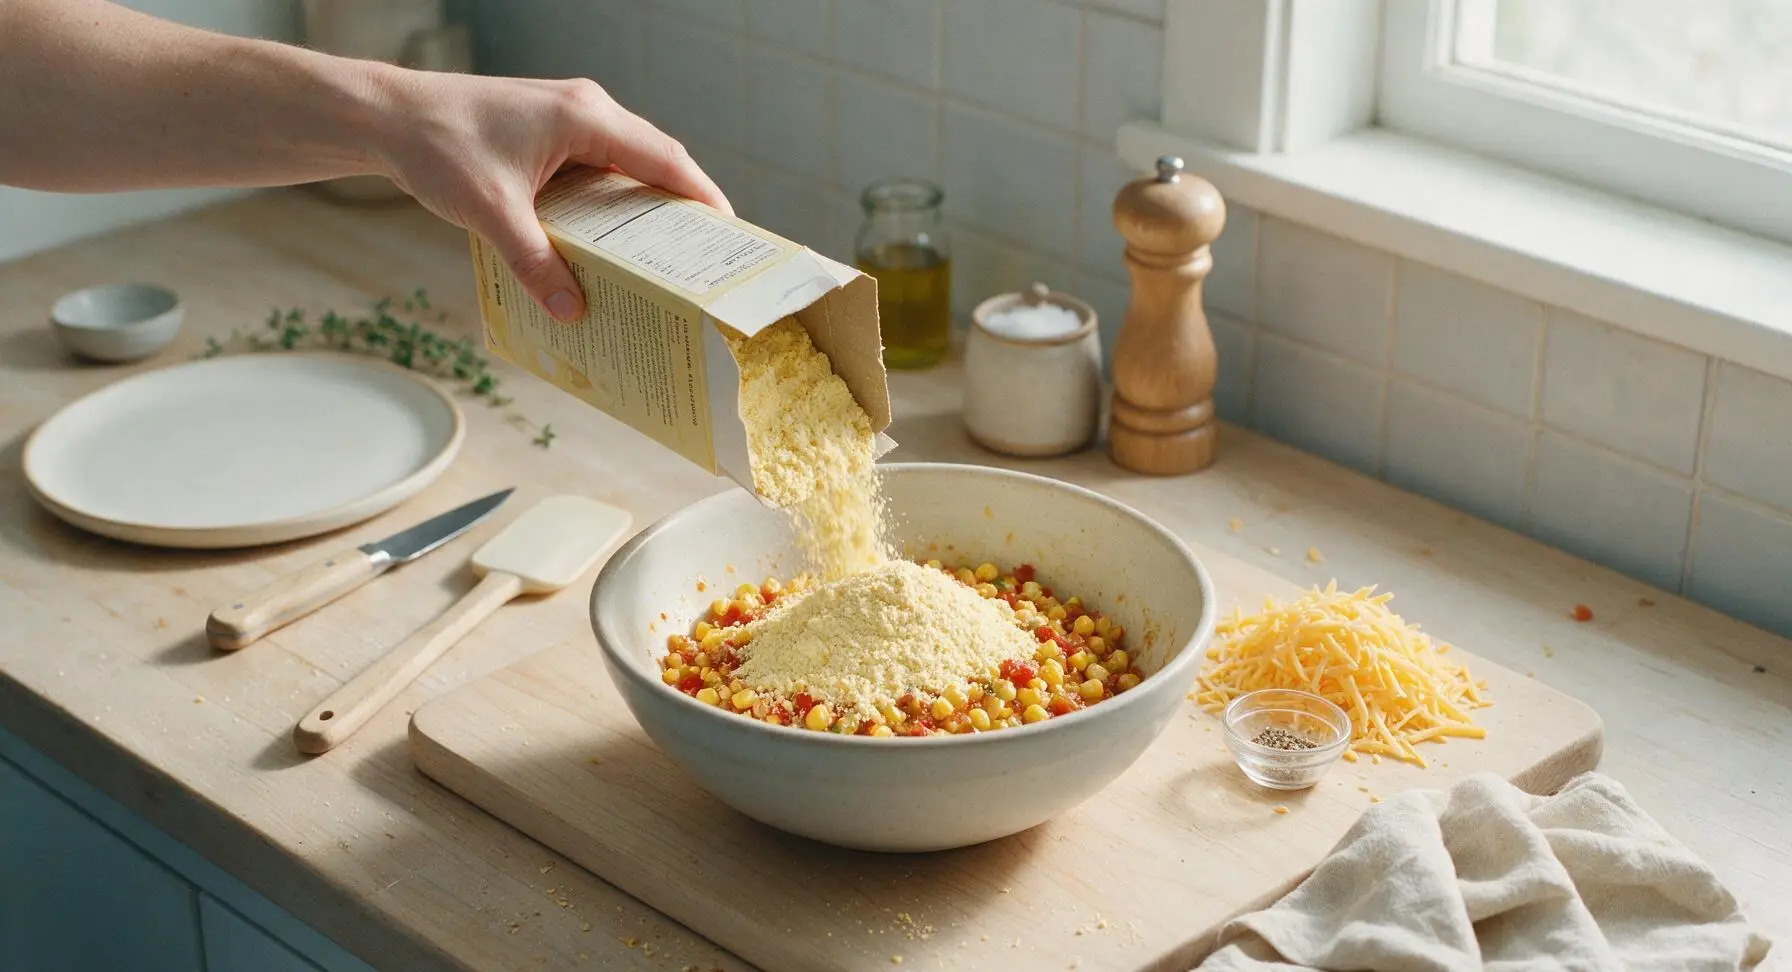
Add the 8.5oz dry cornbread mix, 1/2 tsp garlic powder, 1/4 tsp black pepper, 1/4 tsp kosher salt, and 3/4 cup of the shredded sharp cheddar cheese to the bowl. Fold gently with the silicone spatula just until no dry pockets of cornbread mix remain—do not overmix, as this will create a tough, dense casserole. The finished batter will be thick and slightly lumpy.
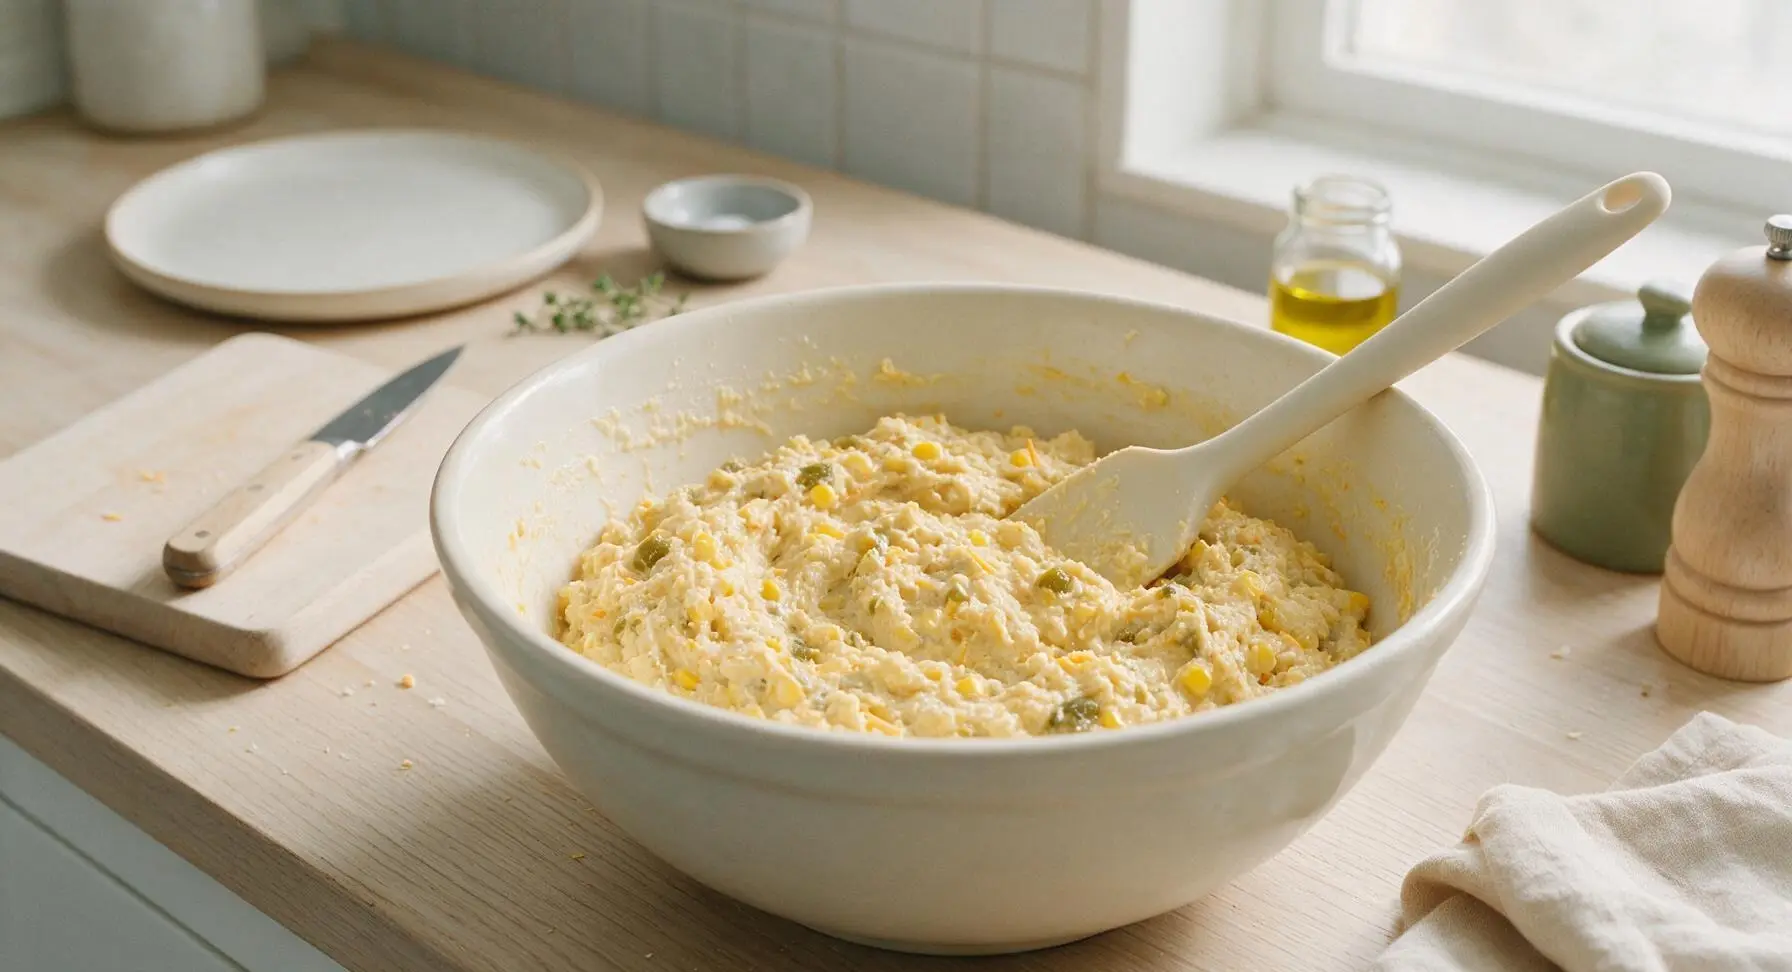
Step 5
step5:Fold in Dry Mix
Step 5
step5:Fold in Dry Mix
6

Transfer Batter to Dish

Pour all of the thick batter from the mixing bowl into the pre-greased 9x9 inch white ceramic baking dish. Use the silicone spatula to scrape every last bit of batter from the bowl, then spread the batter into a perfectly even layer across the dish so it bakes uniformly.
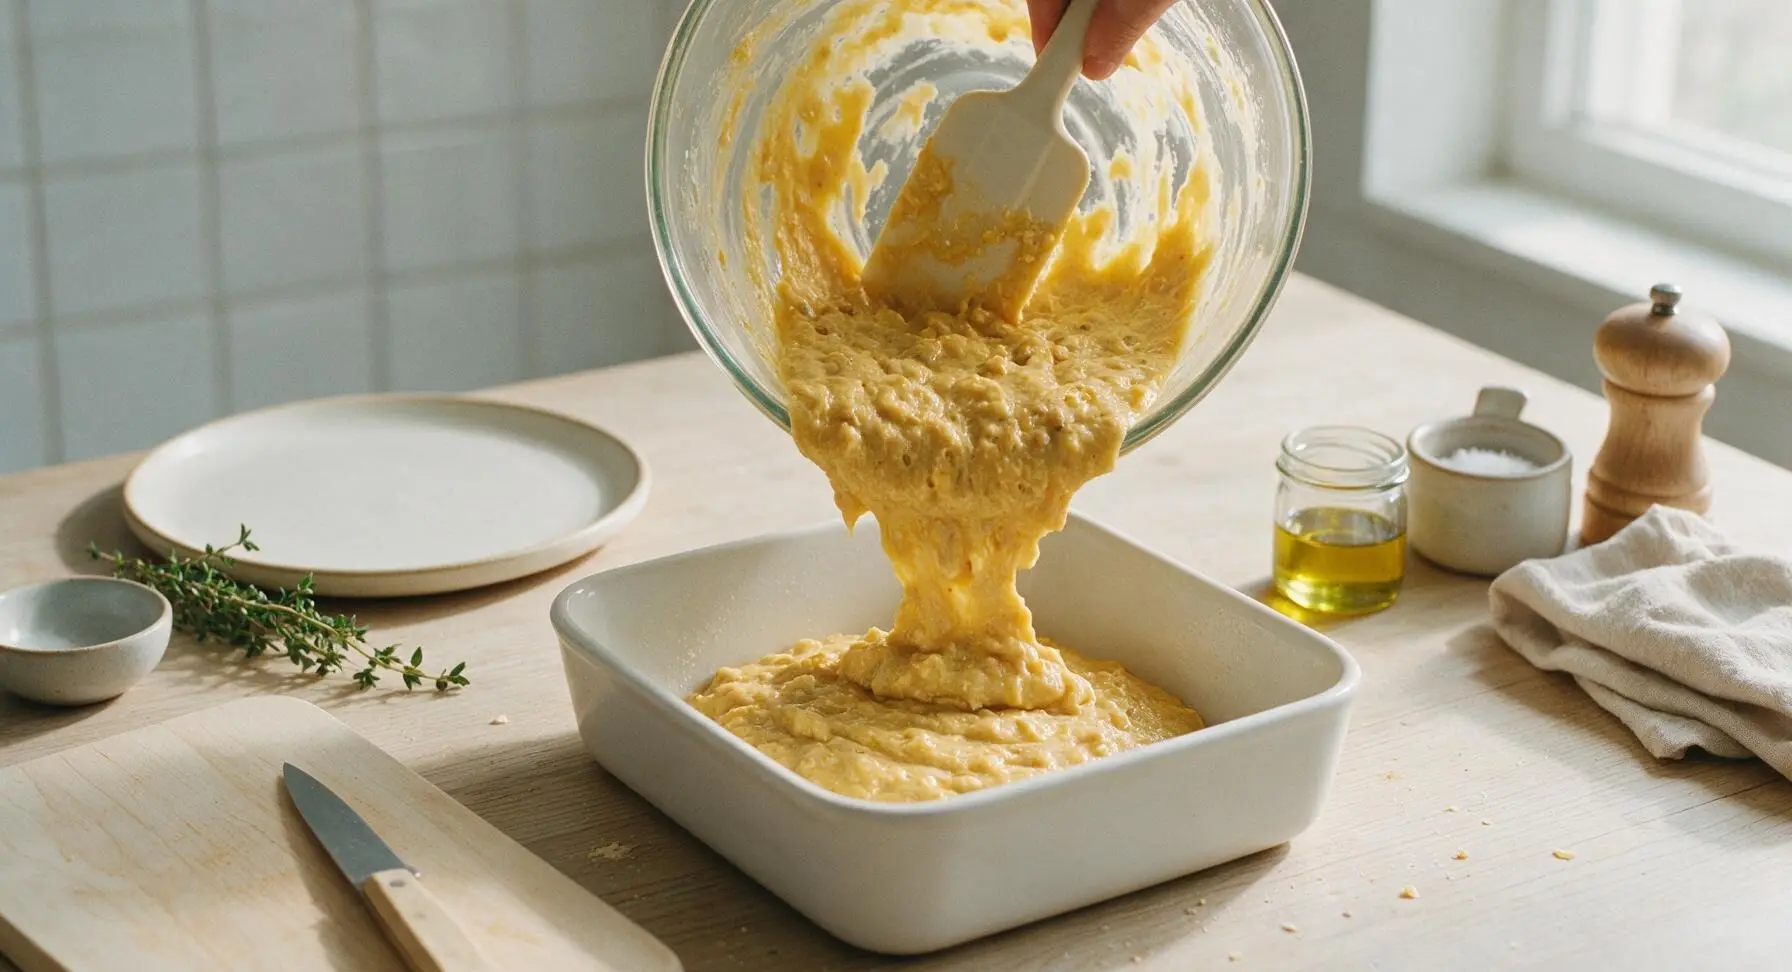
Step 6
step6:Transfer Batter to Dish
7

Top Cheese and Bake

Sprinkle the remaining 1/4 cup shredded sharp cheddar cheese evenly across the top of the batter. Place the baking dish on the middle rack of the preheated 375°F (190°C) oven, and bake for 40-45 minutes. Check for doneness: edges should be deep golden brown and bubbly, the center should not jiggle when the dish is gently nudged, and a toothpick inserted 1 inch into the center should come out with 2-3 moist crumbs attached (no wet batter).
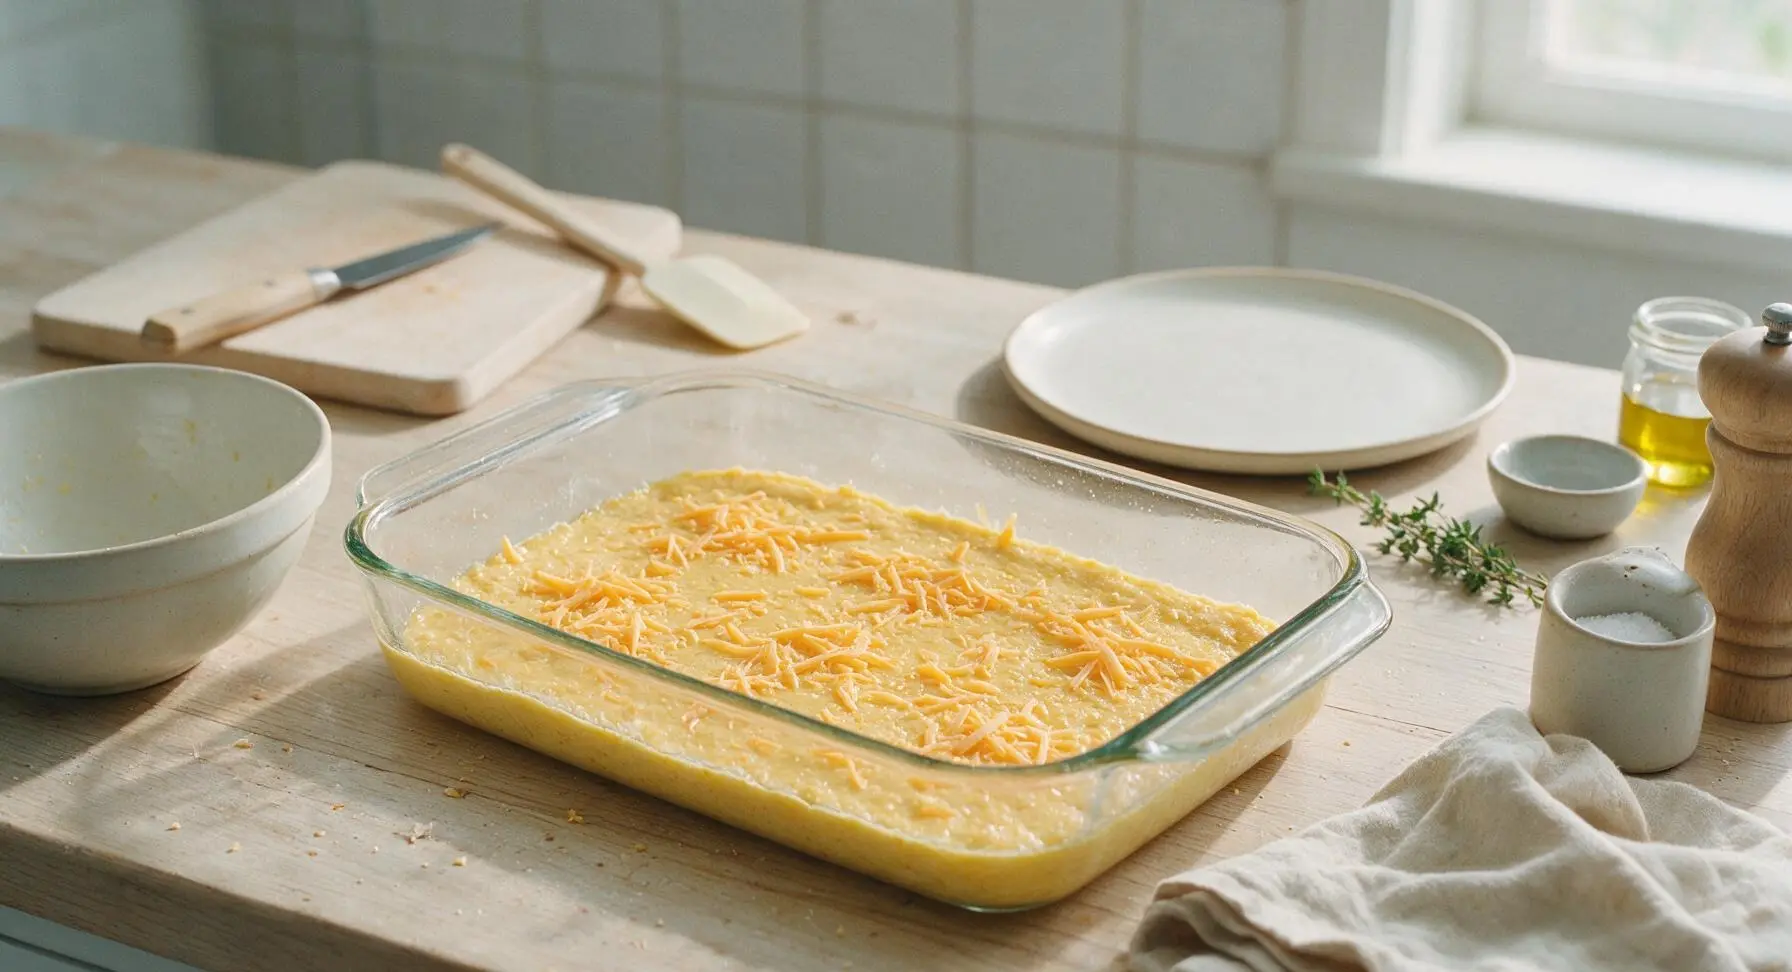
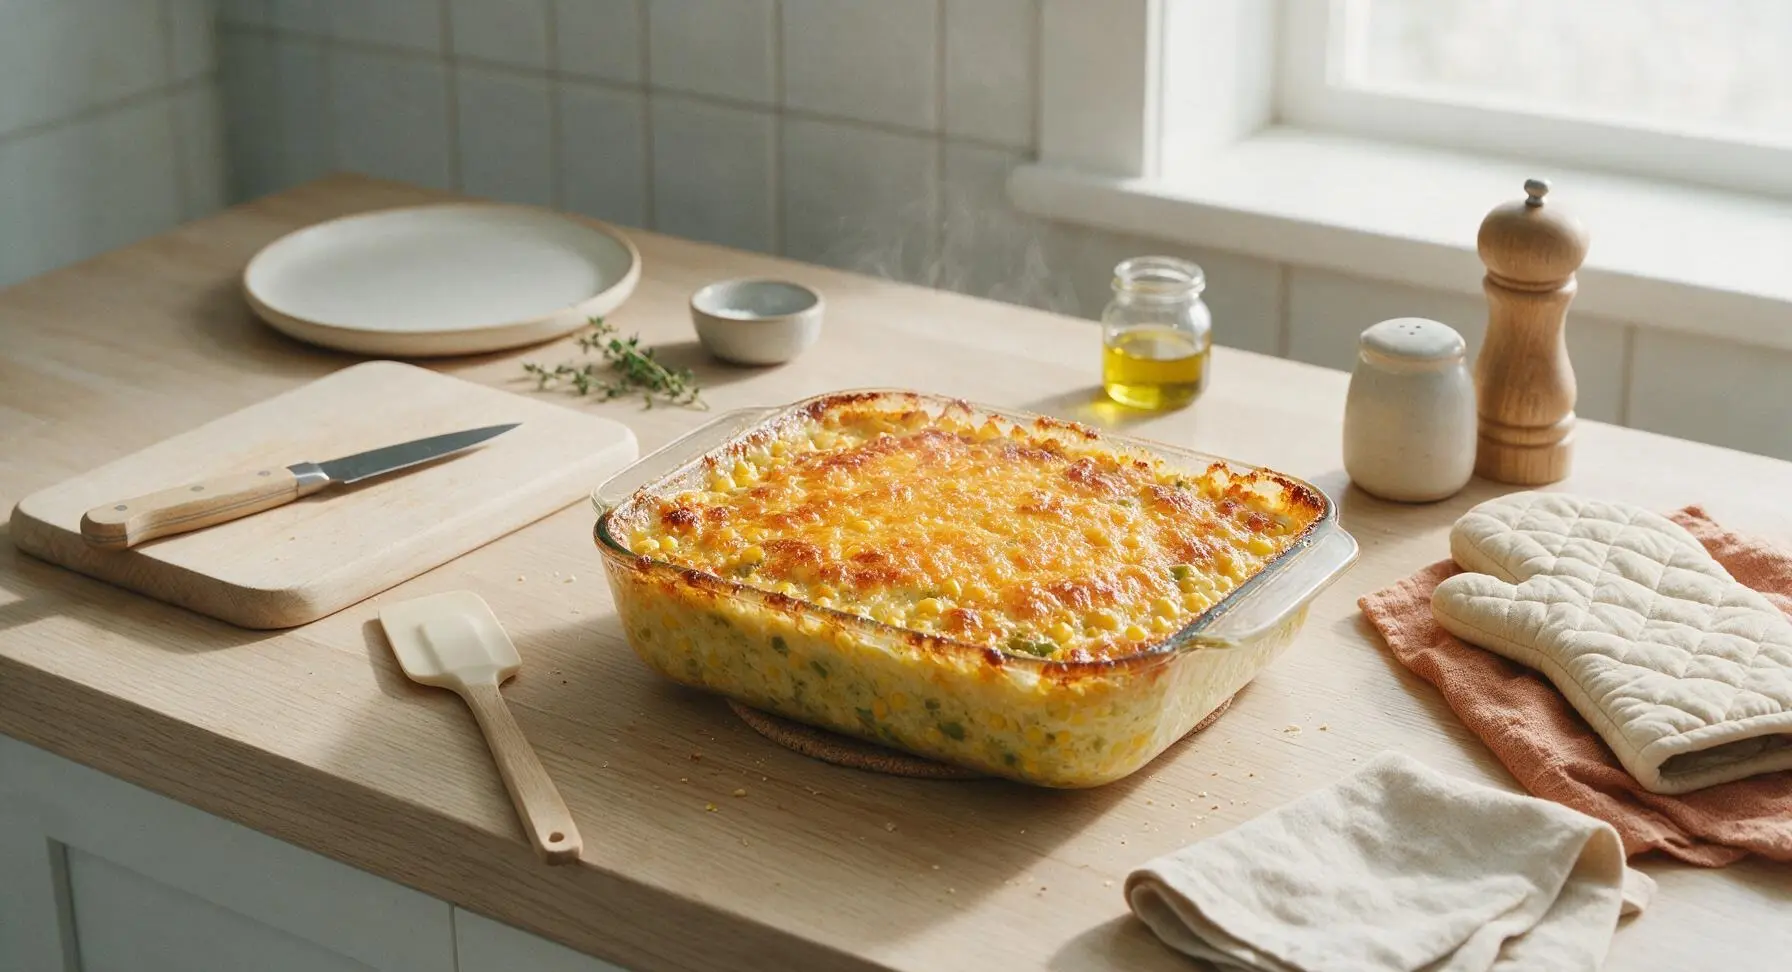
Step 7
step7:Top Cheese and Bake
Step 7
step7:Top Cheese and Bake
8

Cool, Garnish, Serve

Let the hot casserole rest for 10 minutes at room temperature to set, which makes cutting clean, holdable squares possible. Sprinkle the top with 2 tbsp thinly sliced green onions, then cut into 8 even squares. Transfer squares to the matte off-white round serving platter for serving.
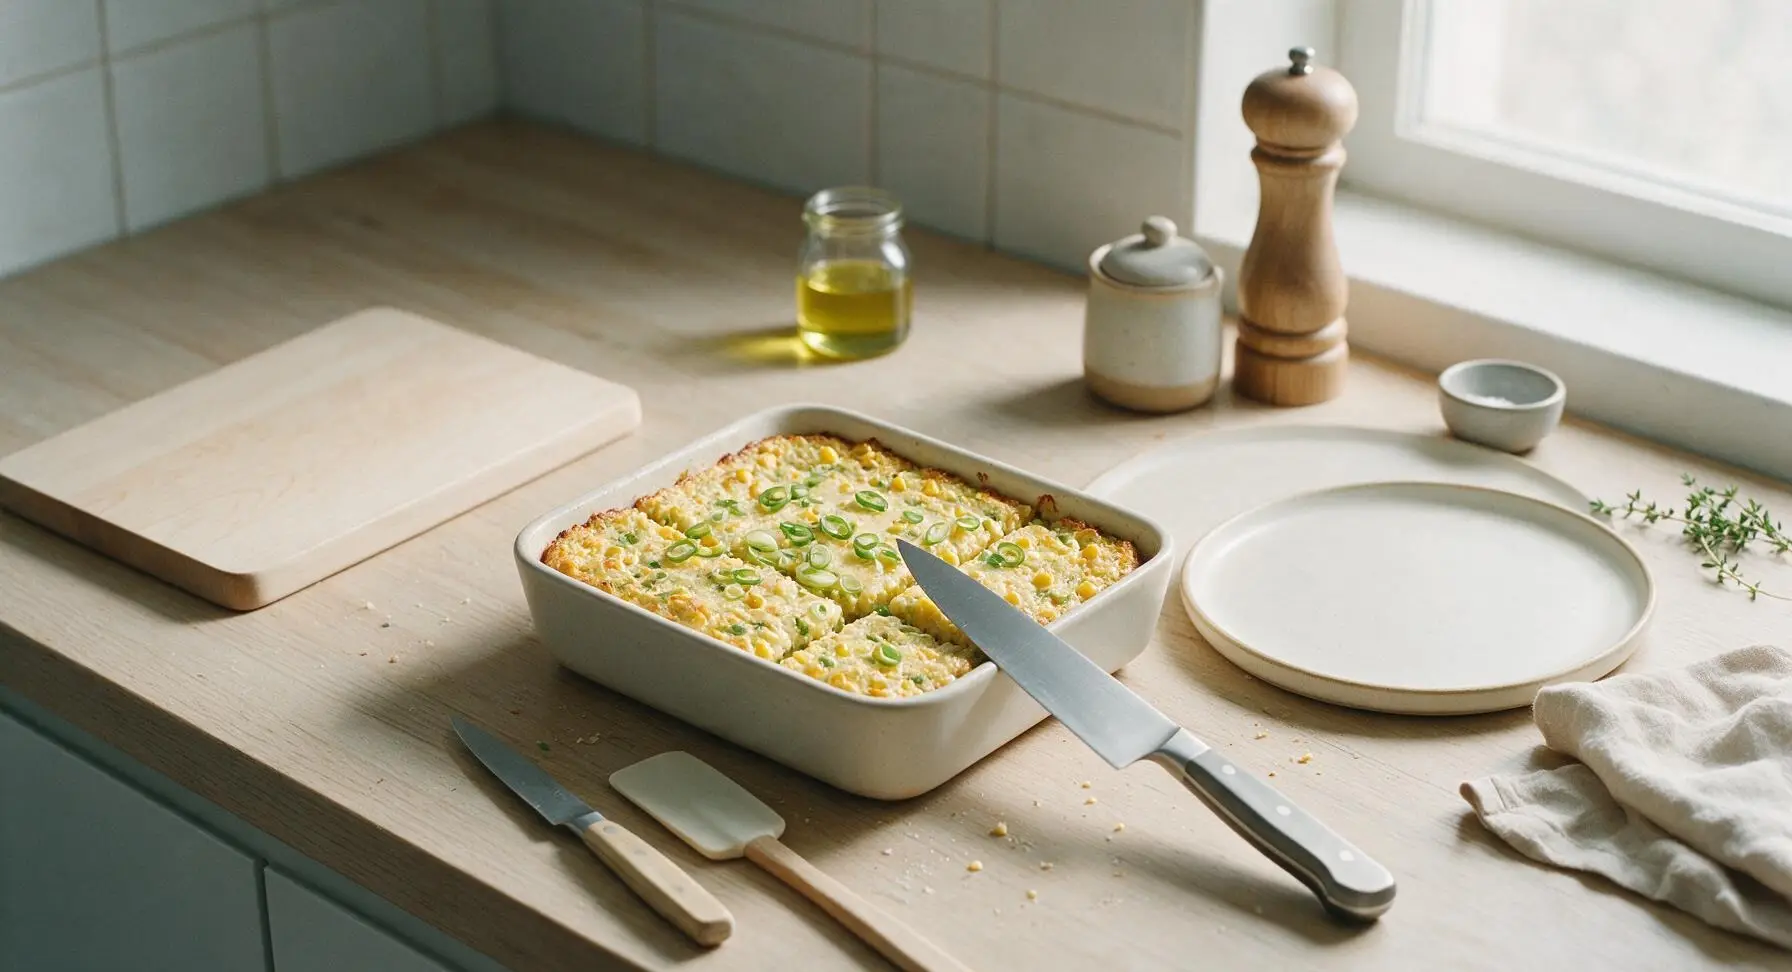
Step 8
step8:Cool, Garnish, Serve

Tips

1.Avoid overmixing the batter once you add the dry cornbread mix: overworking the gluten in the mix will result in a dense, tough casserole instead of the light, tender, fluffy crumb this recipe is known for. Visible lumps in the batter are normal and desirable.
2.For deeper, smoky Southwestern flavor, use fire-roasted Hatch green chiles instead of standard canned green chiles, and add 1/4 tsp smoked paprika to the spice mix. This replicates the taste of traditional New Mexican roasted green chile with no extra roasting work required.
3.Let the casserole rest the full 10 minutes after pulling it from the oven: residual heat will finish setting the center, so you can cut clean squares that hold their shape instead of oozing when lifted. This is especially important if you are transporting the casserole to a potluck.


✨ You May Also Like

Side Dishes
🍜 India

Velvety, aromatic all-purpose curry sauce perfect for tossing with roasted veggies, grilled protein, or rice for fast, cozy, flavorful meals.

⏱️ 25 minuteSide Dishes ★ 4.8
Side Dishes
🍜 Spain

Tender, starchy boiled yuca tossed in bright, garlicky citrus mojo sauce—an iconic, zesty side that pairs beautifully with roasted pork, grilled meats, and rice and beans.

⏱️ 40 minuteSide Dishes ★ 5
Side Dishes
🍜 United States

Tender, paper-thin potato flatbread, a beloved Norwegian-American Minnesota Christmas staple, griddled until softly spotted and served warm with butter.

⏱️ 1 hour 30Side Dishes ★ 4.6
Side Dishes
🍜 United States

Rich, deeply savory cured salt pork, a long-lasting kitchen staple perfect for frying crispy as a side or adding umami to stews, beans, and chowders.

⏱️ 7 days (2Side Dishes ★ 4.9
Side Dishes
🍜 United States

Crispy, tangy classic Southern fried green tomatoes with a crunchy cornmeal crust, served hot for a nostalgic, comforting summery bite.

⏱️ 25 minuteSide Dishes ★ 4.9
Side Dishes
🍜 United States

Moist, golden-crusted savory muffins with sweet corn, zesty jalapeño, and melted cheddar, perfect for pairing with smoky summer grilled fare.

⏱️ 30 minuteSide Dishes ★ 4.9

green chili corn casserole:Frequently Asked Questions

1.Can I use fresh or frozen corn instead of canned whole kernel corn for this casserole? ▾
Absolutely! For fresh corn, cut kernels off 3 to 4 medium cobs to match the canned measurement; for frozen, thaw fully and pat off excess ice moisture first to avoid a soggy final bake. You’ll get the same bright, sweet corn flavor—just skip extra added salt if your frozen corn is pre-seasoned to keep flavor balanced.
2.How spicy is this green chili corn casserole if I use mild canned roasted green chiles? ▾
It will have a gentle, warm Southwestern zing with zero sharp, burning heat—mild canned chiles are family-friendly, even for kids and people who avoid spicy food. If you want a little extra kick, swap 1/4 of the mild chiles for a can of diced hot green chiles without throwing off the recipe’s moisture balance.
3.Do I need to drain the cream-style corn for this recipe? ▾
No, definitely don’t drain the cream-style corn! That thick, starchy, sweet liquid is key to creating the casserole’s signature creamy, tender crumb without adding extra heavy cream or sour cream. Draining it will leave your final bake dry, crumbly, and missing that rich, cohesive texture that makes this dish so cozy.
4.What size baking dish works best for this recipe? ▾
A standard 9x9-inch square baking dish or 2-quart casserole dish is ideal for even baking, producing a perfectly set center and lightly golden, cheesy top edge. If you only have a 9x13-inch pan, cut the bake time by 8 to 10 minutes, since the thinner layer will cook faster and can dry out if left in too long.
5.Can I make this casserole ahead of time for a potluck? ▾
You sure can! Assemble the full casserole (hold back 1/3 of the cheddar for the top) 24 hours in advance, cover tightly, and store it in the fridge. When you’re ready to bake, let it sit on the counter for 15 minutes to take the chill off, top with the reserved cheese, and bake as directed for easy, stress-free serving.
6.Why did my casserole turn out runny in the center? ▾
Runny centers almost always come from excess un-drained moisture from ingredients, or pulling the casserole out too early. Make sure you fully drain the whole kernel corn and green chiles, and bake until the center jiggles slightly but doesn’t look liquidy, with a toothpick inserted 1 inch from the center pulling moist crumbs, not wet batter.
7.Can I use a different cheese instead of sharp cheddar? ▾
Absolutely! Sharp cheddar adds a nice tangy cut to the sweet corn and mild chiles, but you can swap in pepper jack for extra heat, colby jack for a milder, creamier melt, or a Mexican cheese blend for more authentic Southwestern flavor. Skip pre-shredded cheese coated in anti-caking agents if you want the silkiest melt.
8.Do I need to add eggs to this casserole to help it set? ▾
Nope, you don’t need extra eggs for this recipe! The combination of undrained cream-style corn and dry cornbread mix creates a perfectly tender, fluffy set without the firmer, quiche-like texture eggs add. If you prefer a denser, more custardy casserole, you can stir in 2 lightly beaten large eggs, but it’s not required for success.
9.Can I make this recipe gluten-free? ▾
Definitely! Just swap the standard dry cornbread mix for a certified gluten-free cornbread mix that matches the same dry weight (usually around 8.5 ounces for a standard box). Double check that your canned corn and green chiles don’t have hidden gluten-containing additives, and you’ll get the exact same great texture and flavor for gluten-free guests.
10.How should I store leftover green chili corn casserole? ▾
Let leftover casserole cool completely to room temperature within 2 hours of baking, then cover the baking dish tightly with plastic wrap or aluminum foil, or transfer leftovers to an airtight container. It will keep well in the fridge for 3 to 4 days, and the flavors actually meld and get a little richer after the first 24 hours.
11.What’s the best way to reheat leftover casserole? ▾
For the best texture, reheat individual portions in the microwave for 45 to 60 seconds, or reheat the whole covered casserole in a 325°F oven for 15 to 20 minutes until warmed through. Spritz the top with a tiny bit of water before oven reheating to keep the top from getting too crispy or dried out as it warms.
12.Can I add extra mix-ins to this casserole? ▾
Of course! Popular complementary add-ins include 1/2 cup cooked crumbled bacon, 1/4 cup diced pickled jalapeños, 1/2 cup sautéed diced bell pepper, or crushed cornflakes tossed in butter for a crunchy top. Keep total added mix-ins under 1 cup so you don’t throw off the batter’s moisture ratio or prevent it from setting properly.
13.Do I need to roast my own green chiles instead of using canned? ▾
You don’t have to! Canned roasted diced green chiles are consistent, convenient, and pre-peeled for zero extra work, which is perfect for quick weeknight or potluck prep. If you have fresh roasted Hatch chiles on hand during chile season, peel, seed, and dice them to match the canned measurement for an extra bright, smoky flavor boost.
14.Can I freeze this baked corn casserole for later? ▾
Yes, it freezes really well! Let the baked casserole cool fully, cut it into individual portions, wrap each tightly in plastic wrap and foil, and freeze for up to 3 months. Thaw portions in the fridge overnight before reheating, and note the texture will be slightly softer than fresh-baked, but just as creamy and flavorful.
15.Why does the recipe say to divide the shredded cheddar? ▾
Dividing the cheese ensures you get cheesy flavor in every bite, plus a perfectly golden, bubbly cheesy top! Stir 2/3 of the cheddar directly into the batter before pouring it into your baking dish, then sprinkle the remaining 1/3 over the top during the last 10 minutes of baking so it melts into a gooey layer without burning.
16.Is this casserole supposed to have a fluffy, bread-like texture or a dense, creamy texture? ▾
It lands perfectly in between! The cornbread mix creates a light, tender, fluffy crumb, while the cream-style corn and melted cheese keep it rich and creamy rather than dry like regular cornbread. It won’t be thick and paste-like, but it also won’t be as light and crumbly as plain baked cornbread.
17.Can I double this recipe to feed a larger crowd? ▾
Absolutely! Doubling all the ingredients works beautifully, just bake it in a 9x13-inch baking dish instead of a smaller pan. Add 10 to 15 minutes to the total bake time, and start checking for doneness at the 45-minute mark to make sure the center sets fully without the edges getting overbaked or dried out. It’s ideal for holidays, tailgates, and big potlucks.

Comments (18)

2 days ago

OMG this was the star of our Sunday family dinner last night! I was worried the green chilis would be too spicy for my picky 7 year old but she went back for SECONDS. So creamy, just the right amount of heat, and it was so easy to throw together even after a long work day. 10/10 will be making this for our next neighborhood potluck for sure.

yesterday

So thrilled your whole family loved it, Liz! If you want to tone down the heat even more for kiddo next time, you can use mild diced green chilis and skip the extra pinch of cayenne I note as optional. Hope it’s a hit at the potluck!

3 days ago

Made this to go with smoked brisket for our college football watch party and everyone was raving. Game changer side dish, way more interesting than regular old corn bread. I added a handful of crumbled cotija on top before baking and *chef’s kiss* no leftovers at all.

2 days ago

Oh the cotija addition sounds genius! I’m making this for our tailgate next weekend, definitely stealing that trick. Did you use regular or spicy green chilis with the brisket?

1 week ago

Perfect for weekly meal prep! I made a big batch on Sunday, portioned it out with grilled chicken, and it held up perfectly all week in the fridge. The flavors actually got better after a day or two, which is always a win. Super easy, minimal cleanup, 10/10.

5 days ago

Wait a second, is this recipe naturally gluten free? I have celiac and I’ve been hunting for a good casserole I can bring to family Thanksgiving that doesn’t require a million weird flour substitutes. This looks perfect if it doesn’t have wheat in it!

3 days ago

I made it last week with regular Jiffy corn muffin mix which has wheat, but if you swap in the gluten free Jiffy version it works exactly the same! My sister is celiac and she had zero issues with it.

2 days ago

Great call from Kev! The base recipe uses standard corn muffin mix, but swapping for a gluten free corn muffin mix works seamlessly without any texture changes. I recommend adding a tiny extra splash of milk if you notice the batter is thicker with the GF mix!

2 hours ago

This was SO good but I wanted way more heat. I used the hot green chilis like the recipe said but it was still pretty mild for my taste. Anyone have tweaks to kick this up a notch?

30 minutes ago

I added a diced jalapeño (seeds and all!) and a 1/4 tsp of chipotle powder last time I made it and it had the perfect kick. Top with a drizzle of hot sauce when you serve it too!

5 minutes ago

Love those spicy tweaks! I also sometimes add a small can of diced fire-roasted green chilis with extra hot sauce mixed into the batter for a deeper, spicier flavor. Just taste as you add so you don’t overdo it!

yesterday

First time cooking for my in-laws this weekend and I’m panicking lol. Is this recipe forgiving if I prep it the night before and bake it right before dinner? I don’t want to be stuck in the kitchen the whole time they’re over.

2 hours ago

Total lifesaver for prepping ahead! Assemble the whole casserole, cover it tightly, and keep it in the fridge for up to 24 hours before baking. Just add 5-10 minutes to the bake time if it’s cold straight from the fridge, and it’ll turn out perfect. You’ve got this!

2 weeks ago

I’ve been making a version of this for 40 years and I have to say, adding the sour cream and a little garlic powder like this recipe suggests makes it so much moister than my old recipe. My grandkids begged me to write the version down for them after Easter dinner. Winner!

30 minutes ago

Has anyone tried making this vegan? My whole household is dairy free and I’m wondering if swapping the sour cream for coconut yogurt and using dairy free cheese works, or if the texture gets weird?

5 minutes ago

I made it last month with vegan sour cream, dairy free cheddar, and flax egg instead of regular egg and it was insane! No one at my potluck even realized it was vegan, it was just as creamy as the regular version.

just now

So glad the vegan swaps worked for you, Vic! I’ve tested it with plain unsweetened oat milk yogurt in place of sour cream and dairy free shredded cheddar with great results too. Just make sure your corn muffin mix is accidentally vegan if you’re going that route!

5 minutes ago

Brought this to my office potluck today and people were literally scraping the dish clean. I was worried it would be too heavy since it’s a casserole but it’s light enough that people went back for multiple servings. The cook time is totally accurate too, 45 minutes exactly and it was perfectly golden on top.

just now

Ugh I missed the potluck today because I was in meetings and I’m so mad now! Save me a leftover bite if there’s any left in the break room fridge please???

1 week ago

Made this in my cast iron Dutch oven over the campfire last weekend and it was *chef’s kiss* perfect. I mixed all the dry ingredients at home ahead of time so I just had to add the wet stuff and dump it in the Dutch oven when we got to the campsite. Total camping win.

5 days ago

How long did you leave it on the campfire coals for? I’m trying to plan camp meals for our trip next month and this looks ideal!

yesterday

Wait, how much cheese do you all add? The recipe says 1 cup of shredded cheddar but I’m a cheese fiend and I’m tempted to dump in extra. Is that going to make it too greasy?

2 hours ago

I added an extra half cup of sharp cheddar and a handful of pepper jack last time and it wasn’t greasy at all, just extra cheesy and delicious. Don’t skimp!

30 minutes ago

Extra cheese is always encouraged in my book! As Mike said, an extra ½ to ¾ cup of cheese works perfectly without making the casserole greasy. I love adding a little pepper jack for extra tang too!

3 days ago

Made this on a random weeknight when I had zero dinner plans and just had a couple cans of corn and green chilis in the pantry. I can’t believe how easy it was, and my two teen boys ate half the pan in one sitting. Definitely adding this to our regular weeknight rotation.

2 weeks ago

This is good, but it’s missing a little something for me. It’s a tiny bit sweet from the corn muffin mix, which is fine, but I feel like it needs a savorier kick. Any ideas?

1 week ago

I added a half teaspoon of smoked paprika, a little garlic powder, and a pinch of black pepper when I mixed the batter and it cut the sweetness perfectly! I also used unsalted butter so I could control the salt level.

5 days ago

Smoked paprika is such a great add, Sam! If you want to cut the sweetness even more, you can use a savory corn muffin mix instead of the sweetened Jiffy style, or add a ¼ cup of diced green onions to the batter for extra savoriness.

5 days ago

Making this for our Thanksgiving spread this year! How well does it reheat? I know we always have a million dishes to warm up after the turkey comes out and I want to make sure this doesn’t get all mushy.

3 days ago

It reheats beautifully! You can warm it covered in the oven at 325°F for 15-20 minutes, or pop individual servings in the microwave for 1-2 minutes. It won’t get mushy as long as you don’t overheat it. Perfect for holiday spreads!

30 minutes ago

Wait, do I drain the corn and the green chilis before mixing them in? I’m a total beginner and I don’t want to mess this up, it looks so good!

5 minutes ago

I drained the corn but left a tiny bit of the liquid from the green chilis for extra flavor! If you leave all the corn liquid in it gets a little soggy, trust me I learned that the hard way my first time making it.

just now

Great tip! I recommend fully draining both the whole kernel corn and the green chilis for the best texture. If you like a little extra green chili flavor, you can reserve 1 tbsp of the green chili liquid to stir into the batter, but no more than that or it gets mushy. You’ve got this!

1 week ago

Who knew this would be such a good brunch side? I made it for a girls’ brunch last weekend and served it with scrambled eggs, bacon, and mimosas and everyone asked for the recipe. It’s so versatile! I added a little sprinkle of chives on top for color and it looked so fancy for barely any effort.

2 days ago

This is such a great budget friendly recipe! All the ingredients are cheap pantry staples, I already had most of them on hand, and it feeds like 6-8 people for under $10 total. Perfect for when I’m trying to save money on groceries at the end of the pay period.

yesterday

Totally agree! I’m a broke college student and I made this for my roommates for like $8 total and we ate off it for 3 days. No fancy ingredients, no fancy skills, perfect.

just now

I ate the leftovers cold straight from the fridge the day after I made this and I’m not even sorry. It’s that good. Don’t judge me until you try it cold, it’s weirdly amazing.



