Green Onion Grilled Cheese

Green Onion Grilled Cheese
⏱️ cook time 8 minutes
🍽️ servings 2
⚡ Difficulty easy

intro

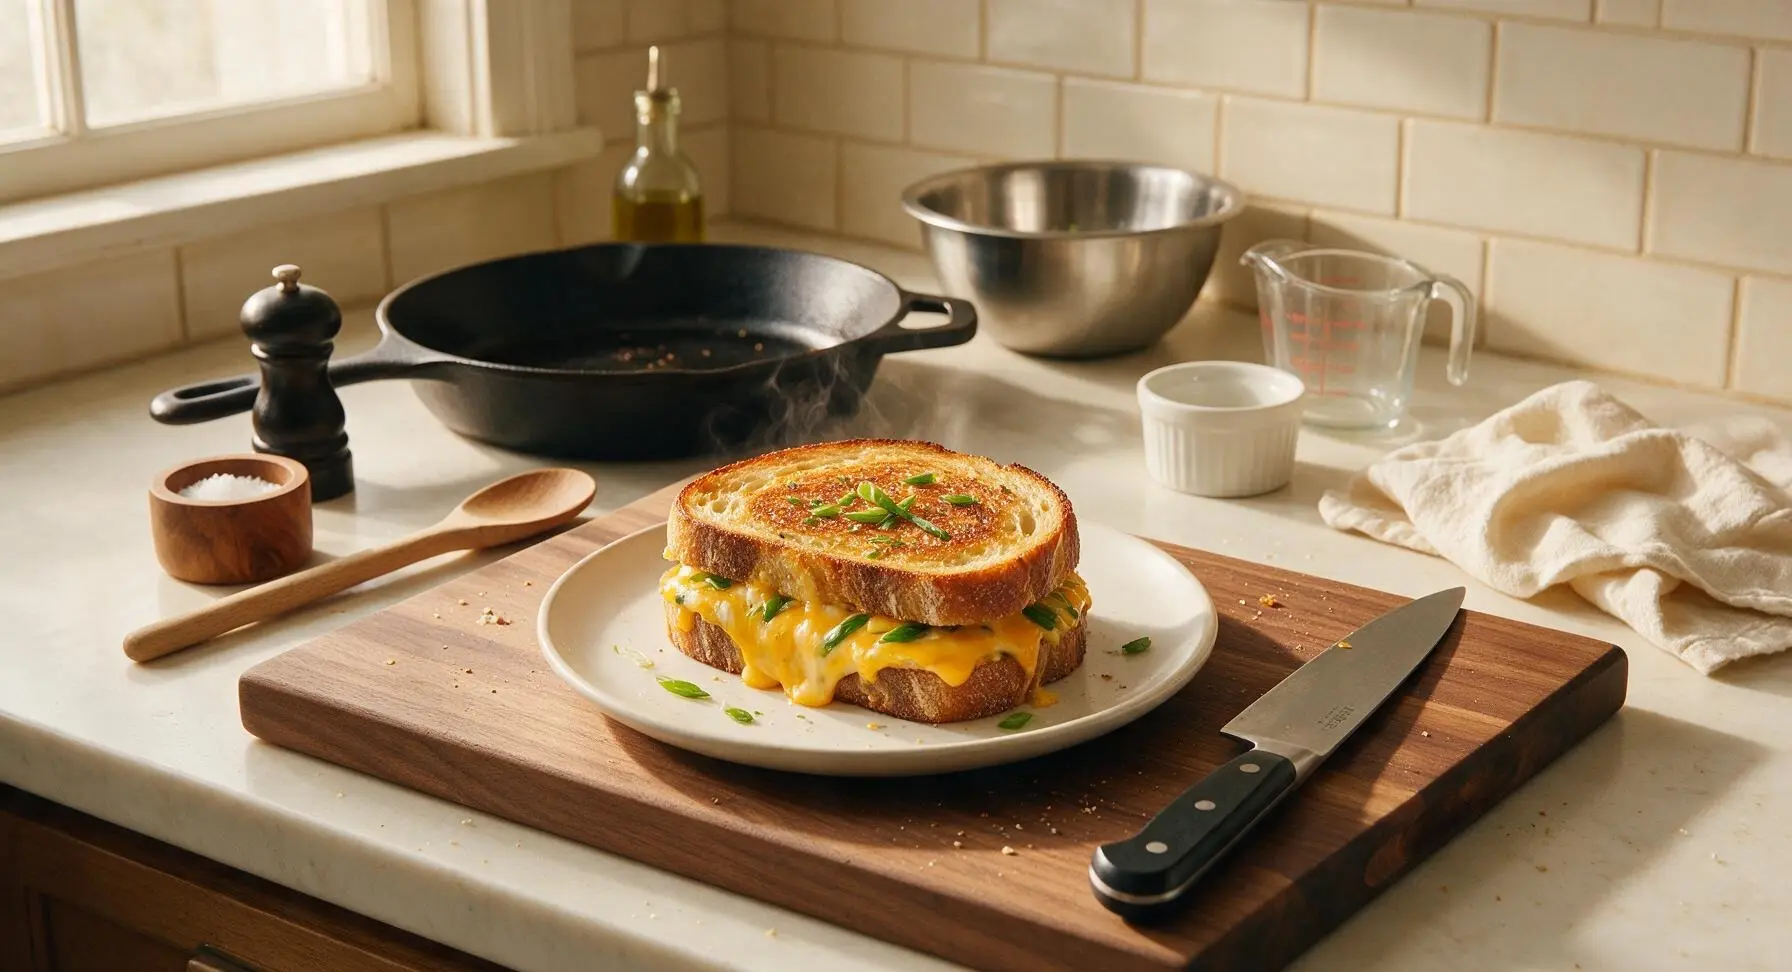
Crisp buttery sourdough oozing with melted sharp cheddar and bright, savory green onion, this elevated classic is quick to make, deeply comforting, and packed with fresh, bright flavor.

Ingredients
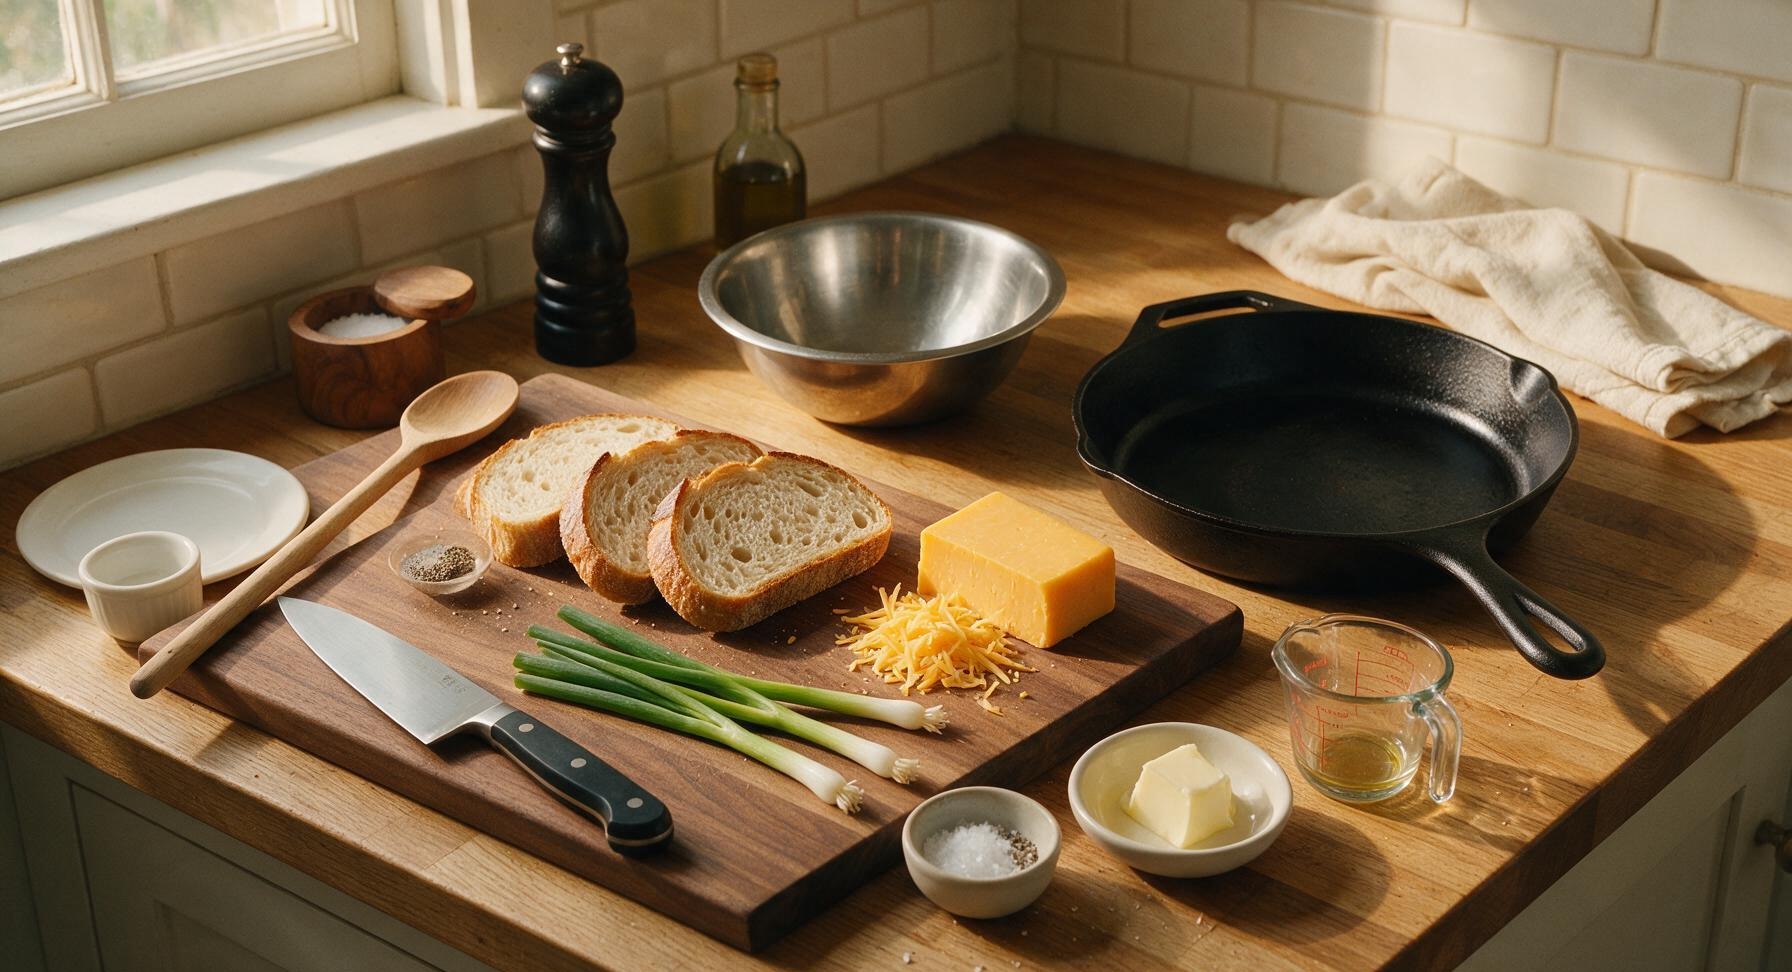
Sourdough bread 4 slices (240g total, 1cm thick)
Sharp cheddar cheese 80g, block for fresh grating
Fresh green onions (scallions) 4 stalks (60g total)
Unsalted butter 2 tablespoons (28g, softened)
Flaky sea salt 1/4 teaspoon
Freshly ground black pepper 1/8 teaspoon

Steps

1

Chop Fresh Green Onions

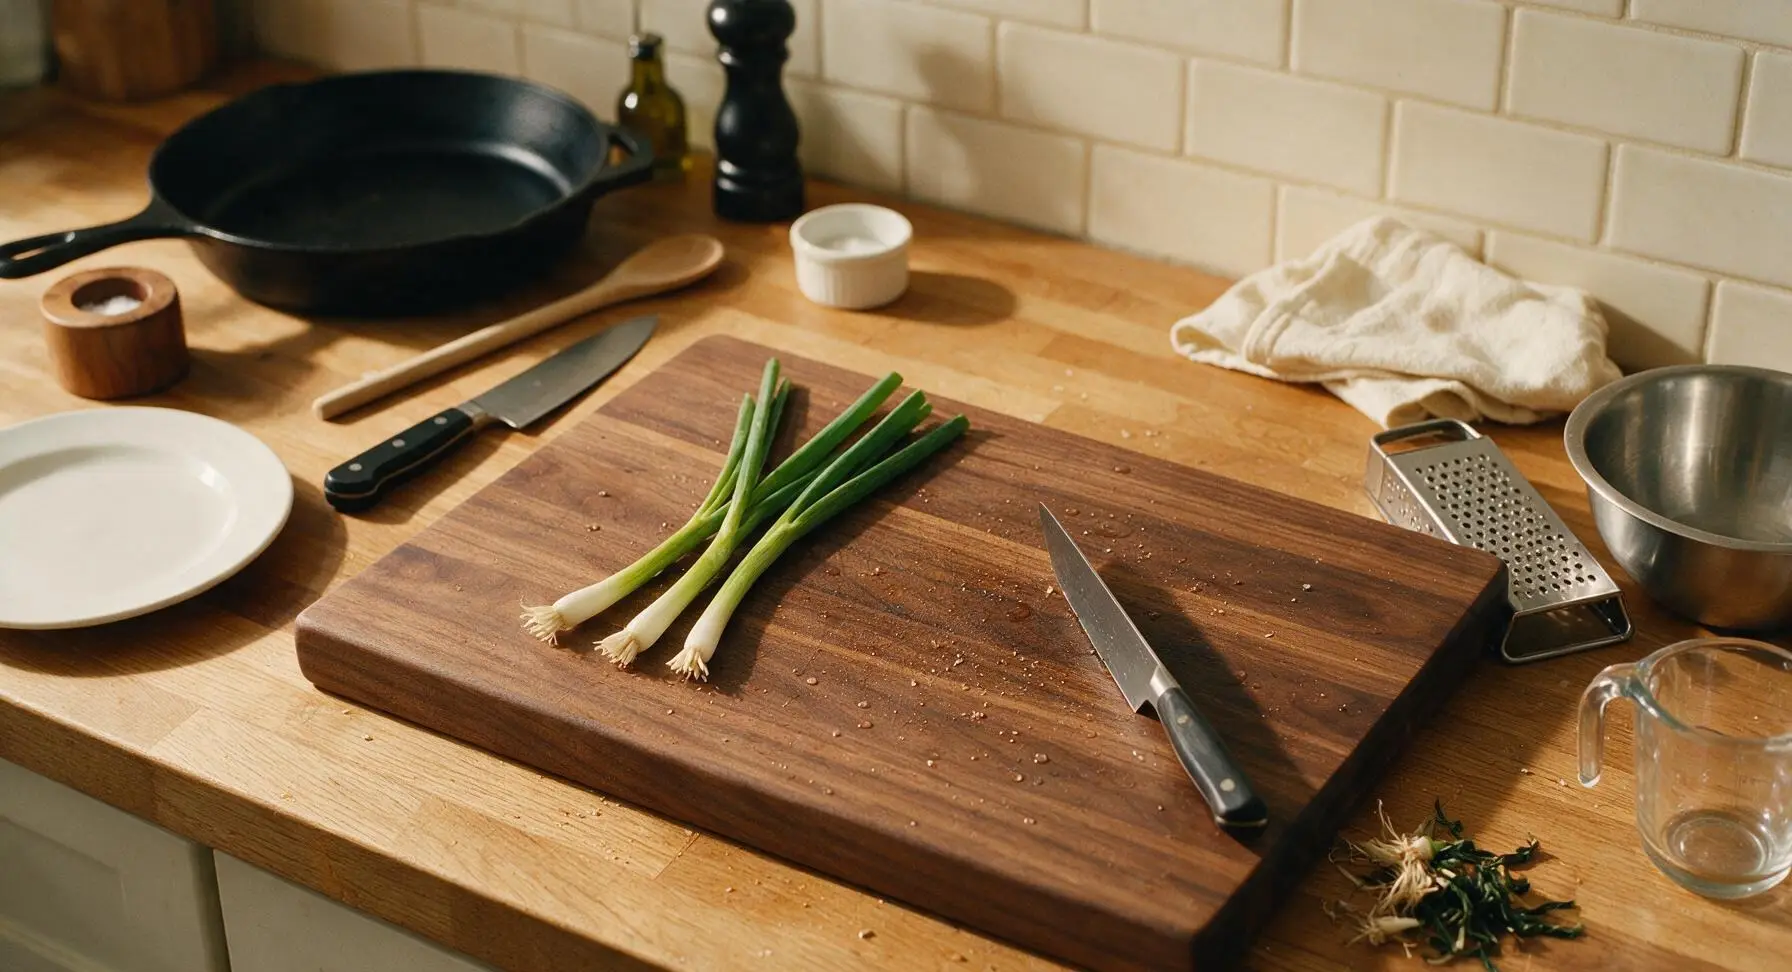
Rinse the 4 green onion stalks under cool running water and pat dry with the corner of the fixed linen towel. Place them on the bamboo cutting board, and use the santoku knife to trim off the dry root ends and any wilted dark green tips. Thinly slice the stalks into 3mm thick rounds, keeping both the crisp white/light green sections and delicate dark green tops. Transfer all sliced onions to the stainless steel mixing bowl. Discard the trimmed root ends and wilted tips into a small scrap pile at the corner of the board.
Step 1
step1:Chop Fresh Green Onions
2

Grate Sharp Cheddar

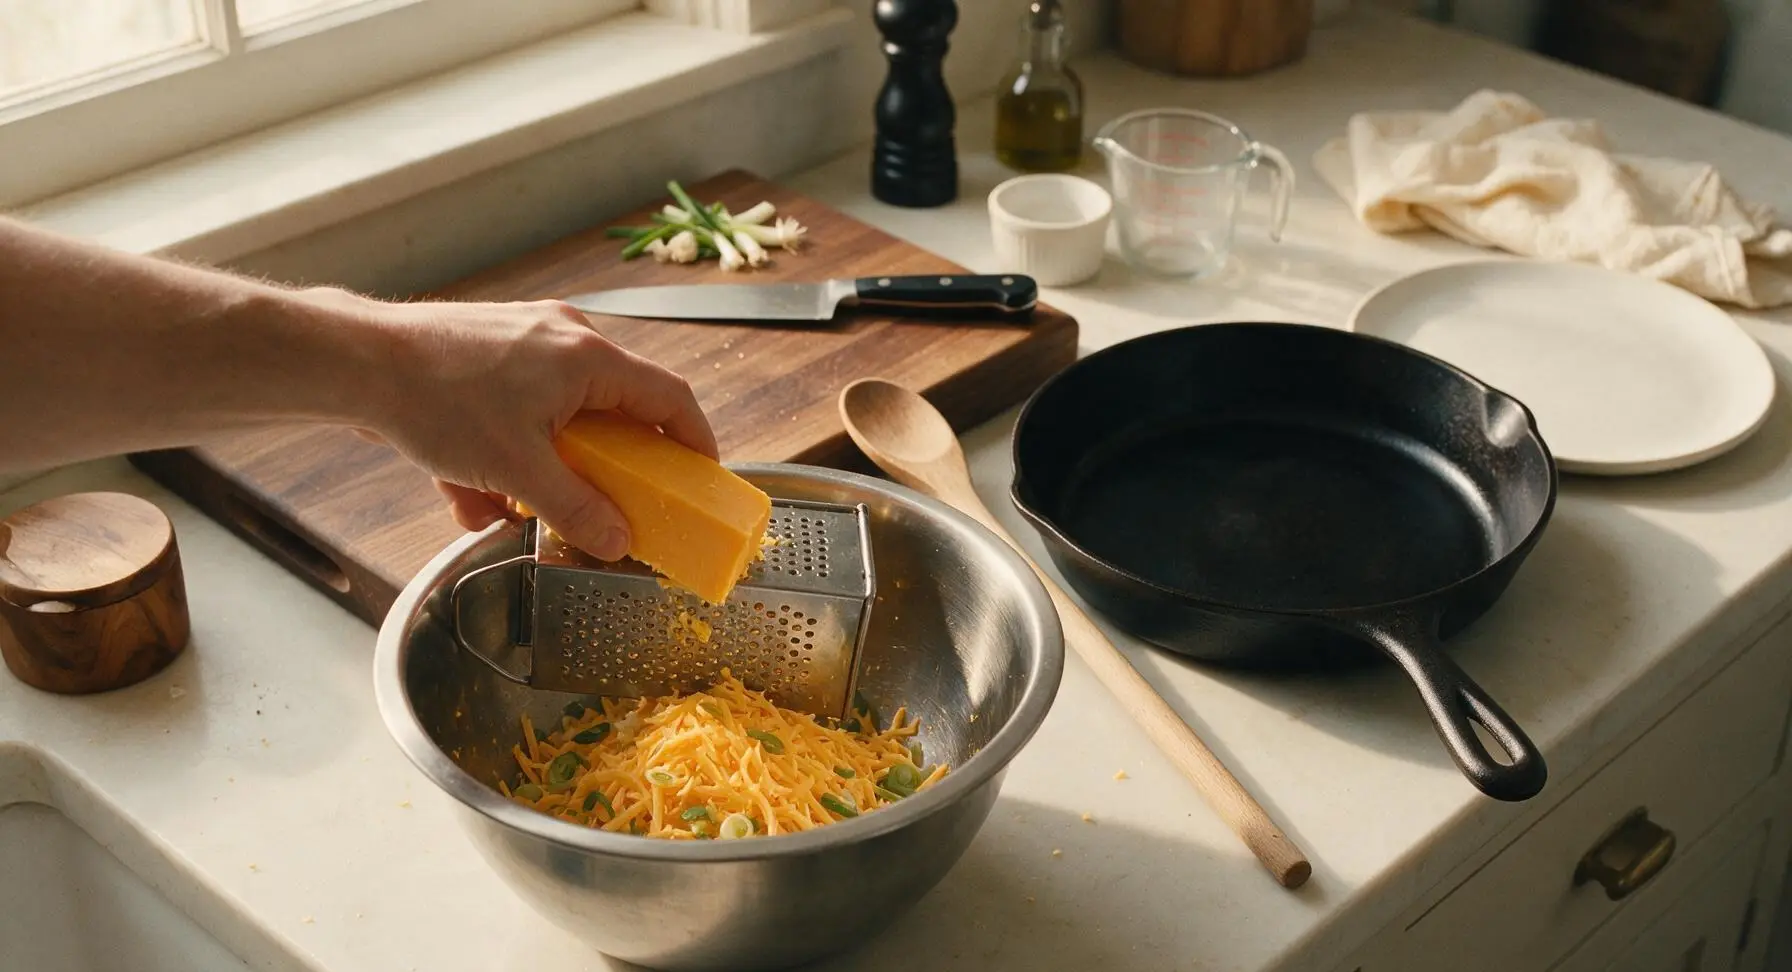
Hold the 80g block of sharp cheddar against the coarse side of the stainless steel box grater, and grate all of the cheese directly into the mixing bowl with the sliced green onions. Add the 1/8 teaspoon black pepper and half the flaky sea salt, then toss gently with clean fingers to evenly distribute the onion pieces and pepper through the shredded cheese. Keep the cheese mixture light and fluffy, do not pack it down, as this prevents even melting.
Step 2
step2:Grate Sharp Cheddar
3

Butter Bread Slices

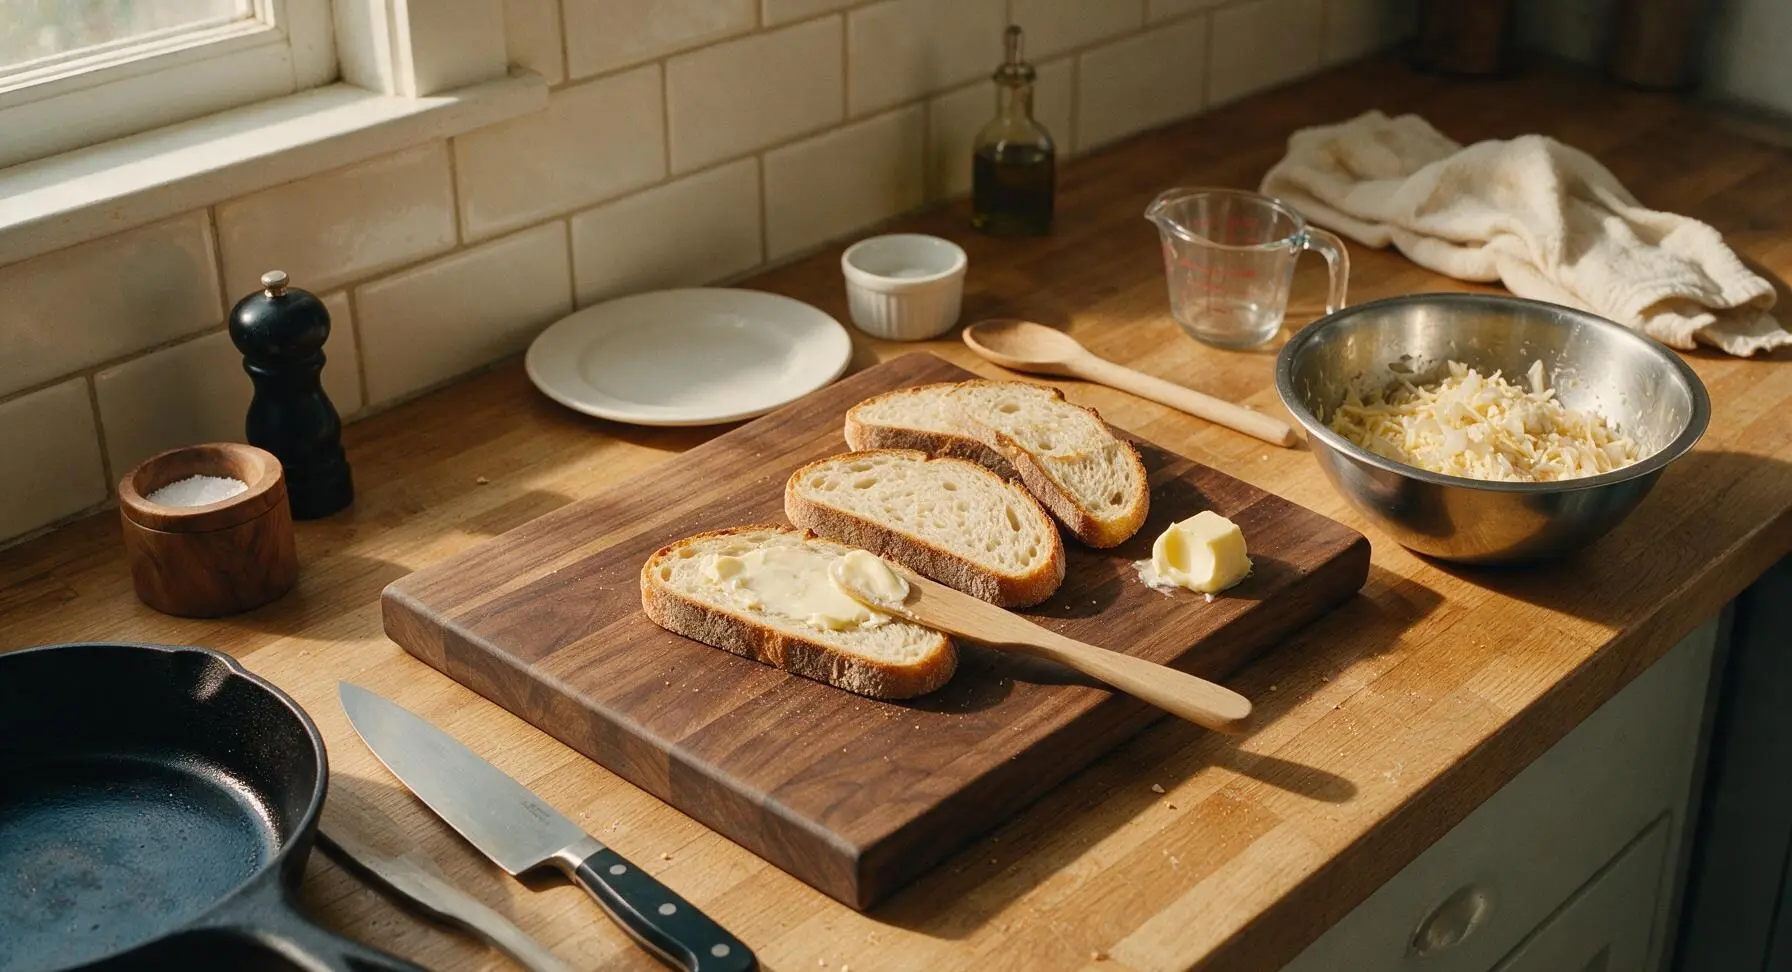
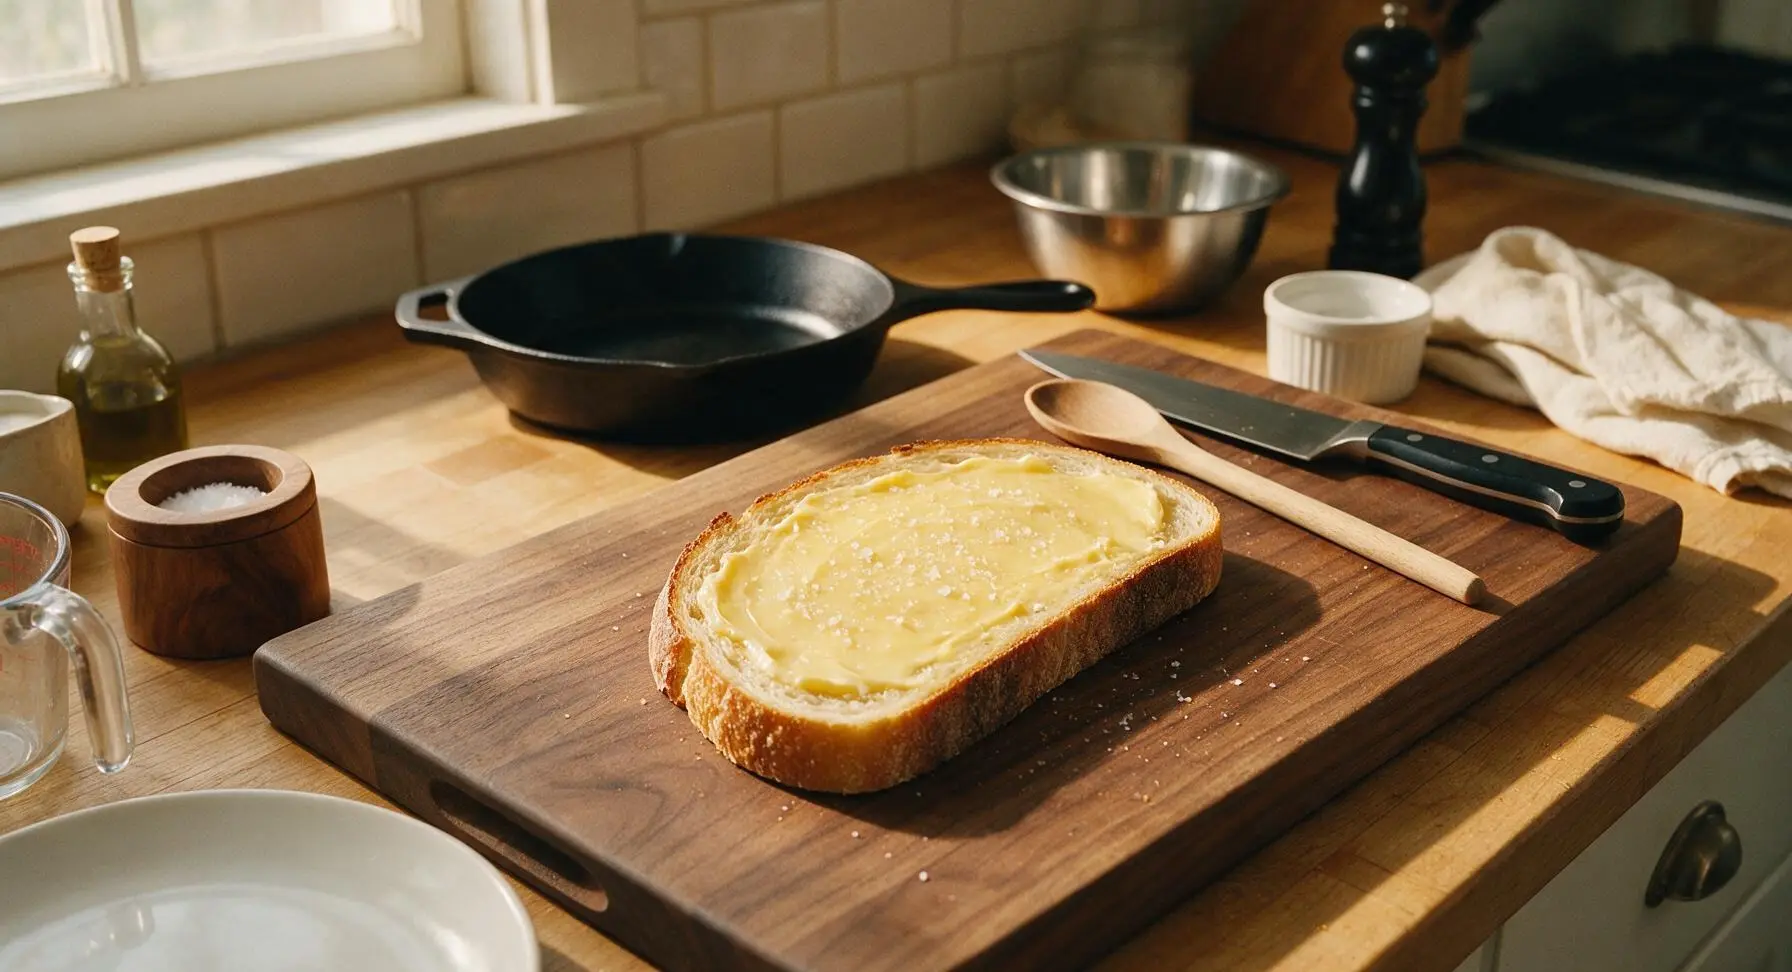
Lay all 4 slices of sourdough bread flat on the bamboo cutting board. Use the beech wood butter knife to spread 1/2 tablespoon of softened unsalted butter evenly across one entire side of each bread slice, spreading all the way to the crust edges to eliminate dry spots. The buttered side will form the crispy exterior of the sandwich, so aim for a thin, consistent layer about 1mm thick. Sprinkle the remaining half of the flaky sea salt lightly over all buttered surfaces.
Step 3
step3:Butter Bread Slices
Step 3
step3:Butter Bread Slices
4

Assemble Sandwiches

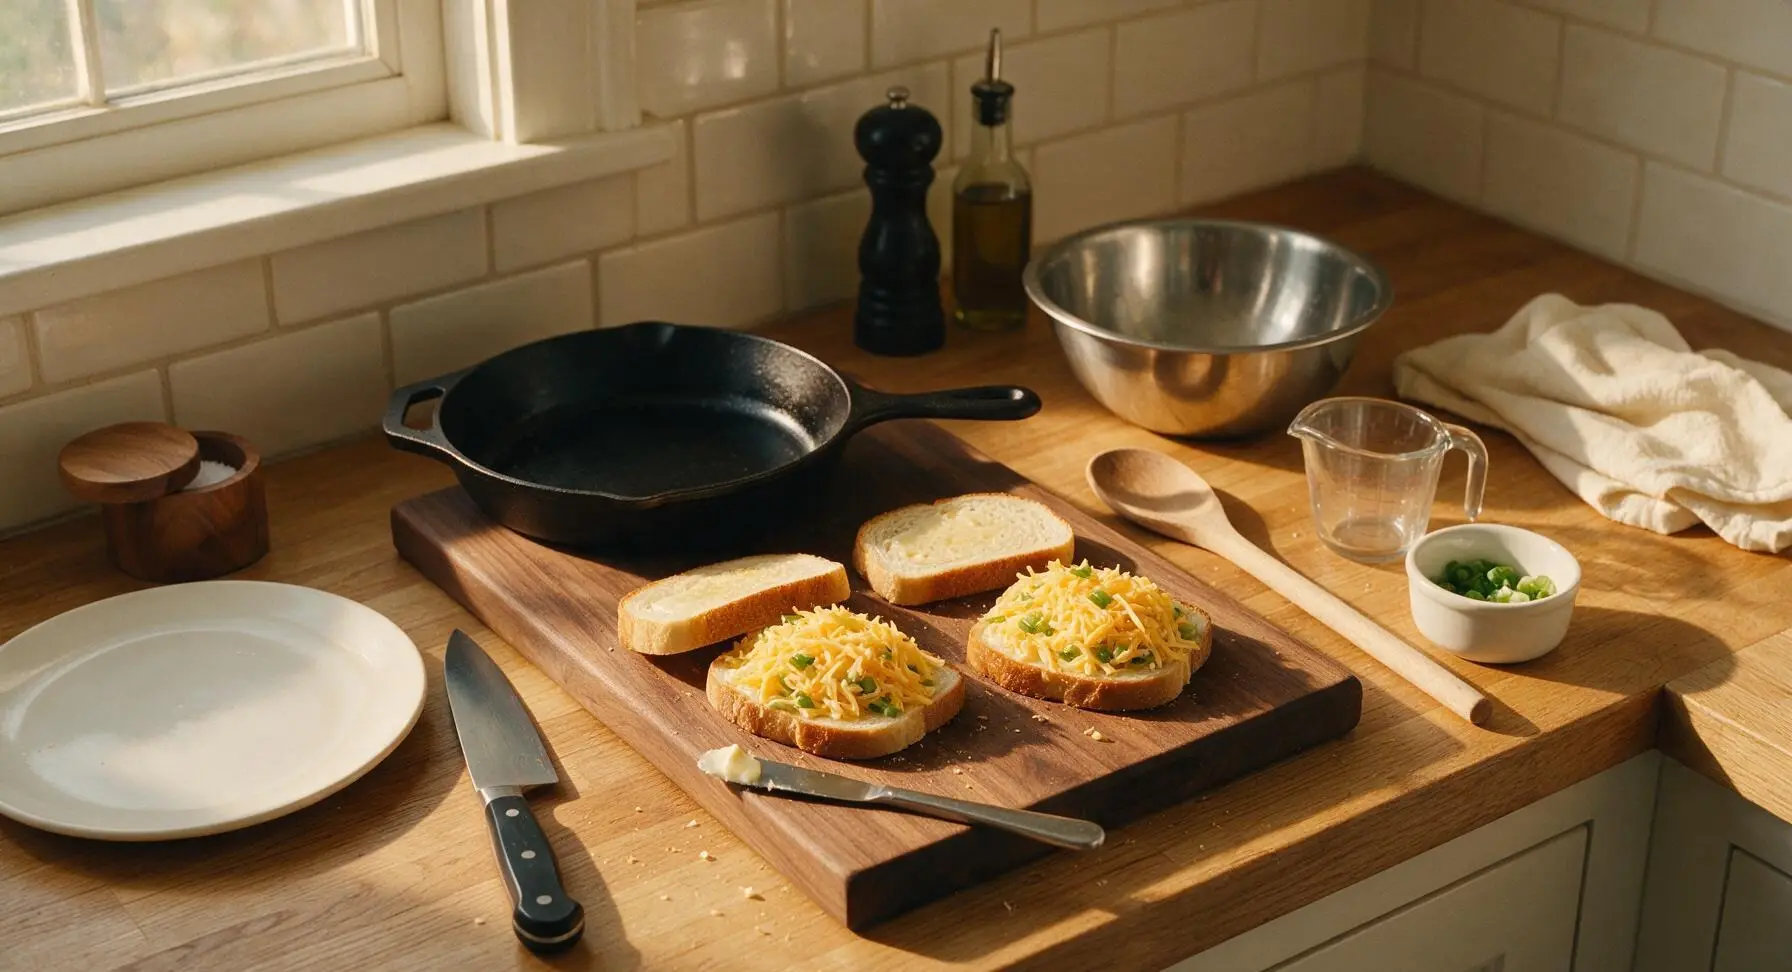
Flip two of the bread slices over so the buttered side faces down on the cutting board. Divide the cheese and green onion mixture evenly between the two slices, spreading it in a loose, even layer right up to the crust edges to avoid bare spots when melting. Top each with the remaining two bread slices, buttered side facing up, pressing down gently with the palm of your hand to adhere the layers. Ensure no filling spills over the edges of the bread to avoid burnt cheese in the pan.
Step 4
step4:Assemble Sandwiches
5

Preheat the Skillet

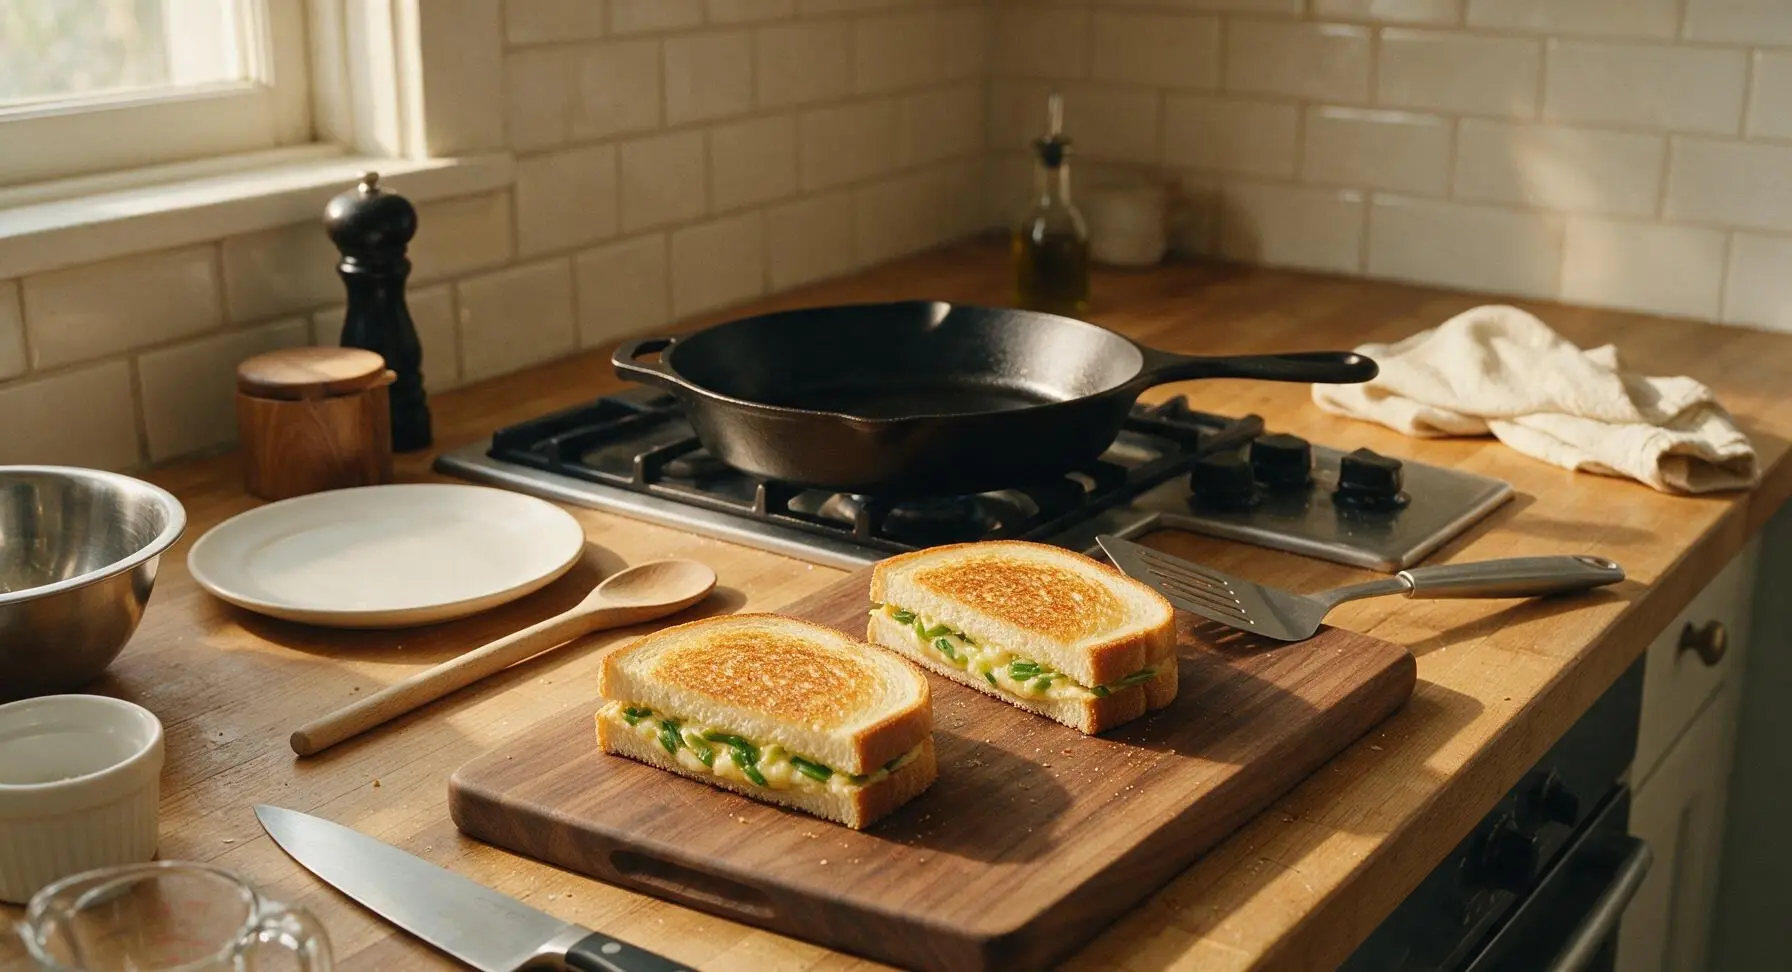
Retrieve the 10-inch matte black carbon steel skillet and place it on the stovetop over medium-low heat (325°F / 160°C for electric ranges). Let it preheat for 2 full minutes—do not rush this step, as an evenly heated pan prevents burnt bread spots and ensures the cheese melts fully from edge to center. No extra butter is needed in the pan, as the bread slices are already buttered.
Step 5
step5:Preheat the Skillet
6

Cook First Side

Carefully lift one assembled sandwich with the stainless steel spatula and place it in the preheated skillet. Cook for 3 to 4 minutes, resisting the urge to press down on the sandwich (pressing squeezes out melted cheese and compresses the bread into a soggy texture). The first side is ready to flip when the underside is deep golden brown, crisp to the touch, and the cheese at the bread edges is just starting to bubble and melt. Cook one sandwich at a time to avoid crowding the pan.
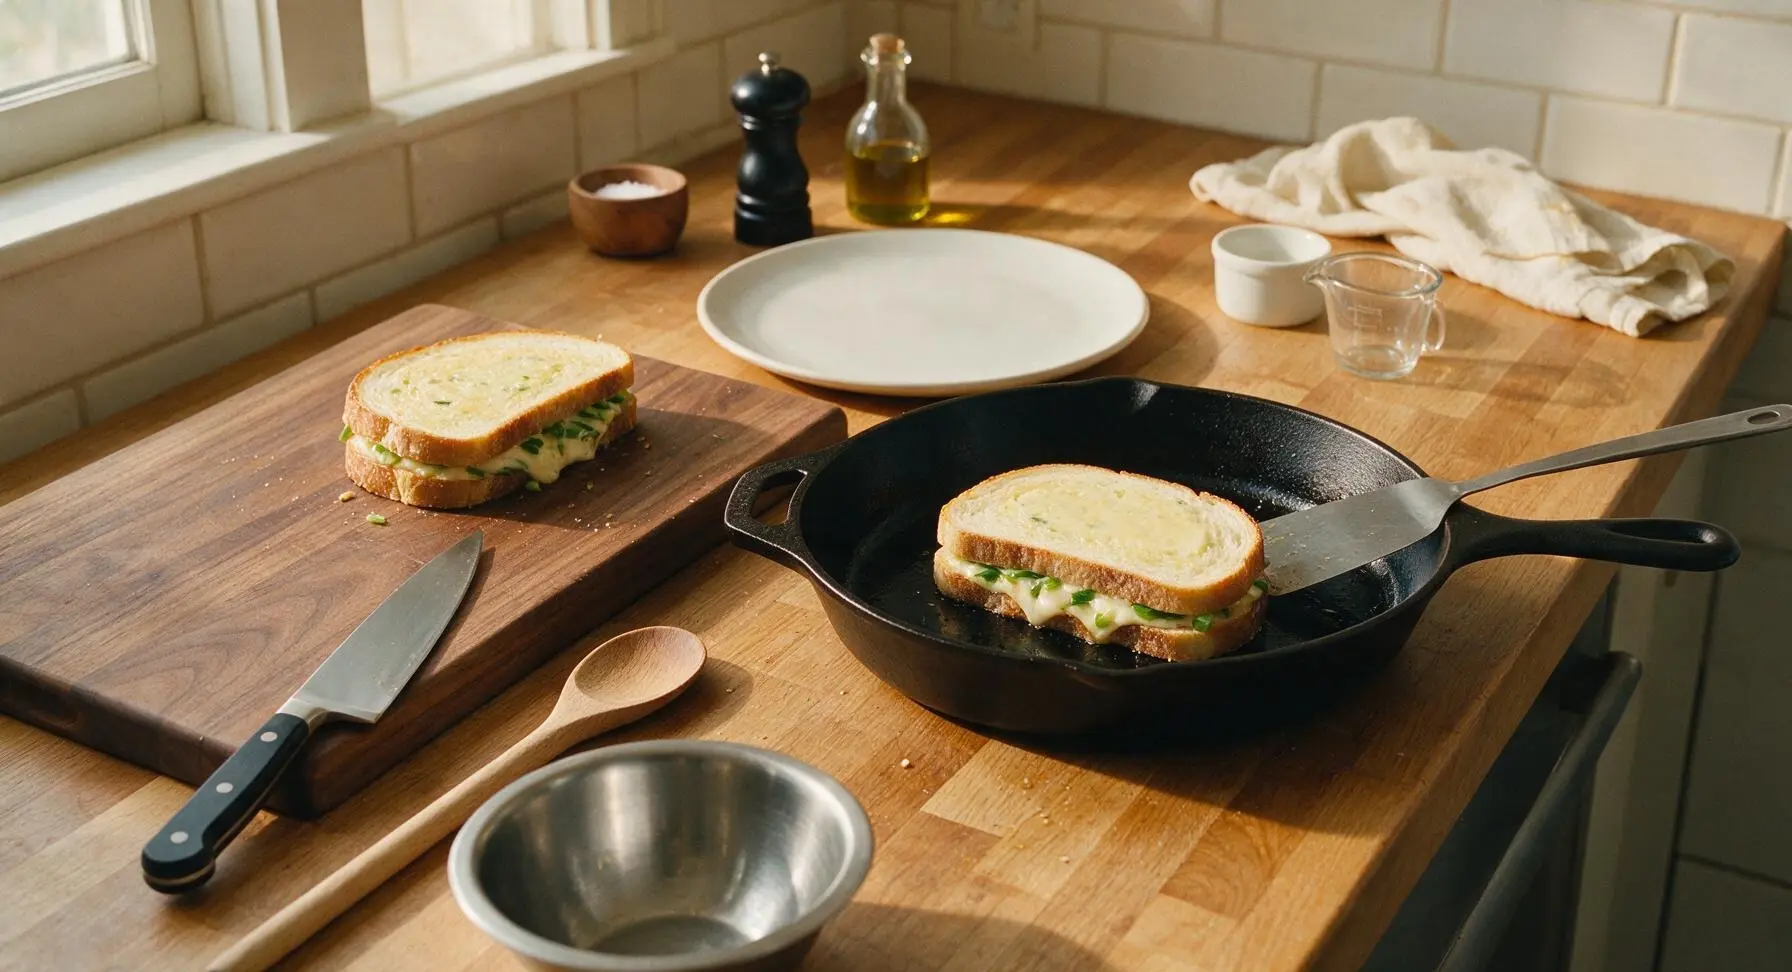
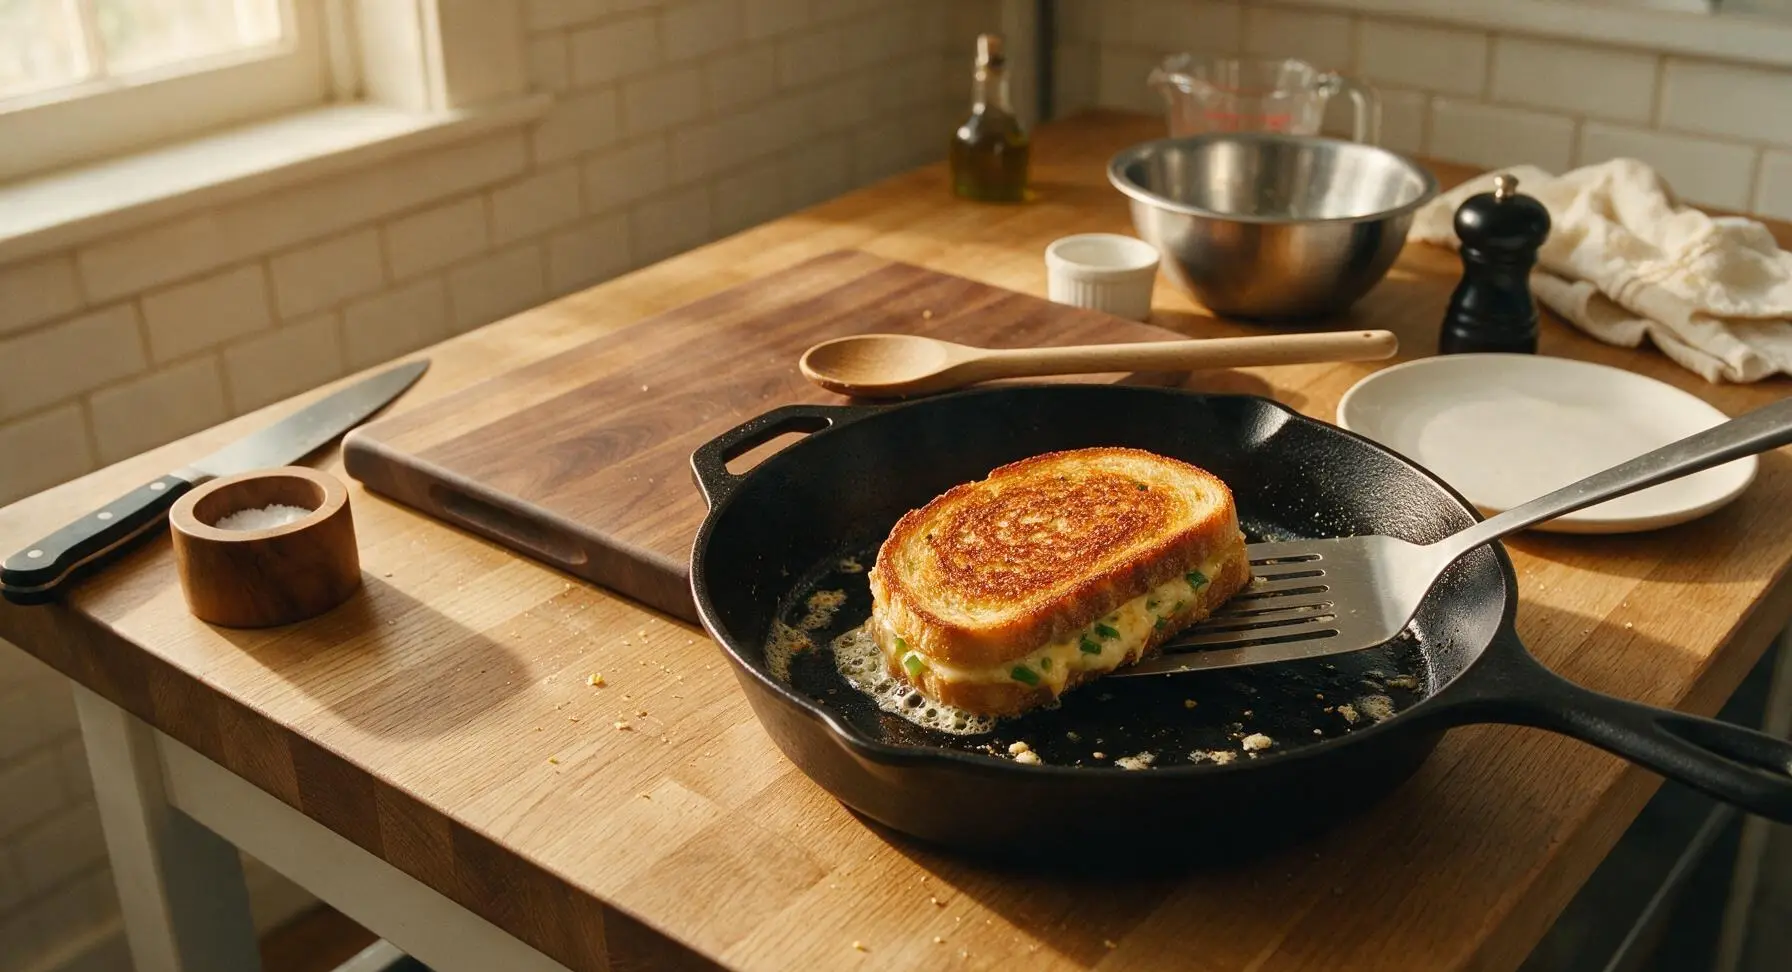
Step 6
step6:Cook First Side
Step 6
step6:Cook First Side
7

Flip and Finish Cooking

Slide the spatula fully under the sandwich to support the entire slice, and flip it in one smooth motion to avoid spilling filling. Cook the second side for another 2 to 3 minutes, until it matches the first side’s deep golden crispness, and all the cheese in the center is fully melted (look for thin strands of oozing cheese at the crust edges as a visual cue). Transfer the finished sandwich to the fixed cream white ceramic plate, then repeat the cooking process with the second sandwich.
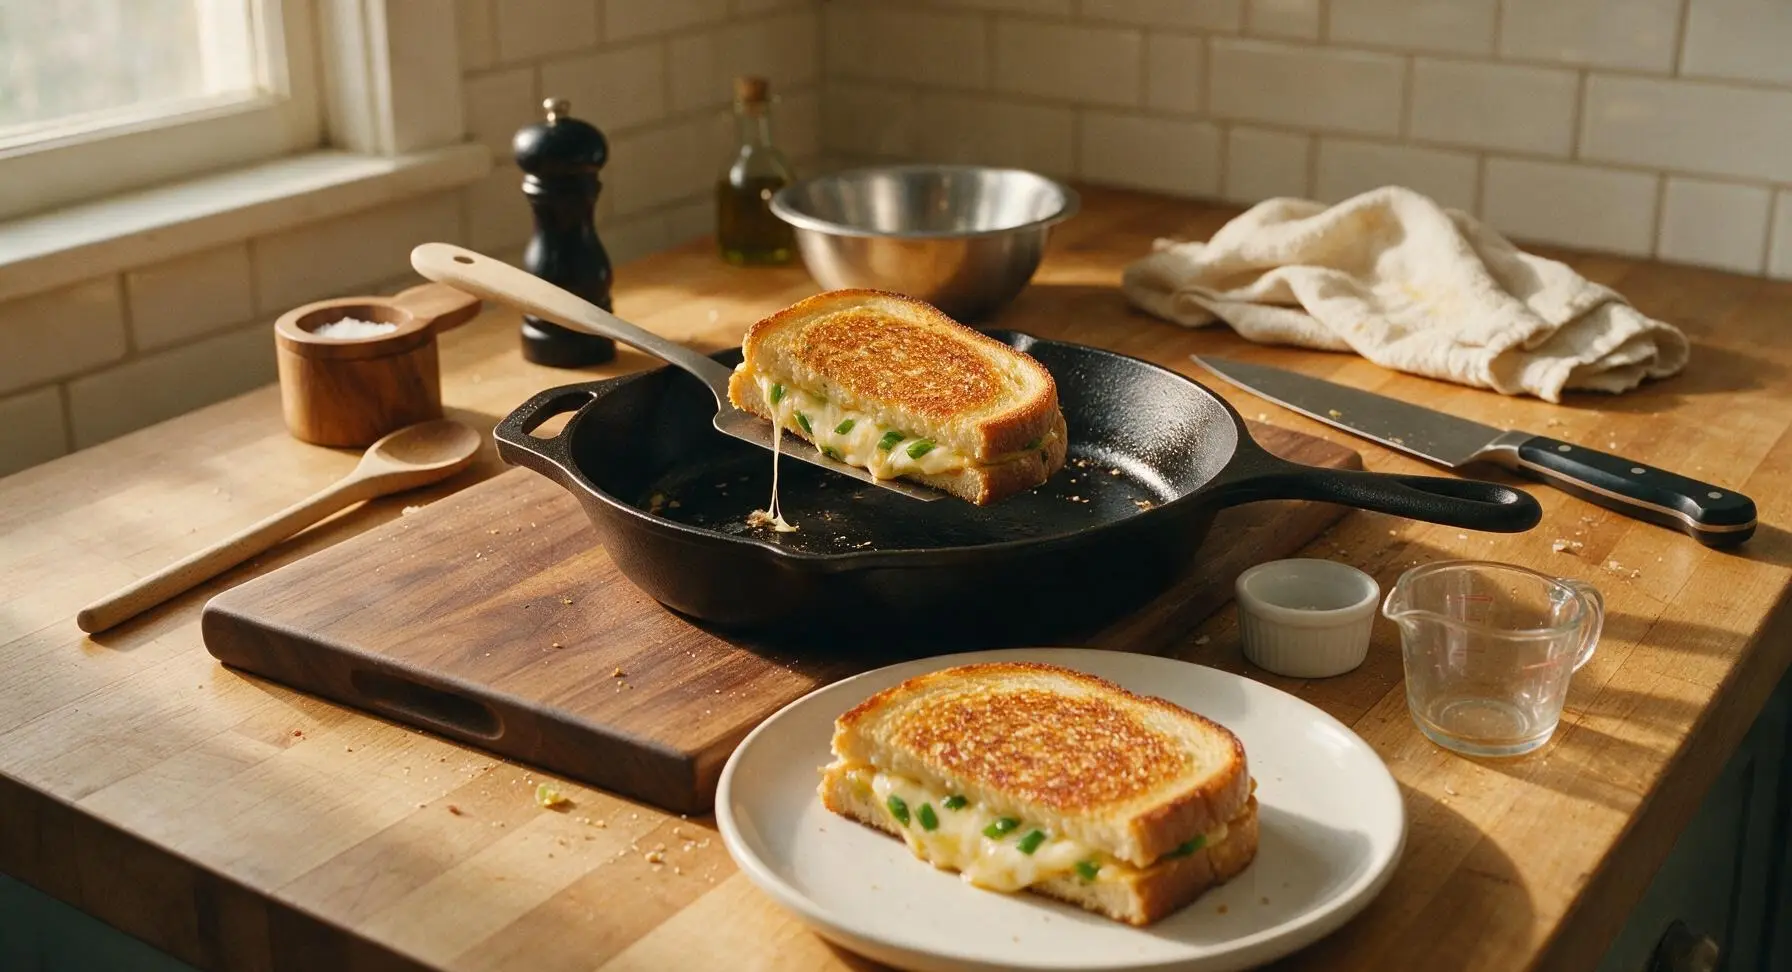
Step 7
step7:Flip and Finish Cooking
8

Rest and Slice

Let both cooked sandwiches rest on the cream plate for 1 full minute before slicing—this allows the melted cheese to set slightly so it does not run out when cut. Use the santoku knife to slice each sandwich diagonally in half, arranging the cut sides to face outward to show the green onion-flecked cheese filling. Serve immediately while the bread is crisp and the cheese is stretchy.
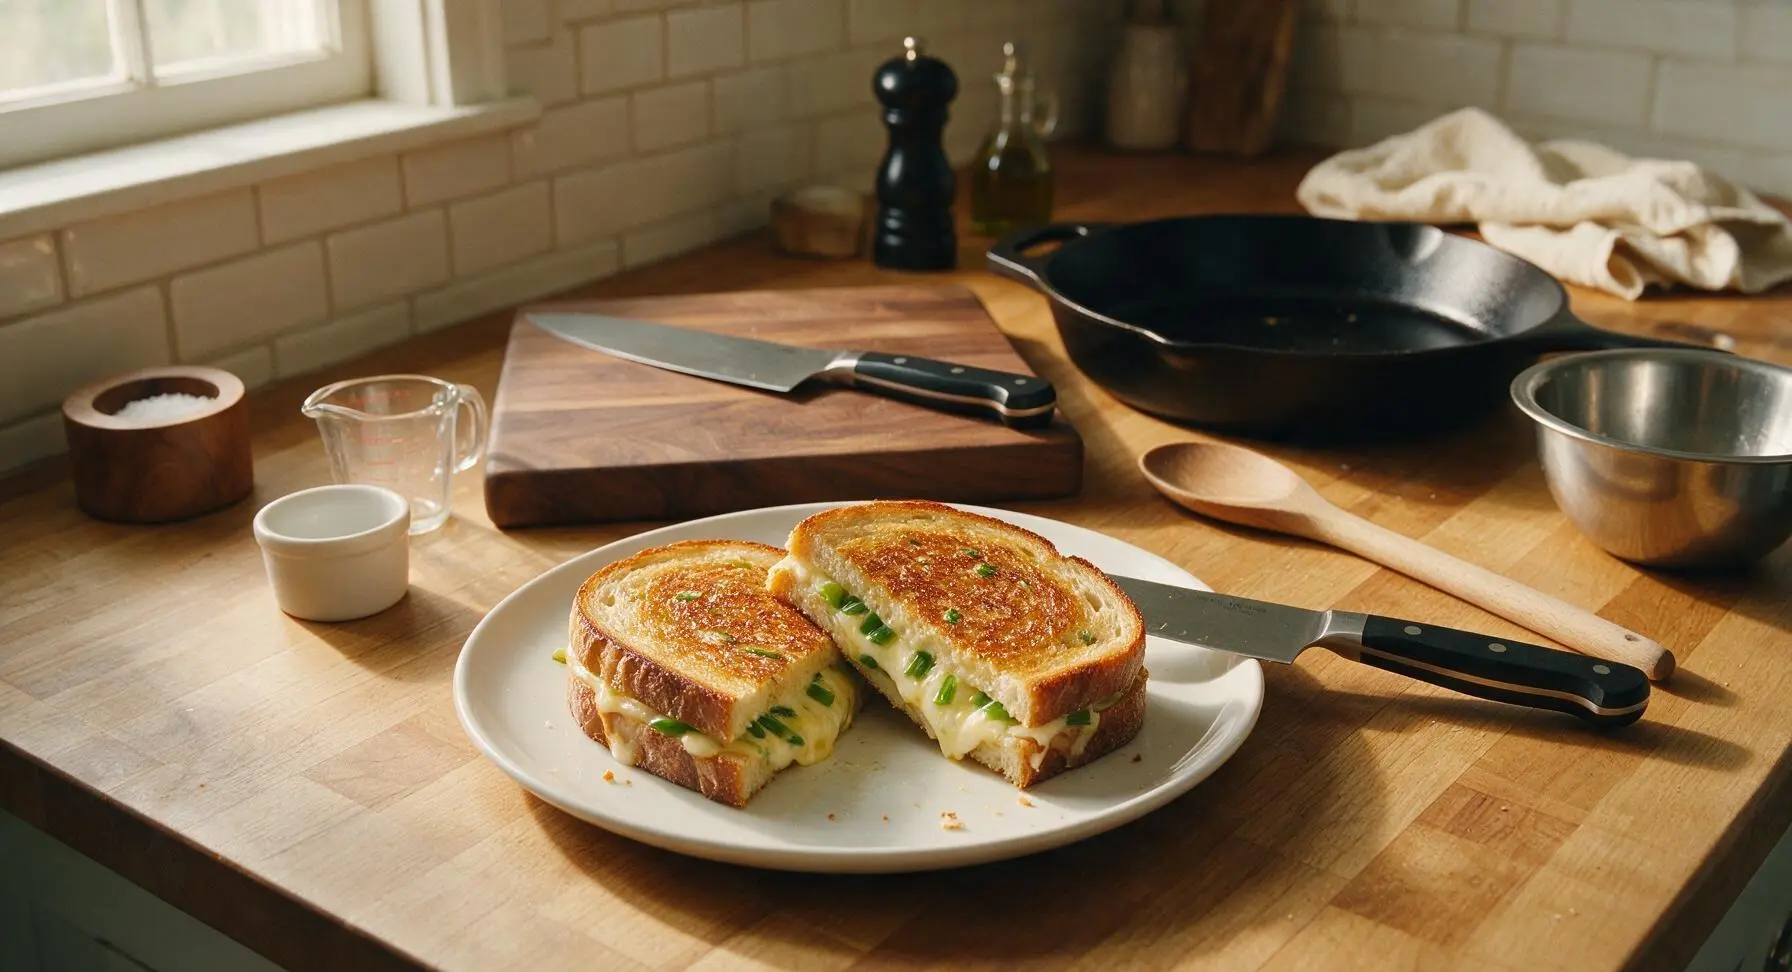
Step 8
step8:Rest and Slice

Tips

1.Grate your own cheese instead of using pre-shredded store-bought cheese: pre-shredded cheese is coated in potato starch and anti-caking agents that prevent smooth, even melting, leading to a grainy, clumpy filling instead of the signature silky, oozing grilled cheese texture.
2.Keep the stovetop heat at medium-low, not high: high heat will burn the buttered bread exterior in 60-90 seconds, long before the cheese in the center of the sandwich has time to fully melt, resulting in a bitter, burnt crust and cold, un-melted filling. Low, steady heat builds a crisp crust slowly while giving the cheese time to melt completely.
3.Skip the urge to press down on the sandwich with the spatula while cooking: pressing squeezes melted butter and cheese out of the bread, leading to a greasy, soggy sandwich instead of a light, crisp crust. The weight of the top bread slice is enough to keep the sandwich in even contact with the pan.
✨ You May Also Like

Lunch
🍜 United States

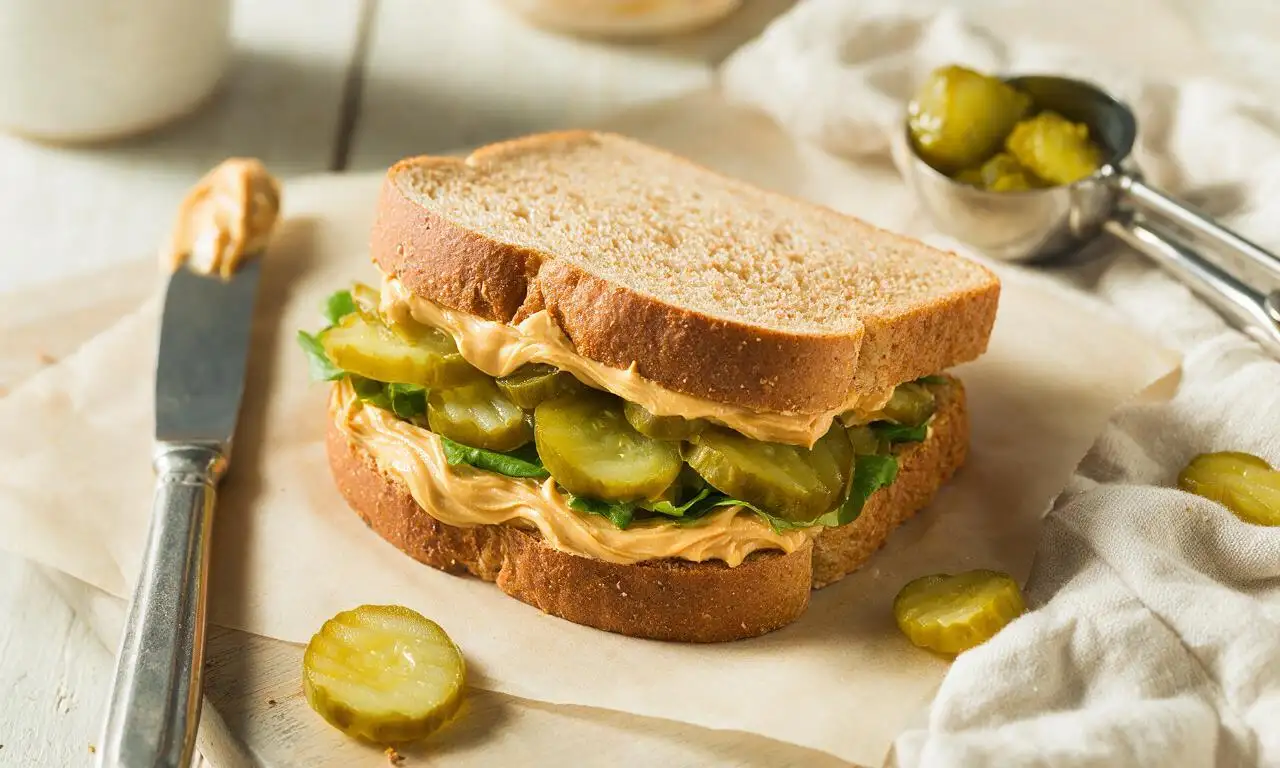
Creamy, salty, tangy nostalgic Midwestern sandwich pairing rich peanut butter with crisp briny dill pickles for a fast, satisfying no-cook meal.

⏱️ 5 minutesLunch ★ 4.6
Lunch
🍜 United States

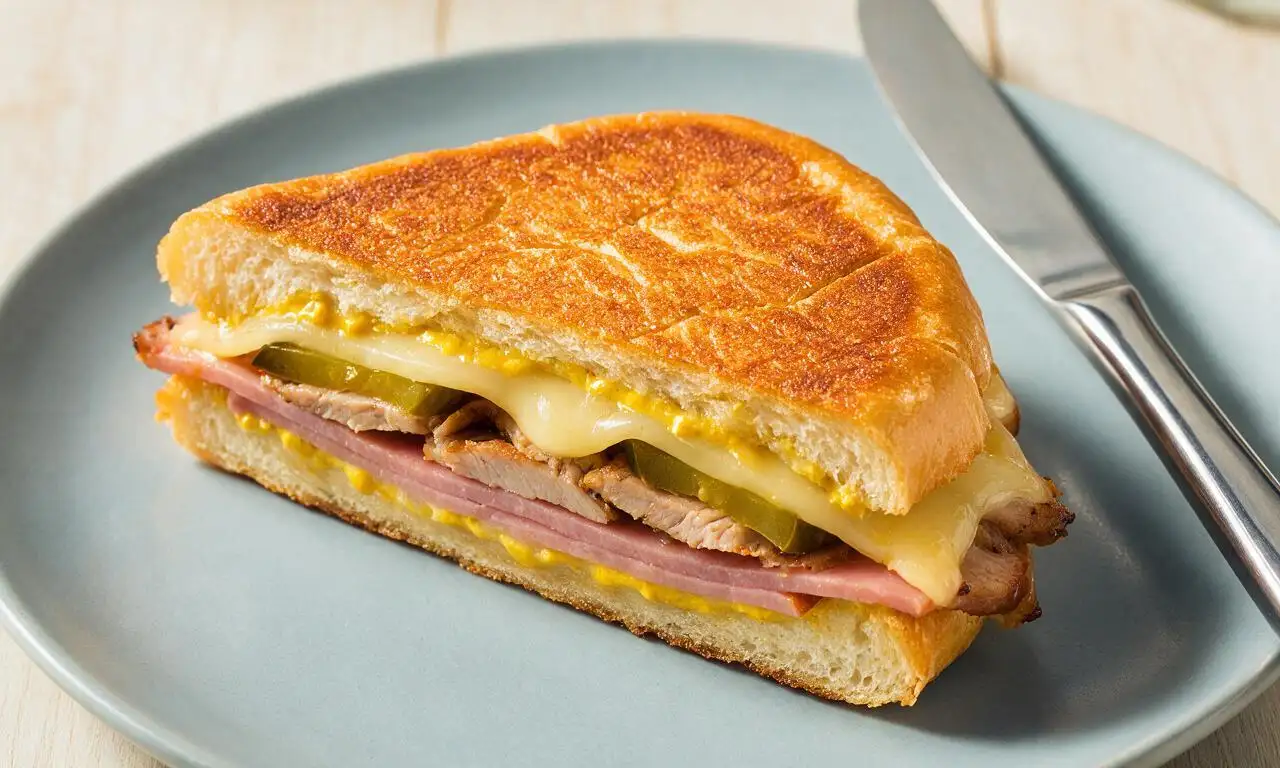
Crispy, melty pressed sandwich layered with savory roast pork, ham, Swiss cheese, pickles, and tangy mustard: a beloved Cuban-American comfort classic.

⏱️ 25 minuteLunch ★ 4.9
Lunch
🍜 United States

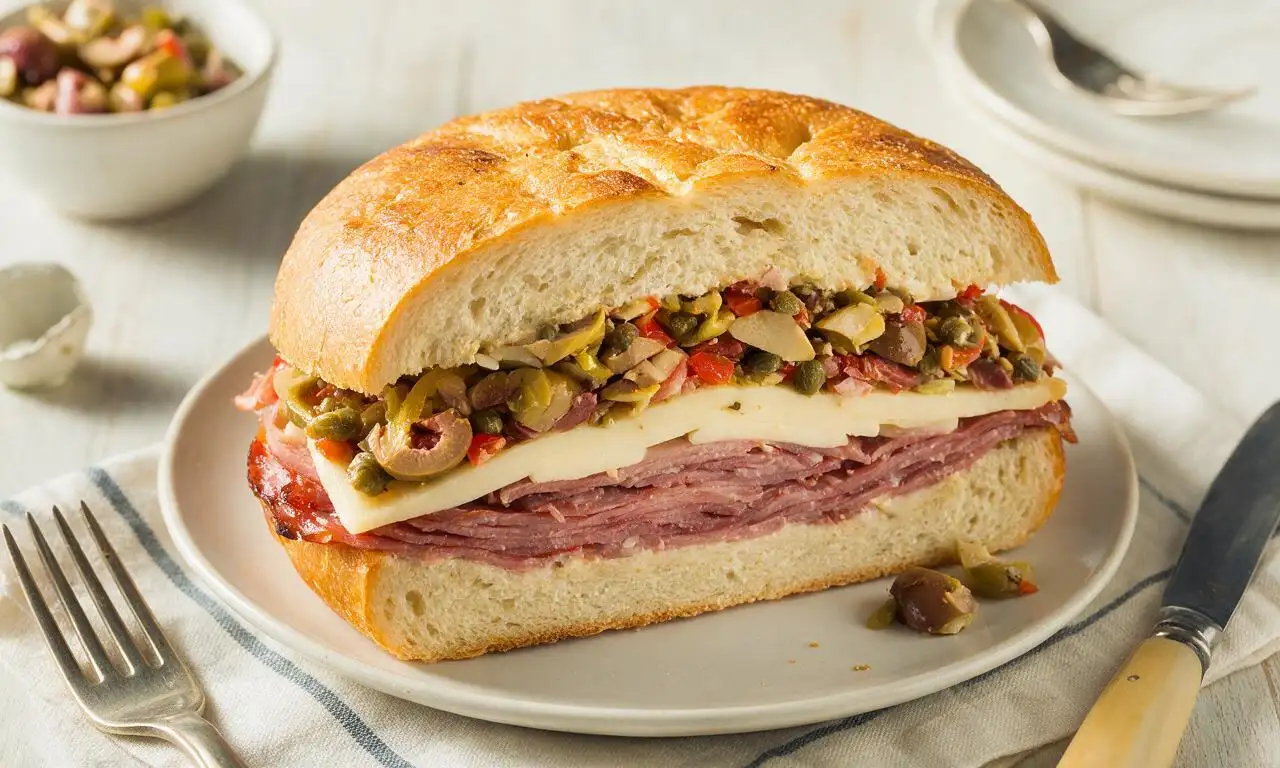
Hearty, briny New Orleans pressed sandwich stacked with cured Italian meats, provolone, and zesty olive salad, served cold for bold, portable flavor.

⏱️ 1 hour 20Lunch ★ 4.7
Lunch
🍜 United States

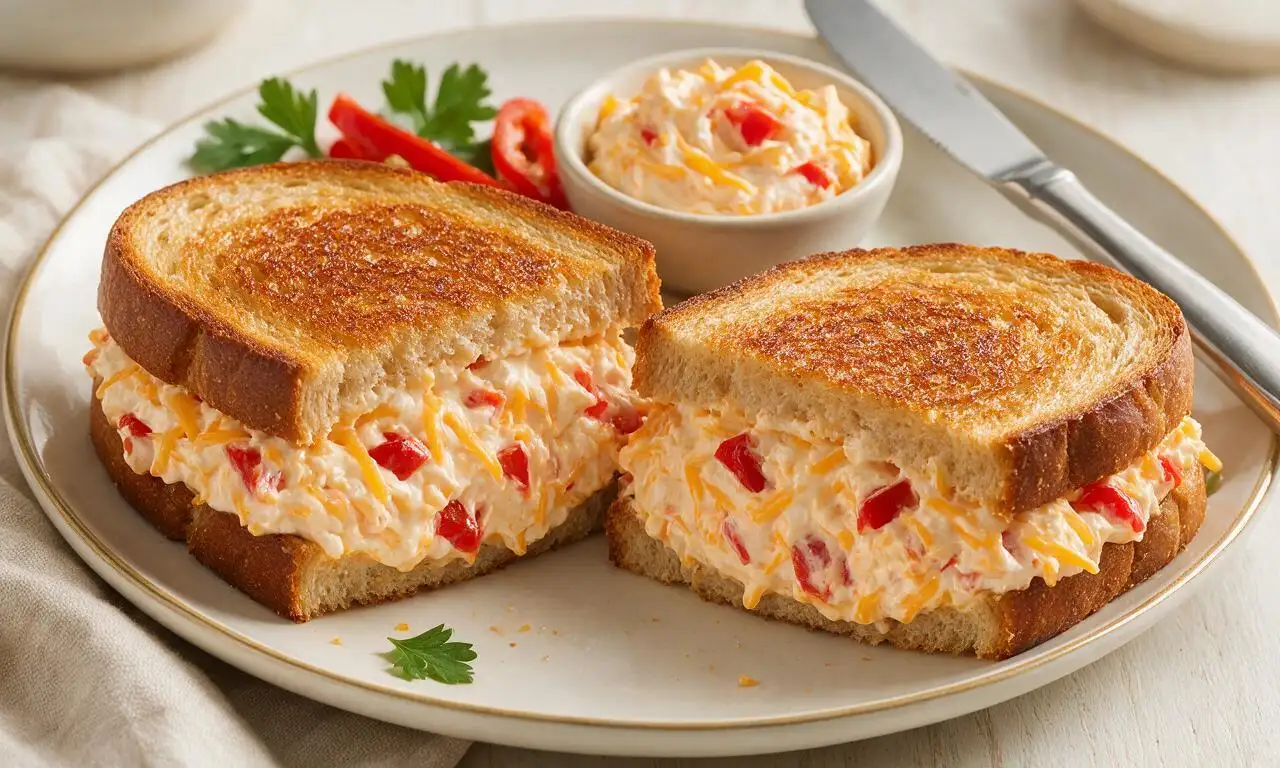
A tangy, creamy Southern American staple, this no-cook cheesy sandwich is packed with sharp cheddar and sweet pimentos for a satisfying, portable bite.

⏱️ 1 hour 15Lunch ★ 4.8
Lunch
🍜 United States

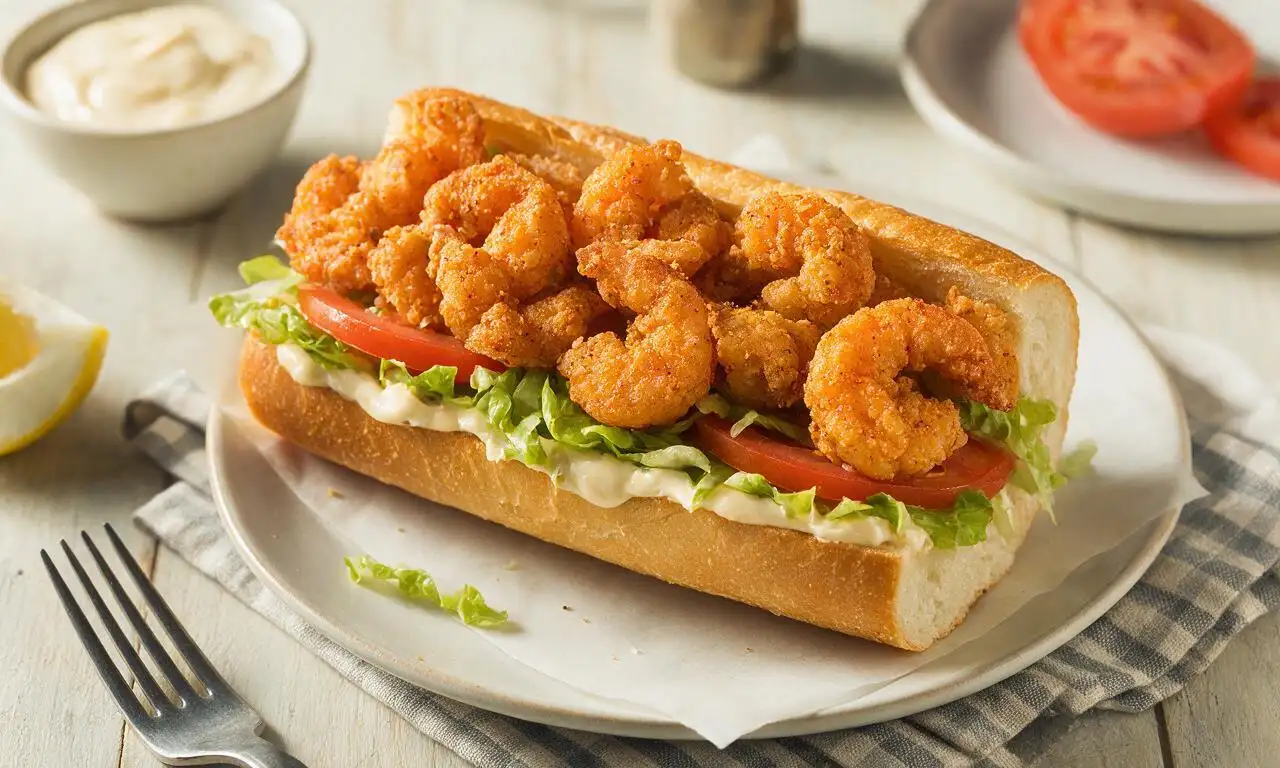
Crispy Cajun-spiced fried shrimp piled on crusty French bread with tangy remoulade and fresh toppings, the iconic Louisiana street food sandwich.

⏱️ 35 minuteLunch ★ 4.4
Lunch
🍜 United States

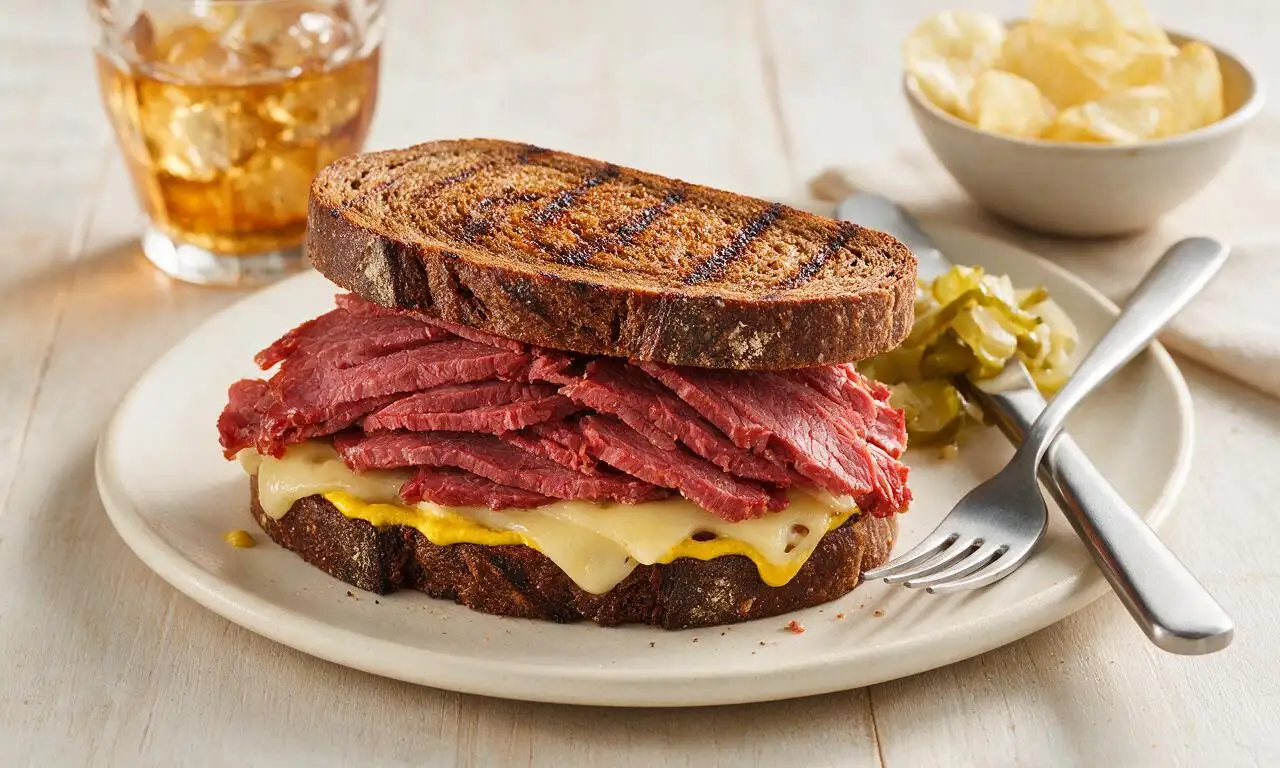
Stacked, savory deli-style corned beef sandwich with melted Swiss, tangy mustard, and crisp griddled rye— a fast, hearty, satisfying classic.

⏱️ 15 minuteLunch ★ 4.9

Green Onion Grilled Cheese:Frequently Asked Questions

1.Can I use a different type of bread if I don’t have sourdough on hand? ▾
Absolutely! While sourdough’s bright tang perfectly balances rich melted cheddar, you can swap it for ½-inch thick slices of crusty country white, light rye, or whole grain. Skip ultra-thin, soft sandwich bread—it gets soggy quickly and won’t develop that signature crisp, buttery crust this recipe relies on.
2.What’s the best way to prep green onions so their bright flavor doesn’t get lost in the sandwich? ▾
Slice both the pale white/light green parts and dark green tops thinly, about ⅛-inch thick, for even distribution. Scatter half the onions directly on the cheese mid-assembly, and sprinkle a tiny handful on the buttered outer bread right before grilling for a toasty, bright onion kick that doesn’t get muted by melted cheese.
3.Why does this recipe call for unsalted butter instead of regular salted butter? ▾
Unsalted butter lets you control total sodium, so you don’t end up with an overly salty bite from salted butter paired with naturally briny sharp cheddar. It also browns more evenly at medium-low heat, without burning milk solids as quickly as salted butter can, for that perfect even golden crust.
4.My cheese never fully melts before the bread burns—what am I doing wrong? ▾
You’re likely cooking over too high heat! Keep your stovetop at medium-low, and grate your sharp cheddar instead of slicing it thick—grated cheese melts 2-3 times faster. Cover the pan for 1-2 minutes after adding the top bread slice to trap gentle heat that melts cheese through without scorching the crust.
5.Can I add extra mix-ins to this grilled cheese without ruining its texture? ▾
Absolutely, just keep add-ins thin and low-moisture to avoid a soggy sandwich. Thin slices of crisp apple, crispy bacon bits, a thin swipe of Dijon mustard, or a pinch of red pepper flakes all pair beautifully with cheddar and green onion, without weighing down that classic oozing texture.
6.When do I add the flaky sea salt, and why can’t I use regular table salt instead? ▾
Sprinkle a tiny pinch of flaky sea salt on the hot, buttery crust right as you pull the sandwich off the pan. Flaky sea salt has large, crisp crystals that add a bright, salty crunch that pops against rich cheese and butter, instead of dissolving completely like fine table salt would. Go light—cheddar is already salty!
7.Is there a way to adapt this recipe to be dairy-free or vegan? ▾
Definitely! Swap the sharp cheddar for your favorite high-melting vegan sharp cheddar alternative, use plant-based unsalted butter for grilling, and double-check that your sourdough loaf is vegan (many are, but some include small amounts of honey or dairy). Cook it the exact same way over medium-low heat for great results.
8.How thin or thick should I cut my bread slices for the best texture? ▾
Aim for uniform ½-inch thick slices, cut straight from your sourdough loaf. Slices thinner than ¼-inch will get overly crisp and won’t hold melted cheese without oozing everywhere, while slices thicker than ¾-inch will prevent even cheese melt, leaving you with too much bread per cheesy bite.
9.Can I make these green onion grilled cheeses ahead of time for meal prep or a party? ▾
Grilled cheese is best fresh off the pan, but you can prep components ahead to cut cook time: grate cheddar, slice green onions, and butter bread slices 1-2 days in advance, stored airtight in the fridge. To hold cooked sandwiches, keep them on a wire rack in a 200°F oven for up to 20 minutes to avoid sogginess.
10.Why use sharp cheddar instead of mild cheddar or a different cheese? ▾
Sharp cheddar has a concentrated, tangy, nutty flavor that stands up to buttery bread and bright green onion, instead of getting lost like mild, creamy cheeses can. If you want to mix it up, swap up to half the cheddar for melty Gruyère or fontina, but keep at least half sharp cheddar for that classic bold flavor.
11.My green onions taste harsh and bitter in the sandwich—how do I fix that? ▾
That usually happens if you use old, wilted green onions or cut them too thick. Look for firm, bright green scallions with no slimy or wilted tops for the mildest, sweetest flavor. If your raw onions taste extra sharp, toss sliced bits in a tiny splash of rice vinegar for 5 minutes, then drain, to mellow that harsh bite.
12.Do I need a special pan to get that perfect crisp, buttery crust? ▾
Nope! A standard heavy-bottomed nonstick skillet or cast iron pan works perfectly, as long as it heats evenly. The key is to preheat the pan over medium-low for 2 minutes before adding your sandwich, so butter melts evenly and crisps the bread on contact instead of soaking in and making it greasy.
13.What’s the best way to cut and serve this grilled cheese for the best experience? ▾
Let the sandwich rest for 1 minute after pulling it off the pan—this lets melted cheese set slightly so it doesn’t all ooze out when you cut it. Slice it diagonally for that classic nostalgic presentation, and serve with tomato soup, dill pickles, or a simple green salad for a cozy, satisfying meal.

Comments (12)

2 days ago

OMG this green onion grilled cheese is a total game changer! I threw in a little extra sharp cheddar and my picky 7 year old ate two whole halves without complaining once. Perfect quick weeknight lunch when we’re running between soccer practices! 10/10

yesterday

Wait did you use butter or mayo on the bread? I’ve heard mayo gets crispier but I’ve never tried it!

yesterday

Both work great! We prefer softened salted butter for that classic rich flavor, but mayo gives an extra crispy crust if that’s your vibe. So glad your kiddo loved it!

1 week ago

Brought a batch of these cut into bite-sized squares to my neighborhood potluck last weekend and they were gone in 10 minutes flat! People kept asking for the recipe, I can’t believe how simple it is with only 8 minutes cook time. SO good.

2 hours ago

As a broke college student with basically no cooking skills, this was so easy to pull off in my dorm’s tiny panini press! Only thing I messed up was burning the first one because I scrolled TikTok too long oops. Second one was perfect though

30 minutes ago

We’ve all been there! Pro tip: keep the heat on medium-low so the cheese melts fully before the bread gets too dark. Works like a charm every time.

3 days ago

I made these last night for dinner and they were so tasty! Has anyone tried making them ahead for meal prep? I’m looking for easy lunches I can pack for my husband’s work week and wondering if they reheat well.

2 days ago

I made a batch last Sunday and reheated them in the toaster oven at 350 for 5 minutes, they got crispy again! Microwave makes them soggy fyi

2 days ago

Great tip from LunchBoxHacks! We don’t recommend microwaving, but a quick toast in the toaster oven or even a dry skillet brings them right back to fresh texture if you make them a day or two ahead.

5 days ago

Swapped the dairy cheese for vegan mozzarella and used plant-based butter, and honestly? It slapped. The green onions add so much flavor I didn’t even miss the regular cheese! Will be making this every other week for sure.

yesterday

Wait, I added a tiny sprinkle of garlic powder to the butter and oh my GOD, it leveled this up so hard. Game. Changer.

5 minutes ago

OH that’s genius! I’m making these for my late night study snack tonight, definitely stealing that garlic powder hack

just now

Wait, how thin do I slice the green onions? I made this last night and had big chunky bits falling out every time I took a bite, it was so messy 😅

just now

Great question! Slice them thin, about 1/8 of an inch, and toss them with the shredded cheese before you assemble the sandwich so they stick instead of falling out. No mess, all flavor!

2 weeks ago

Made these for my family dinner last night with a side of tomato soup, and even my moody teenager gave it a 9/10 (docked a point because I “didn’t add enough bacon” 🙄). Next time I’ll crumble a little bacon in for him, but honestly the green onion version is perfect as is.

1 week ago

I added bacon last time I made these! It’s chef’s kiss, the salty bacon pairs so good with the sharp cheese and onion

1 week ago

Bacon is such a delicious add-in! We also love a little dash of hot sauce on the side for dipping if you want a little kick. So glad your family enjoyed it!

5 days ago

Made this on a rainy Sunday afternoon with tomato basil soup, and it was the coziest meal ever. The green onions add that little sharp bite that cuts through the rich cheese so well, I’ll never make regular grilled cheese again!

3 days ago

Right?! I used to think grilled cheese was boring until I tried adding green onions, it adds such a nice brightness to the whole sandwich

1 week ago

Wrapped these up in foil and brought them on a day hike last weekend, and even when they were slightly cooled they were still delicious! Way better than packing boring granola bars, will be a regular trail snack for us from now on.

yesterday

I have a super mild sensitivity to raw onions so I was nervous, but cooking the green onions a tiny bit in the pan before putting them in the cheese worked perfectly! No harsh bite, just yummy onion flavor, no stomach ache after. Win win.

yesterday

That’s such a smart hack! Cooking the onions for 30 seconds or so softens that sharp raw bite without losing all the flavor, thanks for sharing that tip for other folks with sensitive stomachs!

30 minutes ago

Made these for a lazy weekend brunch with my roommates, served with mimosas and crispy hash browns. We all went back for seconds! The green onion adds such a bright, zingy kick that plain grilled cheese is totally missing. 10/10, no notes.